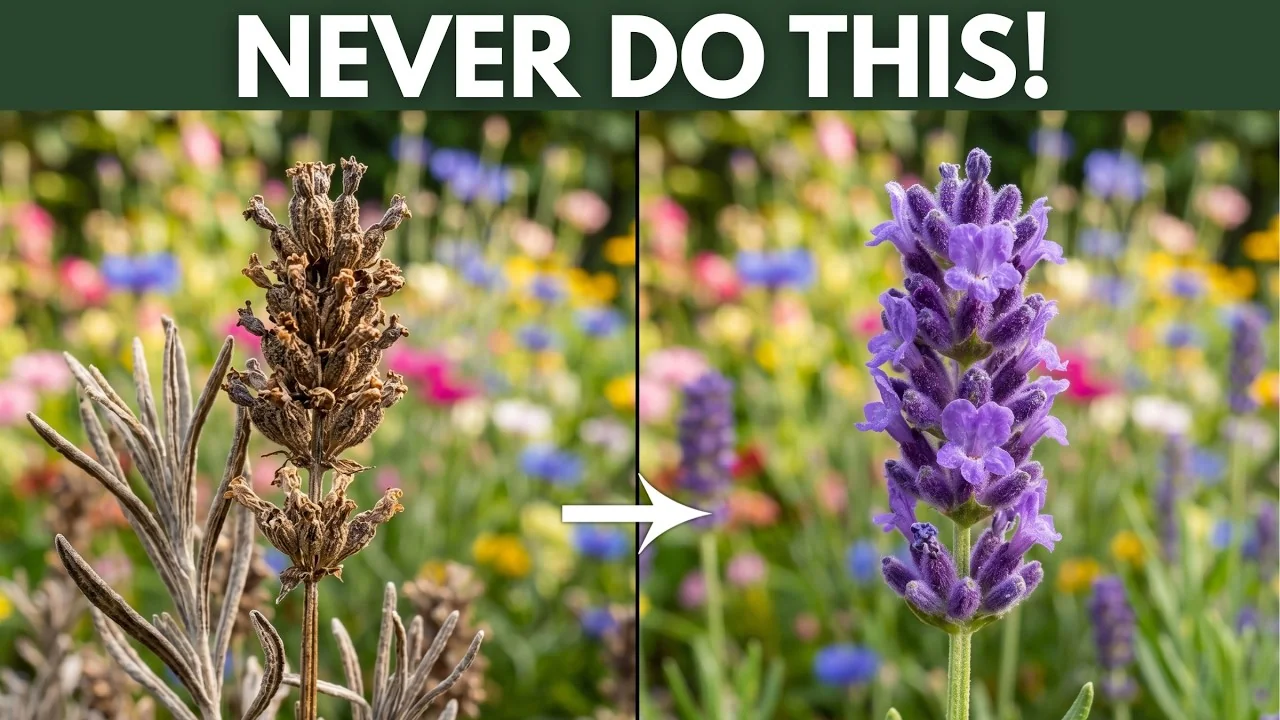
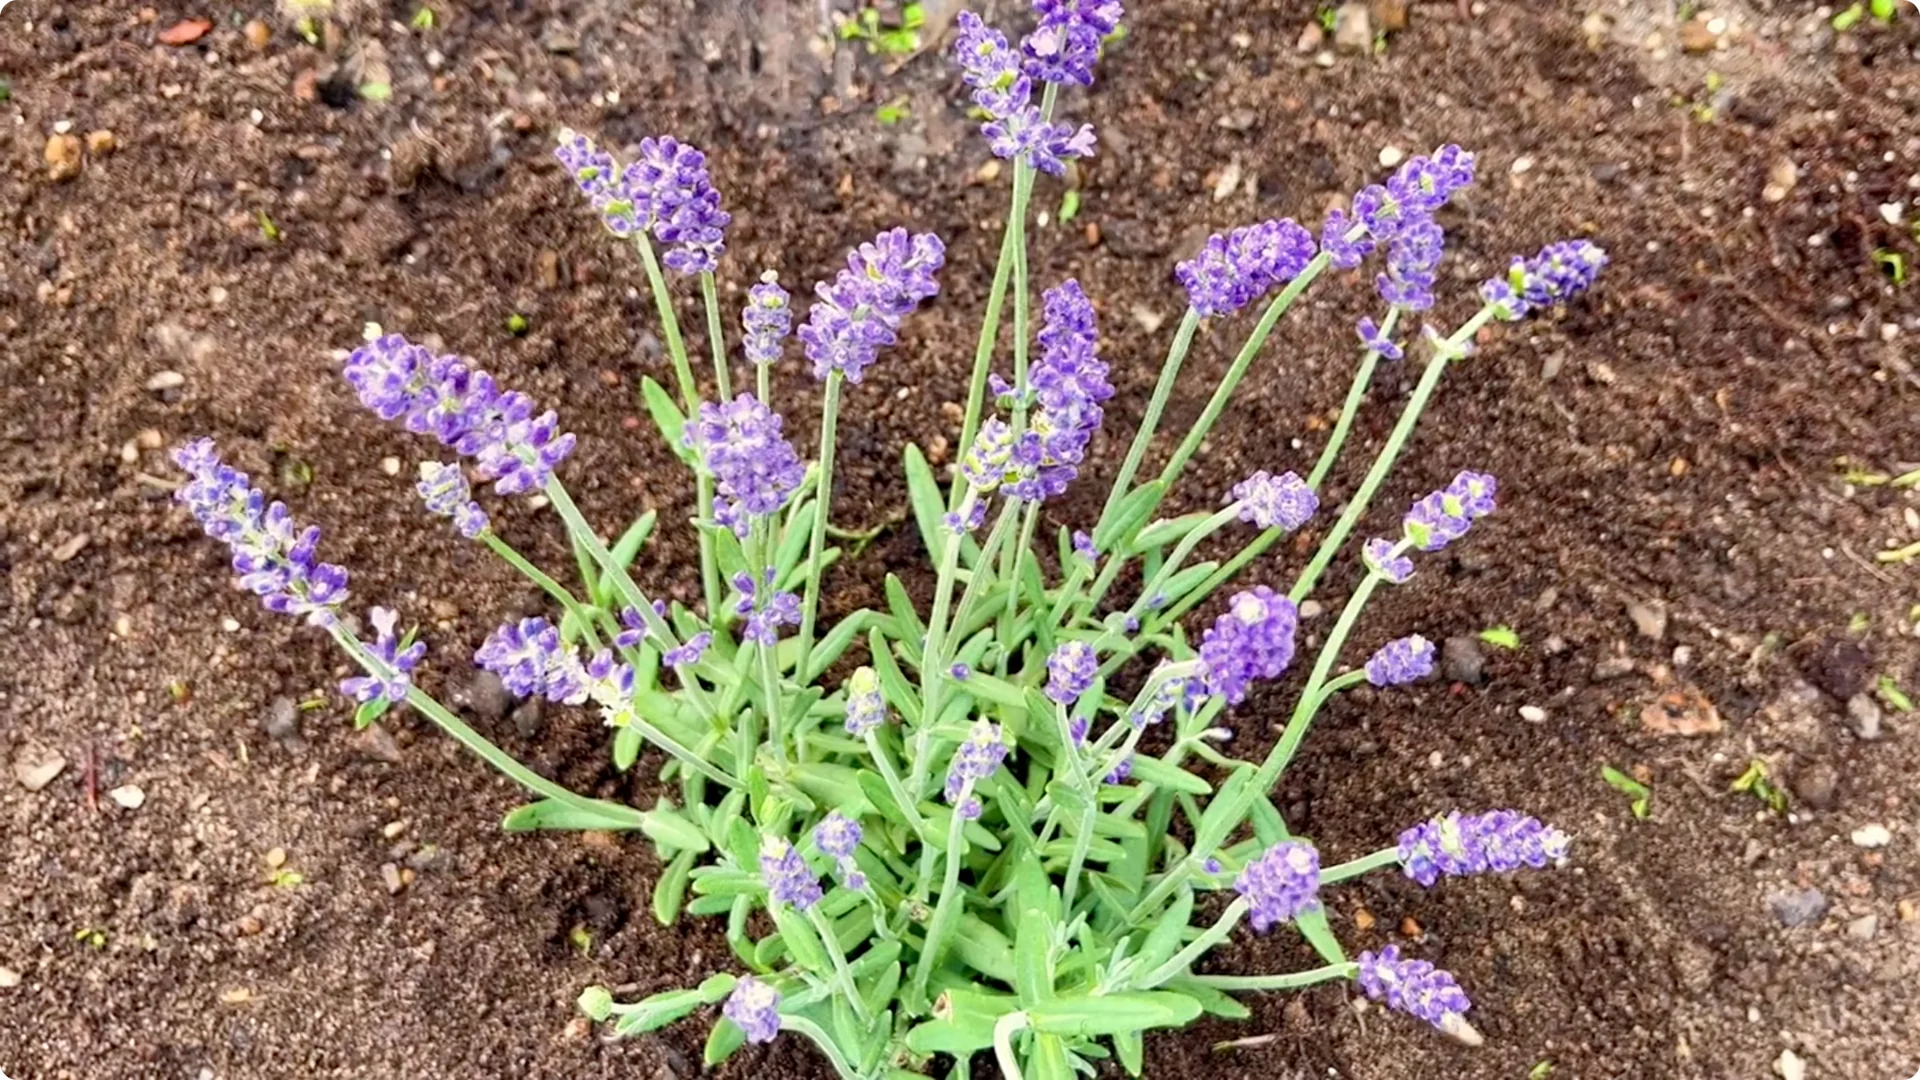
You bought a beautiful, healthy lavender plant. The leaves were silver green, the smell was incredible, and you imagined a fragrant purple hedge swaying in the breeze by summer. Then, a few weeks later, it turned grey, woody, and crispy in the middle.
The flowers never really came. And now you are standing in your garden wondering what on earth you did wrong. Lavender does not usually die because you neglected it.
The Beginner’s Rose Propagation Starter Kit 🌹
A simple printable PDF guide to help you root rose cuttings successfully.
Get The Guide →It dies because you loved it the same way you love every other plant in your garden. And that, ironically, is exactly what kills it. Lavender is a plant from the dry, rocky hillsides of the Mediterranean.
It evolved to survive harsh sun, poor soil, and very little water. When you treat it like a fussy houseplant, feeding it, watering it, tucking it into rich compost, you are not being kind. You are slowly drowning a desert plant.
I am going to walk you through the five biggest mistakes that quietly destroy lavender, in the exact order they usually happen, from the moment you plant it to the day it finally gives up. By the end, you will understand not just what to do, but why it works. Some of these are going to go against everything your gardening instinct tells you.
Mistake number three is the one that catches almost everyone.
1. Lavender Care Mistakes: Planting in rich soil

Let us start at the very beginning, because the first mistake happens before your lavender even has a chance to grow. It is the one that quietly sabotages everything that comes after. When most people plant something new, they want to give it the best possible start.
They dig a hole, throw in a generous scoop of rich compost, maybe some manure or moisture retaining potting mix, and pat it down feeling like a great gardener. For almost every plant in your garden, that instinct is right. For lavender, it is a death sentence in slow motion.
Lavender grows wild on dry, gravelly, nutrient poor slopes where the soil is thin and sharp and drains in seconds. That harsh environment is not something lavender tolerates, it is something lavender needs. Poor soil keeps the plant compact, stresses it just enough to push out essential oils, and forces the roots to stay healthy and dry.
The moment you plant it in soft, rich, water holding soil, a few things go wrong at once. The roots sit in moisture they were never designed to handle, the plant puts on soft, floppy green growth instead of tight silvery foliage, and it produces far fewer flowers because it is too comfortable to bother. So here is what you do instead.
Lean and sharp mix
When you plant lavender, you are not aiming for rich. You are aiming for lean and sharp. Mix plenty of grit, coarse sand, or fine gravel into your planting area, somewhere around a third of the total volume is a good target.
Clay and drainage
If your soil is heavy clay, this matters even more, because clay holds water like a sponge and lavender hates wet feet more than almost anything. In really stubborn clay, the smartest move is to plant lavender on a slight mound or in a raised bed, so water physically runs away from the crown of the plant. And do not worry about feeding it.
Feed less, get more
I know it feels wrong. But lavender genuinely thrives on neglect when it comes to nutrients. No compost rich beds, no fancy soil, no buried treats for the roots.
The poorer you keep the soil, the more your lavender will reward you with that classic silver foliage and those dense, fragrant flower spikes. Get this first step right, and you have already avoided the root cause of most lavender failures. Poorer soil equals healthier lavender.
Read More: Secret Growing Orchid Roots Blooms
2. Lavender Care Mistakes: Watering like a normal plant
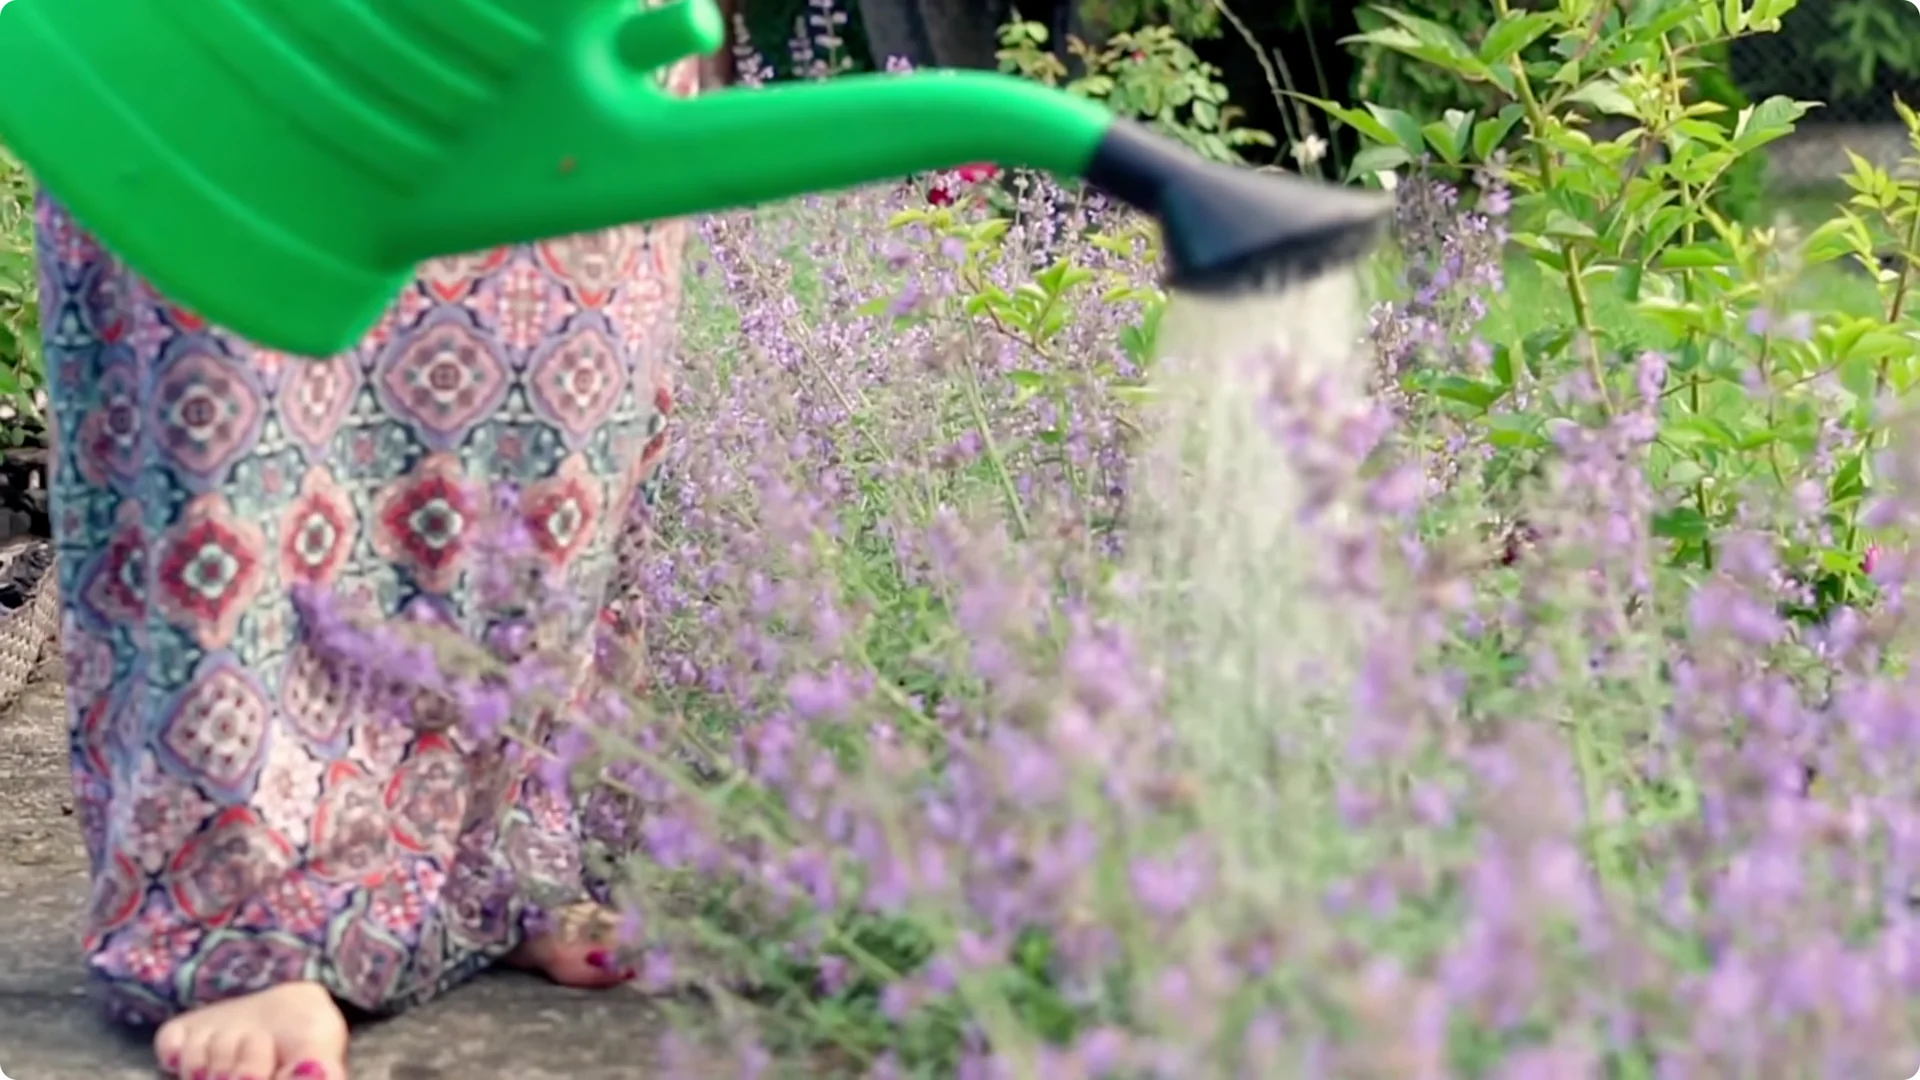
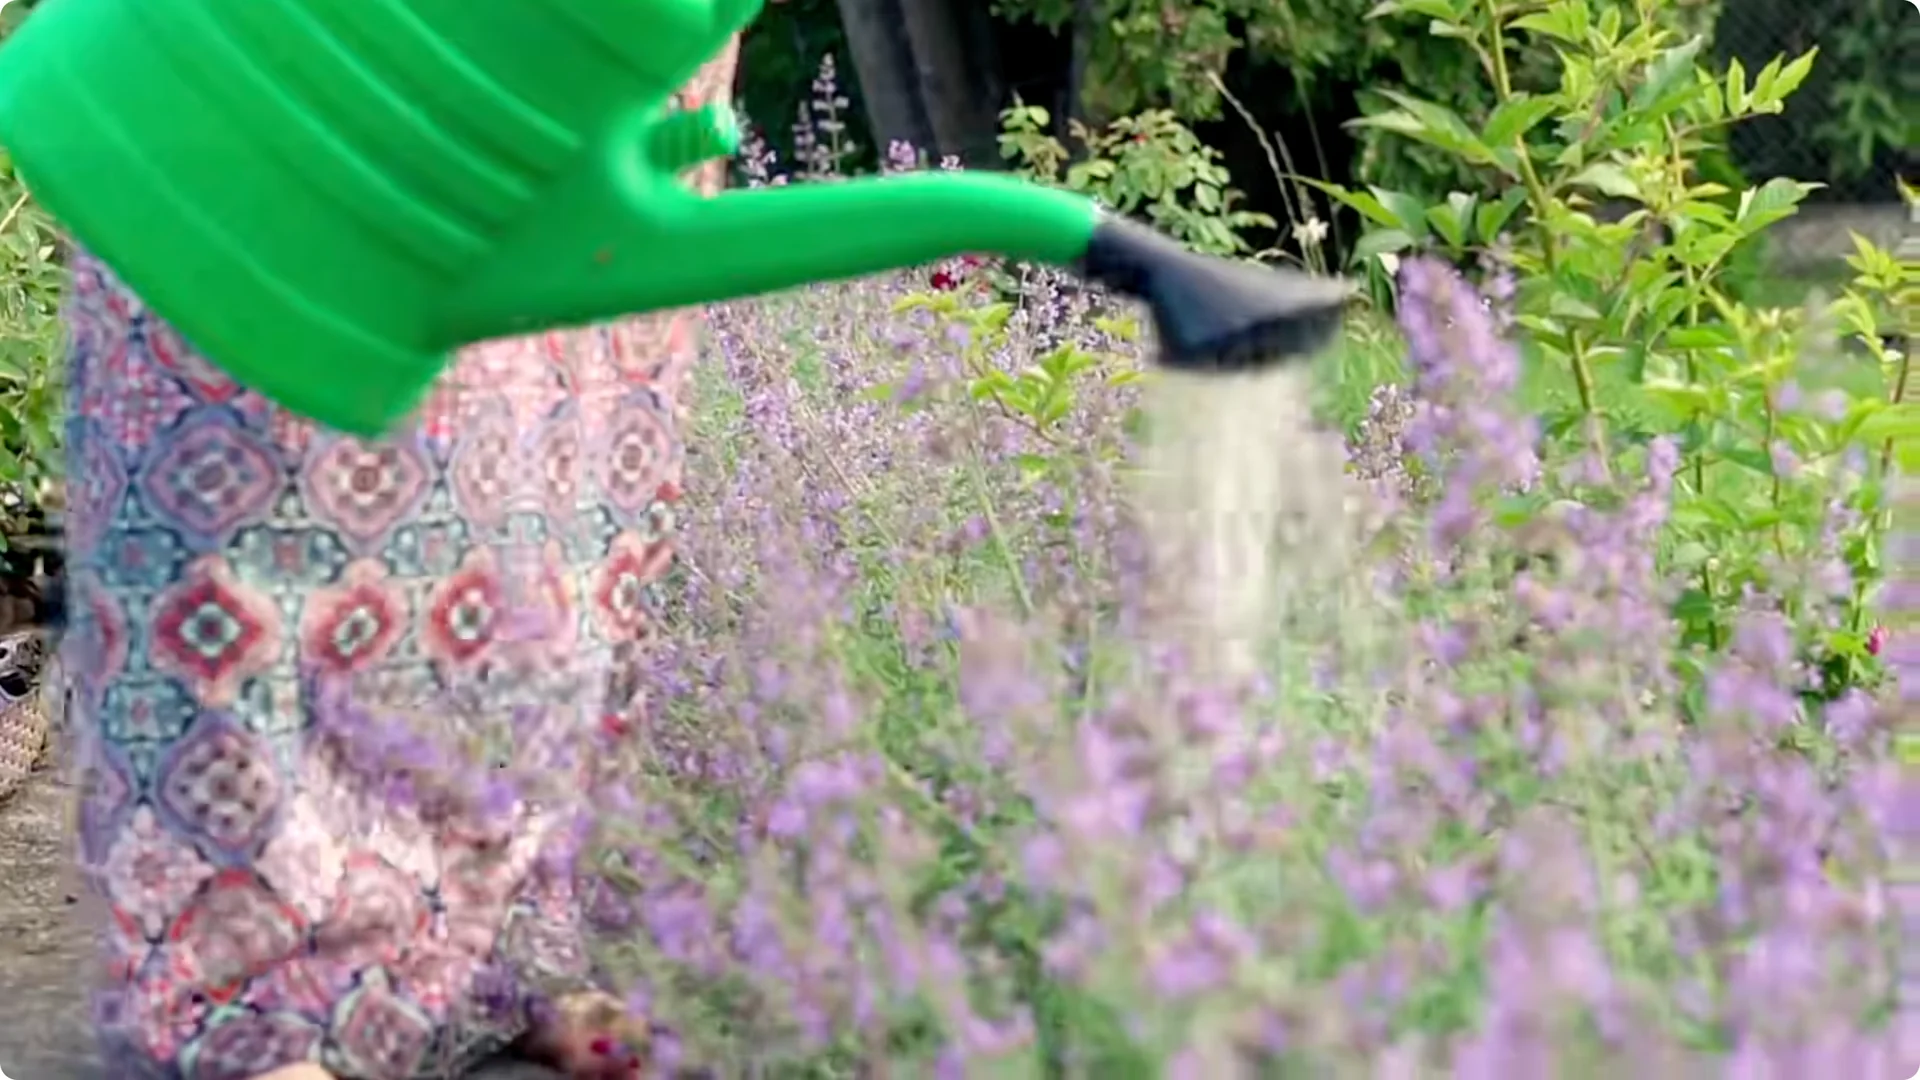
Now let us talk about the mistake that does the most day to day damage, because it happens over and over again, every week, often with the best of intentions. Overwatering. Here is the trap.
You see your lavender looking a little tired, maybe the lower leaves are going grey or the plant looks droopy on a hot afternoon. Your instinct says it needs a drink. You water it, then a few days later it still looks rough, so you water it again.
What you do not realise is that those symptoms, the greying, the wilting, the general sadness, are very often signs of too much water, not too little. Every time you reach for the watering can, you are making the exact problem worse, while believing you are fixing it. Lavender is built to handle drought.
Its roots want to dry out completely between waterings. When the soil stays damp for too long, the roots cannot breathe, fungal problems creep in, and root rot sets in from the bottom up. By the time the top of the plant looks bad, the damage underground is often already done.
That is why so many people say their lavender suddenly died. It did not. It was quietly rotting for weeks.
Water the right way
So how should you actually water it. The golden rule is simple, when in doubt, do not. For an established lavender plant growing in the ground, in most climates, you barely need to water it at all once it is settled in.
Rainfall is usually enough. During a long, brutal dry spell you might give it a deep soak every couple of weeks, but that is the exception, not the routine. The key word is deep and infrequent.
A long, occasional drink that soaks down to the roots and then dries out completely is far better than little sips every few days. Little sips keep the surface damp and the roots gasping. Deep drinks build resilience.
The new plant exception
Newly planted lavender in its first season does need more regular watering to get going. Even then, you let the soil dry out between waterings. You are training the roots to reach down and become self sufficient, not babying them into dependence.
The simplest test in the world is to push your finger a couple of inches into the soil near the plant. If it feels even slightly damp, walk away. If it is bone dry and the plant looks stressed, then and only then give it a deep drink.
Master this rhythm, and you will have solved the single most common way gardeners accidentally kill their lavender. Dry roots grow strong plants.
3. Lavender Care Mistakes: Skipping pruning or cutting wrong

This is the one I promised you, and it is the mistake that catches almost everyone, including people who have grown lavender for years and cannot figure out why their plants keep falling apart. It is all about pruning. Specifically, not doing it, or doing it in a way that quietly destroys the plant.
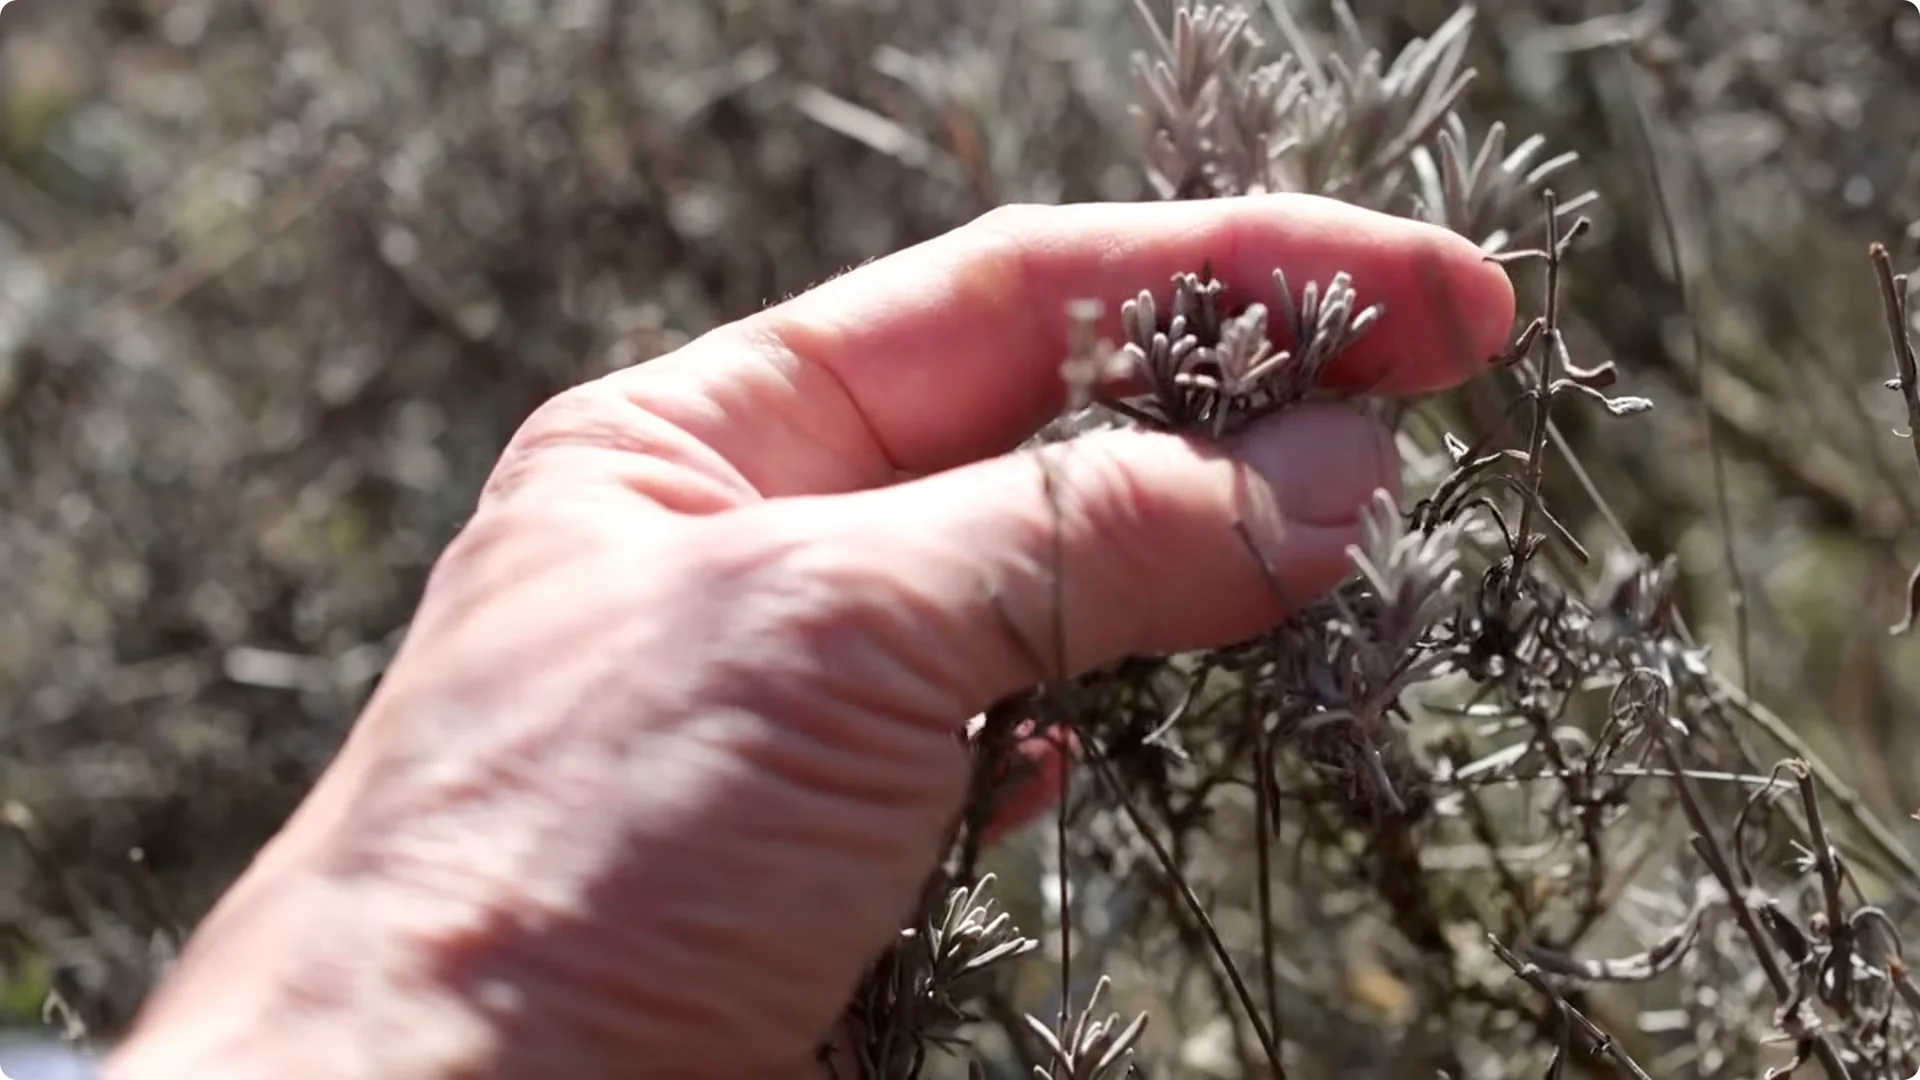
Let me paint the picture, because you have probably seen it. A lavender plant that is three or four years old. The outside edges still throw up some flowers, but the centre has gone bare, woody, and grey, splitting open in the middle like a tired old bird’s nest.
People assume the plant is just old and dying. It is not. It got that way because it was never pruned properly, and once lavender goes fully woody in the centre, there is almost no coming back.
Why wood is trouble
Here is the crucial thing you have to understand. Lavender does not reliably regrow from old, bare wood. Unlike many shrubs, if you cut back into the thick brown woody stems, those stems usually just sit there, lifeless, and never push out new green growth.
So the entire game of pruning lavender is about preventing it from ever getting that woody in the first place. You prune to keep the plant young, tight, and full from the inside out. Prune to prevent wood, not to fix it.
How to prune right
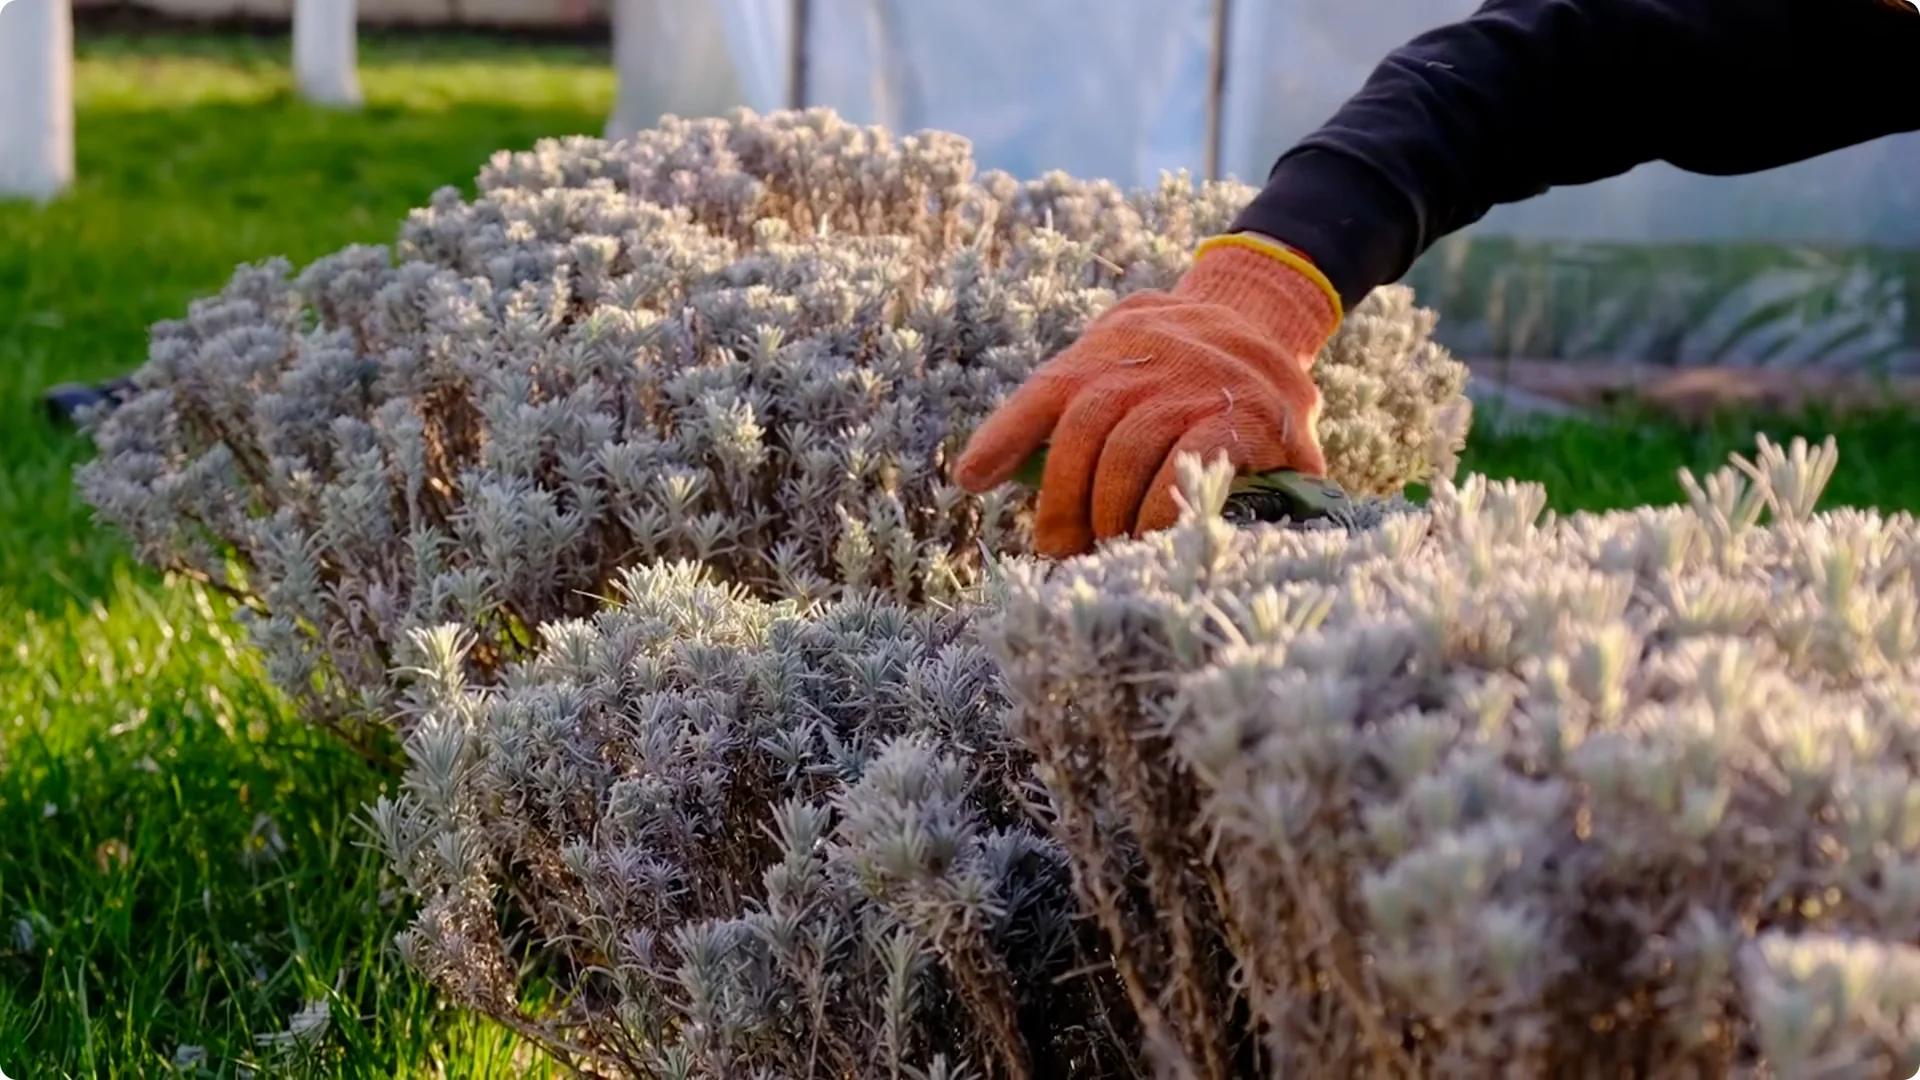
Once or twice a year, you give the plant a firm, confident trim. The big, important prune comes after flowering, usually in late summer or early autumn. You take your shears and you cut the whole plant back into a neat, rounded dome shape, removing most of that year’s growth, roughly a third of the plant, sometimes more.
Here is the line you must never cross. Always leave a little green growth on every stem. Do not cut down into the bare brown wood.
As long as there is green above the wood, the plant stays healthy and bushy. Cut into the dead wood, and that section is likely gone for good. A light tidy up in spring is also useful, just shaping the plant and removing any straggly or winter damaged bits.
The late summer prune is the one that really keeps lavender alive for years. Done consistently from the time the plant is young, this single habit is the difference between a lavender that gets ragged and woody in three years, and one that stays lush, mounded, and flowering beautifully for a decade or more. Most people are simply too gentle, too scared to cut.
Be braver than feels comfortable, just never into the wood, and your lavender will thank you. Confident cuts keep lavender young.
Read More: Make Orchids Bloom Again
4. Lavender Care Mistakes: Starving sun and crowding it

We have covered soil, water, and pruning. Now let us talk about something that does not kill lavender overnight, but slowly steals its flowers, its fragrance, and its health. Putting it in the wrong place.
Lavender is a full sun plant in the most absolute sense of the term. We are talking a minimum of six to eight hours of direct sunlight a day, and honestly, the more the better. This is not a preference, it is a requirement.
Sunlight drives the production of those aromatic oils, fuels strong stems, and triggers heavy flowering. When you tuck lavender into a spot that gets shade for half the day, against a north facing wall, or under the edge of a tree, you get a plant that looks reluctant. The growth turns leggy and floppy as it stretches toward the light, the colour fades, the fragrance weakens, and the flowers become sparse and disappointing.
The plant survives, but it never really performs. Before you even plant, watch your garden through the day and find the brightest, hottest, most exposed spot you have, the place where other plants might complain about the heat. That is where lavender wants to be.
A south facing position, an open border, the sun baked edge of a path or driveway, the hot corner against a wall that radiates warmth. Lavender will be happiest exactly where fussier plants struggle. But sunlight is only half of this mistake.
Give it air
The other half is air flow. Lavender hates stagnant, humid, still air around its foliage, because trapped moisture invites fungal disease. This is where crowding becomes a silent killer.
When you plant lavender too close to other plants, or pack several lavenders tightly together because you want that instant full look, you choke off the air movement around each one. Moisture lingers on the leaves after rain or morning dew, and disease moves in. The fix is to give each plant real breathing room.
Space your lavender generously, enough that air can move freely all the way around and through each plant, even once it is fully grown. Resist the temptation to fill every gap. That open space might look a little bare at first, but it keeps the foliage dry, healthy, and disease free, and the plants will grow to fill it beautifully.
Bright, hot, and breezy are the three conditions to get right. Set your lavender up to thrive instead of merely survive. Sun and space are non negotiable.
Read More: Simple Method Propagate Roses 5
5. Lavender Care Mistakes: Choosing the wrong type
Here is the final mistake, and it is a sneaky one, because you can do absolutely everything else perfectly and still lose your plant every winter if you get this wrong. The mistake is choosing the wrong type of lavender for where you actually live. A lot of people do not realise that lavender is not one single plant.
There are several distinct types, and they have very different tolerances, especially for cold. The two you will meet most often are English lavender and French or Spanish lavender. Confusing the two is where the heartbreak happens.
English vs French or Spanish
English lavender is the tough, hardy one. It handles cold winters, frost, and snow far better, and in cooler climates it will reliably come back year after year. It tends to have those classic, neat flower spikes and an intense, sweet fragrance.
If you live somewhere with proper cold winters, this is very often the lavender you want for permanent, in the ground planting. French and Spanish lavenders are the showy, tender cousins. They often have distinctive flowers with little petal ears or flags sticking up from the top, and they flower for a long, generous season.
They are far less cold hardy. Drop them into a cold winter in the ground and a hard frost can wipe them out completely. People plant them in spring, fall in love with the flowers, and then are devastated when the plant simply does not return after winter.
It was the wrong plant for the climate from day one. So the fix is to choose with your eyes open. Before you buy, find out which type you are actually looking at, and match it honestly to your winters.
If you get cold, frosty winters and you want lavender that lives in the ground for years, lean toward the hardy English types. If you have fallen for a tender French or Spanish variety but your winters are harsh, the smart move is to grow it in a pot. That way you get to enjoy those gorgeous flowers all season, and when the cold comes, you simply move the pot somewhere sheltered to protect it through winter.
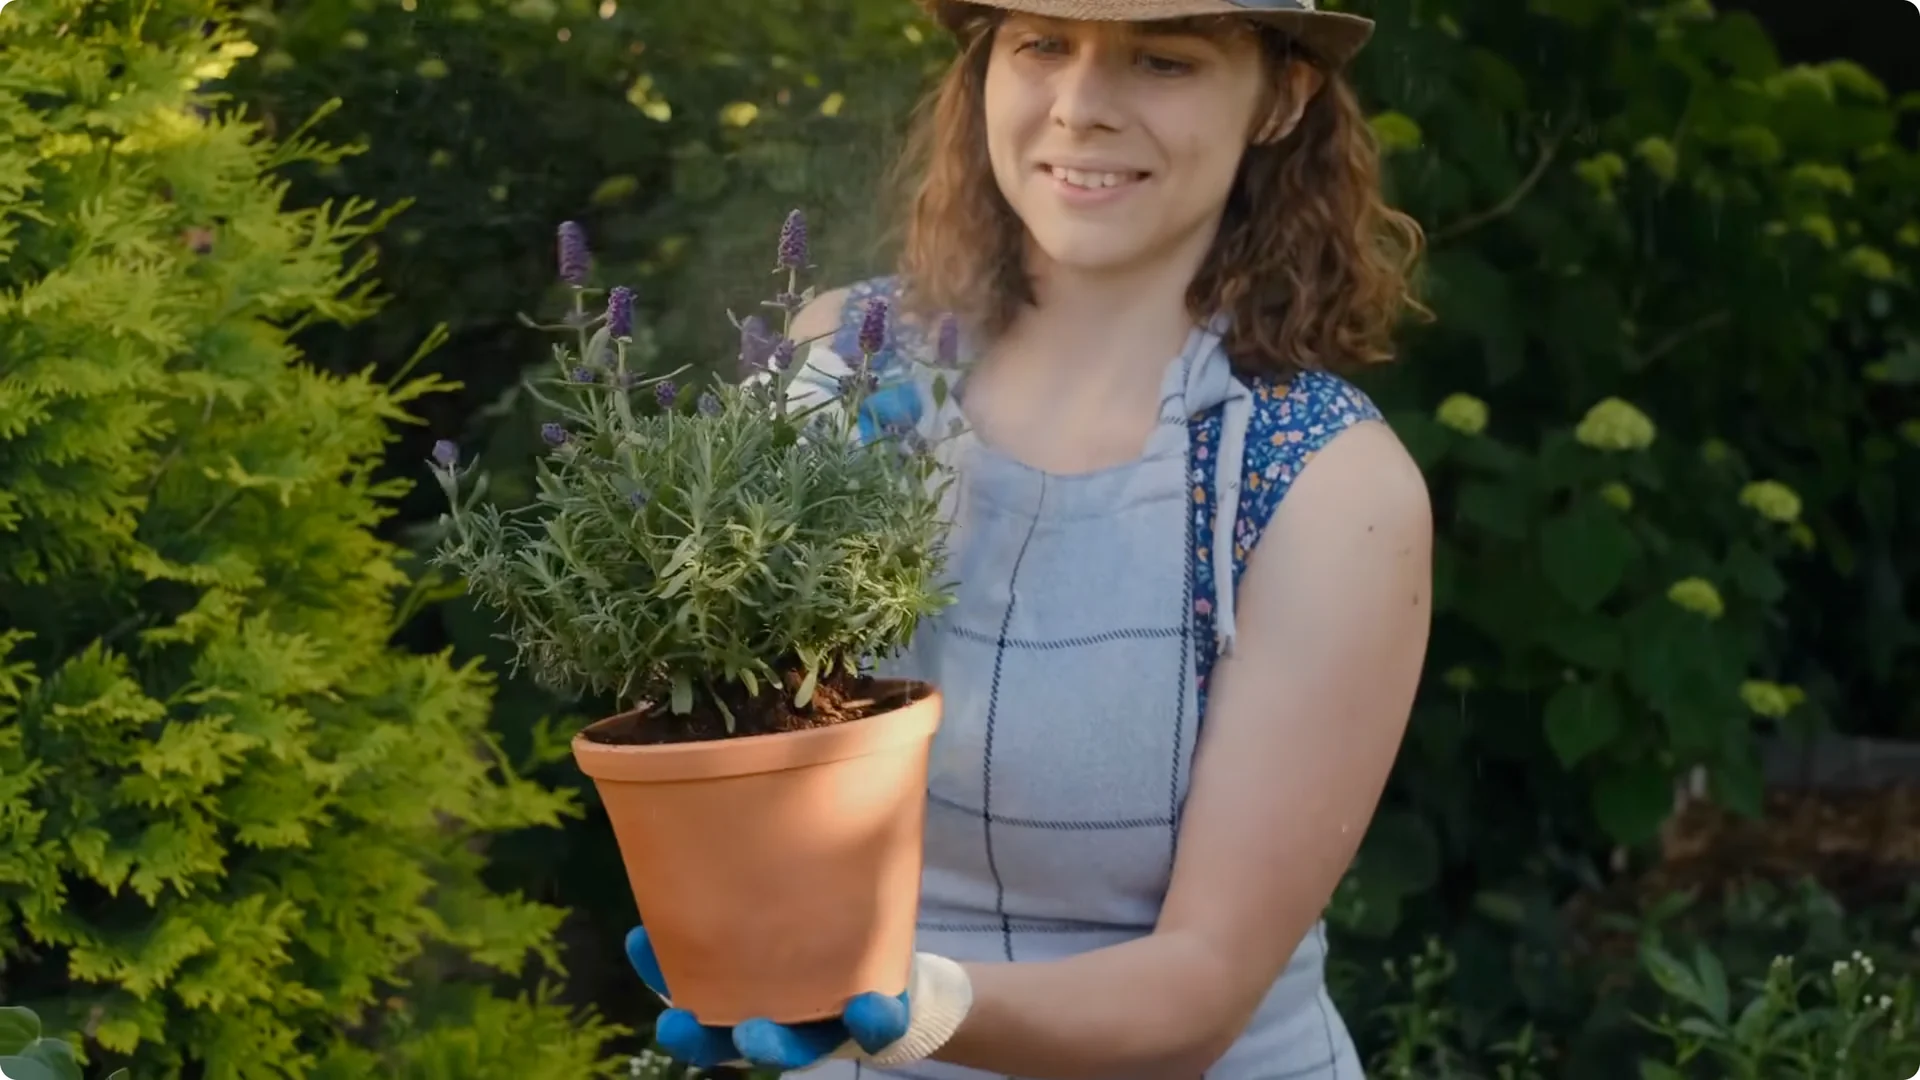
Containers solve problems
Growing in containers solves a lot of problems at once for lavender. You control the gritty soil completely, drainage is easy, and you can chase the sun and dodge the frost. Just make sure the pot has excellent drainage holes, use that lean, gritty mix we talked about, and never let it sit in a saucer of water.
Match the right lavender to your climate, or give a tender one the pot it needs, and you remove the last major reason perfectly healthy lavender dies. Right plant, right place is everything.
Final thoughts
Lavender thrives on lean soil, deep but rare drinks, confident pruning that never cuts into bare wood, full sun with real air flow, and a type that fits your winter. Get those five pieces right and you will grow thick, silver, flower loaded lavender that comes back stronger every single year. Give your lavender the tough love it has been waiting for.
About The Author
The Beginner’s Rose Propagation Starter Kit 🌹
A simple printable PDF guide to help you root rose cuttings successfully.
Get The Guide →