An extremely effective method of propagating roses uses very familiar, cheap materials but brings results that will surprise everyone. It is simple, safe and helps roses root quickly without the need for chemicals.
1. Rose Cutting Propagation Prep
Choose a rose branch that is really healthy, free of pests and diseases and has a moderate age. Cut off all the leaves and thorns on the branch to limit water evaporation while reducing the risk of bacteria and mold sticking to the wound. Cut the branch short, leaving only about 15 to 20 cm long, just enough to provide nutrients for the base in the early stages.
The Beginner’s Rose Propagation Starter Kit 🌹
A simple printable PDF guide to help you root rose cuttings successfully.
Get The Guide →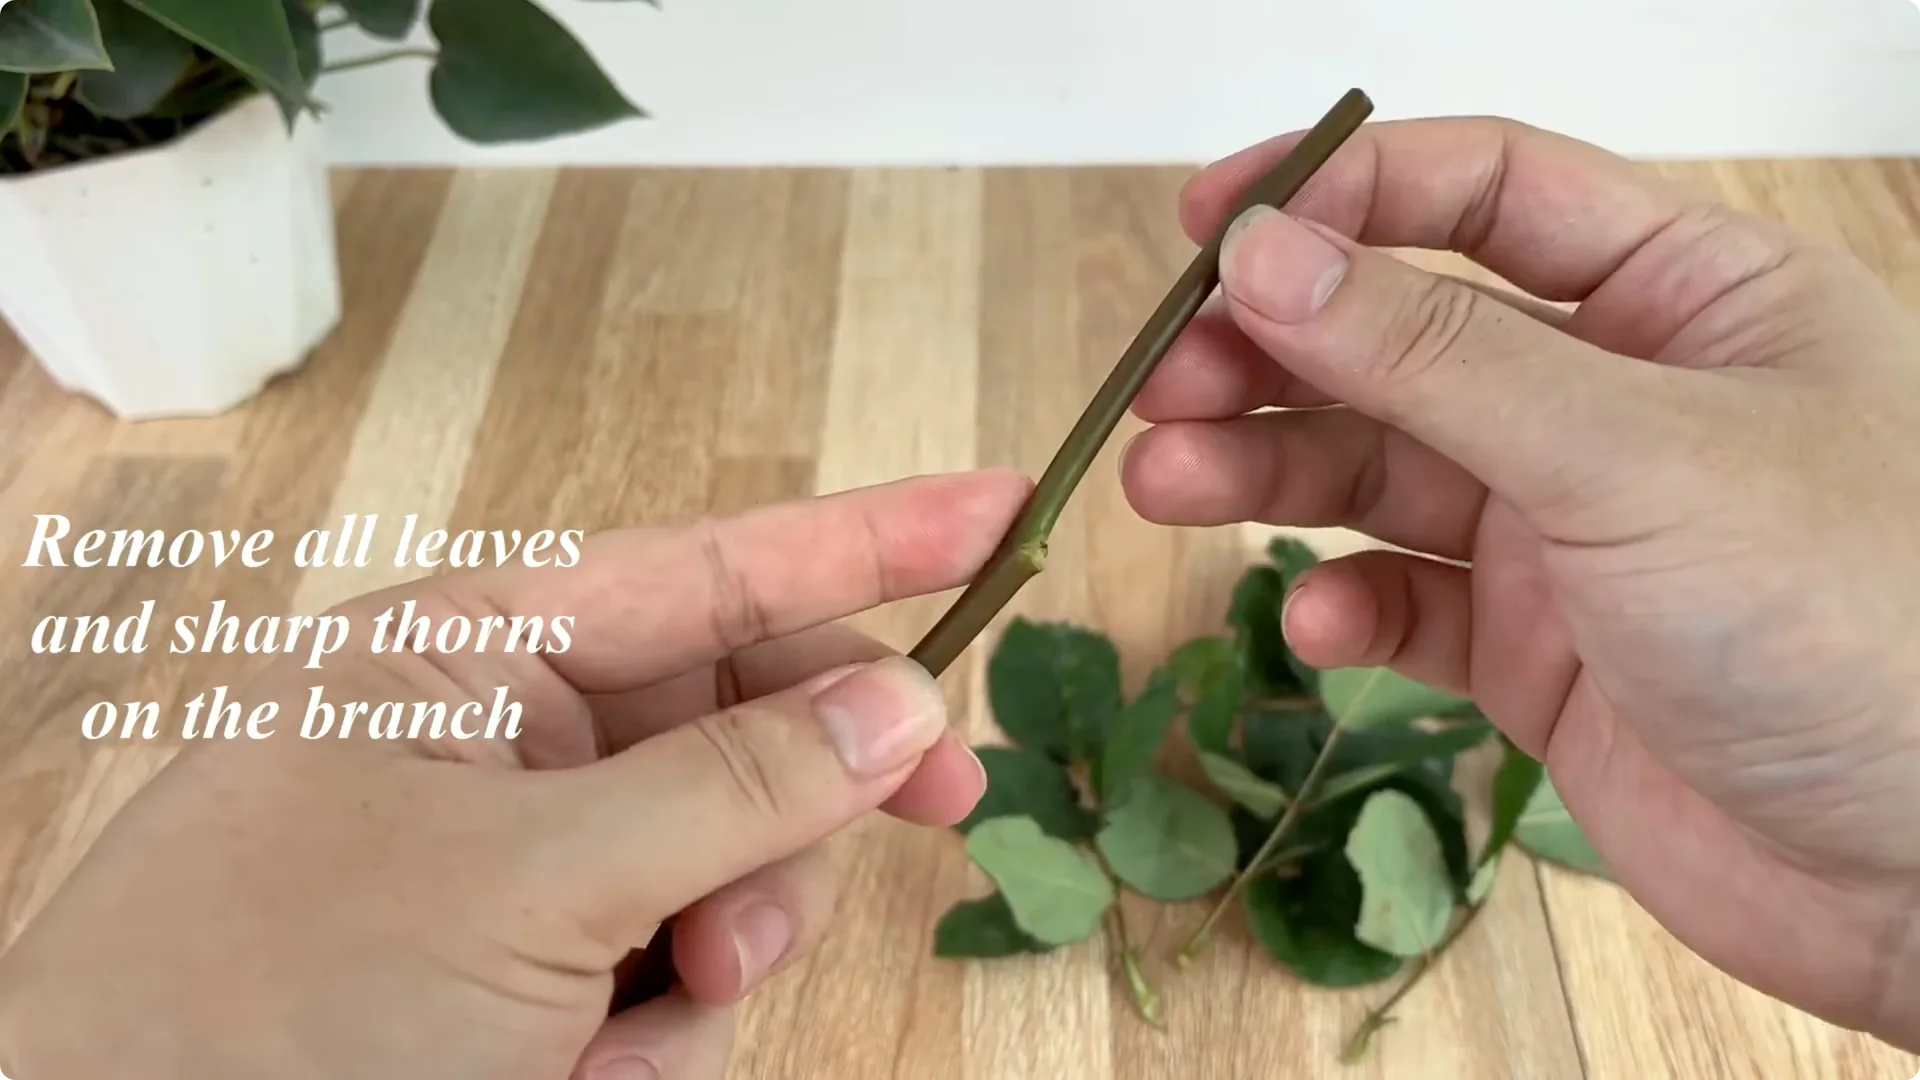
This is the fundamental step that determines the success of the entire cutting process. Work cleanly and handle the cutting gently to protect the tissue at the base.
2. Rose Cutting Propagation Natural Soak
After washing about 10 grams of fresh ginger, cut it into small pieces or crush it and put it in a clean cup. Ginger contains many natural antibacterial compounds such as gingerol and shogaol which can inhibit fungi and bacteria that cause root rot. Ginger also stimulates fluid circulation in the branch, helping young shoots to develop easily.
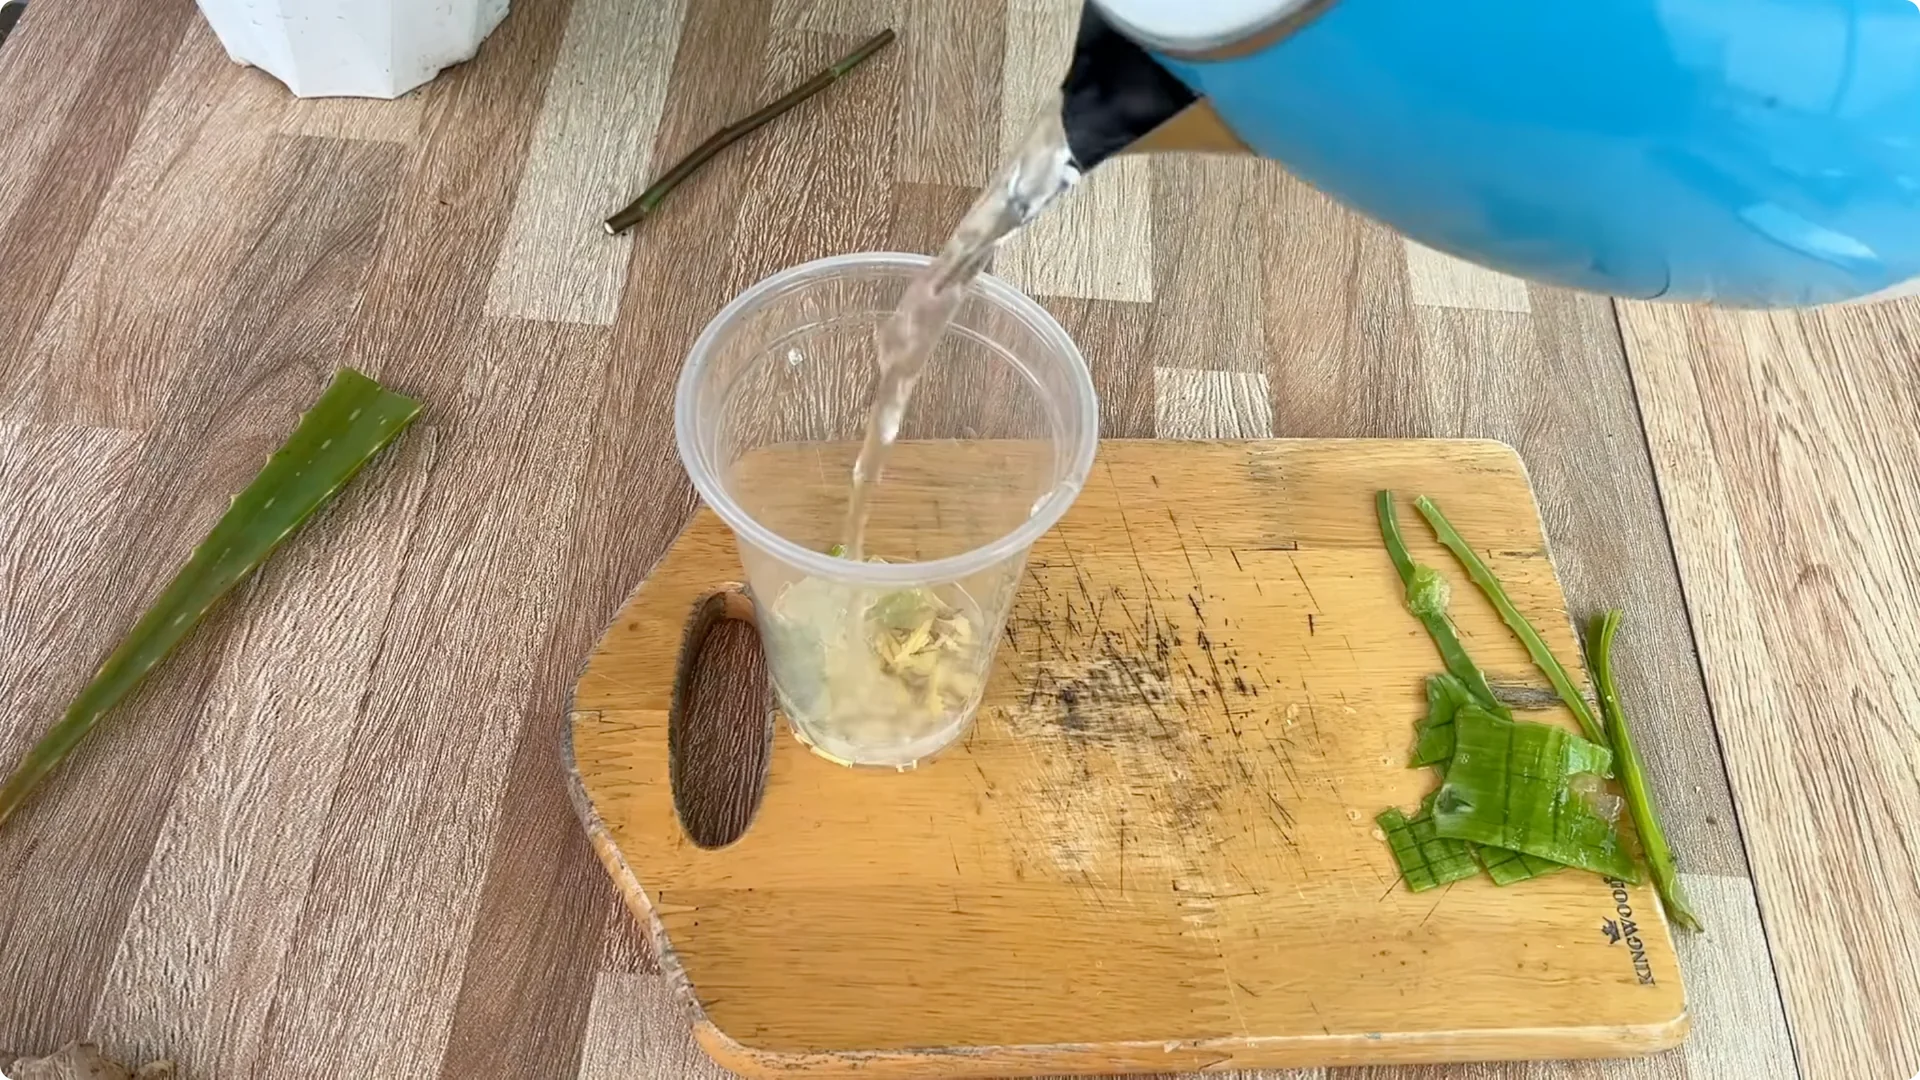
Along with ginger is aloe vera, a very useful natural ingredient. Take a piece of aloe vera about 15 cm long, peel off the green outer layer to collect the white flesh, then cut it into small pieces and put it together with the ginger. Aloe vera contains many minerals, B vitamins and especially polysaccharide mucus which has the effect of moisturizing, soothing cuts and stimulating the formation of scar tissue at the tip of the branch, thereby promoting the rooting process.
Add 0.5 liters of clean water, stir well and soak the rose branch for about 30 minutes. This is an extremely important step, helping the branch absorb natural nutrients while creating a protective layer before putting it into the environment. For a simple single cup approach that encourages fast rooting and bloom, see this one cup method.
3. Rose Cutting Propagation Jar Setup
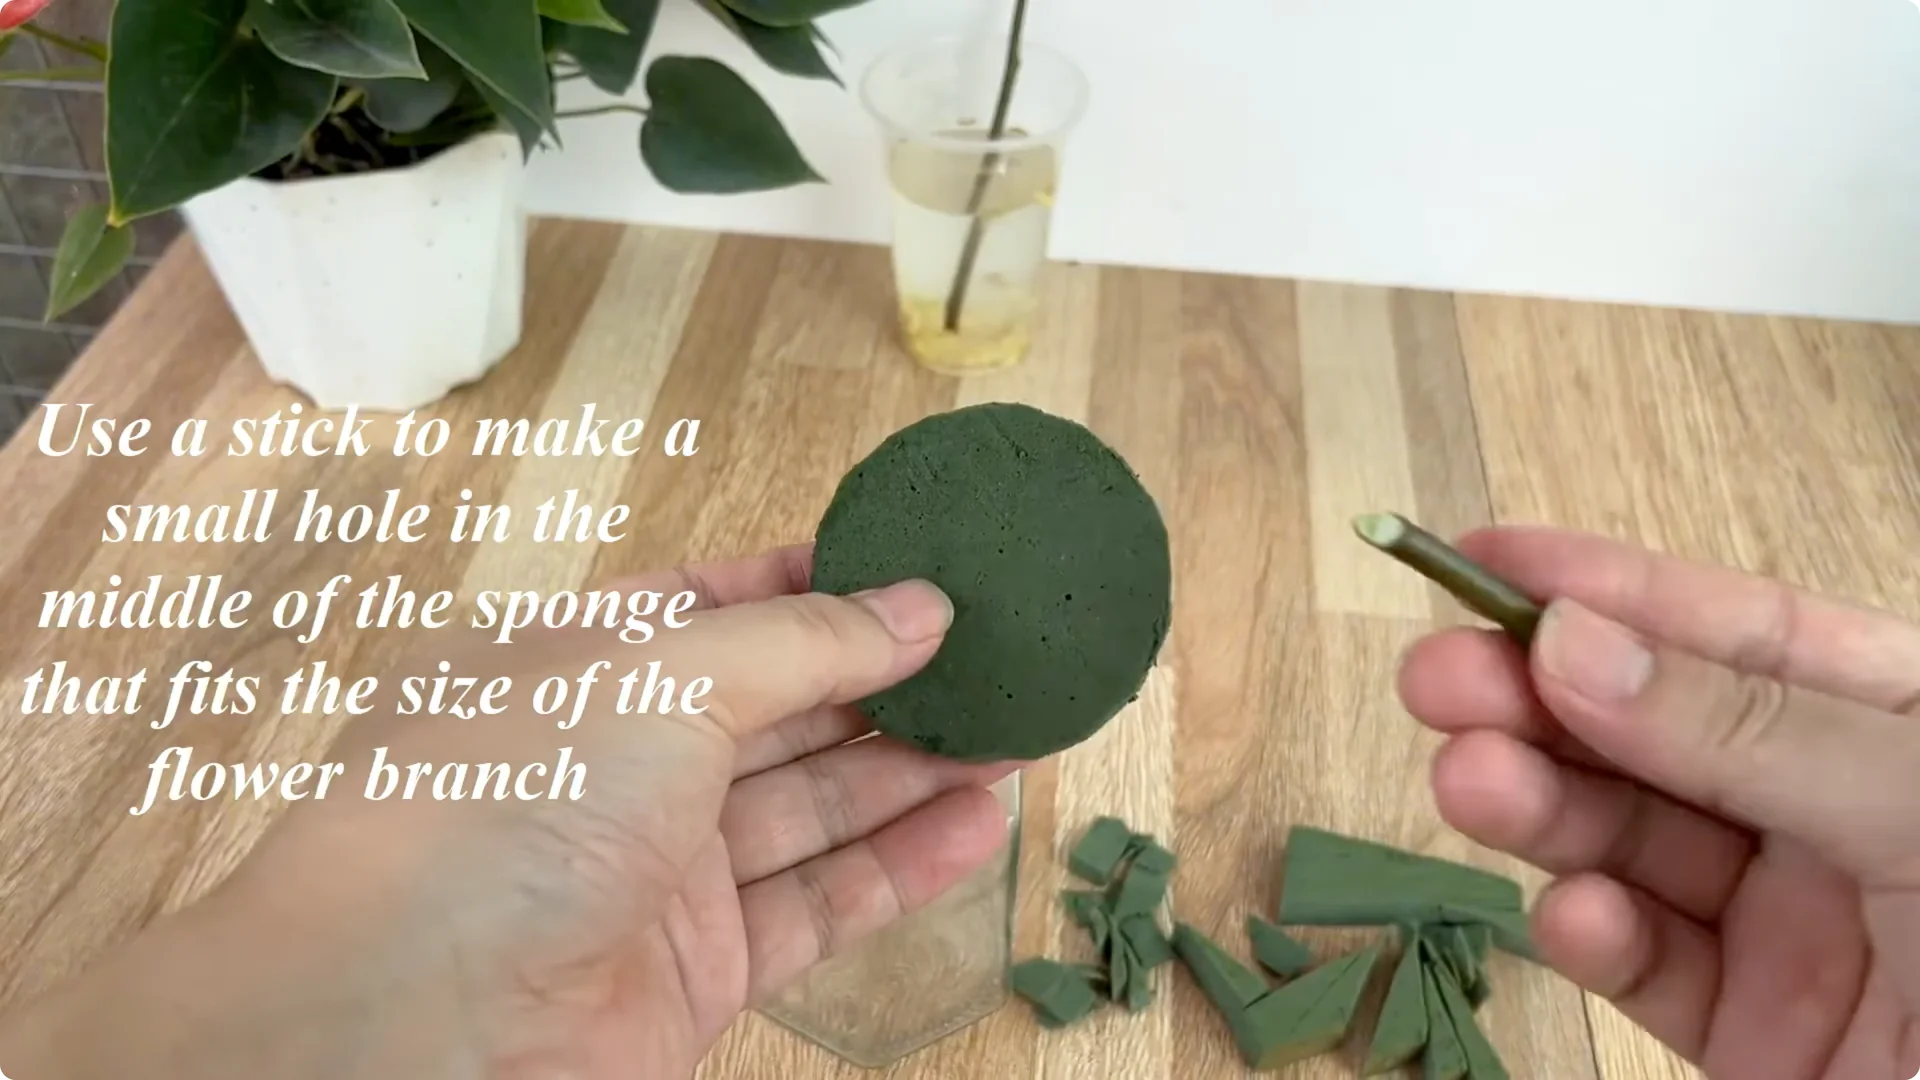
Prepare a glass jar and a piece of foam. Cut the foam so that it fits snugly into the mouth of the glass jar. Using foam has two effects, it helps to fix the branch so that it does not shake during the process, and it limits evaporation and keeps the environment in the jar stable.
Use a stick to make a small hole in the middle, enough to fit the rose branch. Keep tools clean to avoid introducing pathogens.
4. Rose Cutting Propagation Potato Solution
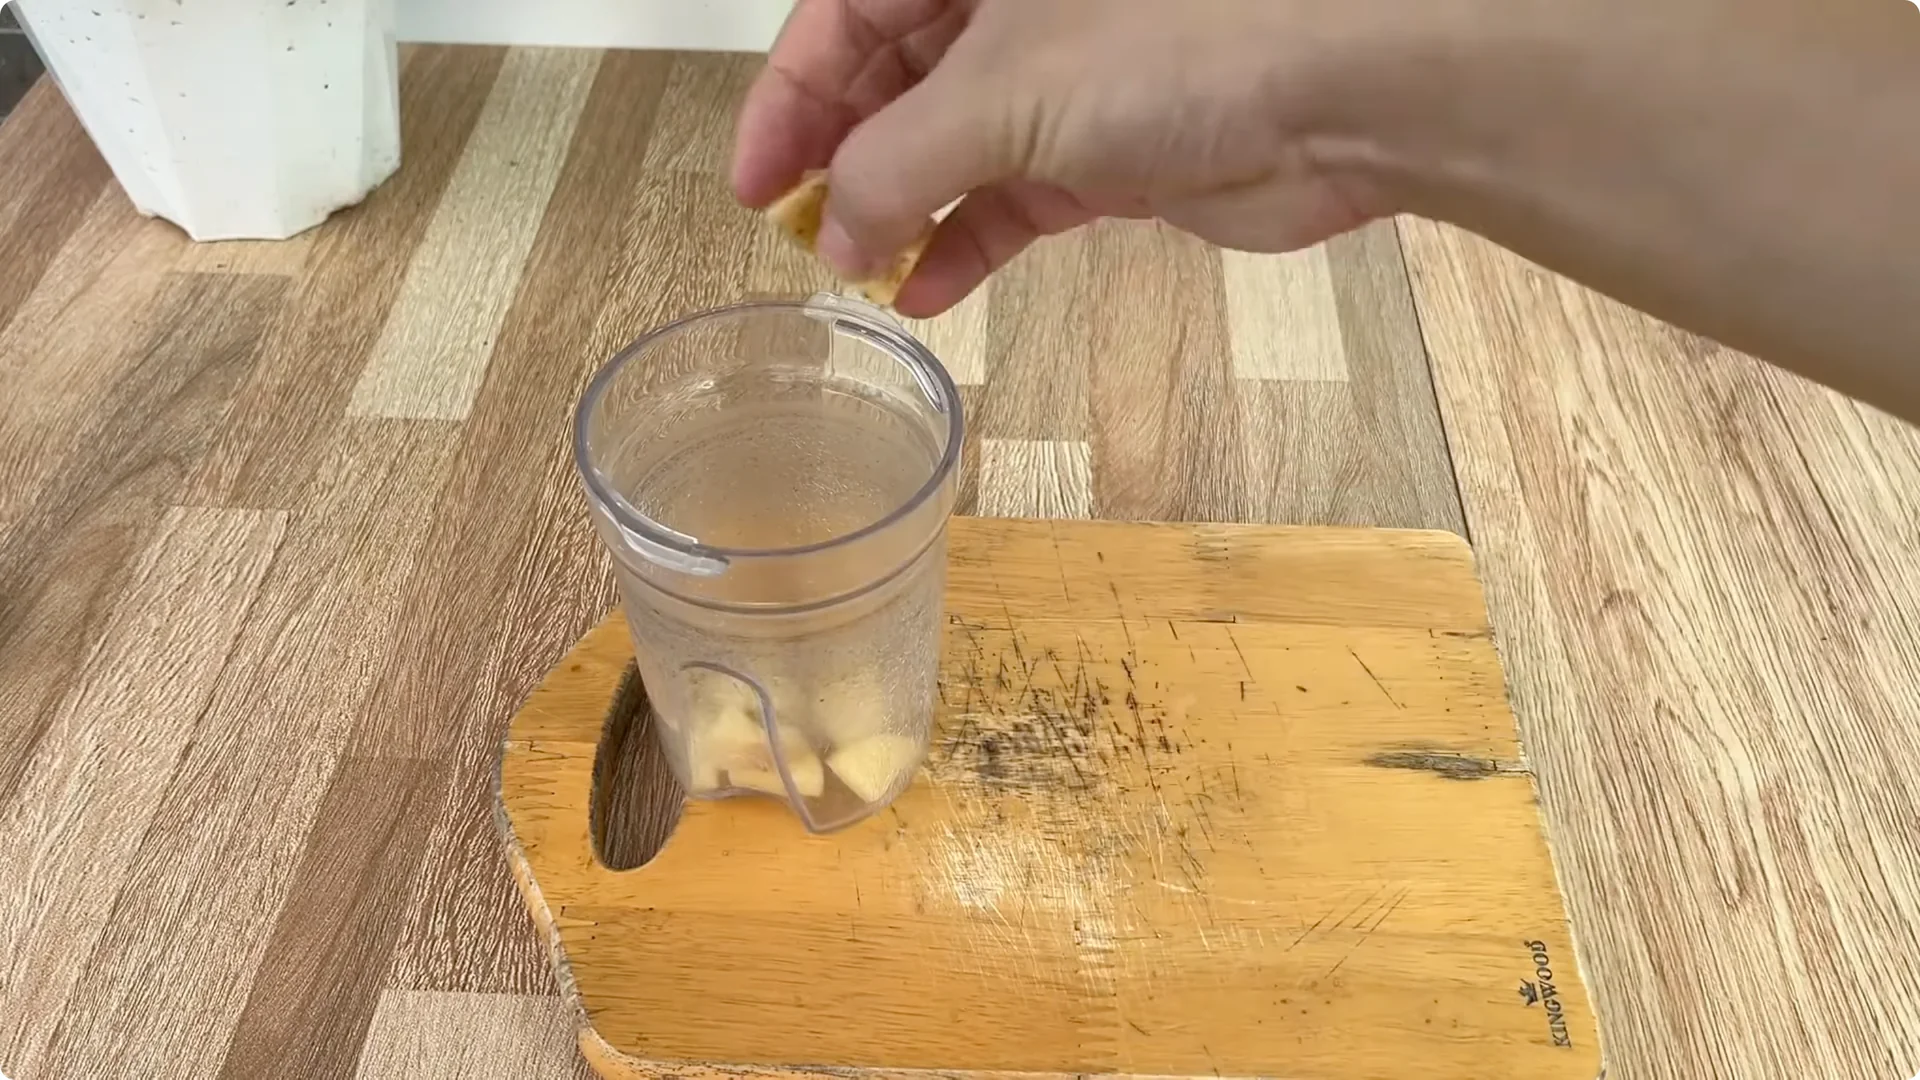
The next ingredient is potatoes. Potatoes seem to be just for food, but in fact they are a miracle drug in plant breeding. Prepare about 15 grams of potatoes, cut them into small pieces and put them in a blender.
Potatoes contain high levels of starch and many vitamins such as B1, B6, C and minerals potassium and phosphorus. These nutrients not only provide energy for the branches in the early stages, but also stimulate the growth of new roots. The starch in potatoes also acts as a reserve nutrient, nourishing young roots when they are just formed.
Add 0.5 liters of water and stir well, then filter out the pulp, keeping only the solution. Keep the mixture clean and free of debris.
5. Rose Cutting Propagation Assembly
After soaking the rose branches for enough time in the ginger and aloe vera solution, take the branches out. Filter out the pulp to collect a clear solution, then continue mixing with the prepared potato solution. This combination creates a nutrient rich environment that is both antibacterial and moisturizing and provides energy to the branches.
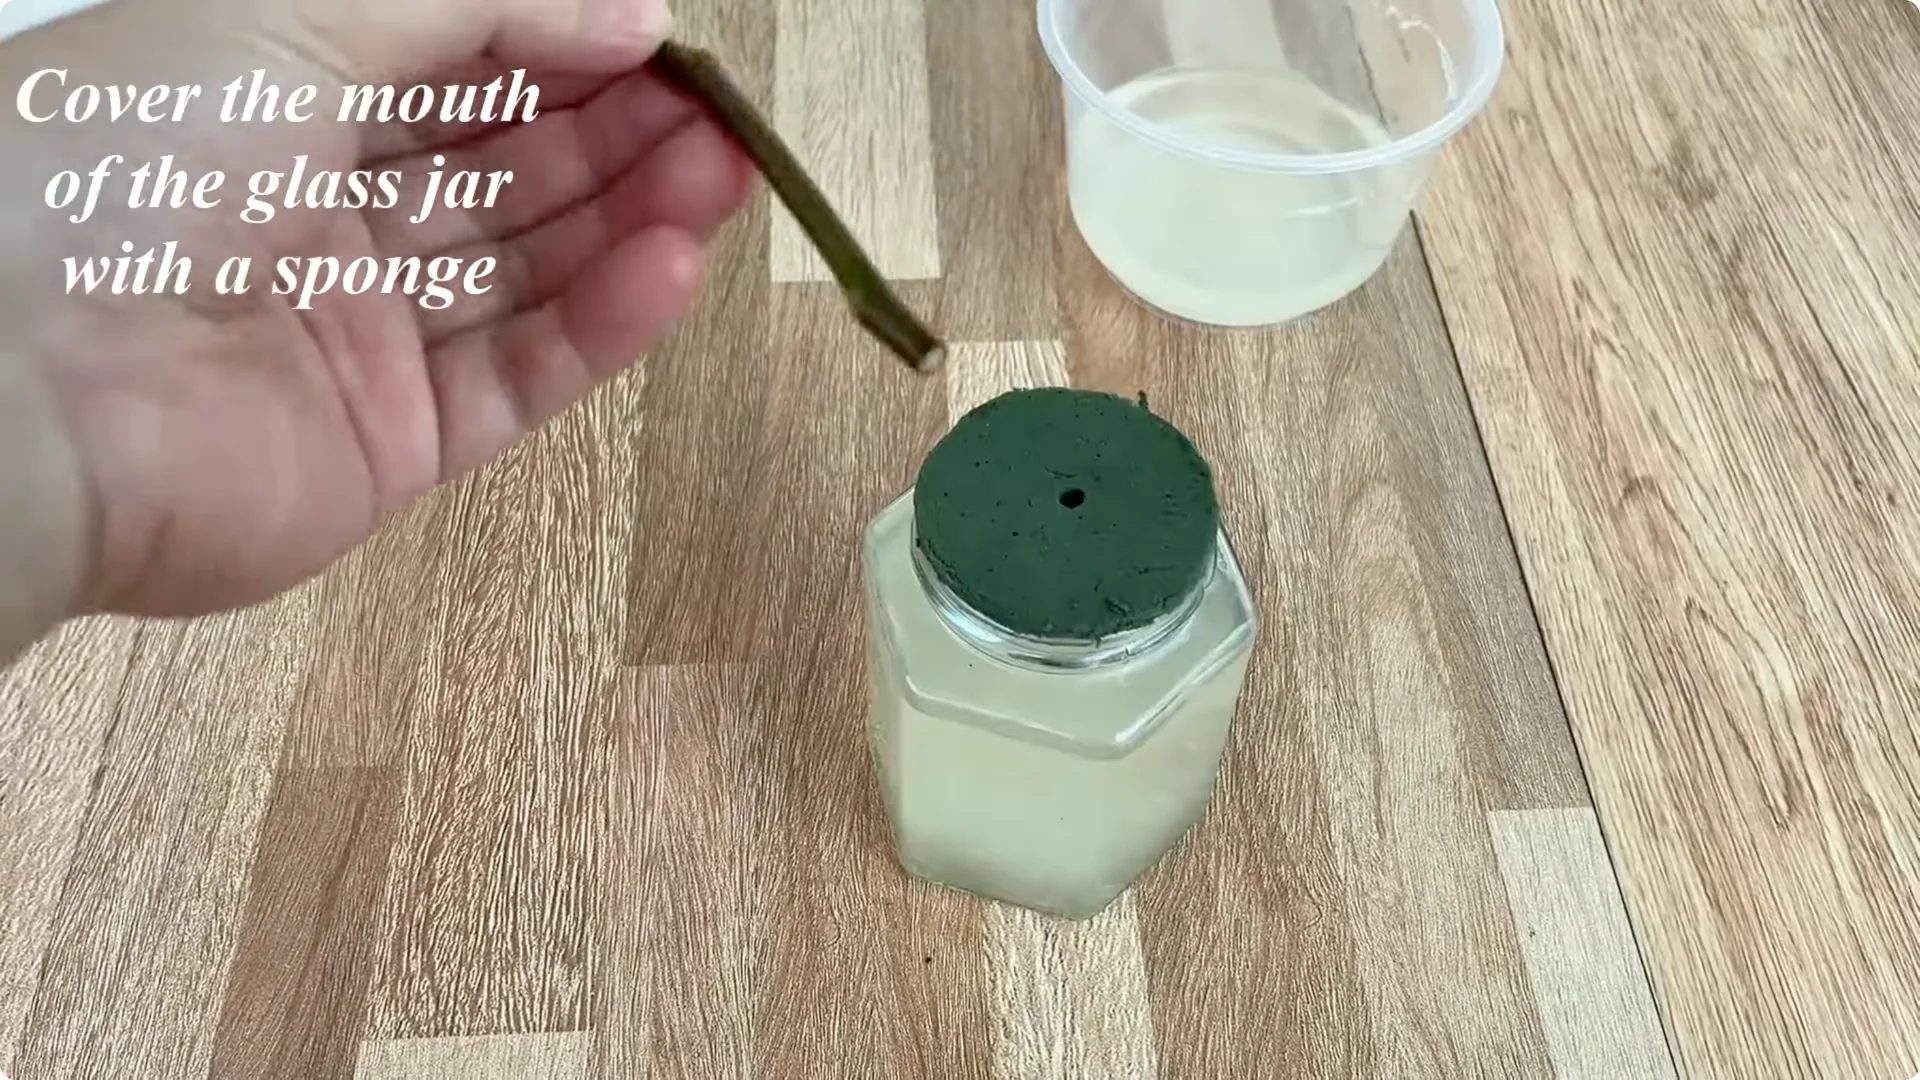
Pour the solution you just obtained almost full into the glass jar. Place the sponge on the mouth of the jar and then insert the rose branch into the middle hole so that the stem is deeply immersed in the solution. This method keeps the branch in constant contact with the nutrient solution and prevents oxidation at the cut.
If you prefer a compact cup setup that supports rooting and bloom, see this simple cup setup. Keep the cutting stable and avoid shaking the stem.
6. Rose Cutting Propagation Moisture Control
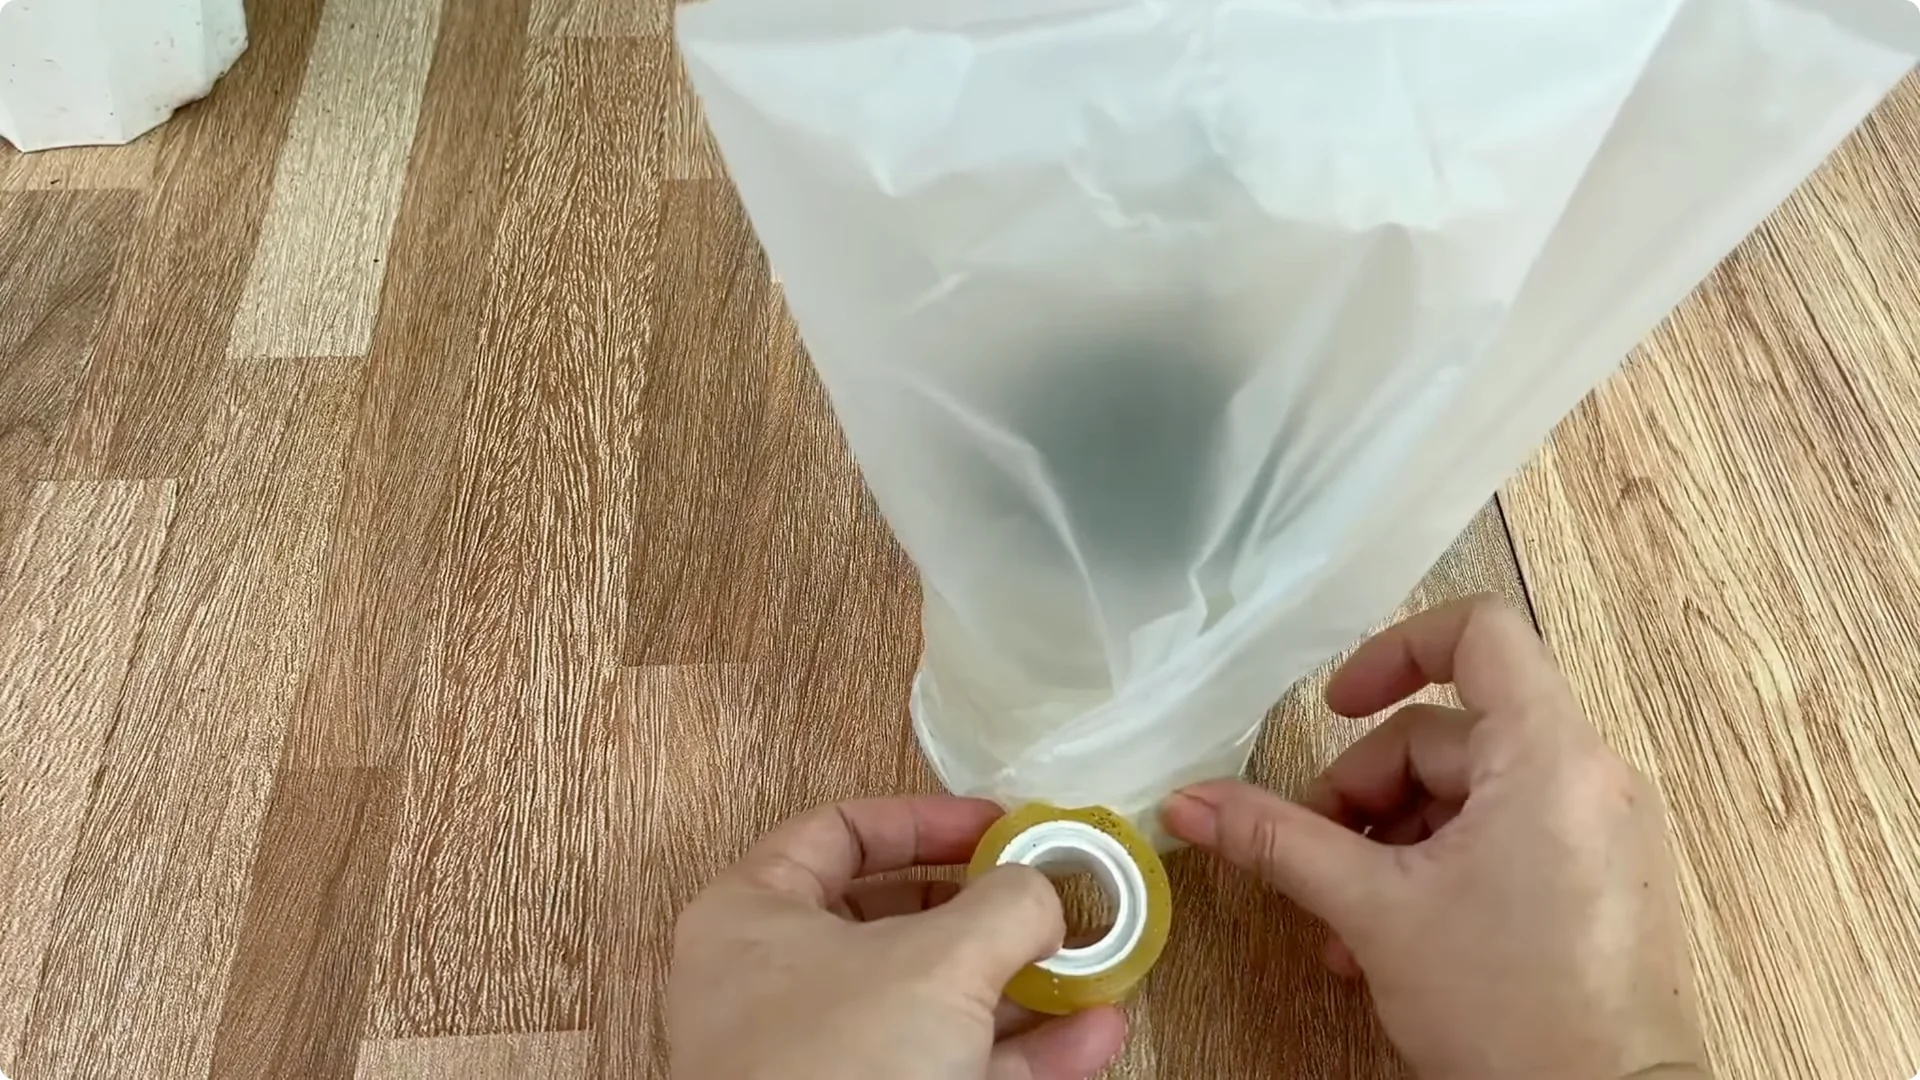
Use a plastic bag or transparent plastic cup to cover the mouth of the jar to keep it moist. Place the jar in a cool place, away from harsh sunlight or direct wind. Maintain a stable environment to protect the tender tissue at the base.
7. Rose Cutting Propagation Results and Potting
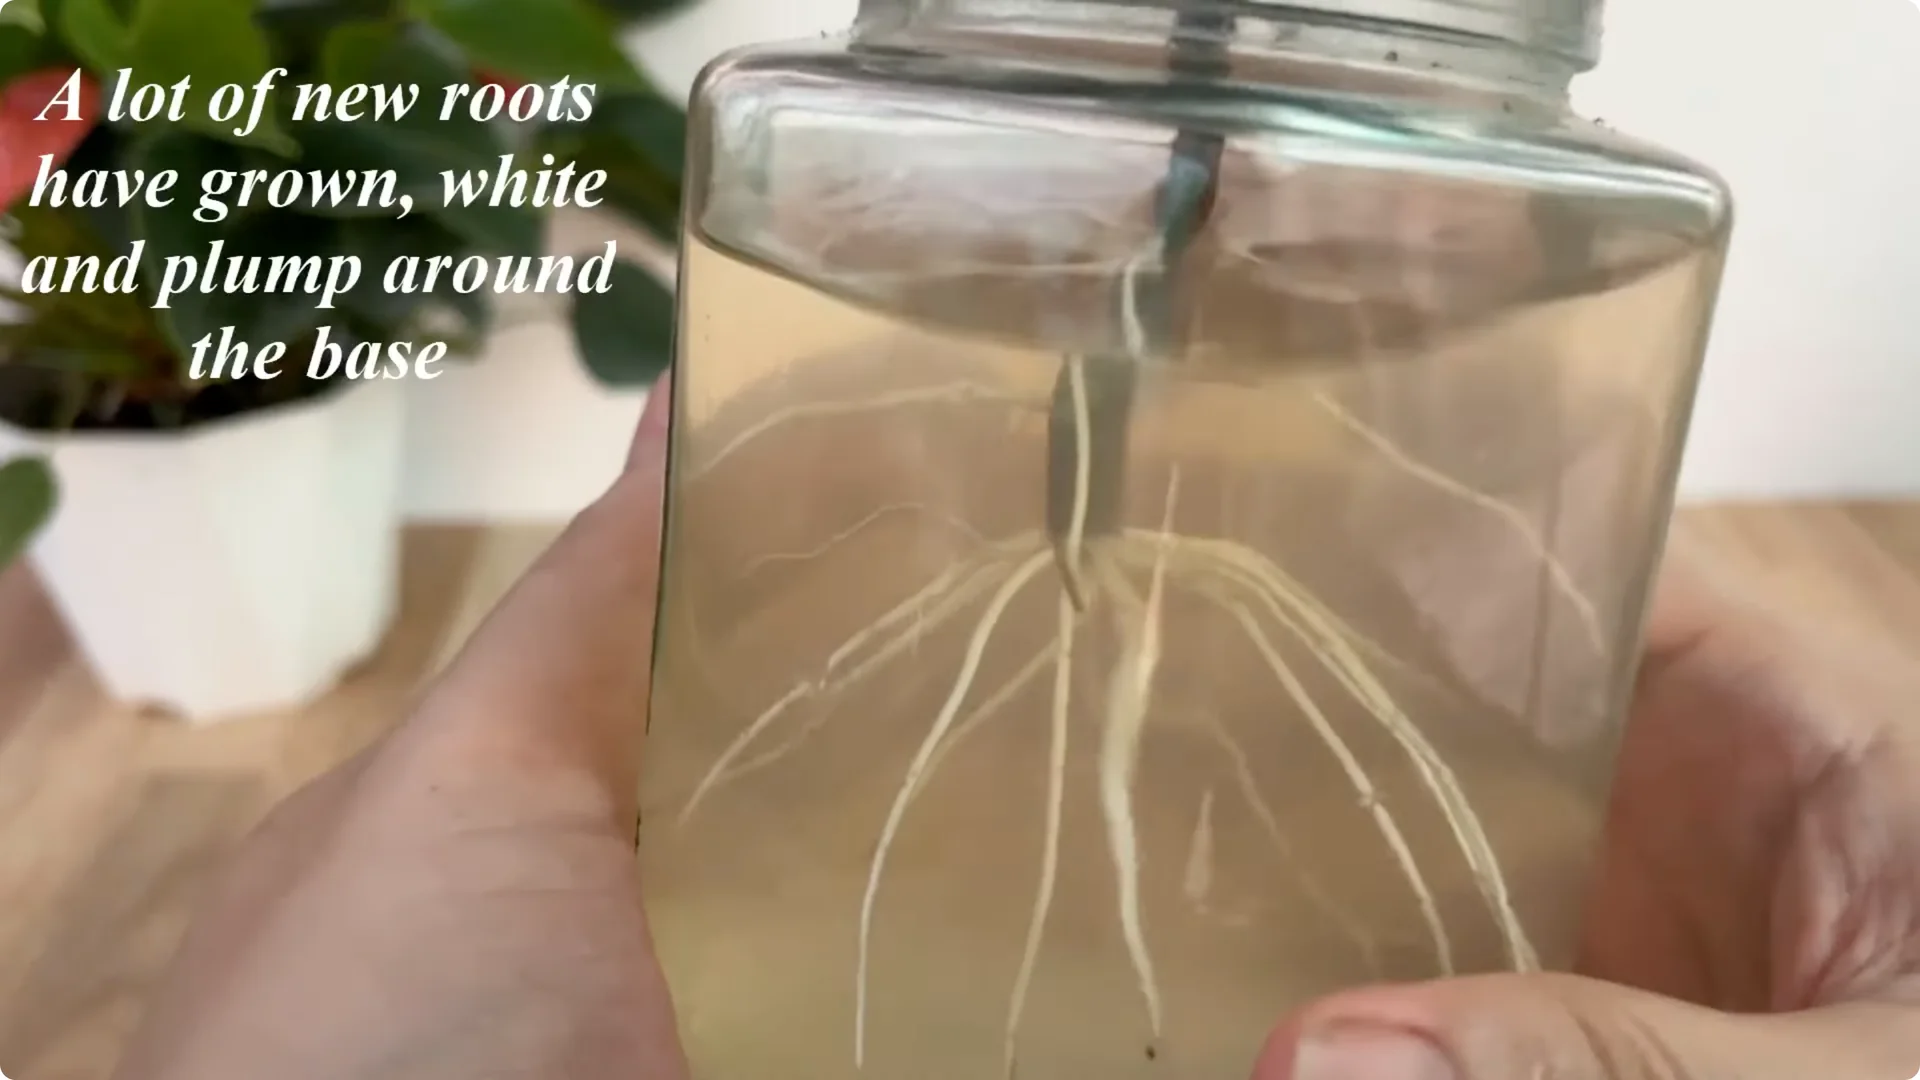
The results after 10 days will surprise you. The rose branch begins to grow healthy green shoots, and at the same time, many new white, plump and strong roots appear at the base. This is a clear sign of success, proving that this method is completely feasible.
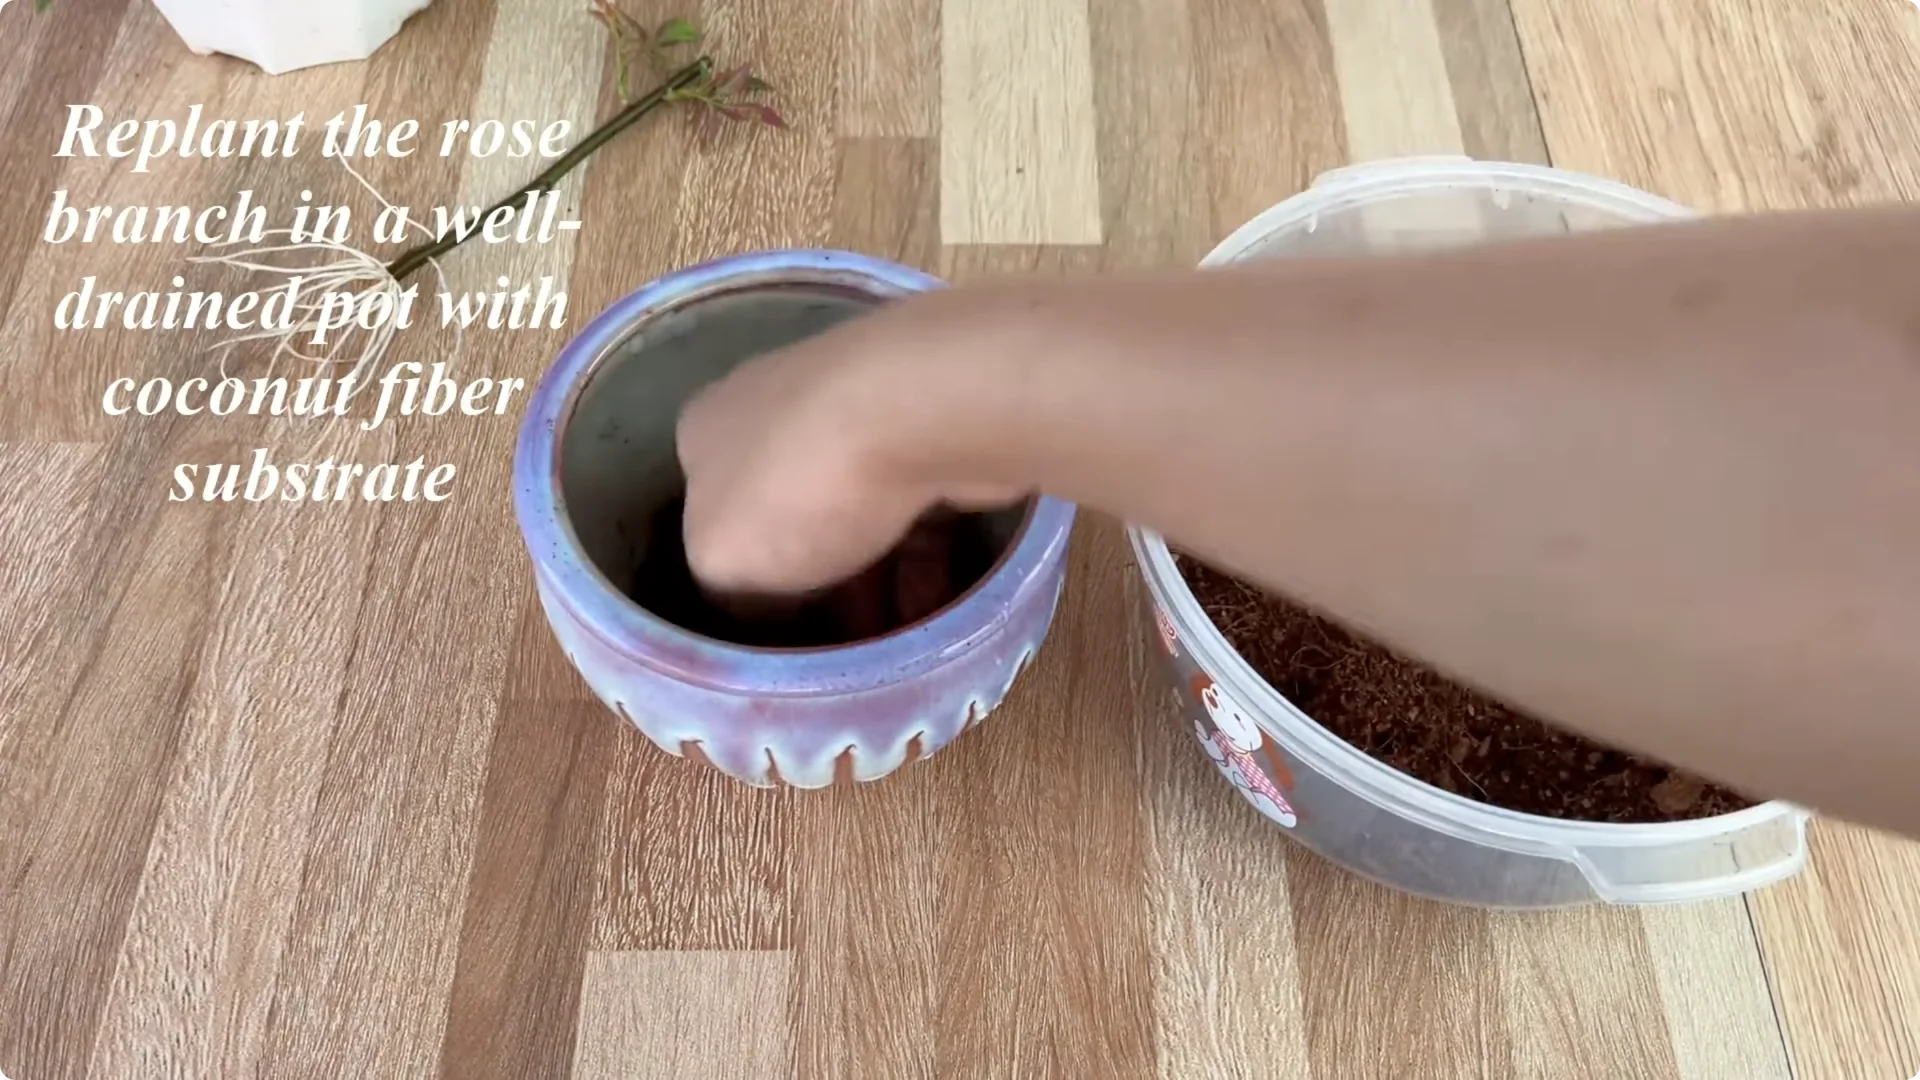
At this point, you can gently plant the branch in a pot with a well drained substrate, usually coconut fiber mixed with rice husk ash or perlite, to ensure sustainable root development. For a related technique that encourages quick rooting and visible bud formation, explore this thin slice method.
Final Thoughts on Rose Cutting Propagation
We have completed a simple, safe and extremely effective rose propagation process together. With just familiar ingredients in the kitchen, you can create a natural cutting environment, helping roses to root quickly without the need for chemicals. Keep the steps clean, stable and well hydrated for the best results.
About The Author
The Beginner’s Rose Propagation Starter Kit 🌹
A simple printable PDF guide to help you root rose cuttings successfully.
Get The Guide →