Welcome to the garden where each flower tells its own story where you can pause breathe and feel the natural beauty around you. Today I will continue to guide you on how to repot and care for orchids, helping the plant grow strongly from roots to leaves, ready to bloom all year round.
1. Orchid Repotting and Care basics
When growing orchids, if you notice the roots growing strongly but the pot is too small, this is a sign that the plant needs more space to grow fully and healthily.
Repot immediately so the plant has more space to grow well. The roots are well ventilated and absorb nutrients effectively, helping the orchids stay healthy and bloom more beautifully.
You can see many new roots growing. If you do not repot in time, these roots can easily rot because the pot is too tight, limiting the plant growth.
2. Orchid Repotting and Care preparation
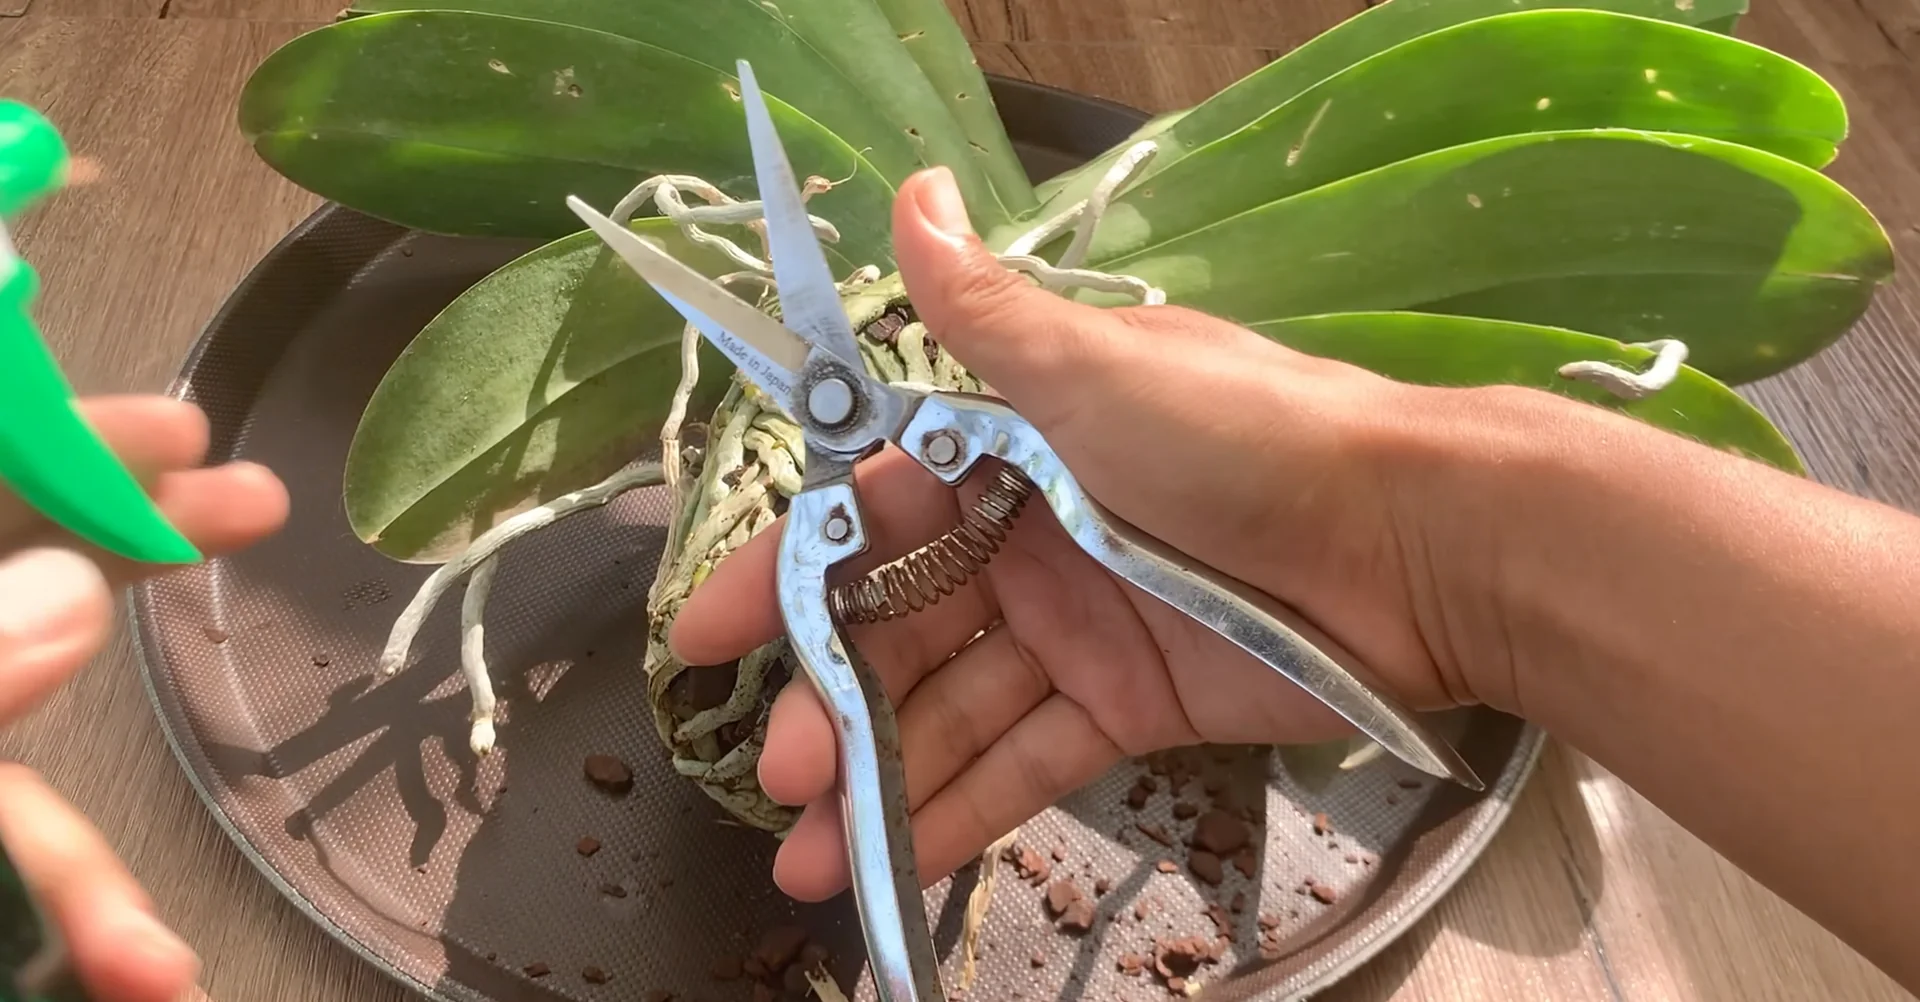
Before planting the orchid in a new pot, cut off the damaged roots. Sterilize the scissors with 90 percent alcohol to ensure safety and prevent infection for the plant.
Cutting off the damaged roots helps the plant focus nutrients on the healthy roots, prevents fungal diseases, and creates conditions for the orchid to grow more strongly.
Remove all the old growing medium because it may have lost nutrients, retain too much moisture, or contain pathogens affecting the healthy growth of the orchid. Then rinse thoroughly with water to ensure there is no dirt or impurities on the roots, helping the orchid be ready to adapt to the new growing medium.
Let the roots air dry naturally for a while.
Disinfecting roots and leaves
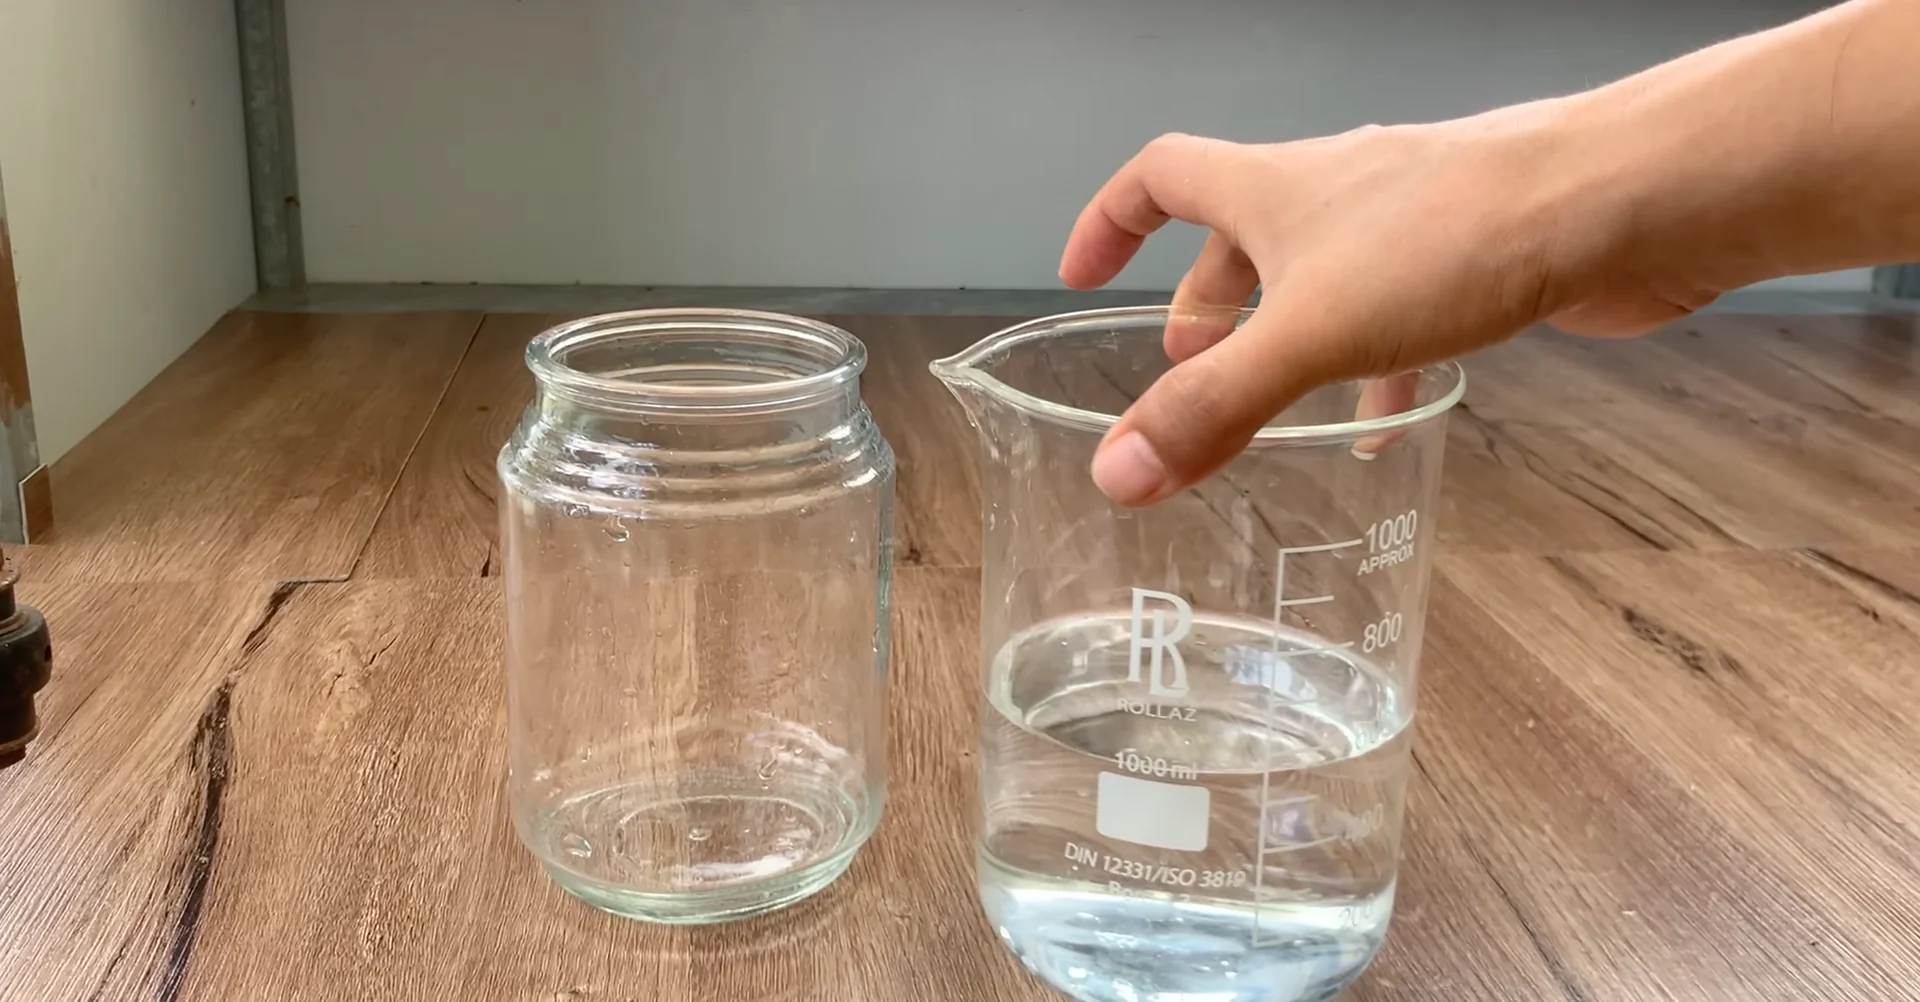
Take 1 liter of clean water into a container, ready to prepare the disinfecting solution ensuring safety and preventing harmful bacteria for the orchid.
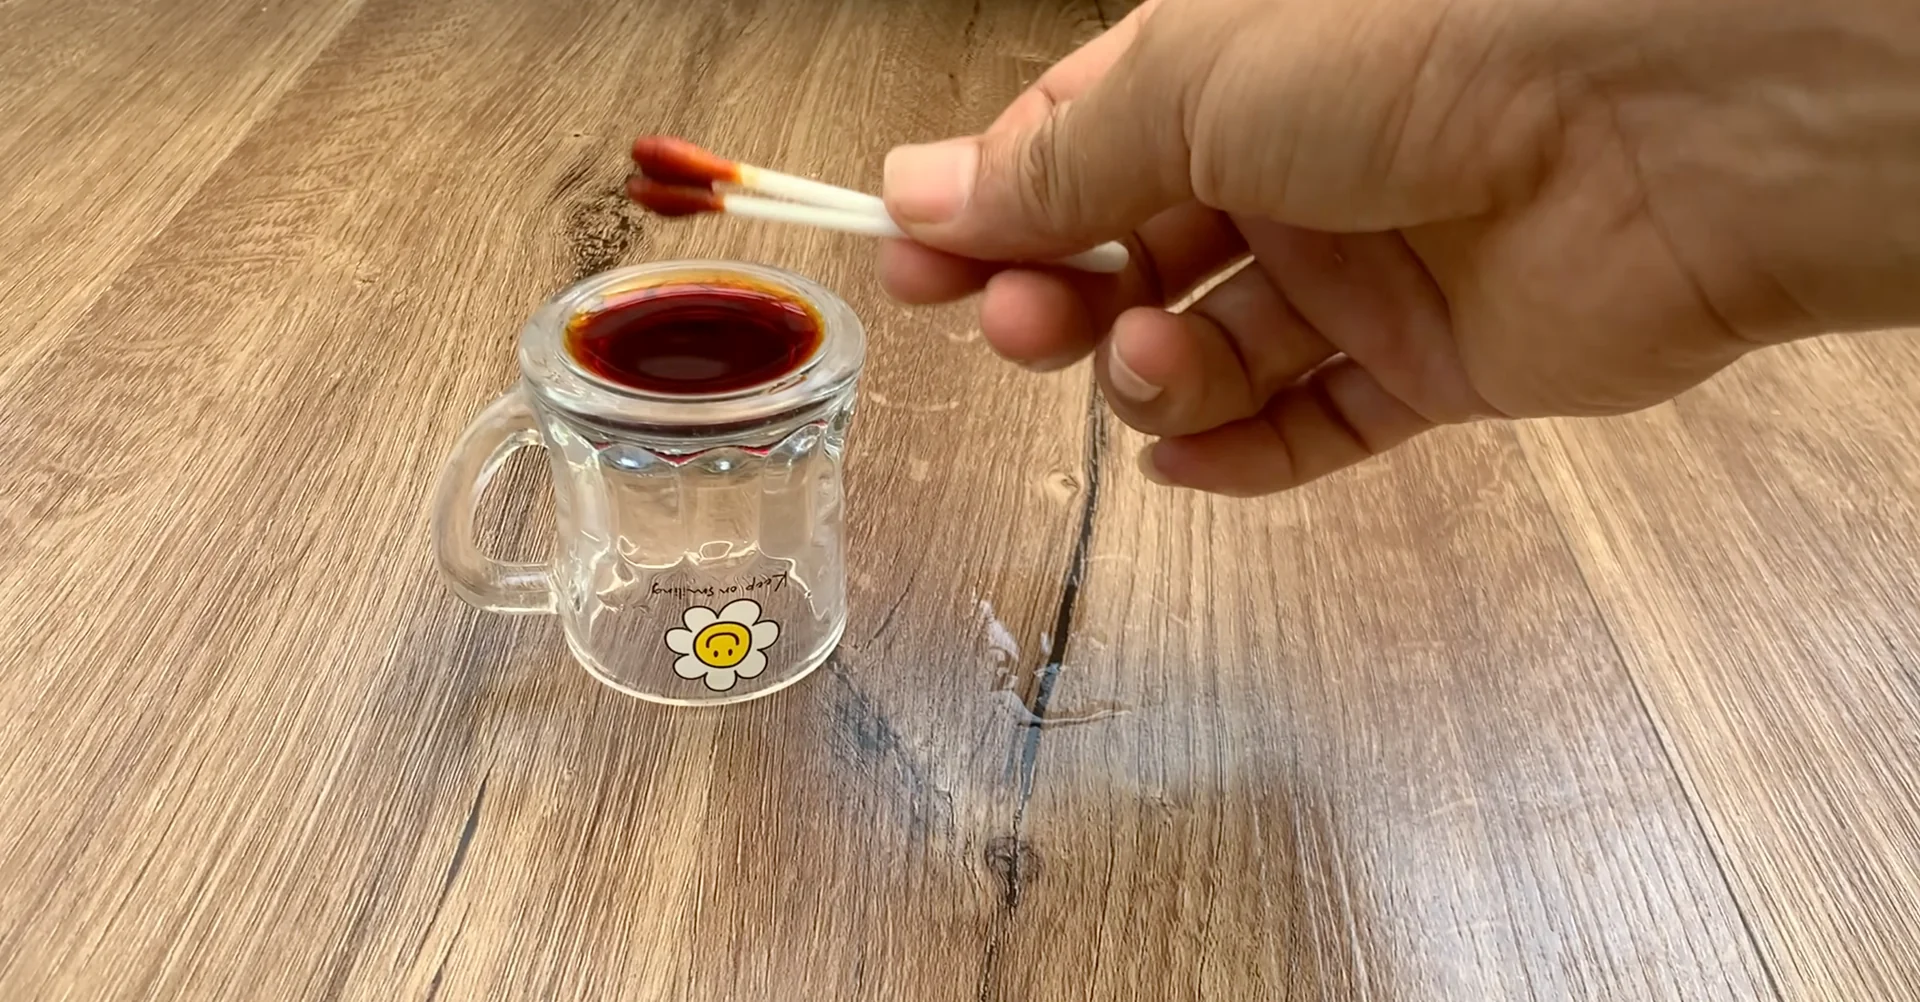
Here is iodine alcohol used to disinfect the roots and tools, helping prevent fungal diseases and protect the orchid health. Add 6 drops of iodine alcohol into the water container and stir well to create a mild disinfecting solution safe for the orchid roots.
Pour this solution into a container and soak the orchid roots for about 20 minutes. Soaking the roots helps remove bacteria and fungal pathogens, cleanse the roots, and creates conditions for the orchid to absorb nutrients more effectively after repotting.
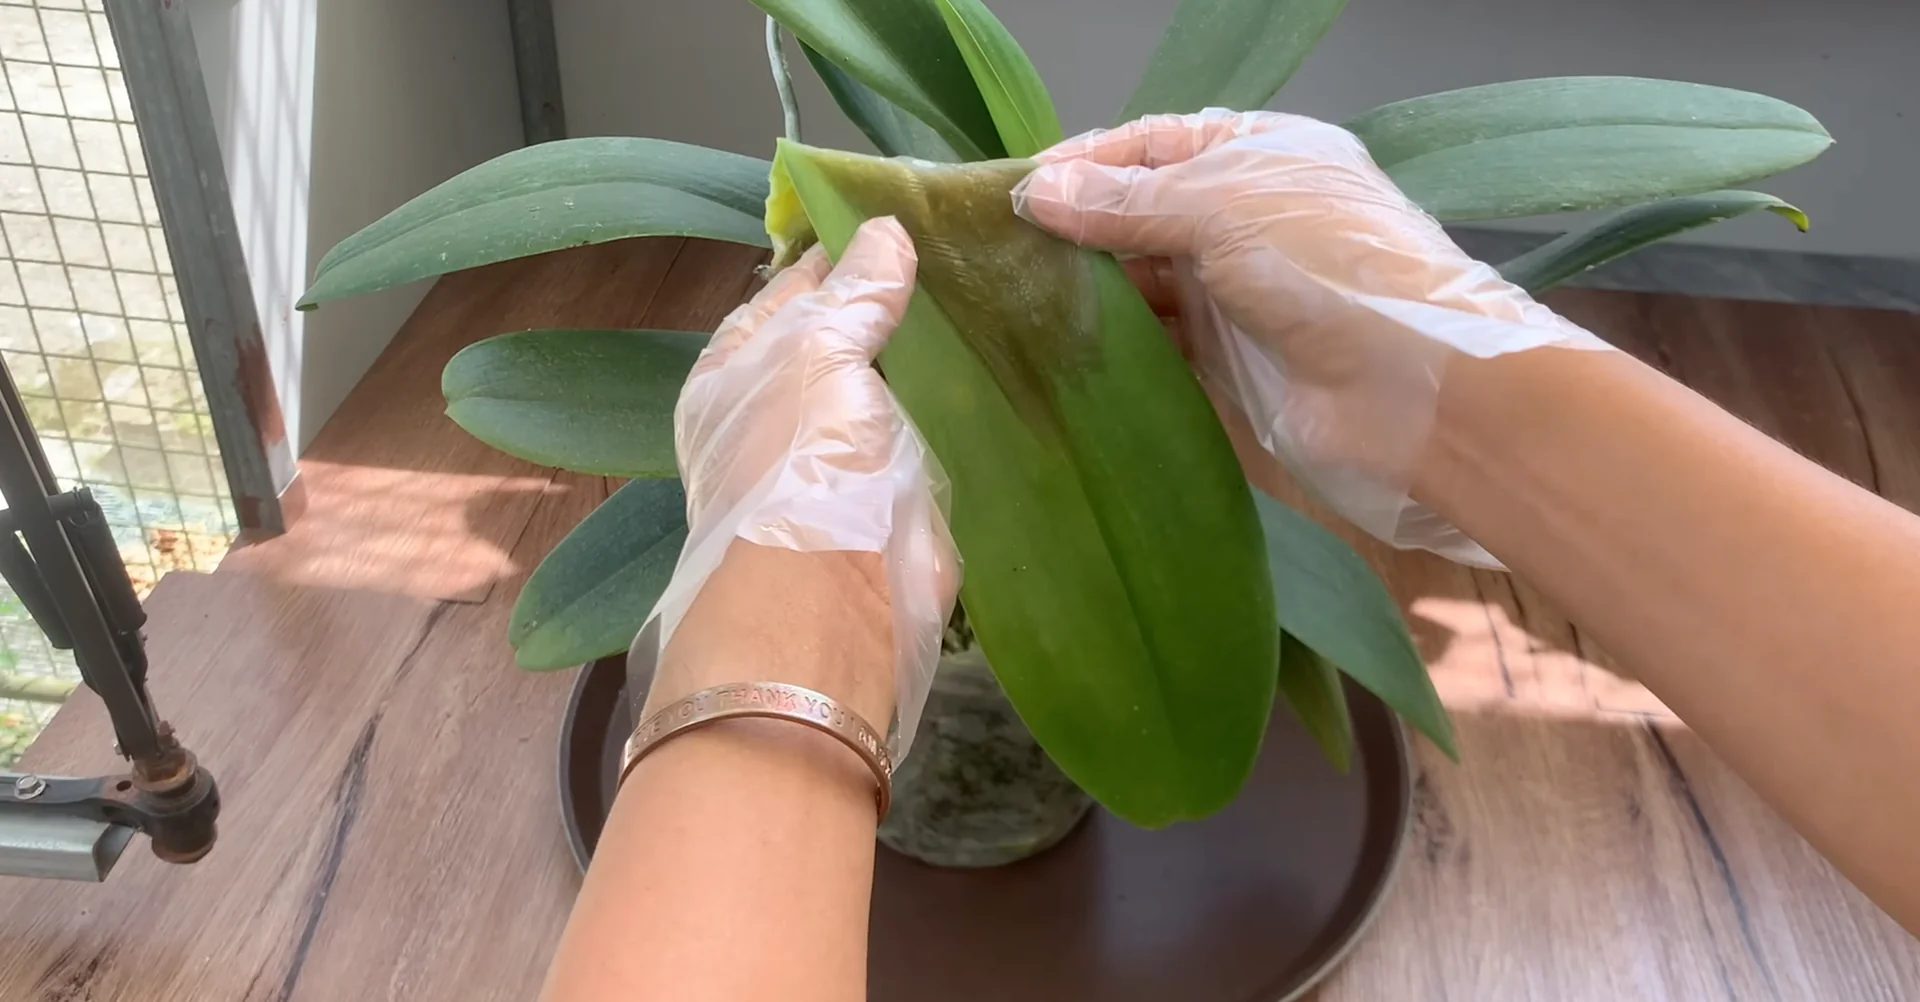
Use a soft cloth to soak up the solution and gently wipe both the top and bottom surfaces of the leaves. Wiping the leaves helps remove dirt, bacteria, and fungal pathogens on the leaf surface, preventing harmful issues for the plant and keeping the orchid leaves clean.
Clean leaves absorb light better and help the plant perform photosynthesis effectively, thereby supporting growth and flowering. Shiny and clean leaves not only make the plant more beautiful but also indicate good health.
Pot and aeration
Choose a pot of appropriate size with drainage holes, ensuring the orchid roots have space to grow and preventing water logging.
After soaking for about 20 minutes, gently take out the roots and plant the orchid in the new pot, helping the plant adapt to a clean environment and absorb nutrients better.
Insert a few pieces of foam around the roots and at the bottom of the pot to increase aeration, preventing the roots from water logging and creating a good growing environment for the orchid.
Growing medium and first day
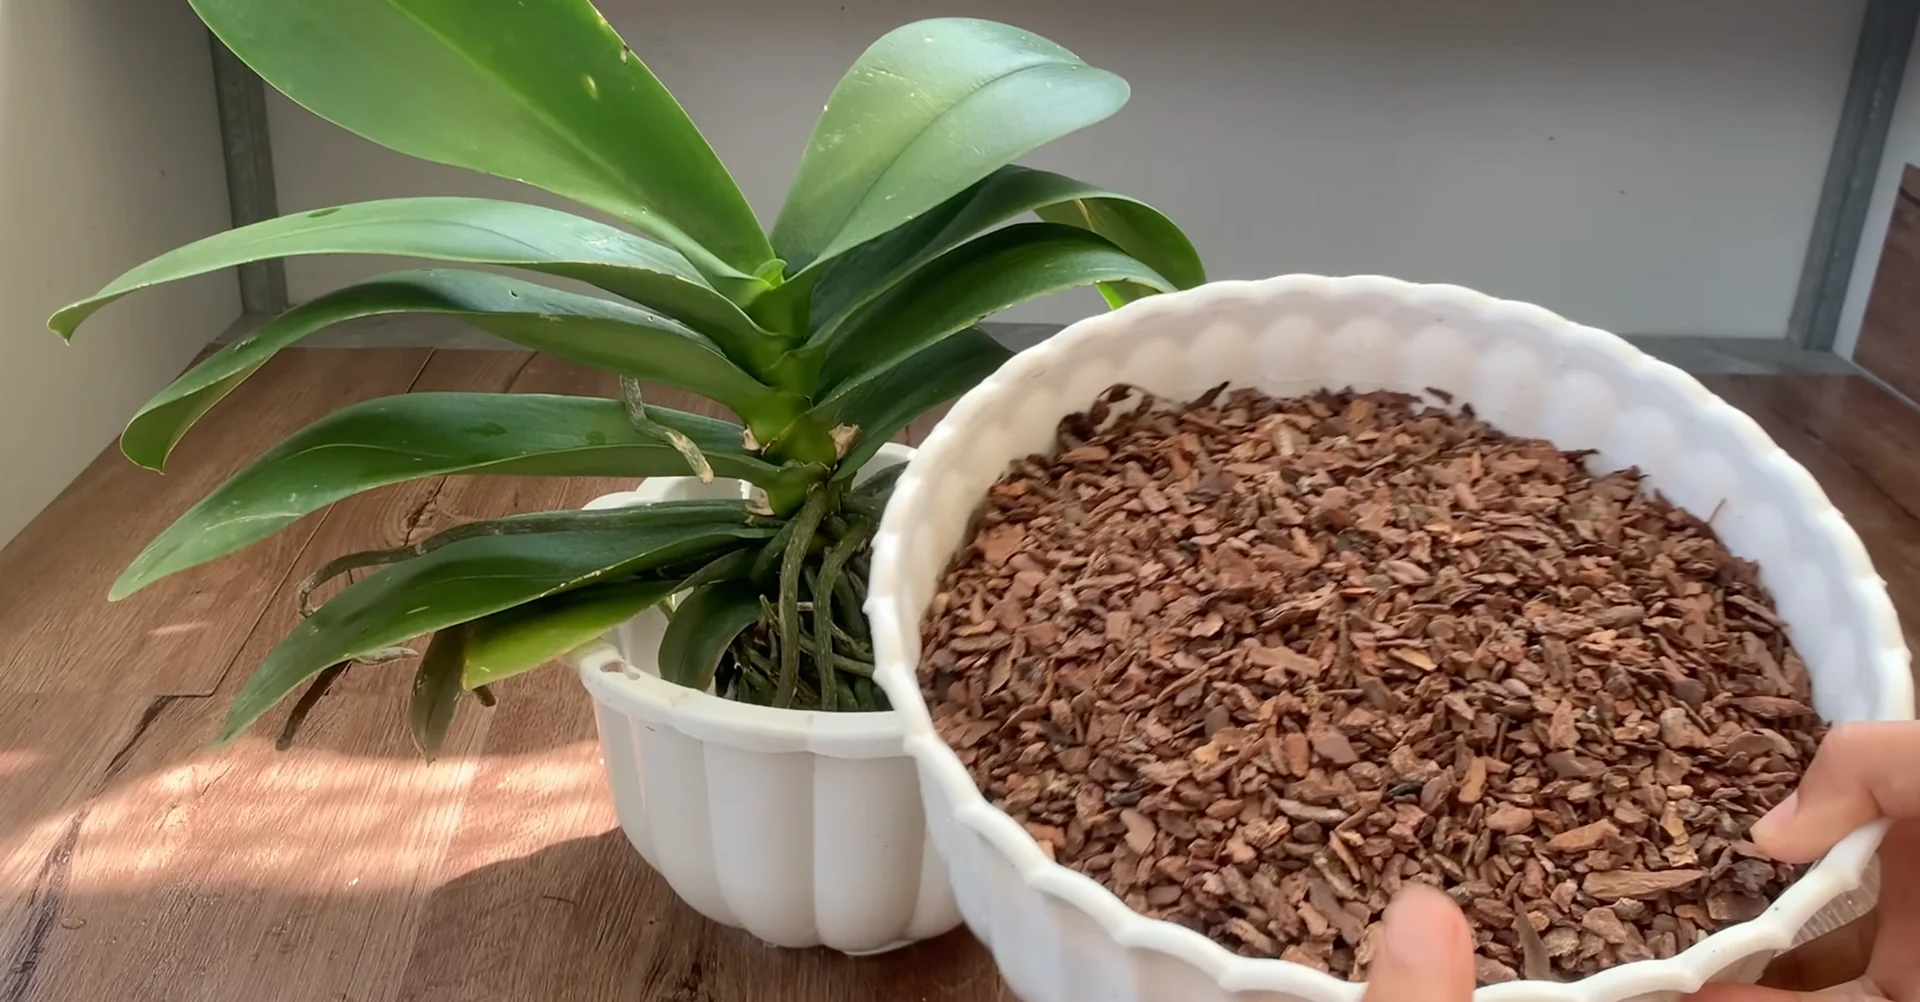
Regarding the main growing medium for orchids, I always prioritize choosing sterilized pine bark, which helps the roots stay aerated, absorb nutrients well, and reduces the risk of fungal diseases.
Spread a little moss over the surface of the growing medium to retain moisture, create a natural environment, and help the orchid grow healthily.
Place the orchid pot in a cool airy spot for about 1 day without watering, allowing the plant to adapt to the new pot and the roots to stabilize before absorbing nutrients.
3. Orchid Repotting and Care for leaf rot
Isolate and remove problems
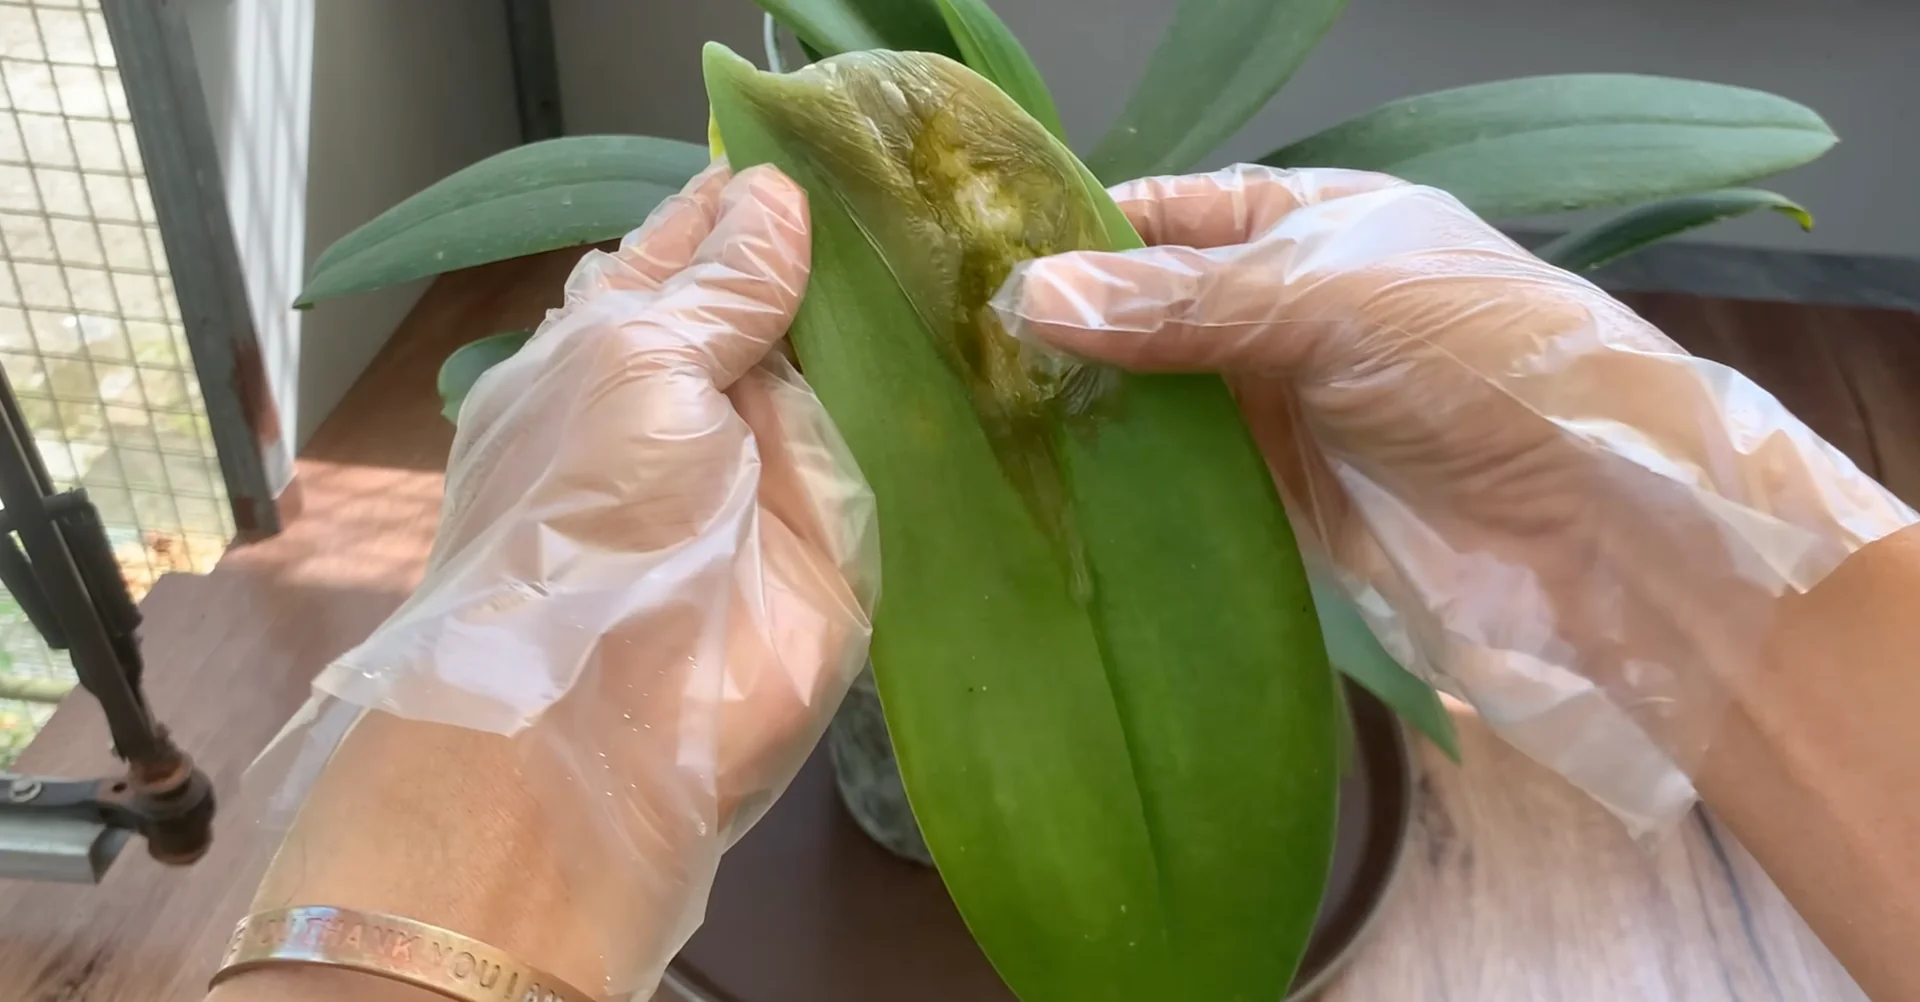
For orchids with leaf rot caused by fungi, the main reason is usually that the roots are cramped and do not drain well, allowing fungi to grow and attack the leaves.
Rotten leaves contain many fungal pathogens, so they need to be removed immediately, and the orchid pot isolated from other plants in the garden to prevent spreading.
Clean and assess roots
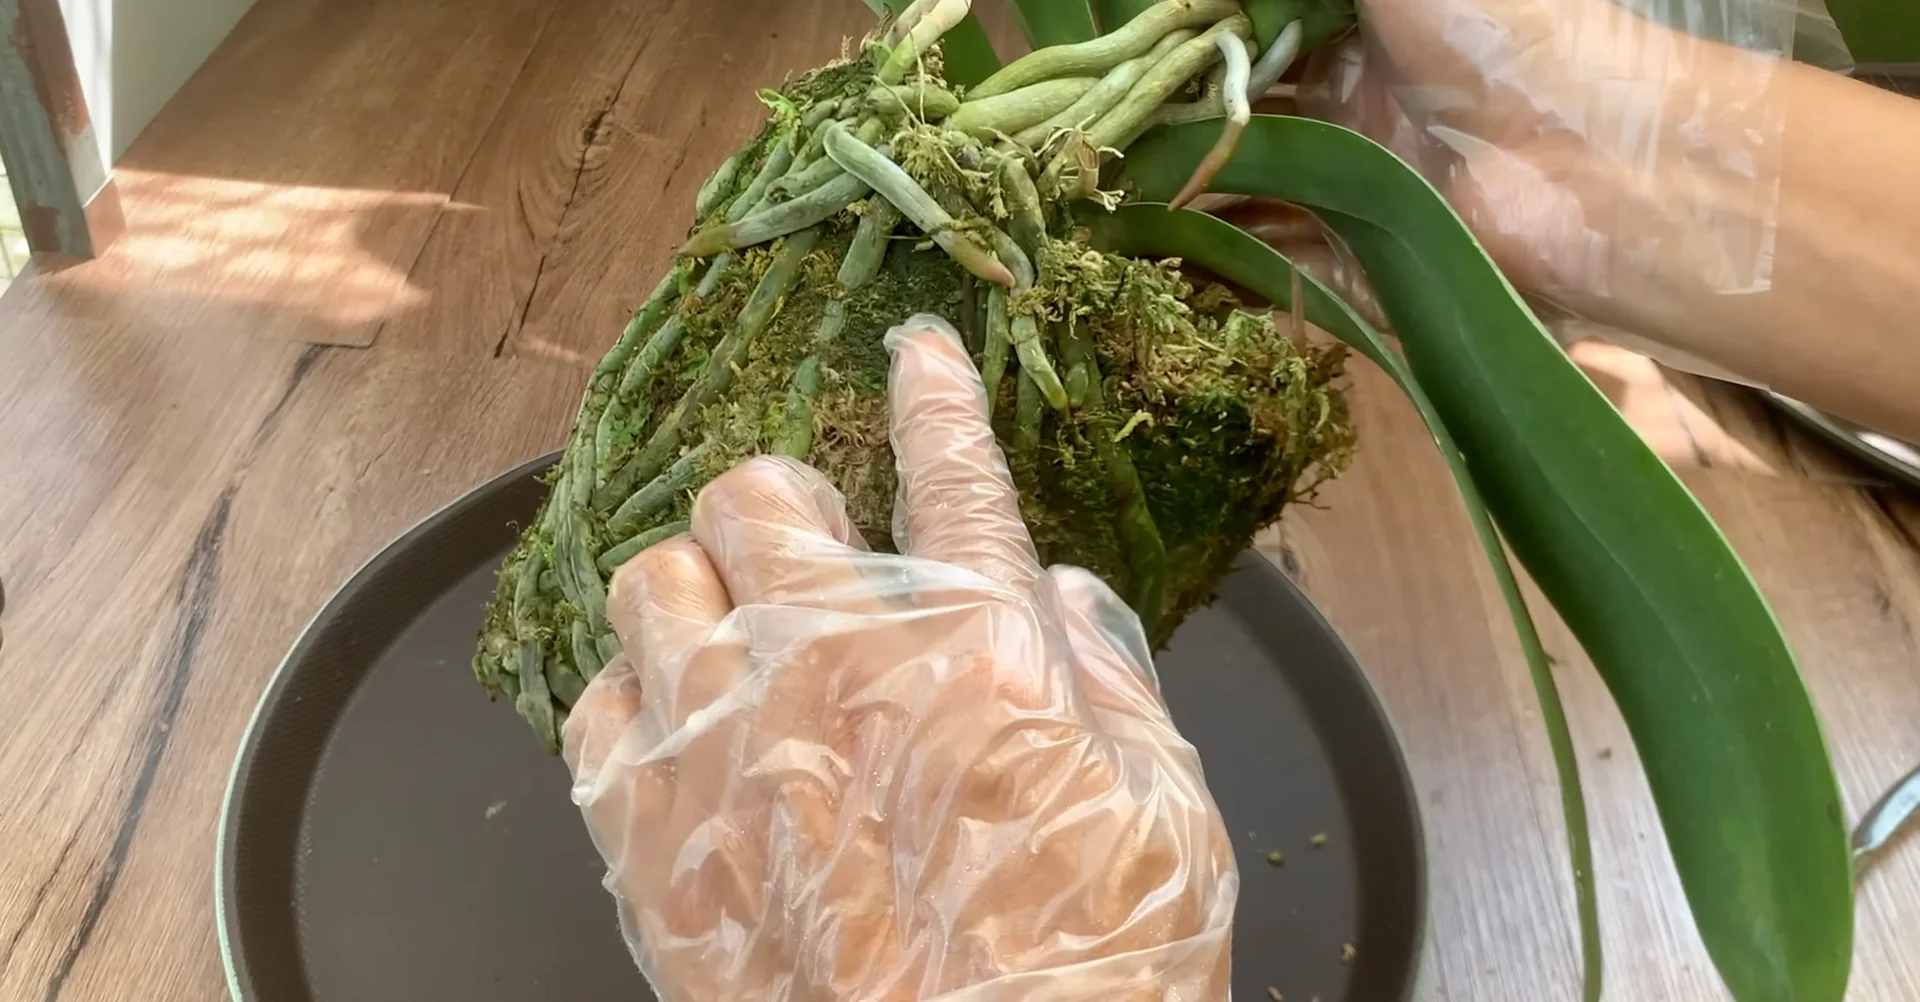
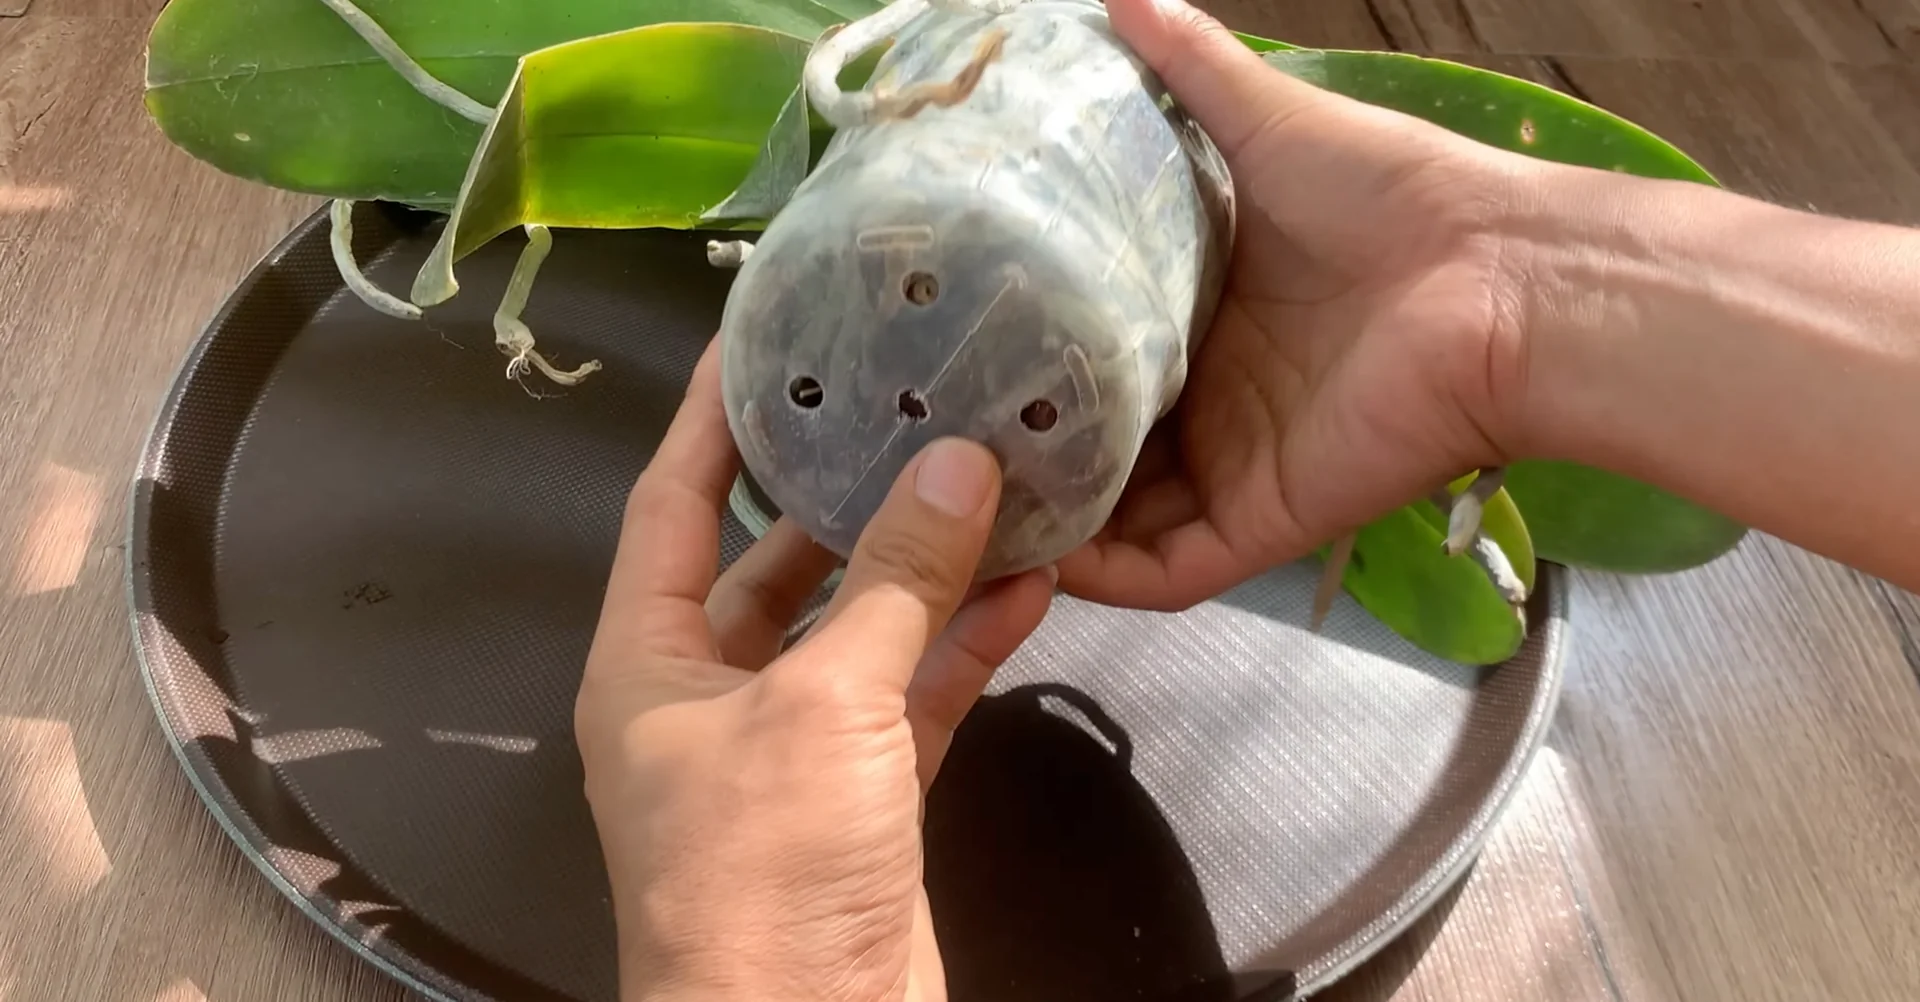
Remove the old pot to completely get rid of the old growing medium and any environment that may contain fungal pathogens, preparing for repotting the orchid in a new pot.
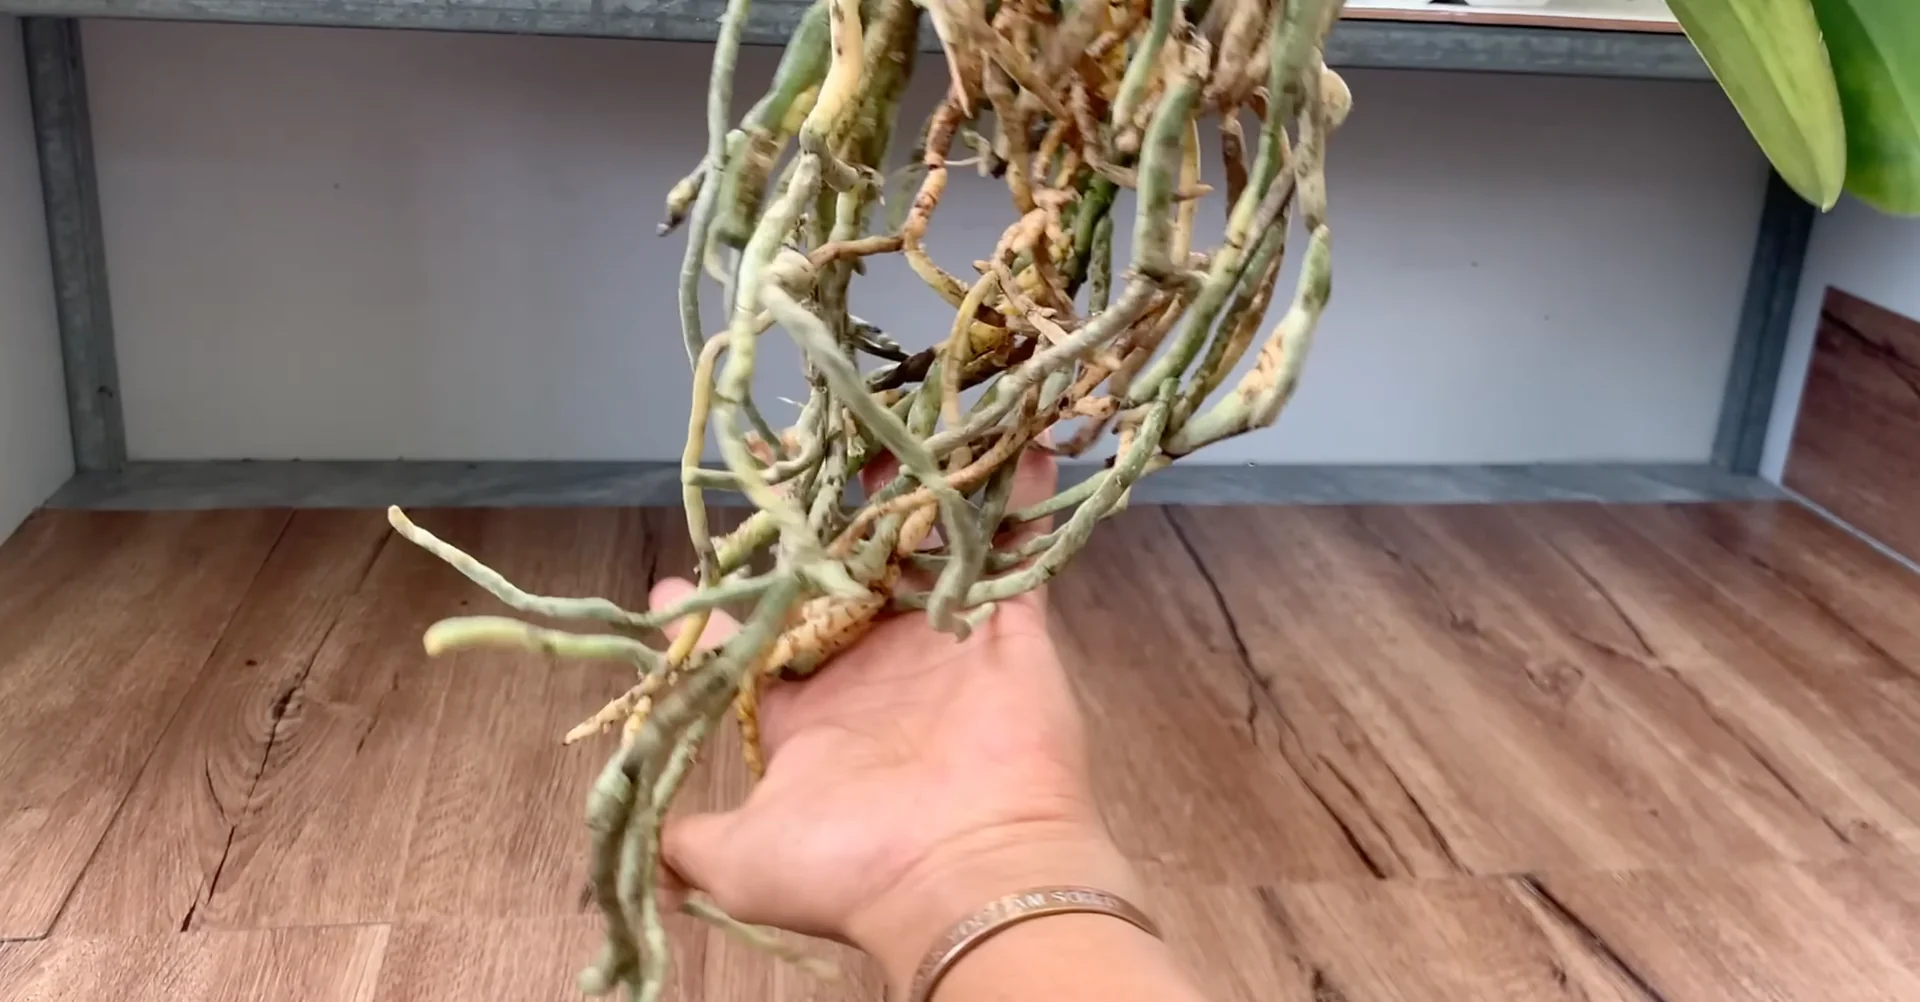
You can see that the roots have started to show black spots, which are signs of damaged or diseased roots that need to be treated promptly to prevent spreading.
Old growing medium often loses nutrients, becomes compacted, and retains too much moisture, causing orchid roots to rot easily and limiting growth.
Trim and dry
Cut off the damaged roots to remove the rotten or weak parts, helping the plant focus nutrients on the healthy roots and grow better.
Rinse the roots with water to remove dirt and any remaining pieces of old growing medium, helping the orchid roots stay clean before repotting.
Use a dry cloth to soak up all the water on the leaves and roots, helping reduce excess moisture and minimize the risk of root rot before repotting.
Place the orchid in a cool airy spot to prepare for treating wounds on the leaves, helping them recover and preventing infection.
Disinfect leaf wounds
I use iodine alcohol to treat wounds on the orchid by mixing 1 teaspoon of iodine alcohol with 1 teaspoon of clean water, creating a diluted solution safe for the leaves and roots.
Use this mixture to apply directly to the wounds on the orchid, helping disinfect, prevent fungal infections, and support faster leaf recovery.
The solution helps clean and protect the wounds, creating conditions for the leaves and plant tissue to recover quickly, maintaining the overall health of the orchid.
Place the orchid in a cool airy spot for about one day to let the cuts dry naturally, helping prevent fungal infections and preparing the plant to adapt to the new environment.
4. Orchid Repotting and Care natural fertilizer
Ferment the mixture
Take about 2 cups of clean water into a container, ready to prepare the natural fertilizer to nourish the orchid.
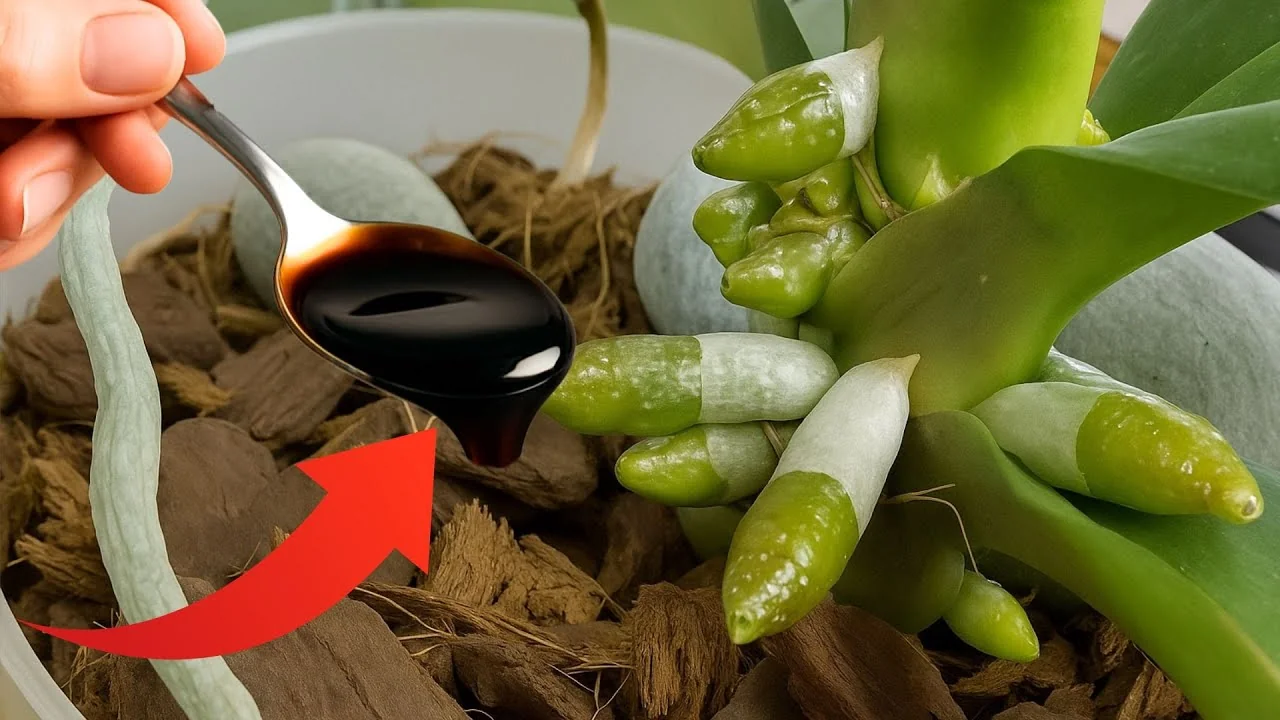
Add 1 teaspoon of molasses into the container, which is a natural source of nutrients that helps nourish beneficial microorganisms in the growing medium and supports healthier growth.
Add 3 teaspoons of bread crumbs into the container, helping to provide additional organic matter, stimulate beneficial microorganisms, and supply nutrients for the orchid.
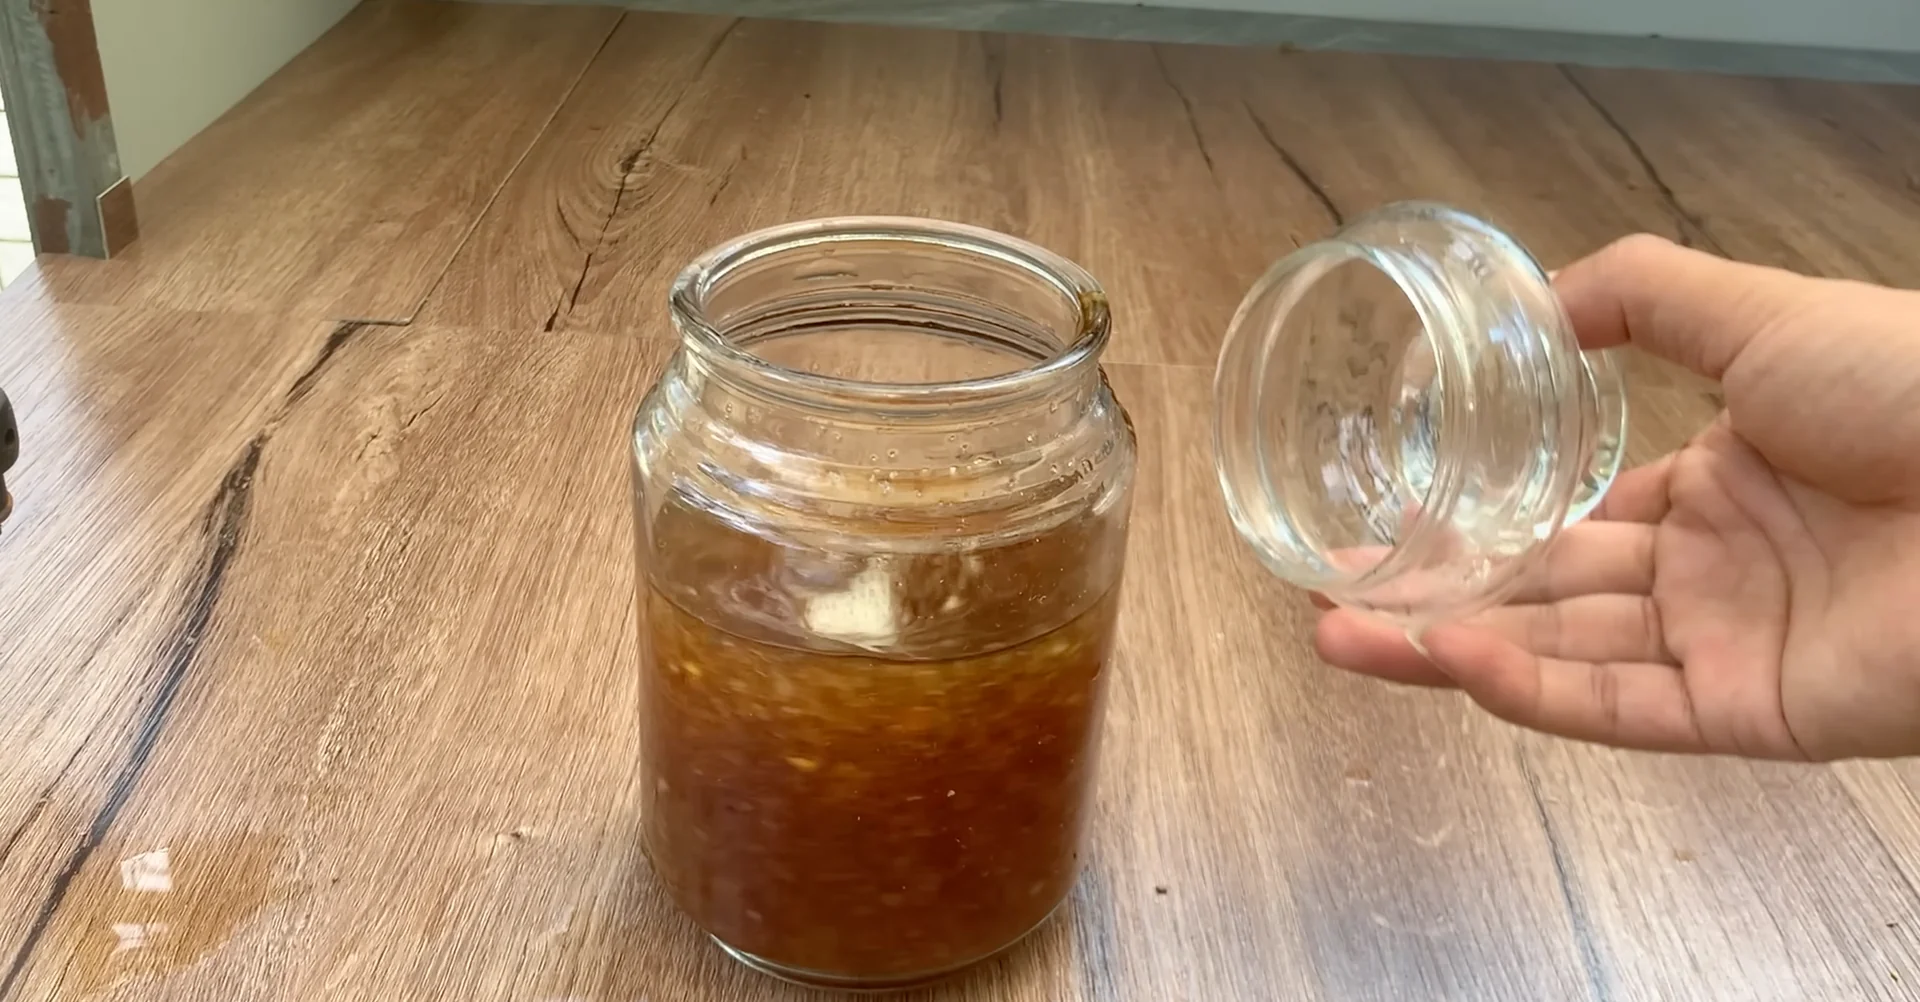
Close the container and place it in a cool airy spot for about one day to allow the mixture to ferment, helping microorganisms grow and creating a nutrient rich natural fertilizer for the orchid.
Strain and dilute
After one day, open the lid and stir the fermented mixture well, helping the natural fertilizer become uniform and ready to provide nutrients for the orchid.
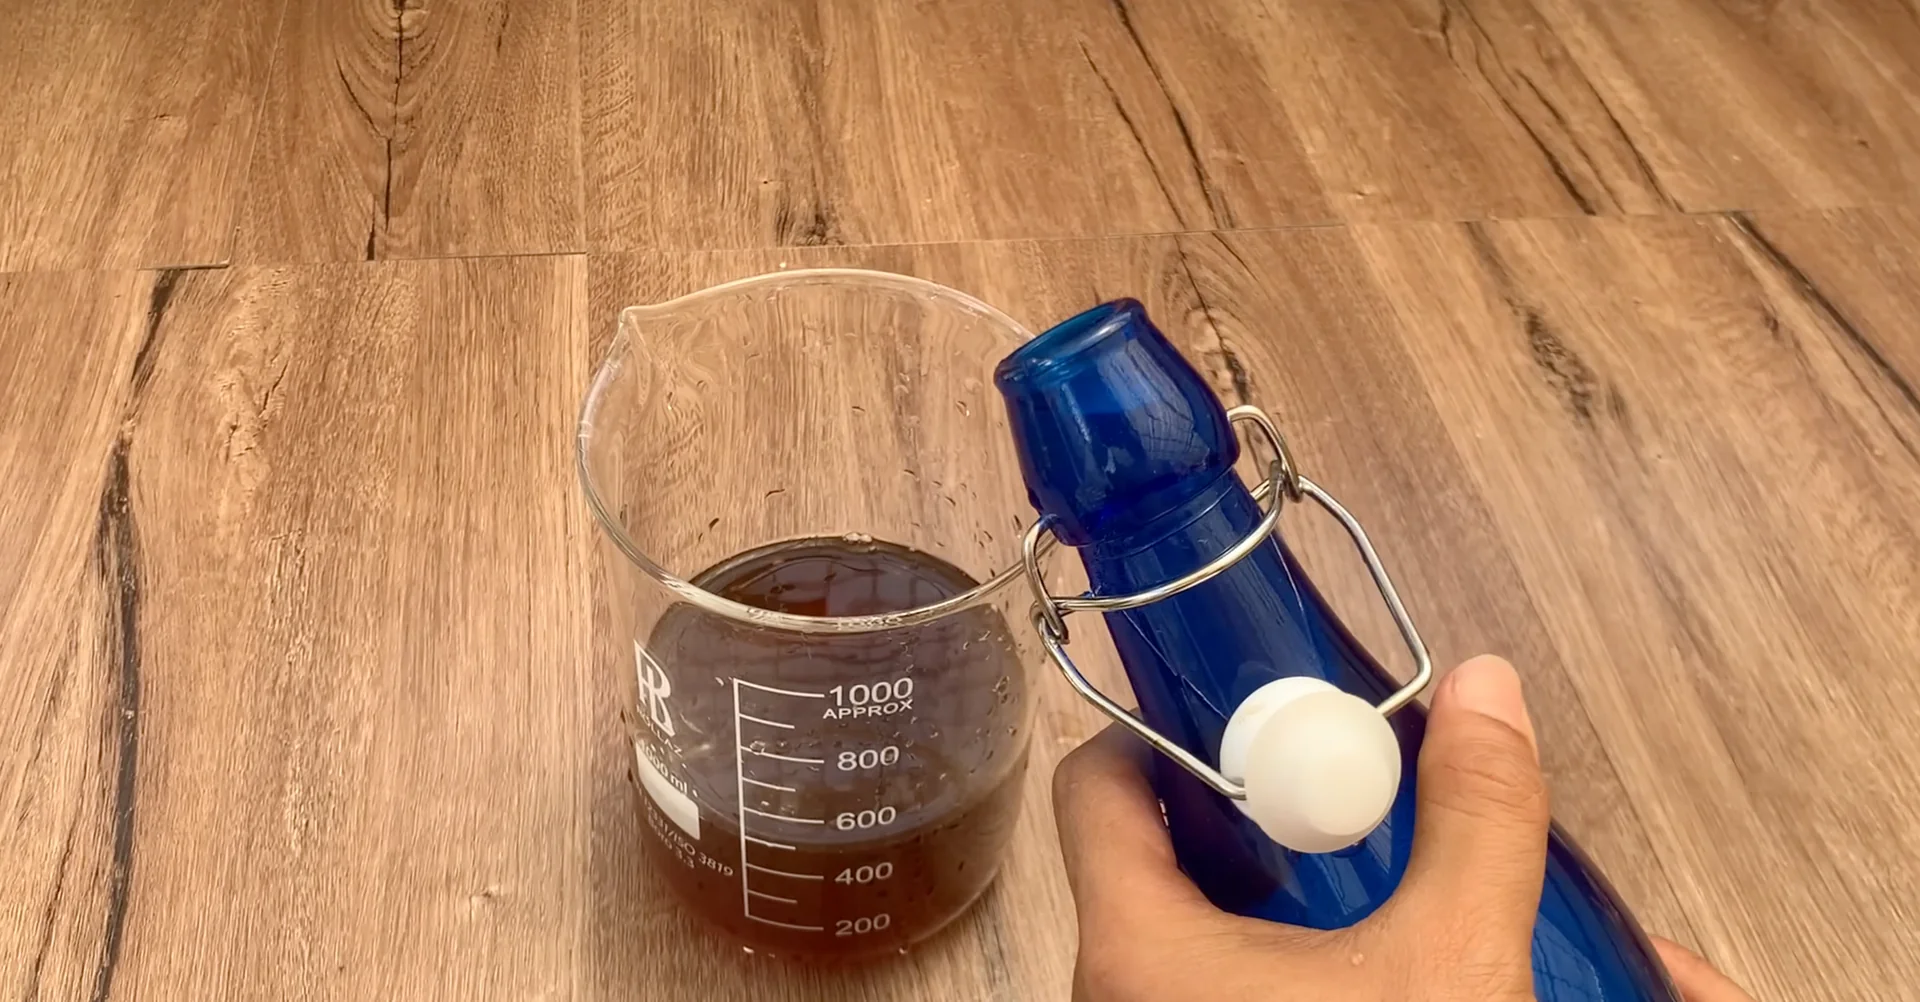
Strain out the residue from the fermented mixture to obtain a smooth fertilizer solution easy to absorb and safe for the orchid roots.
Add 2 cups of clean water to make a total of about 1 liter of natural fertilizer mixture ready to use for nourishing the orchid.
Apply to leaves and roots
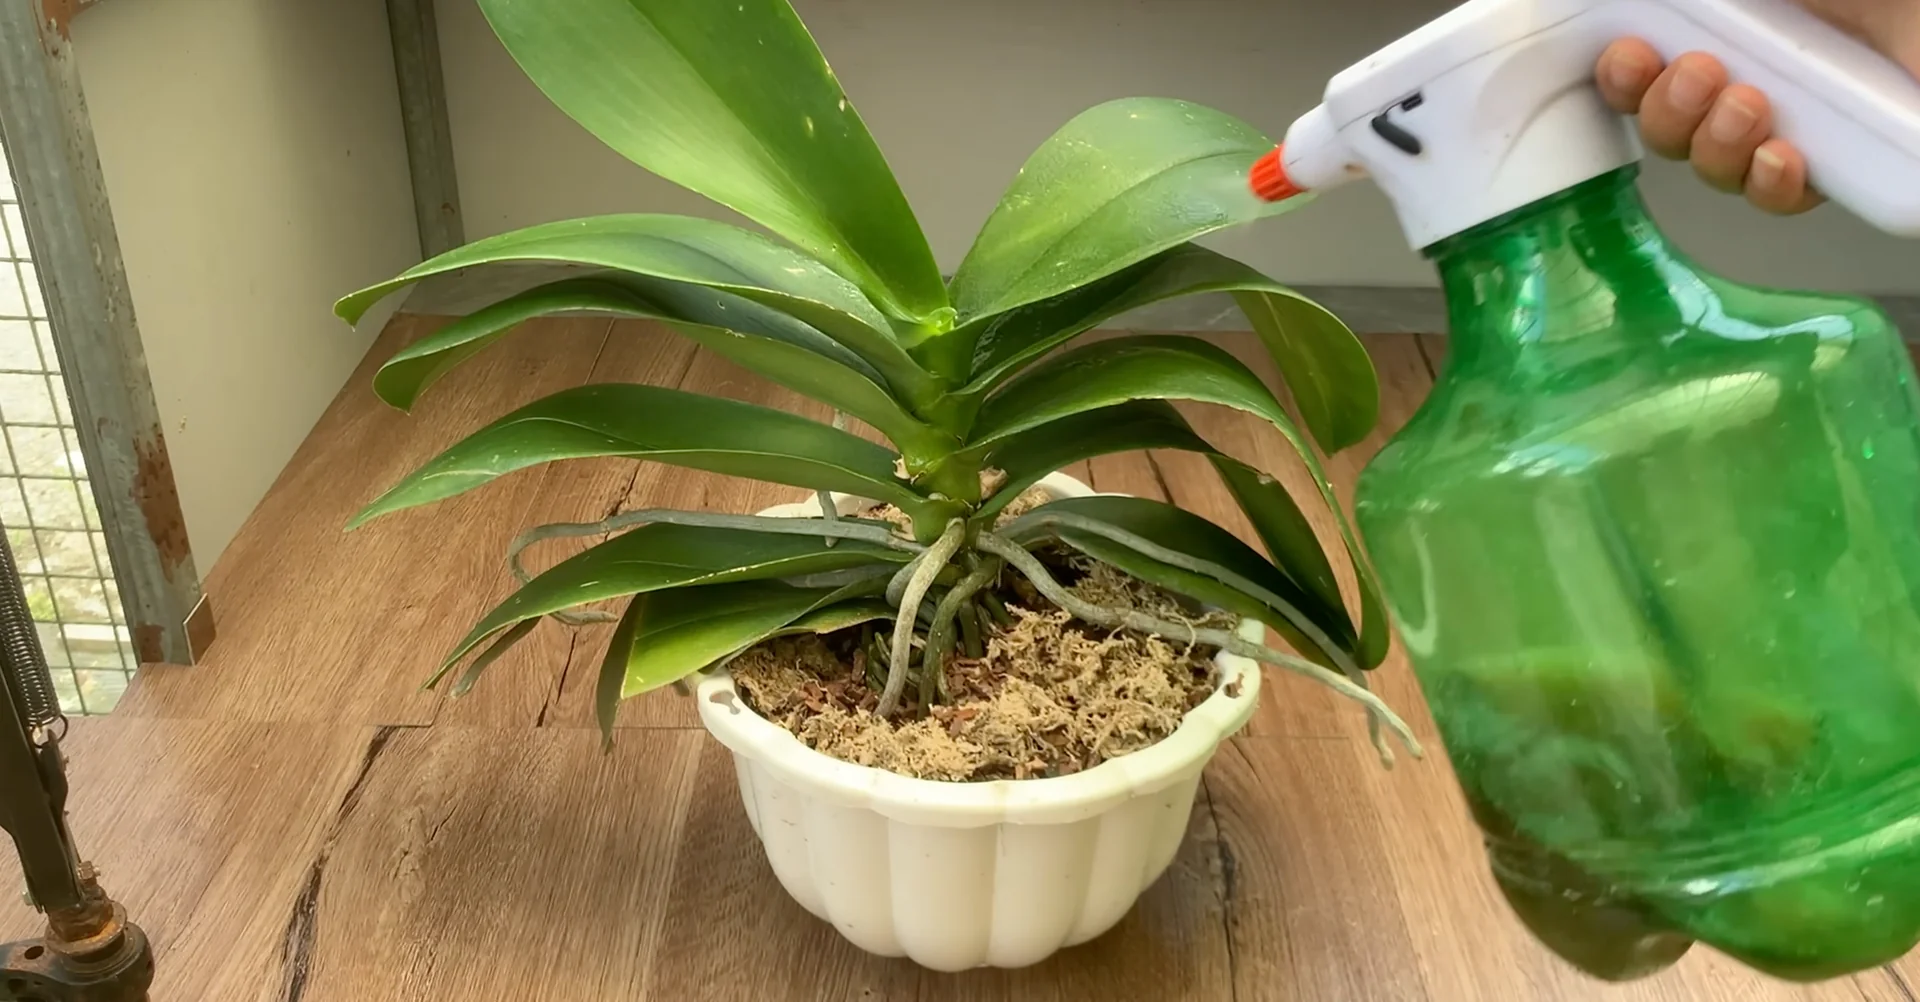
Pour the natural fertilizer mixture into a spray bottle, making it easy to spray evenly on the orchid roots and leaves, ensuring the plant absorbs nutrients effectively.
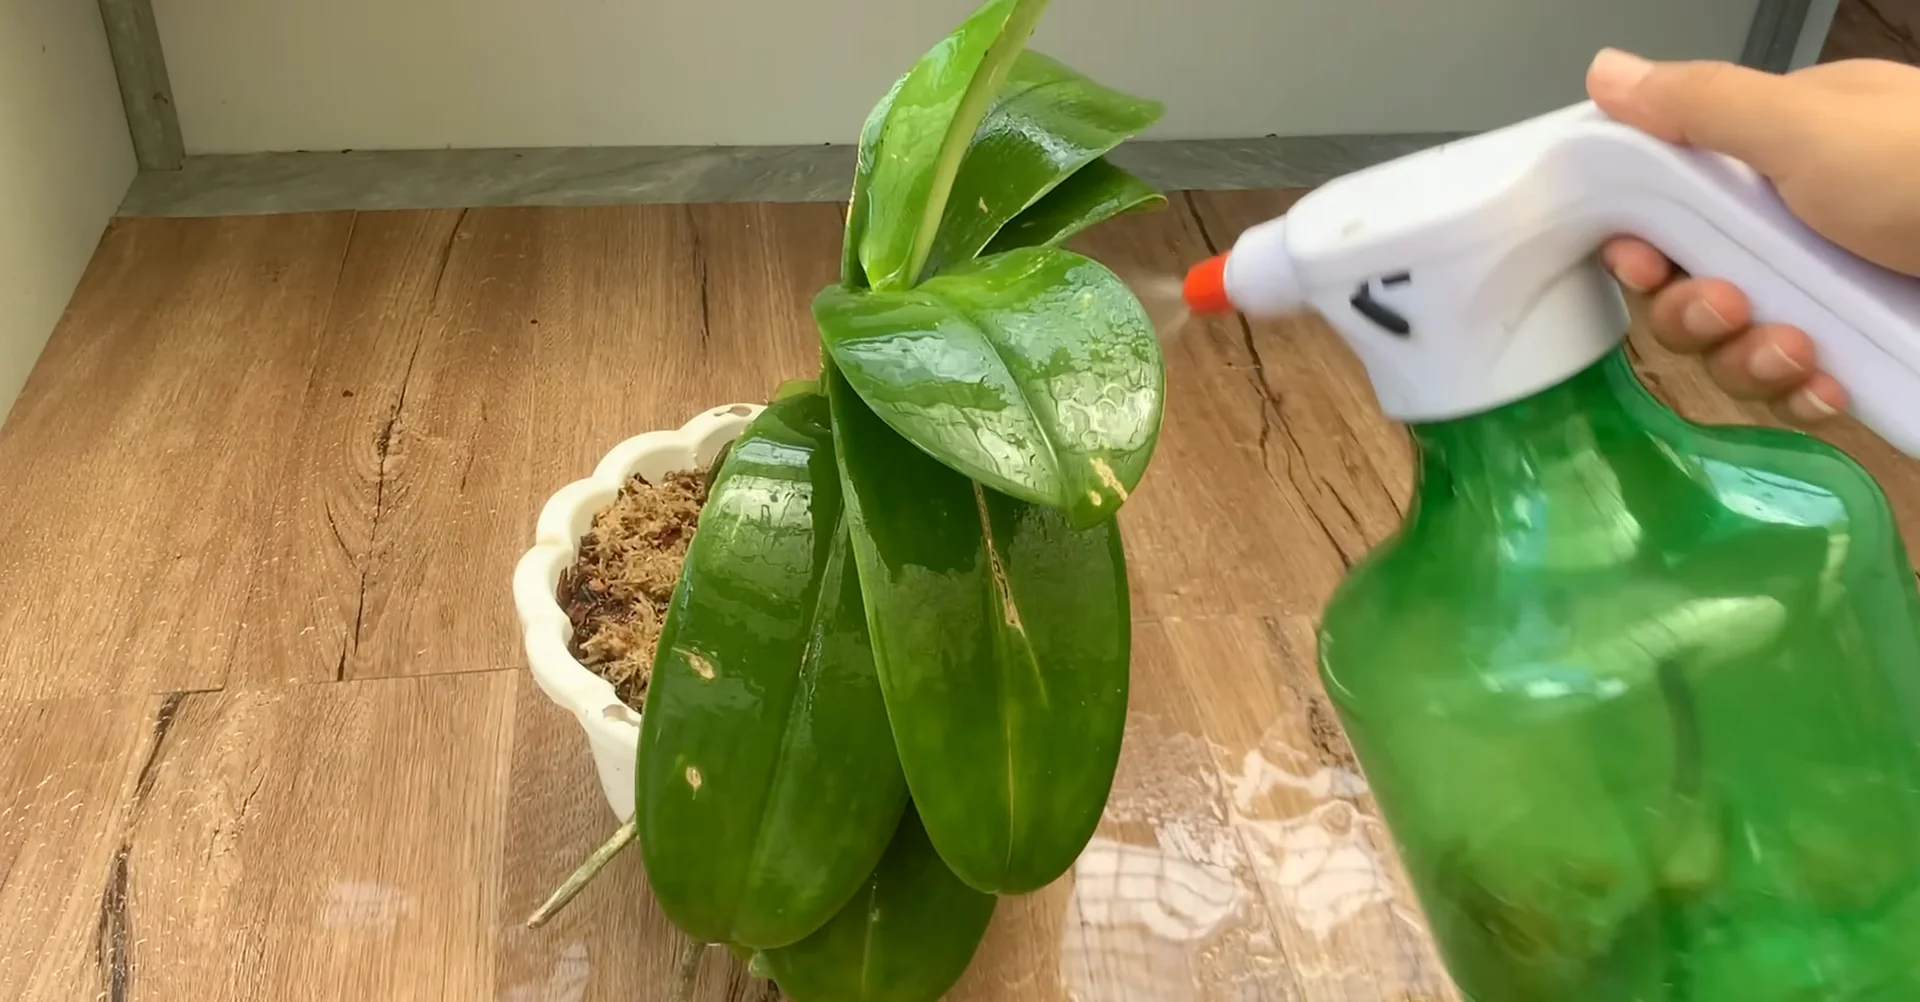
Spray the natural fertilizer mixture thoroughly on both the top and bottom surfaces of the leaves, helping the leaves absorb nutrients optimally and stimulating healthy orchid growth.
The mixture contains beneficial microorganisms in the growing medium and on the leaves, helping improve soil health, support strong root growth, and prevent fungal diseases.
Water the natural fertilizer mixture directly onto the roots and growing medium to help the plant absorb nutrients quickly and effectively, promoting healthy root system growth.
The fertilizer mixture helps increase the activity of beneficial microorganisms in the growing medium, improves its structure and porosity, and creates favorable conditions for root development.
Use a dry cloth to soak up all the water on the leaves, wiping the leaves dry to remove excess water, prevent the growth of fungi and bacteria, and keep the leaves clean and healthy.
Place the orchid pot in a spot with gentle sunlight. No matter how good the fertilizer is, if the plant lacks light, photosynthesis will be inefficient, making it difficult for the orchid to grow and bloom.
5. Orchid Repotting and Care after recovery
For orchids with leaf rot, after the wounds on the leaves have dried naturally, proceed to repot into a new pot, helping the roots stay aerated and creating a clean environment for the plant to recover.
Choose an orchid pot of appropriate size with drainage holes, ensuring the roots have space to grow, preventing water logging, and creating conditions for the plant to recover quickly.
Choose sterilized dry pine bark as the growing medium, helping the roots stay aerated, absorb nutrients well, and reduce the risk of fungal diseases.
Spread a little sterilized dry moss over the surface of the pot, helping retain moisture, create a natural environment, and support healthy orchid growth.
After planting, water the natural fertilizer mixture directly onto the roots and thoroughly wet the growing medium, helping the plant absorb nutrients effectively and stimulating root growth.
After watering, place the orchid pot in a spot with gentle sunlight to allow photosynthesis, helping the plant absorb light, nourish smooth green leaves, and promote healthy growth.
6. Orchid Repotting and Care results
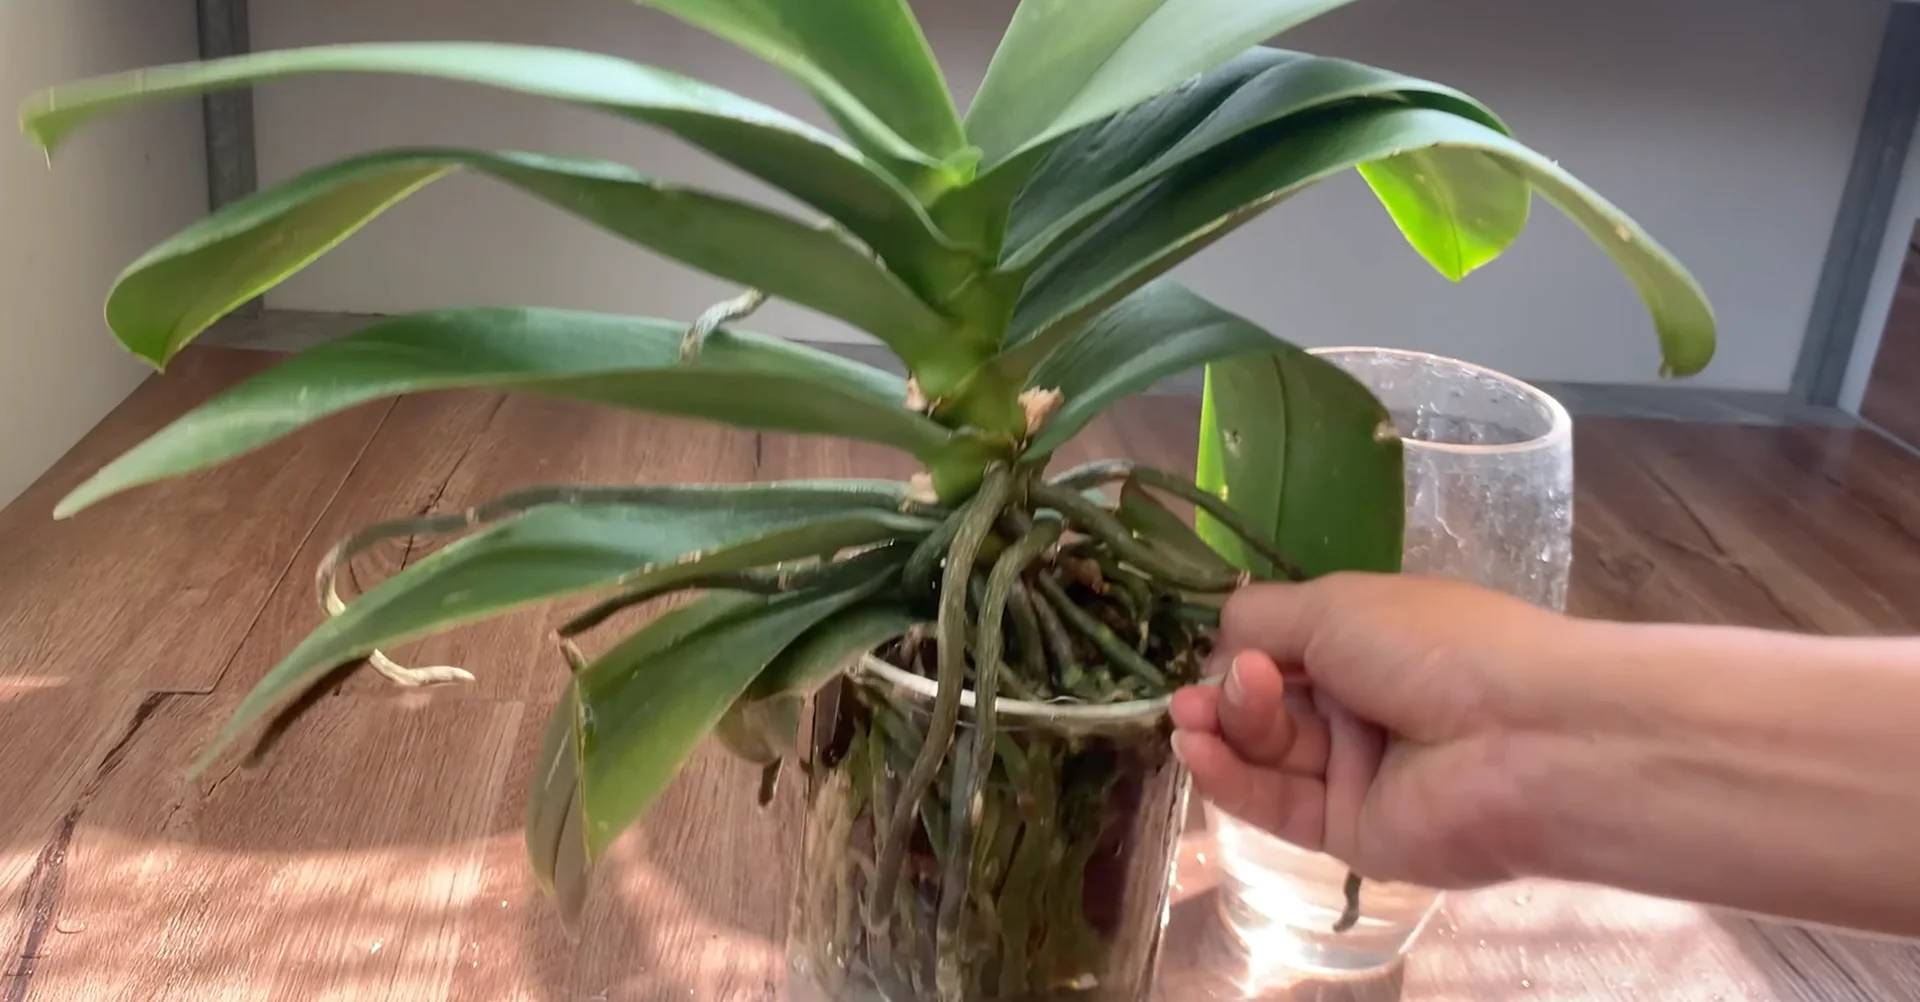
Here is the result after one month. You can see strong root growth, smooth green leaves, and the orchid is on the path to full recovery and development.
The orchid has grown new leaves, strong and sturdy, showing good development from roots to leaves, ready for the upcoming blooms.
The root system has grown strong and produced many new roots, helping the plant absorb water and nutrients effectively while creating a solid foundation for the long term growth of the orchid.
Here is the orchid with leaf rot after 1 month of care. You can see that the plant has recovered and the wounds on the leaves have dried and fully healed.
Additionally, the plant has grown new strong and sturdy leaves, demonstrating the effectiveness of the care method.
The leaves have become much greener and sturdier than before, showing that the orchid is growing healthily and absorbing nutrients effectively.
The roots have grown strong, firmly anchoring into the growing medium and producing many new roots, helping the plant absorb water and nutrients better while creating a solid foundation for long term growth.
Final thoughts on Orchid Repotting and Care
When you care for an orchid with all your love and dedication to the plant, it will reward you with vibrant blooms, brightening your living space and bringing joy and peace.
Those flowers are not only the result of meticulous care but also a testament to the special bond between humans and nature.
Each blossom unfolds like a reminder that patience and love for the plant will always be rewarded.