This natural method of propagating roses by cuttings focuses on moisture retention, antibacterial properties, and root stimulation. It is especially suitable for beginners because the process is simple, the materials are easy to find, and the results are noticeable if done correctly. With patience and daily observation, the joy is multiplied when you see the first white roots or the first sprouts emerging.
I make the most of readily available natural materials and limit the overuse of root-stimulating chemicals. Each step matters, from selecting the branch and treating it with aloe vera to supplementing nutrients from carrots and creating an aerated environment with river sand. Done carefully, the cutting adapts, forms healthy roots, and grows on strongly.
1. Aloe Vera Rose Propagation Basics
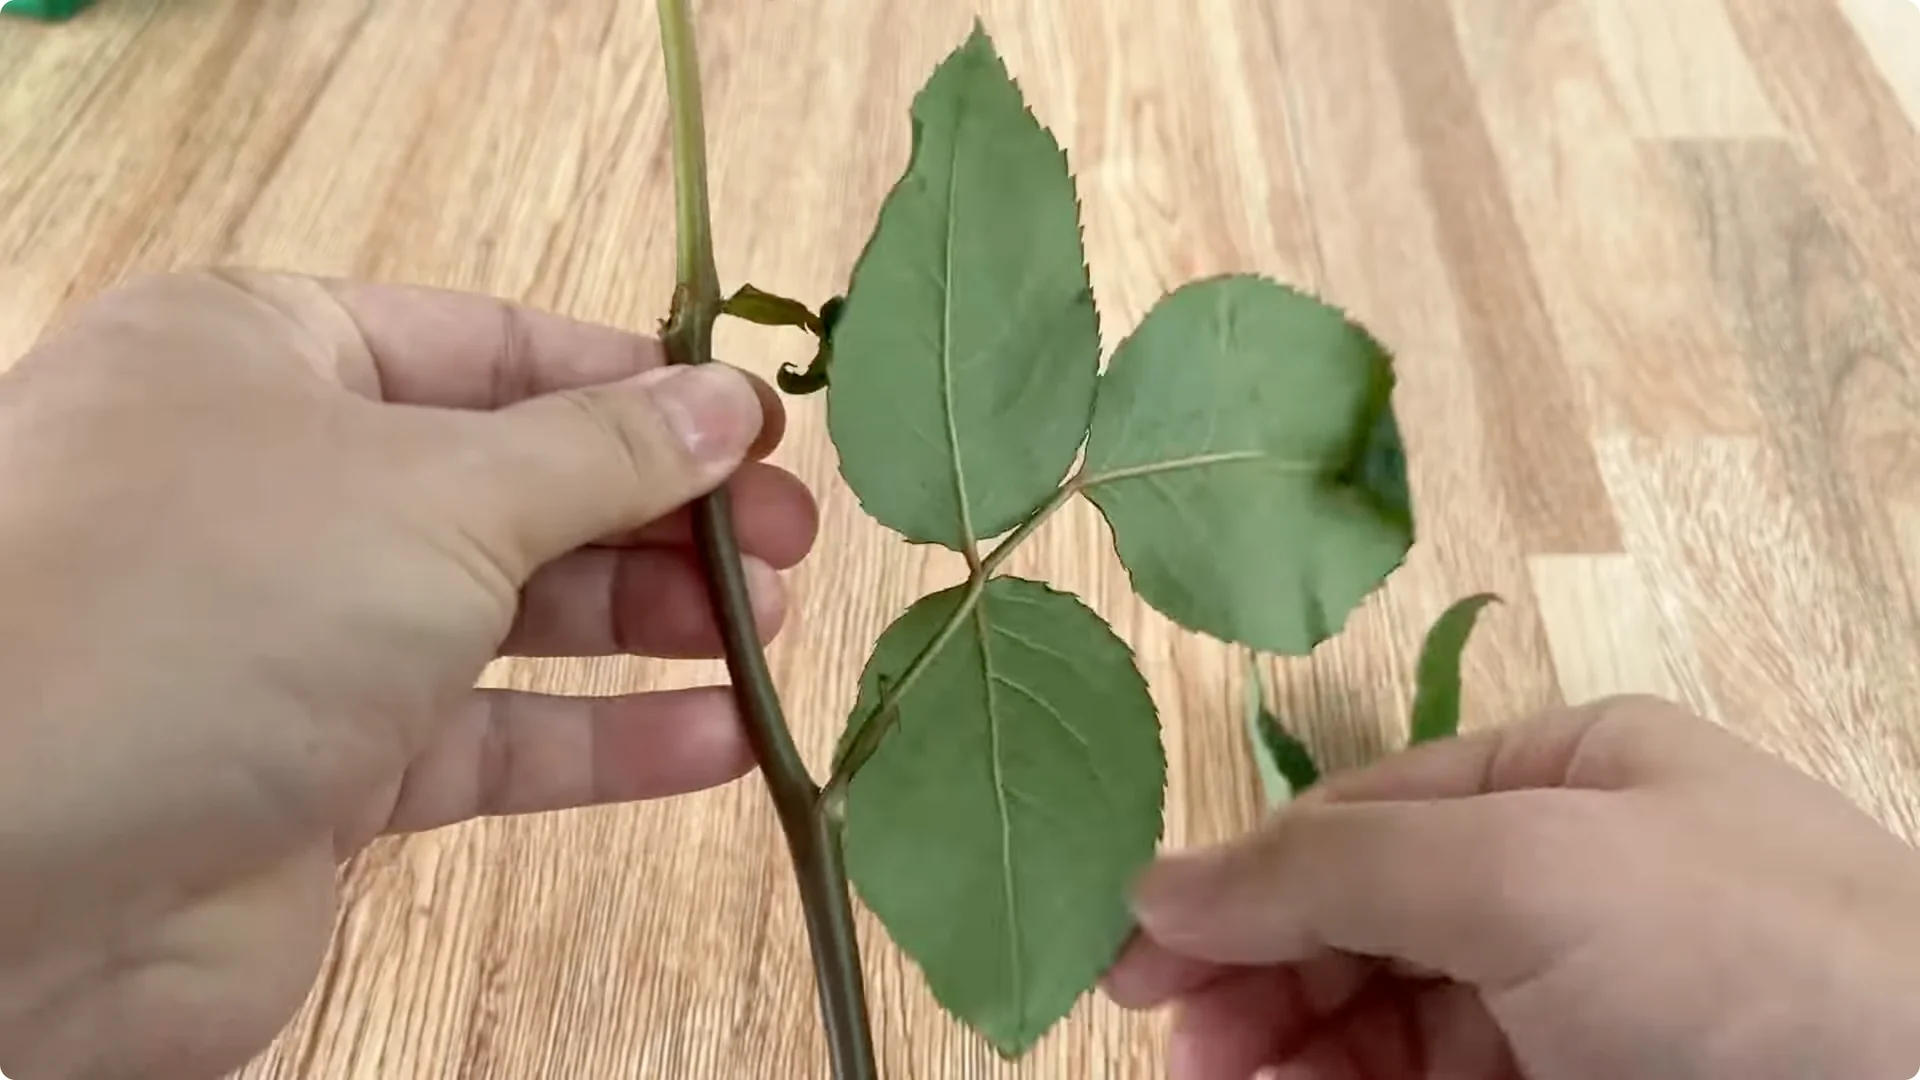
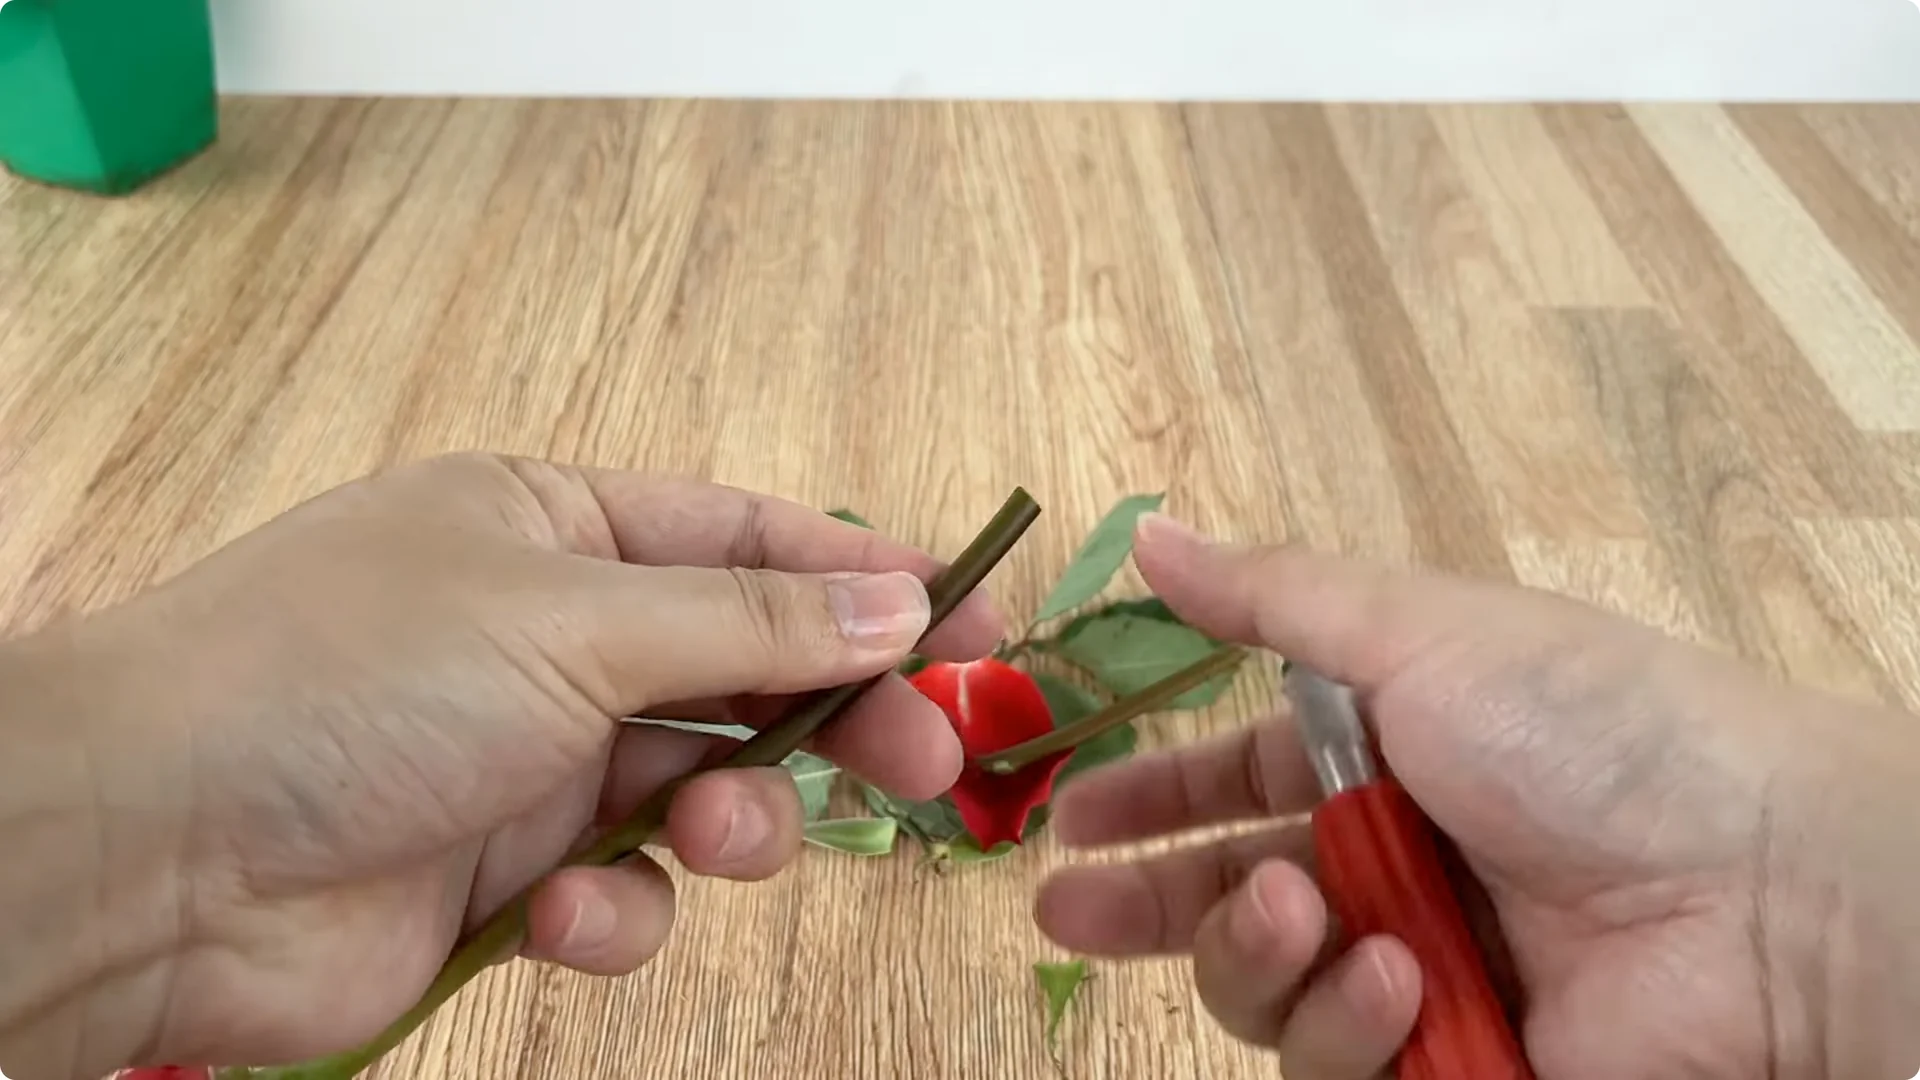
Choose a rose cutting you like that is free from pests and diseases, has a sturdy stem, and is of the right age. Cuttings that are too young have difficulty adapting, while those that are too old root slowly. Remove all leaves and thorns to minimize water loss and prevent injury during the process.
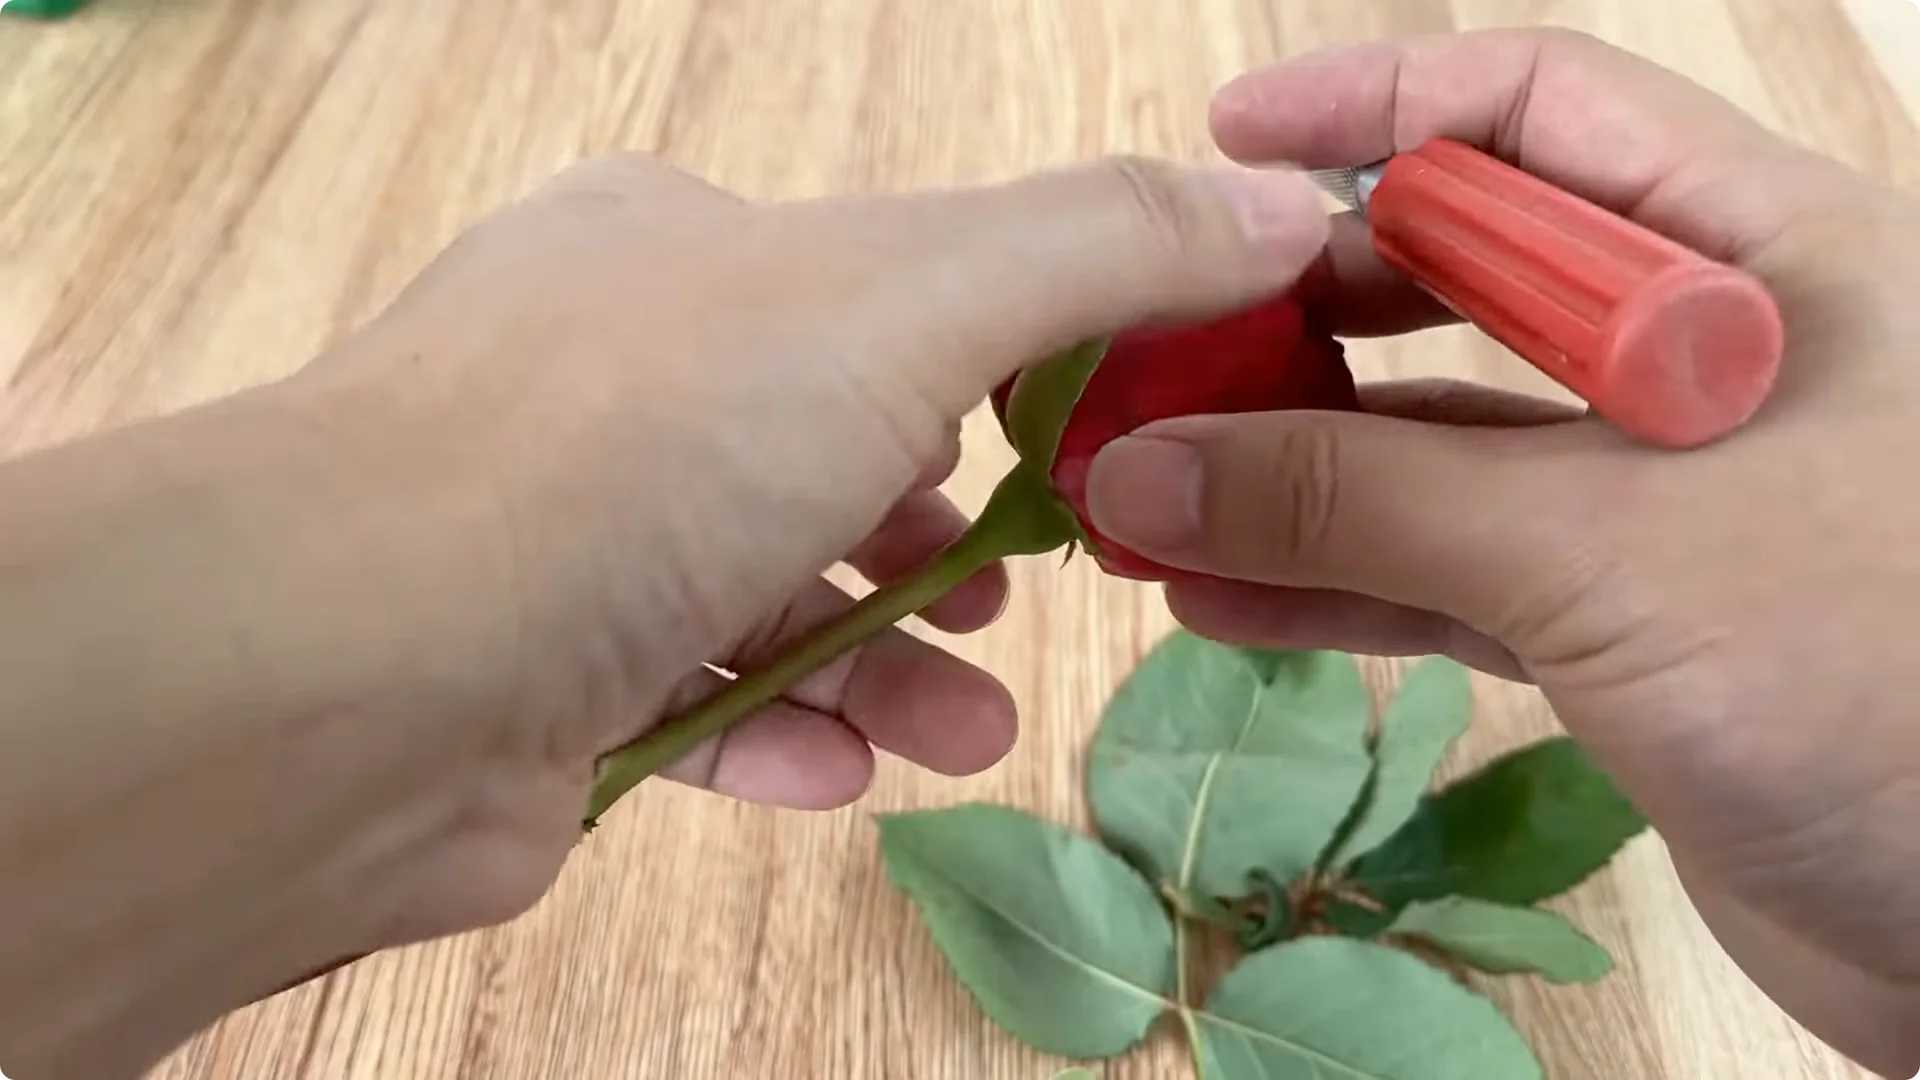
Trim the cutting to about 20 cm in length. At the base of the cutting, make a 45-degree angle. The beveled cut increases the surface area in contact with the growing medium and nutrient solution, making it easier for new roots to form and develop more vigorously.
Read More: 1 Cup Grow Rose Plant Flowers
2. Aloe Vera Rose Propagation – Treating the Cutting
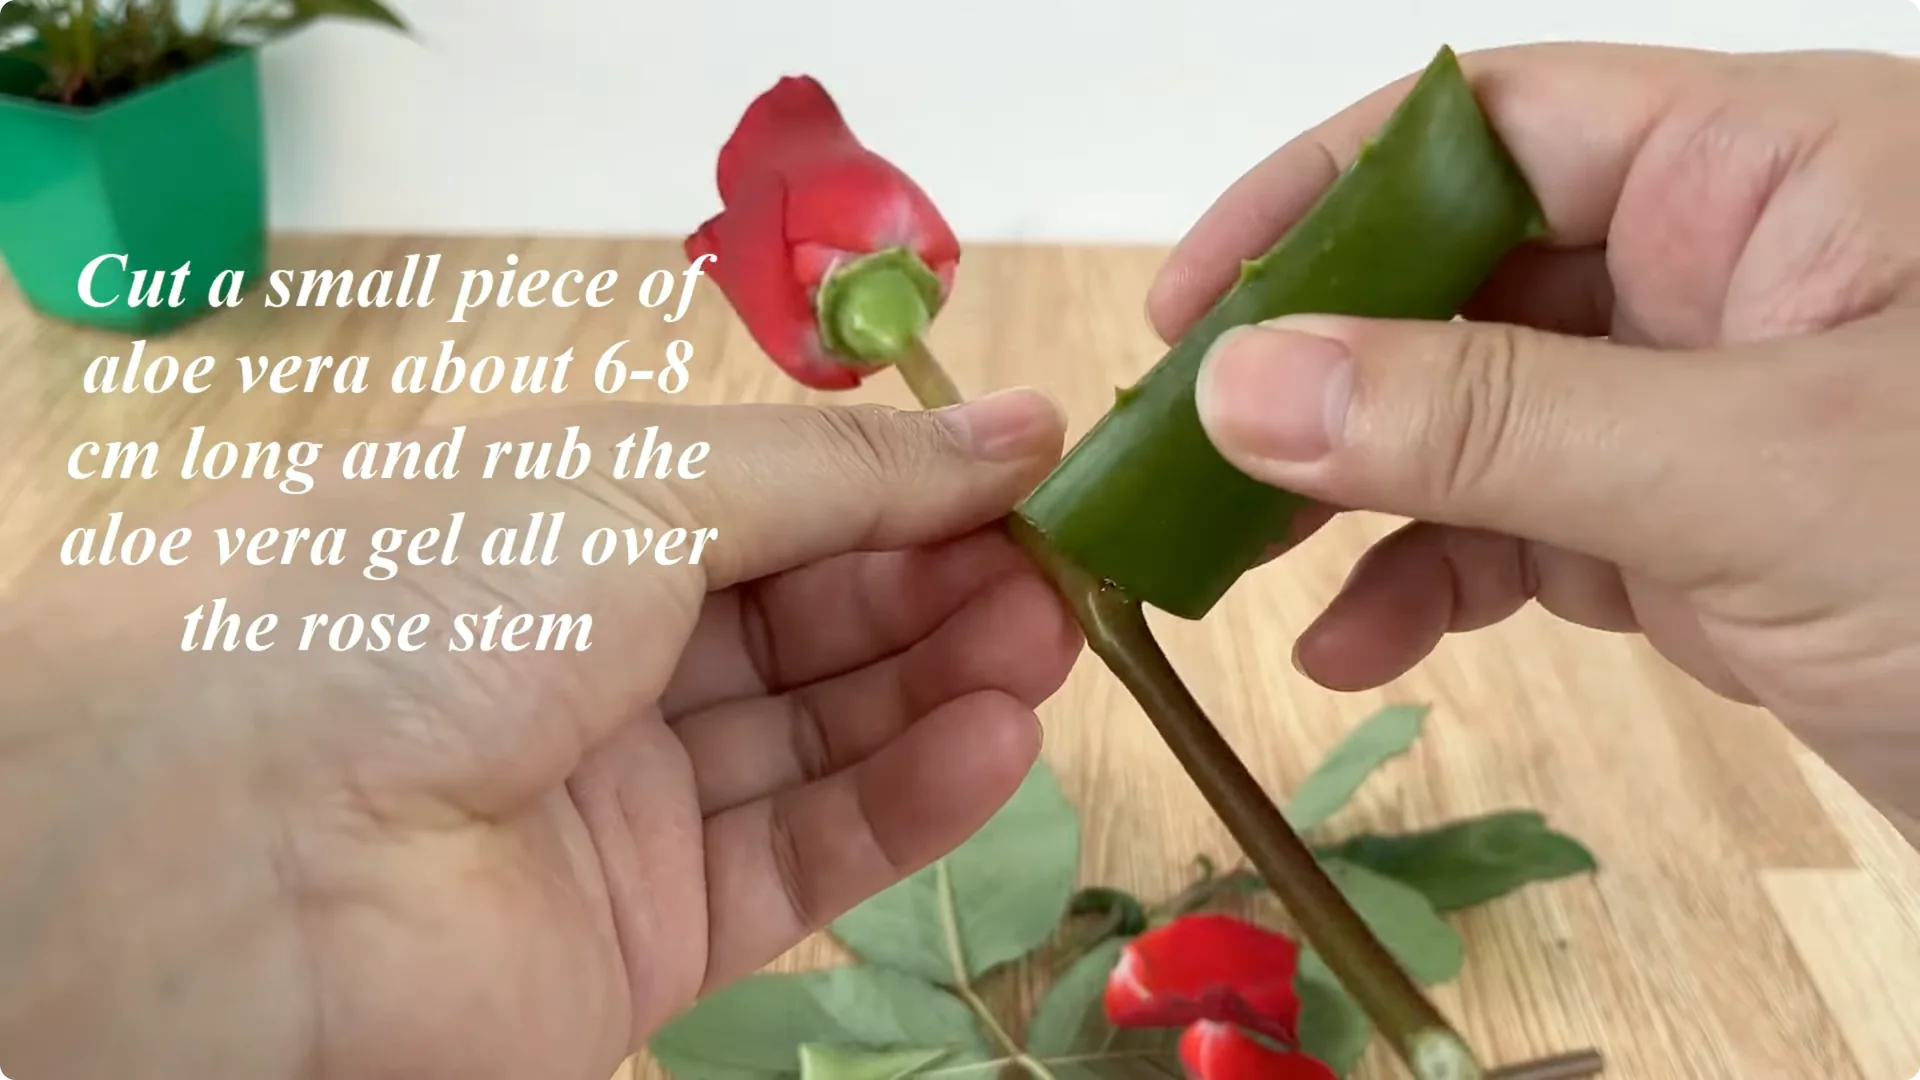
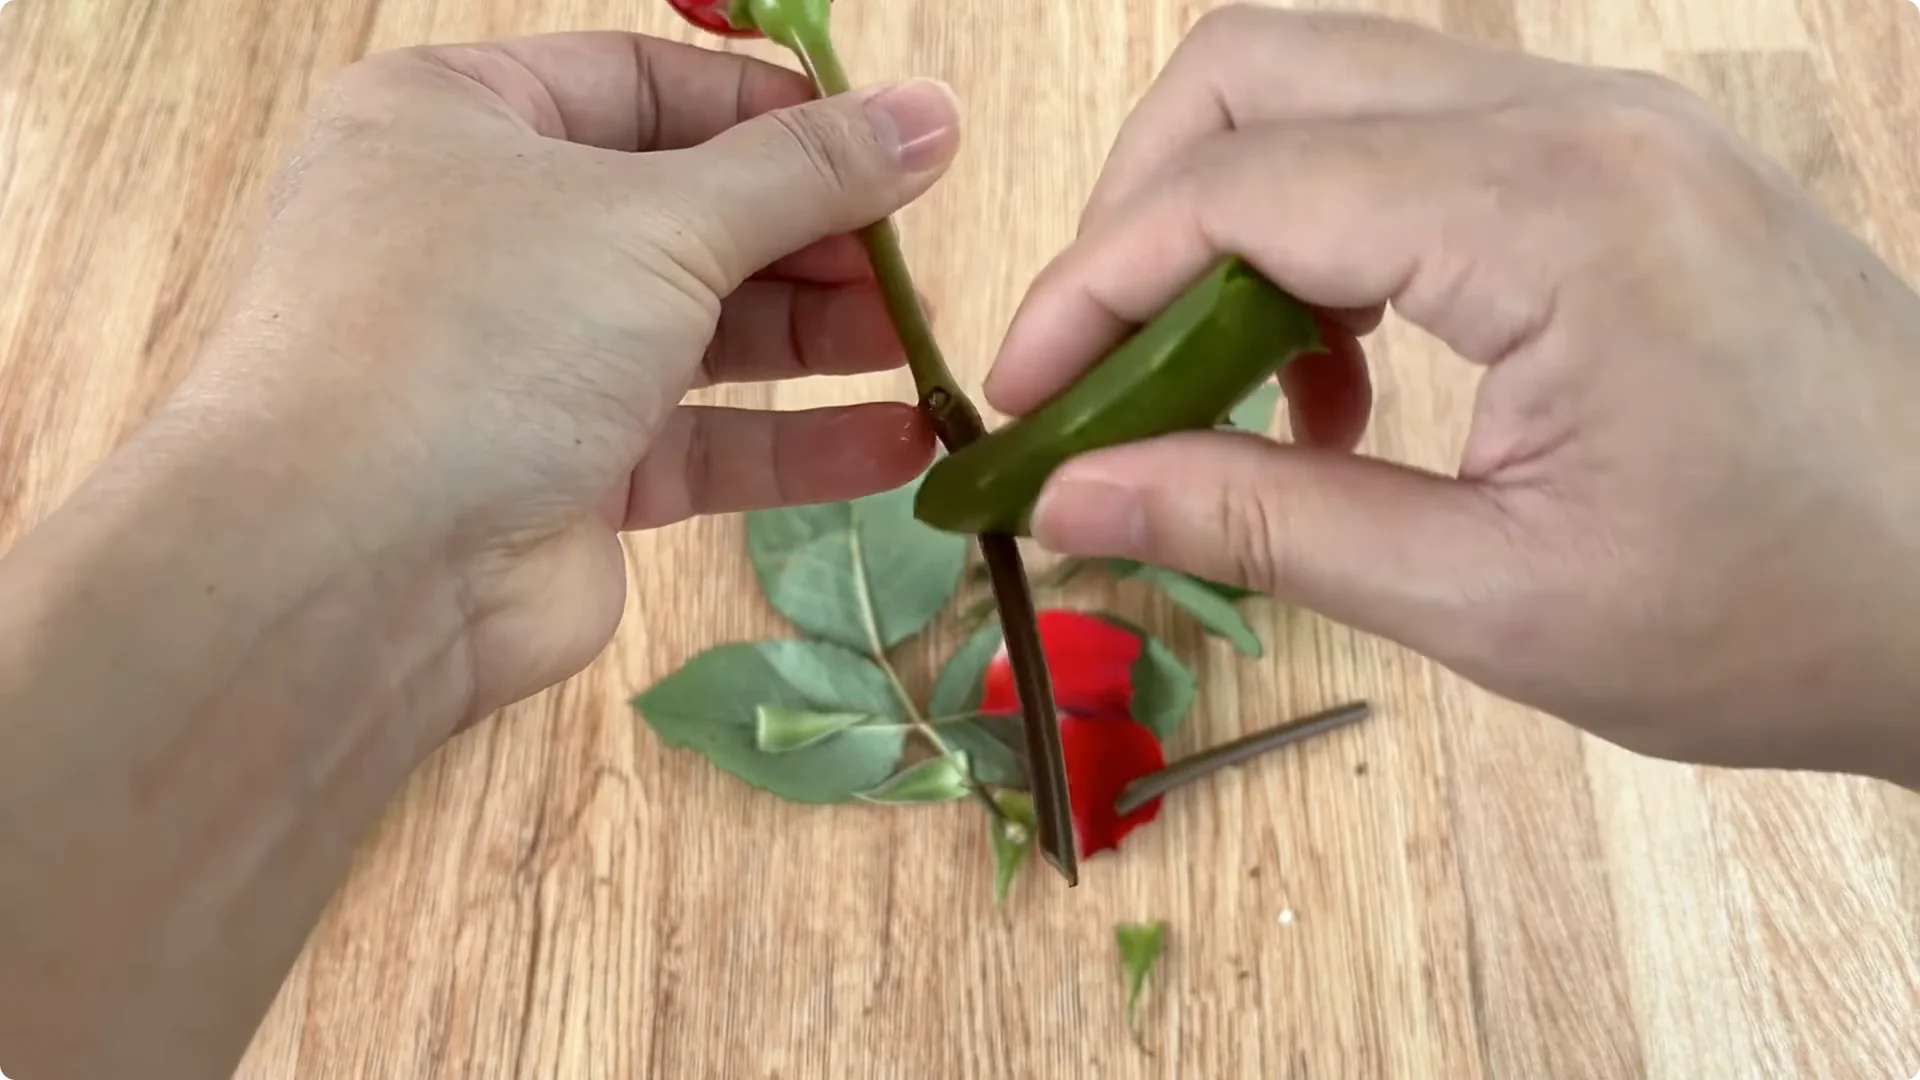
Take a fresh aloe vera leaf and wash it thoroughly to remove dirt and impurities. Cut a small piece about 6-8 cm long, then gently rub the aloe vera gel over the entire rose stem. The gel helps moisturize, soothe the cuts, and prevent bacterial infection.
Insert the base of the rose stem deep into the aloe vera gel and leave it for about 30 minutes. This time allows the stem to absorb a maximum amount of natural nutrients from the aloe vera. It creates a good foundation for later root growth.
3. Aloe Vera Rose Propagation – Nutrient Solution
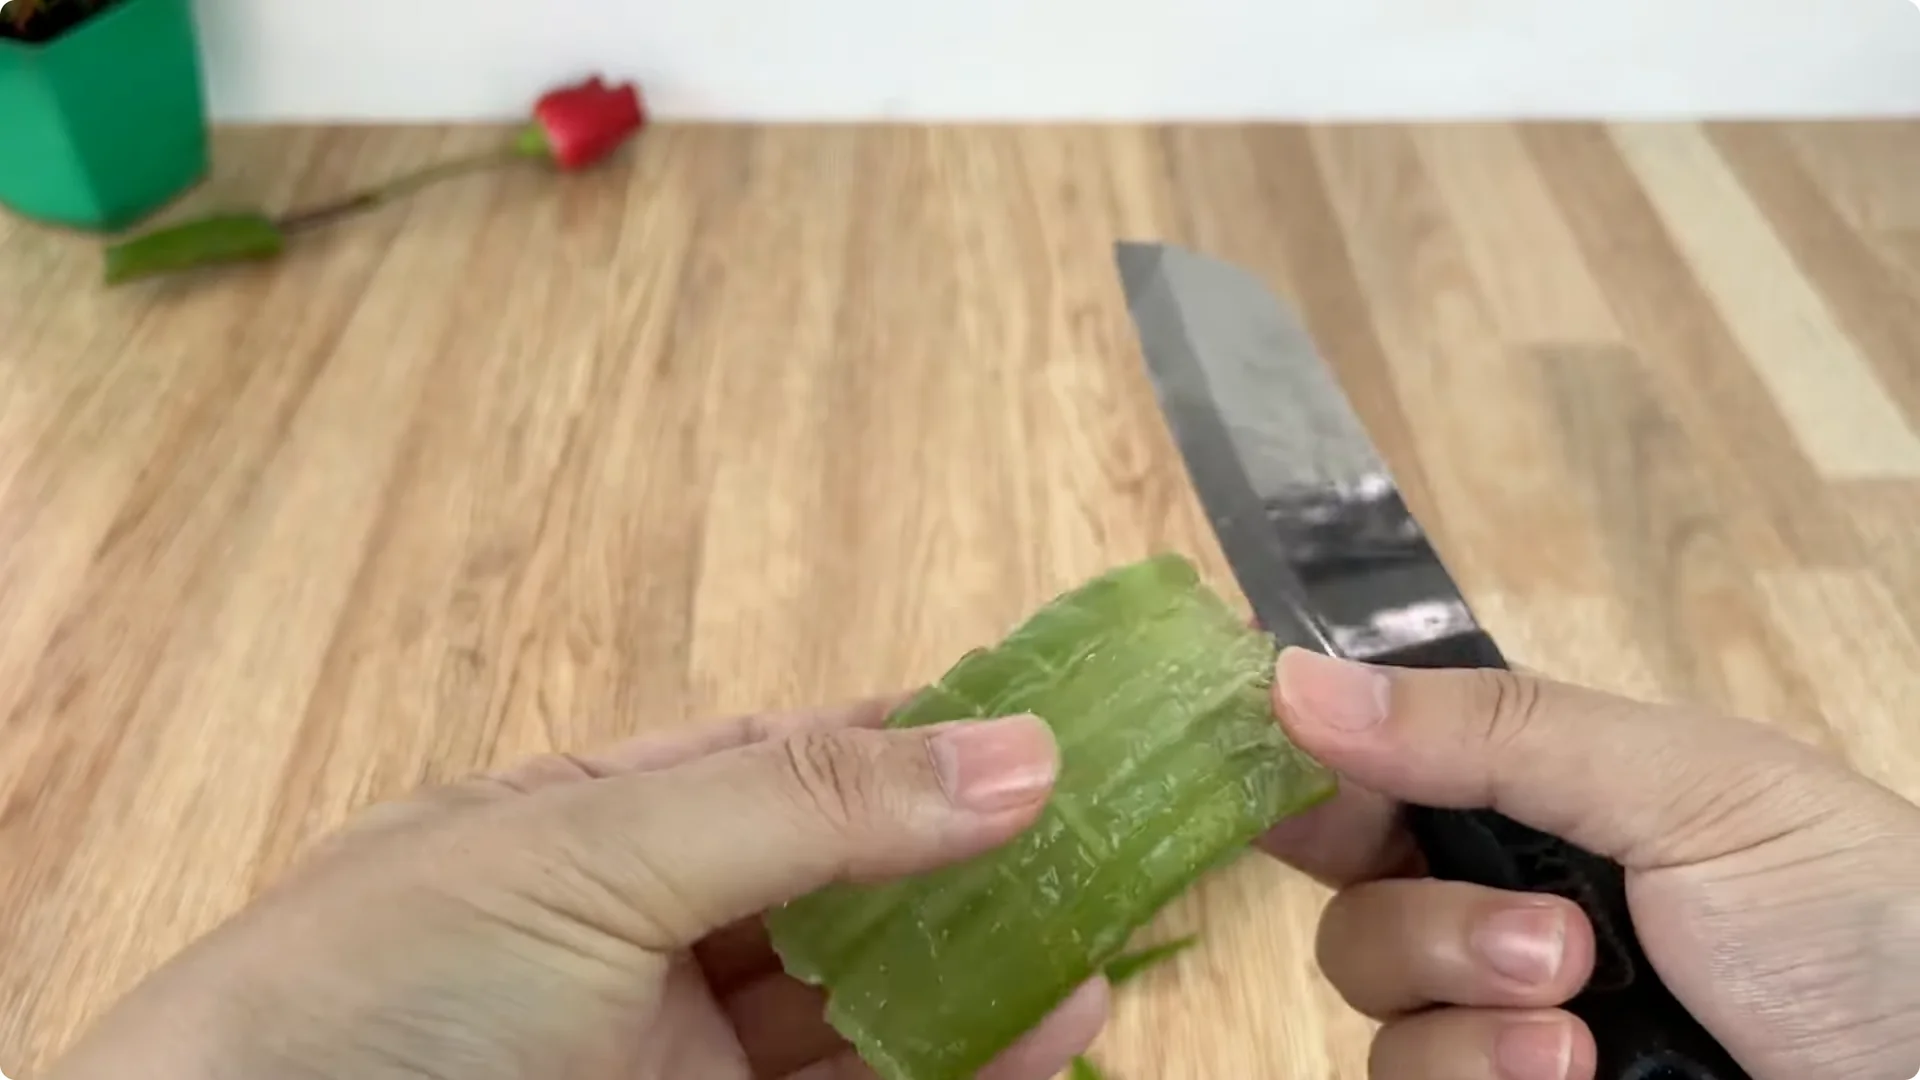
Prepare aloe
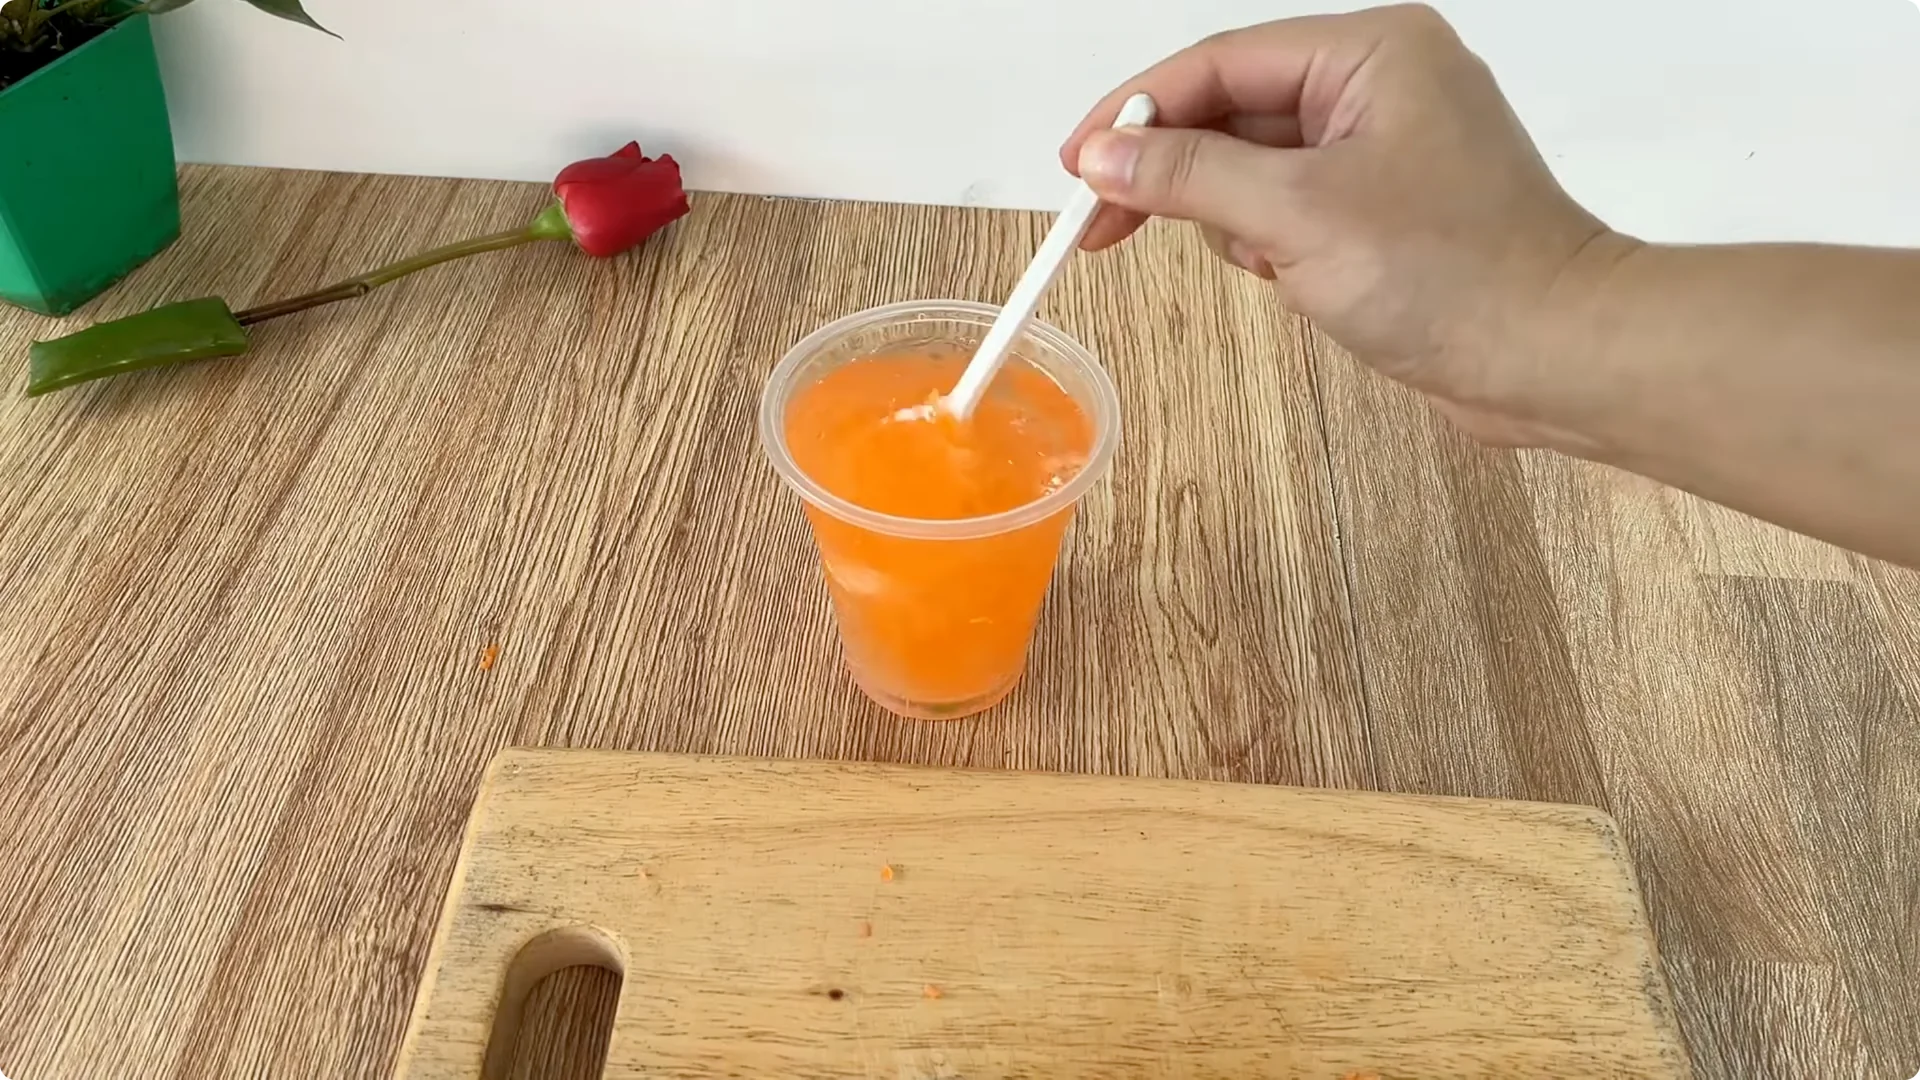
Cut another piece of aloe vera about 10-15 cm long. Completely remove the green outer layer, keeping only the transparent flesh. Chop the aloe vera pulp and place it in a clean plastic cup.
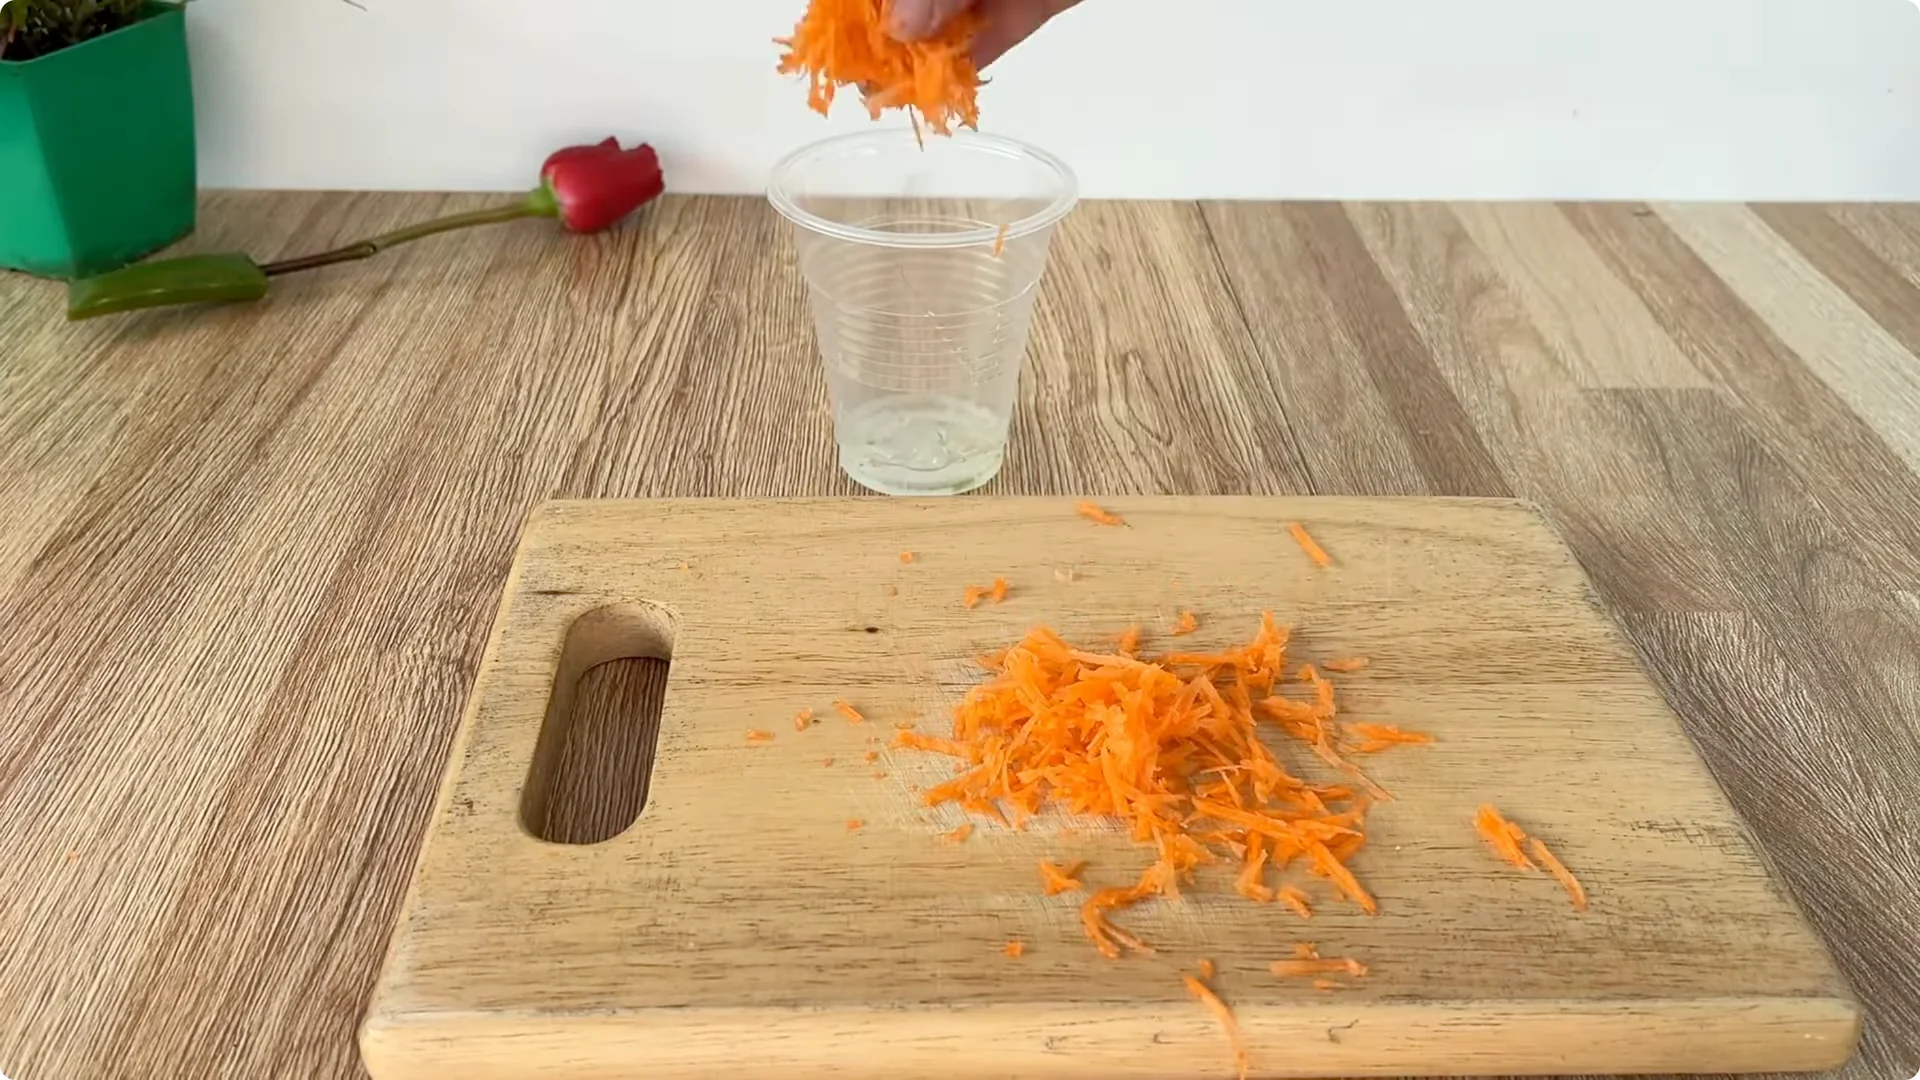
Add carrot
Prepare a carrot, wash it, and chop or grate about 30 grams. Carrots are rich in vitamins, especially beta-carotene, and trace minerals that stimulate cell division and support the formation of new roots. Add all the prepared carrot to the cup containing the aloe vera.
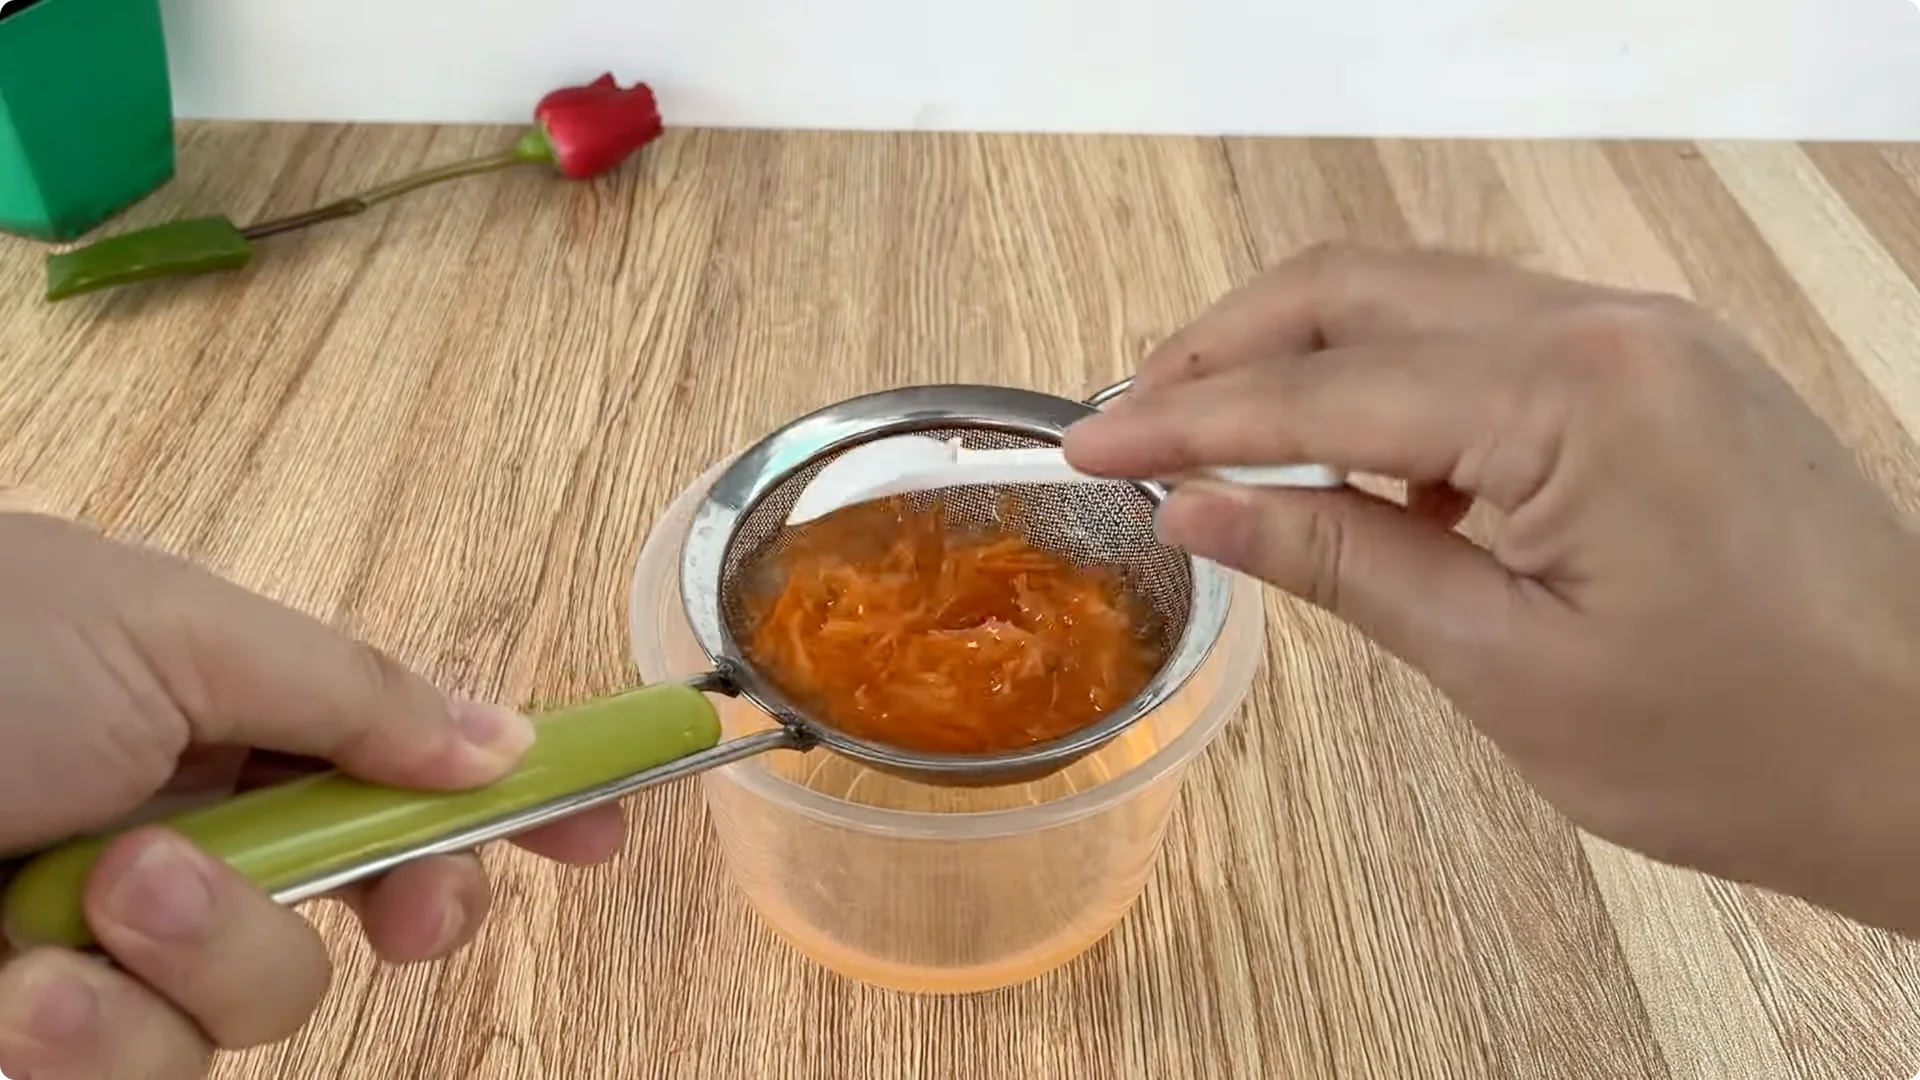
Add about 500 ml of warm water, stir well to dissolve the nutrients, and let it sit for about 30 minutes. After soaking for sufficient time, filter out the pulp. Keep only the carrot-aloe vera solution.
Dilute to use
The solution is quite concentrated and needs to be diluted with about 0.5 liters of clean water. After dilution, it will be light in color, have a pleasant smell, and contain many natural nutrients. It is very suitable for moistening the rooting medium for cuttings.
Read More: One Cup Rose Branch Bloom
4. Aloe Vera Rose Propagation – Rooting Setup
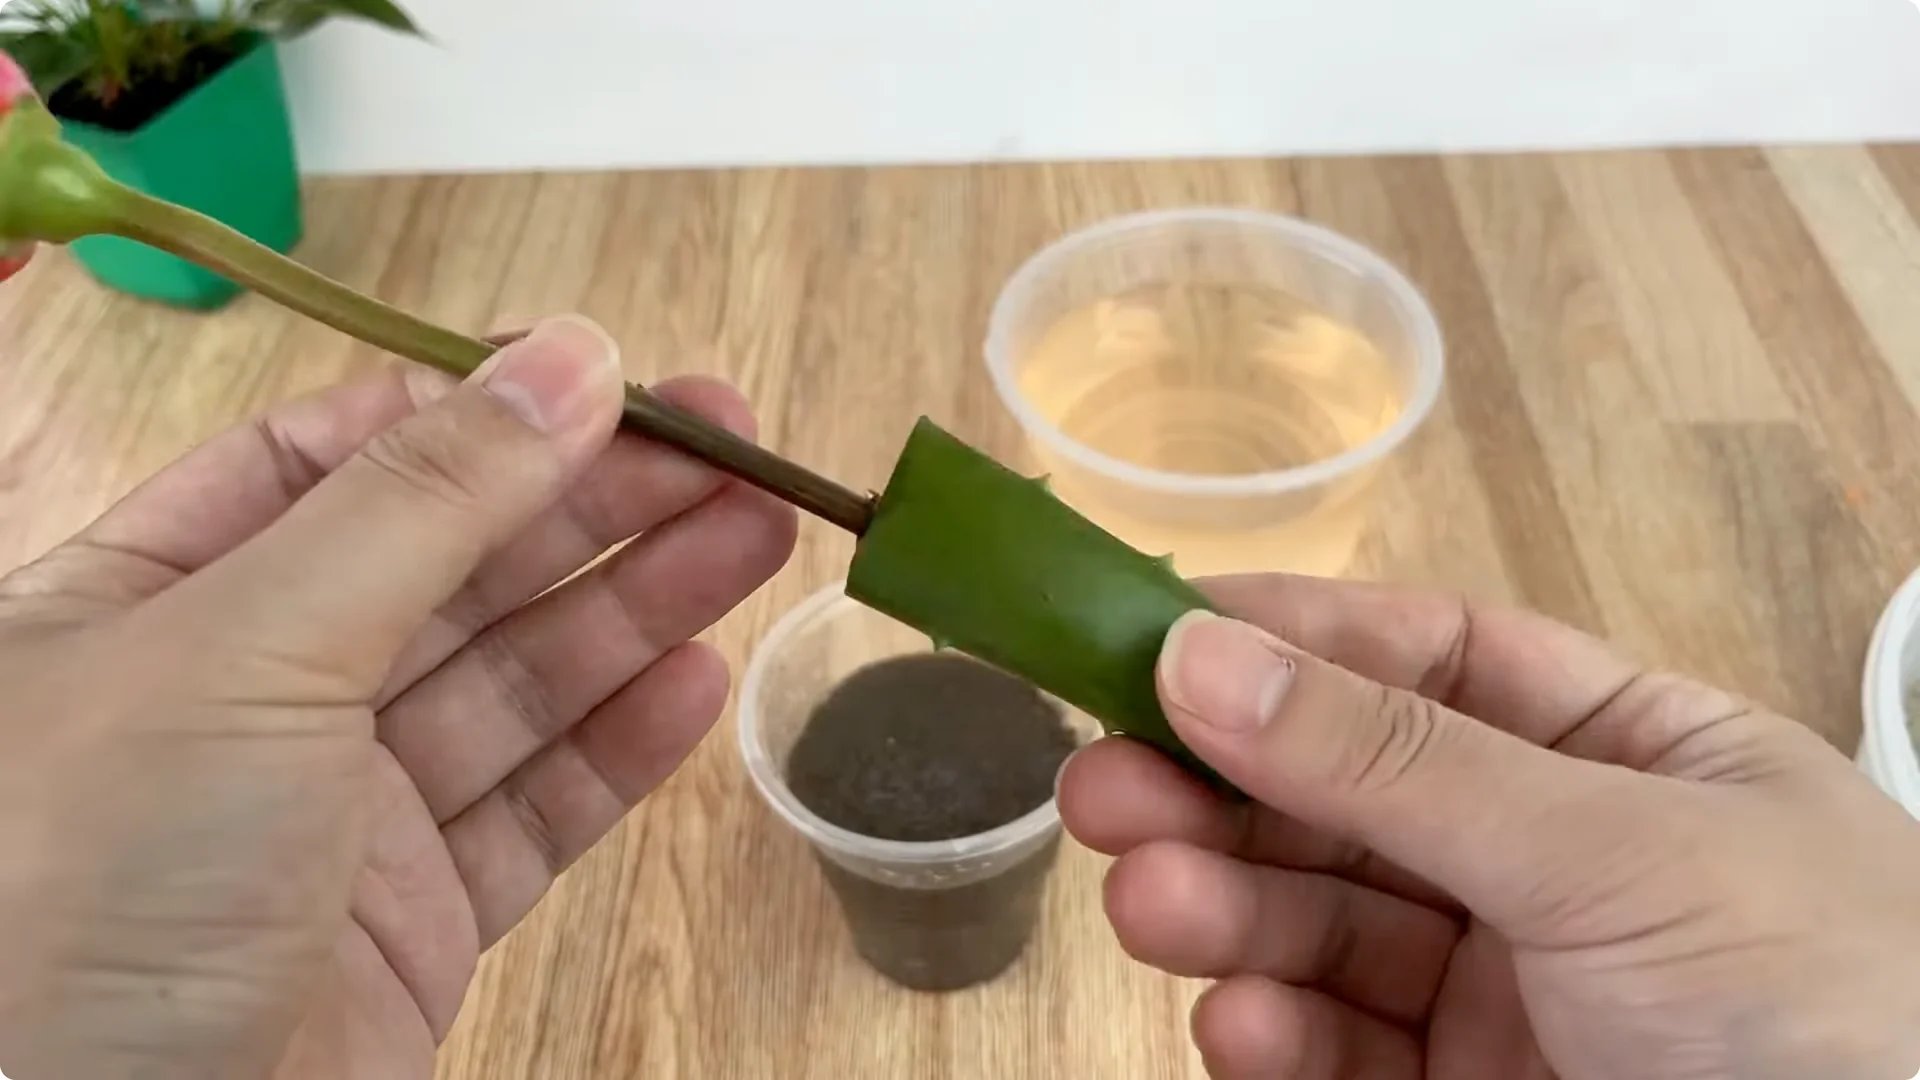
Fill a clean plastic cup with treated river sand. River sand drains quickly, prevents young roots from becoming waterlogged, and minimizes the risk of root rot. Pour the carrot-aloe vera solution into the sand to reach the right moisture level – not too dry, but not soggy.

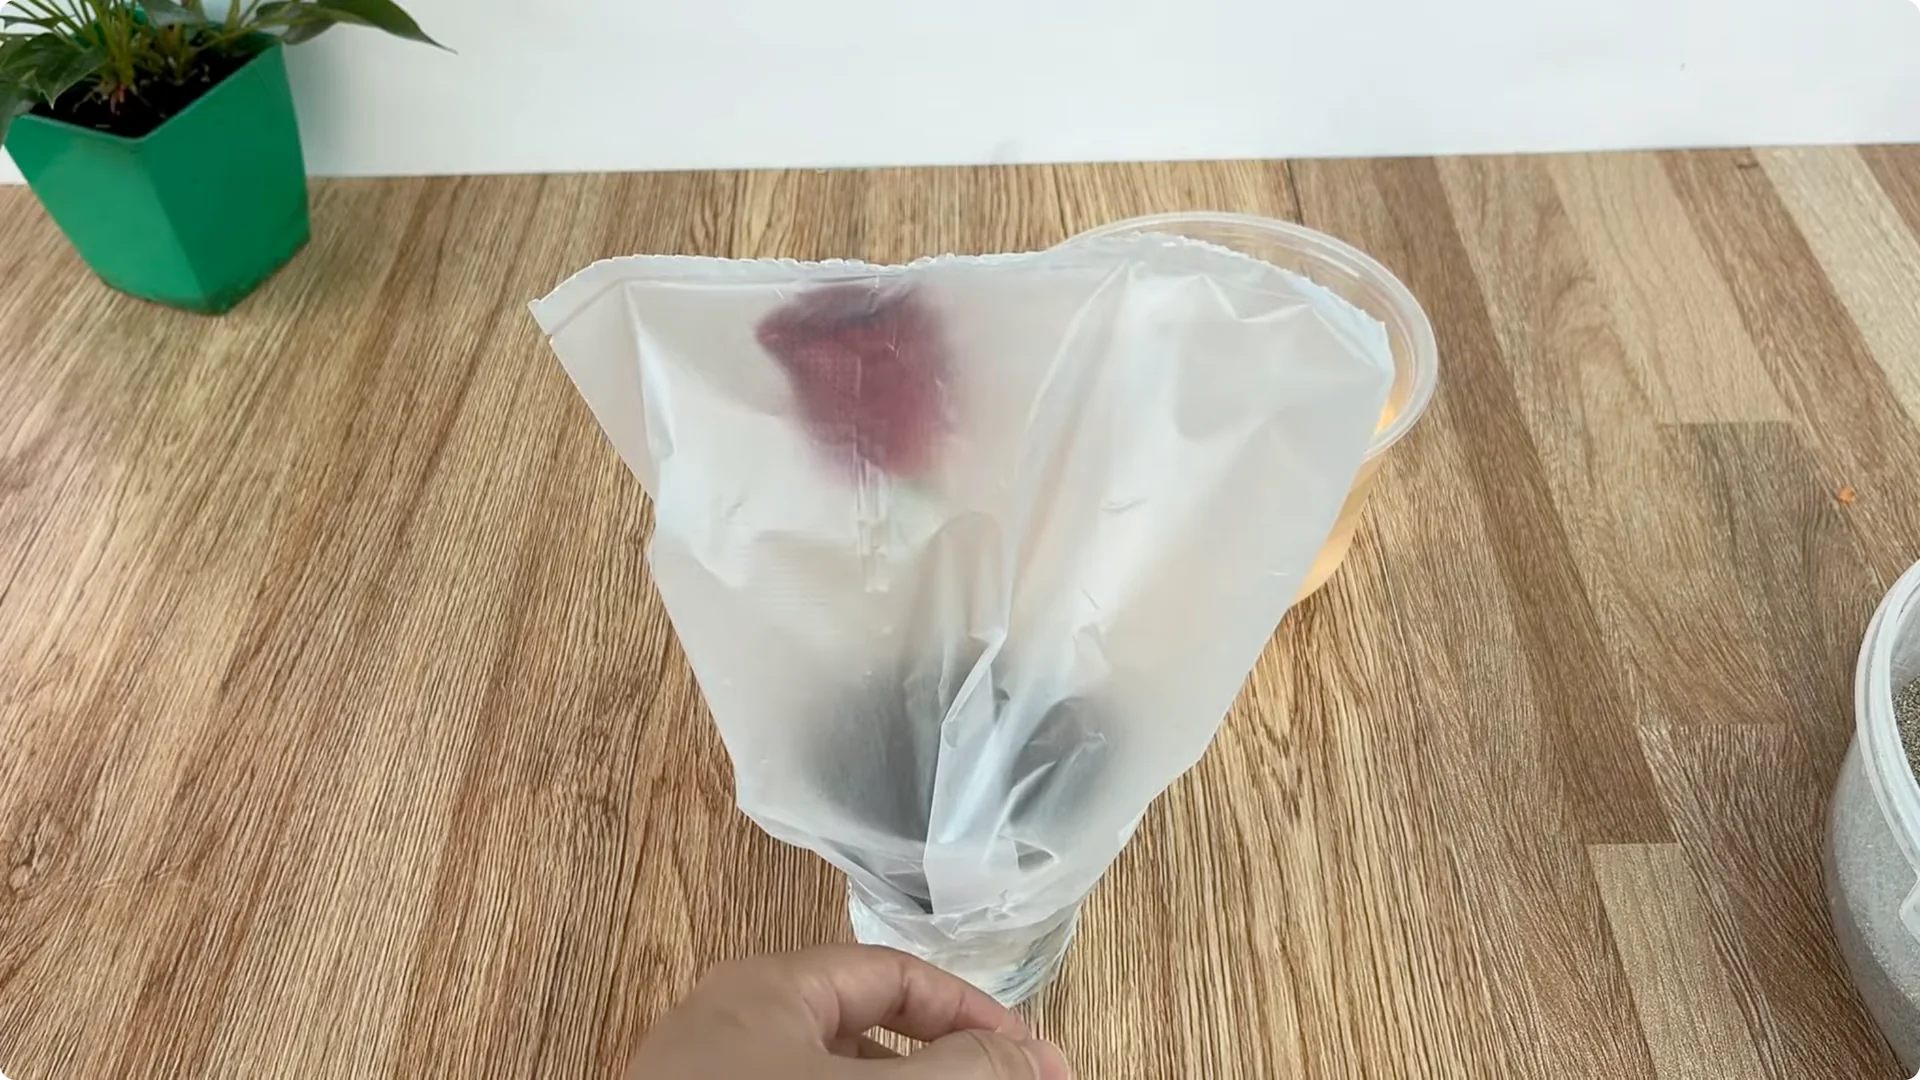
Remove the rose stem from the aloe vera and insert the base deep into the center of the cup of sand. Gently press down around the stem to secure it so it stands firmly and makes even contact with the substrate. Cover the entire cup and stem with a plastic bag or a clear plastic cup to create a stable, humid environment like a mini greenhouse.
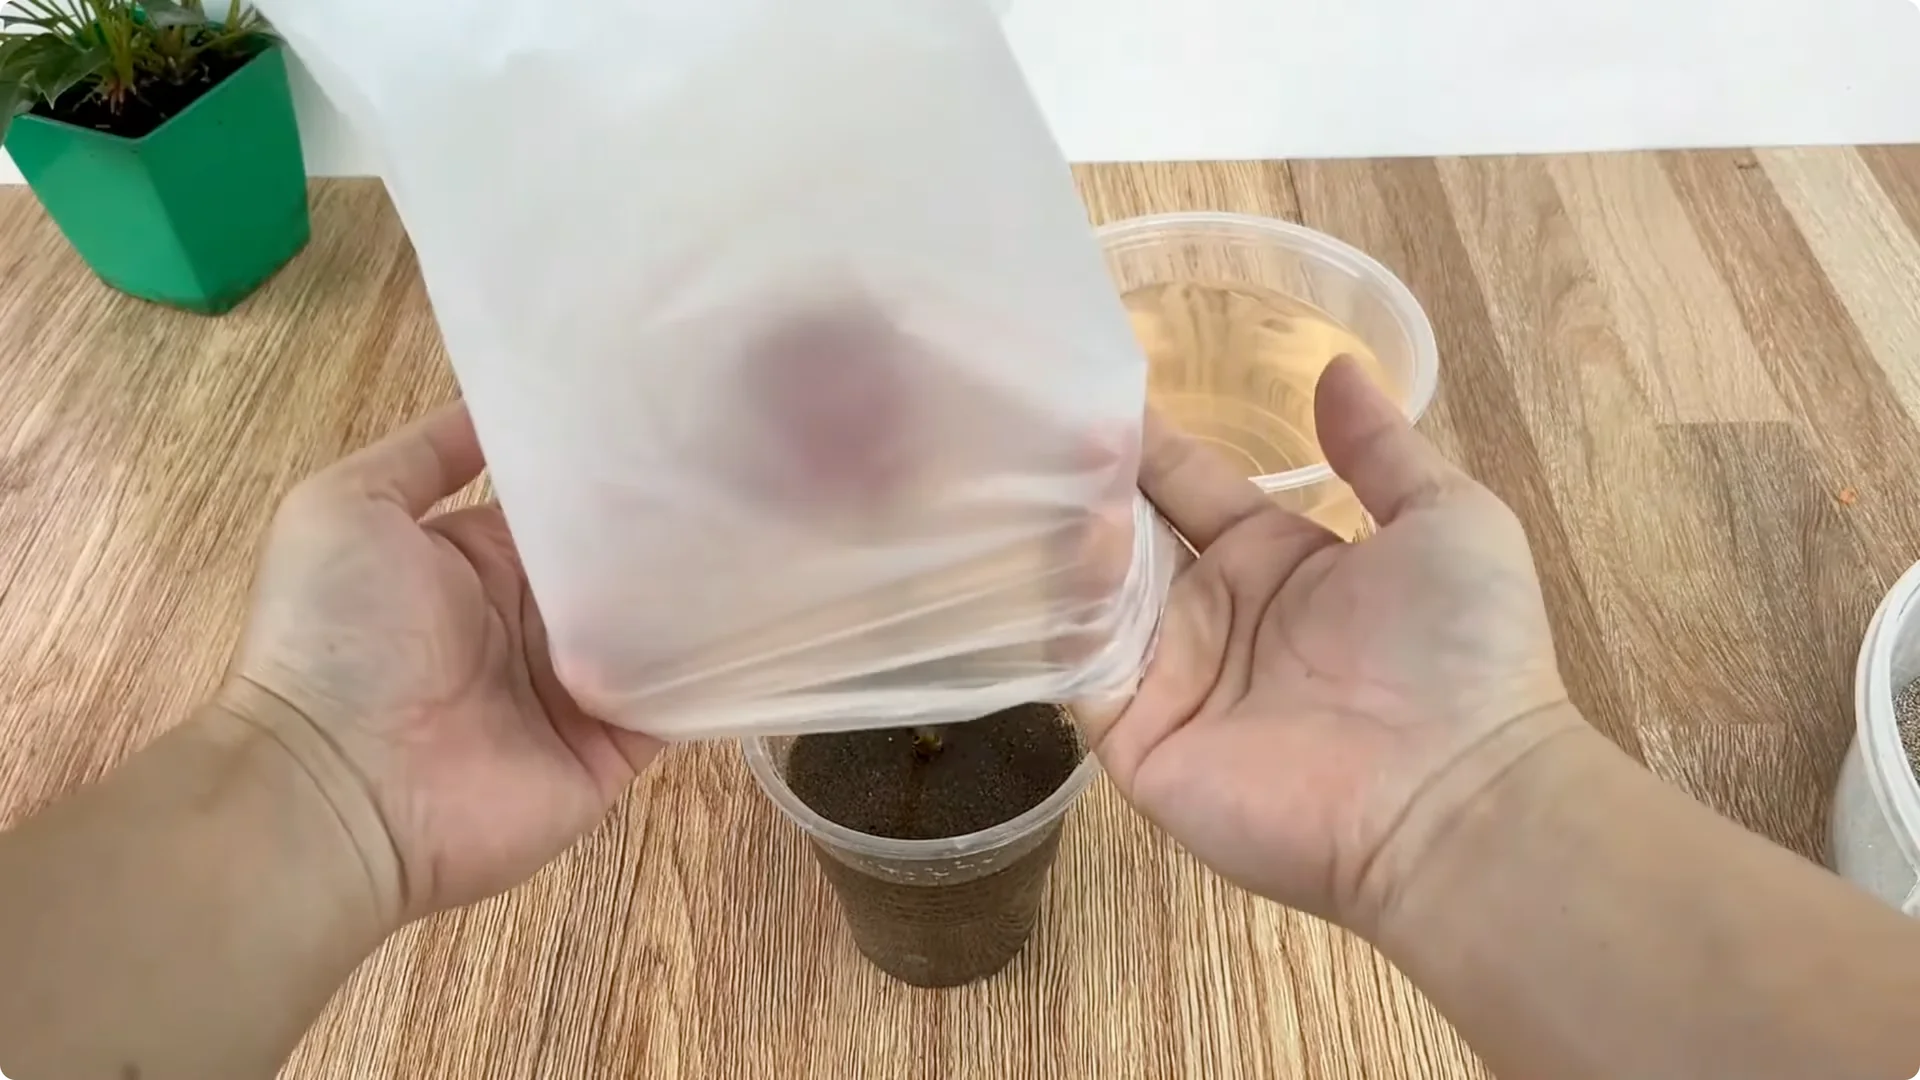
Place the cup in a cool, airy place, away from strong winds and harsh sunlight. Diffused light is ideal for development during this stage. The cutting retains moisture and concentrates energy on root formation.
Read More: One Cup Transform Rose Plant Growth Blooms
5. Aloe Vera Rose Propagation – Care and Signs
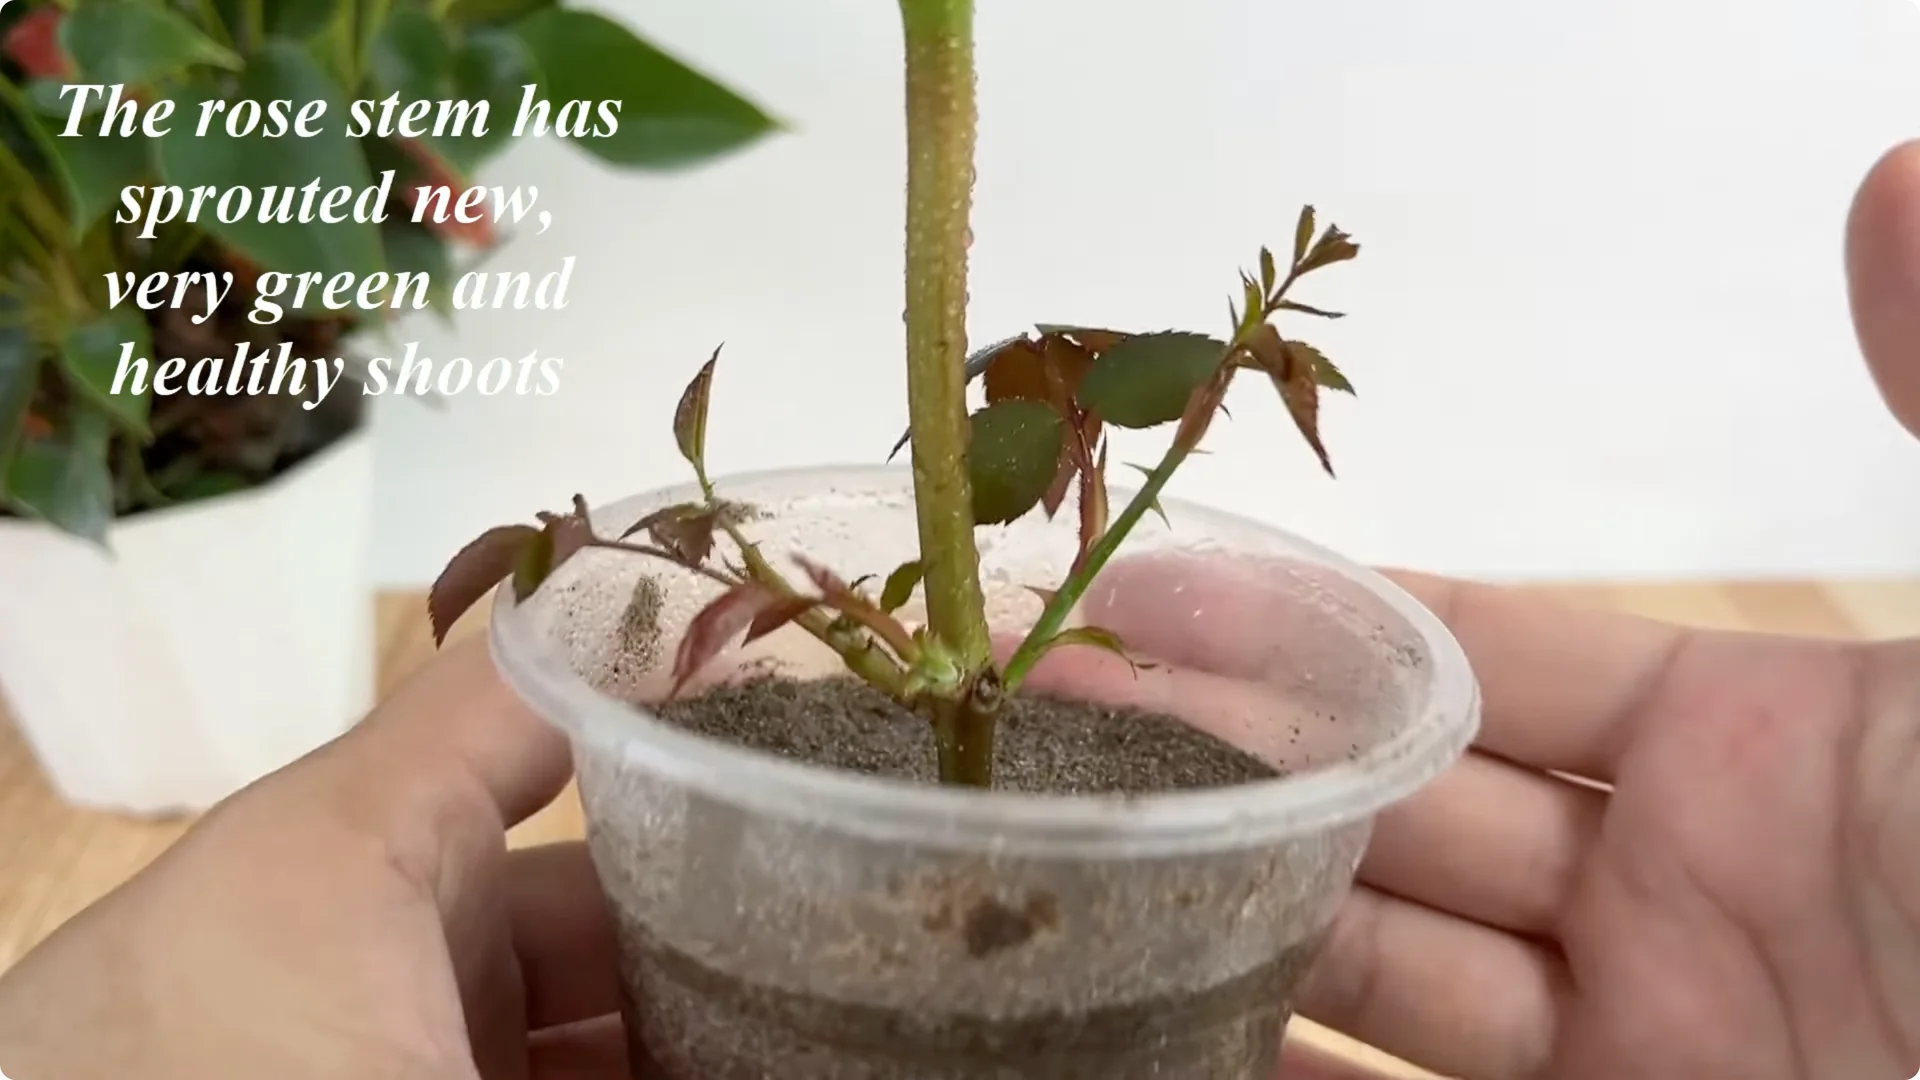
After about 10 days of proper care, you will notice very positive changes. On the branch, young shoots gradually emerge, green and full of vitality. From the base, many new roots appear – ivory white, thick, and succulent, clinging tightly to the sand.
Keep the medium slightly moist and the humidity stable. Avoid direct sun and strong drafts during early rooting. Let the roots thicken and stabilize before moving on.
6. Aloe Vera Rose Propagation – Transplanting
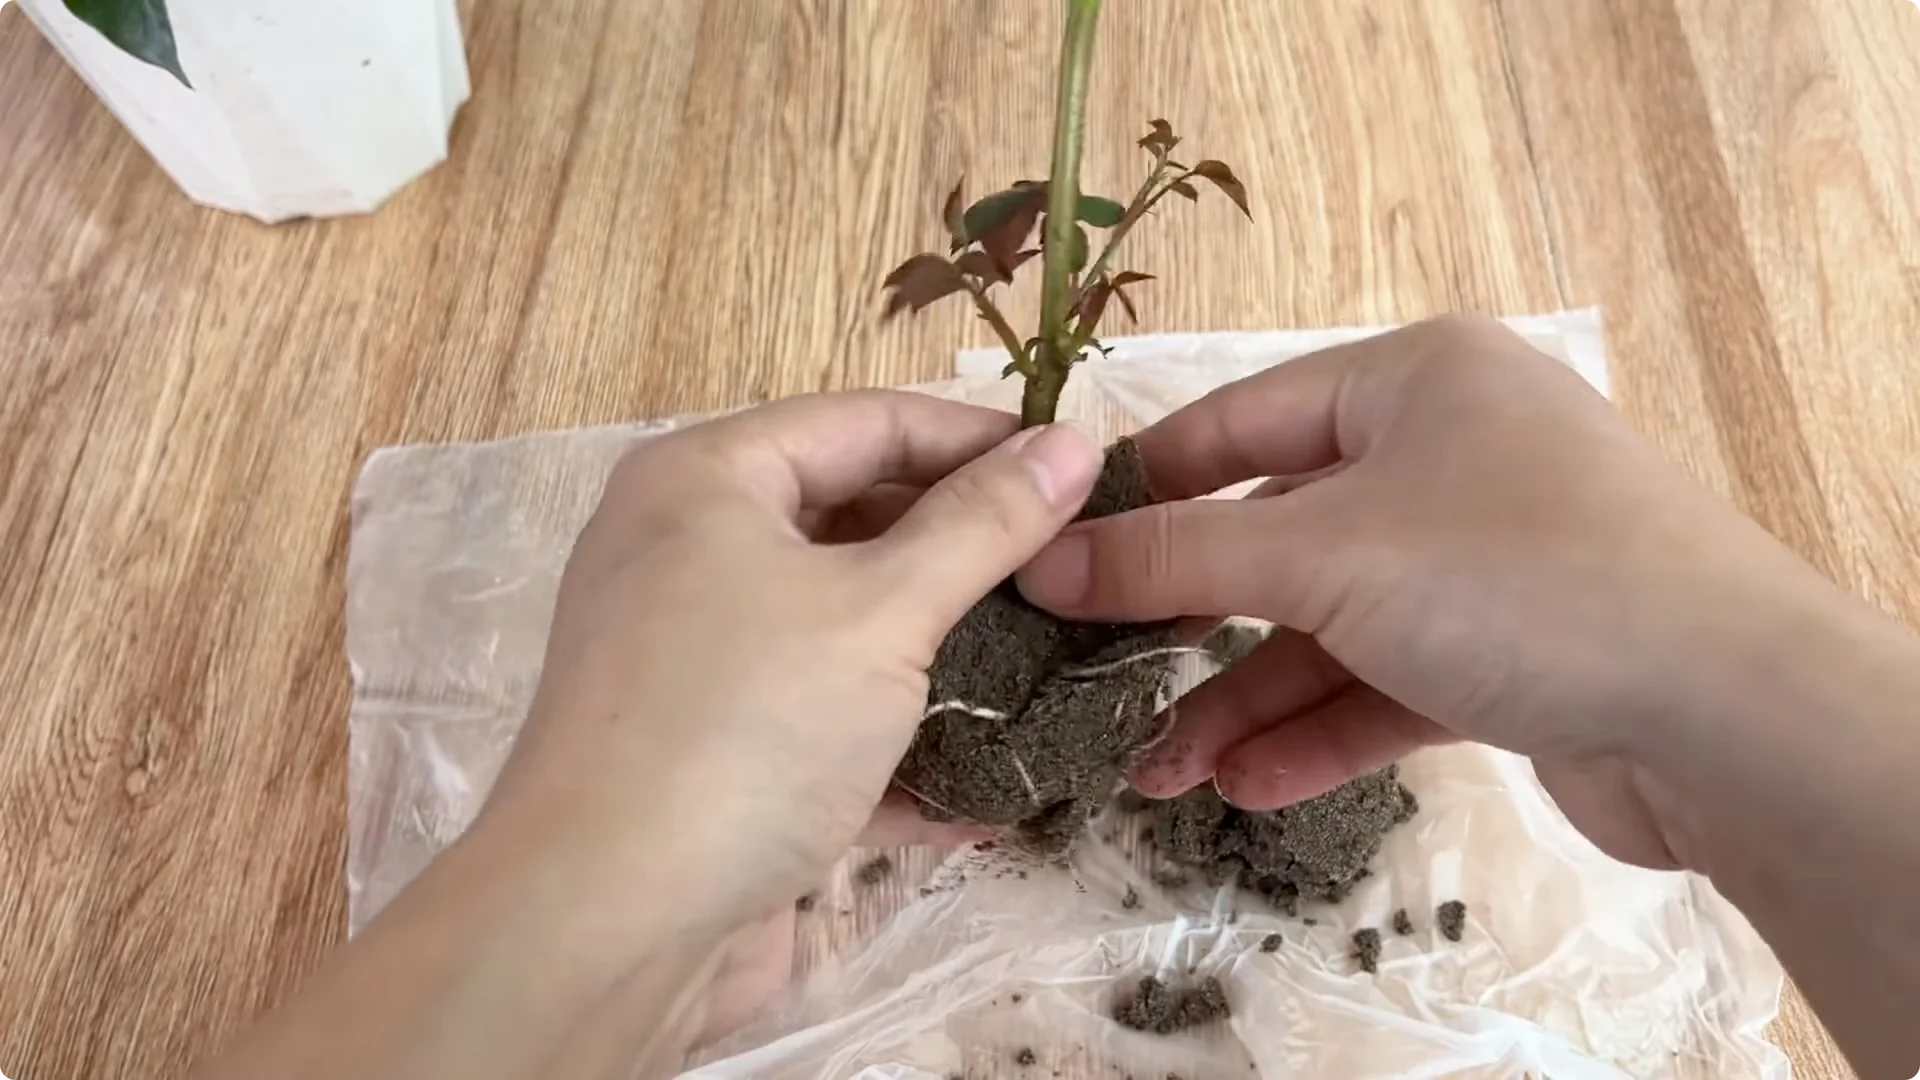
Once the roots have developed stably, gently transfer the rose cutting to a pot with good drainage. Treated coconut fiber works well as a growing medium for continued long-term growth. Handle the young roots carefully to avoid damage.
Water lightly after transplanting to settle the medium. Keep the plant in bright, indirect light while it adjusts. Increase light gradually as growth strengthens.

Final Thoughts on Aloe Vera Rose Propagation
This method makes the most of simple, natural materials to support clean rooting and healthy growth. Each stage – selection, aloe treatment, nutrient solution, aerated sand, and gentle care – contributes to reliable results. When you see the first roots and fresh shoots, you feel the quiet life within that tiny branch and the calm satisfaction that gardening brings.