
This is a very effective natural rooting method, combining familiar ingredients that promote fast, strong and stable rooting of rose cuttings. Follow the steps correctly and after about 10 days the rose branches can grow strongly with a very desirable healthy white root system. Let me go through each step in detail.
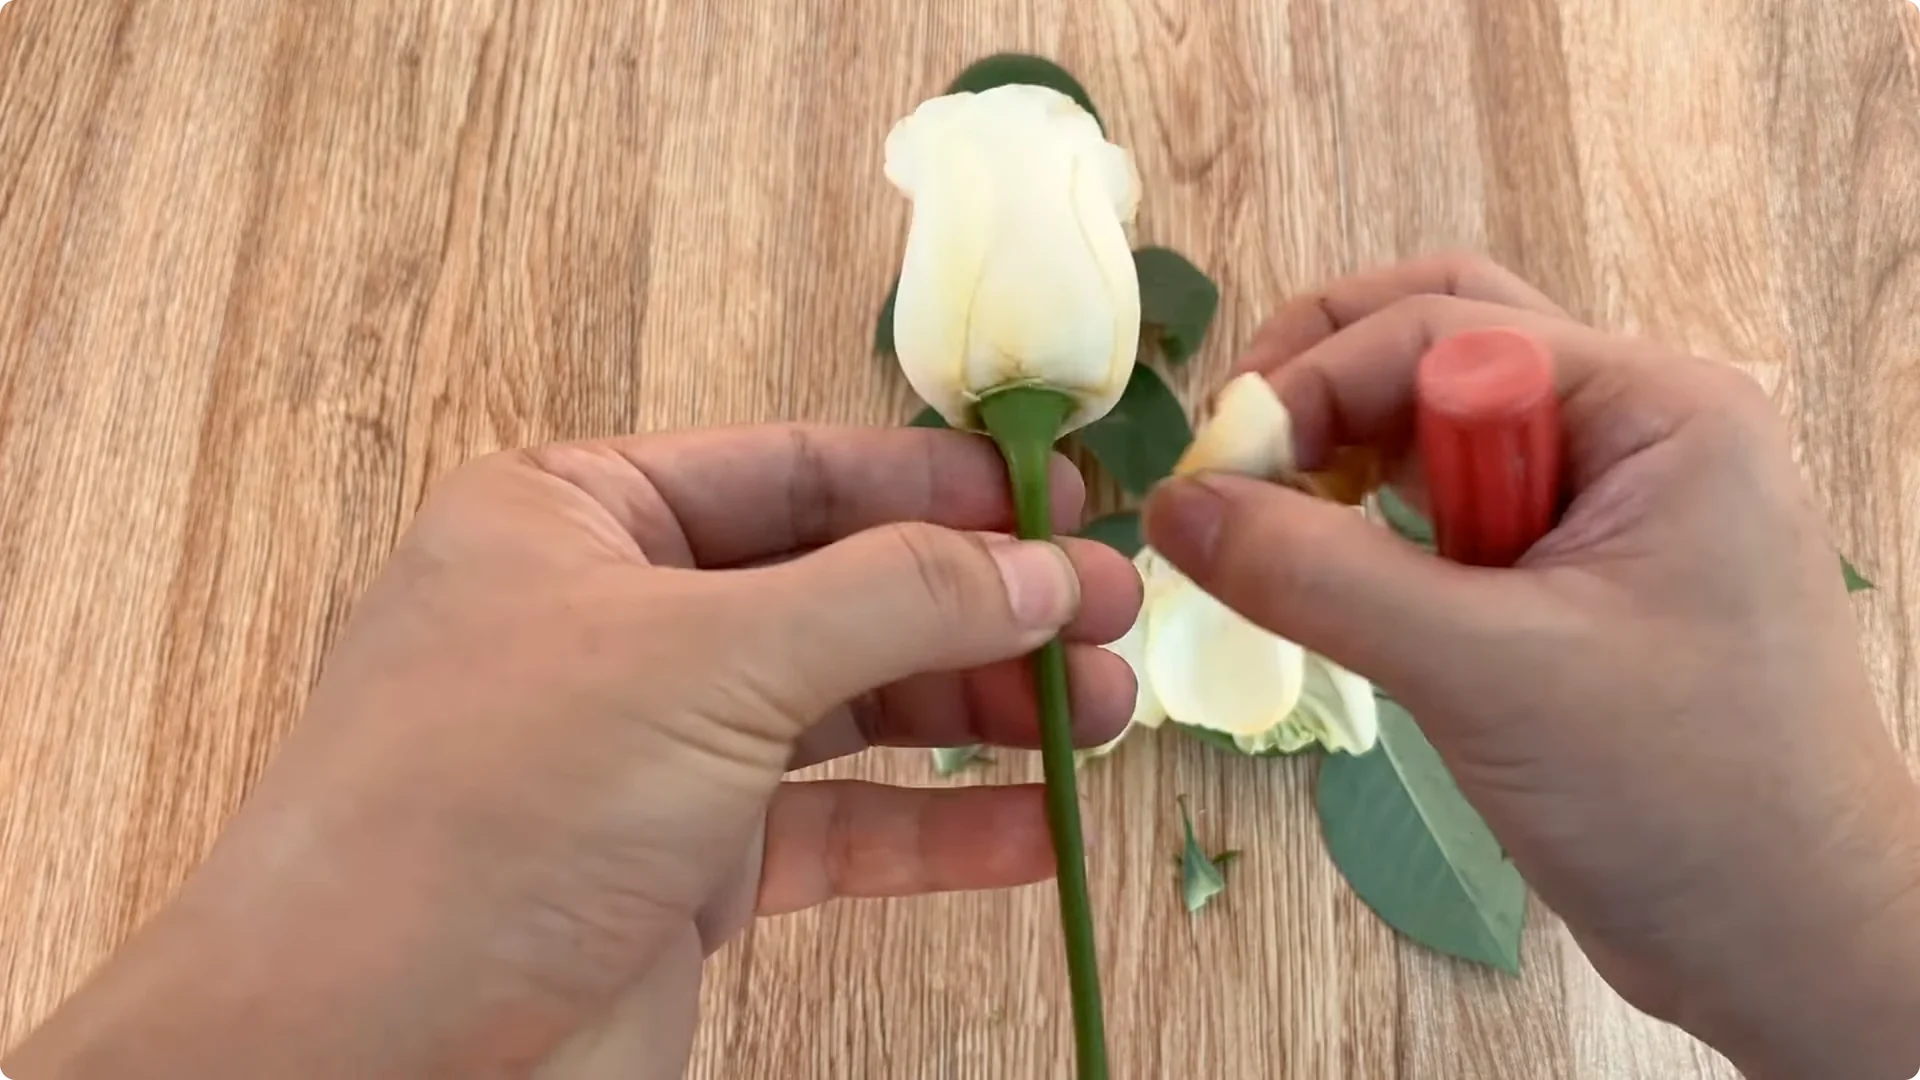
I prepare a few healthy rose branches, free of pests and diseases and of moderate age. Gently cut off all the leaves, sharp thorns and wilted petals on the branches. This helps limit water evaporation and prevent damaged parts from causing rot during the cutting process.
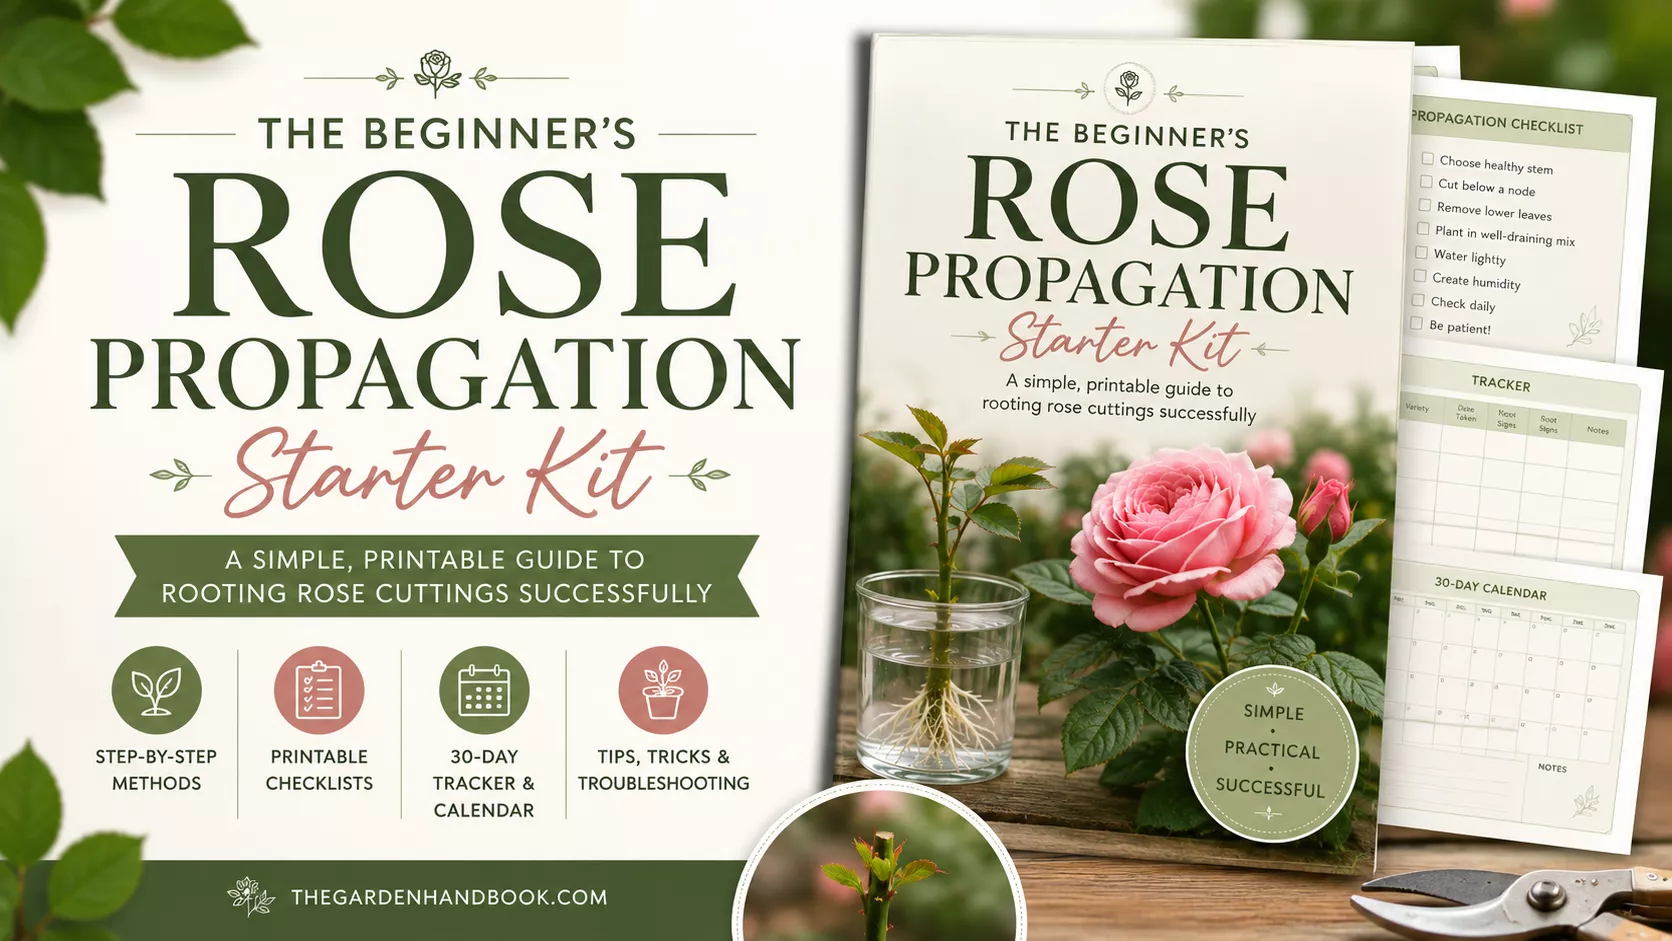
The Beginner’s Rose Propagation Starter Kit 🌹
A simple printable PDF guide to help you root rose cuttings successfully.
Get The Guide →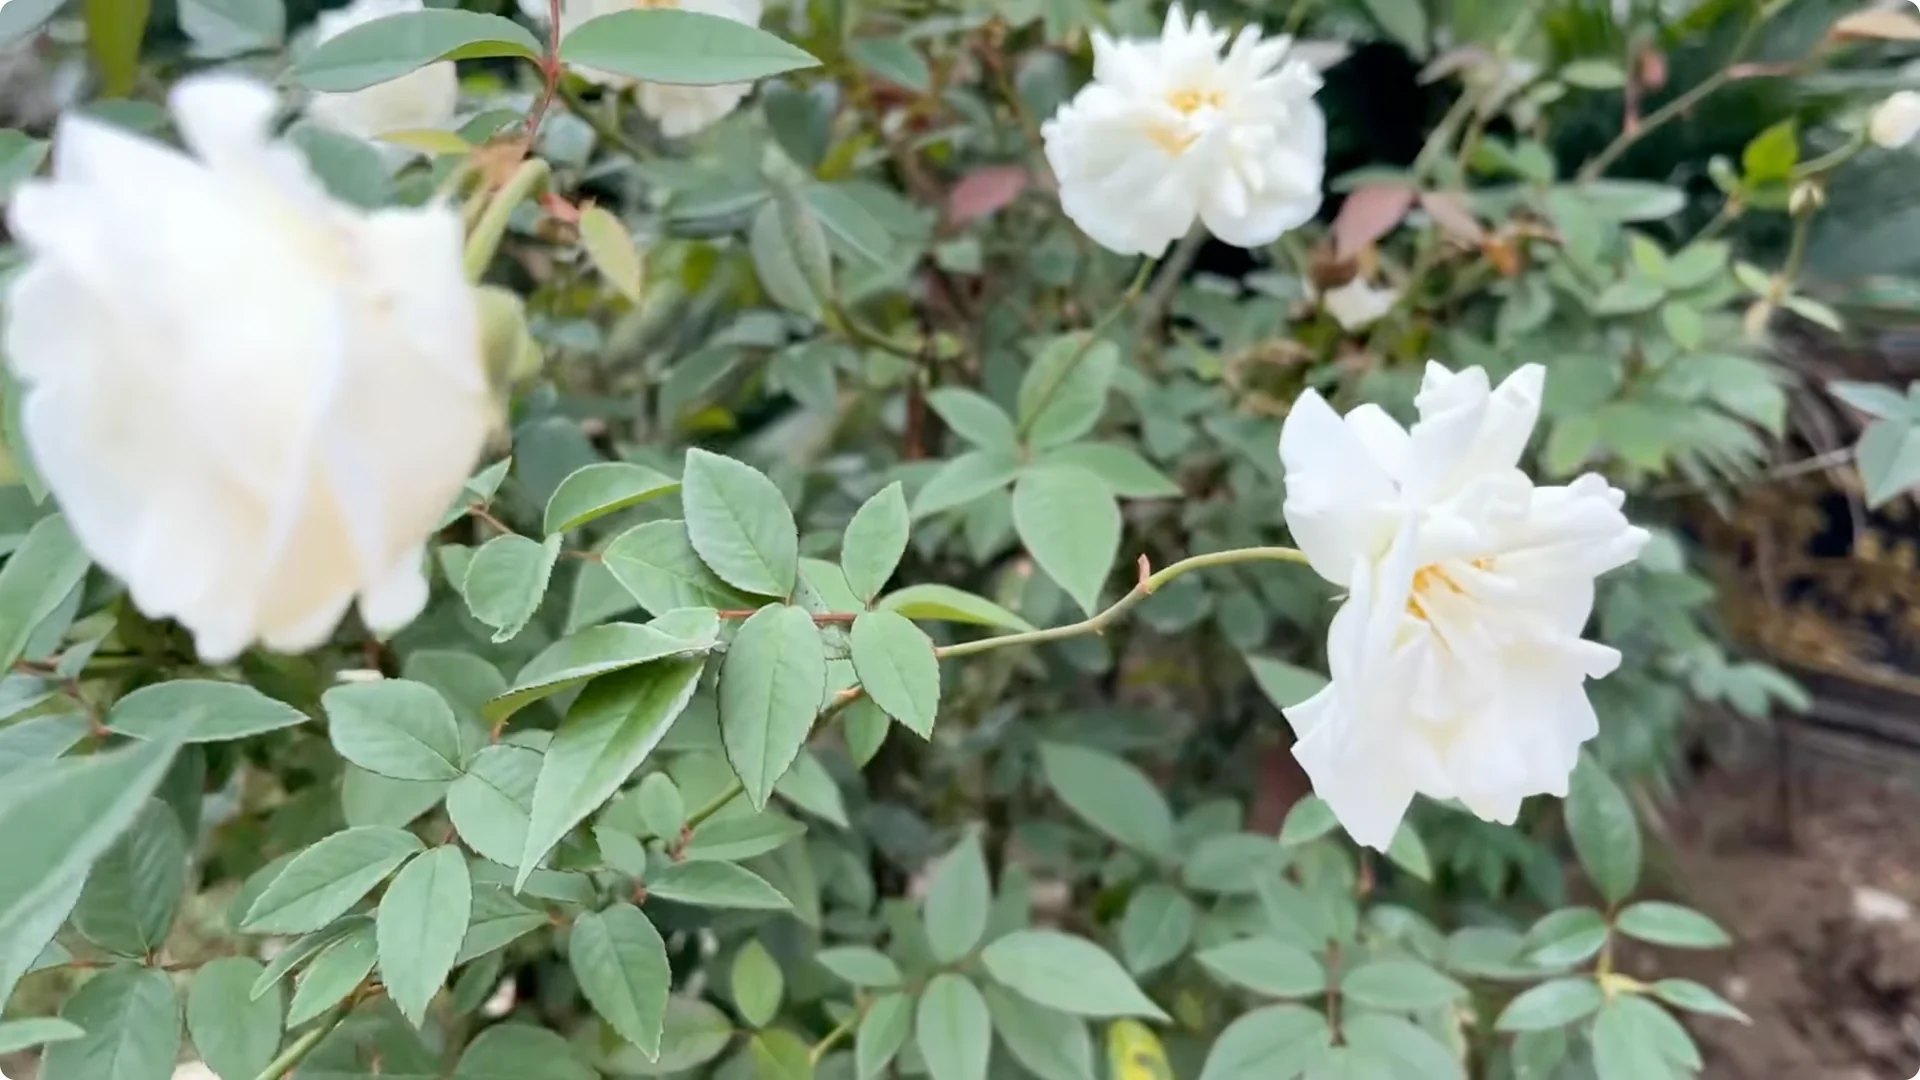
Cut the flower branch to about 15-20 cm in length so the branch can concentrate its energy on forming new roots. A cutting that is too long will easily lose water, and one that is too short will limit the ability to sprout. About 15-20 cm is the standard recommended by many gardeners.
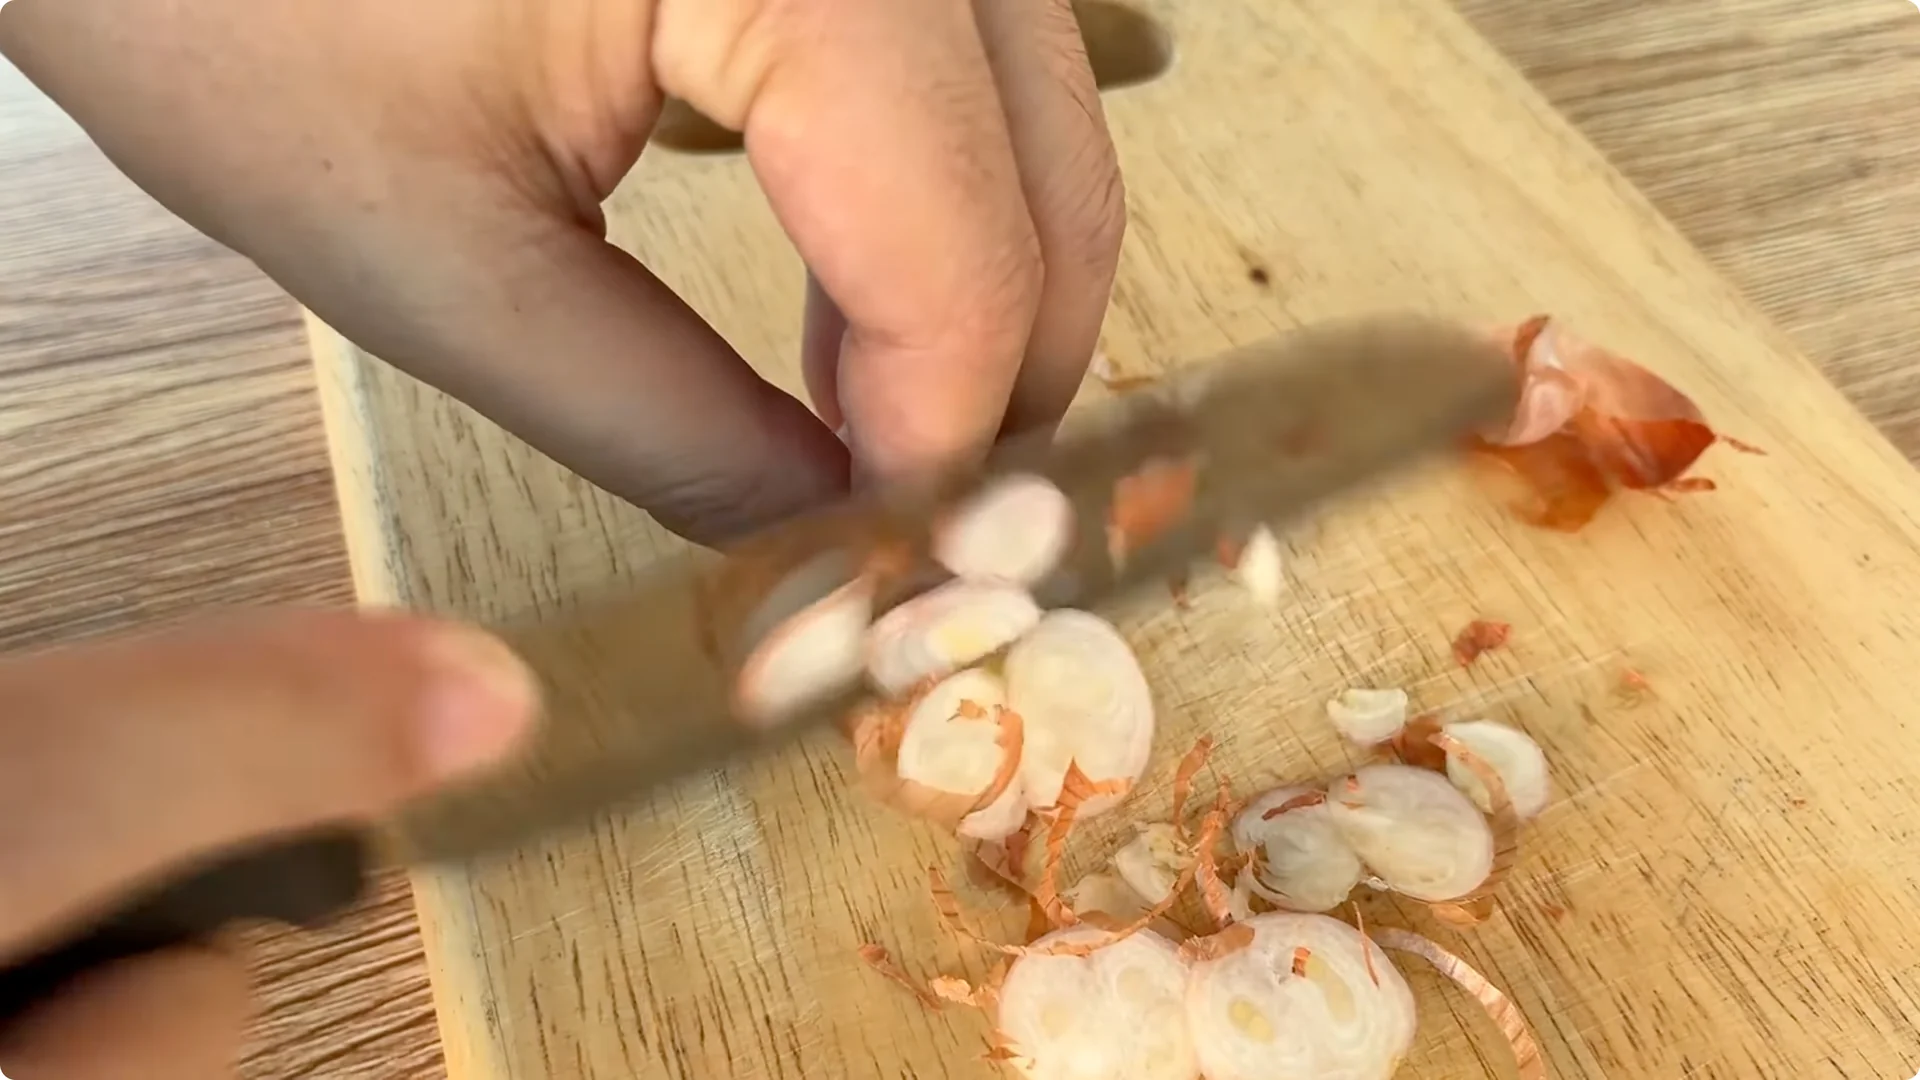
1. Natural Rose Cutting Propagation – Purple Onion Solution
We use purple onions – a very familiar ingredient in the kitchen. Purple onions contain sulfur and strong antioxidant compounds, which help fight bacteria, limit root rot and stimulate scar tissue in the cut part of the flower branch to form faster. Take 1 purple onion, wash it and chop it.
Put the sliced purple onion in a clean plastic cup with 500 ml of water. Stir well to let the essence penetrate into the water. Soak the rose branch in this cup for 15 minutes so that the base of the branch absorbs nutrients, supporting the natural rooting process.

For more step-by-step ideas you can compare with a simple effective method for propagating roses.
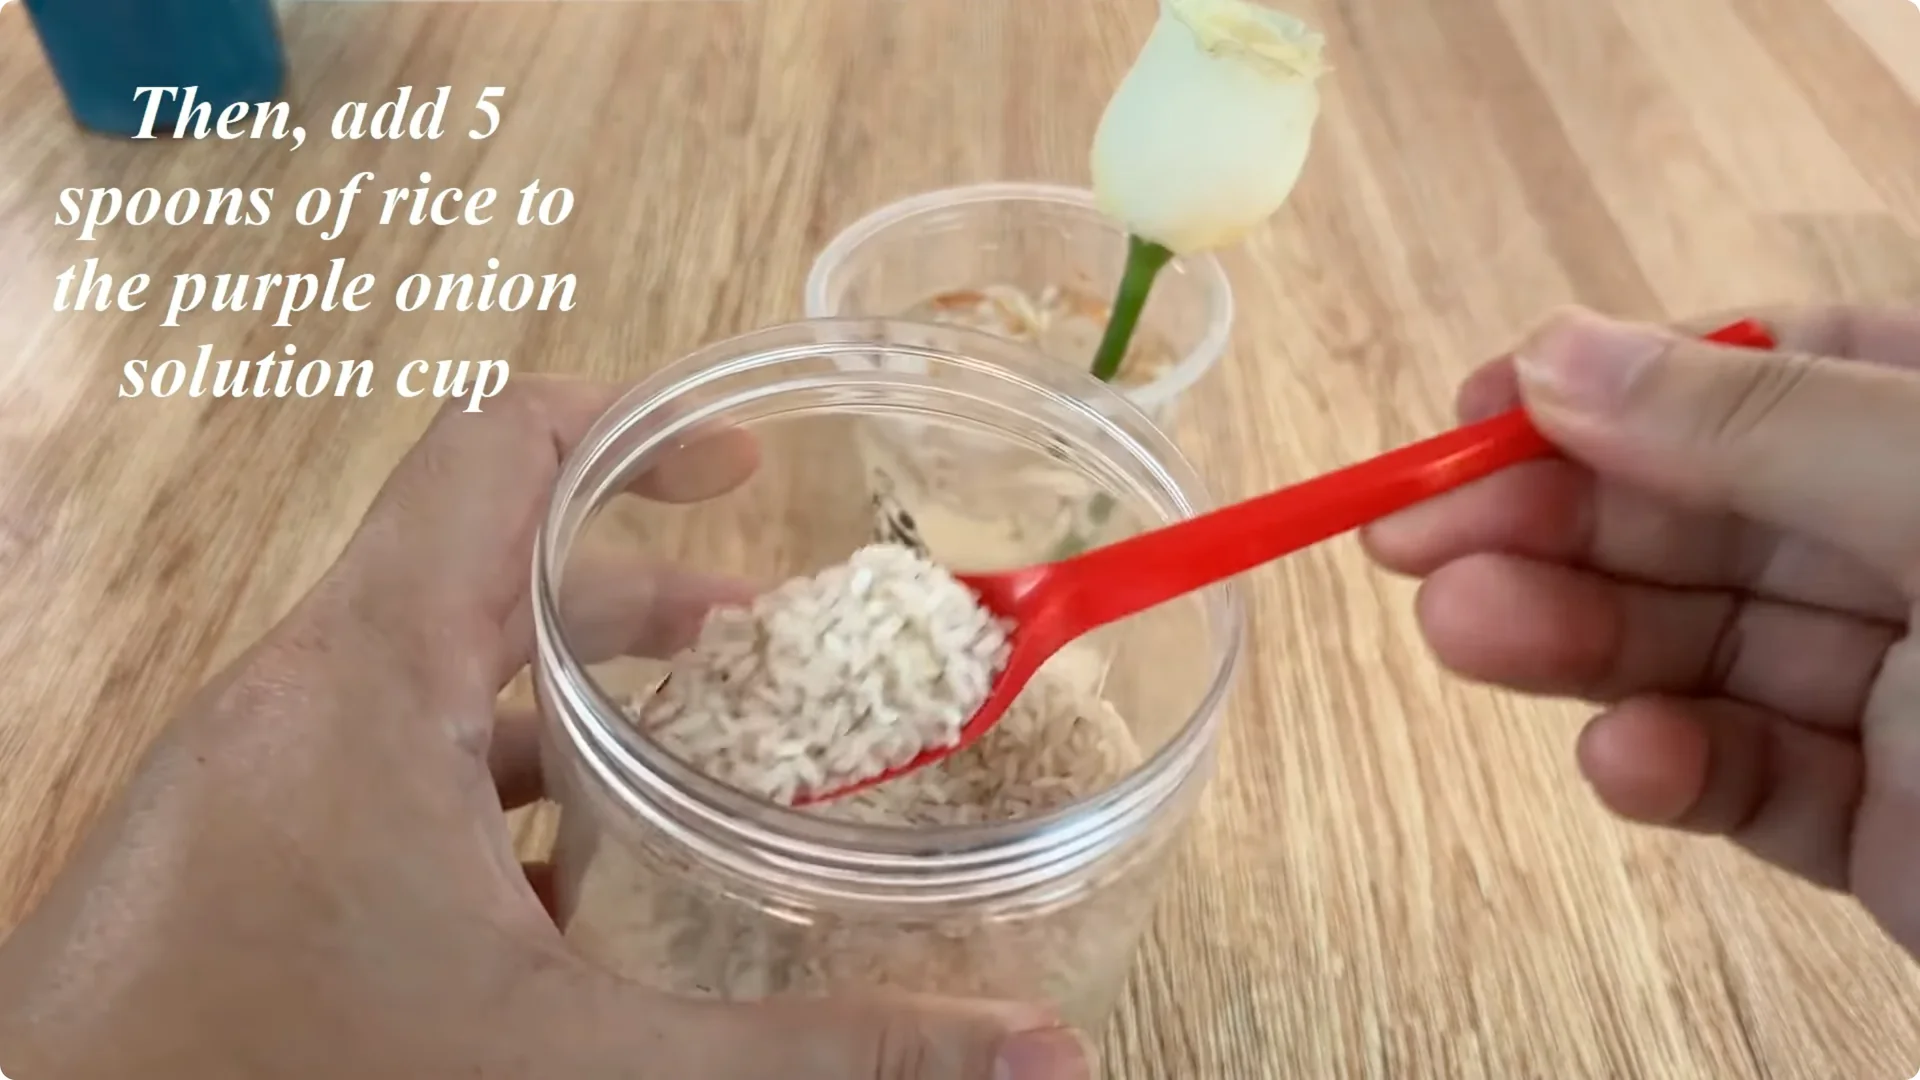
2. Natural Rose Cutting Propagation – Add Rice
Add 5 tablespoons of rice to the same cup of purple onion water you just used. Rice, with its abundant starch, creates a natural microbiological environment that helps stimulate young roots to grow strongly. Stir the mixture well and let it sit for 15 minutes so that the rice can start secreting nutrients.
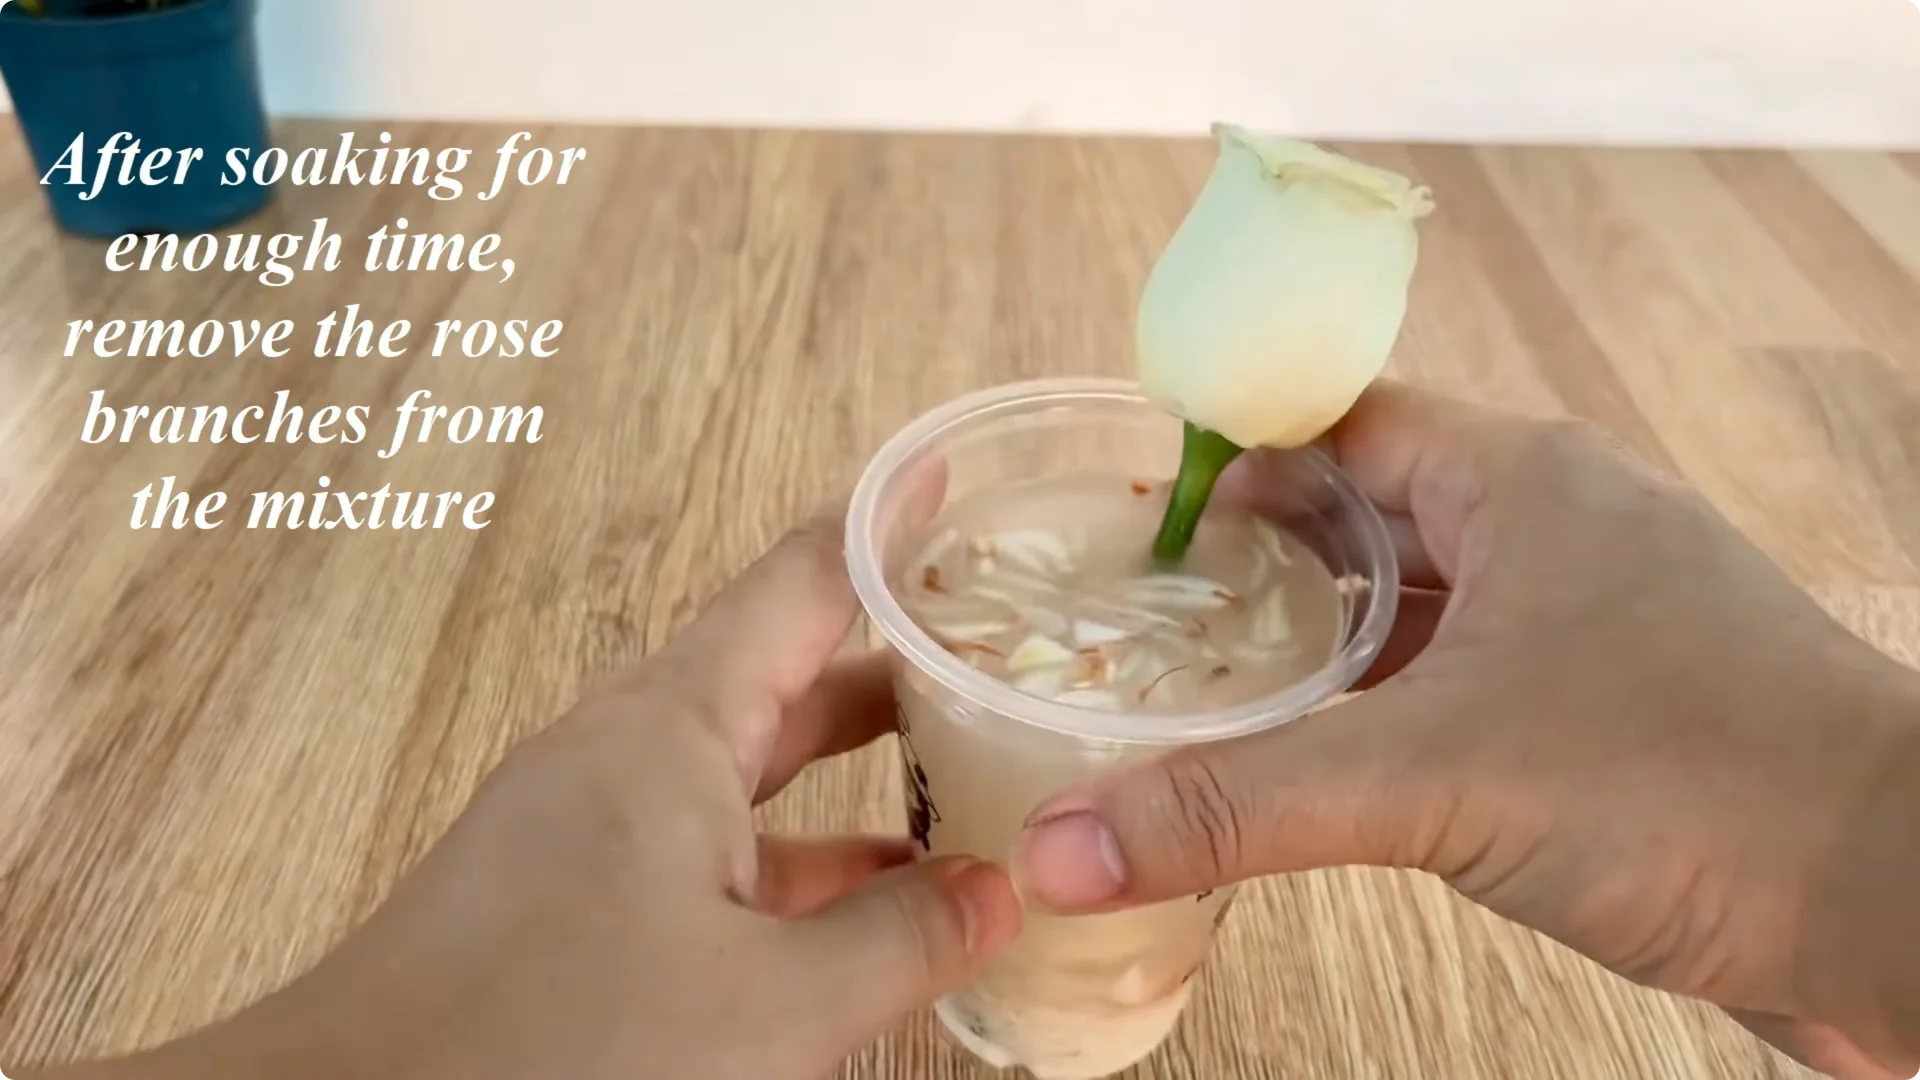
After soaking for the required amount of time, remove the rose branches from the mixture. Filter the rice-purple onion solution through a sieve to obtain clear water, rich in starch and biological compounds from purple onions.
3. Natural Rose Cutting Propagation – Add Coca Cola
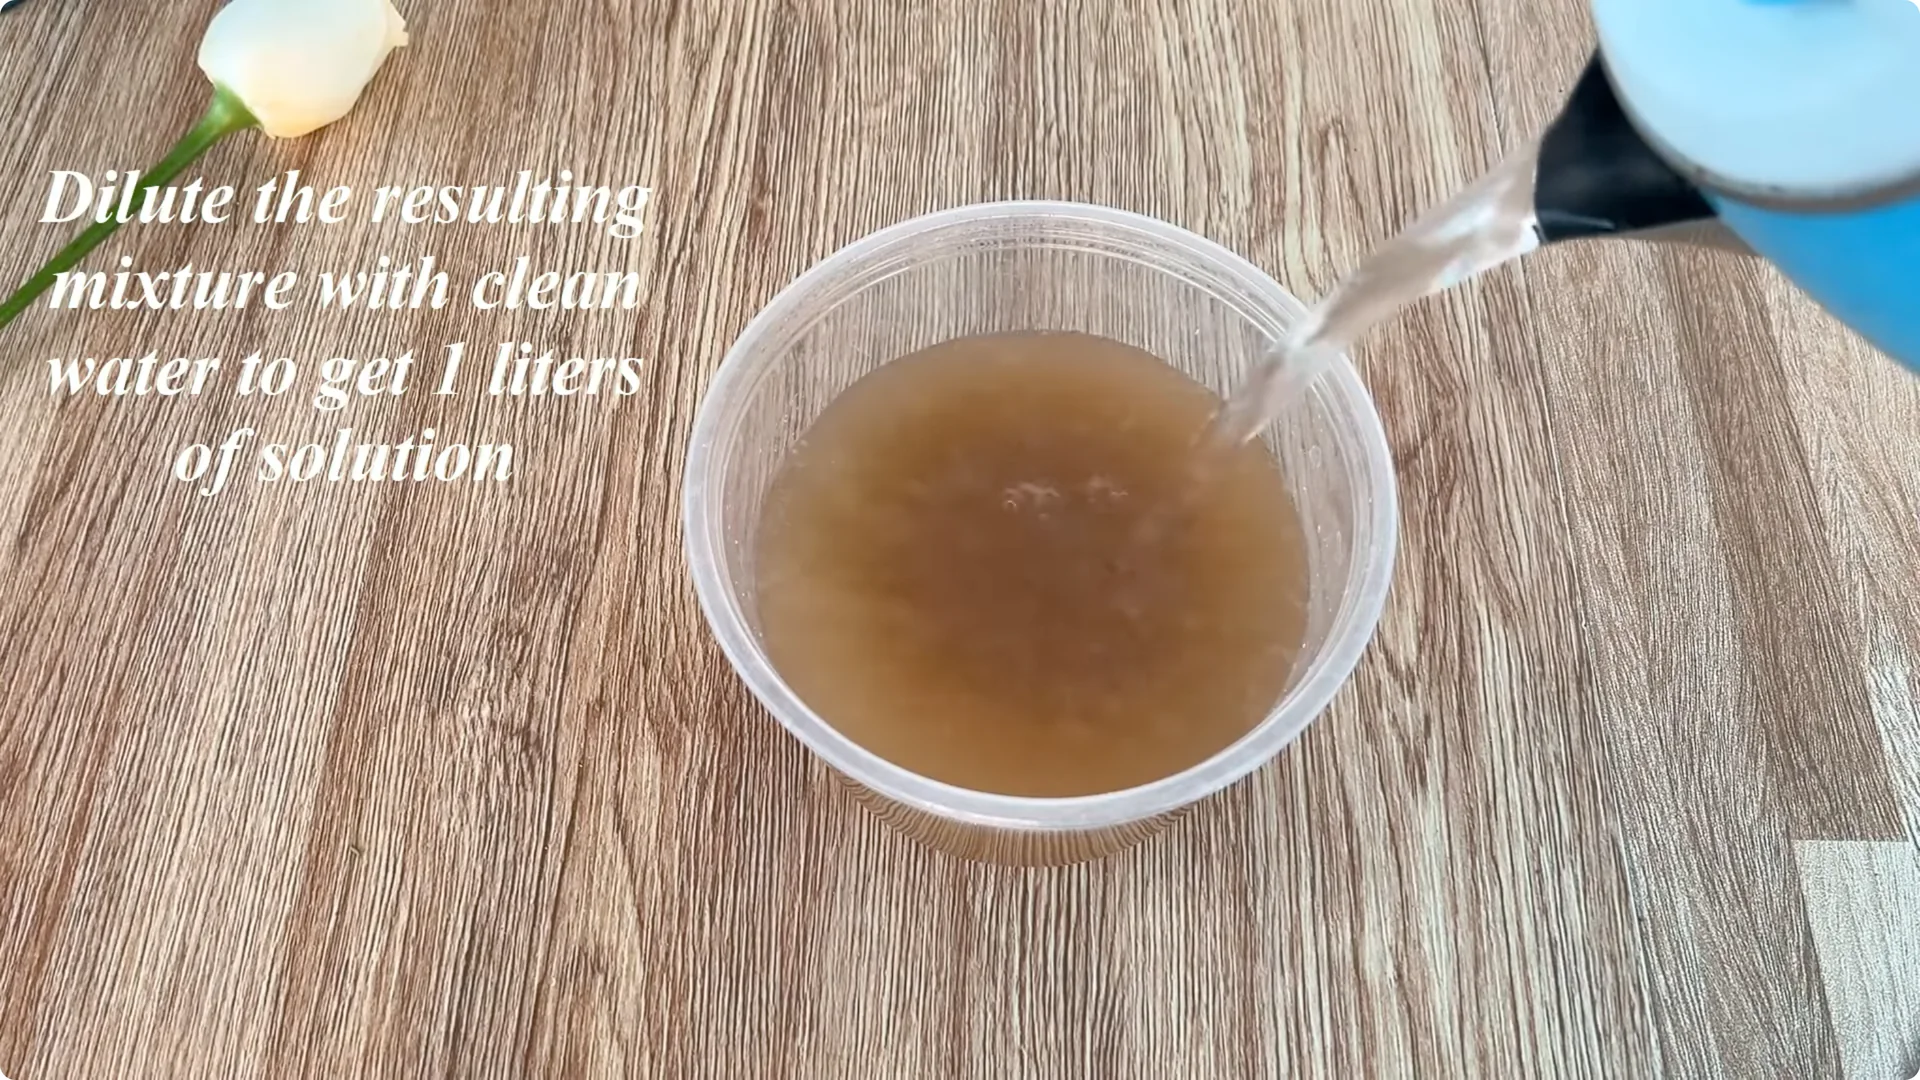
Add 100 ml of Coca Cola to this solution. Coca Cola contains sugar, citric acid and some trace minerals that help provide instant energy to plant tissue while promoting the process of root cell division. Although it sounds special, many gardeners have applied it and found that Coca Cola helps cuttings grow stronger and root faster than just using regular water.

After adding Coca, dilute this mixture with clean water to get a total of 1 liter of nutrient solution. This keeps the solution balanced for steady moisture and nutrition.
If you want another straightforward approach, see another simple method to propagate roses.
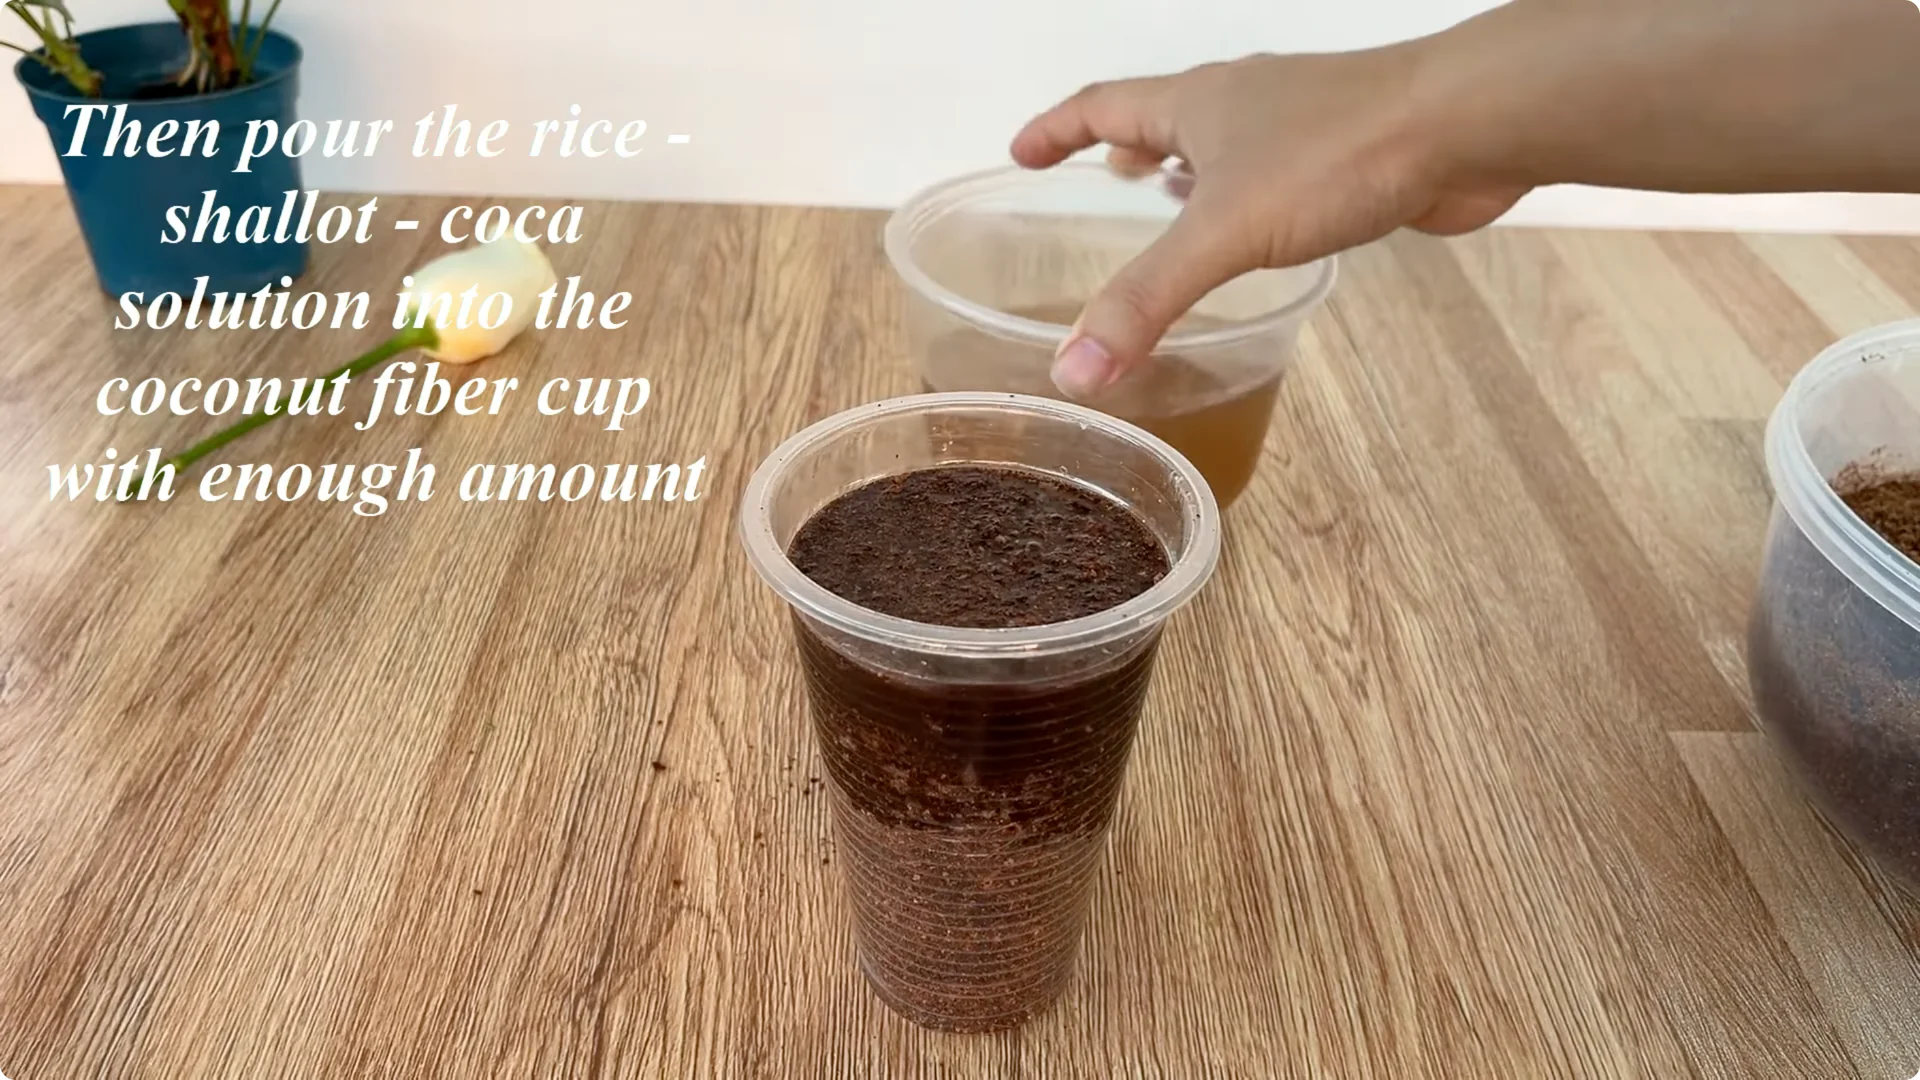
4. Natural Rose Cutting Propagation – Prepare the Growing Medium
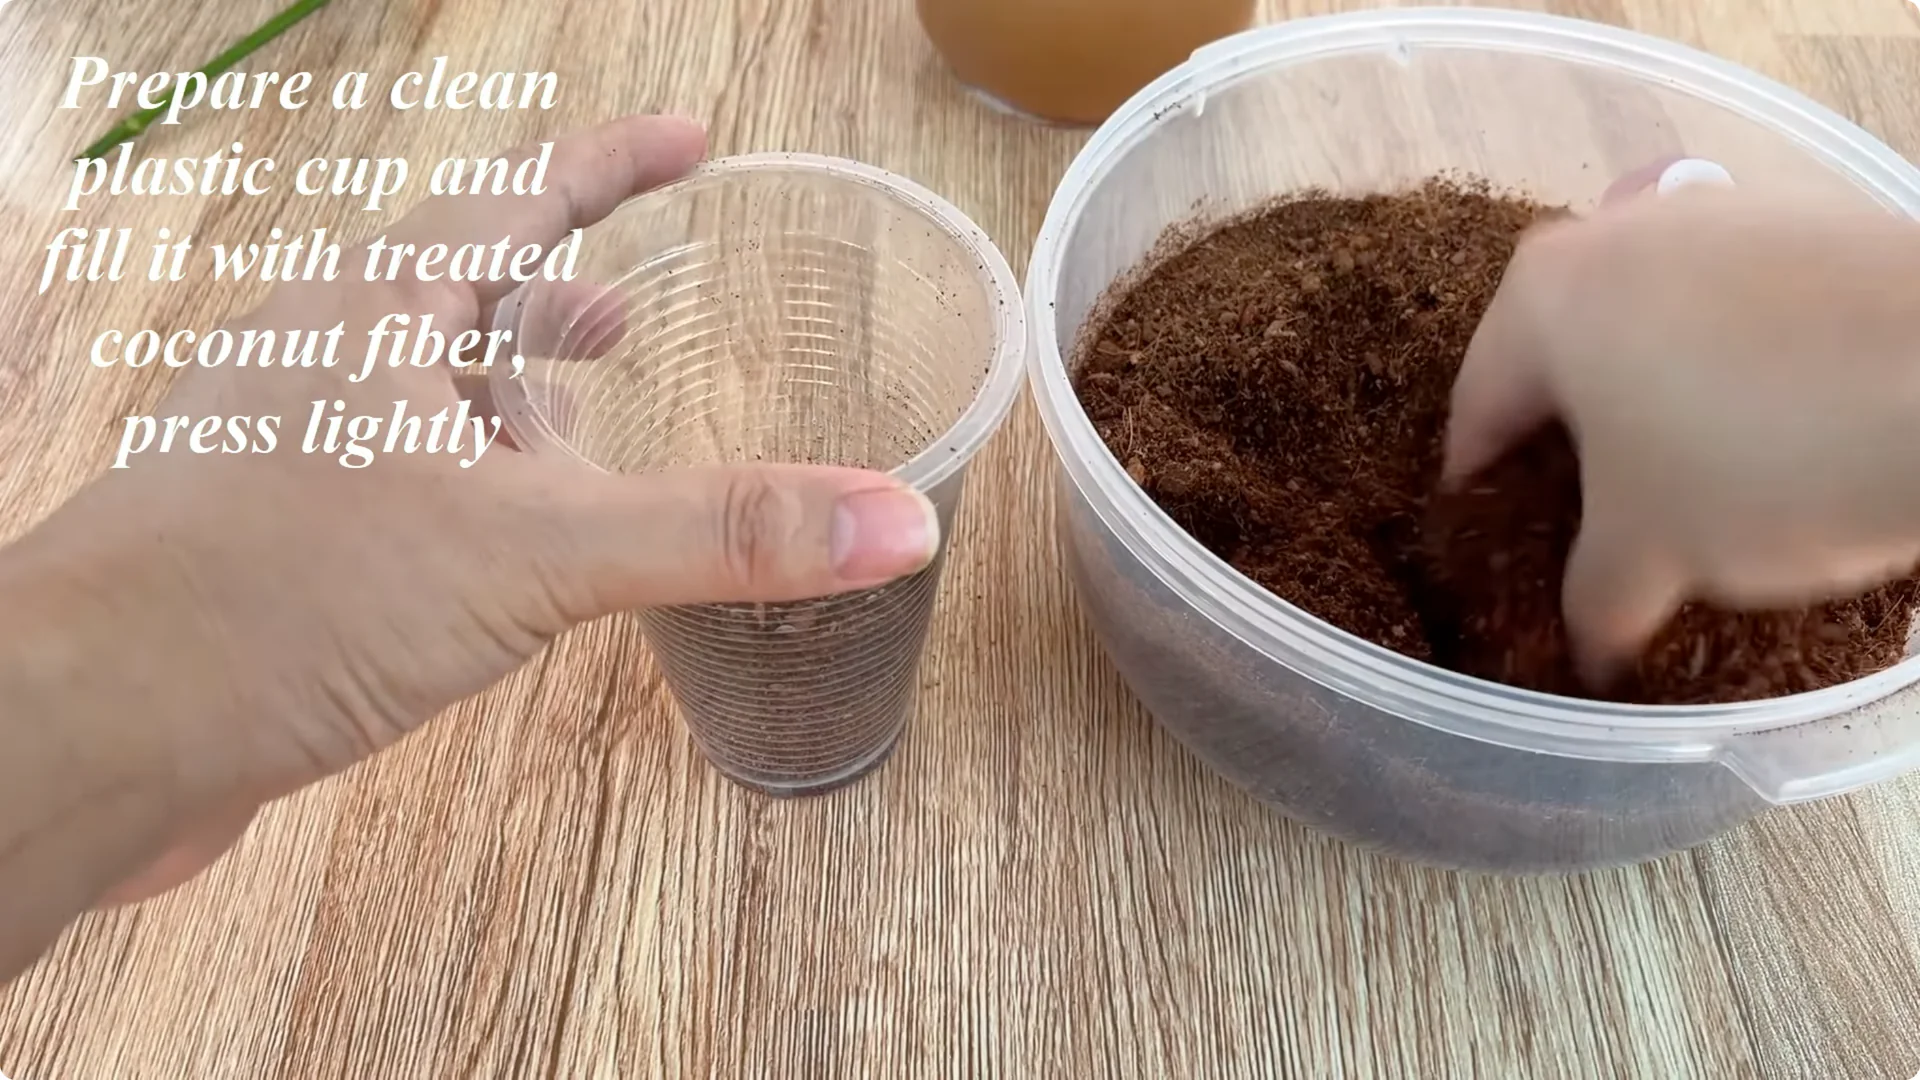
Take a clean plastic cup and fill it with treated coconut fiber. This growing medium retains moisture well, is airy and is very suitable for young roots to grow. Lightly compress the coconut fiber layer to create stability.
Pour the rice – shallot – Coca solution into the cup with enough amount to ensure that the coconut fiber is always moist but not soggy. Keeping it moist without waterlogging is key for oxygen at the root zone.
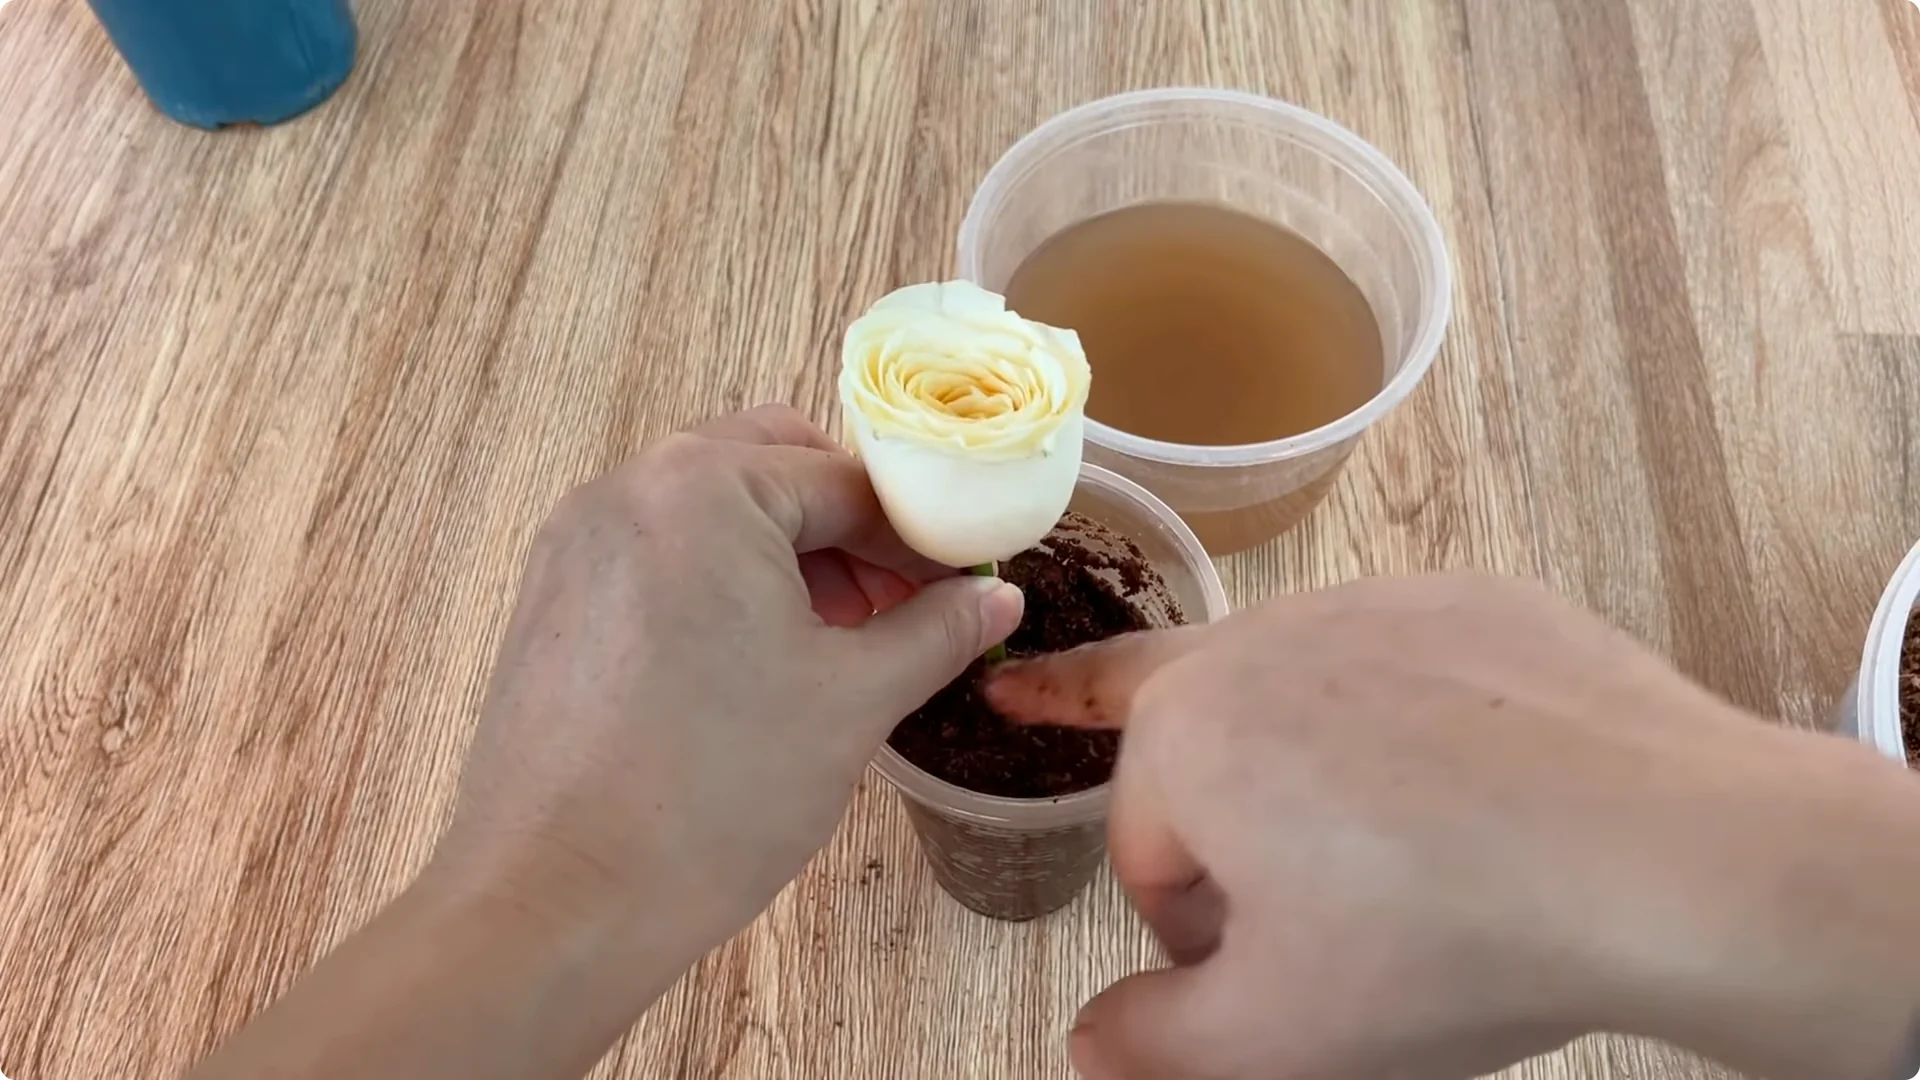
5. Natural Rose Cutting Propagation – Plant and Humidity Dome
Use your finger to make a hole in the middle of the cup and gently insert the rose branch. Make sure the base of the branch is deeply immersed in the coconut fiber layer. Gently press around to fix the position of the branch.
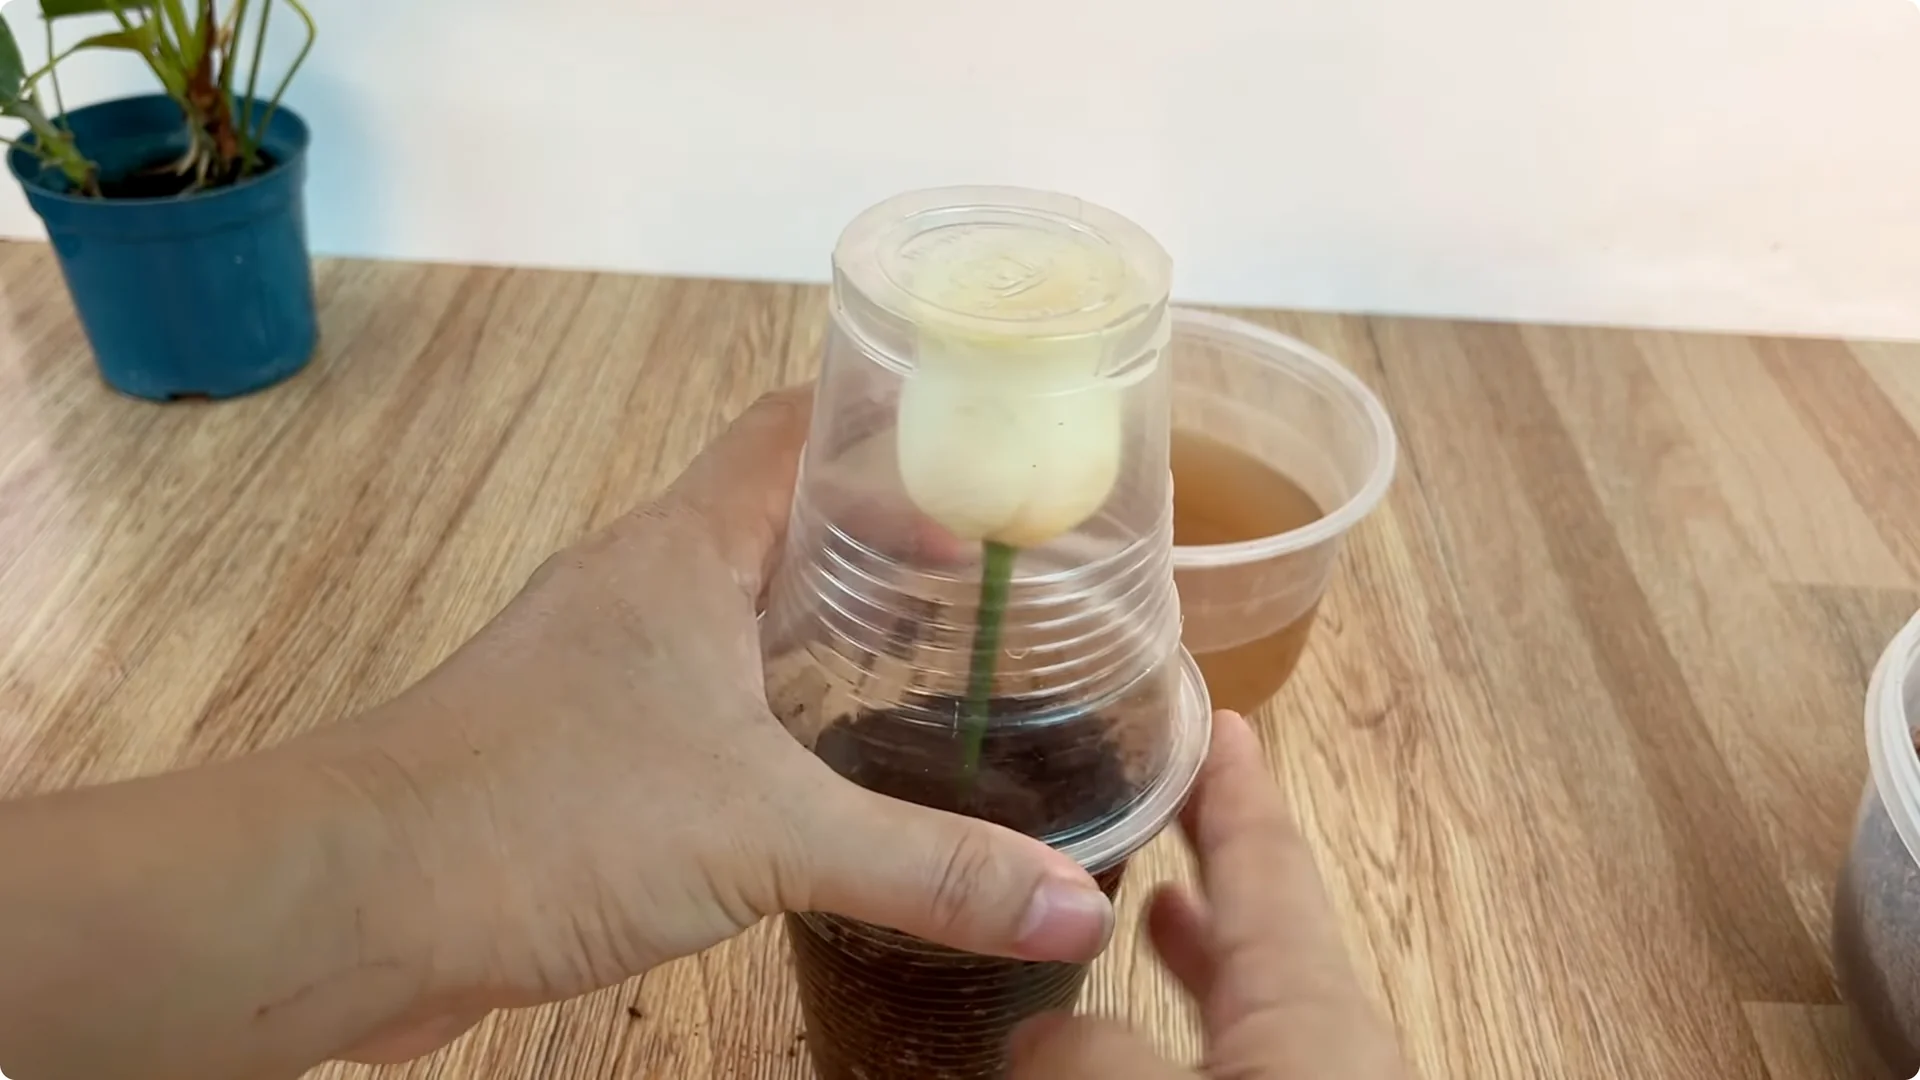
To maintain stable humidity – a decisive factor for success – cover the mouth of the cup with a plastic bag or a transparent plastic cup. This sealed environment acts as a miniature greenhouse, helping the flower branch retain moisture, limit water evaporation and prevent the base from drying out in the first very important days.
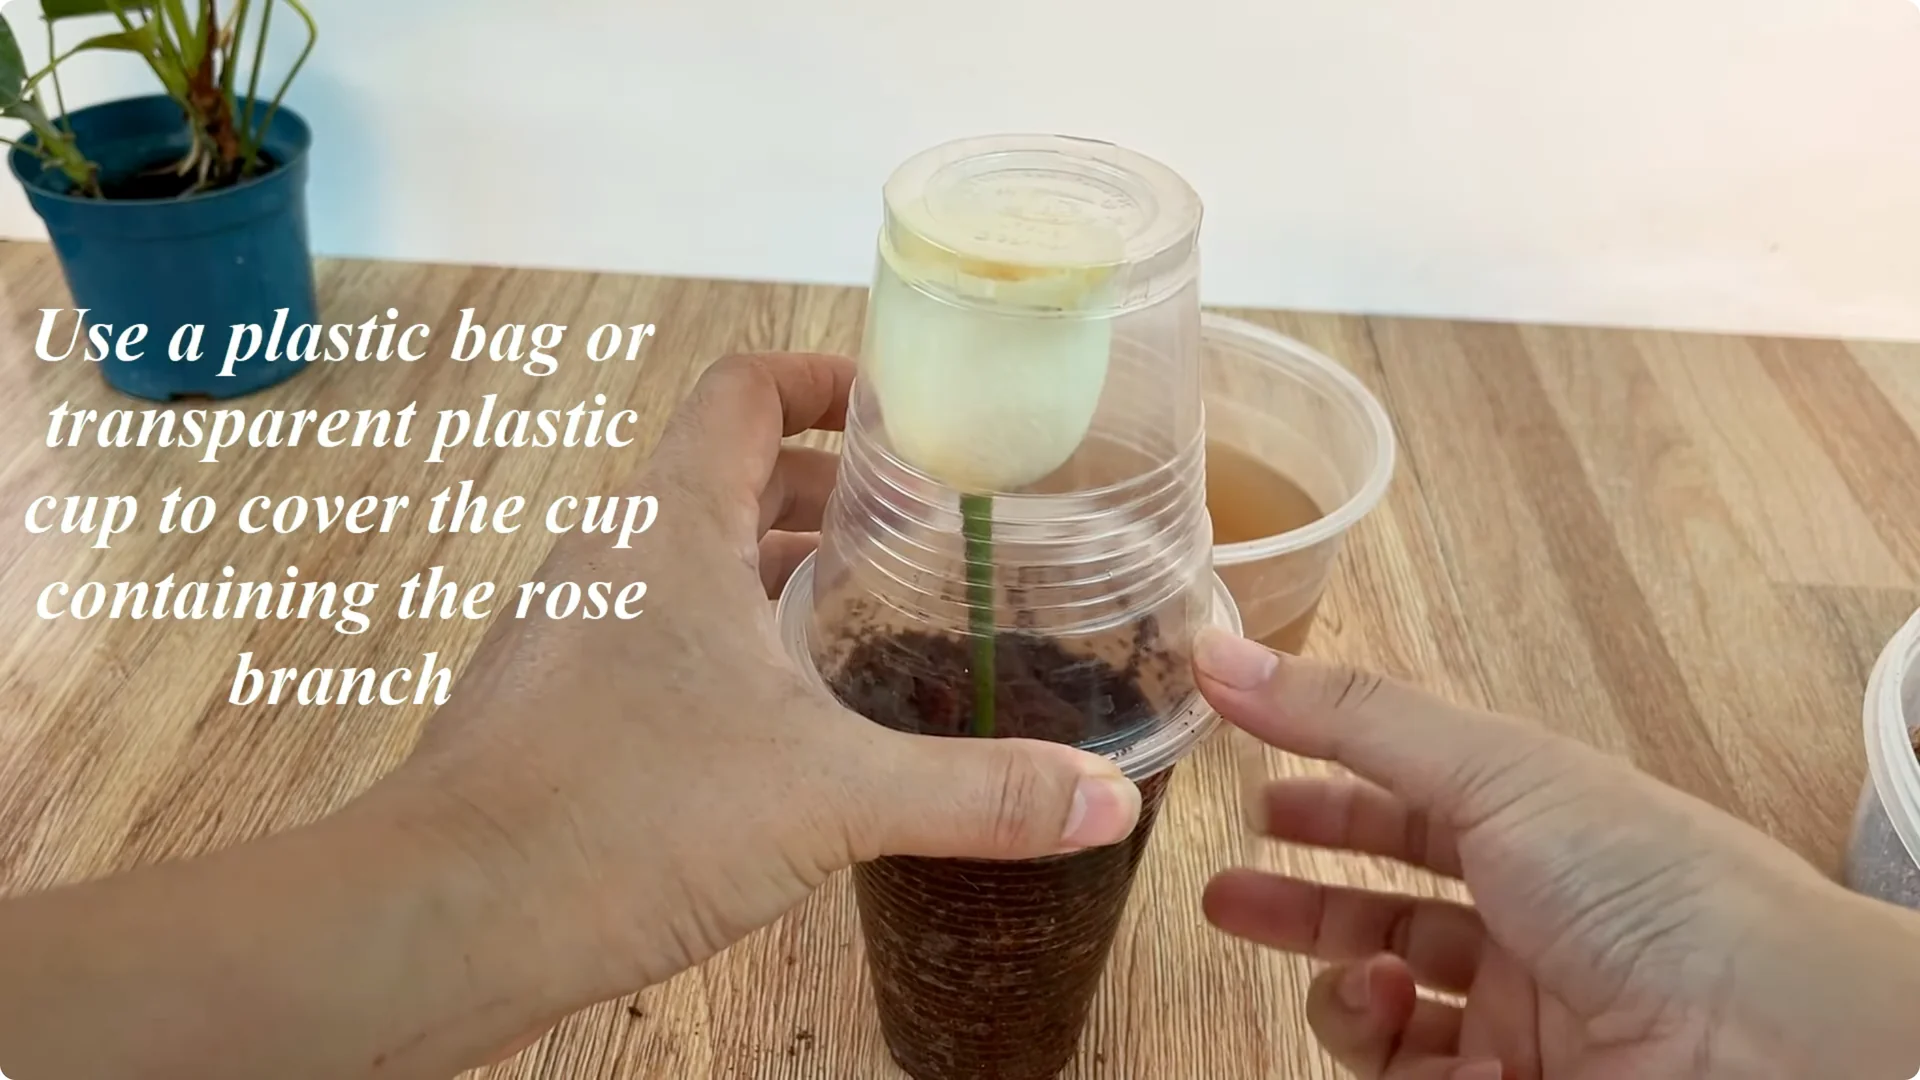
Place the cup in a cool place, away from direct sunlight and strong winds. This protects tender tissues and keeps humidity stable.
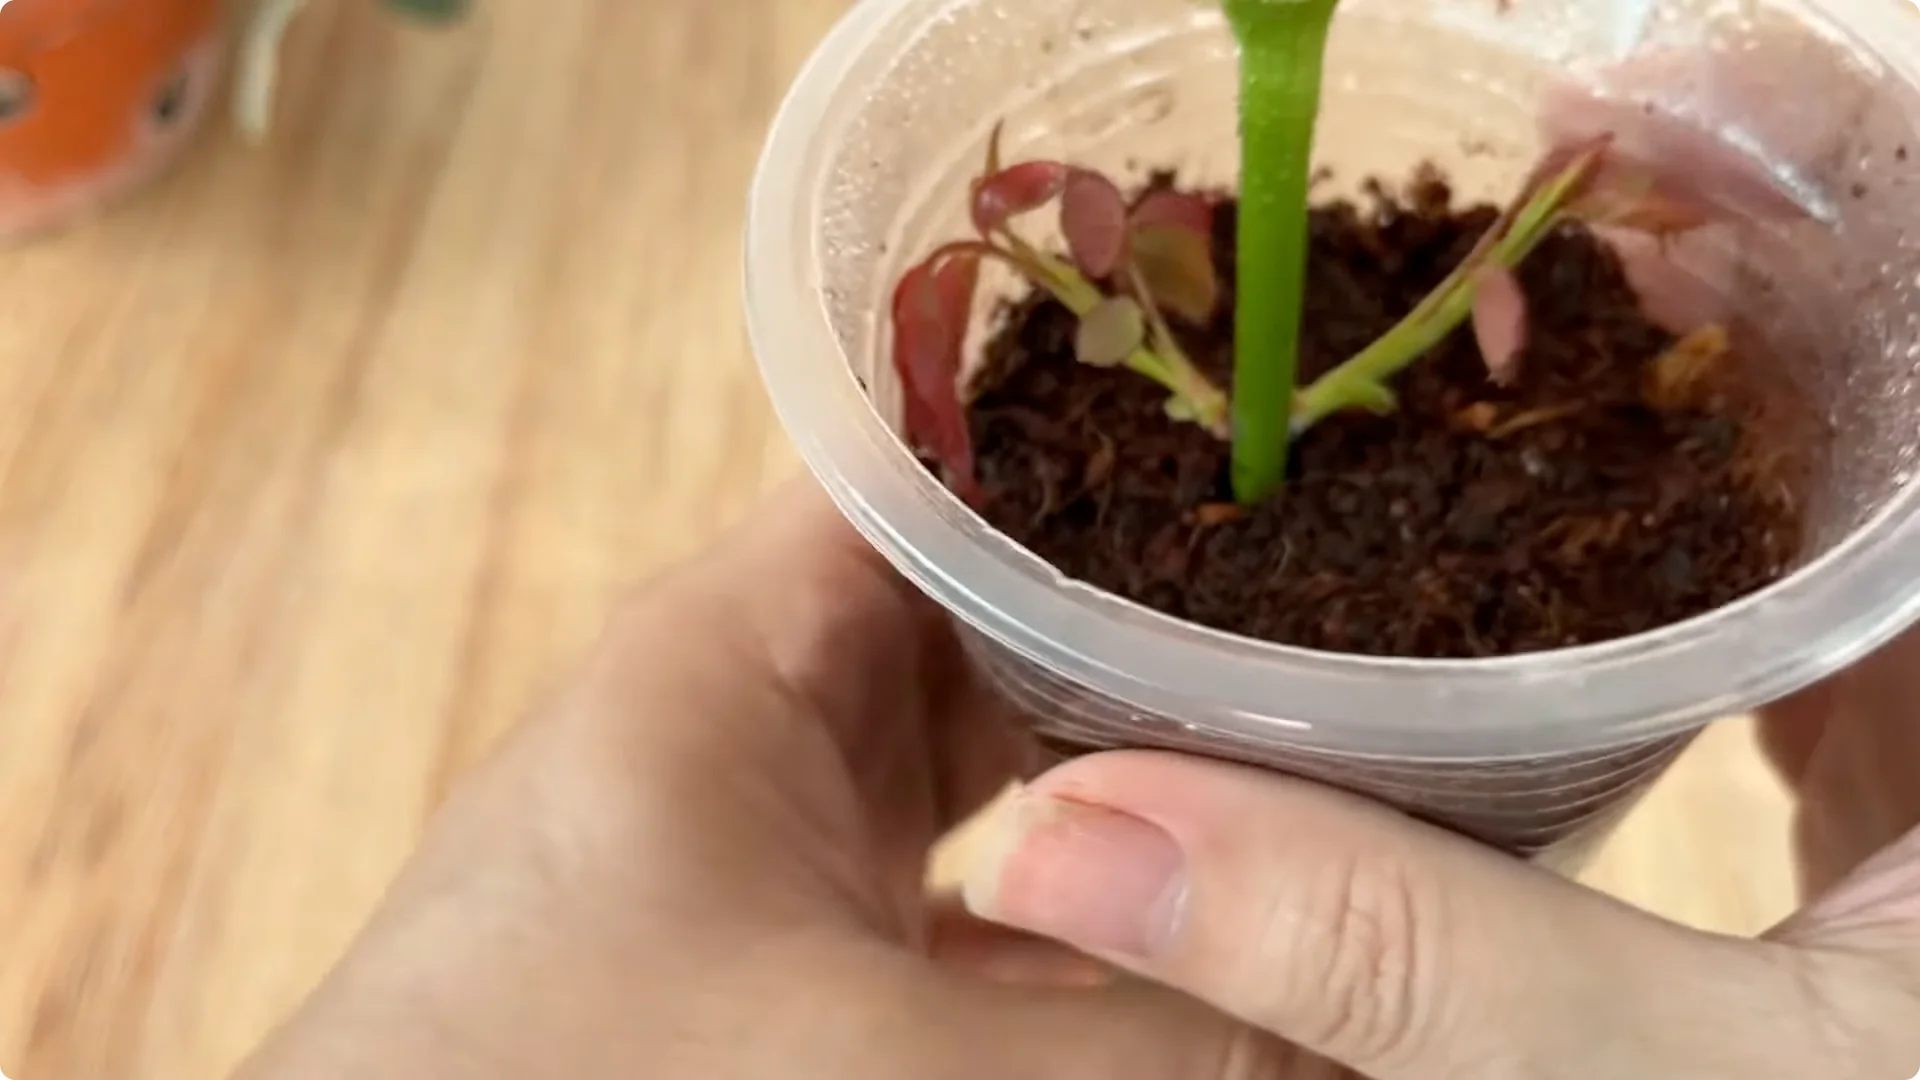
6. Natural Rose Cutting Propagation – Timeline and Results
After 10 days, you will see very obvious results. New shoots will start to appear, green and strong. Many new white, plump and healthy roots will grow around the base of the cutting, showing that the cutting has adapted well to the environment and nutrient solution you prepared.
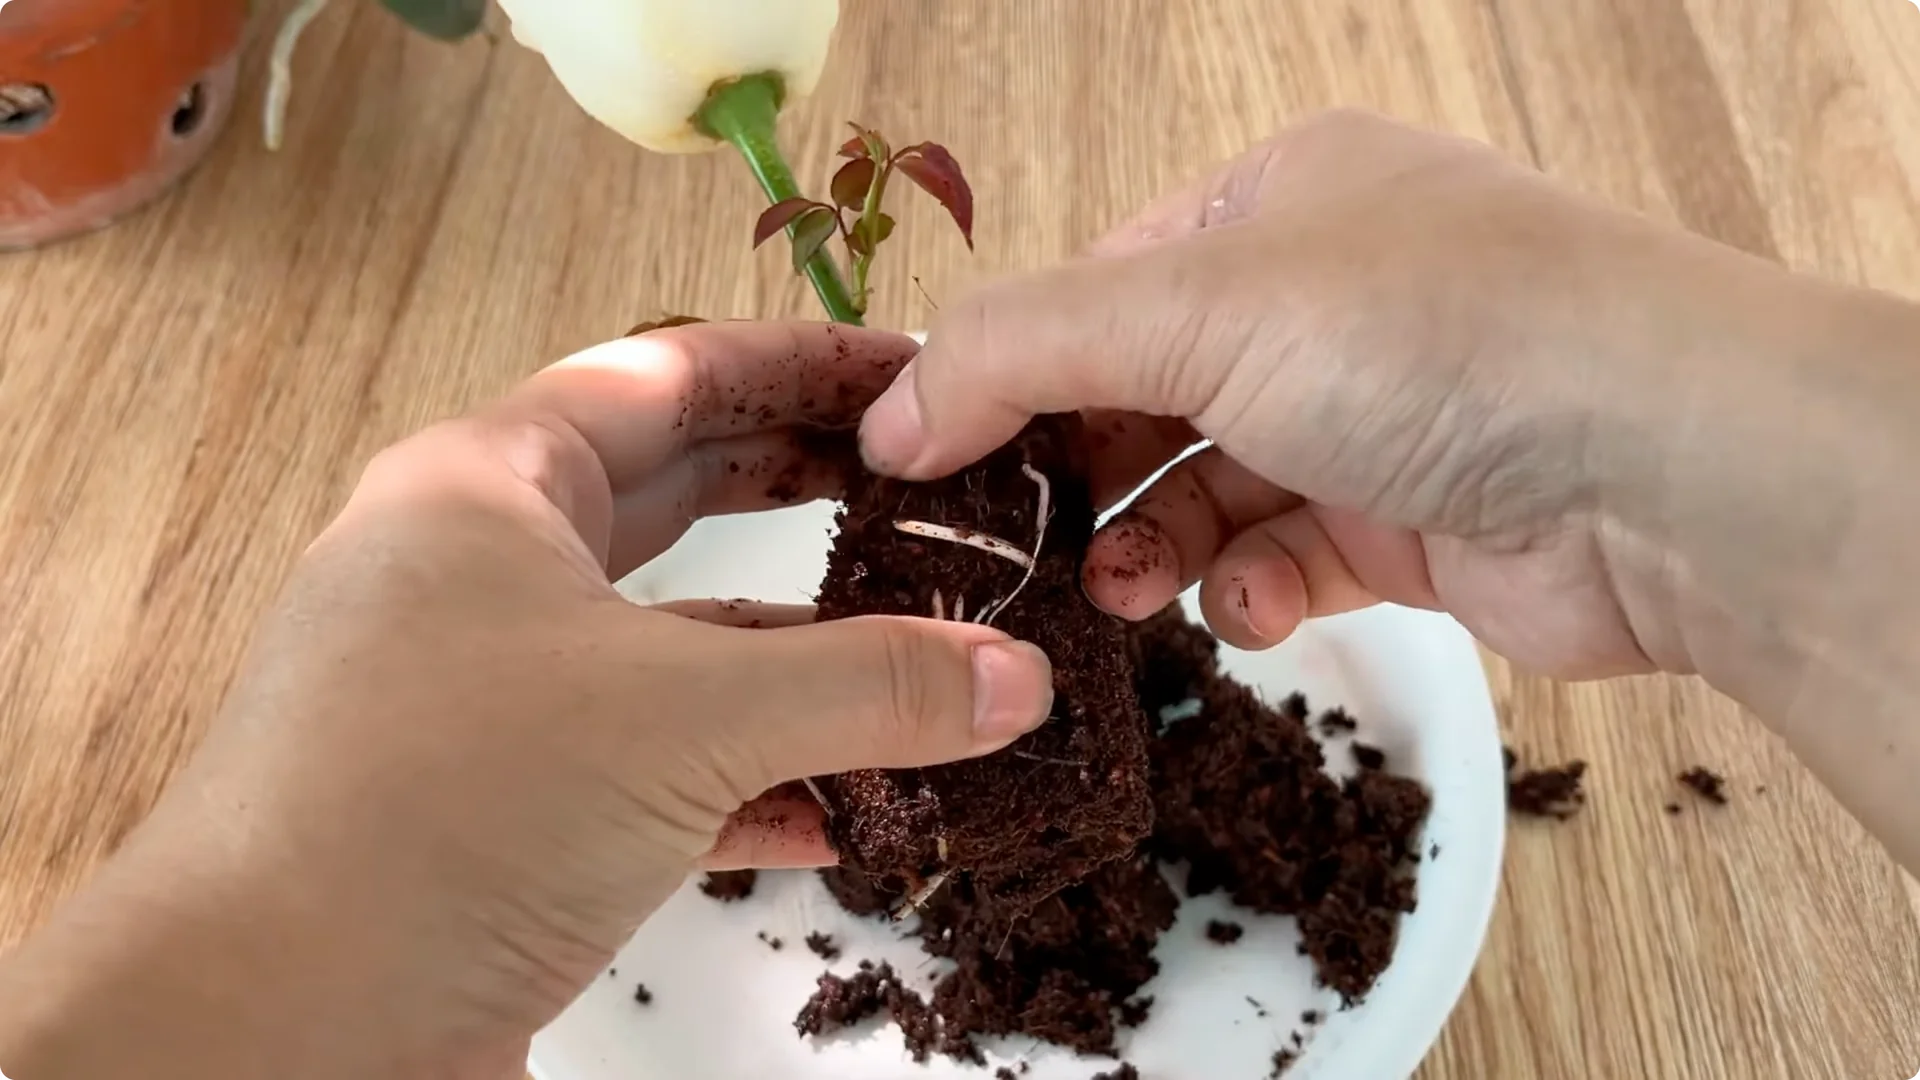
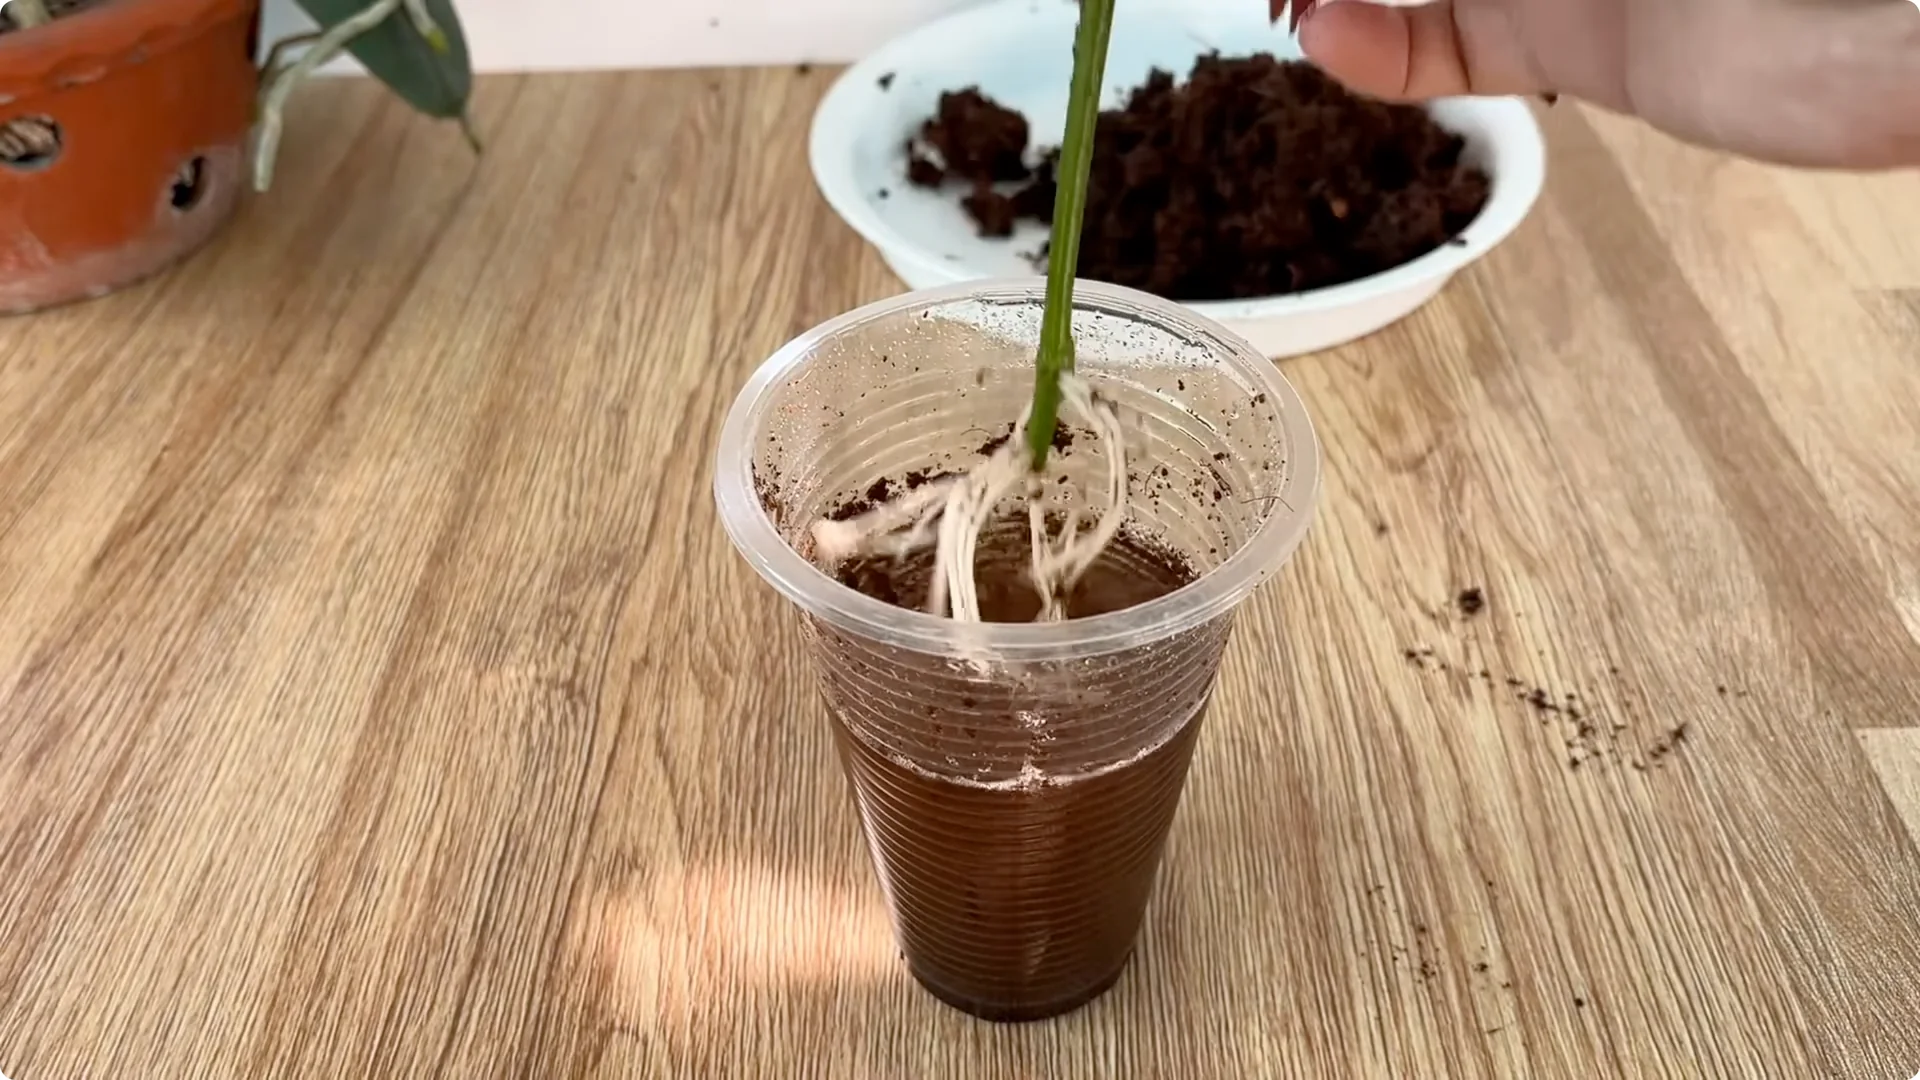
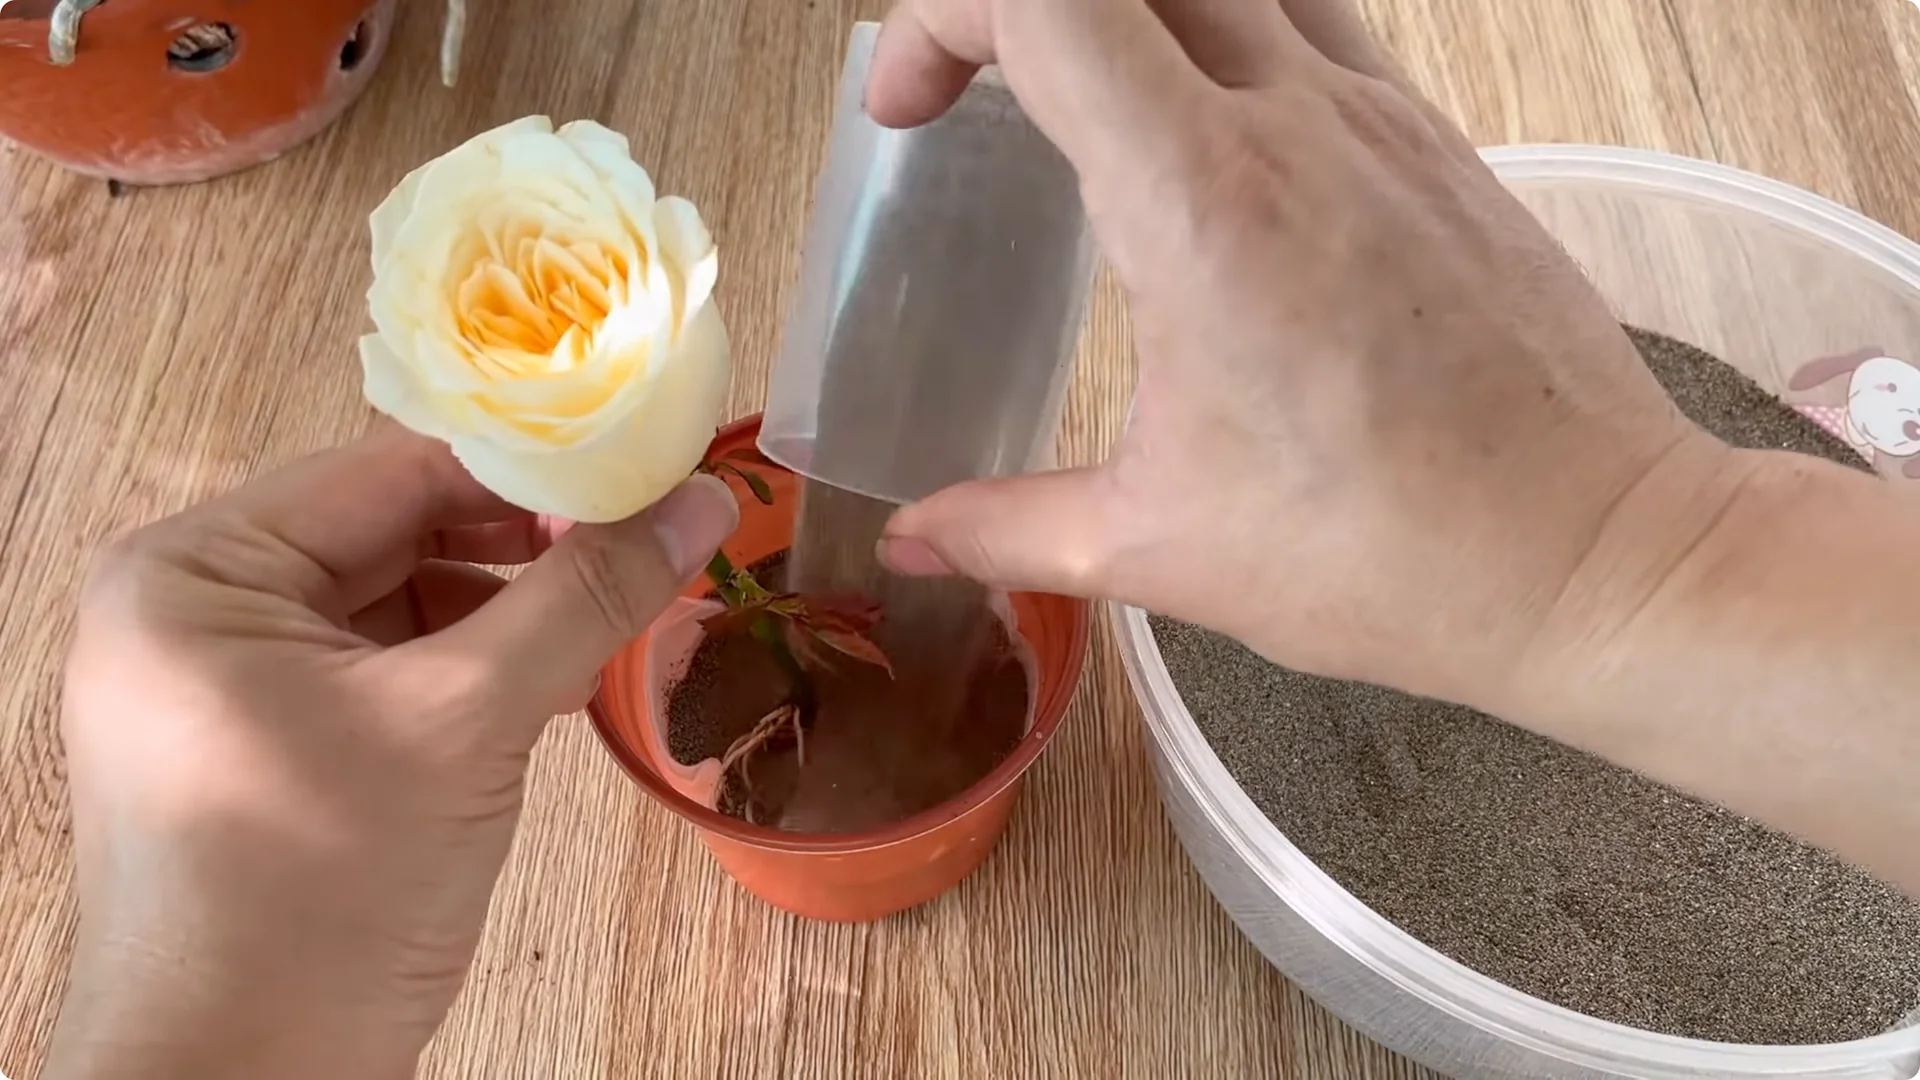
7. Natural Rose Cutting Propagation – Transplanting
At this point, gently transfer the cutting to a new pot with good drainage. Use river sand as a substrate for the plant to continue to thrive in the next stage. Handle the new roots carefully to avoid breakage.
For more propagation guidance, compare with this simple method for rose propagation.
8. Natural Rose Cutting Propagation – Why This Works
Each step has its own role, blending together to help young rose cuttings grow. From the purple onion with its natural antibacterial properties, to rice providing starch and energy, to Coca Cola providing easily absorbed nutrients, all contribute to creating the perfect environment for the cuttings to form healthy roots. It is not just a technique, but also a combination of scientific knowledge and practical experience in caring for plants.
9. Natural Rose Cutting Propagation – Joy in Gardening
When the flower branches begin to sprout green buds and white roots spread, that is when you truly feel the joy of a gardener. That new life is like a reward for your hard work and perseverance throughout the process. Each growing flower branch is an affirmation that nature knows how to respond to devoted care.
This journey brings you not only a new rose plant, but also a sense of relaxation, peace and a magical connection between people and plants. This method can become a useful experience, helping you propagate many healthy and vibrant rose plants in your garden.
Final Thoughts
Prepare healthy cuttings, feed them with the onion-rice-Coca solution, keep the medium evenly moist and humidity high, and protect them from harsh light. In about 10 days you can see vigorous shoots and white roots, then move the cuttings to a well-drained pot to continue growth. Patience, cleanliness and consistent moisture are the keys to success.
The Beginner’s Rose Propagation Starter Kit 🌹
A simple printable PDF guide to help you root rose cuttings successfully.
Get The Guide →