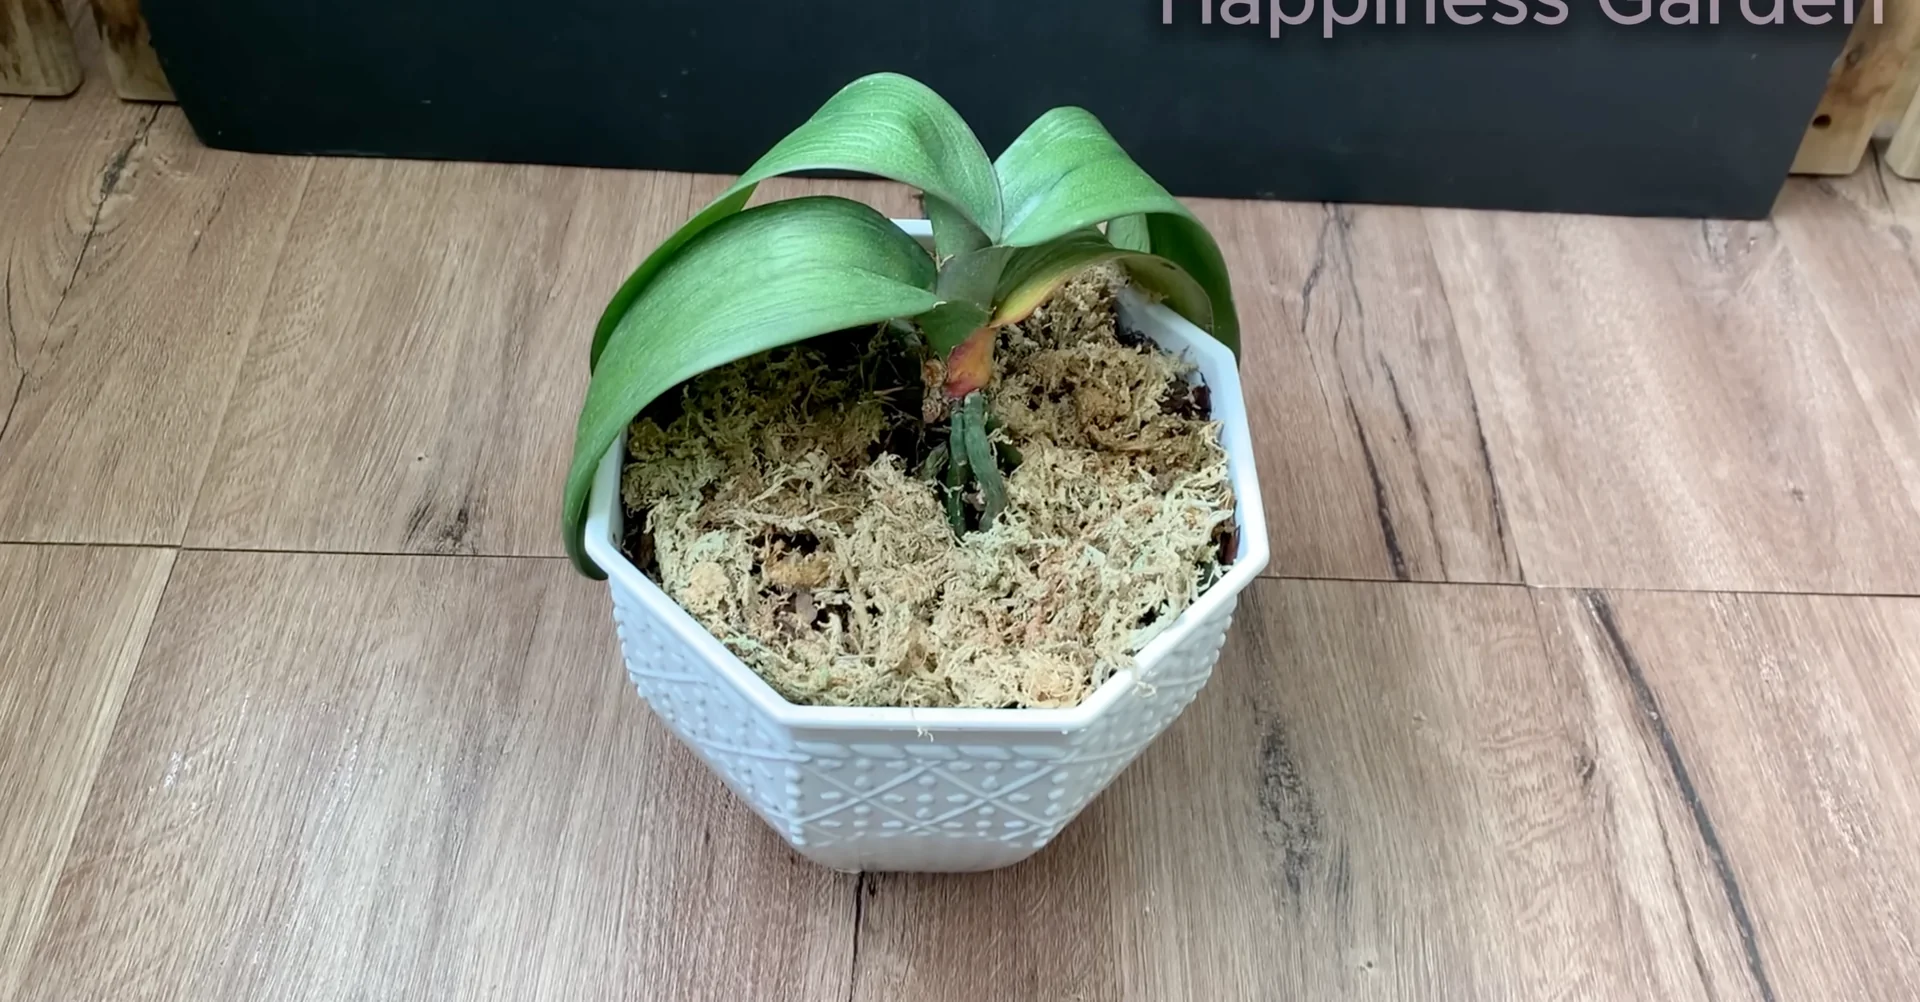
This orchid has just finished blooming and is showing signs of gradually dying. The leaves are wrinkled and the roots are dry and almost lifeless. But I revived it using only soybeans and aloe vera.
No chemical products needed. No strong root stimulants required.
After blooming, many orchids begin to weaken. The leaves wrinkle, the roots dry out, and growth nearly stops.
1. Post Bloom Orchid Recovery: Assess and prepare
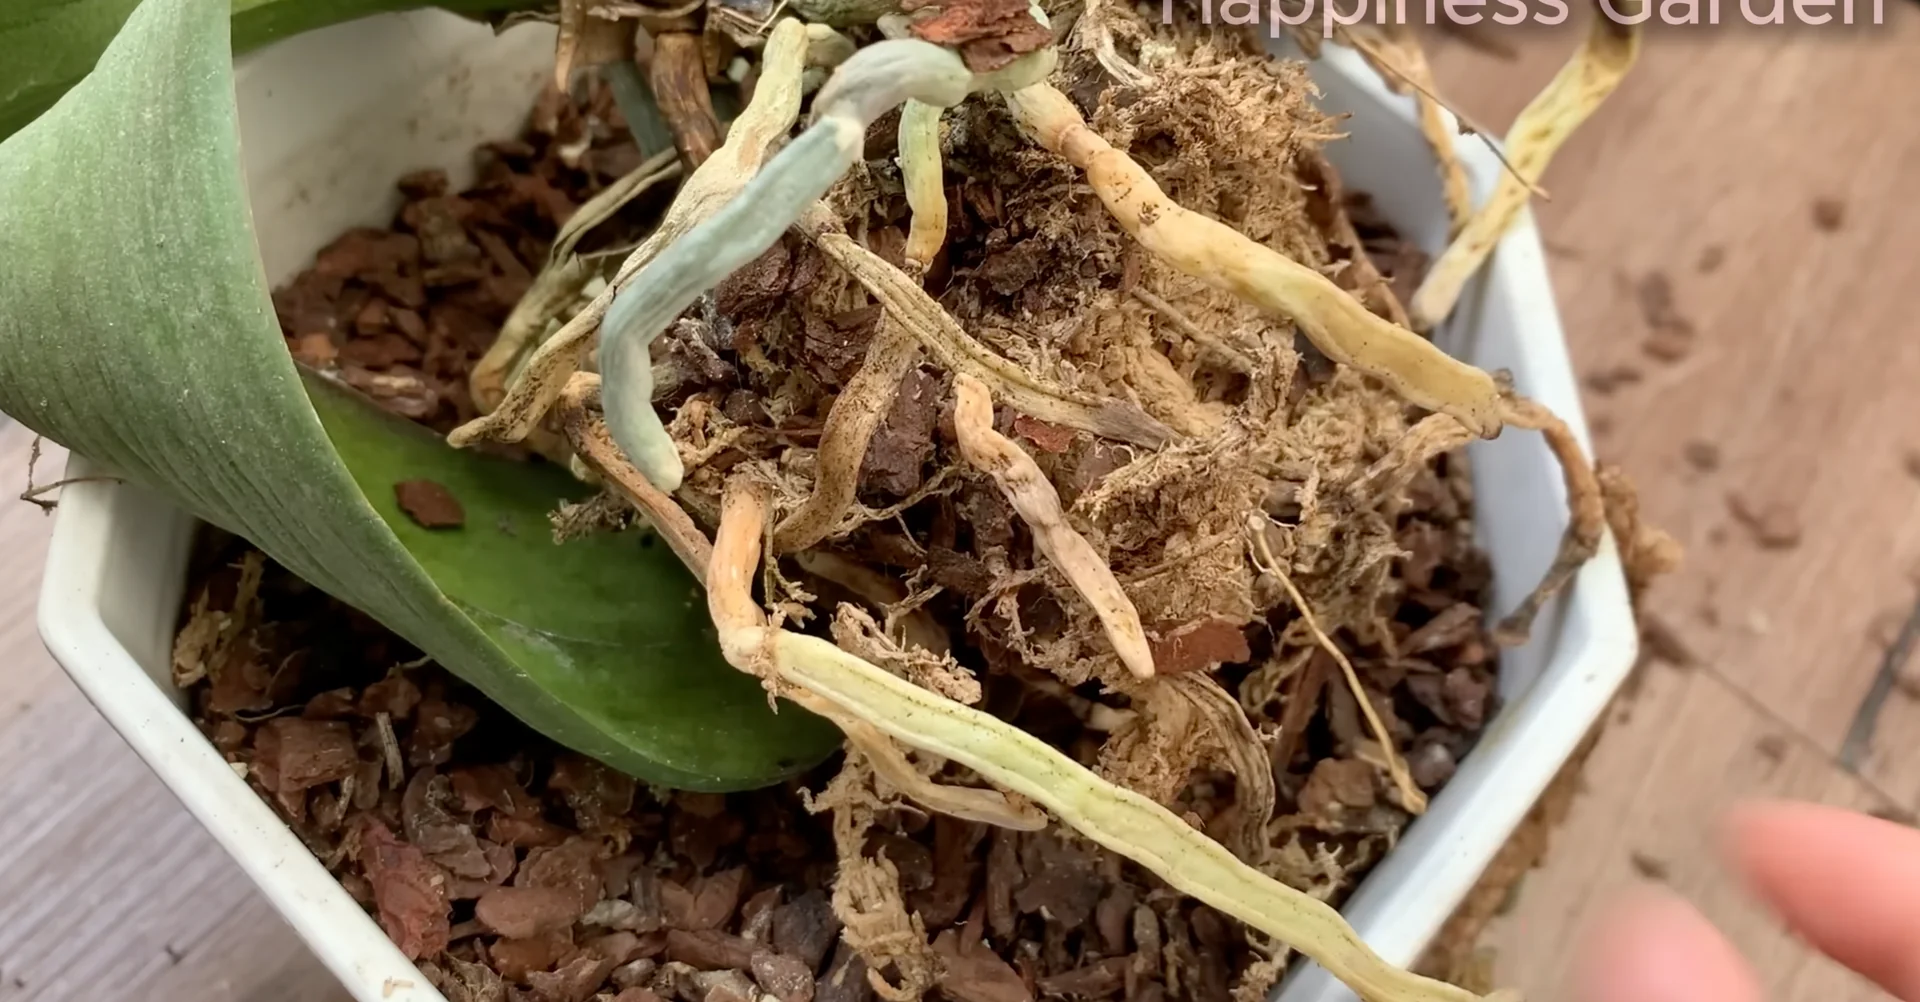
First, remove the plant from the pot to check the roots. Cut off all dry and damaged roots because if left they will continue to weaken the plant.
Next, I completely cut off the old flower spike so the plant can focus on root growth and recovery. Since the plant is not affected by fungus, I keep the old moss to avoid shock.
At the same time, lightly soak it so the medium reaches adequate moisture. For a simple weekly cup watering routine that revives blooms, see this method.
2. Post Bloom Orchid Recovery: Aloe vera solution

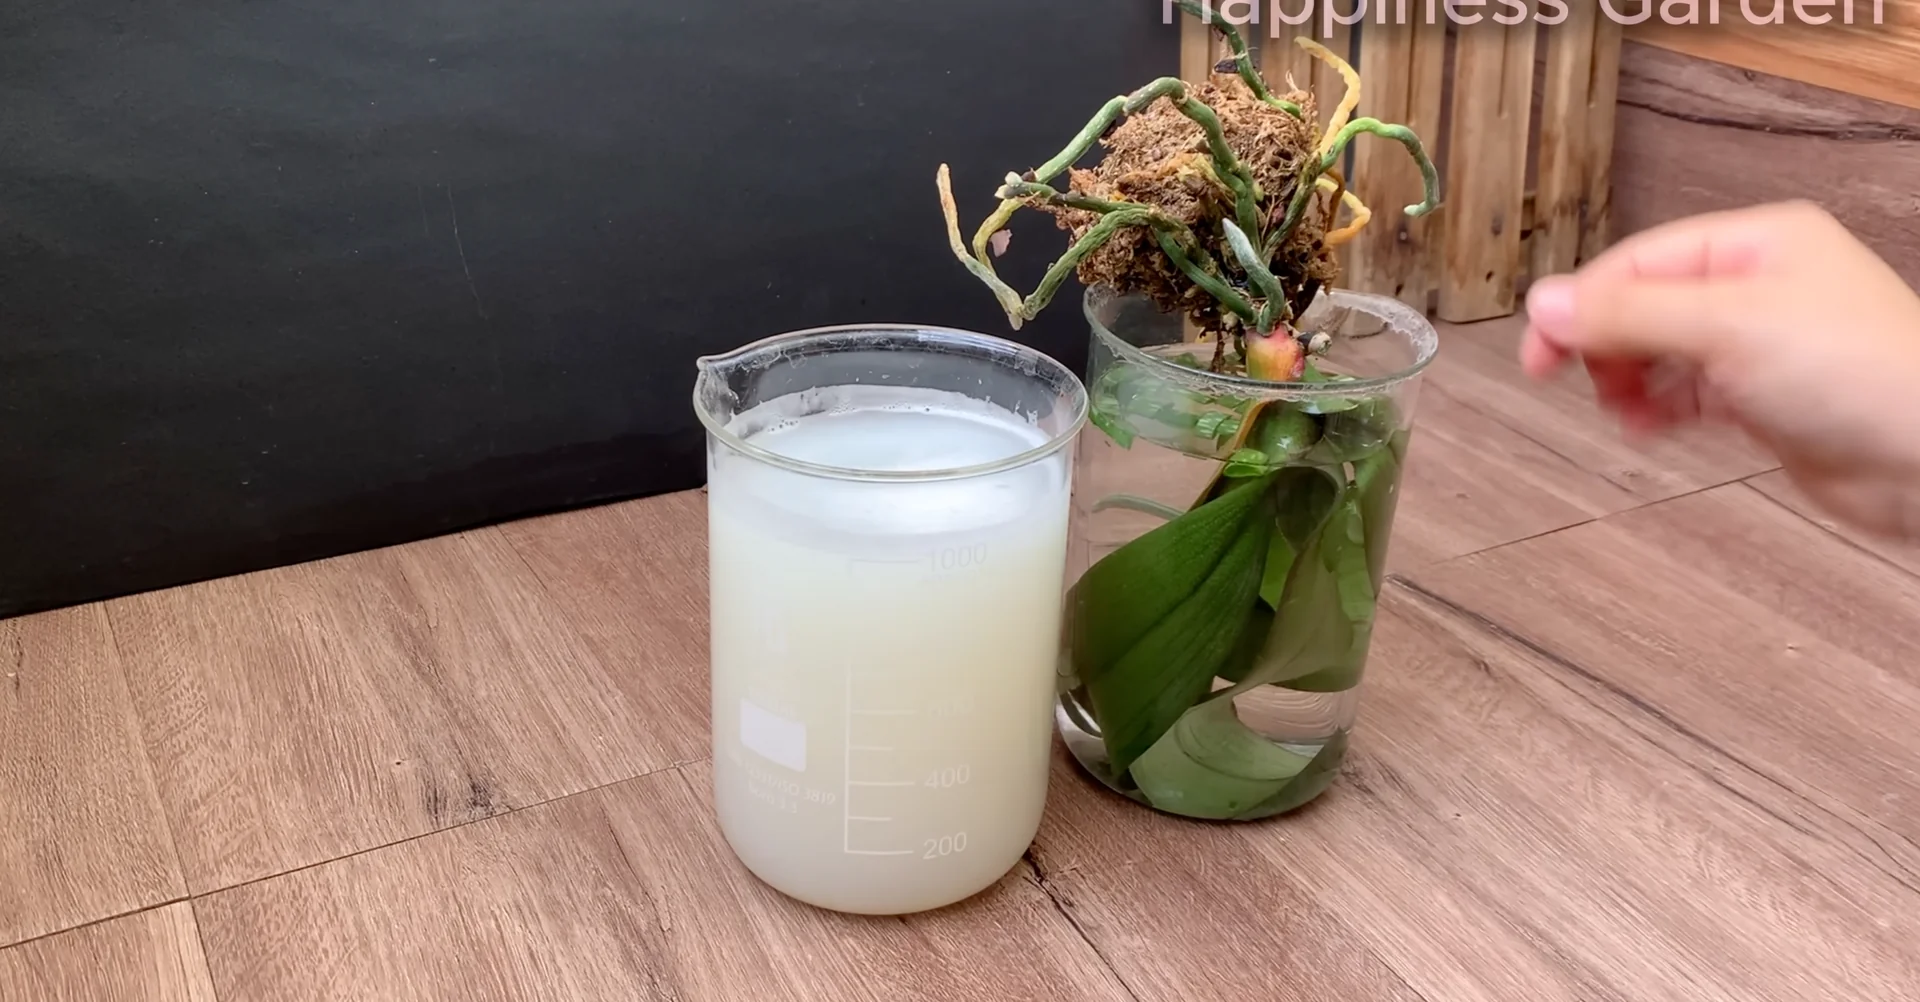
I cut one aloe vera leaf into small pieces and mix it with one liter of clean water. Aloe vera contains many vitamins, amino acids, and natural antibacterial compounds.
It helps stimulate root recovery and boost the plant’s resistance. Then soak all the orchid leaves in the solution so the plant can absorb the nutrients.
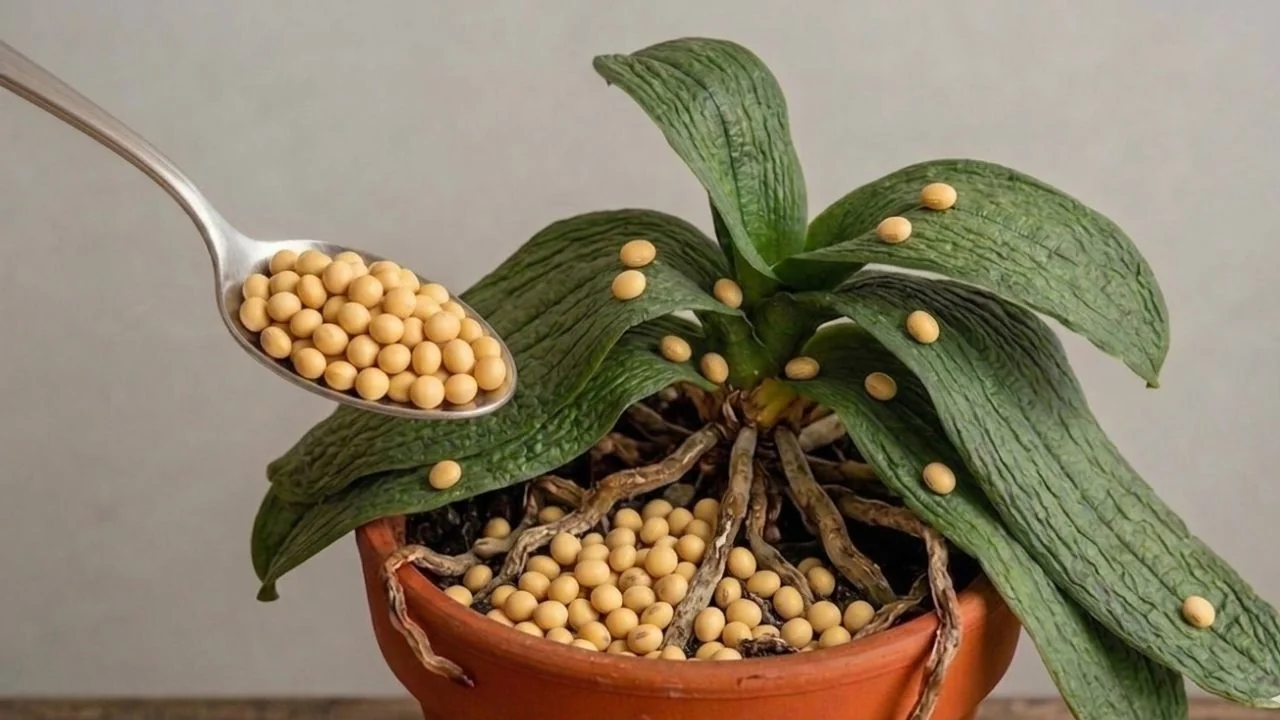
3. Post Bloom Orchid Recovery: Soybean nutrient
The second ingredient I use is soybeans. I take three tablespoons, soak them in warm water until the beans soften.
After the soybeans have softened, I blend them thoroughly and then strain carefully to extract the nutrient rich liquid. Next, dilute this solution with one liter of clean water to ensure a safe concentration.
Finally, soak the roots in the solution for about 30 minutes so they can fully absorb the nutrients before replanting. If your orchid refuses to bloom, explore the main causes and fixes in this guide.
4. Post Bloom Orchid Recovery: Repot and placement
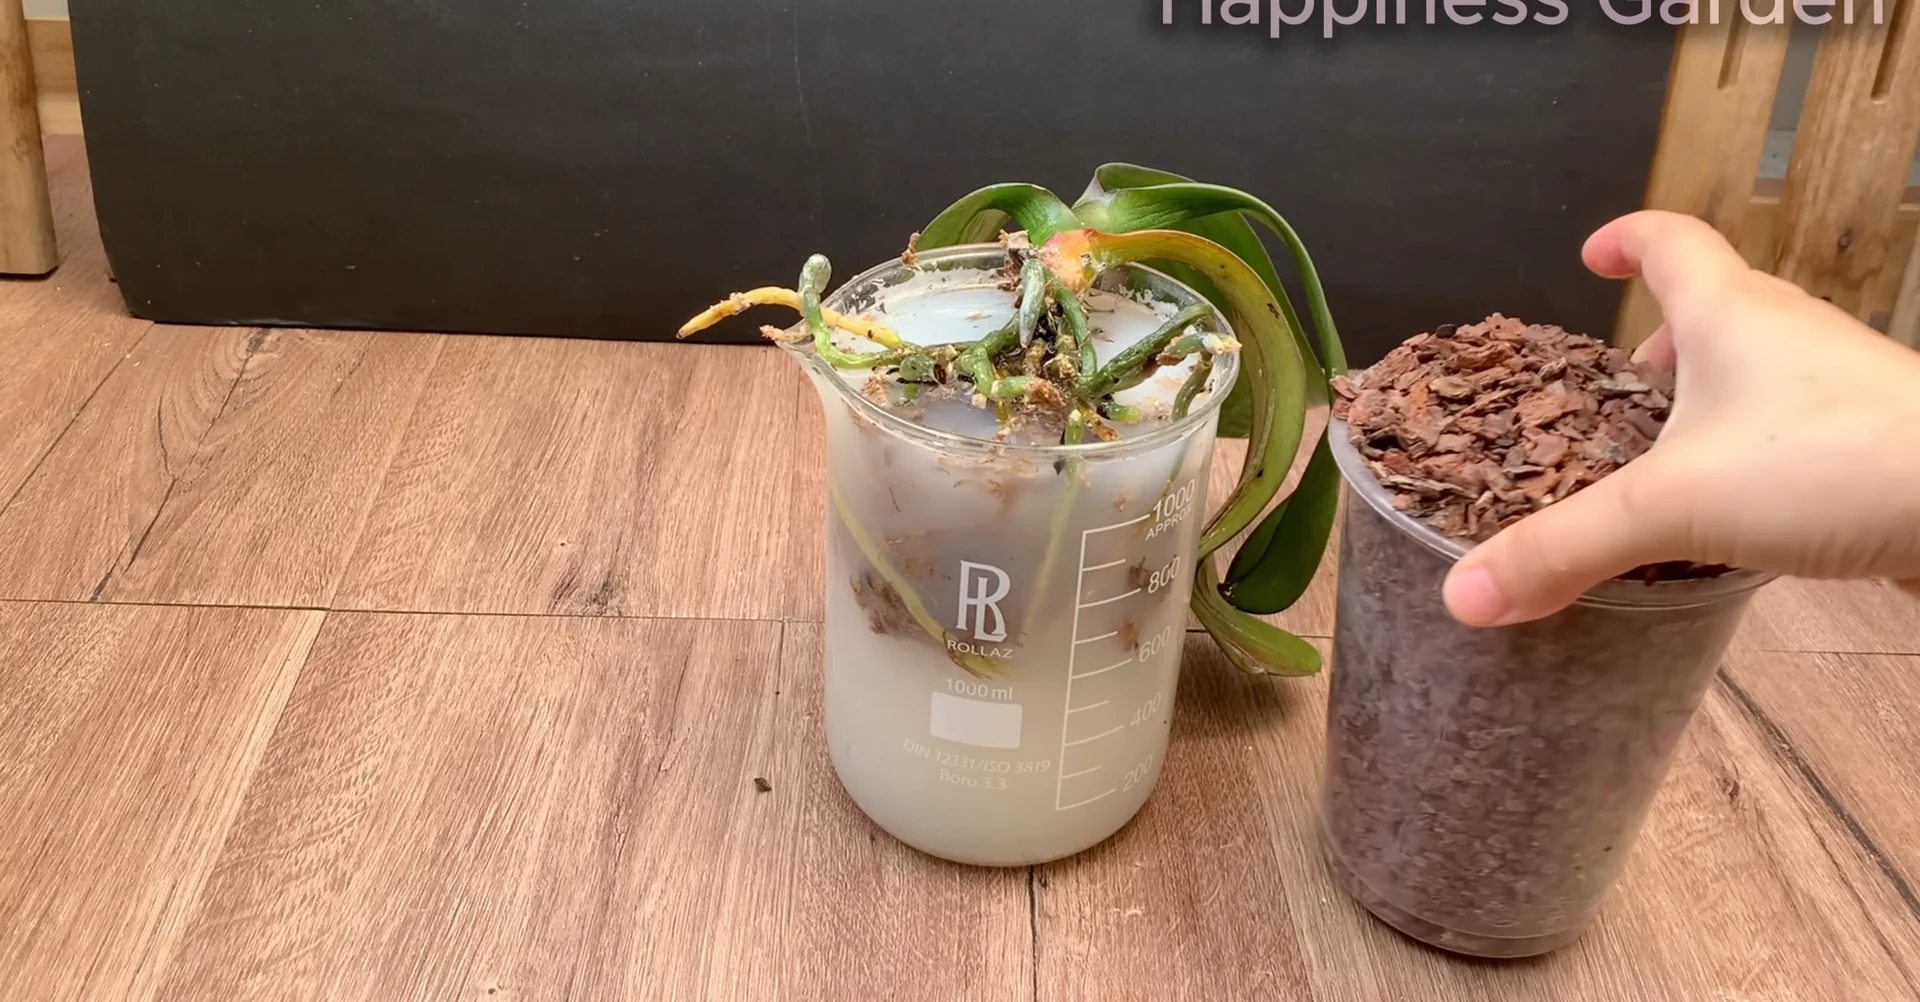
After soaking, I replant the orchid into an airy bark medium, allowing the roots to breathe well and reducing the risk of rot. Cover the surface with a thin layer of moss to retain light moisture.
Then place the plant in a location with diffused light. I use the remaining solution to water other orchids in the garden. It helps provide additional natural nutrients.
5. Post Bloom Orchid Recovery: Early care
A few days later, when the plant has stabilized, I begin light watering with the nutrient solution to support recovery and stimulate root growth. Place the plant in a location with stable diffused light to support recovery and root development.
For blooms that stay consistent through the seasons, see these secrets.
Post Bloom Orchid Recovery: 45 days
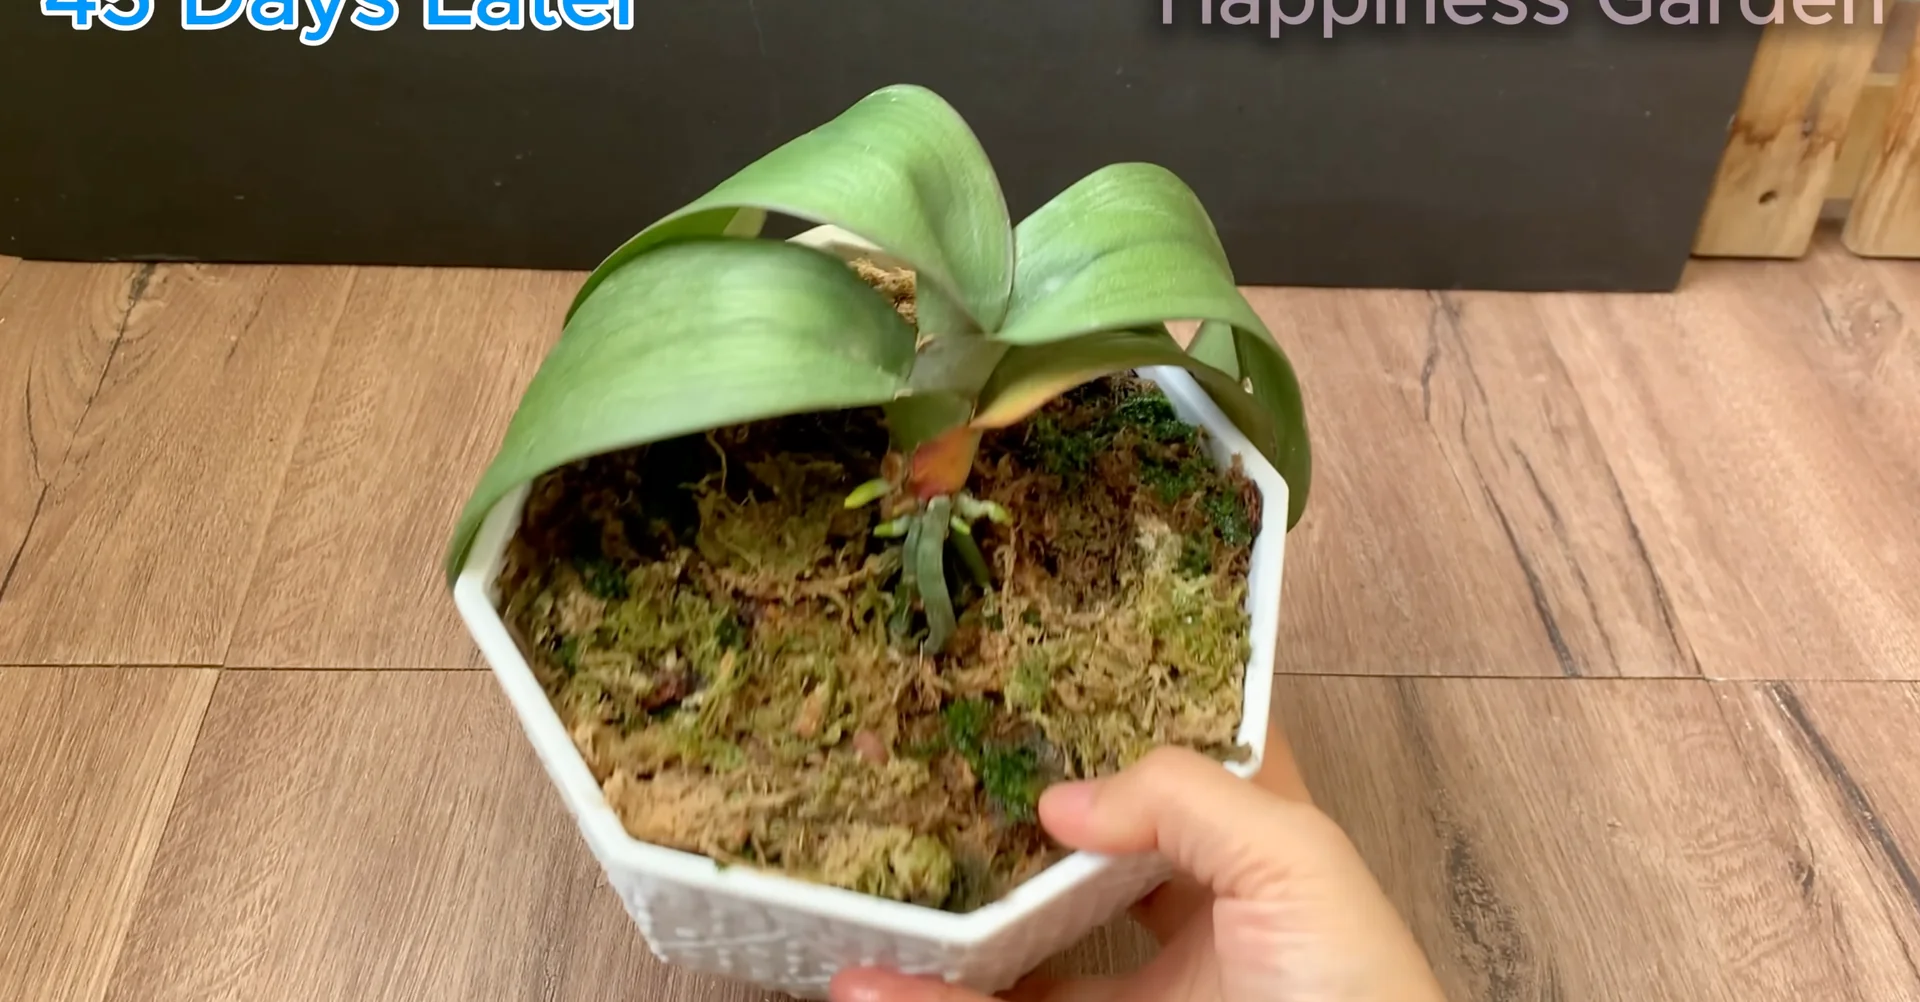
After 45 days, the leaves are still slightly wilted, but the root system has clearly recovered from the base of the plant. Many new green root tips begin to appear, growing strongly and continuing to develop.
After that, I continue to lightly water the medium with a nutrient solution to maintain moisture and provide stable nutrition for root development.
Post Bloom Orchid Recovery: 4 months
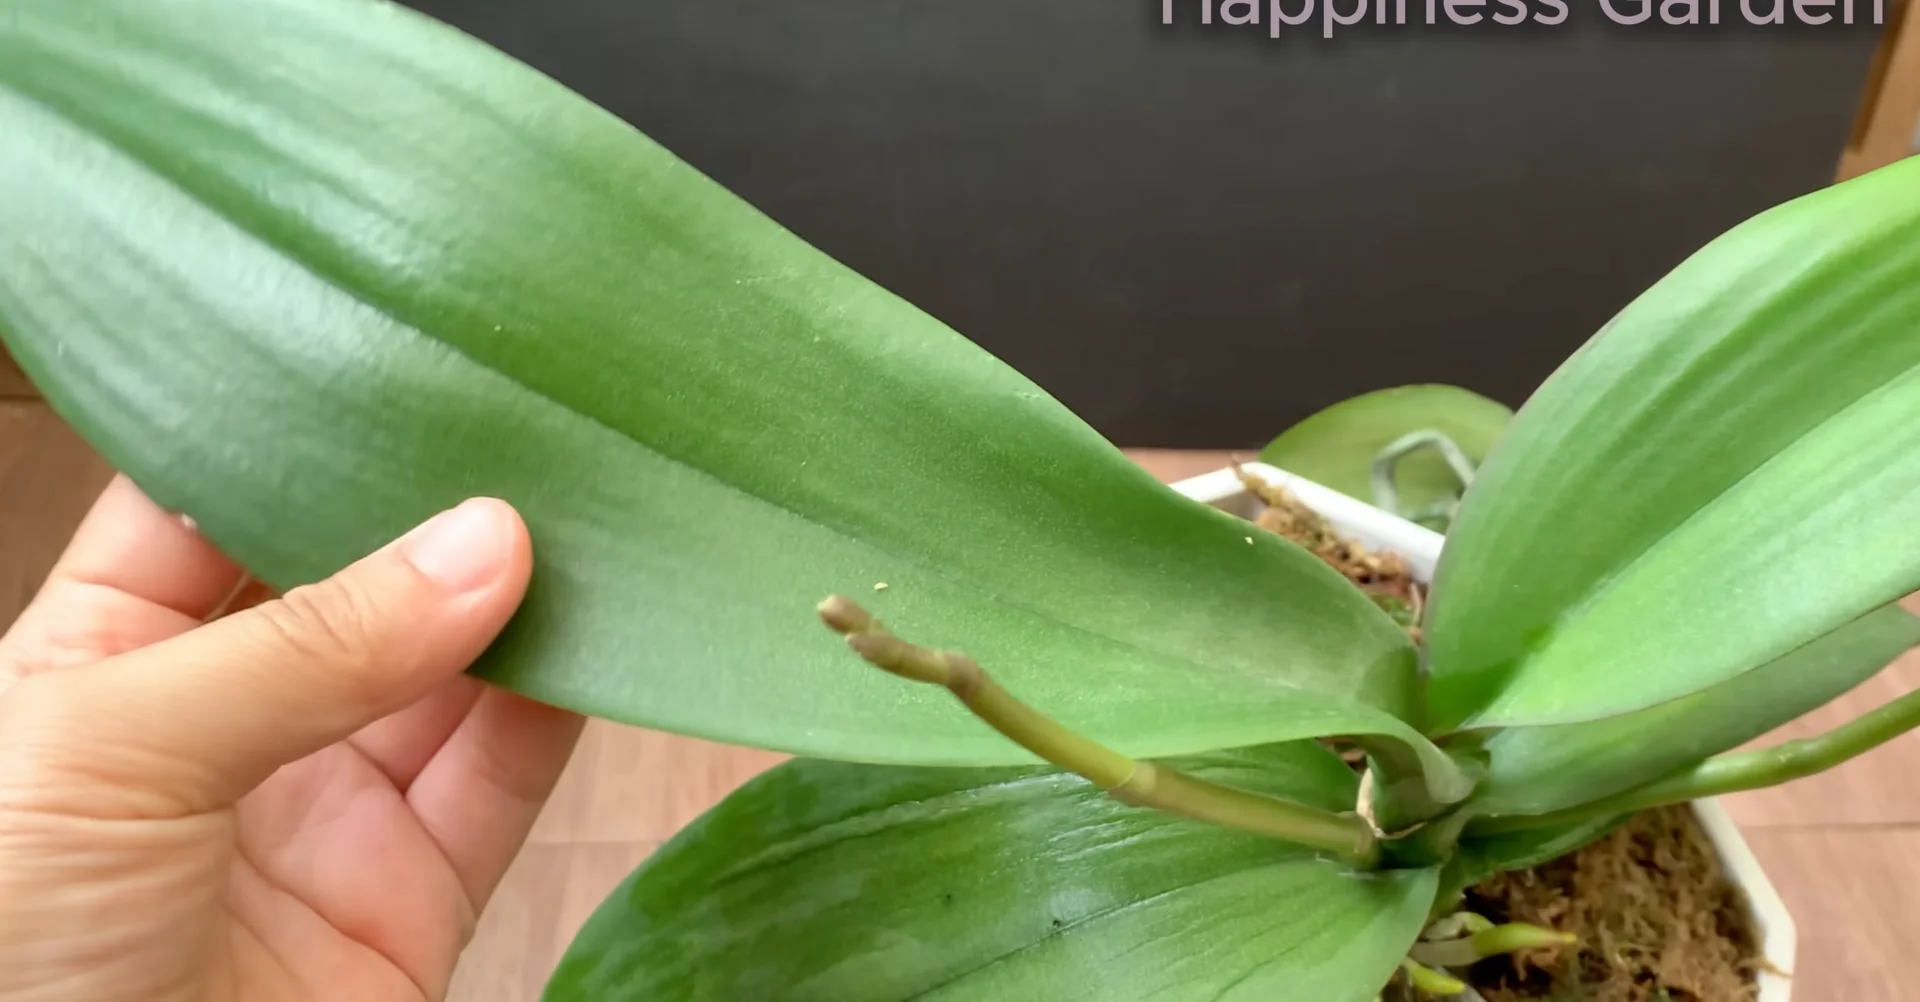
After 4 months, the plant has fully recovered. The leaves become plump, thick, and healthy green with no signs of wrinkling or dehydration.
From the leaf axles, two new flower spikes appear, growing strongly and evenly. At the same time, the root system below becomes dense with many new healthy green roots spreading throughout the medium. This shows the plant has stabilized and entered a strong growth phase.
Post Bloom Orchid Recovery: Final thoughts
I revived a weakened orchid using only aloe vera and soybeans, focused pruning, gentle soaking, and careful repotting. Diffused light and light nutrient watering supported steady root development and recovery.
With patience, you can bring a post bloom orchid back to strength and enjoy new spikes and healthy roots.