Today, we will continue to explore a creative method of rose cuttings which helps create a natural biological environment, supporting rose branches to develop healthy roots and new green shoots.
1. Rose Cutting Propagation: Choose and Prepare the Branch
First, prepare a healthy rose branch of moderate age. Branches that are too young are prone to dehydration, while branches that are too old are slow to root, so choosing a young branch is the most suitable.
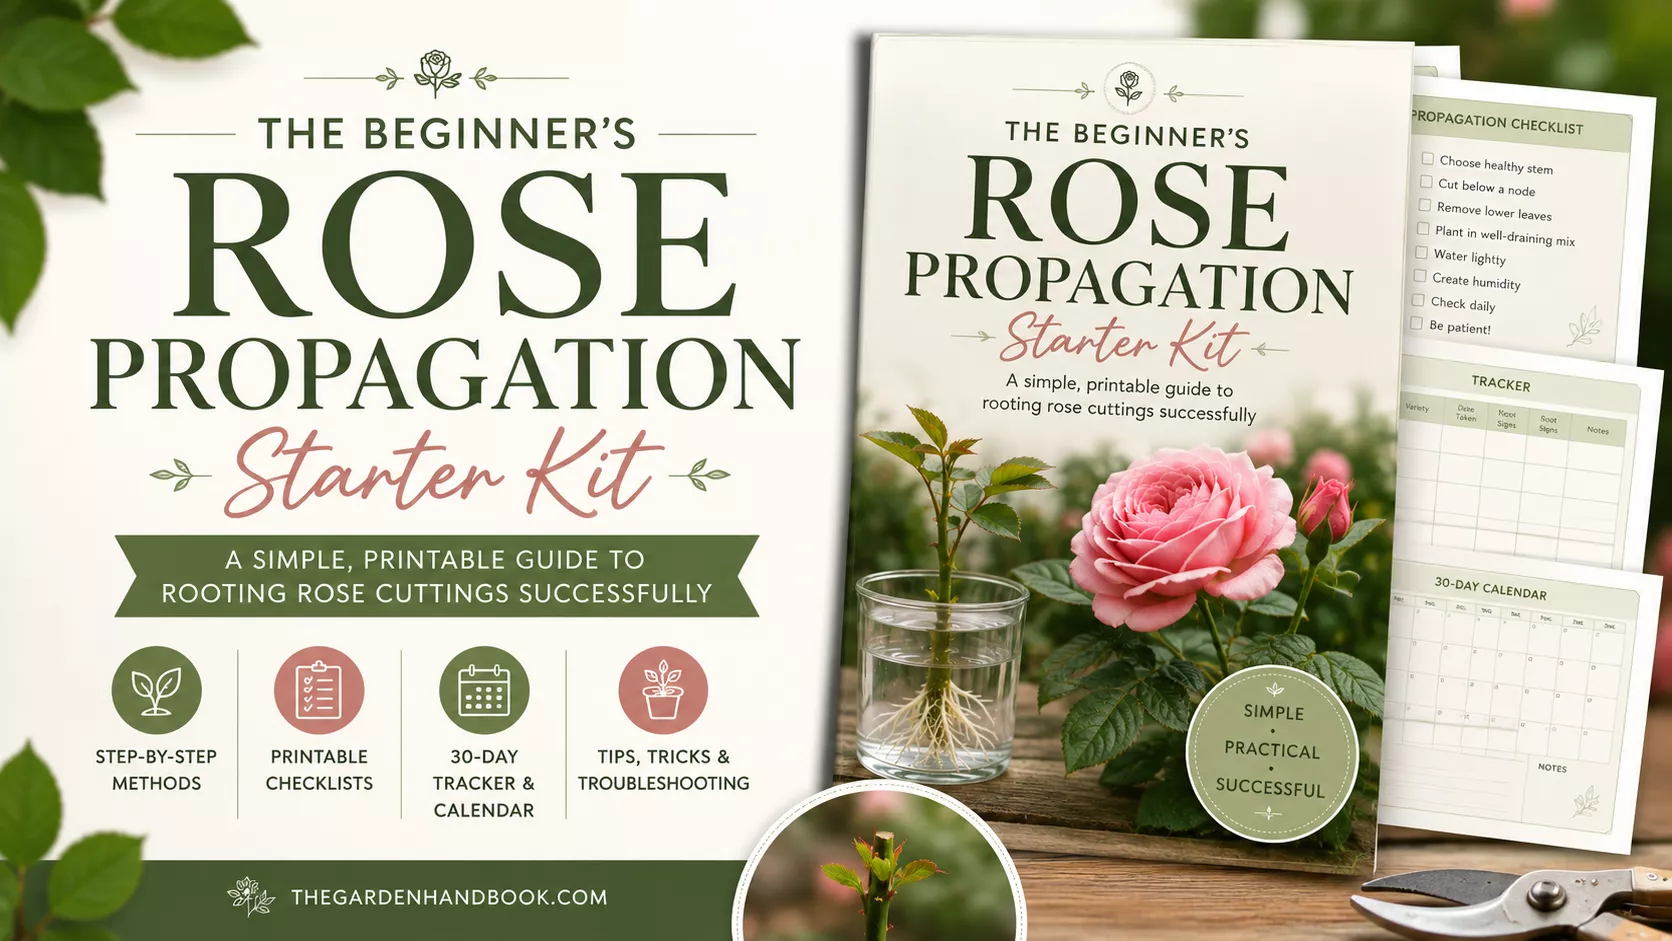
The Beginner’s Rose Propagation Starter Kit 🌹
A simple printable PDF guide to help you root rose cuttings successfully.
Get The Guide →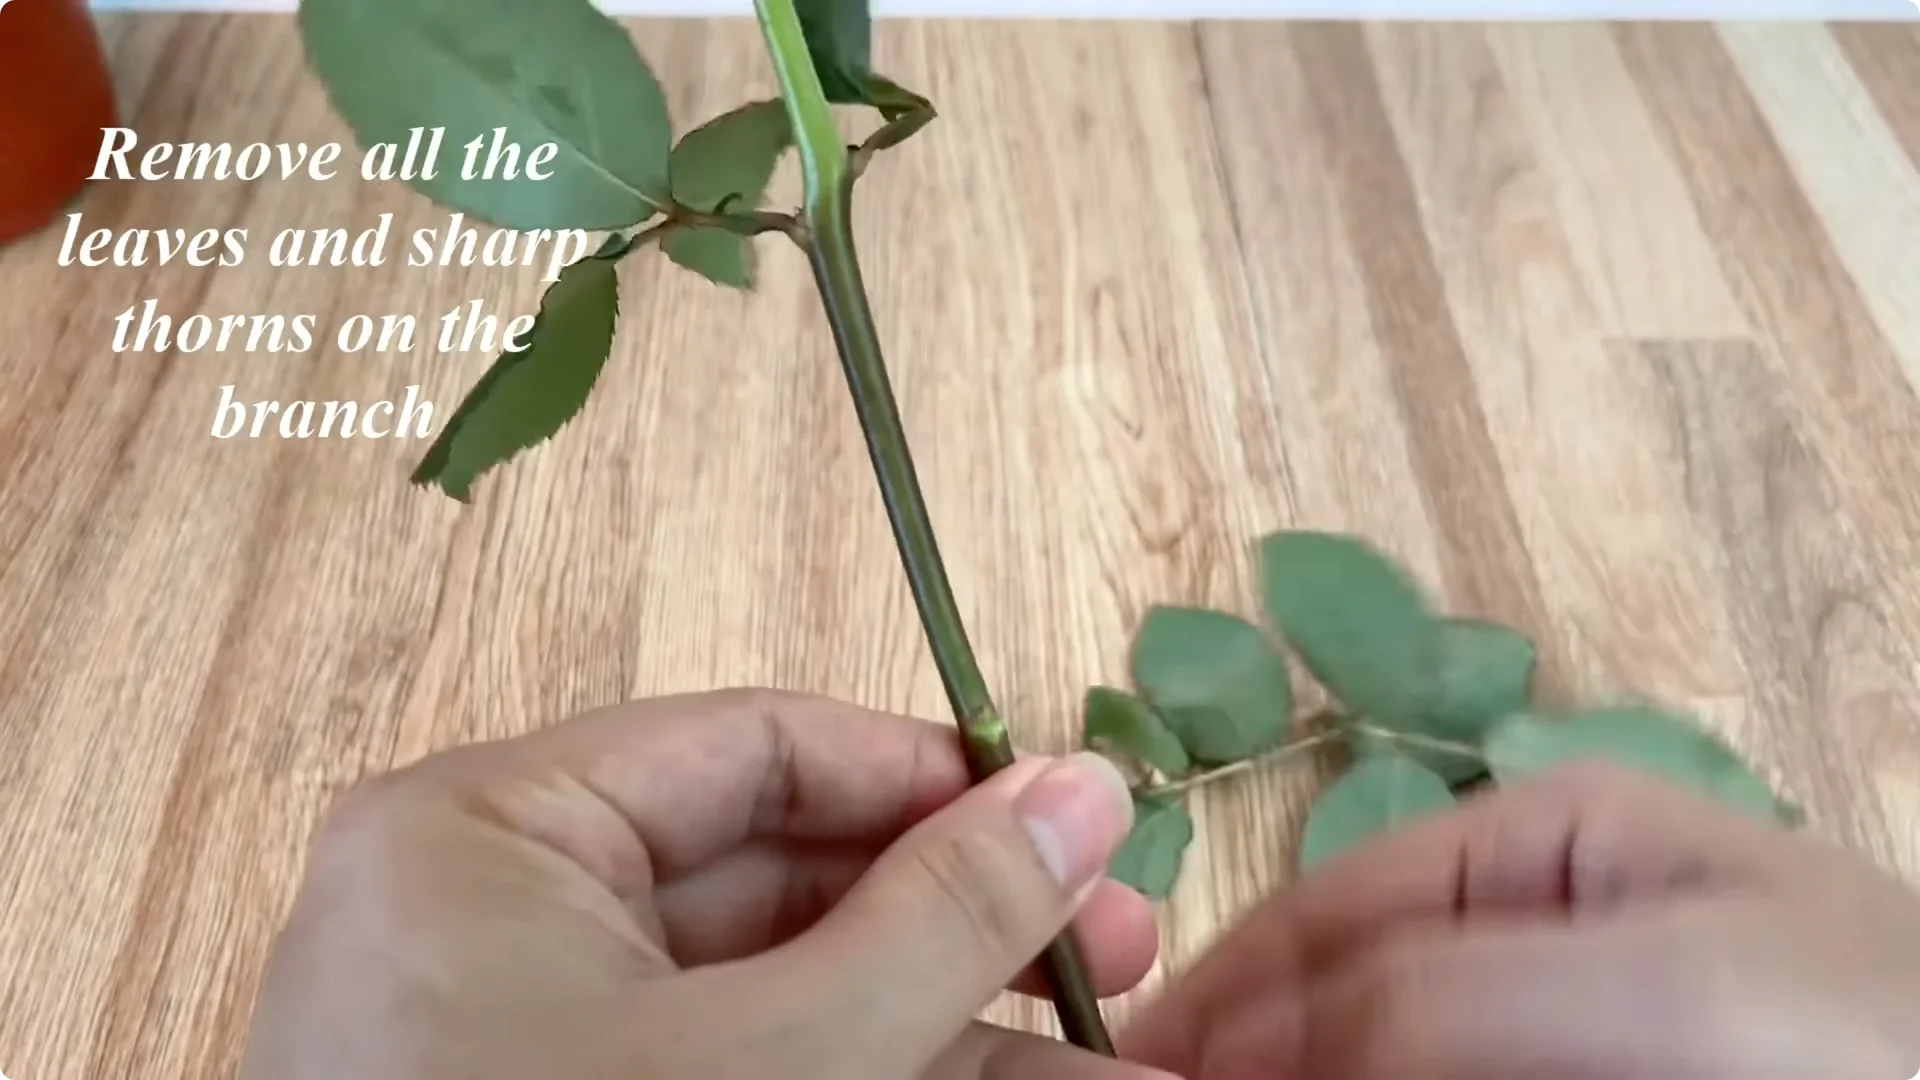
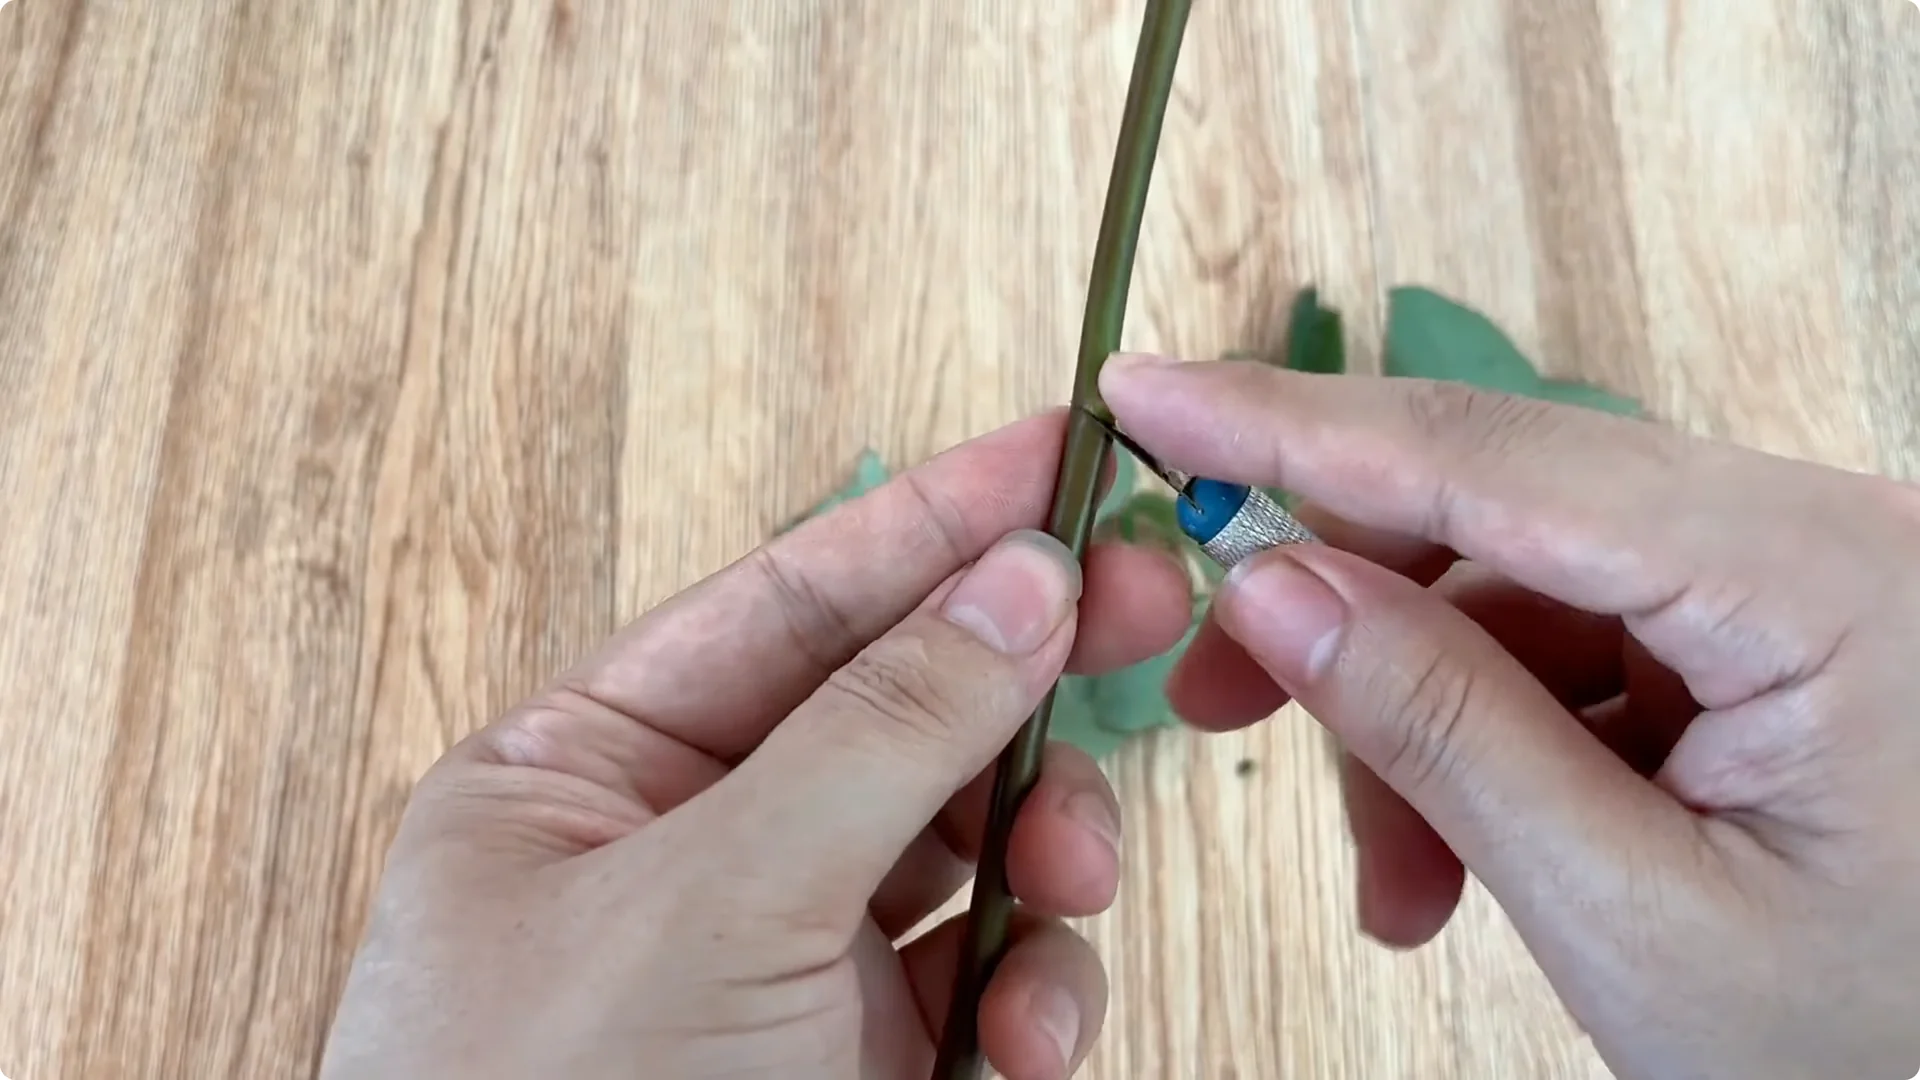
Proceed to remove all leaves and sharp thorns along the stem to limit water loss, while reducing the risk of fungal diseases. Continue to shorten the branch, leaving only about 15-20cm in length. This is the ideal length to help the branch concentrate nutrients for creating callus and forming new roots.
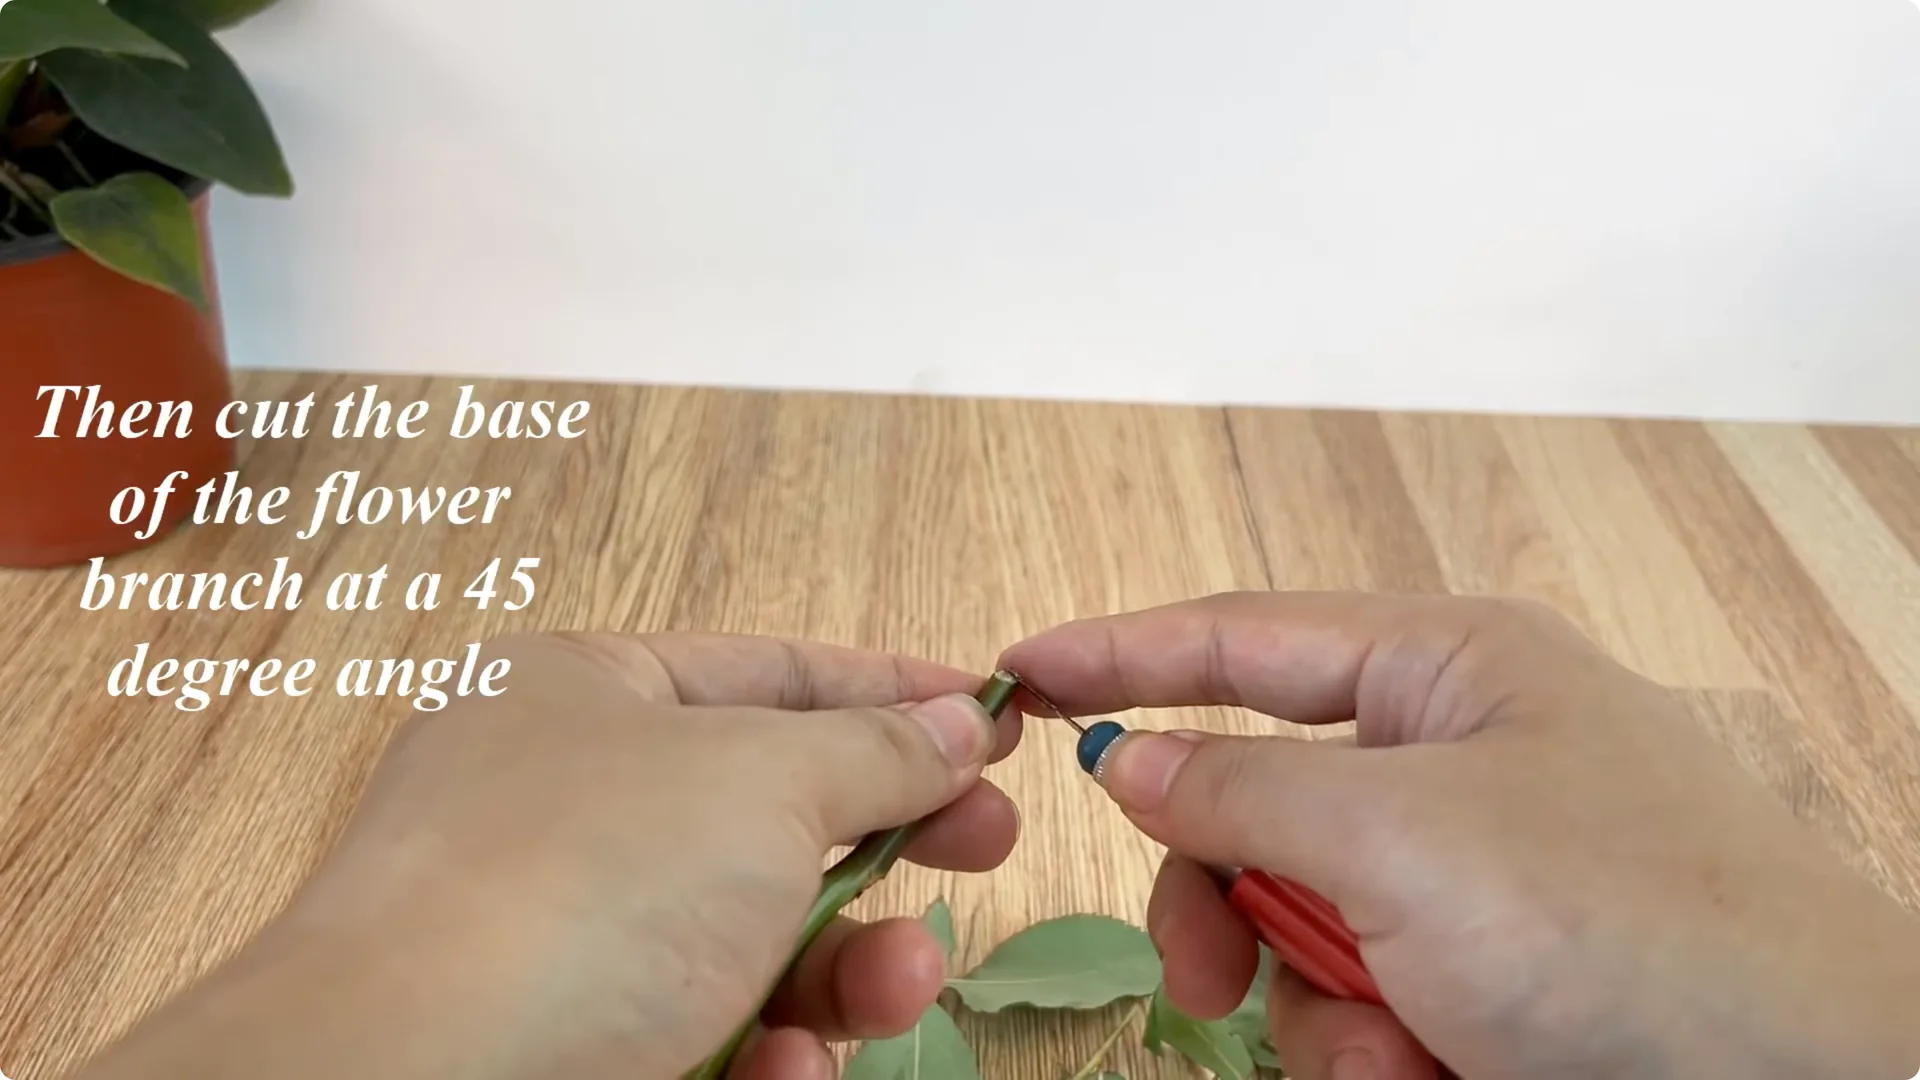
Next, cut the base of the flower branch at a 45-degree angle. This diagonal cut helps increase the contact area with the solution, while supporting the absorption of water and nutrients, promoting faster root formation. For an extra tip on encouraging stems to root and bloom, see this simple trick.
2. Rose Cutting Propagation: Prepare the Soaking Solution
After processing the cuttings, we start preparing the soaking solution. Take 3 cloves of garlic, peel and chop them. Garlic contains allicin – a natural biological compound with strong antifungal and antibacterial properties helping to protect the branches from disease and stimulate the formation of scar tissue.

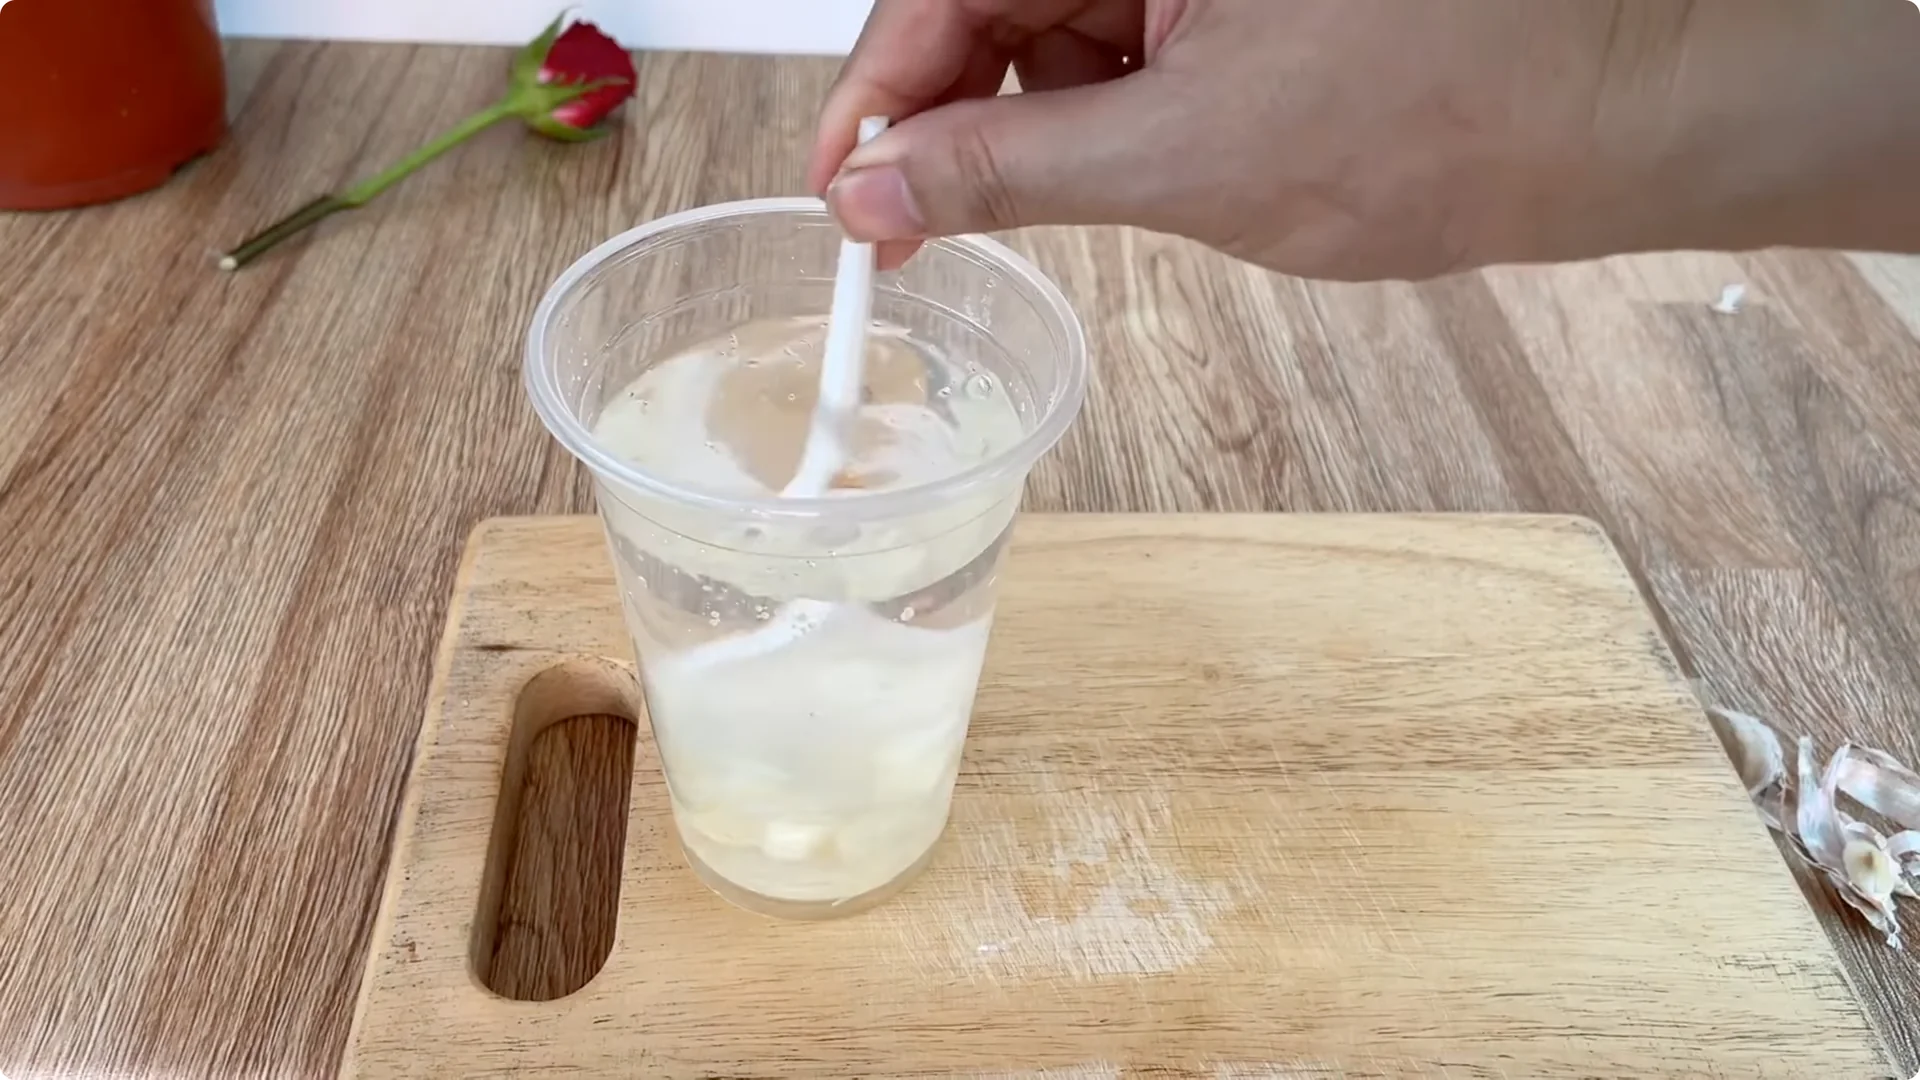
Put the chopped garlic in a clean plastic cup, add about 500 ml of water and stir well to dissolve the active ingredients in the garlic. Then, soak the rose branches in the garlic solution for about 15 minutes. This is the right time for the branches to receive antibacterial substances, increasing their resistance.
Apple Peel Add-in
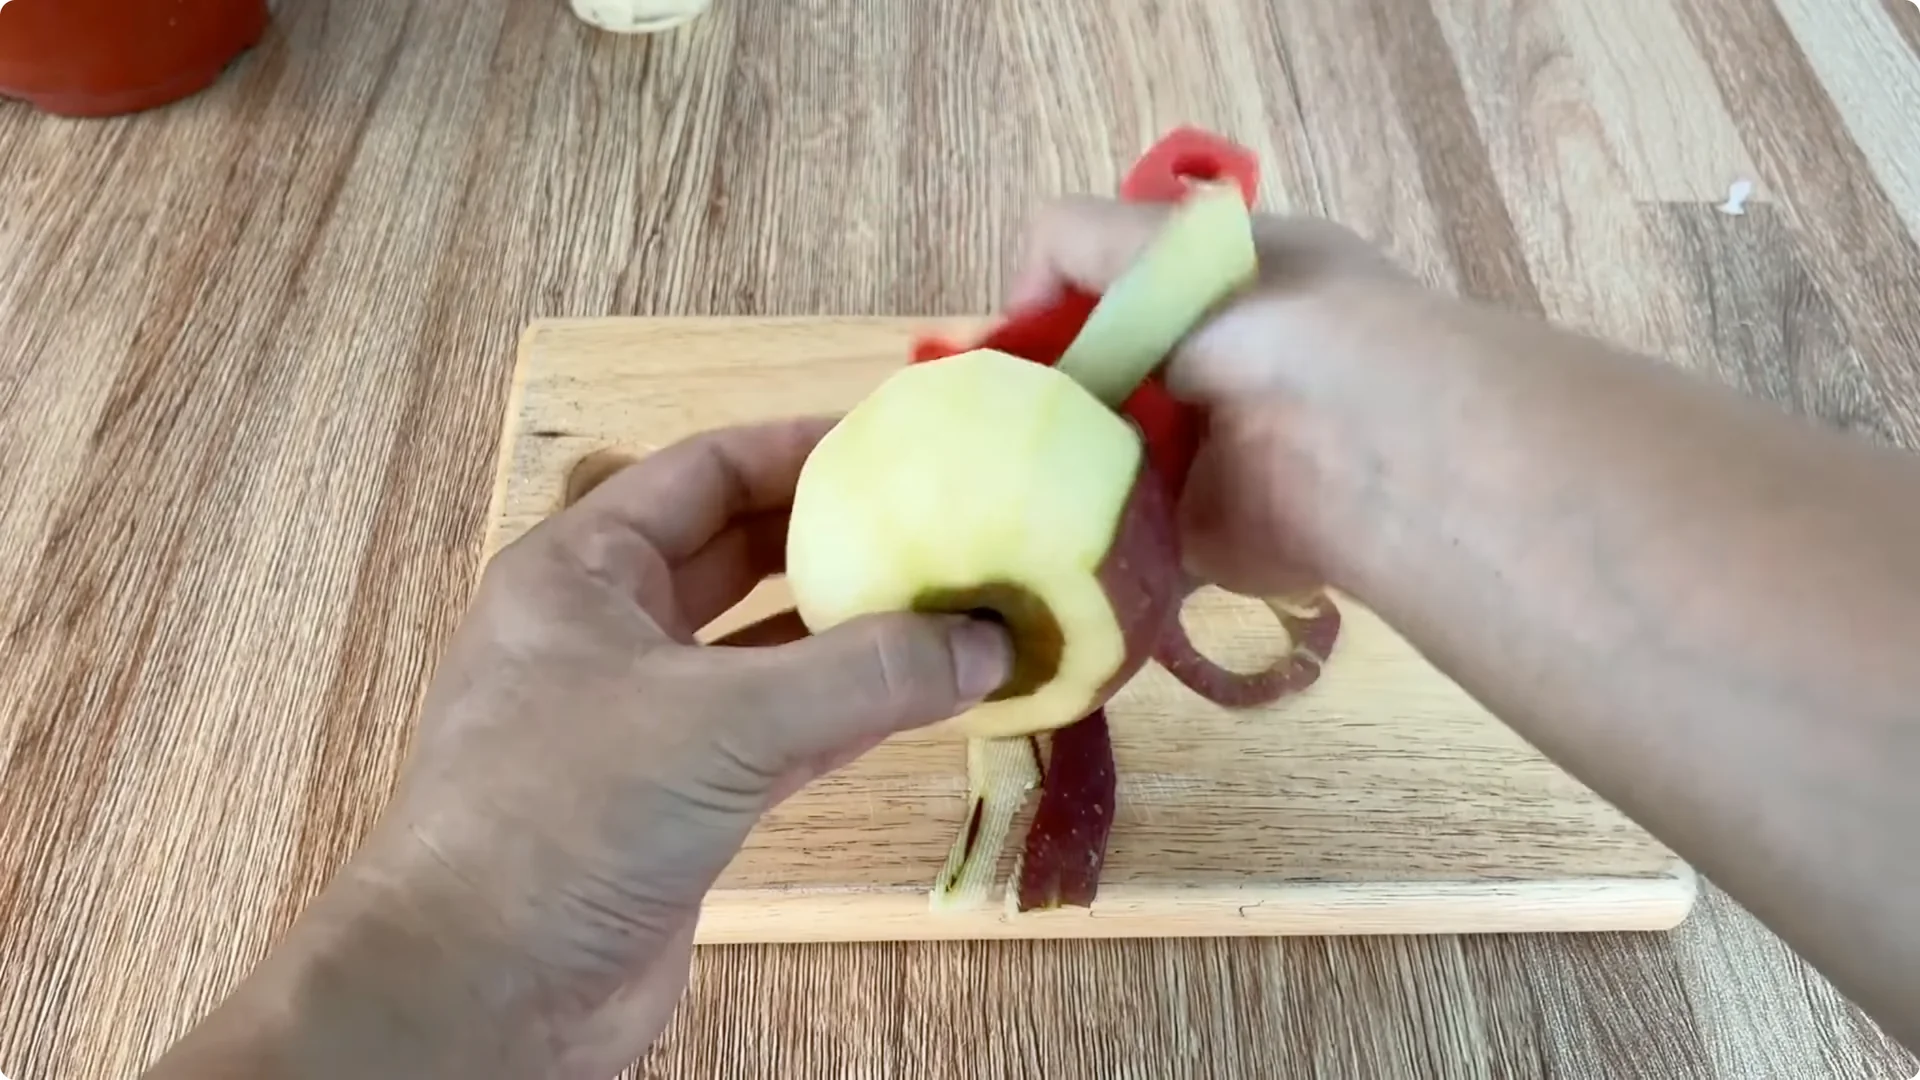
Next, prepare 1 fresh apple. Wash, peel and chop the apple skin and put it in the cup of garlic solution. Apple peel is rich in vitamins and natural sugars, acting as a light source of nutrients, promoting plant cell proliferation.
Aloe Vera Gel Add-in
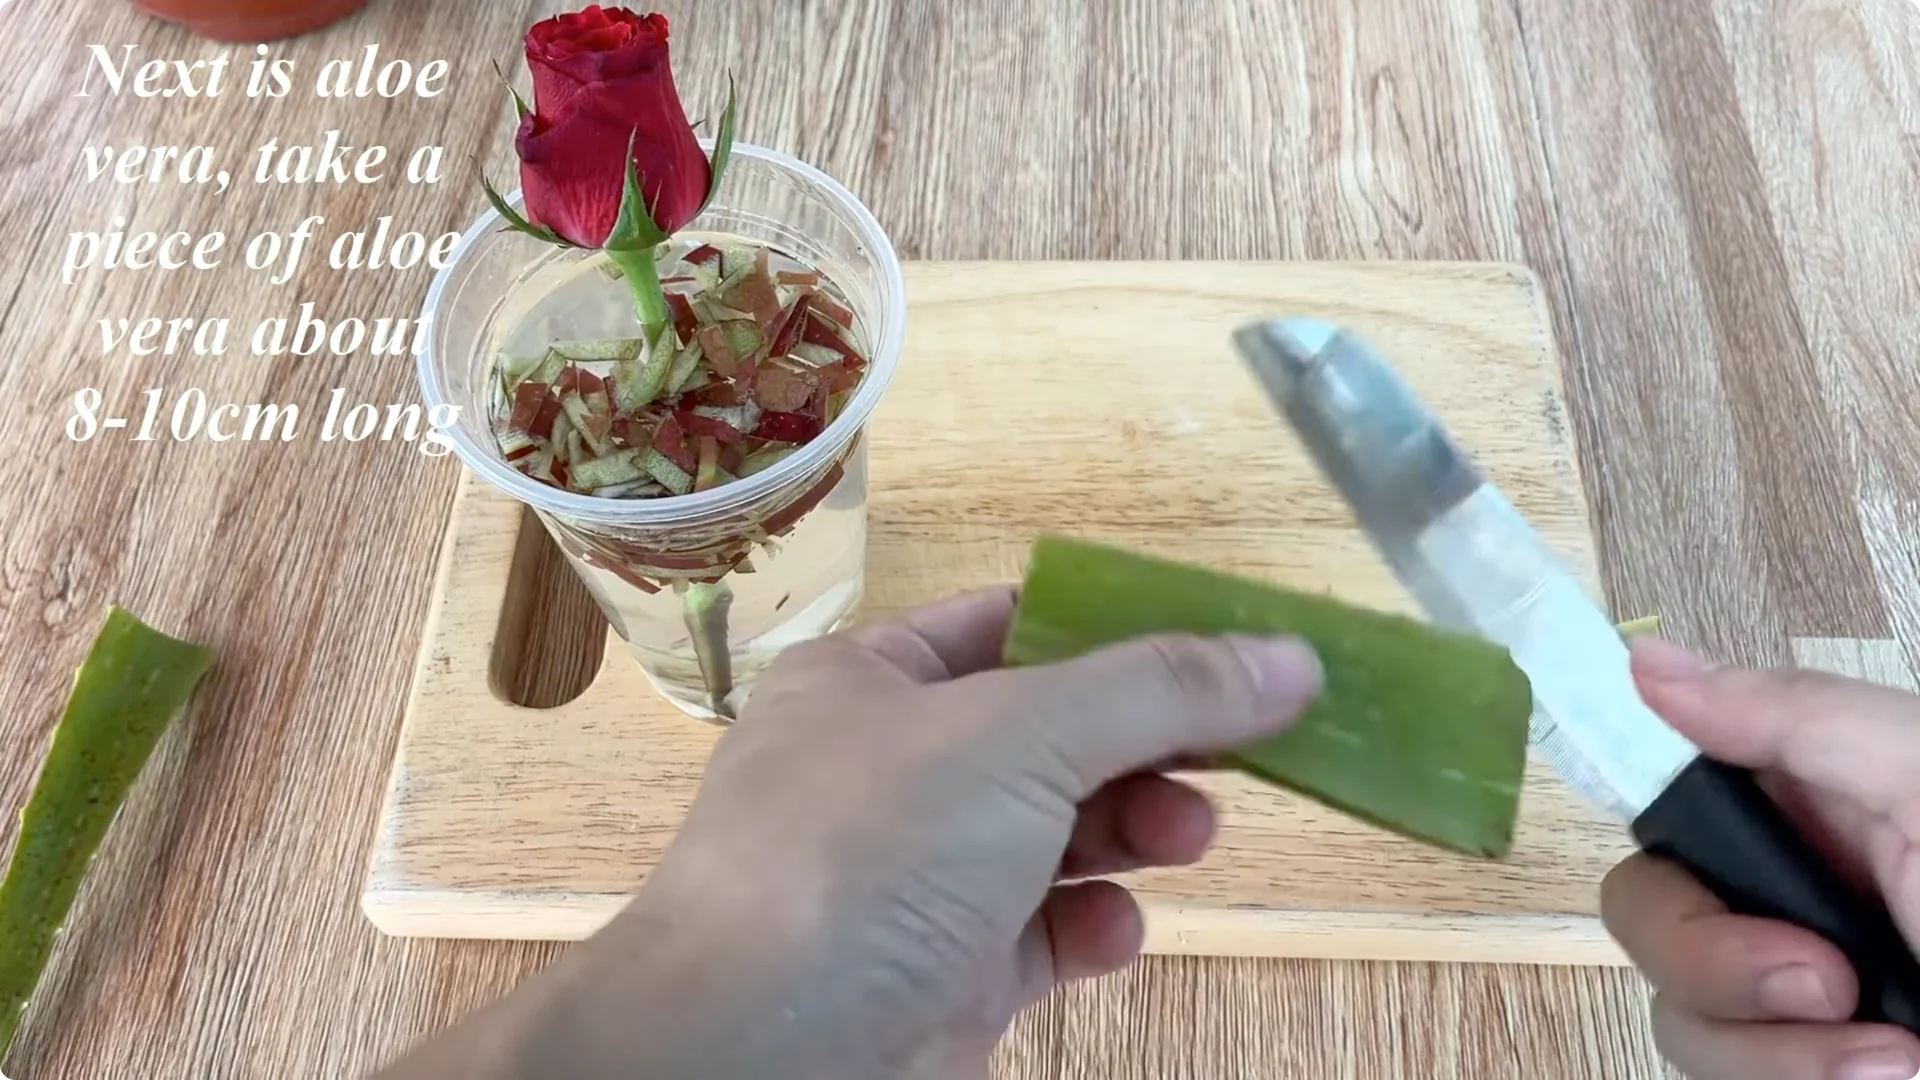
Add aloe vera: take a section of about 8-10 cm, peel off the green skin, take the transparent flesh and chop it. Aloe vera provides polysaccharide gel to keep moisture and support sterilization, helping the soaking environment to be more stable and rich in nutrients. Drop the aloe vera into the cup of garlic – apple peel solution, stir well and let it sit for about 15 minutes to let the active ingredients blend.
3. Rose Cutting Propagation: Prepare the Moist Substrate
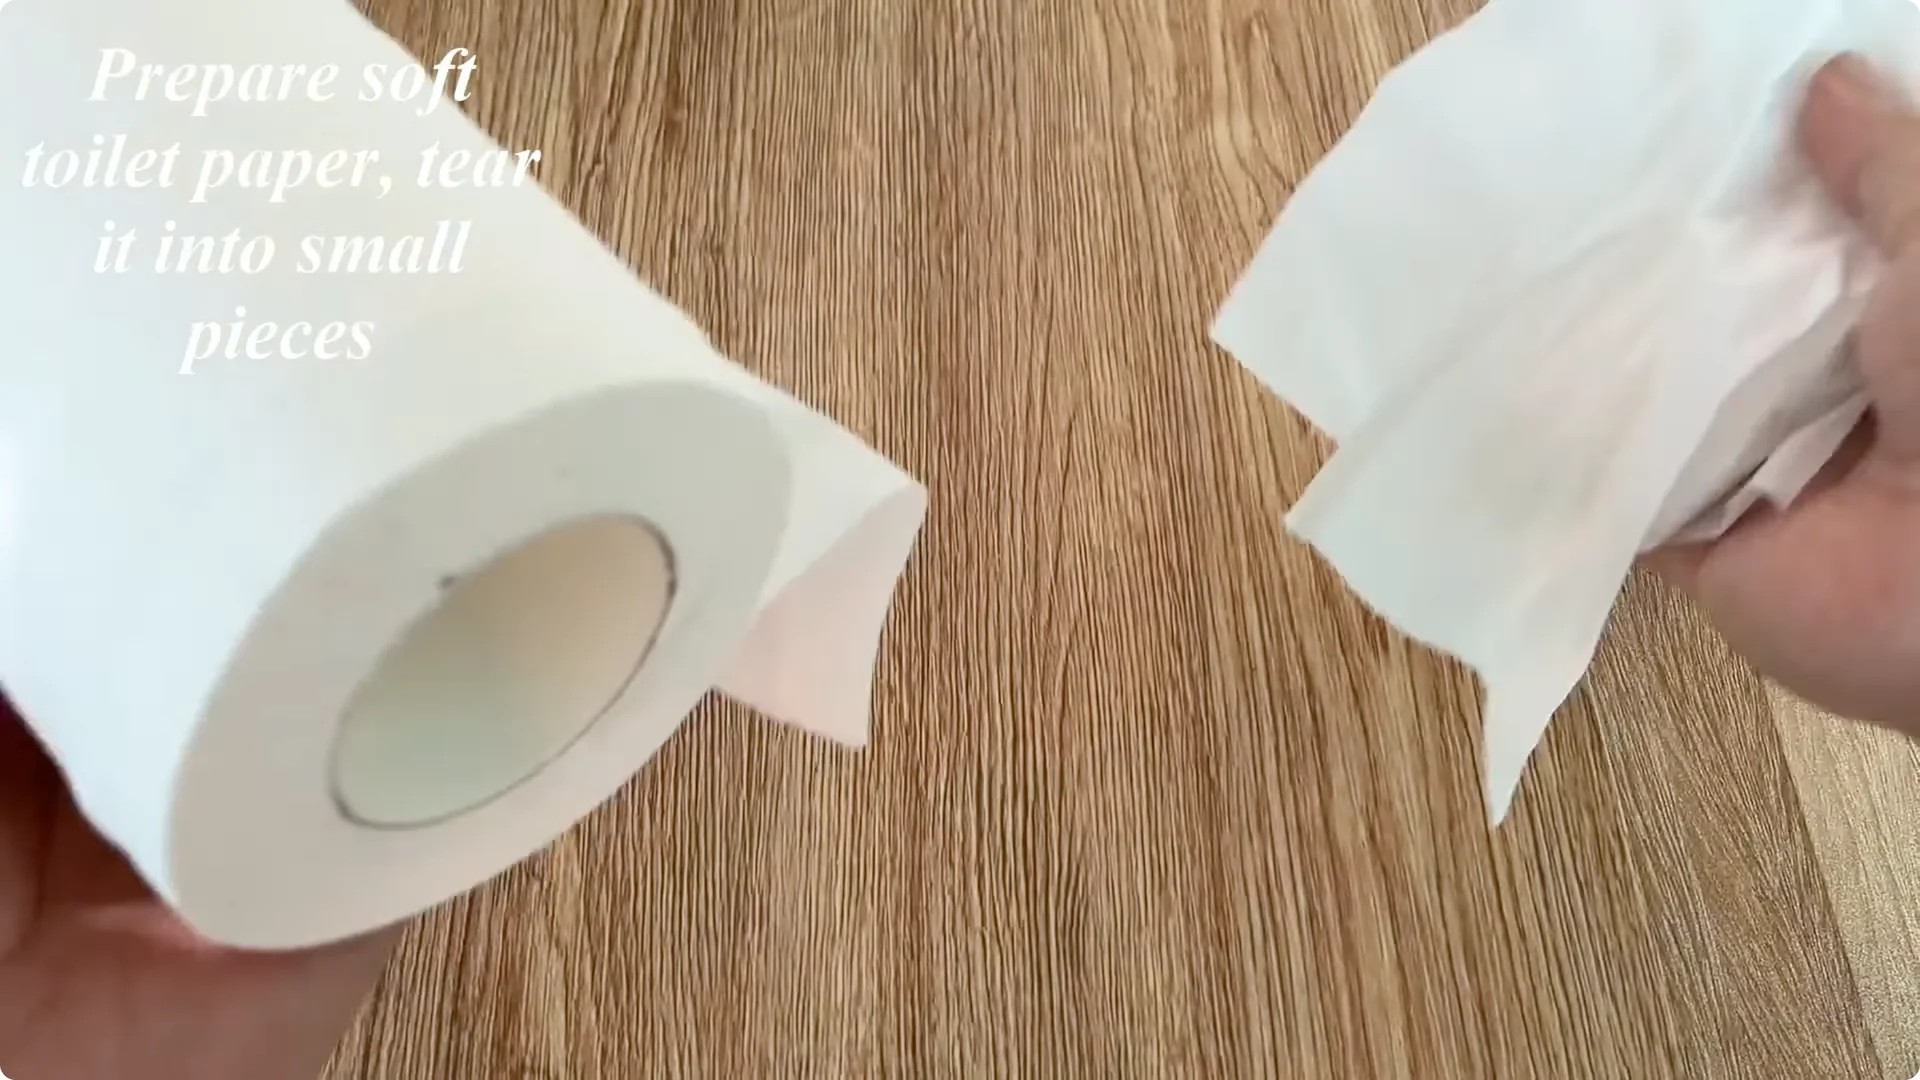
While waiting, prepare more soft toilet paper – a material that absorbs water well, is clean and sterile. Tear the paper into small pieces and put it in a clean plastic cup. The paper will act as a moisture-retaining substrate around the base of the rose branch, creating a stable environment during the rooting stage.
4. Rose Cutting Propagation: Assemble and Plant the Cutting
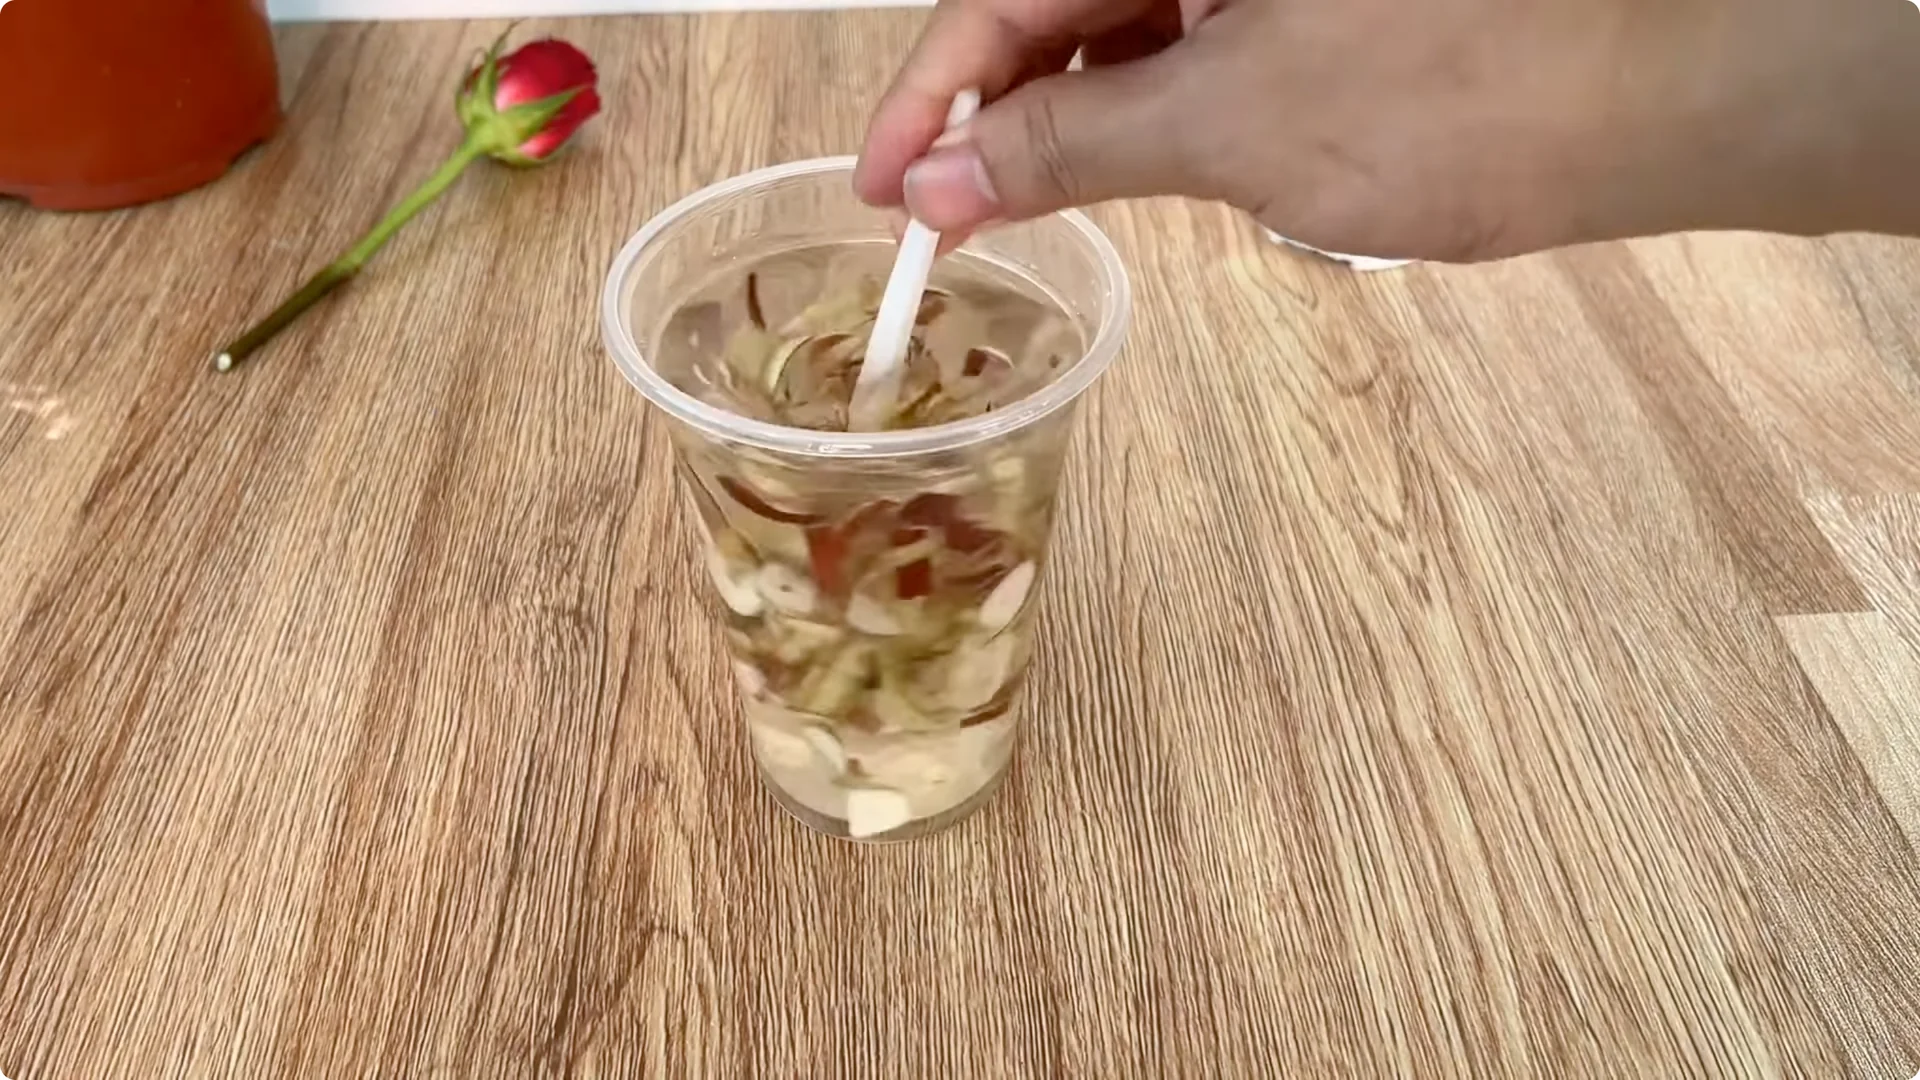
When the flower branch has soaked for enough time, gently remove the branch from the solution. Use a spoon or stick to stir the garlic – apple peel – aloe vera mixture to mix the sediments. Filter out the residue, keep the clear solution, then dilute it with 0.5 liters of clean water.
Dilution helps reduce the concentration of active ingredients, creating a mild environment to stimulate stable root growth. Pour the mixed solution into the prepared paper cup. Leave the cup alone for about 10 minutes to let the paper absorb moisture evenly.
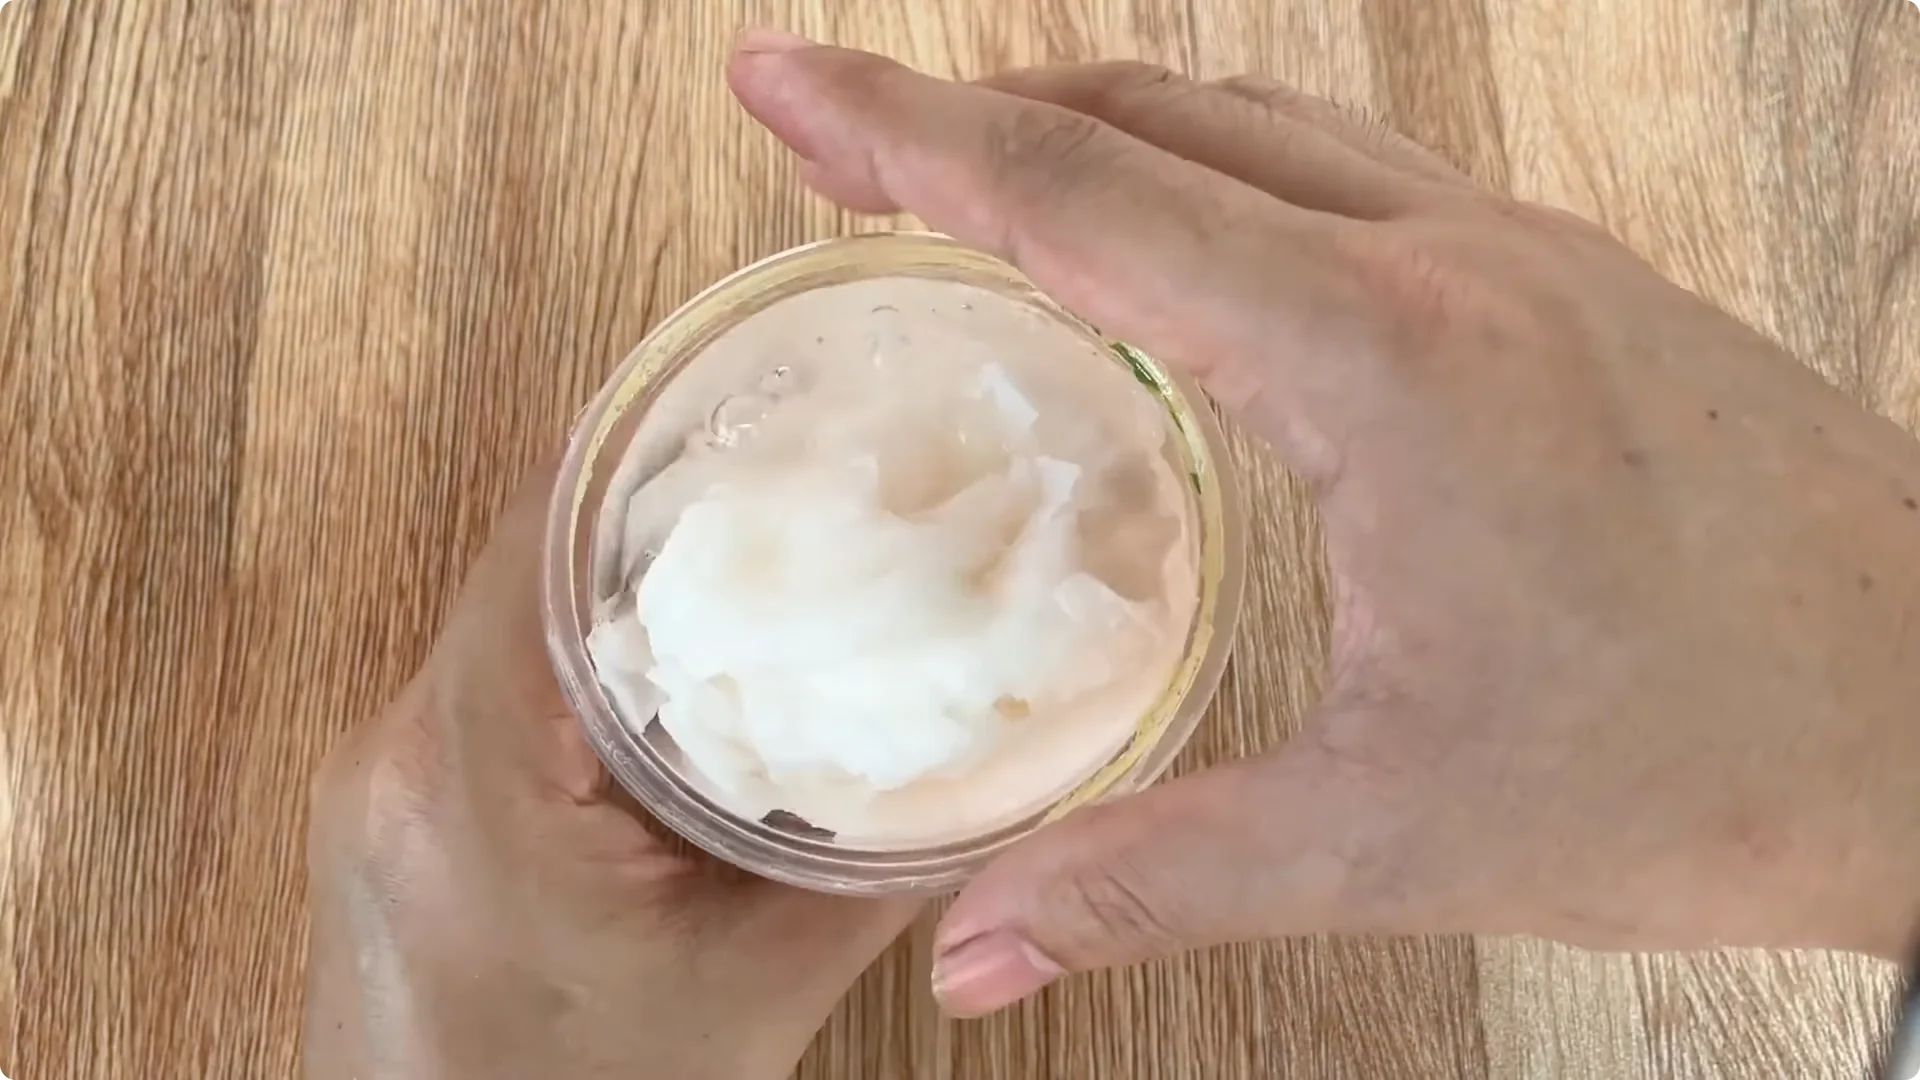
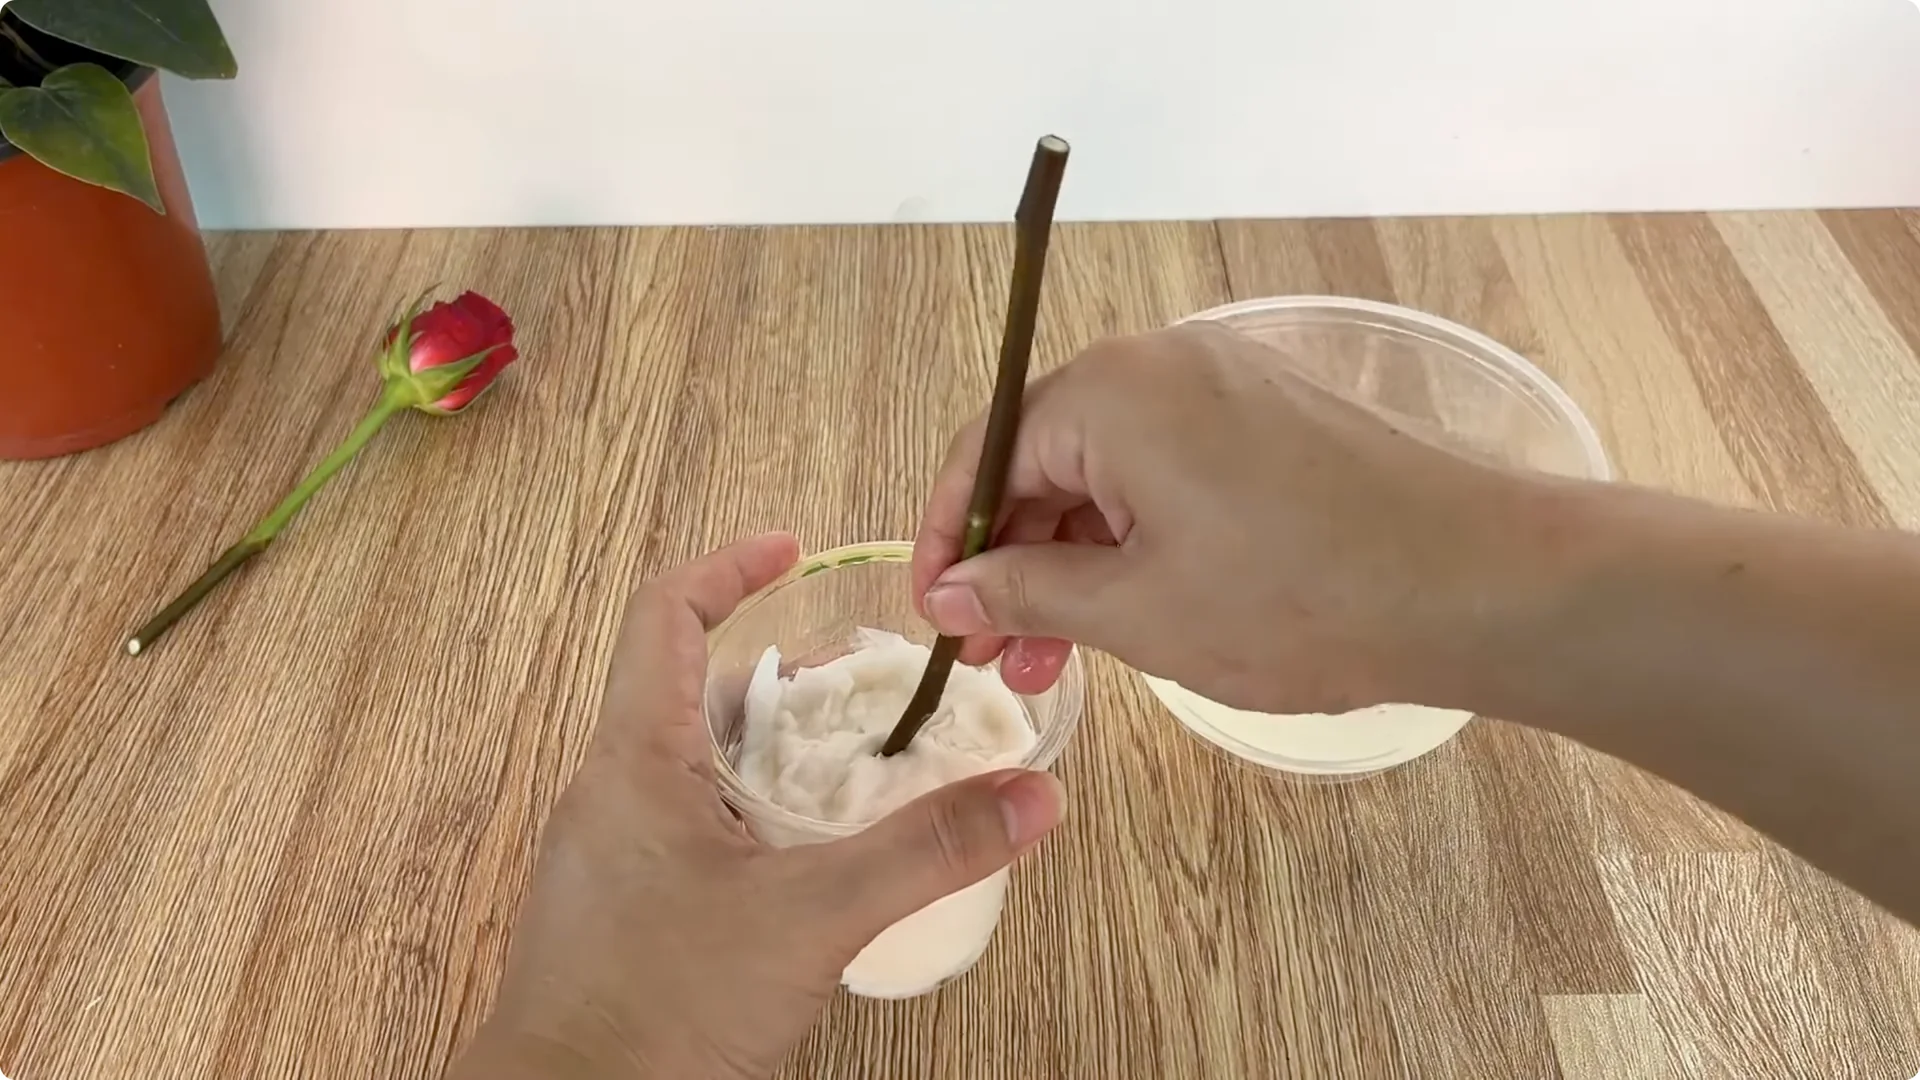
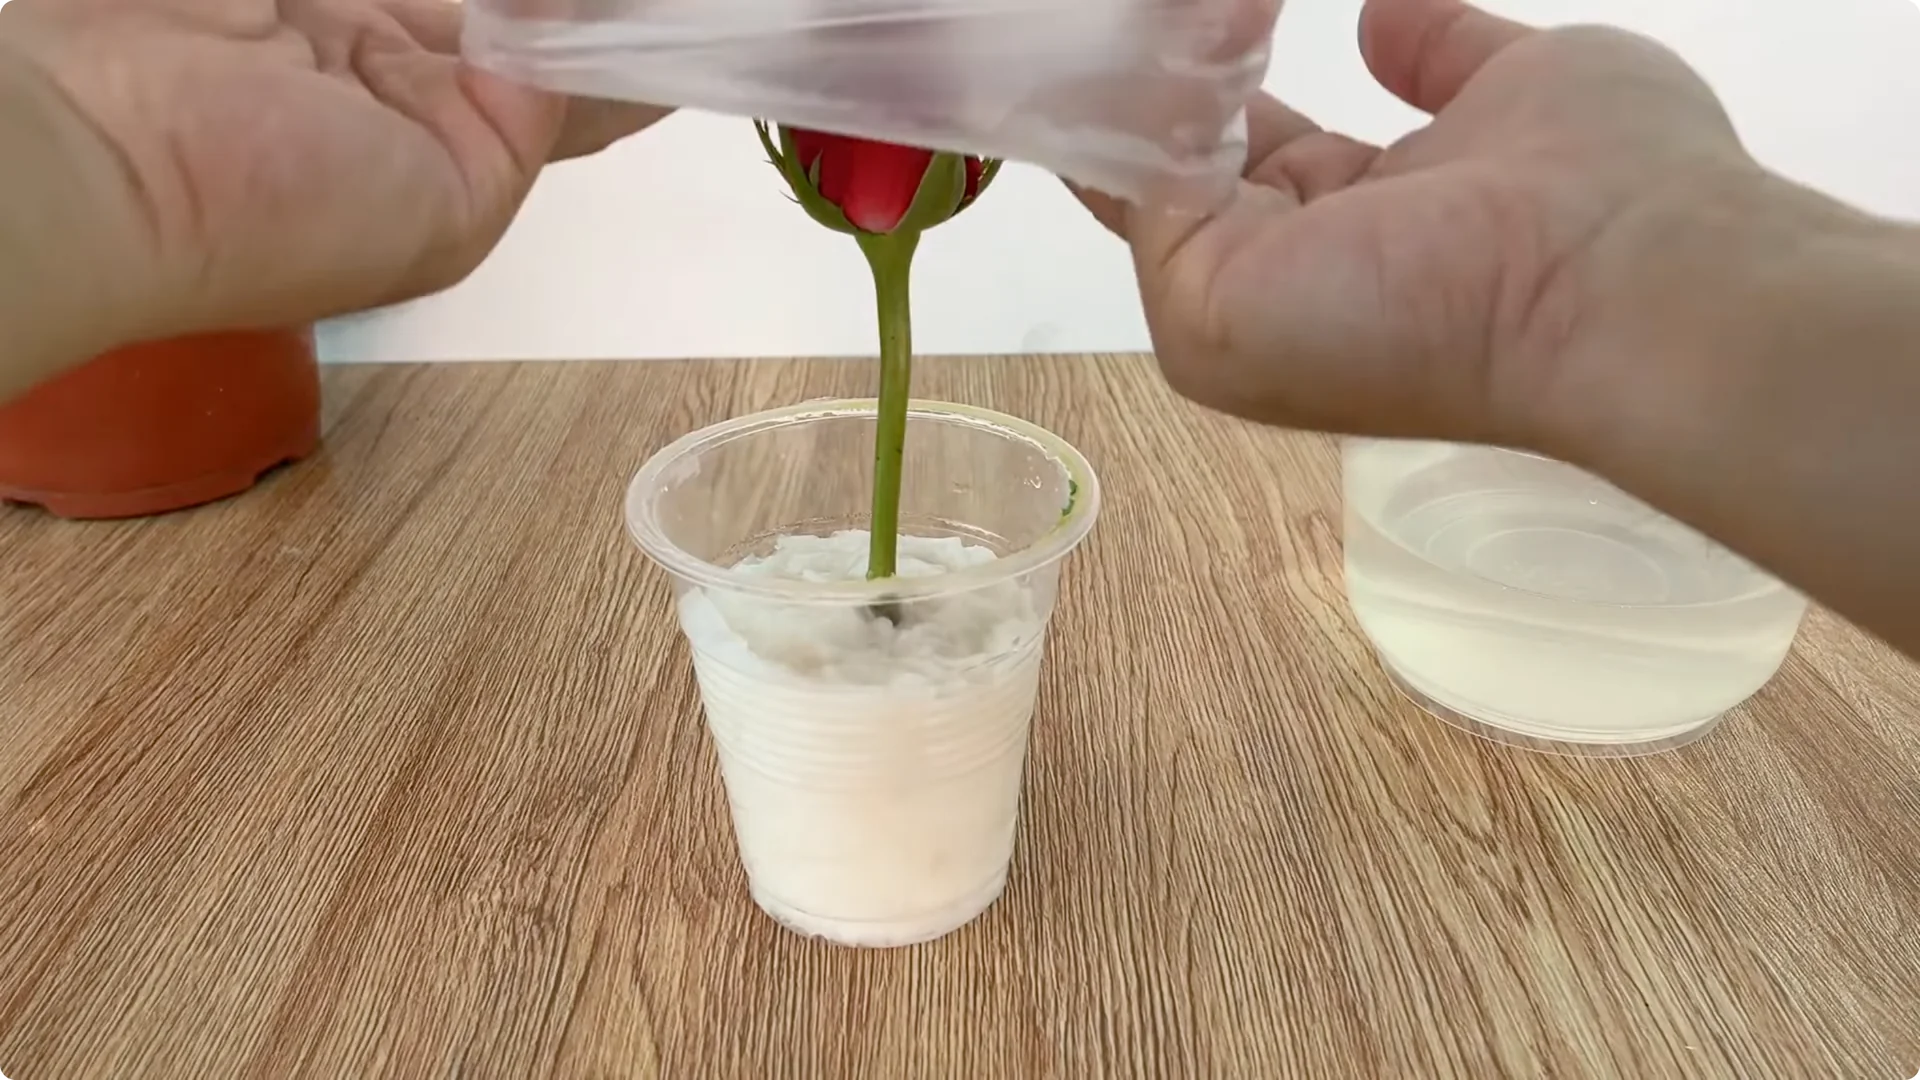
Then, squeeze it gently with your hand to reduce the water, helping the paper to only retain moderate moisture – avoiding rotting. Next, use a small stick to make a hole in the middle of the paper, creating space for the flower branch. Use soft paper to wrap 2-3 times around the base of the branch to increase the contact area, then dip the wrapped base into the solution so that the paper becomes moist and rich in nutrients.
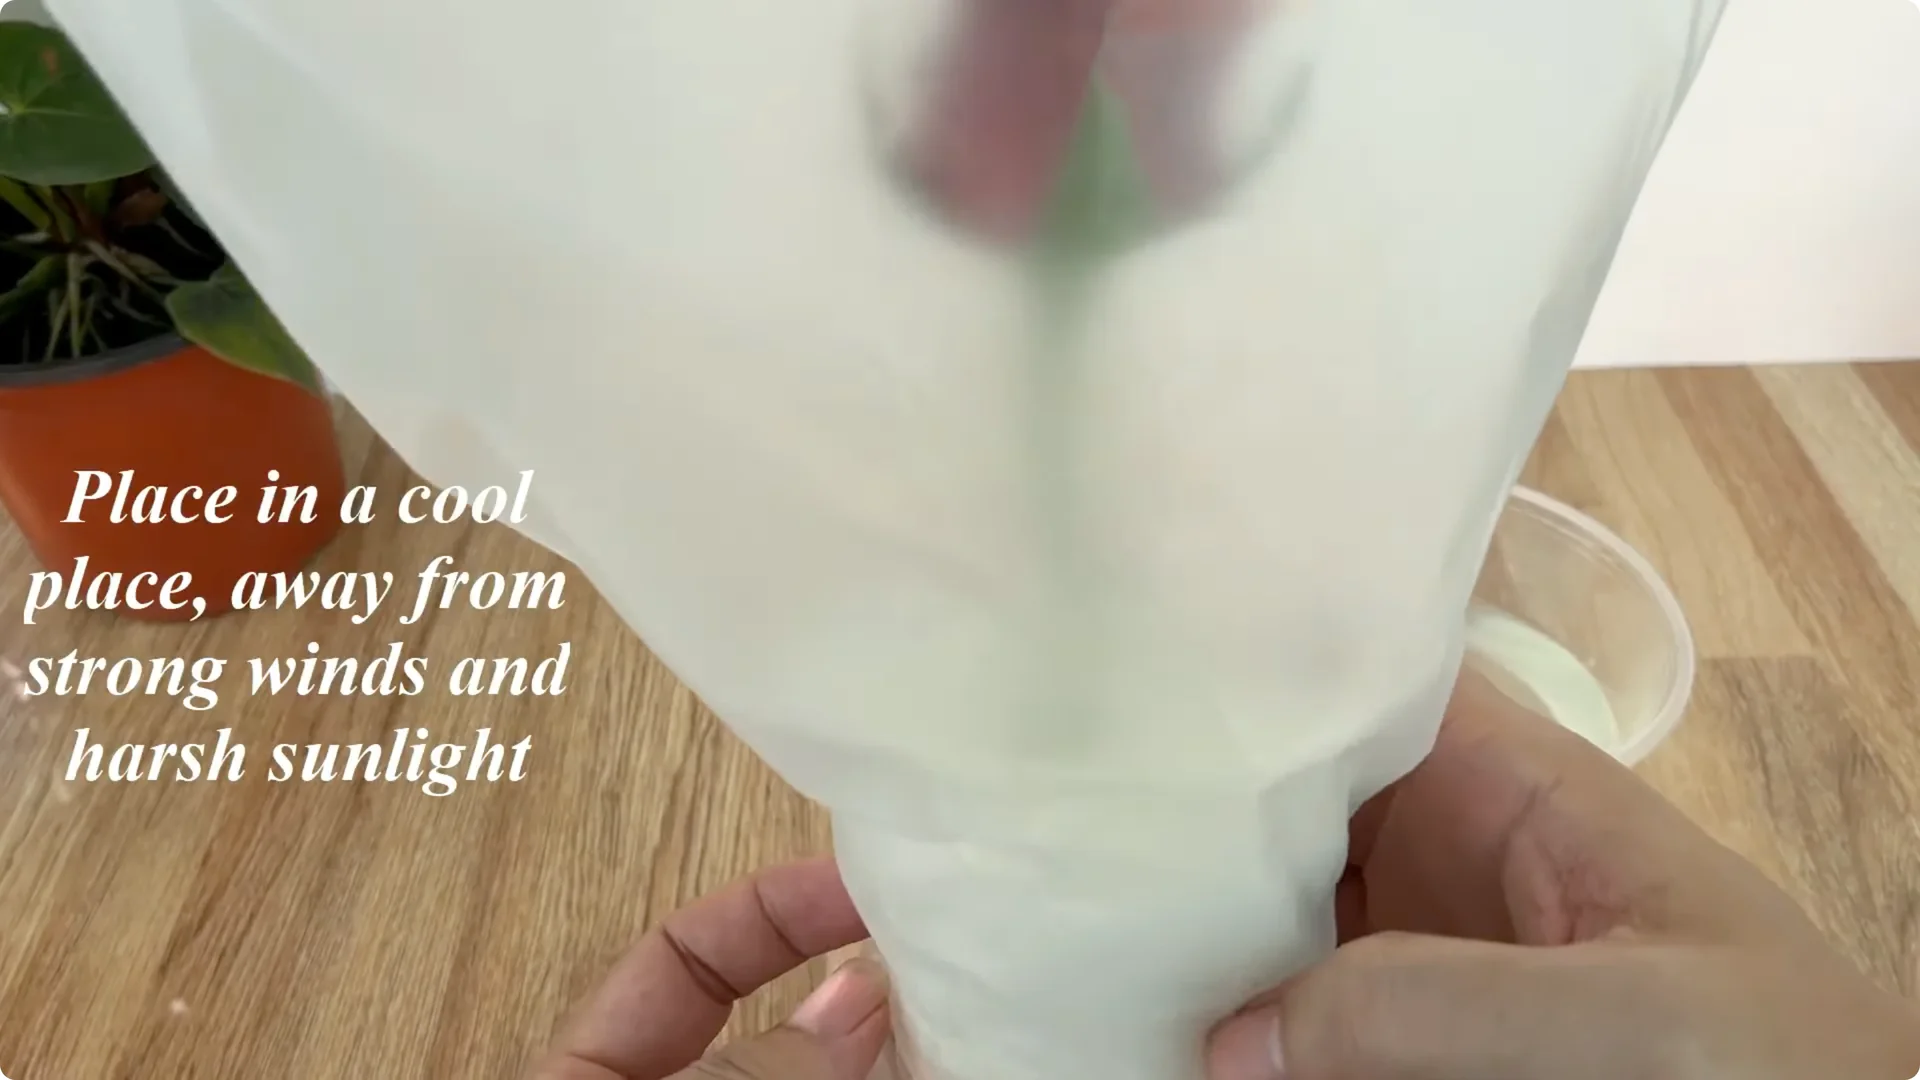
When finished, put the flower branch into the hole created in the middle of the paper cup, press lightly around to secure it. To keep the environment stable, use a plastic bag or transparent plastic cup to cover the mouth of the cup. This method creates a greenhouse microclimate with high humidity, limits water evaporation and increases the survival rate of the cuttings.
Place the cup containing the flower cuttings in a cool place, away from strong winds and harsh sunlight. Mild environmental conditions will help the callus at the base of the branch to quickly regenerate and promote the formation of new roots. You can also explore another approach for rooting and blooming to compare results.
5. Rose Cutting Propagation: Observe and Transplant
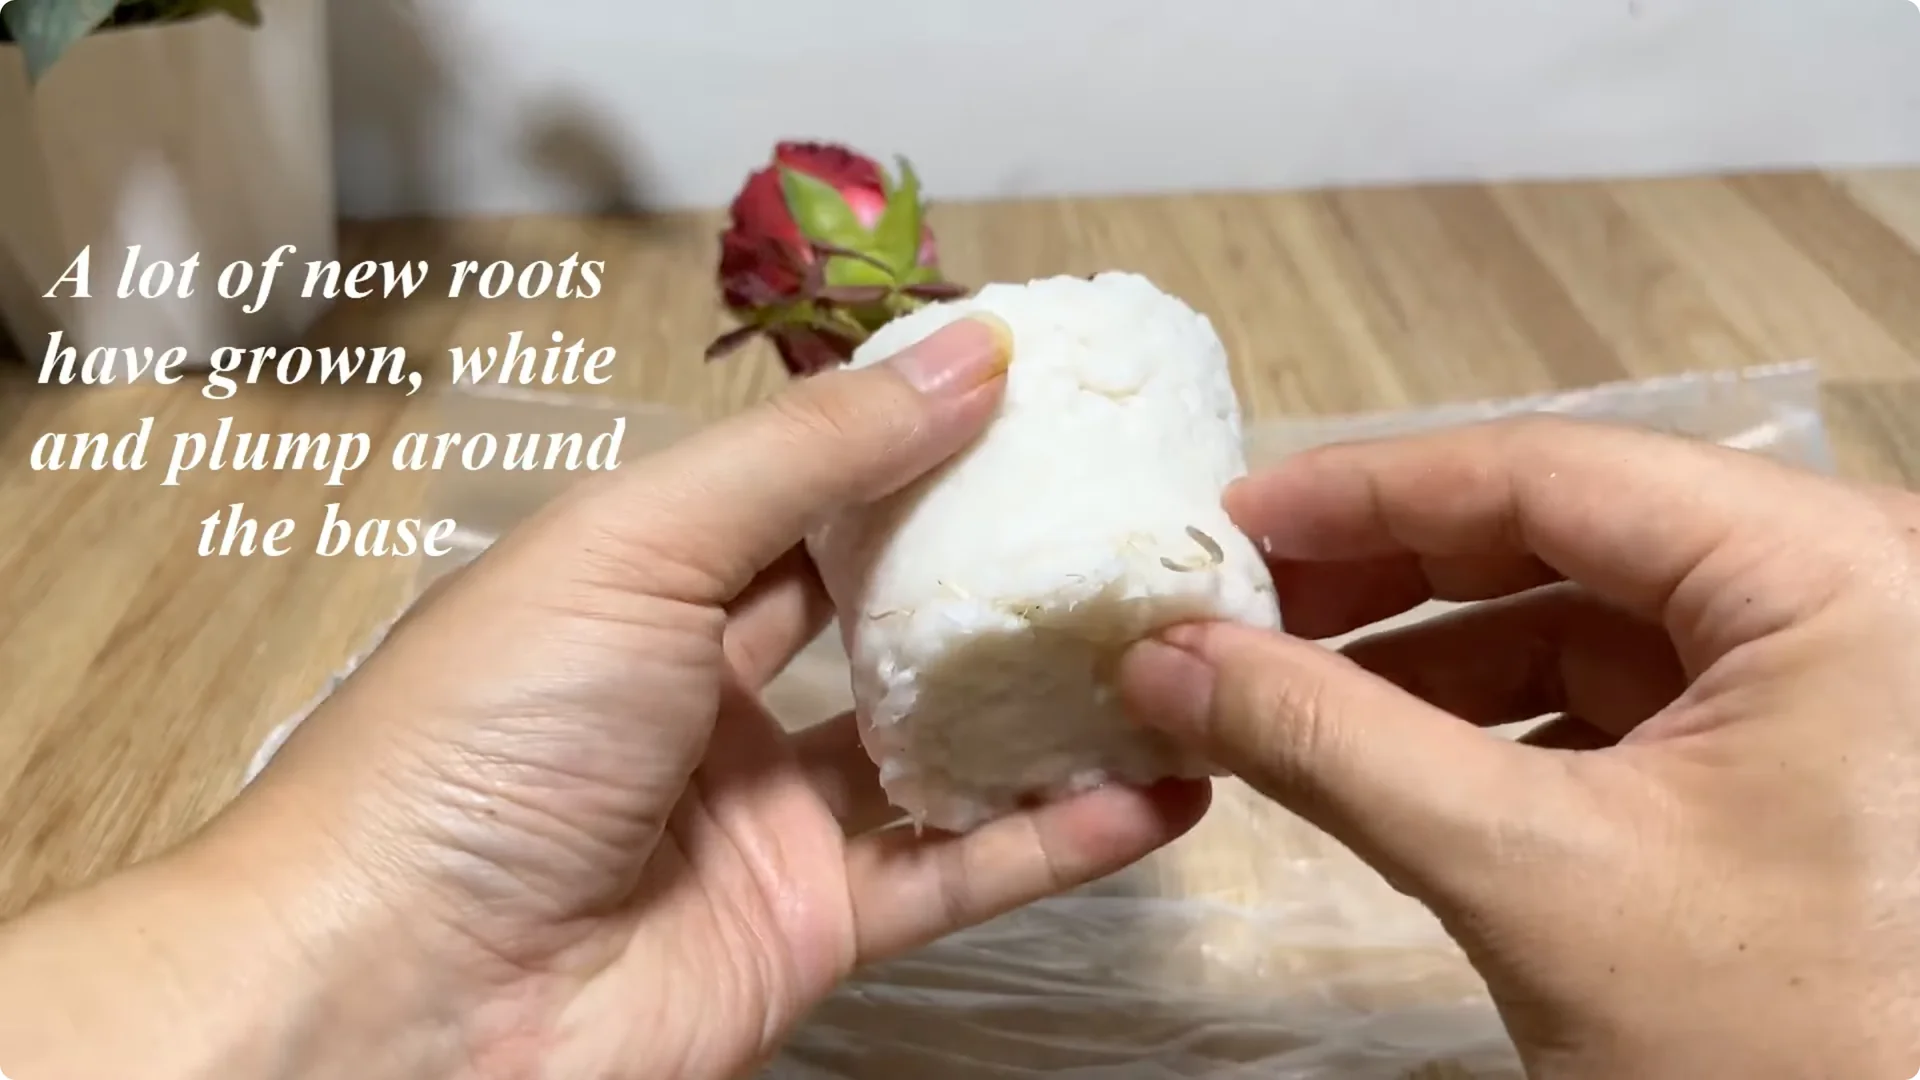
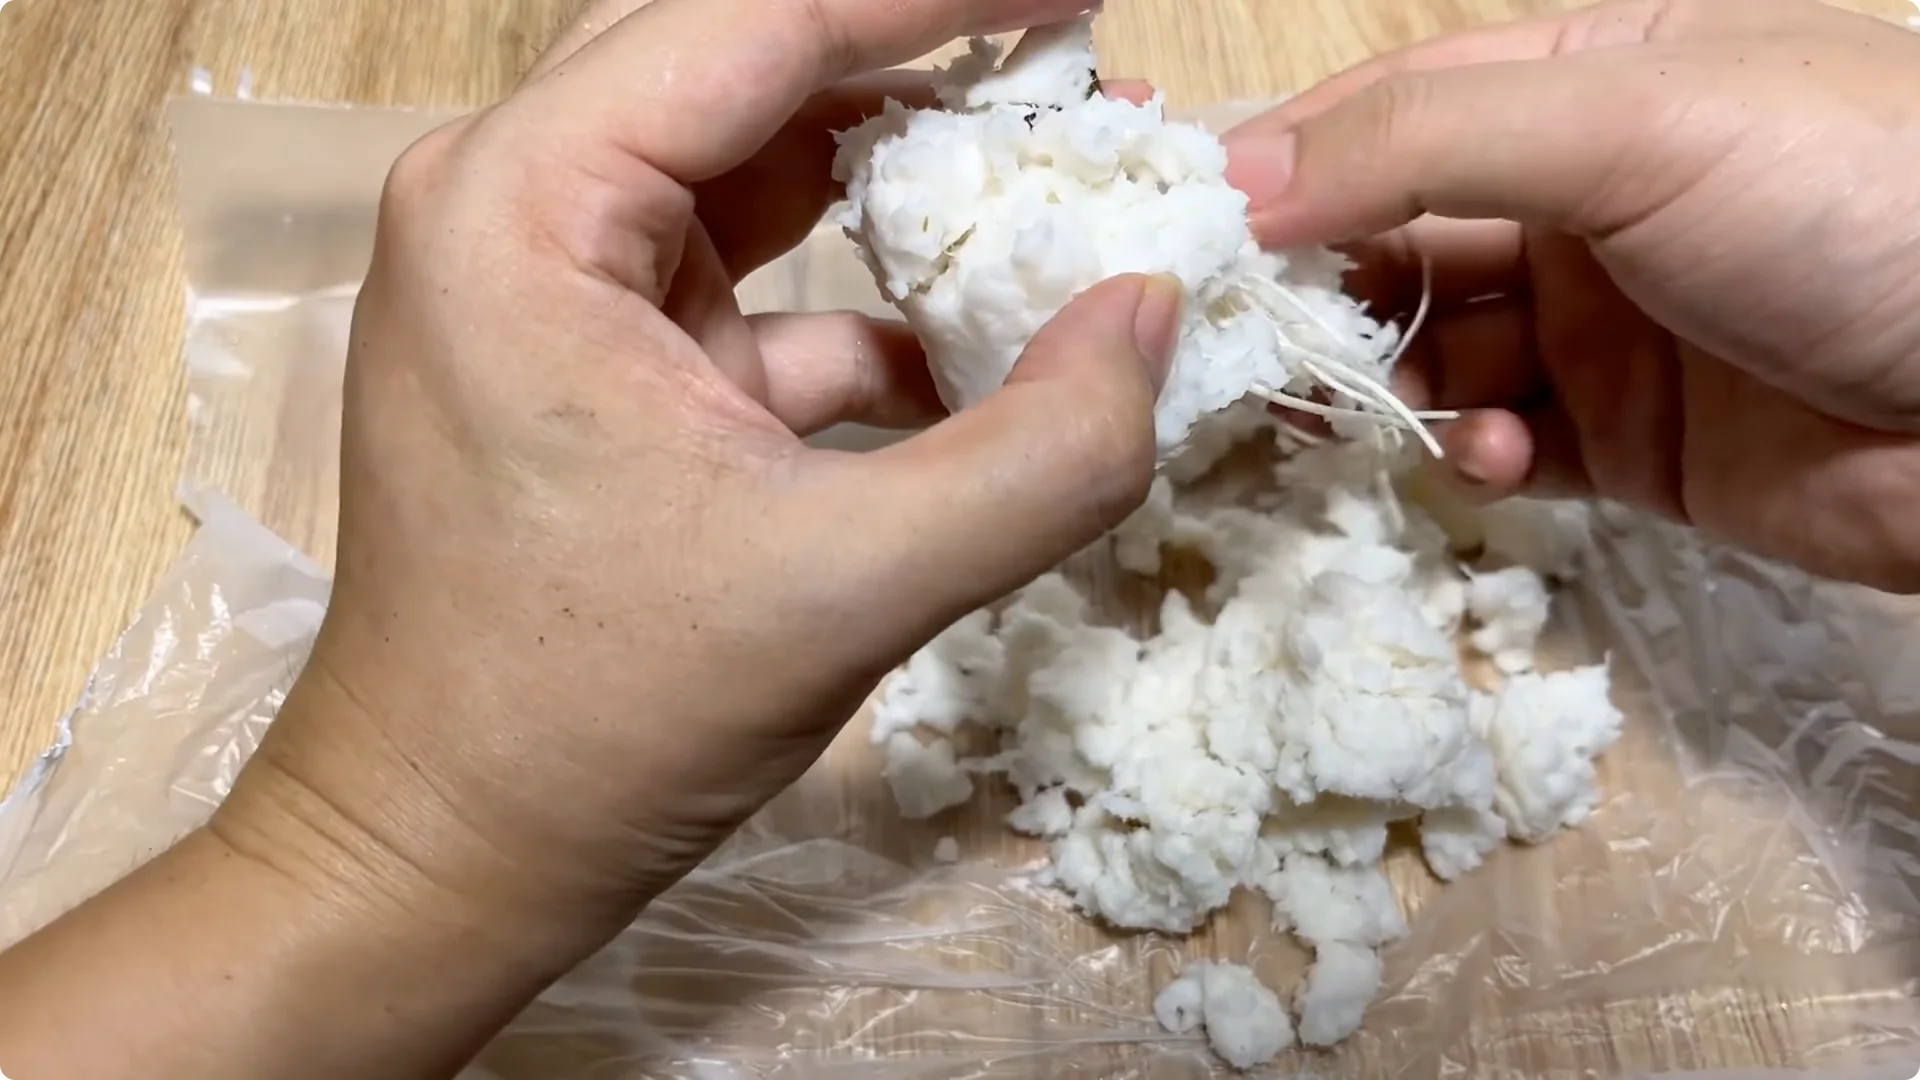
After about 10 days, we will observe encouraging results. On the branch trunk, new shoots will begin to sprout, have a fresh green color and grow healthily. At the base, a series of white, plump, succulent roots grow densely – a sign that the cuttings have begun to adapt well to the new environment.
At this time, you can gently transfer the cuttings to the main pot. Choose a pot with good drainage holes and use river sand to ensure ventilation for the root system to develop. This method is easy to apply, safe, economical and suitable for beginners or those who love to propagate flowers at home.
Final Thoughts
The technique of propagating rose cuttings with garlic, apple peel and aloe vera combined with paper substrate is a creative, easy-to-apply and environmentally friendly solution. Natural ingredients provide antibacterial, moisturizing and light nutrient supplementation, helping the flower branches to quickly recover, root well and develop stably. For a broader overview of easy home propagation, see a simple, effective propagation method.
Hope you apply successfully and soon own beautiful rose pots in your garden.
About The Author
The Beginner’s Rose Propagation Starter Kit 🌹
A simple printable PDF guide to help you root rose cuttings successfully.
Get The Guide →