
I will guide you through an extremely effective root stimulation method helping rose branches recover quickly, sprout strongly, and produce thick white roots in a short time. This simple, easy-to-do technique brings very high efficiency for both beginners and those familiar with rose care.
1. Rose Cutting Propagation – Selecting and Preparing the Cutting
The Beginner’s Rose Propagation Starter Kit 🌹
A simple printable PDF guide to help you root rose cuttings successfully.
Get The Guide →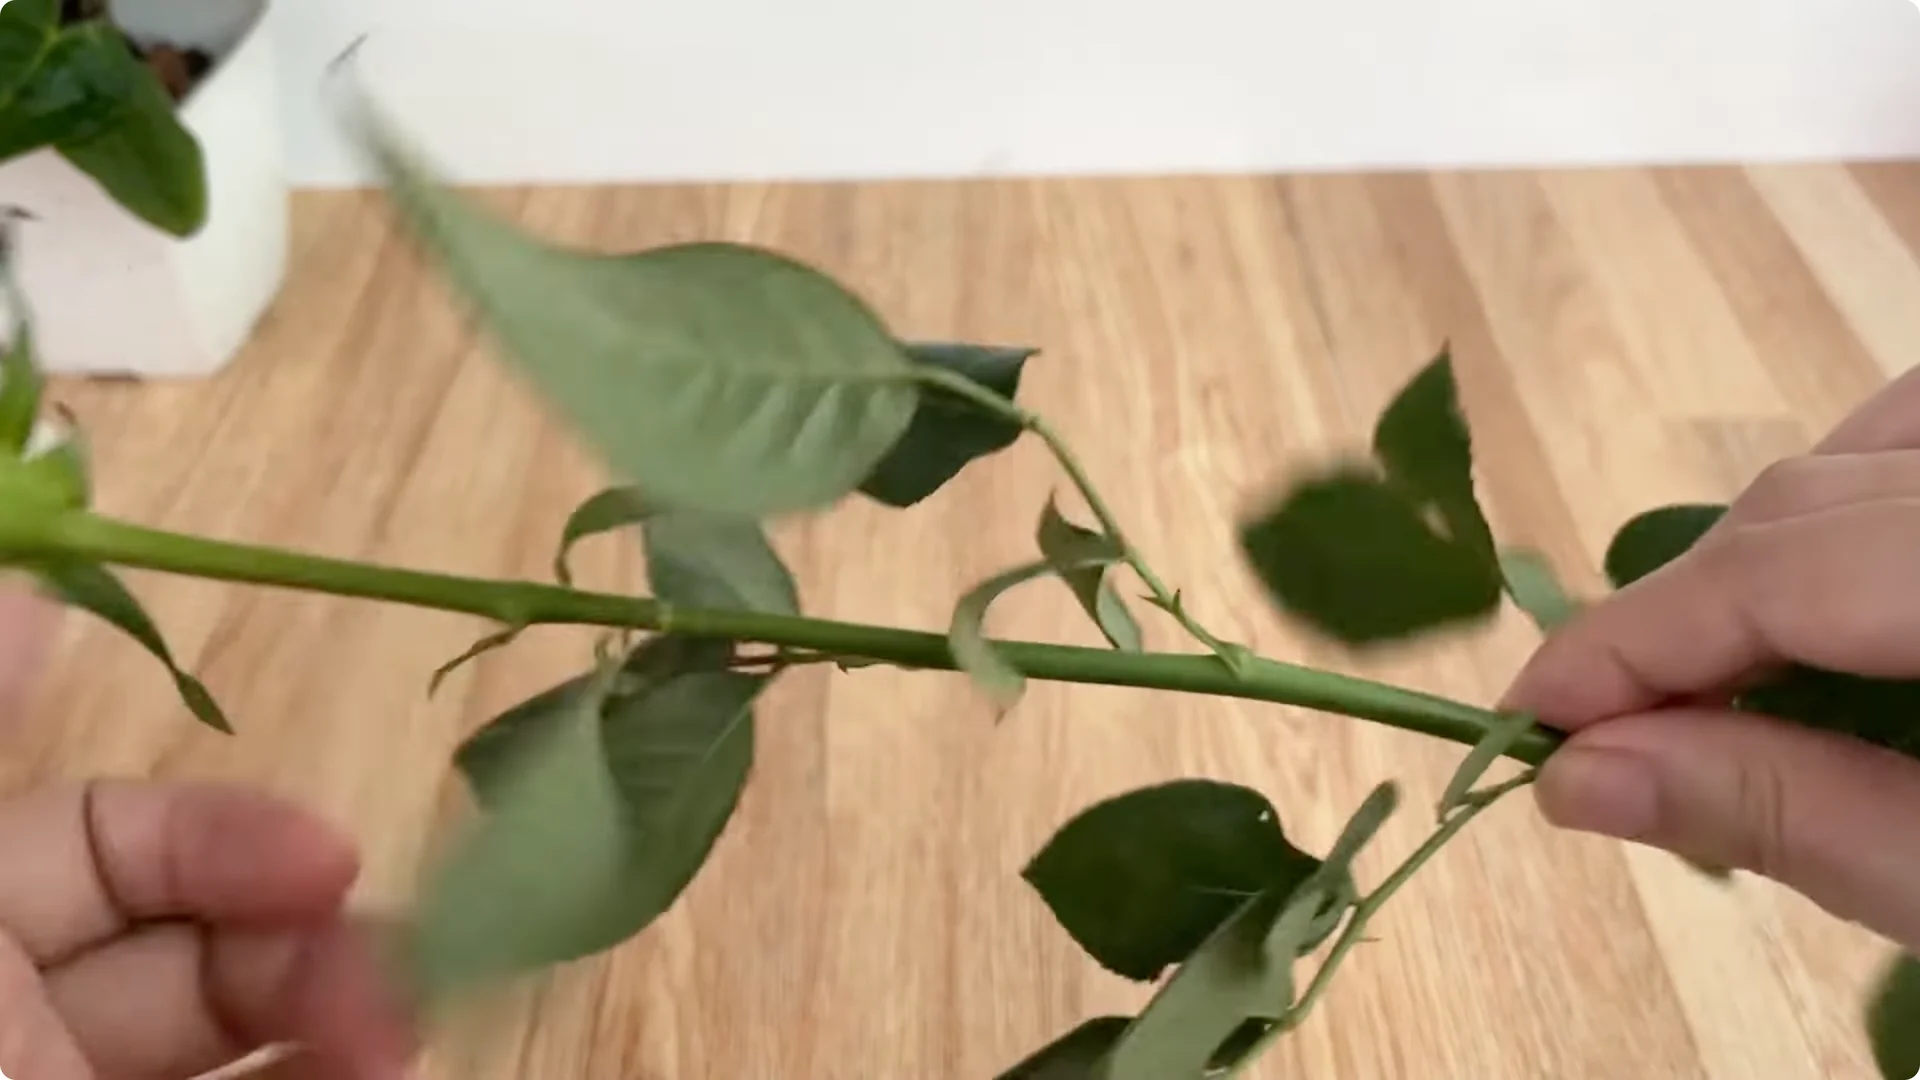
First, choose a healthy rose branch, free of pests or signs of root rot. A branch of the right age – not too young, not too old – will have the highest tissue regeneration ability.
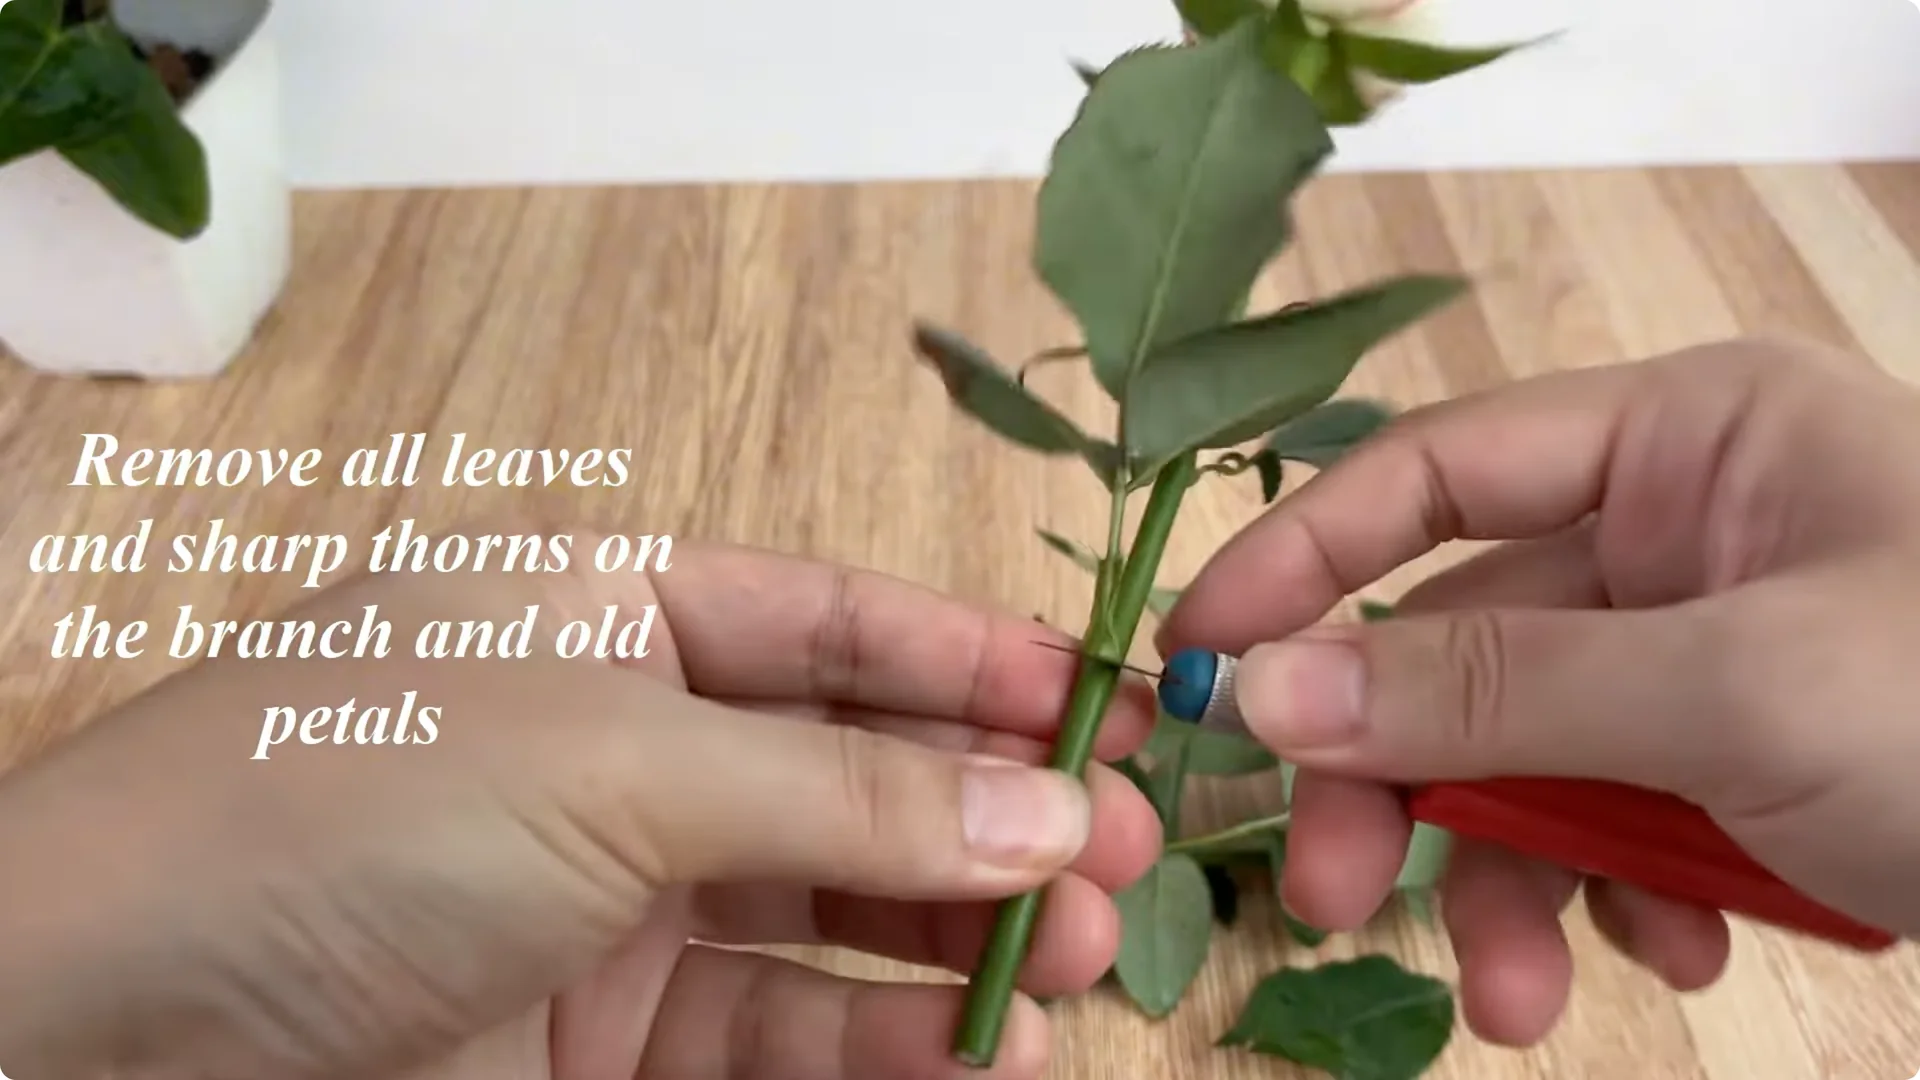
Once the branch has been selected, cut off all the leaves because the leaves will dehydrate the branch during the initial root stimulation period. Remove all sharp thorns to avoid infection and make it easier to operate.
Then, cut the branch to a length of only 15-20 cm, both neat and optimal in nutritional strength. These are the steps to help the rose branch enter a state of “temporary sleep”, ready to absorb nutrients to form new roots.
If there are still flowers on the branch, cut off the old flowers so that the branch can concentrate its energy on the roots. For more propagation ideas, see this simple way to start cuttings: propagate roses with a simple method.
2. Rose Cutting Propagation – Ginger and Glucose Soak
Take 10 grams of fresh ginger, wash it, and cut it very small. Ginger contains compounds gingerol, shogaol… which have strong antibacterial effects, protect cuts from mold, and stimulate cell regeneration.
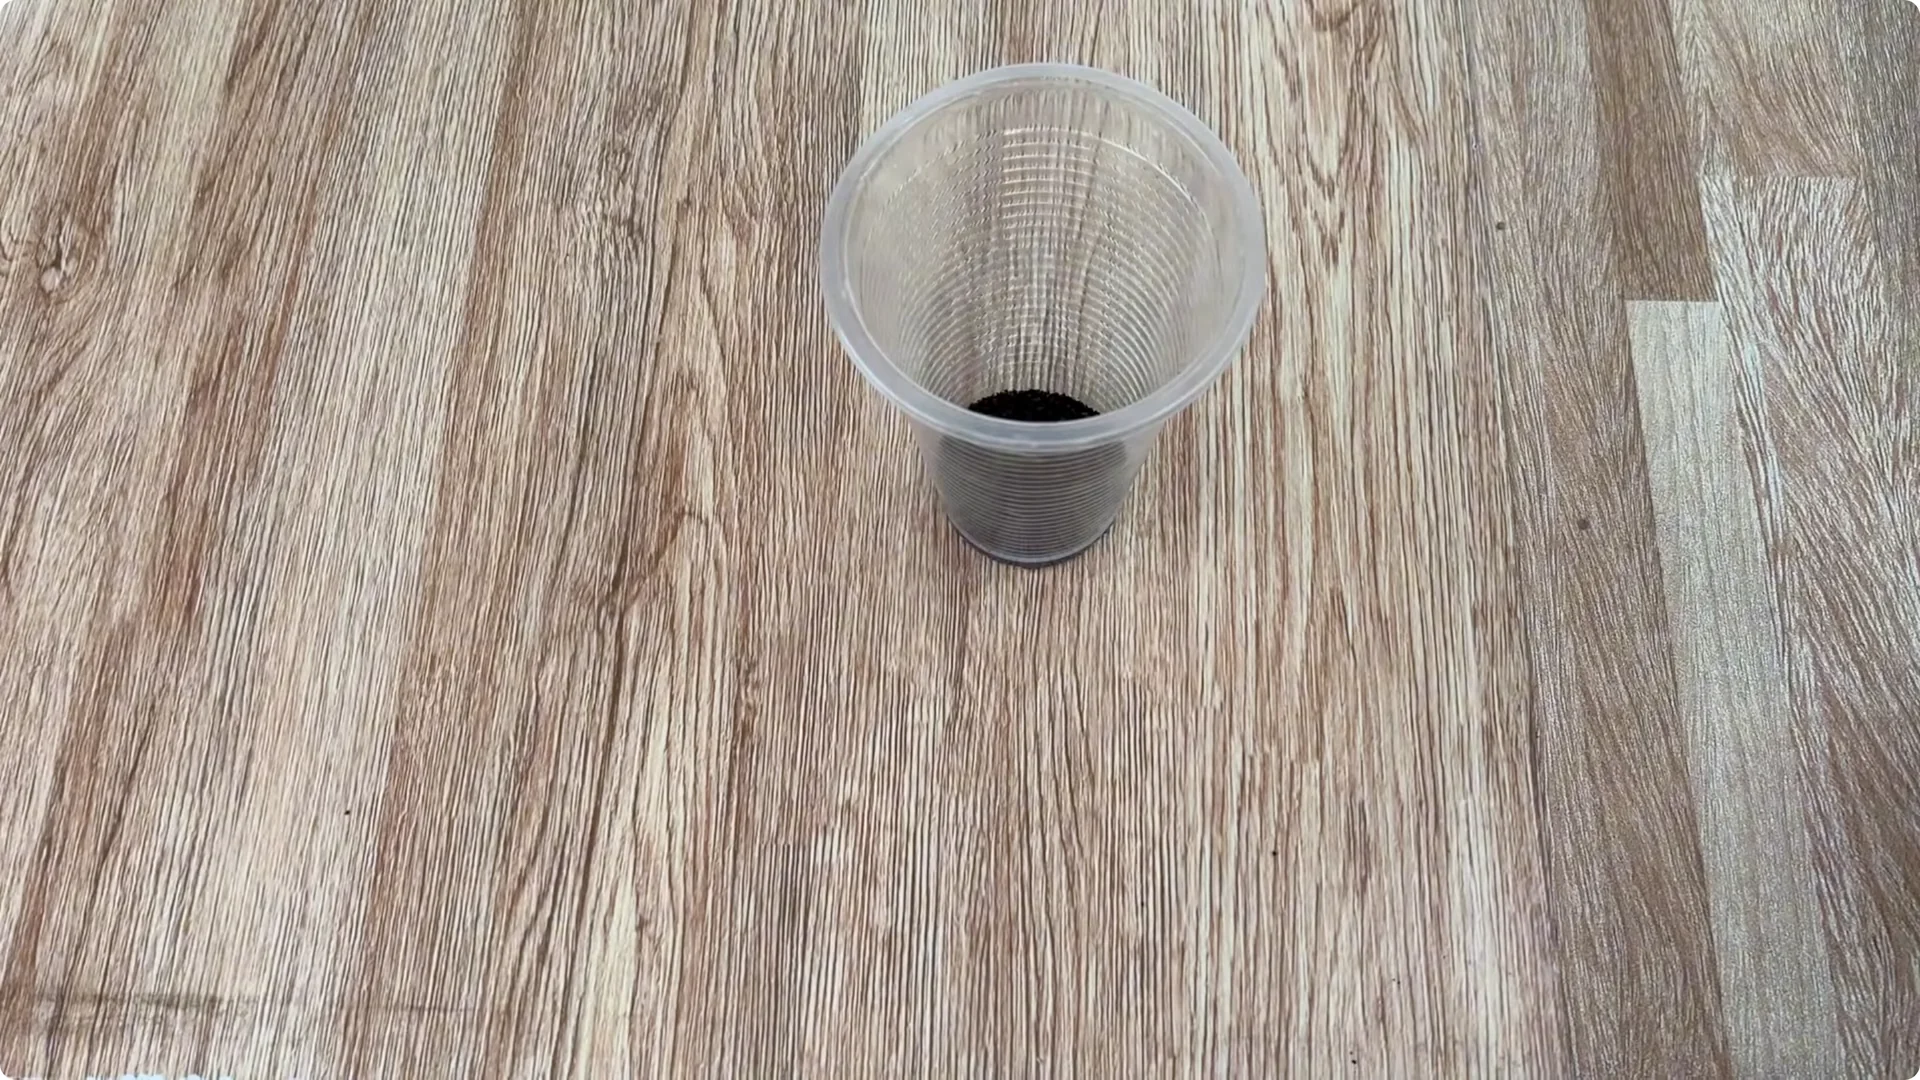
Put the sliced ginger into a clean plastic cup. Put 1/2 teaspoon of glucose into the cup.
Glucose is a simple sugar that plants can absorb directly, helping to provide quick energy to root tissue. Pour 500 ml of clean water into the cup and stir well until the glucose is completely dissolved.
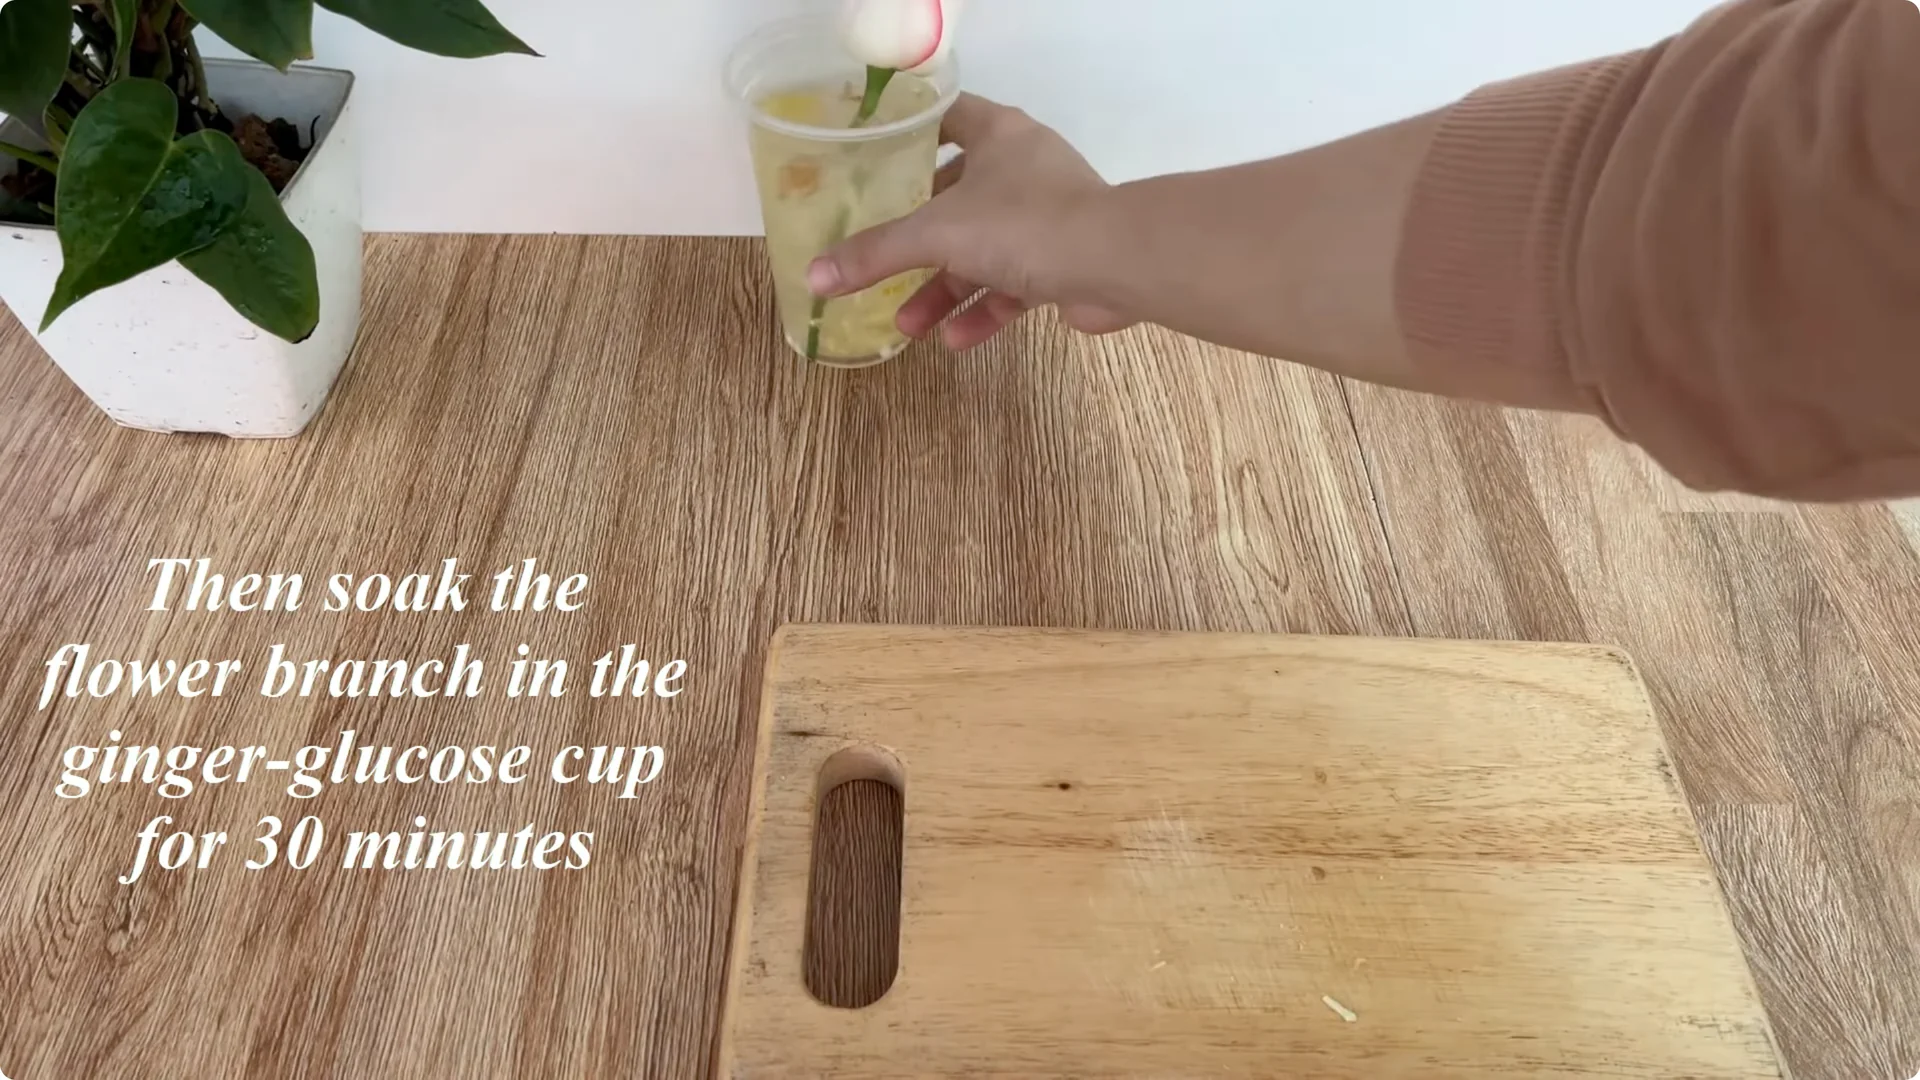
When the solution has completely dissolved, place the rose branch in the cup and soak for 30 minutes. This is the ideal time for the active ingredient to penetrate the cambium tissue that has been exposed after the initial pruning.
3. Rose Cutting Propagation – Coffee Activation
Prepare another clean plastic cup and add 2 teaspoons of coffee to the cup. Pour 500 ml of warm water and stir until completely dissolved.
Coffee is a very mineral-rich ingredient, containing caffeine and mild acid which activates cell metabolism, helping plant tissue work more strongly in the process of forming new roots. Then let it sit for 30 minutes.
4. Rose Cutting Propagation – Combine the Solutions
After soaking the branch in the ginger – glucose solution for enough time, take the branch out. Stir and filter to get the clear water of the ginger – glucose solution.
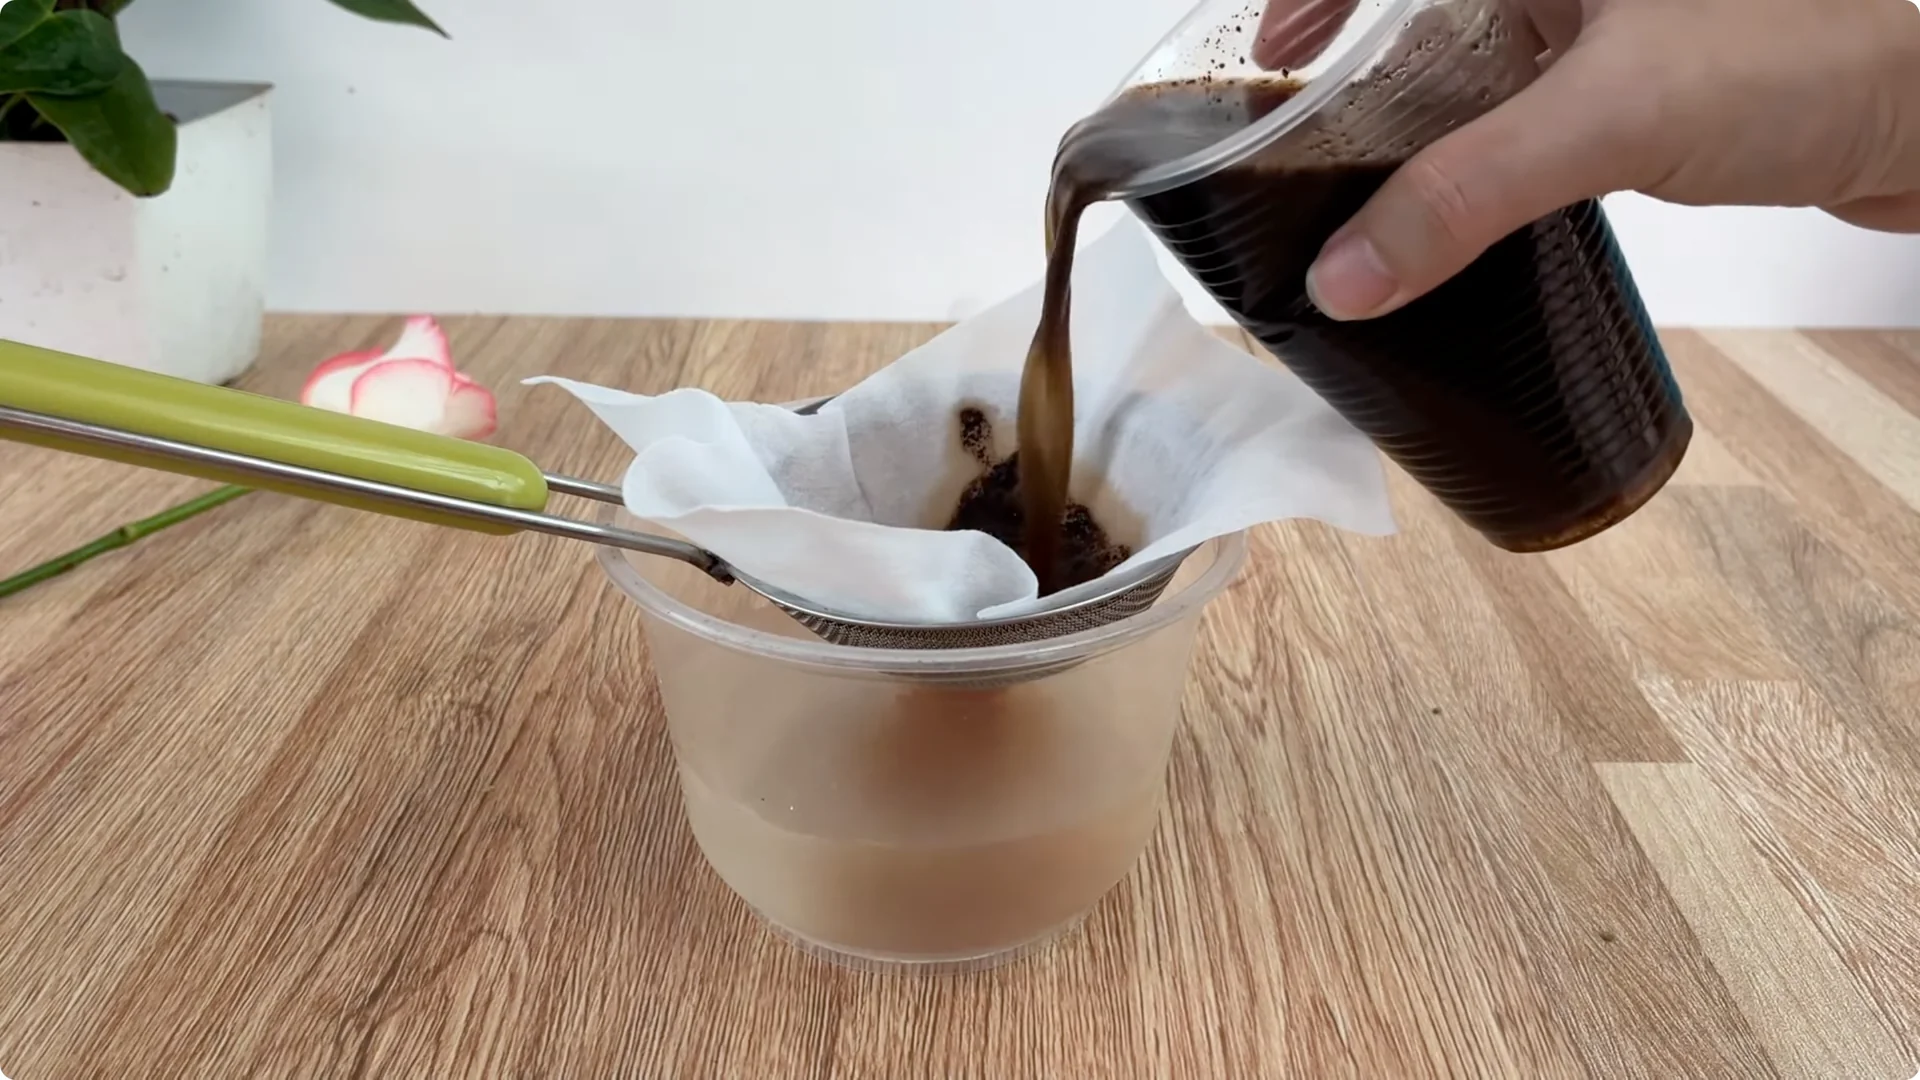
Filter the brewed coffee solution, then mix the two solutions together. This combination creates a balanced mixture.
Ginger helps to disinfect and stimulate meristem tissue, glucose provides energy for cells, and coffee promotes metabolism and helps branches absorb water better. This is the foundation for the outstanding effectiveness of this method. You can also learn a helpful approach here: a simple trick for propagating roses.
5. Rose Cutting Propagation – Rooting Medium Setup
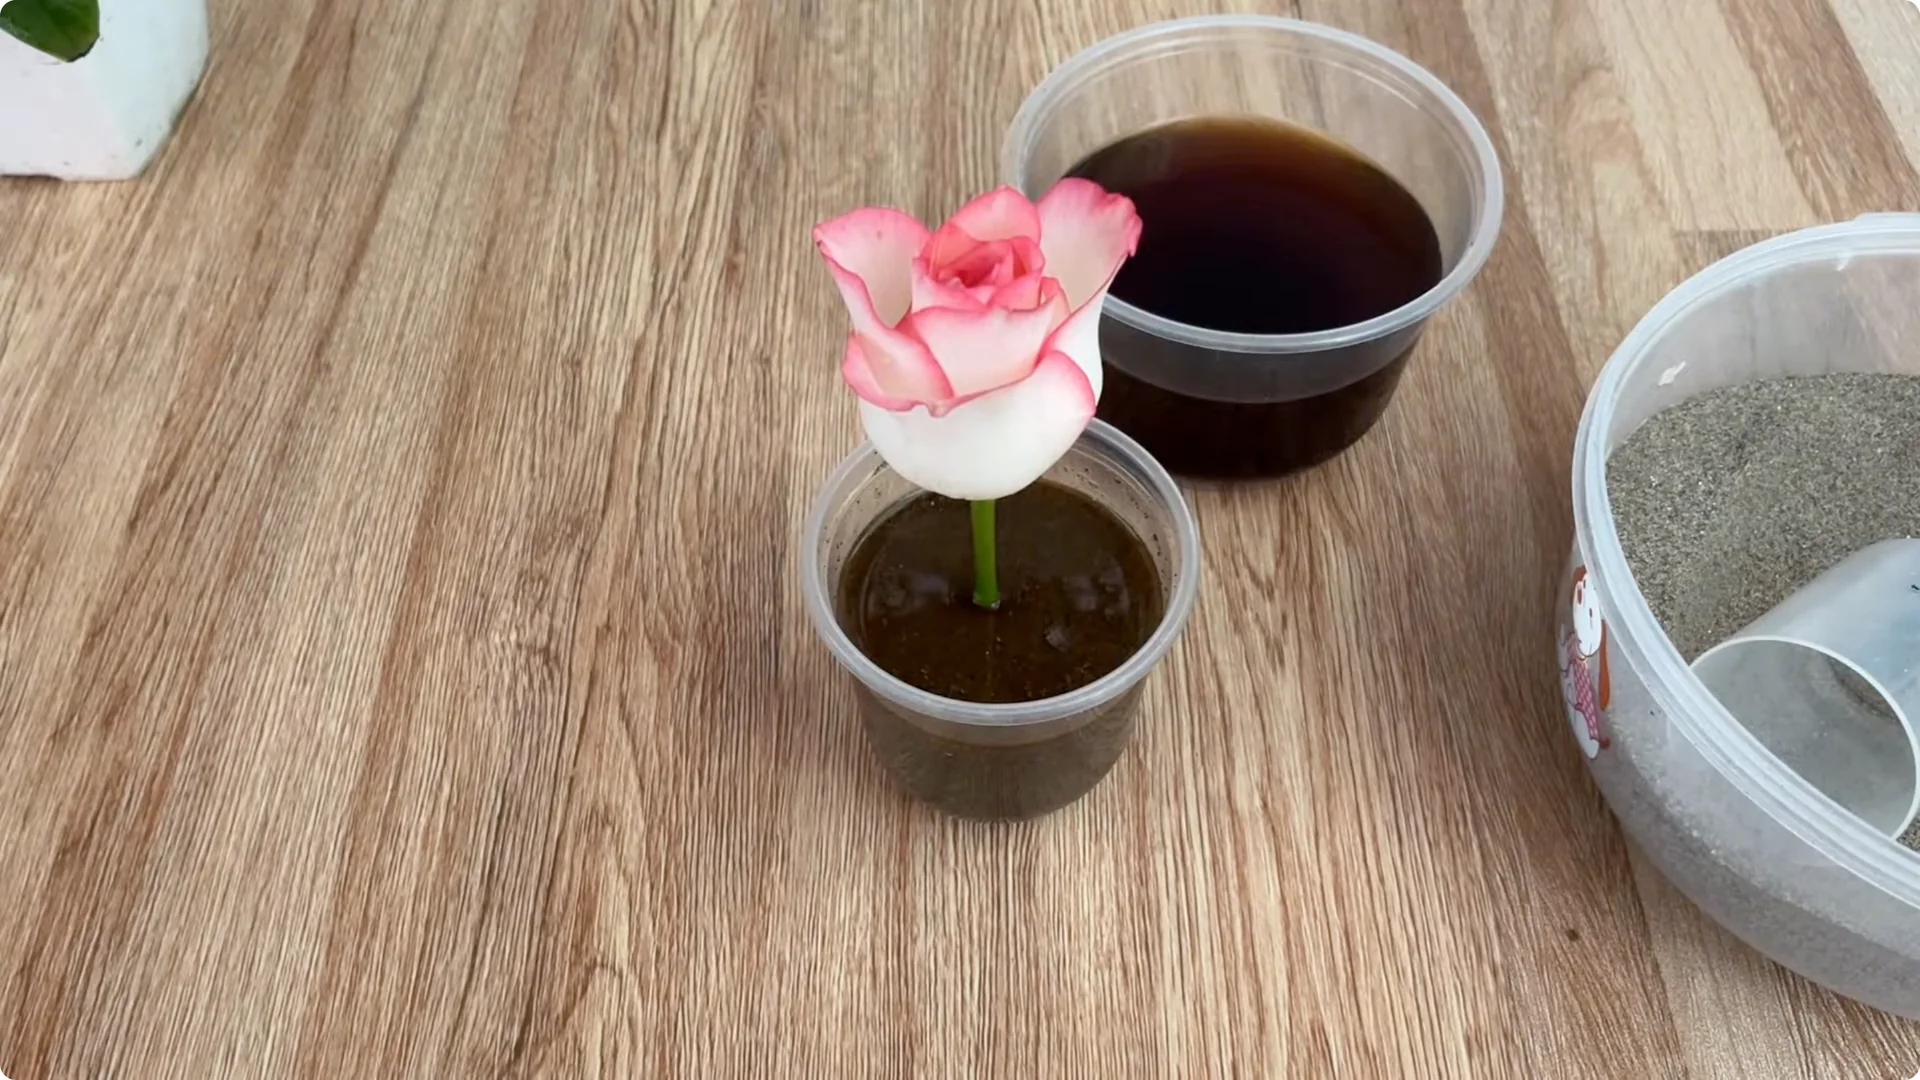
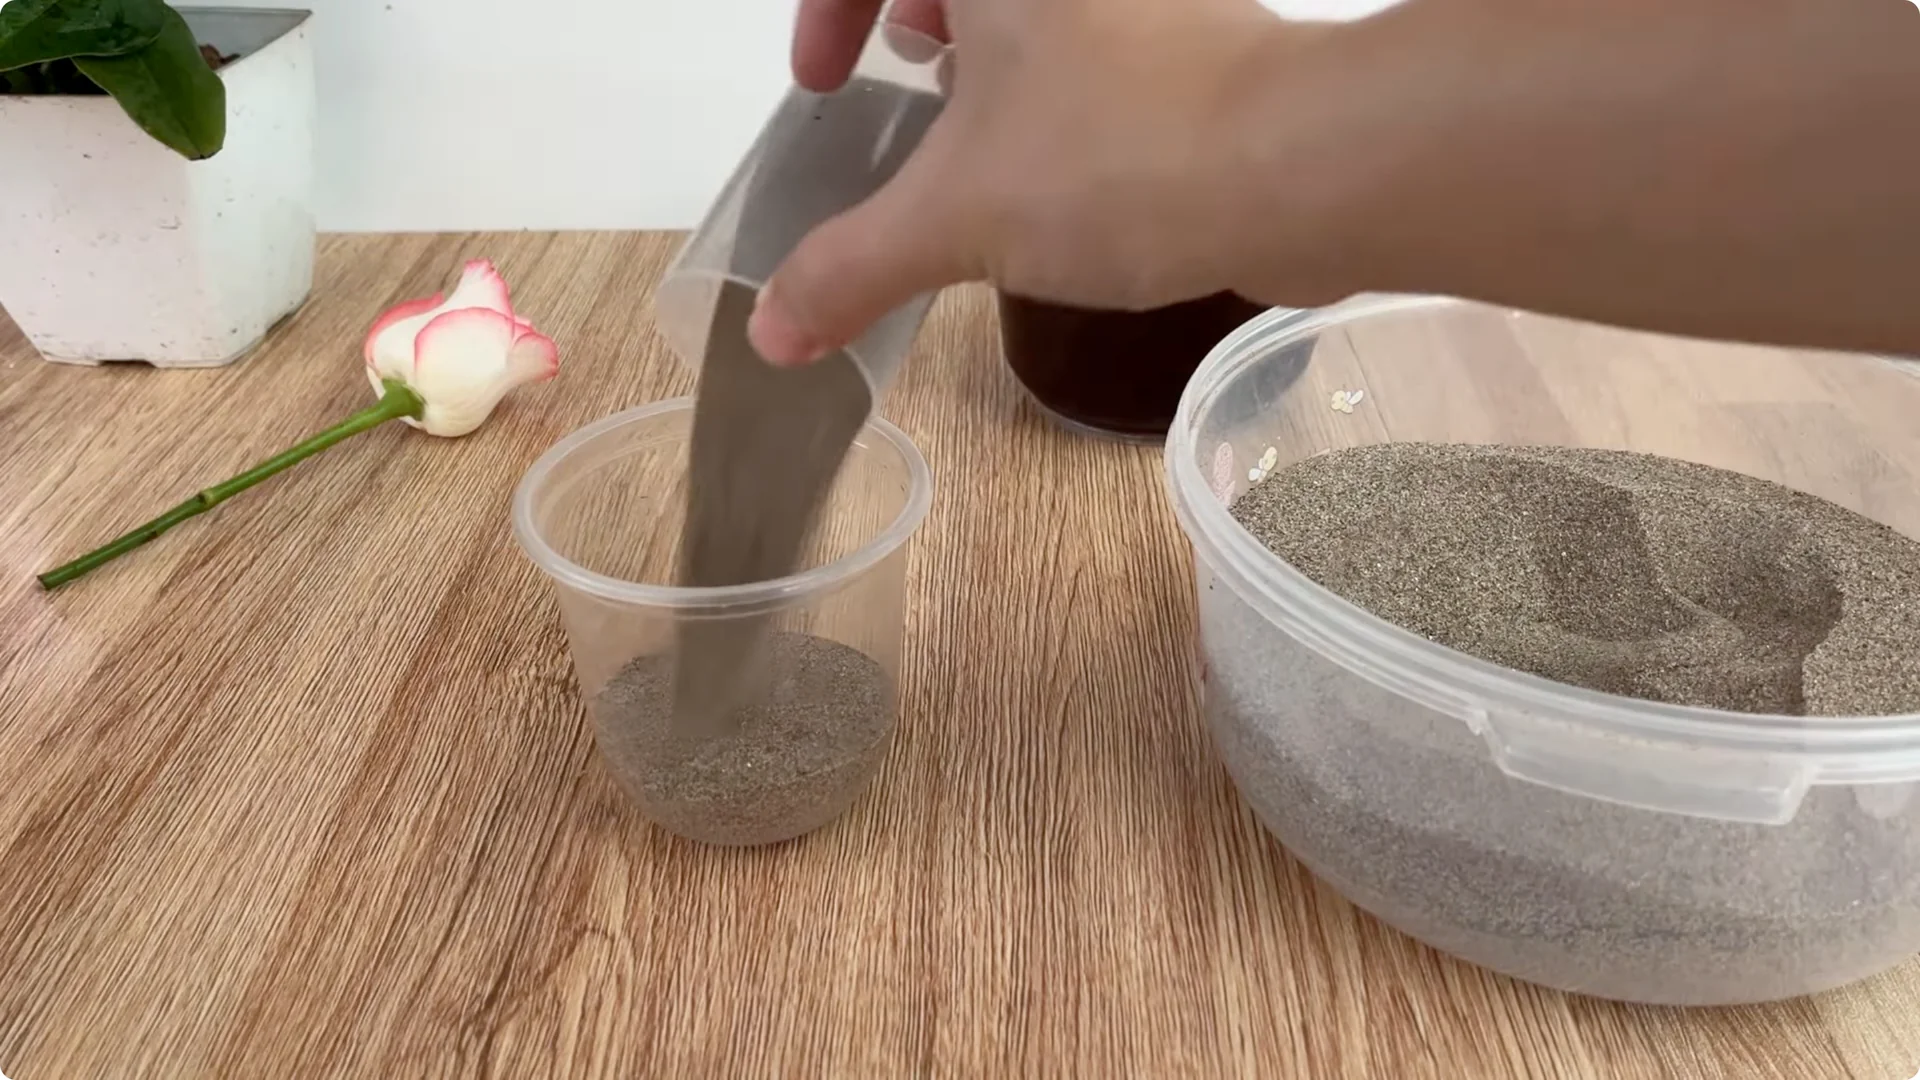
Prepare a clean plastic cup, then fill it with treated river sand. River sand is very suitable for the root stimulation stage because it drains quickly and prevents waterlogging well.
It does not retain salt or impurities that cause root rot and ensures a well-ventilated environment for new roots to form. Pour the coffee – ginger – glucose solution into the cup with enough moisture, and do not let the cup completely submerge.
Insert the rose branch into the middle of the cup so that the base of the branch is deeply immersed in the sand, creating an optimal contact point with the nutrient solution.
Mini Greenhouse and Placement for Rose Cutting Propagation
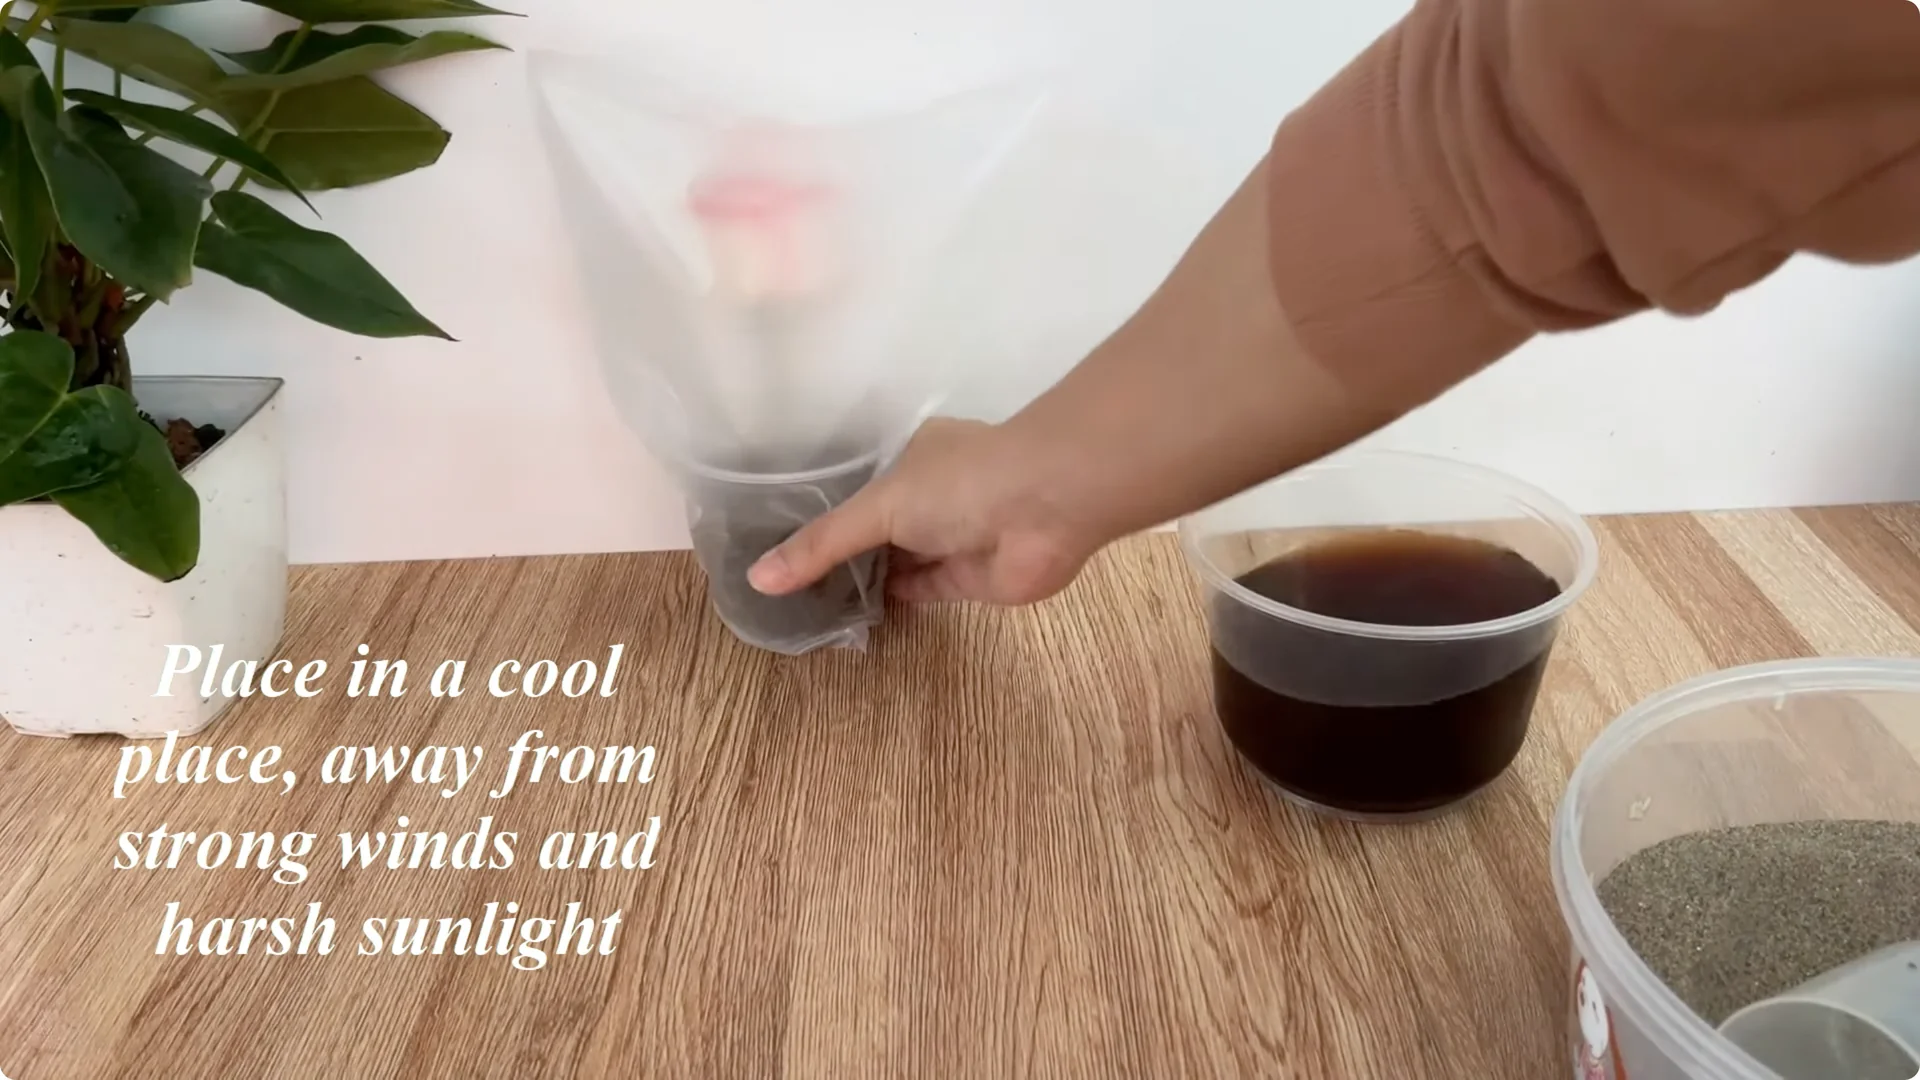
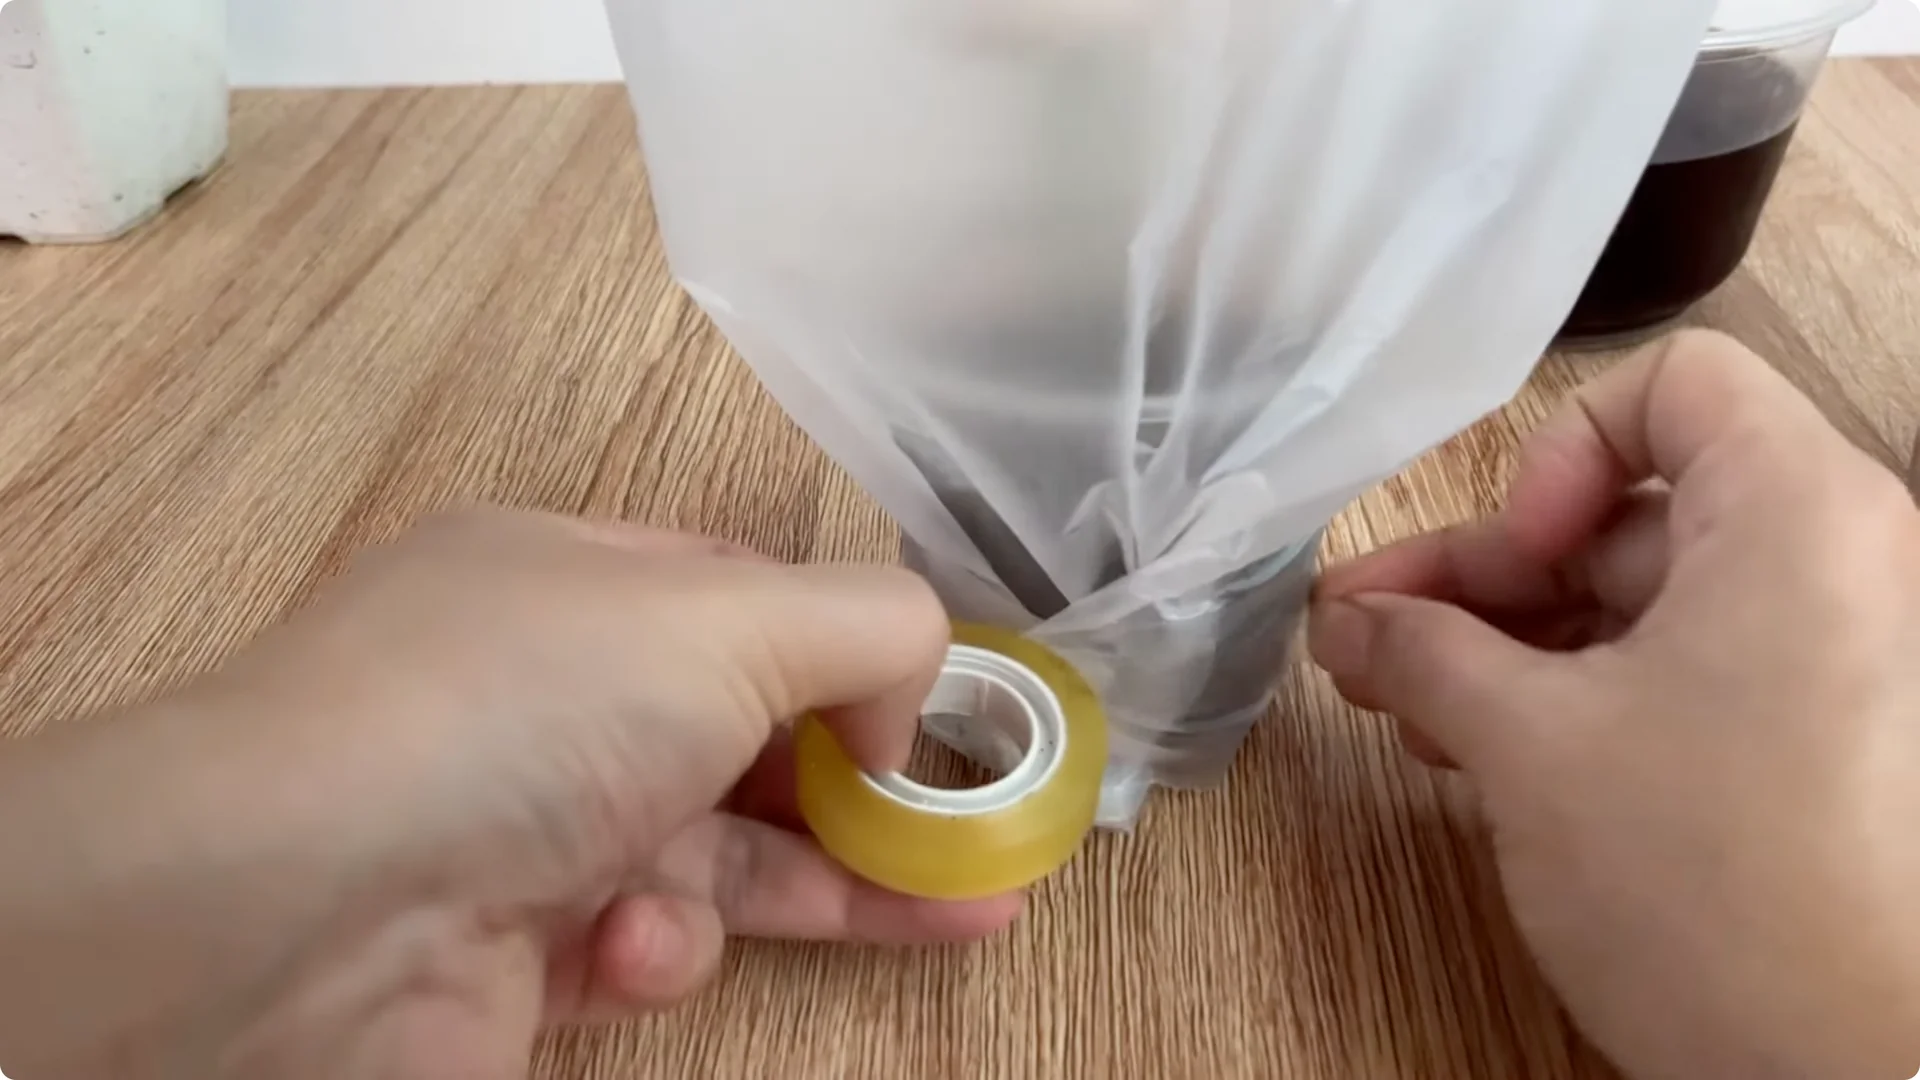
To limit water evaporation and create stable humidity, use a plastic bag or a transparent plastic cup to cover the mouth of the cup. The purpose of this step is to create a “mini greenhouse” environment to help the rose branches not lose water in the very sensitive early stages.
Place the cup in a cool, soft light place. Avoid strong winds and direct sunlight, because high temperatures can cause the solution to ferment too quickly or cause the branches to wilt. For another easy approach that many gardeners use, see this simple method for propagating roses.
6. Rose Cutting Propagation – Results and Transplanting
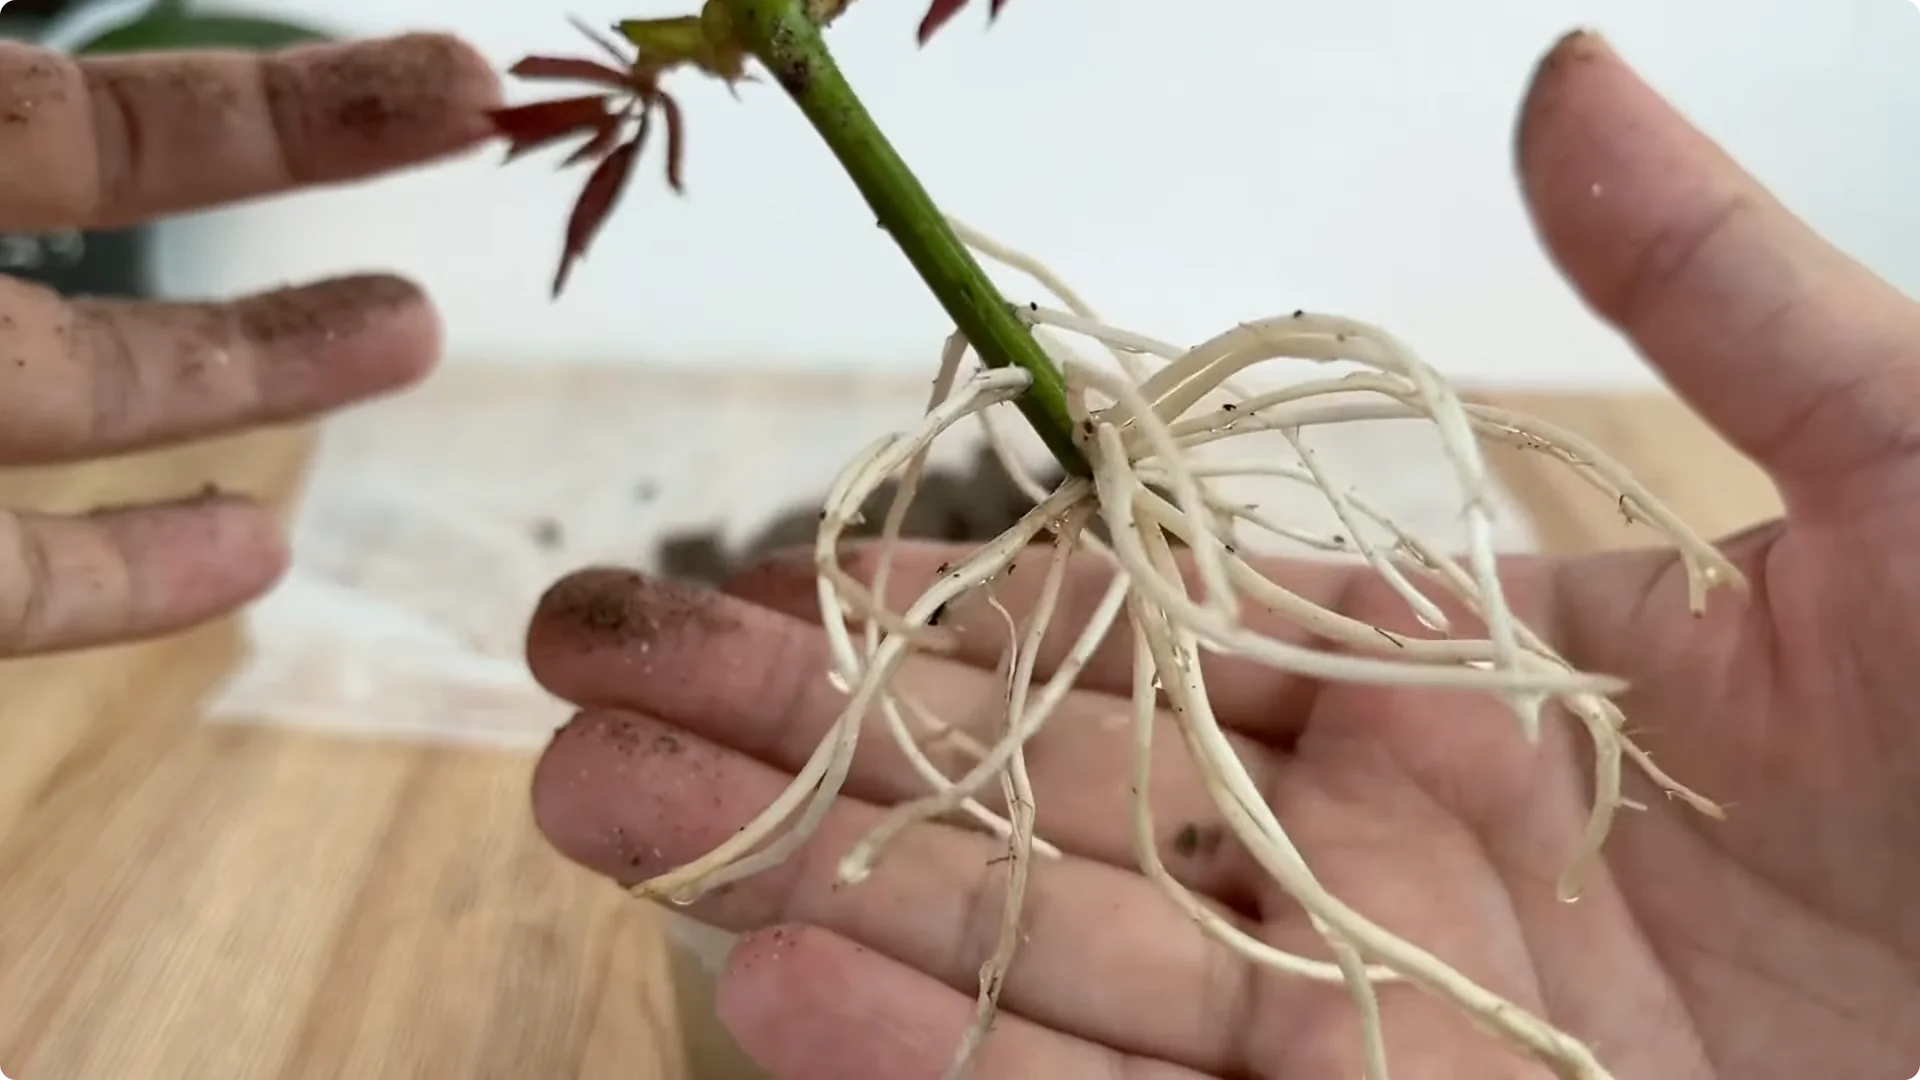
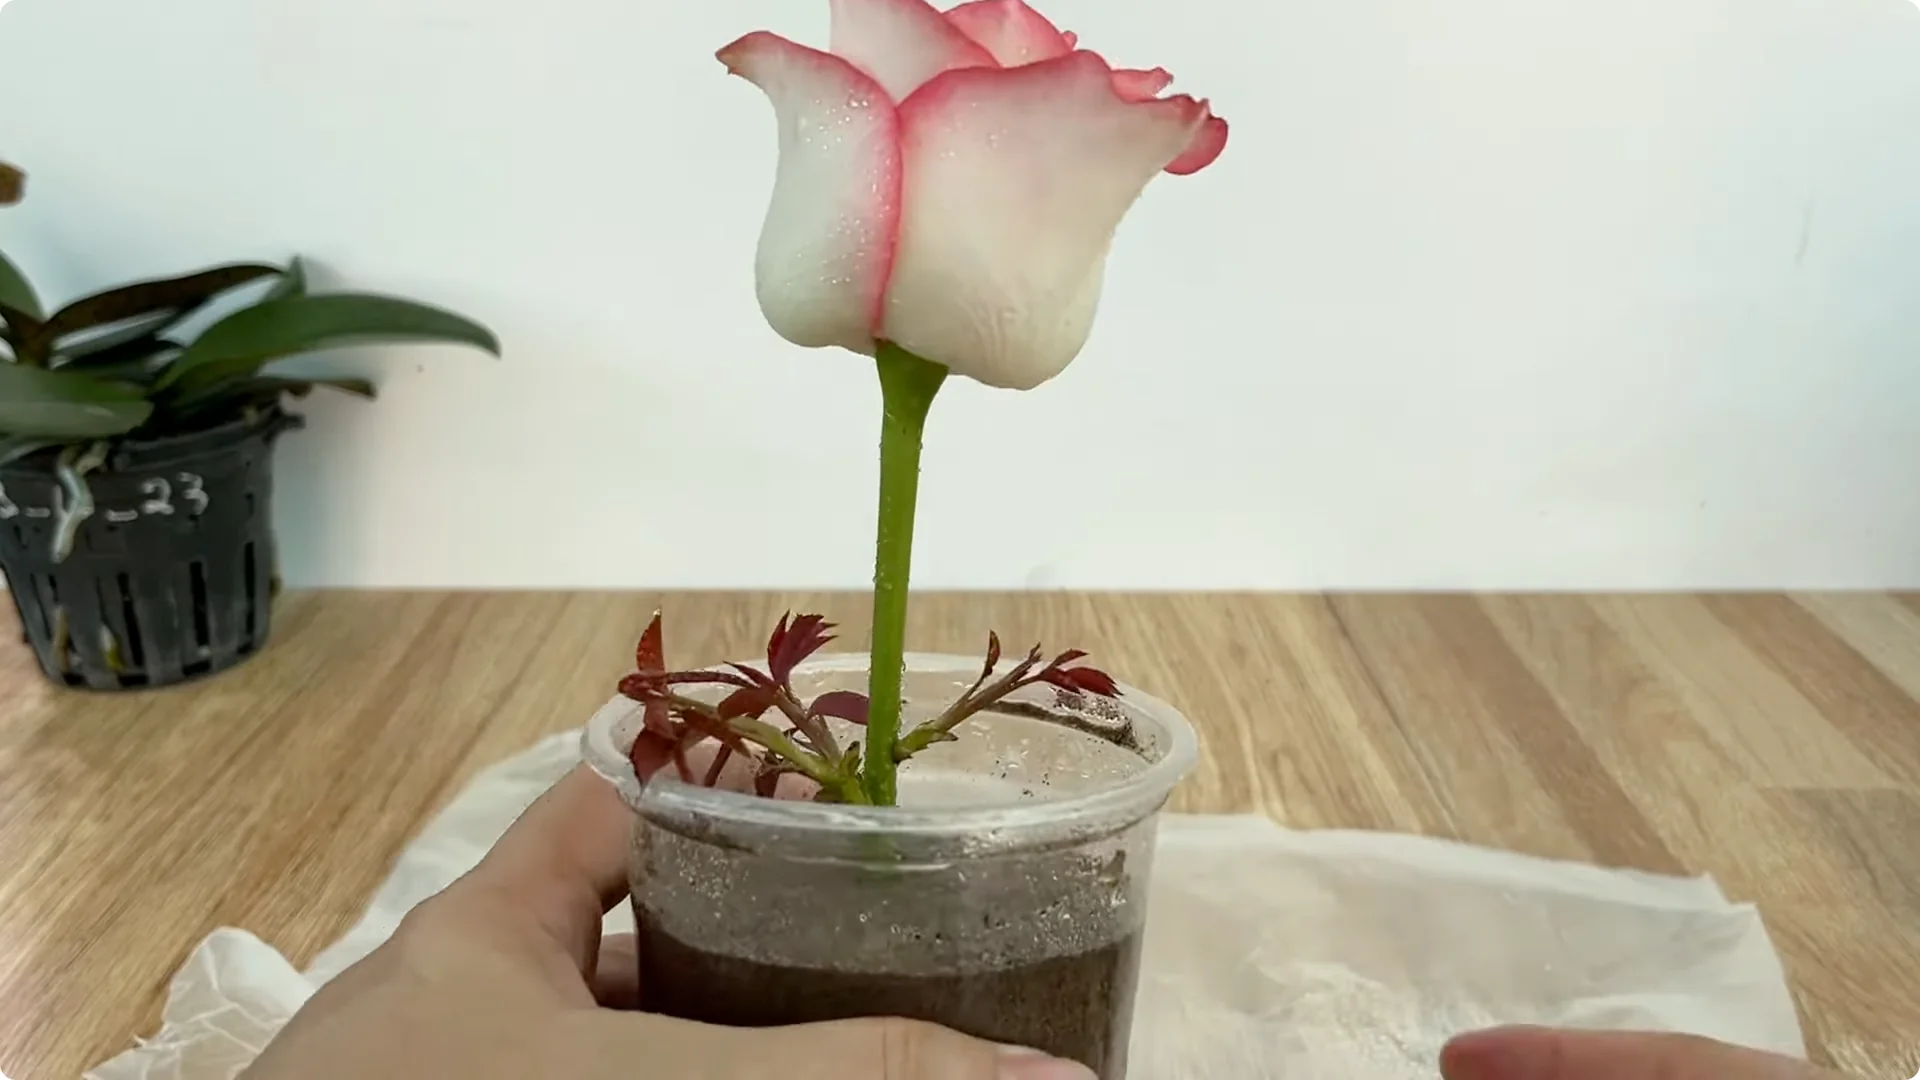
If you follow the steps correctly, after only 10 days you will observe young shoots beginning to sprout strongly on the trunk of the branch, proving that the plant tissue has stabilized and absorbed nutrients well. Many new roots appear at the base of the branch, bright white, plump, and spread evenly around.
This is the perfect time to move the branch to a new pot. Use coconut fiber as a substrate, which helps retain moisture well but still ensures ventilation, very suitable for newly rooted branches.
Final Thoughts on Rose Cutting Propagation
This method helps you propagate roses easily, creating more healthy plants for your garden. Wishing you success and joy in your journey of taking care of flowers every day.
About The Author
The Beginner’s Rose Propagation Starter Kit 🌹
A simple printable PDF guide to help you root rose cuttings successfully.
Get The Guide →