
We will continue with a natural method of cutting propagation, which has very high biological value in disinfecting, stimulating root growth, and nourishing rose cuttings right from the beginning. This method is a harmonious combination of the powerful antibacterial properties of garlic, the vitamins and natural essential oils from orange peel, and the gentle nutrients of oats.
Each ingredient plays a distinct role, but when combined, they create an ideal environment for the cutting to quickly recover, develop strong roots, and sprout vigorously. Most importantly, this process requires patience, meticulousness, and constant observation. For another approach, see simple method.
Garlic-Assisted Rose Propagation
1. Prepare the cutting
First, prepare a rose cutting that you love, ensuring it is healthy, free from pests and diseases, and without any signs of rot or fungus. Choosing the initial cutting is crucial, as a healthy cutting will have better resistance and a much higher chance of root formation.
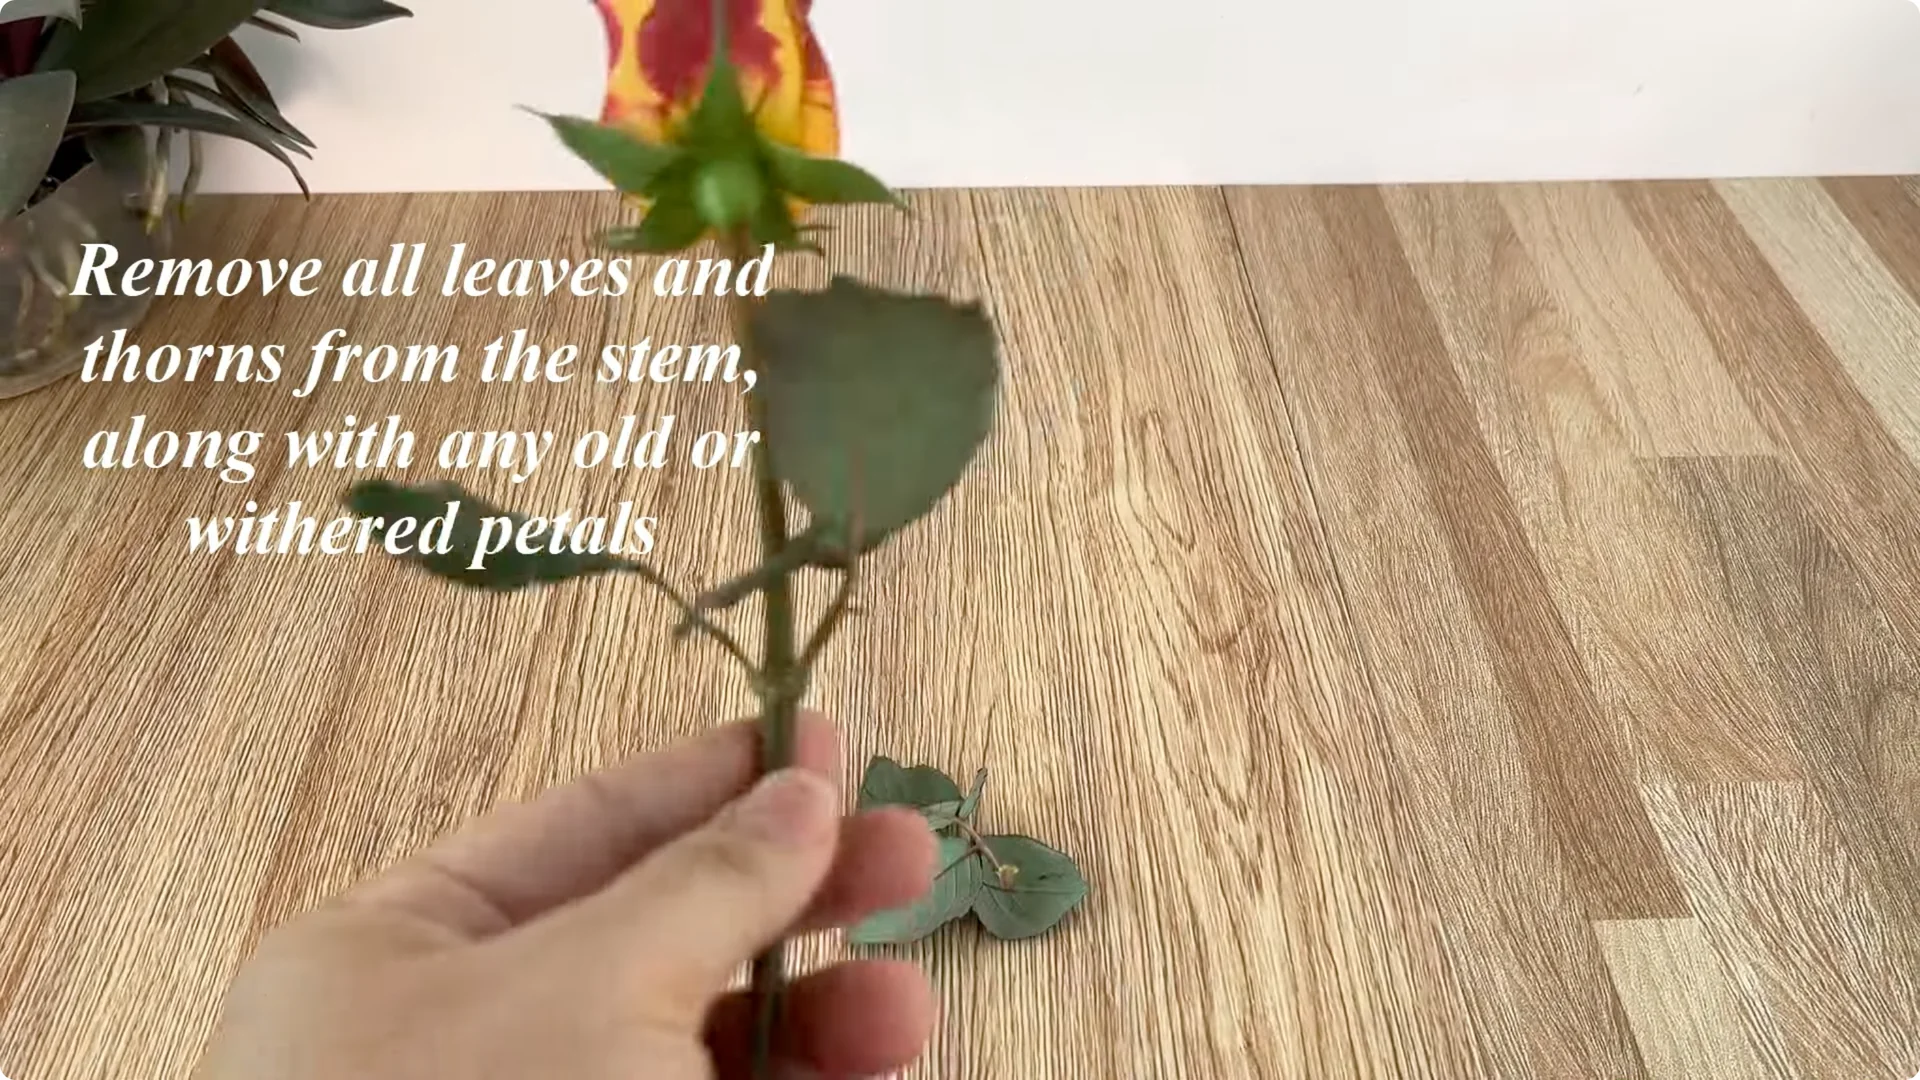
After selecting a suitable cutting, remove all leaves and thorns, and also remove any old or withered petals. This step reduces water loss and nutrient loss, allowing the cutting to concentrate all its energy on tissue healing and root development.
Trim the flower stem, leaving it at about 20 cm in length, ensuring a clean, decisive cut to avoid damaging the root tissue.
2. Disinfect and stimulate with garlic
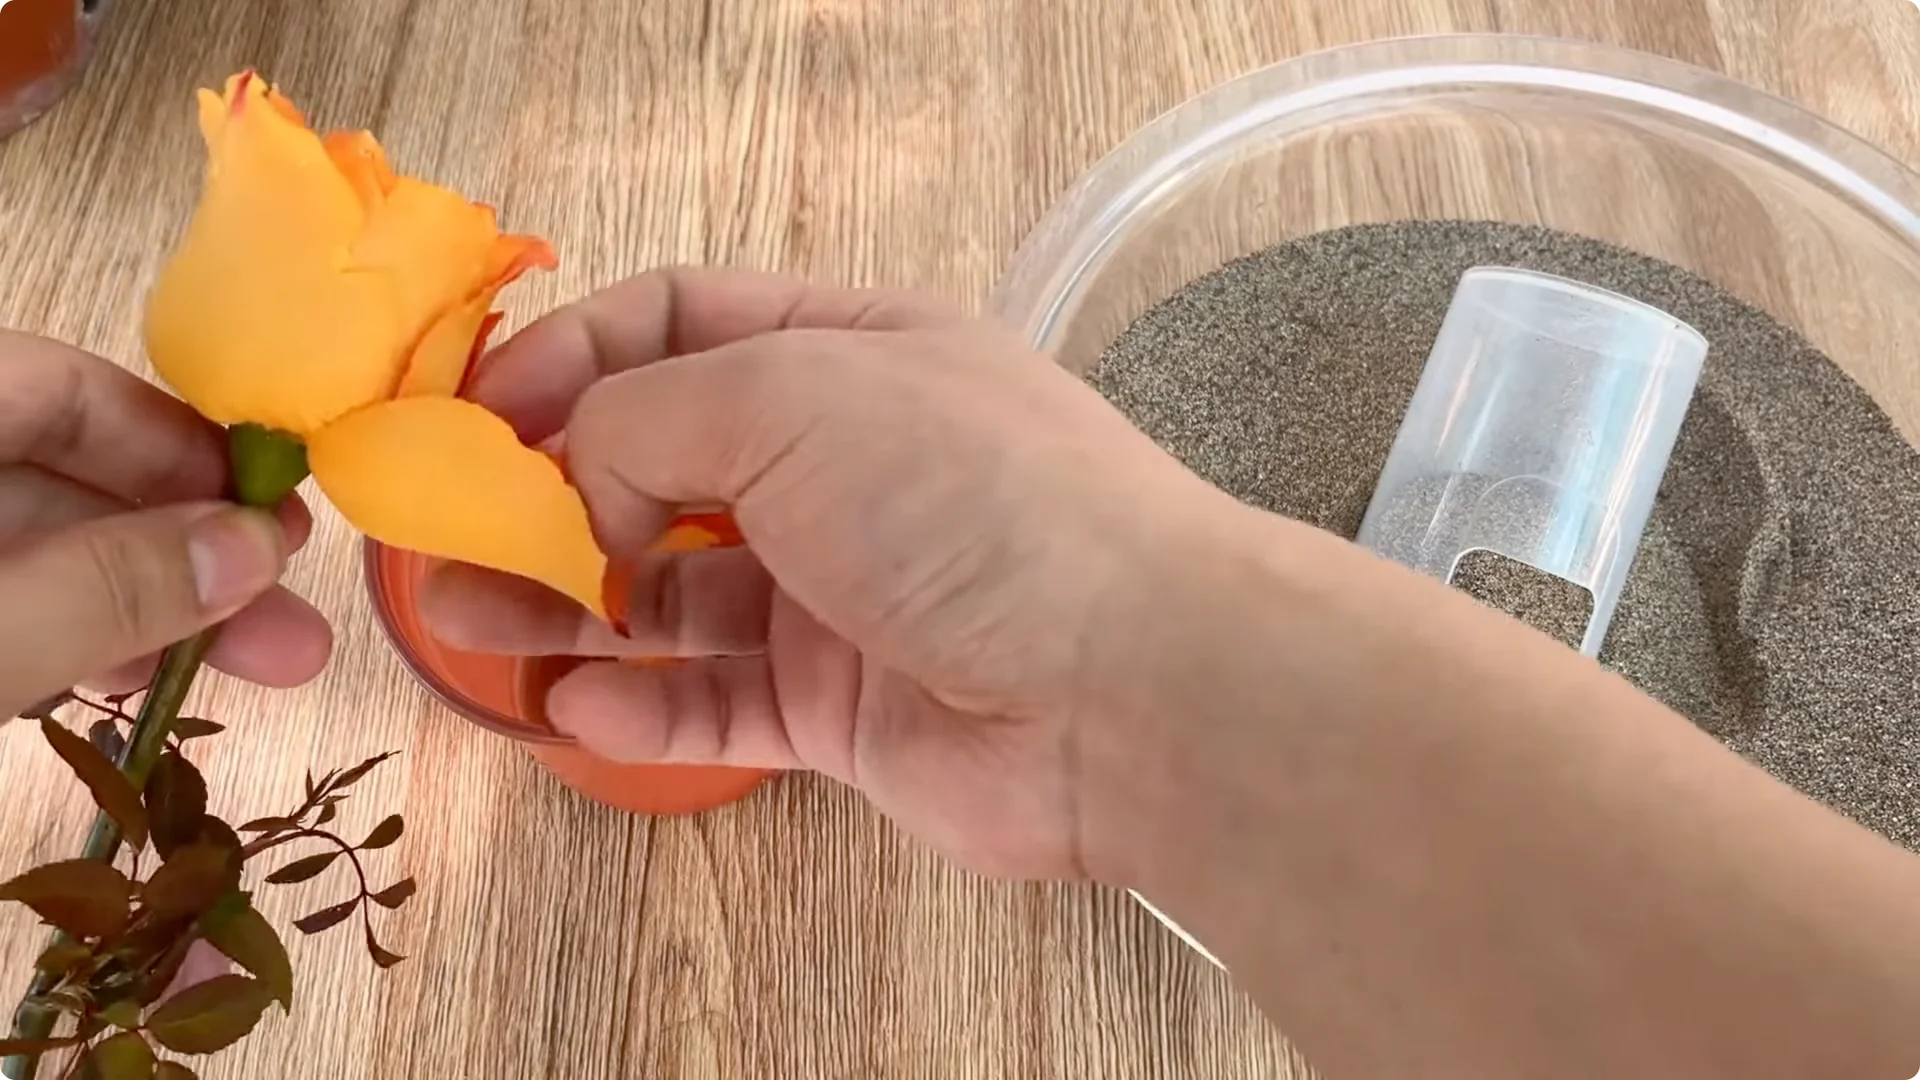
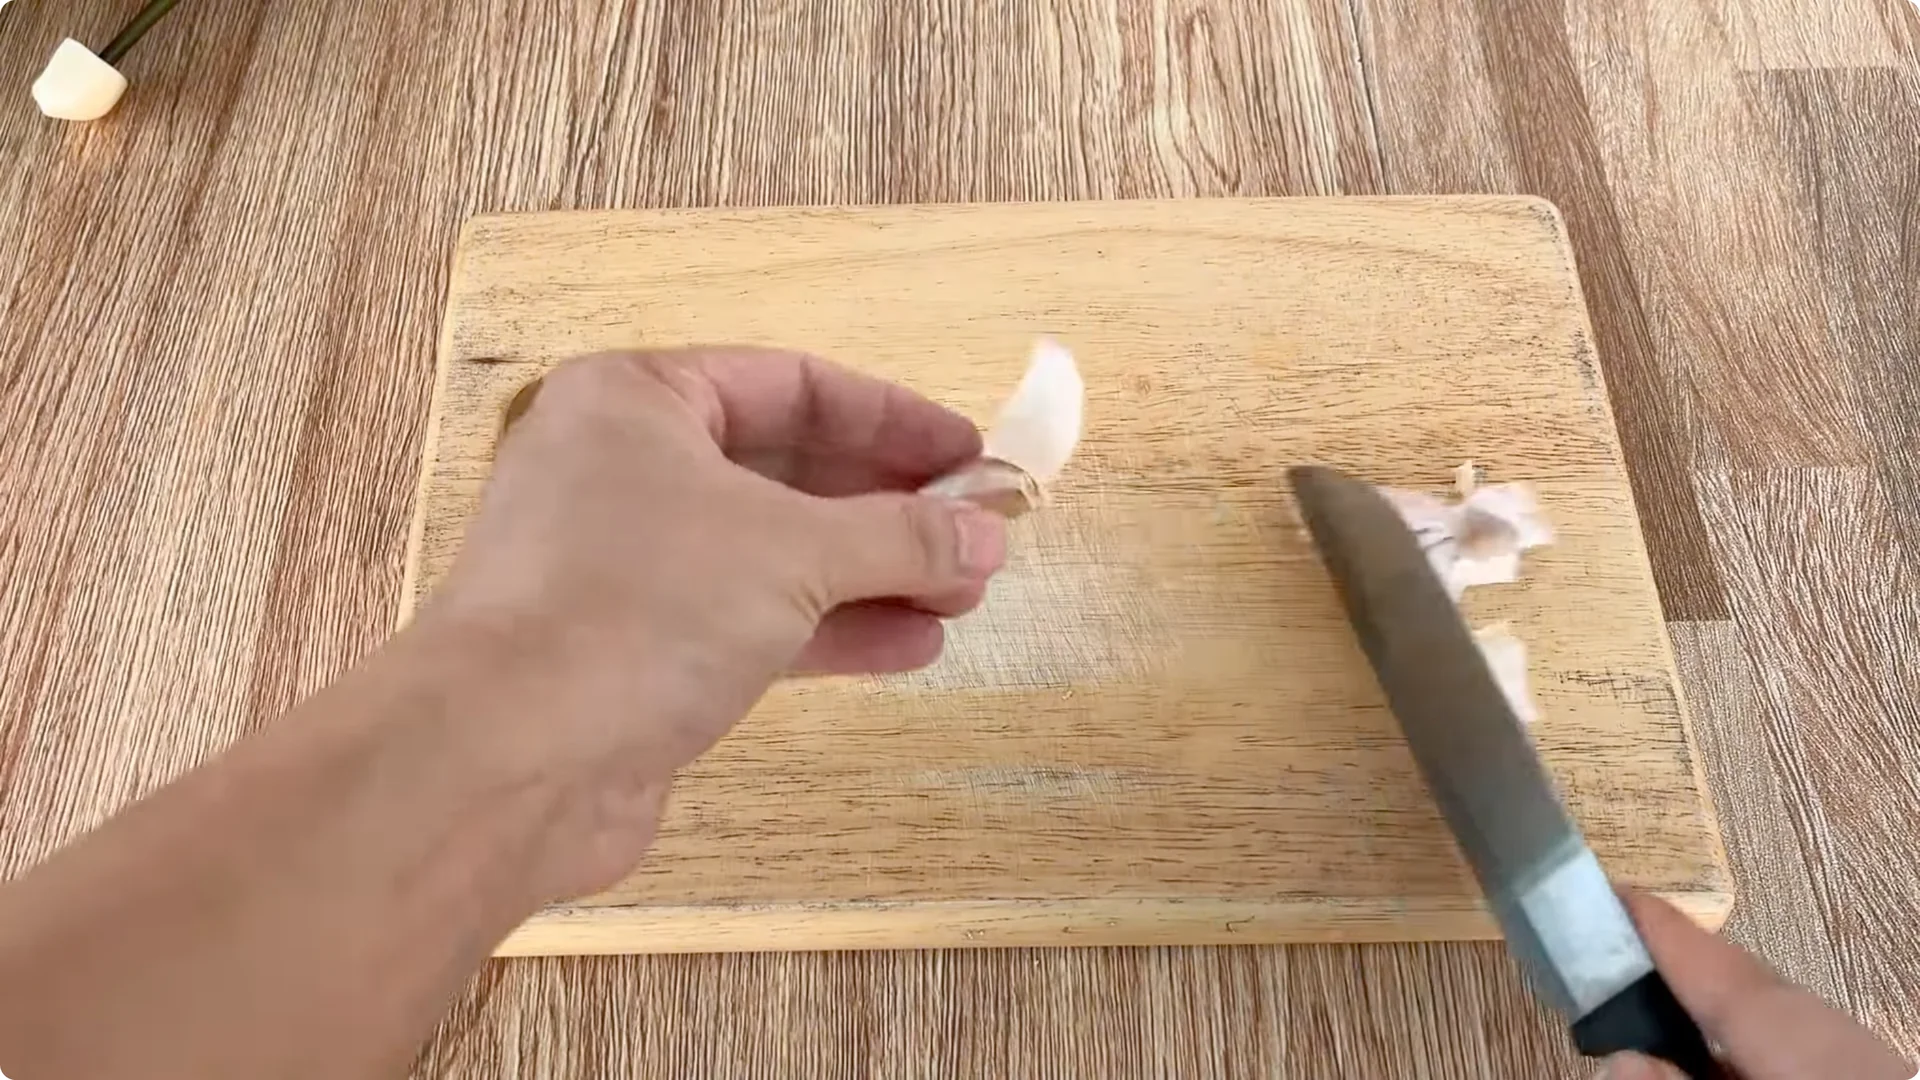
Prepare two cloves of garlic; peel one clove and cut off the smaller end. Use a sharp knife to make a hole that fits snugly around the base of the stem.
Before inserting the stem into the garlic clove, gently rub the clove over the entire stem, especially the cut areas. Garlic contains a lot of allicin – a very strong natural antibacterial and antifungal compound which helps protect the stem from harmful microorganisms during the initial rooting stage.
Insert the base of the rose stem into the garlic clove and leave it for about 30 minutes. During this time, the garlic essence will gradually penetrate the stem tissue, helping to clean the cut surface and stimulate root regeneration. For fast rooting ideas, see root bloom.
3. Mix the nutrient solution
Ingredients prep
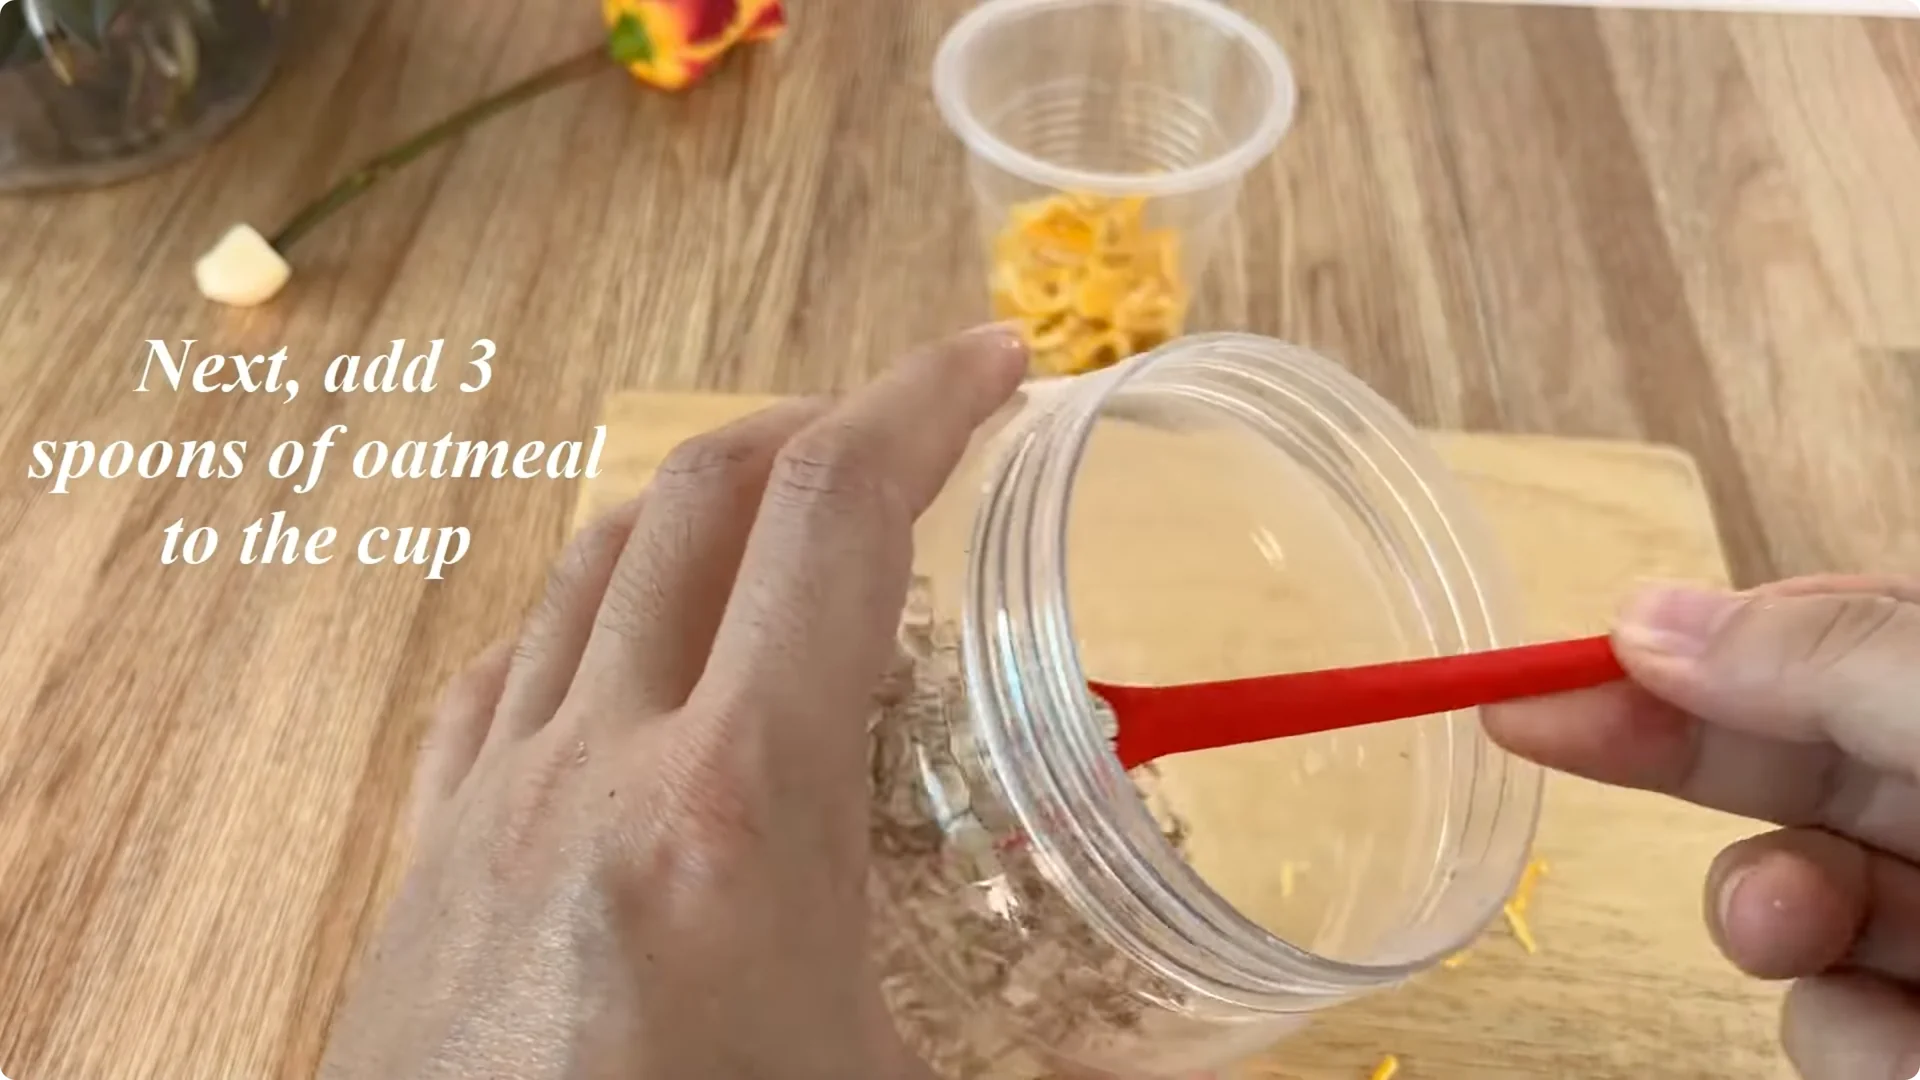
While waiting for the flower stem to soak in the garlic clove, prepare the natural nutrient solution. Peel the remaining garlic cloves, then chop them finely and place them in a clean plastic cup.
Take a fresh orange, wash it to remove dirt and chemicals. Peel the orange, chop the peel into small pieces, and add it to the cup with the garlic.
Orange peel is rich in essential oils, vitamin C, and antioxidants, which help strengthen the flower stems and limit fungal diseases in a humid environment. Then, add 3 tablespoons of oatmeal to the cup.
Oatmeal contains many trace minerals and natural starch; when dissolved, it creates a light source of nutrients helping young roots develop healthily without causing shock.
Steeping the solution
Pour 500 ml of warm water into the cup, stir well to mix the ingredients, and let it sit for about 30 minutes. During this time, the nutrients from the garlic, orange peel, and oats will gradually dissolve into the water, forming a mild-smelling, slightly cloudy solution, ideal for root stimulation.
4. Set up the rooting cup

Prepare the container
Prepare a clean glass cup and a piece of floral foam. Cut the foam to fit snugly around the rim of the cup, ensuring a tight and secure seal.
Once the soaking time is complete, filter out all the solids, keeping only the garlic-orange peel-oatmeal solution. To prevent the solution from becoming too concentrated, dilute it with about 0.5 liters of clean water, stirring well to create the final solution.
This solution will both disinfect and provide gentle nutrition to the rose stem during the rooting stage. Pour the prepared solution into the glass cup until full.
Fix the stem and cover
Remove the rose stem from the garlic clove and gently insert it through the center of the foam. Place the foam over the rim of the cup so that the base of the stem is completely submerged in the solution, while the stem itself remains fixed and upright.
The foam not only helps secure the stem but also prevents dust and bacteria from entering the solution. Finally, use a clear plastic bag or cup to completely cover the glass cup and the rose stem.
This covering creates a stable humid environment, like a mini greenhouse, helping to reduce water loss and keep the stem sufficiently moist. Place the cup in a cool, airy place, away from strong winds and harsh sunlight. Gentle diffused light is ideal for the stem to begin forming new roots.
5. Monitor growth and transplant
After about 10 days of proper care, you will observe very encouraging results. At the base of the stem, many new roots begin to appear, ivory white, plump, and firmly attached.
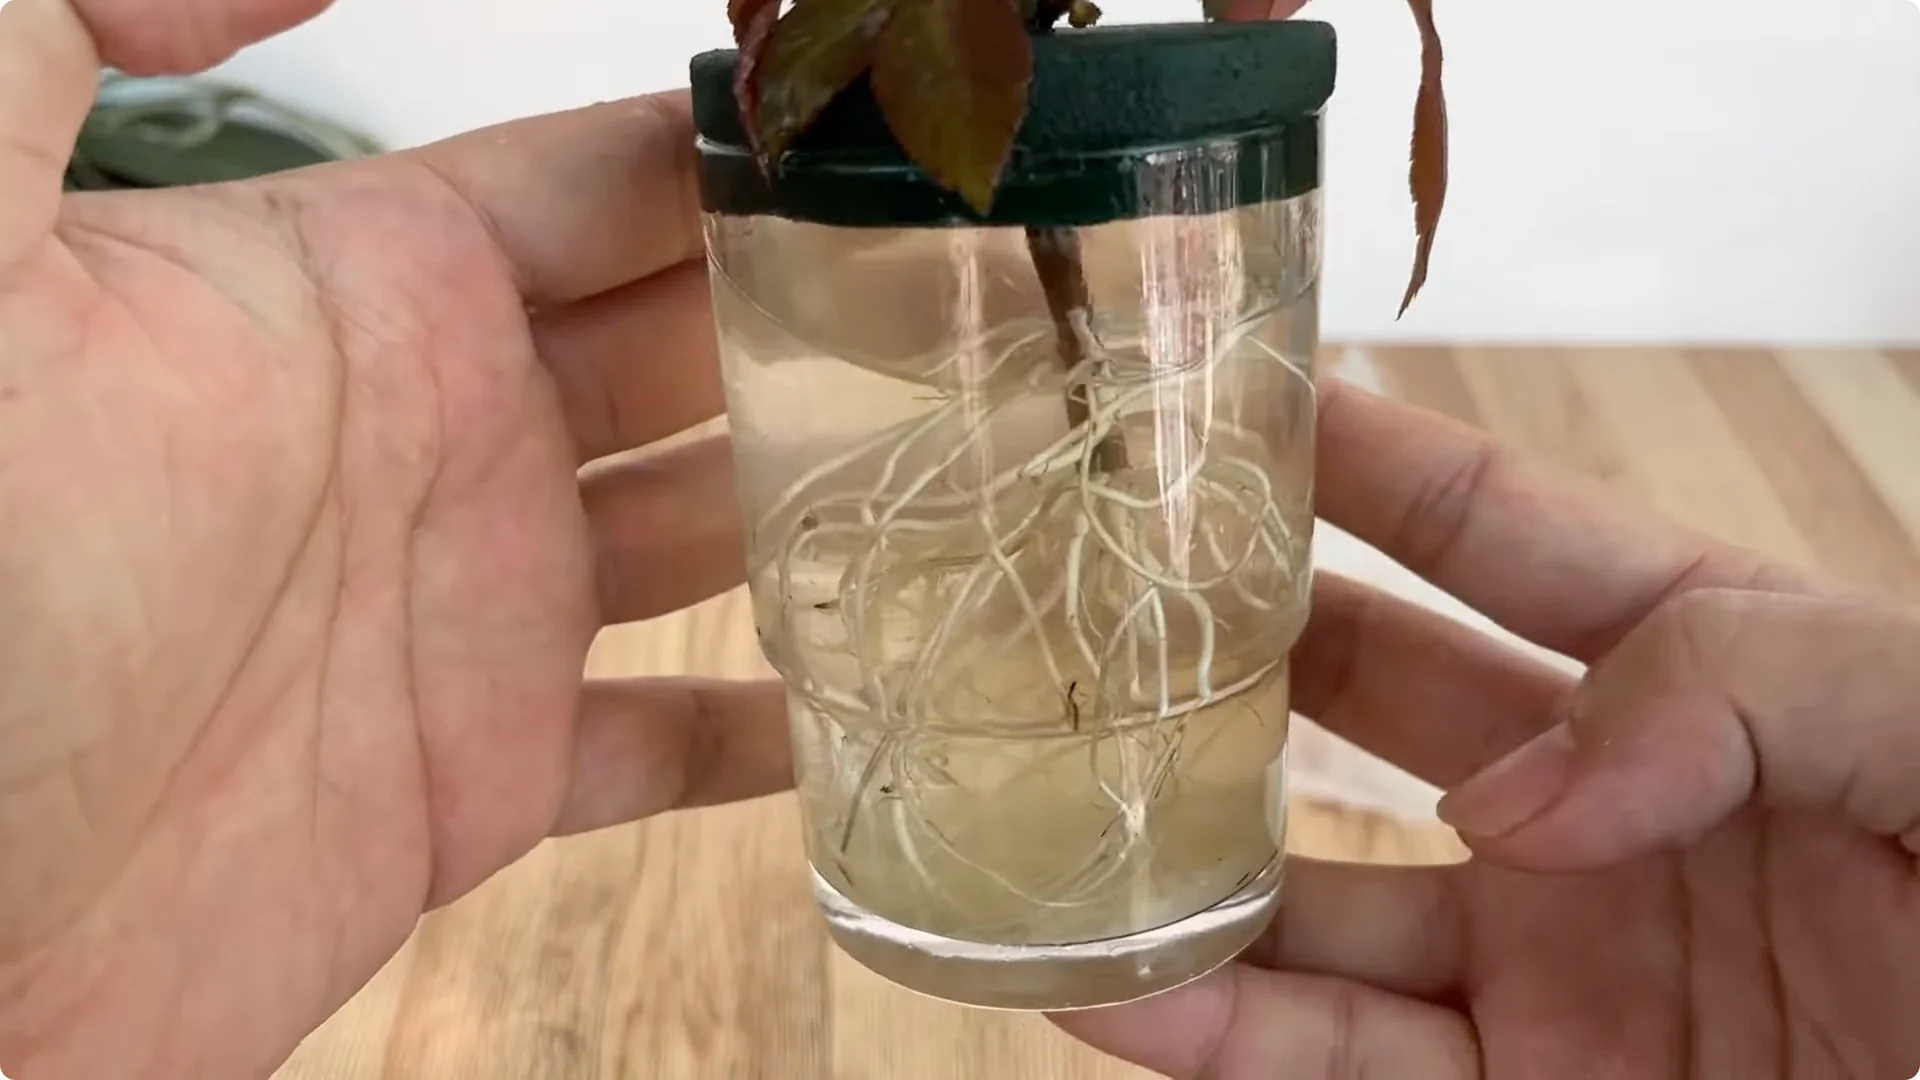
On the stem, fresh green shoots gradually emerge, indicating that the stem has adapted well and entered a new growth phase. Once the root system is strong enough, you can gently transfer the rose cutting to a pot with good drainage, using treated river sand as the initial growing medium to help the plant continue to thrive. For more propagation tips, see effective method.
Final thoughts
When you take the time to care for and listen to the small changes in the cutting, you will experience the unique joy of gardening. It is the joy of seeing life continue from a tiny cutting to a healthy rose bush, ready to bloom brilliantly in your garden.