We’ll explore a rather unique method of propagating roses by cuttings. This method is especially suitable for those who love growing flowers naturally, saving costs while still achieving high results. For quicker results, see fast growth.
1. Rose Cutting Propagation: Ginger Solution
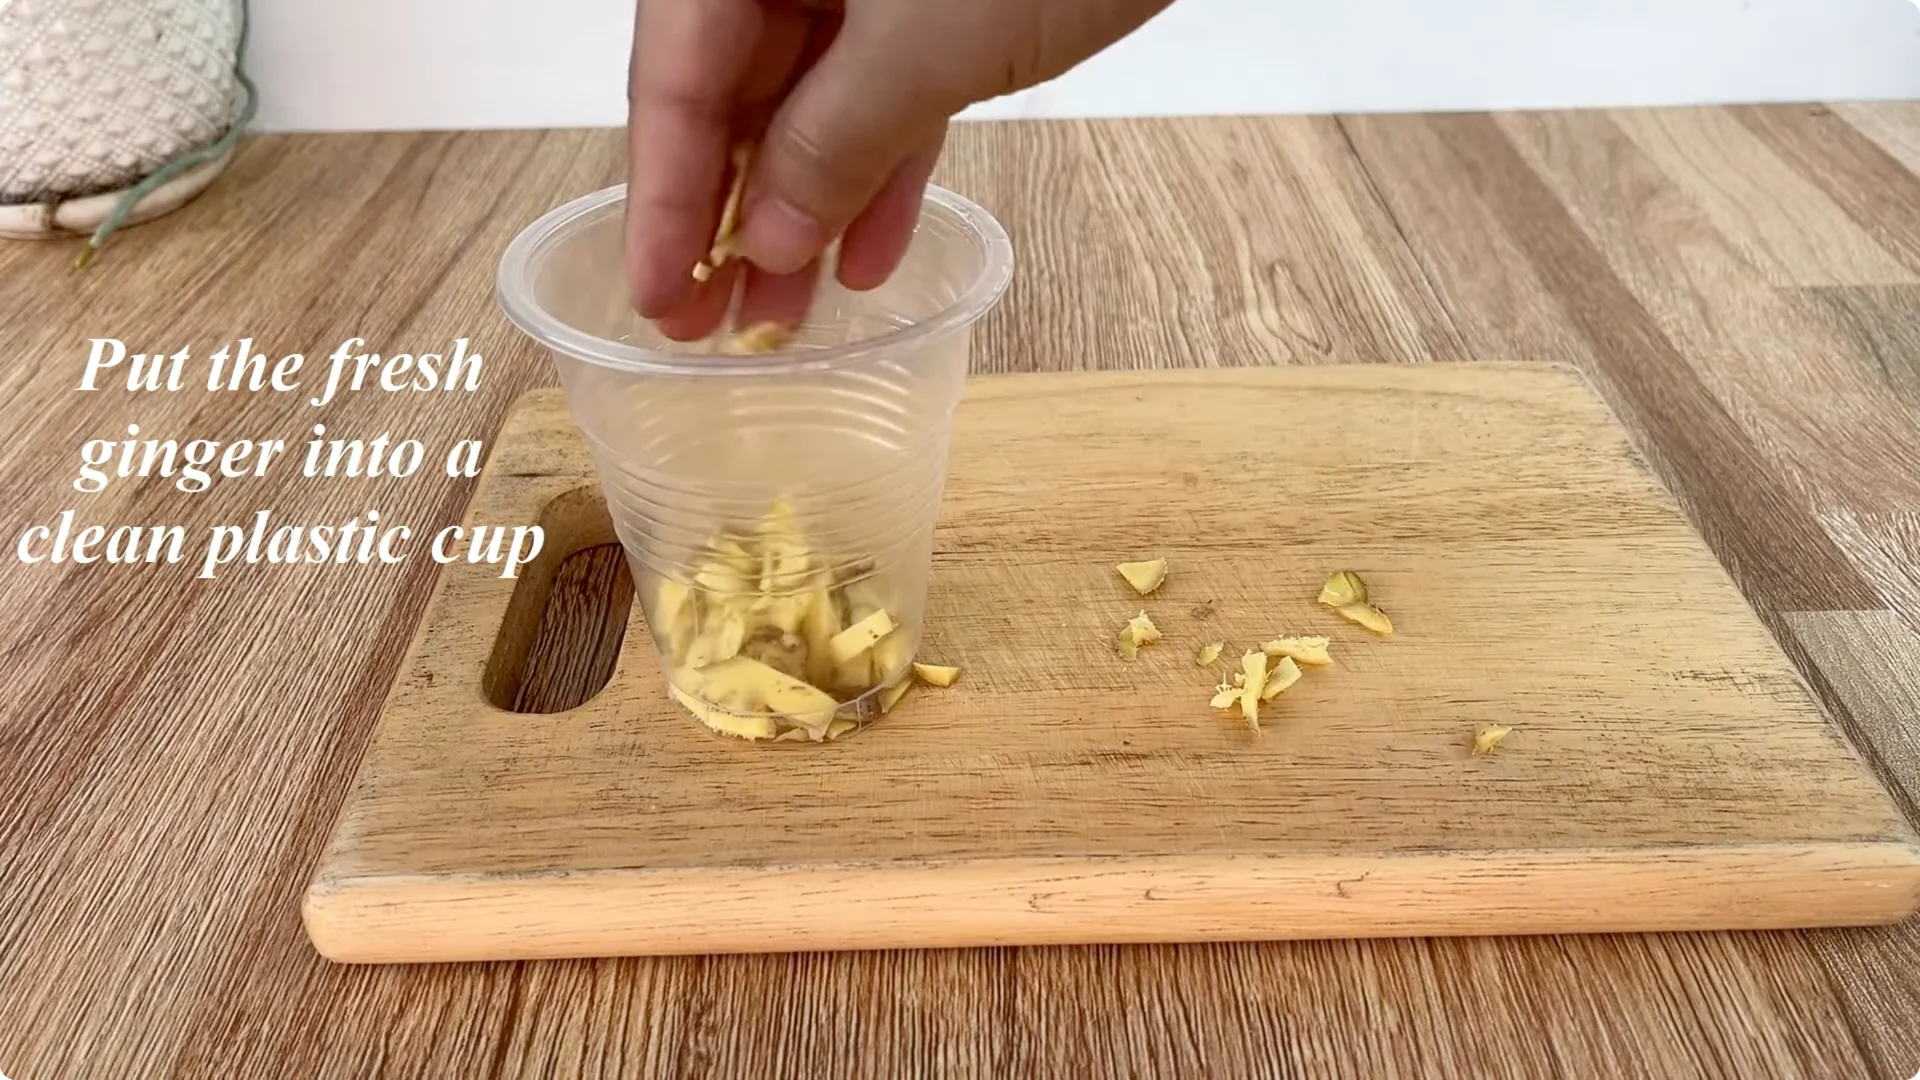
First, prepare about 15 grams of fresh ginger. Choose ginger that is moderately mature, fresh, and free from bruising or mold. After washing, cut the ginger into small slices or pieces so that the active ingredients dissolve easily in the water.
Put all the cut ginger into a clean plastic cup, then add 500 ml of clean water. Stir well with a spoon to disperse the ginger in the water, then let it sit for about 15 minutes. During this time, the antibacterial compounds and natural essential oils in ginger will gradually dissolve, forming a mild antiseptic solution that helps clean the cut and limit fungal diseases during the cutting process.
2. Rose Cutting Propagation: Prepare the Cutting
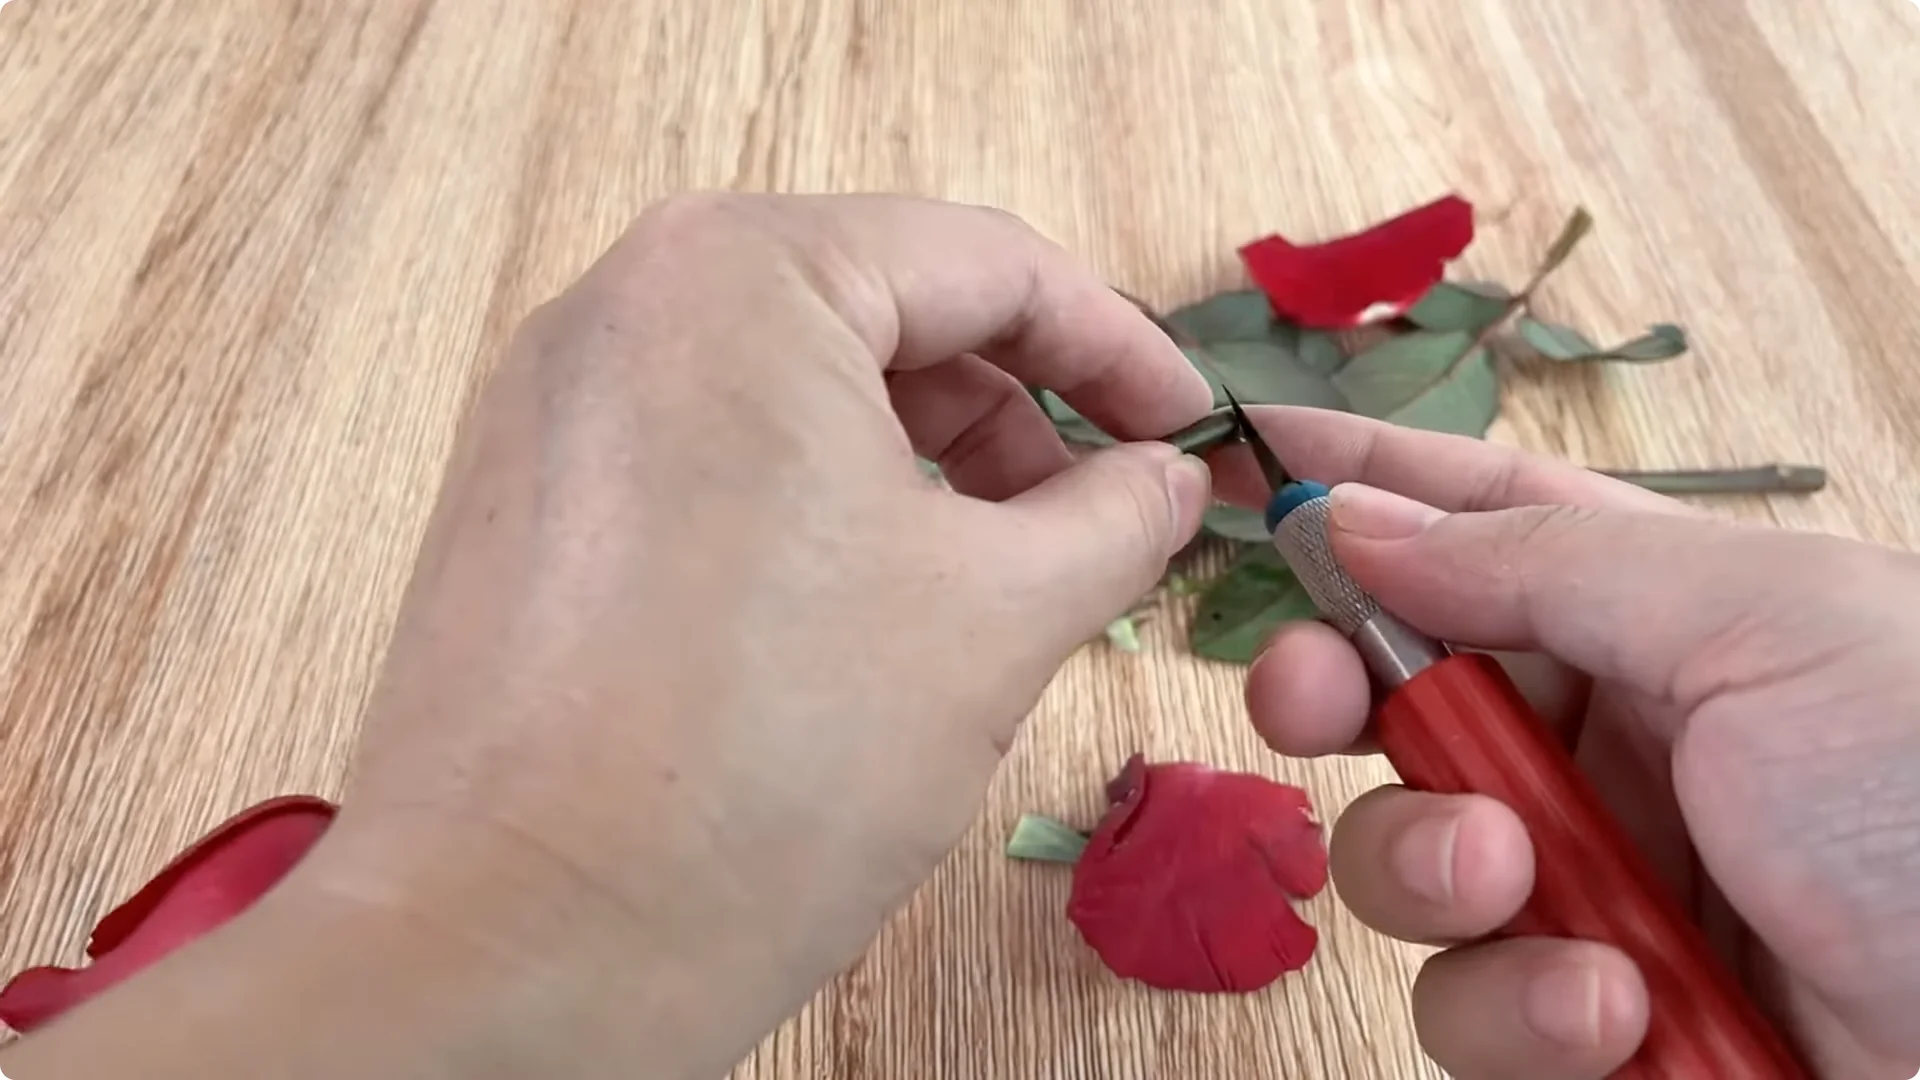
Prepare your favorite rose branch, ensuring it is free from pests, diseases, rot, or dry ends. The branch should be of moderate age, sturdy, but still capable of good growth.
Use a sharp knife or scissors to remove all leaves and thorns from the branch to reduce water loss and avoid injuring your hands during the process. Then, trim the branch, leaving it at a length of about 20 cm. Once finished, place the rose branch in the prepared ginger water and soak it for about 30 minutes.
This soaking helps to gently disinfect the surface of the branch and stimulate the tissues at the base of the branch to prepare for the formation of new roots. Keep the branch stable and avoid unnecessary handling during this stage. Gentle preparation here sets up strong rooting later.
3. Rose Cutting Propagation: Potato and Coca-Cola Solution
While waiting for the rose branch to soak in the ginger water, prepare the potato and Coca-Cola solution. Take a fresh potato, wash off any dirt, and peel it. Chop the peeled potato into small pieces and place them in a clean plastic cup.
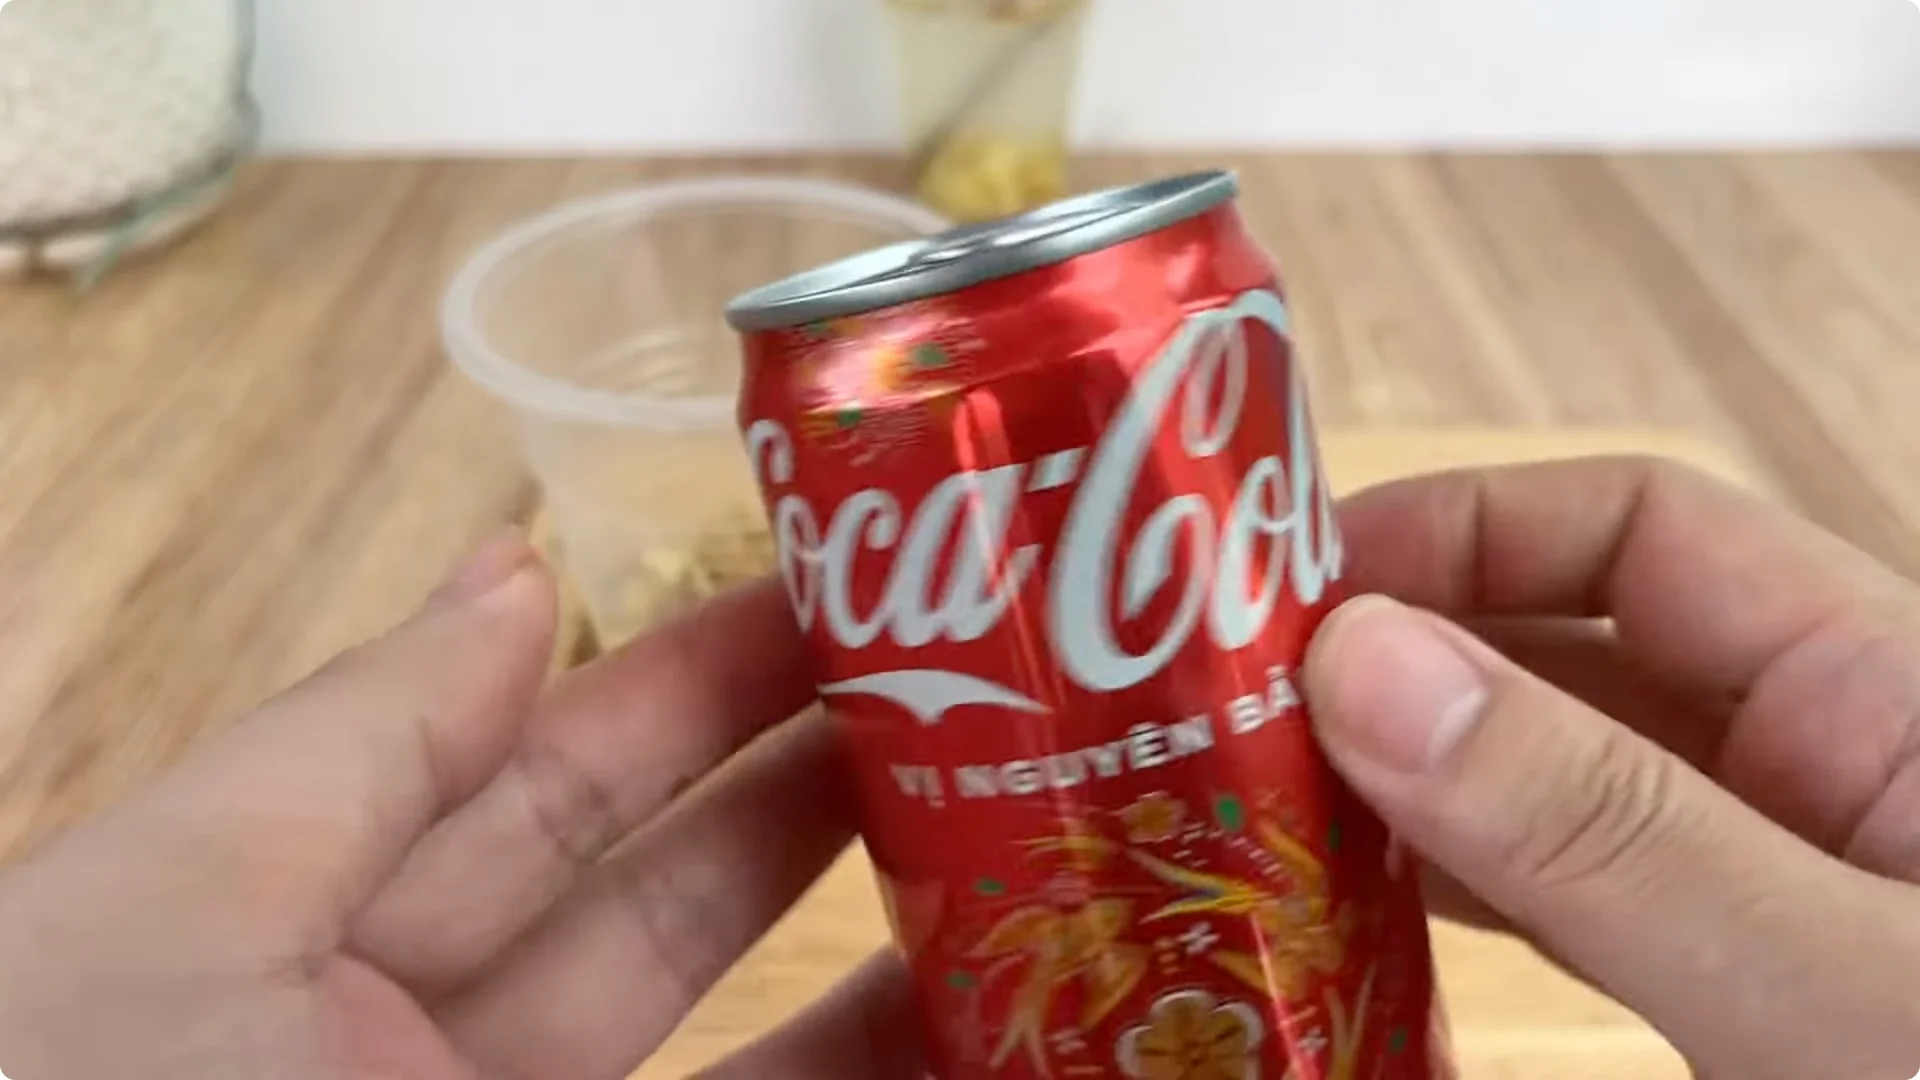
Potato peels contain starch and some trace minerals, which provide initial energy for young roots. Next, pour a can of Coca-Cola into the cup containing the potato peels. Stir the mixture well with a spoon and let it sit for about 30 minutes.
During this time, the sugar and mild acid in the Coca-Cola will dissolve with the substances from the potato peels, creating an energy-rich solution that stimulates cell division at the base of the stem. For another natural boost, see lemon tips.
4. Rose Cutting Propagation: Setup and Fixation
The next step is to prepare the stem fixation tools. You will need a piece of foam and a clean glass jar. Cut the foam to fit snugly into the mouth of the glass jar.
After preparing the solutions, remove the rose stem from the ginger water. Filter the ginger solution, discarding the ginger pulp to make the solution clearer. Next, filter the potato peel-Coca-Cola solution, completely removing any remaining potato pulp.
Next, mix the two solutions thoroughly to create a composite mixture, which will both have antibacterial properties and provide nutrients and energy to the rose stem during the rooting stage. Fill the jar with the ginger-potato-Coca solution. Use a piece of string to gently tie the middle of the rose stem to secure its position, preventing it from slipping or tilting during soaking.
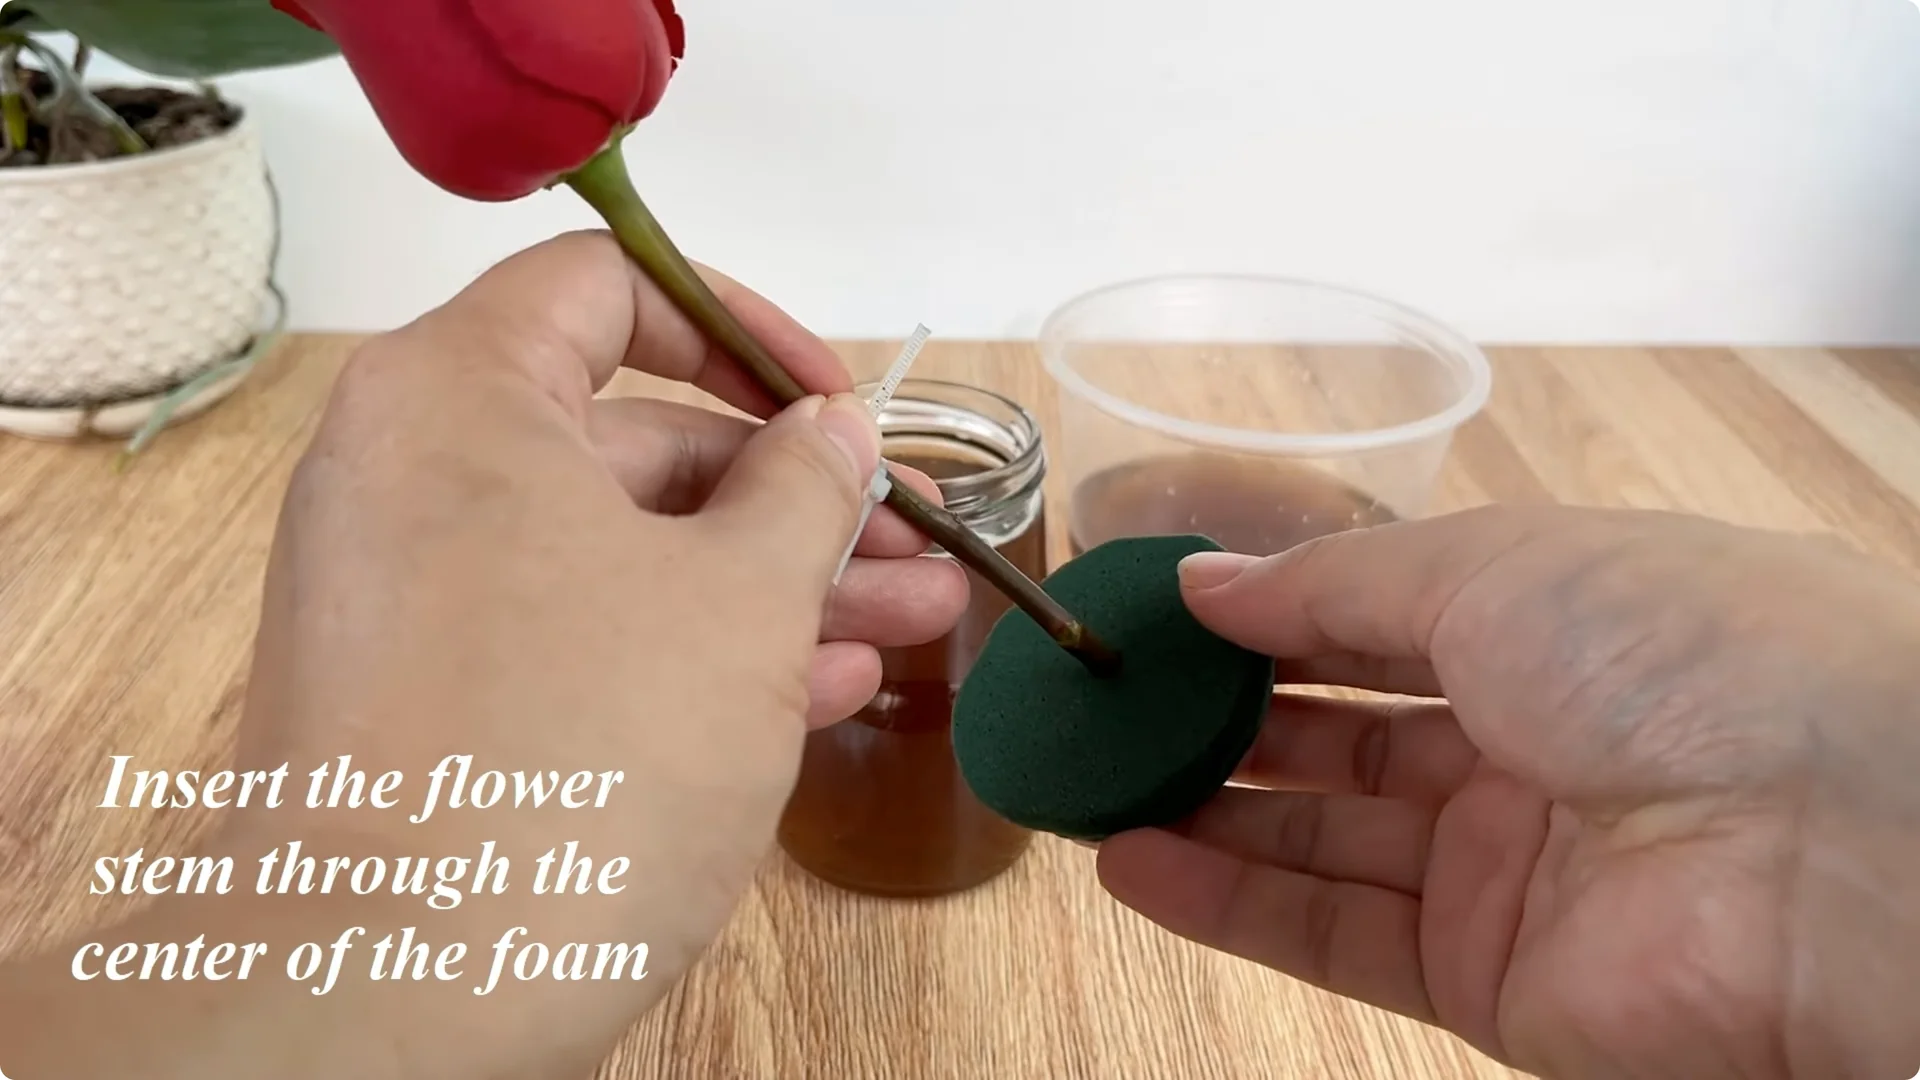
Then, insert the stem through the foam and place the foam to cover the mouth of the glass jar, ensuring the stem is submerged in the solution while the upper part of the stem is kept straight and stable. Maintain a gentle hand as you position the cutting. Stability helps the base build roots evenly.
5. Rose Cutting Propagation: Humidity and Placement
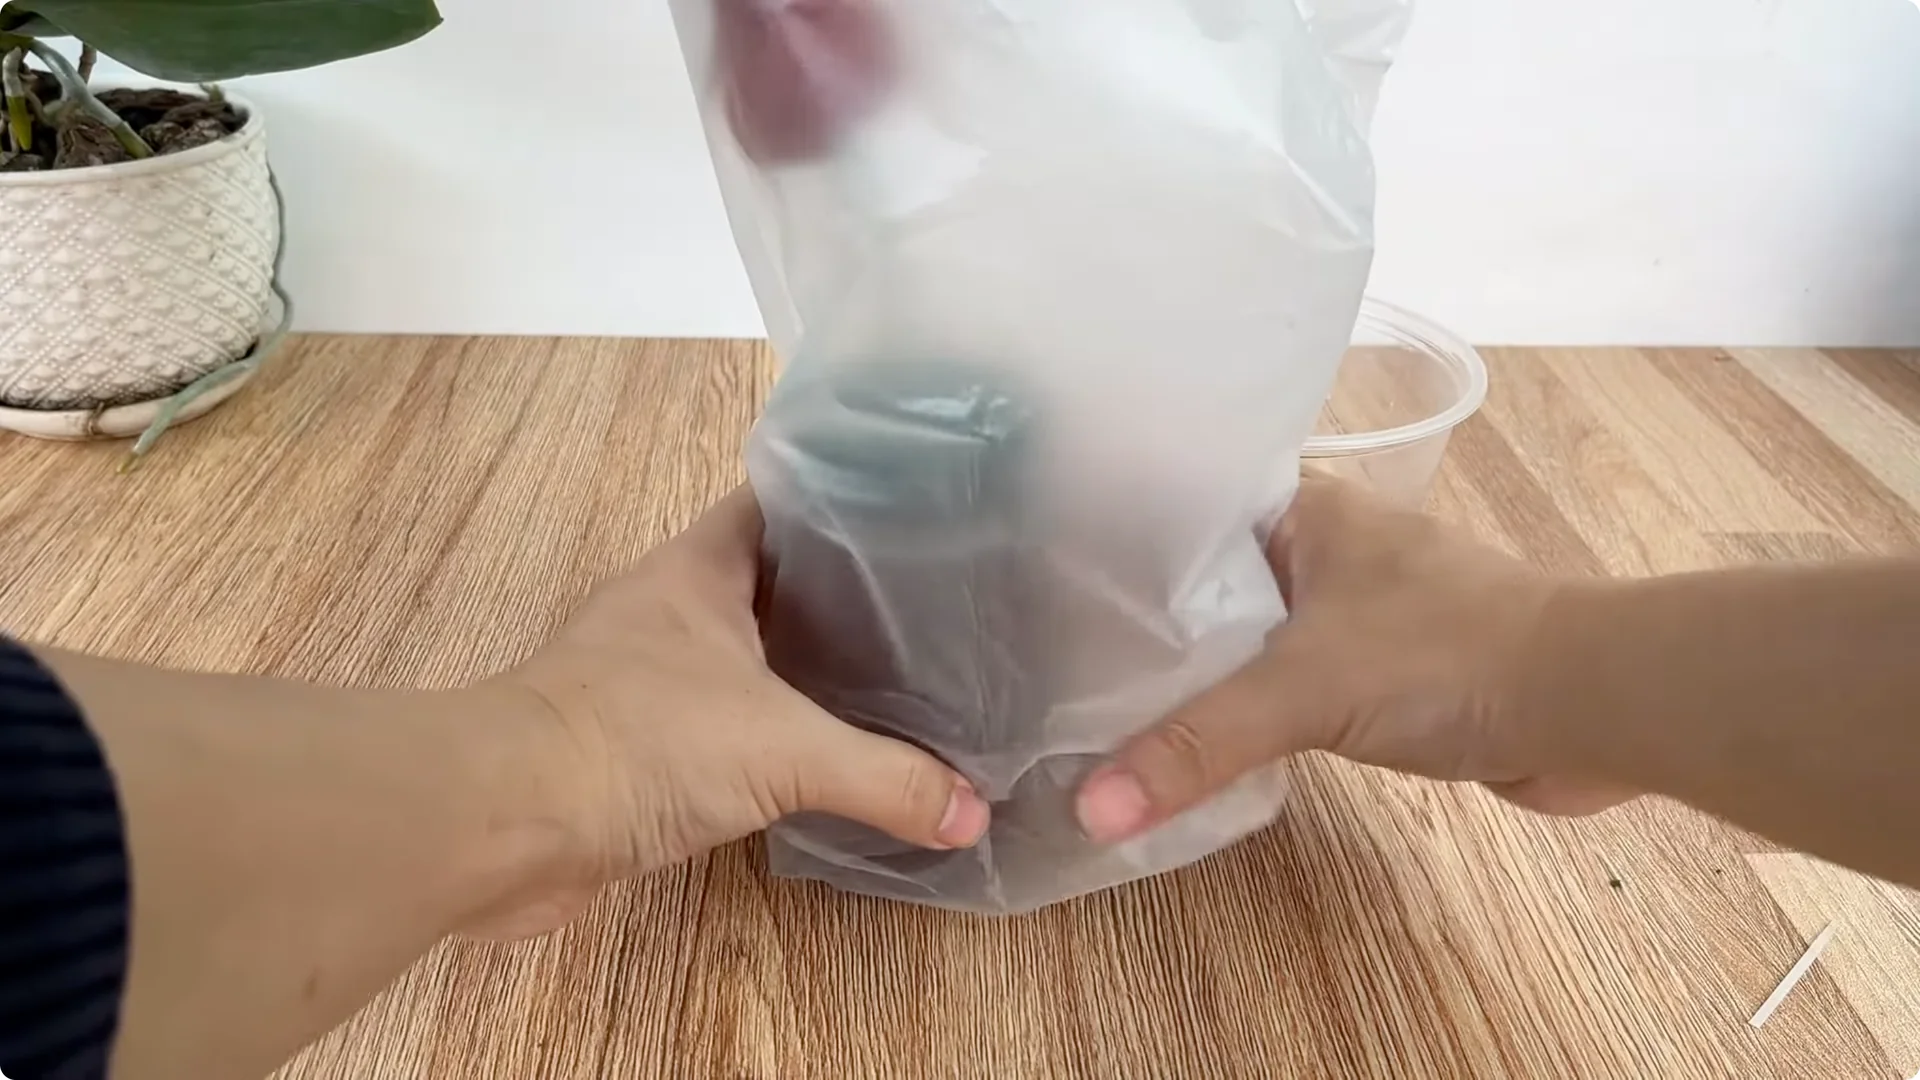
Once completed, use a clear plastic bag or cup to cover the entire glass jar and rose stem. This creates a high-humidity environment, reduces water loss, and helps the stem adapt quickly. Place the pot in a cool, well-ventilated area, avoiding strong winds and harsh sunlight.
Stable temperature and gentle light will help the cutting maintain its physiological function without experiencing environmental shock. Small daily checks are enough to keep conditions steady. For extra tips, see fast growth.
6. Rose Cutting Propagation: Rooting Signs and Transplanting
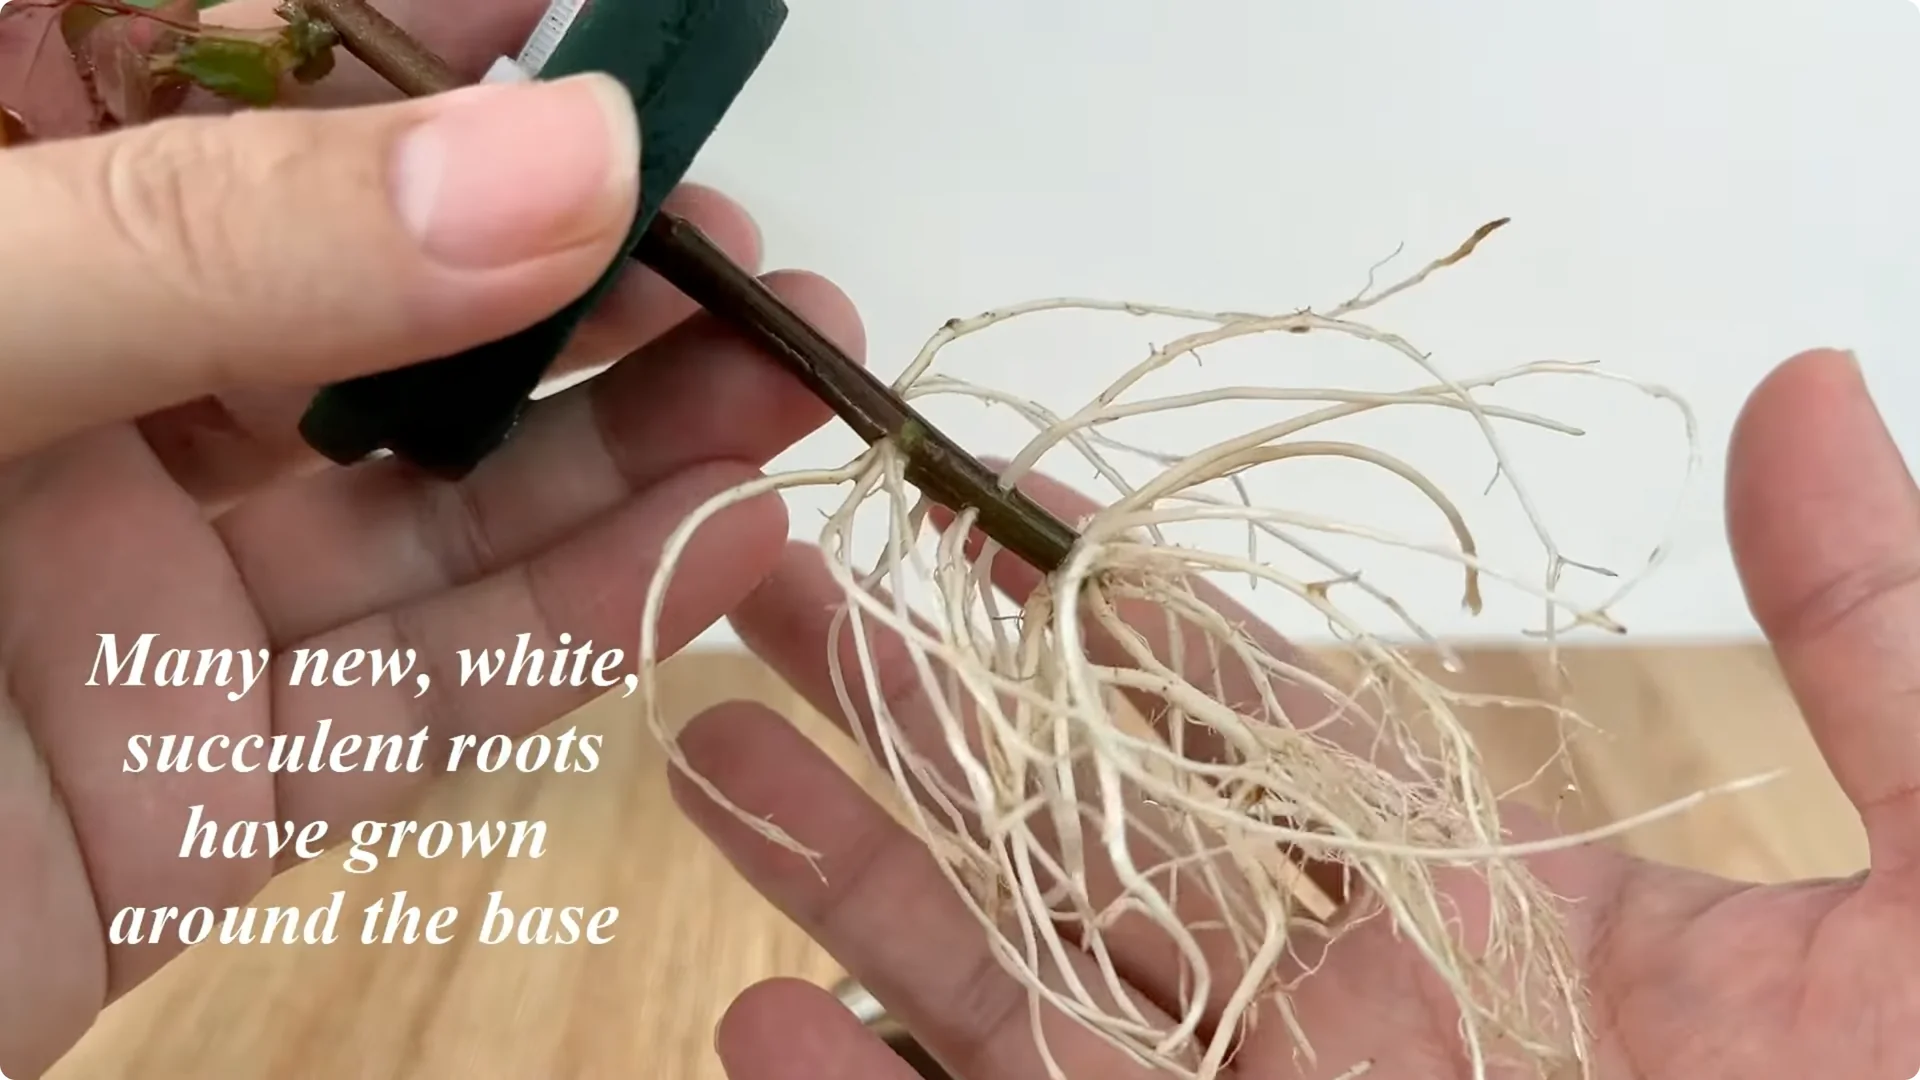
After about 10 days of proper care, you will see very positive signs. Many new roots will begin to grow around the base of the cutting; these roots are white, thick, and succulent, indicating good water and nutrient absorption. At the same time, fresh green shoots will appear on the cutting, developing evenly and healthily.
Once the roots are long enough and the shoots are established, you can gently replant the rose cutting in a well-draining pot, using river sand as a growing medium to encourage further root growth. Handle the root zone carefully to avoid bruising new tissues. Keep moisture consistent during the first weeks after transplanting.
Final Thoughts on Rose Cutting Propagation
It’s clear that propagating roses doesn’t necessarily rely on chemical rooting hormones. With familiar ingredients like ginger, potatoes, and Coca-Cola, combined with care and patience, you can create an ideal environment for your rose cutting to root and grow healthily. You can also try the garlic method.
It’s crucial to understand the role of each ingredient, follow the correct sequence, and constantly observe the changes in the branch during the care process. When you dedicate enough time and effort, each rose branch is not just a new plant but also the result of meticulousness and love of nature. That attention brings complete joy to your own gardening journey.