
I will guide you through a very unique rose propagation method, combining natural ingredients and precise branch processing techniques. This is a safe and effective method, helping rose branches quickly sprout, root strongly, and soon develop into a healthy new tree. Each step will be explained in detail so that you can easily apply it the first time.
Read More: Simple Effective Method Propagate Roses
1. Prepare the Branch – Onion Assisted Rose Propagation
To start the propagation process, prepare a healthy rose branch with a moderate age. It should not be too young to avoid waterlogging and not too old to slow down the stimulation of callus formation – young roots.
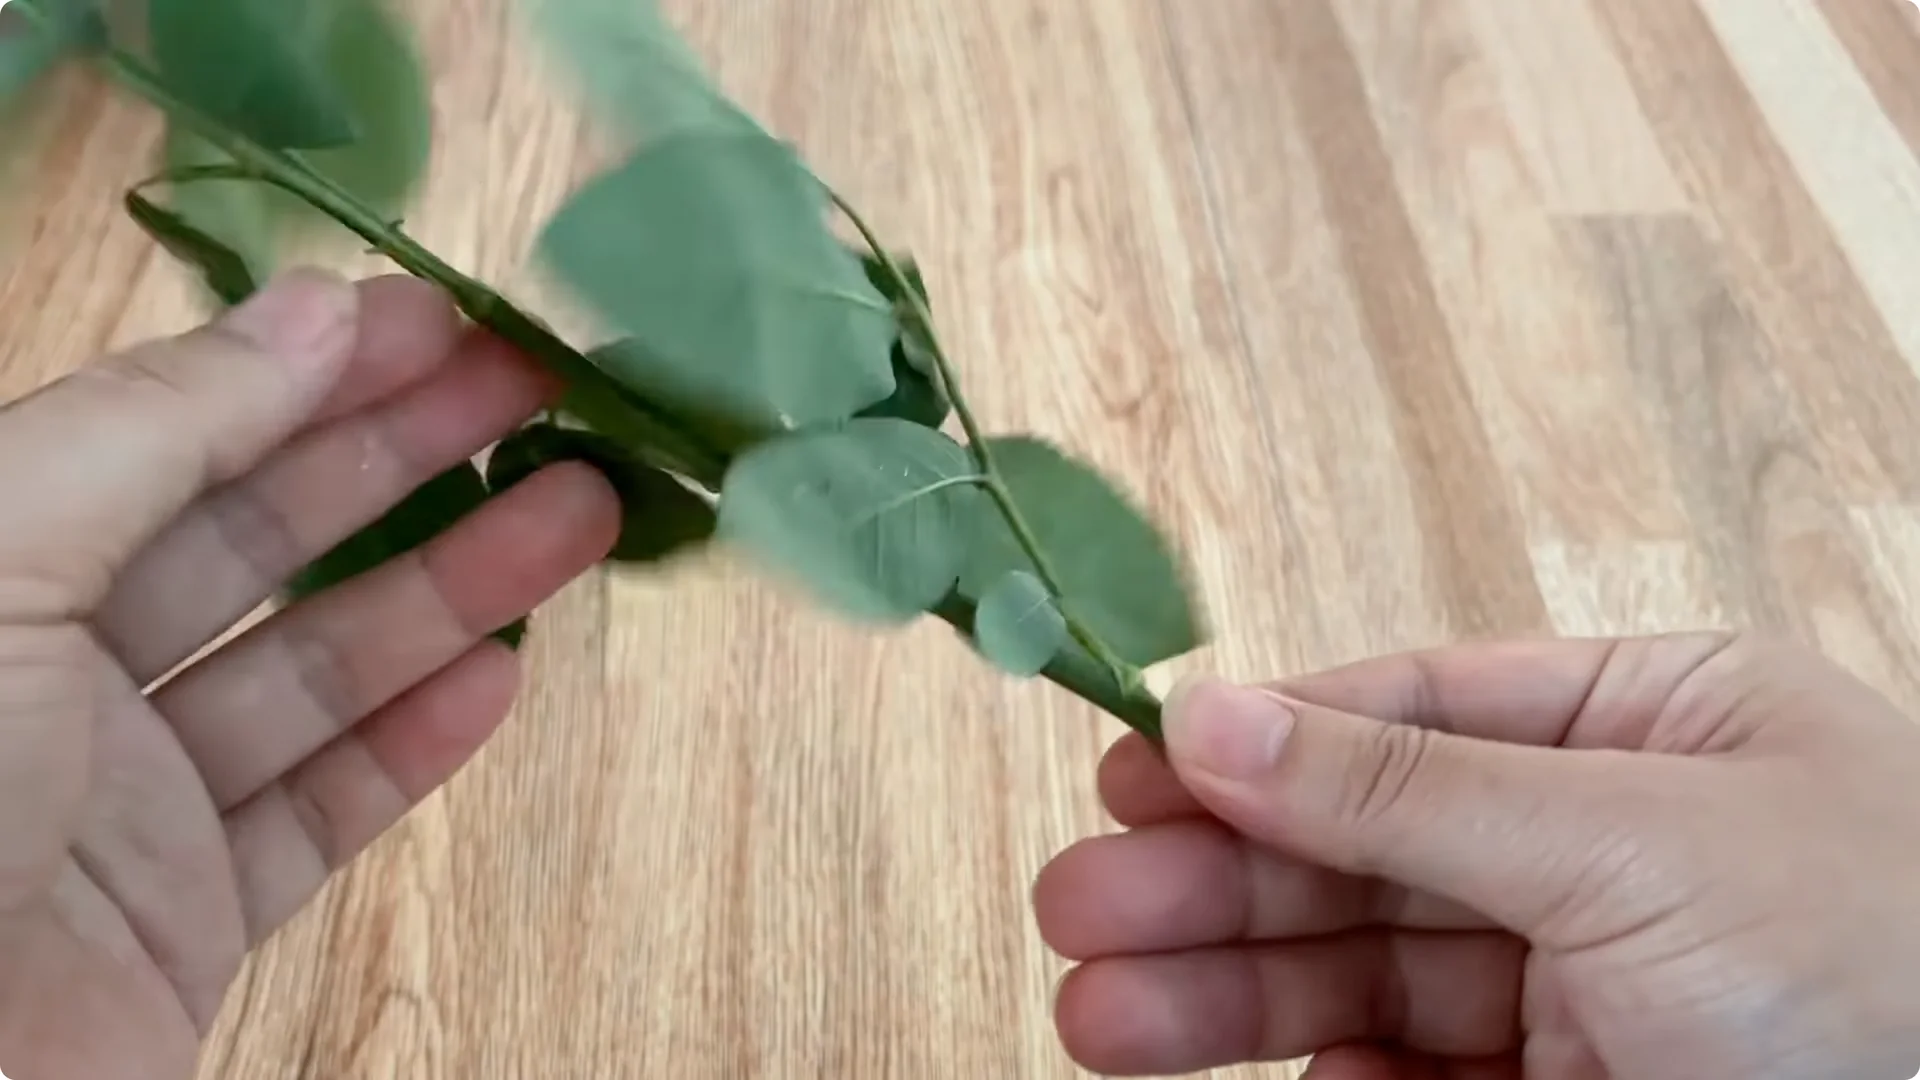
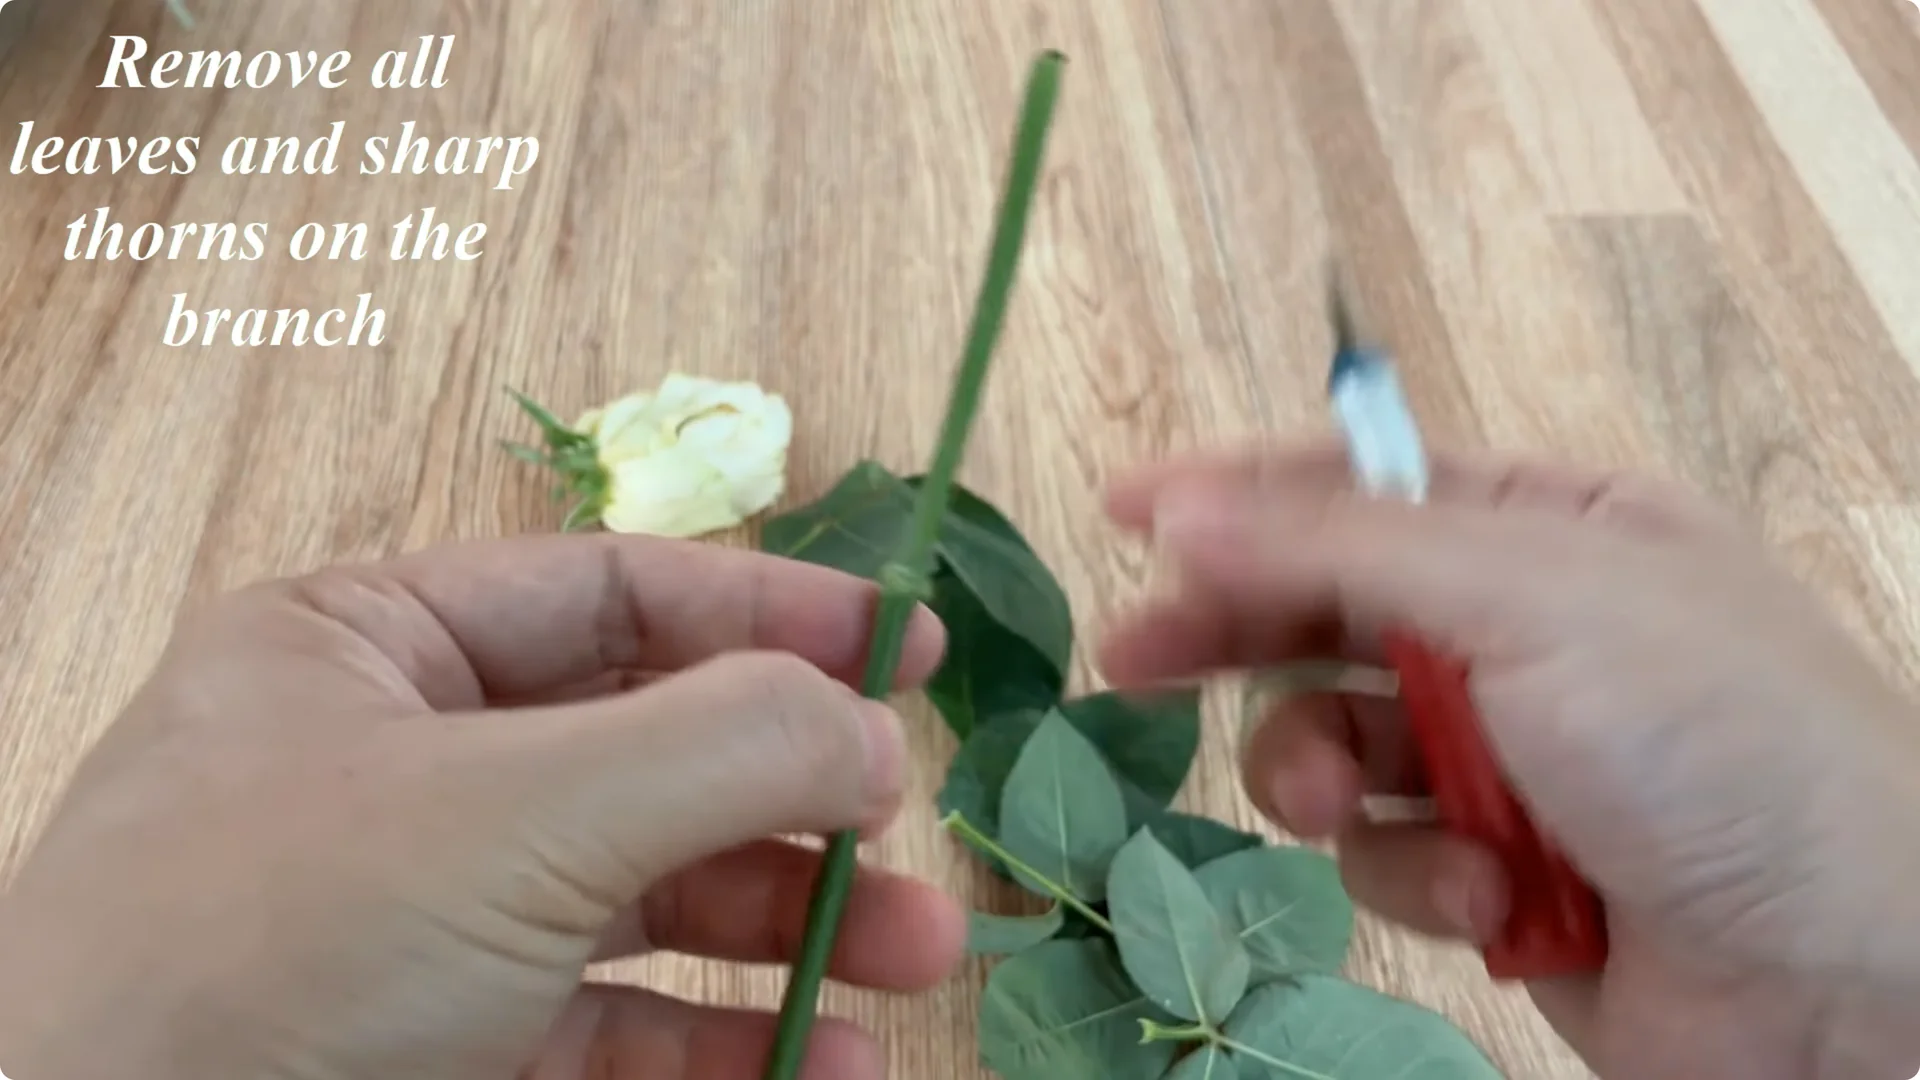
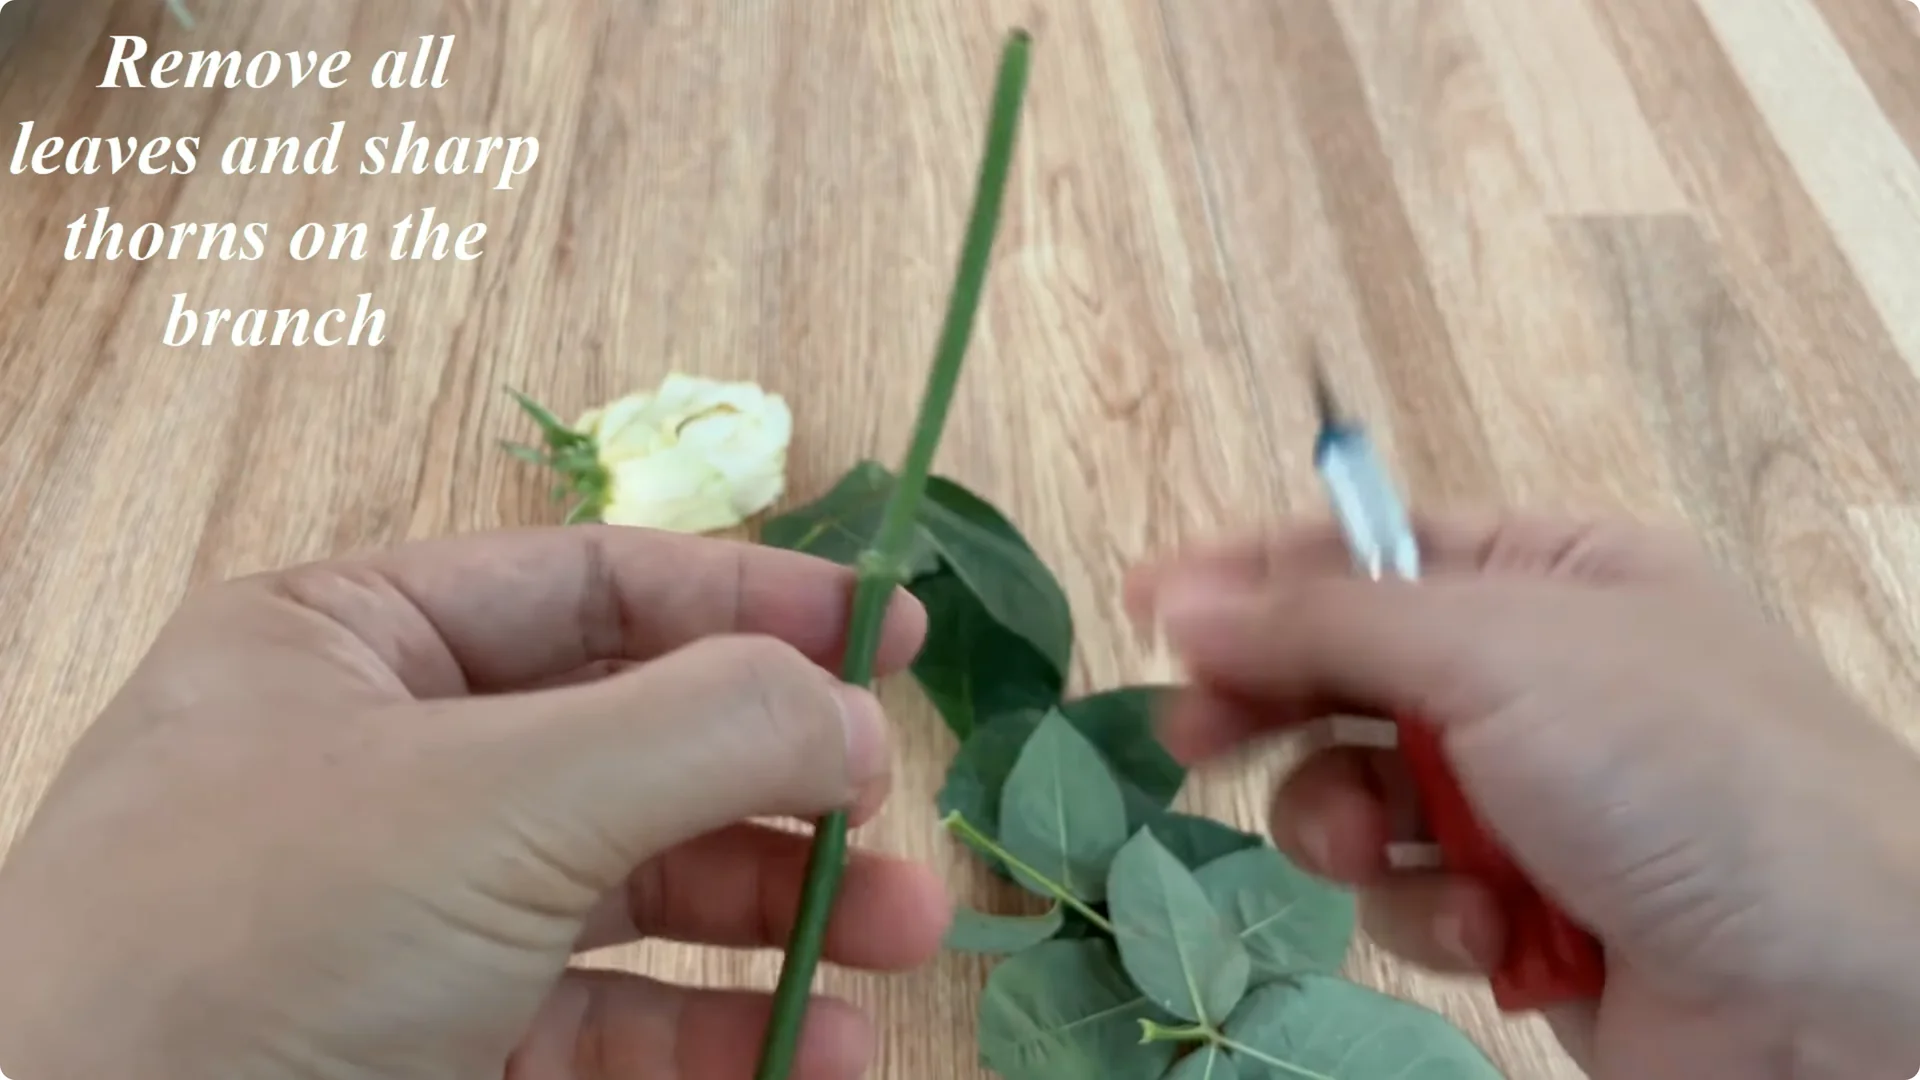
After choosing a branch that meets the requirements, use sharp scissors to cut off all the remaining leaves and sharp thorns on the stem. This limits water loss and avoids open wounds that cause rot.
Cut the branch to about 15 cm. This is the optimal length to retain moisture, limit nutrient loss, and create conditions for the natural hormones in the stem to concentrate on the base.
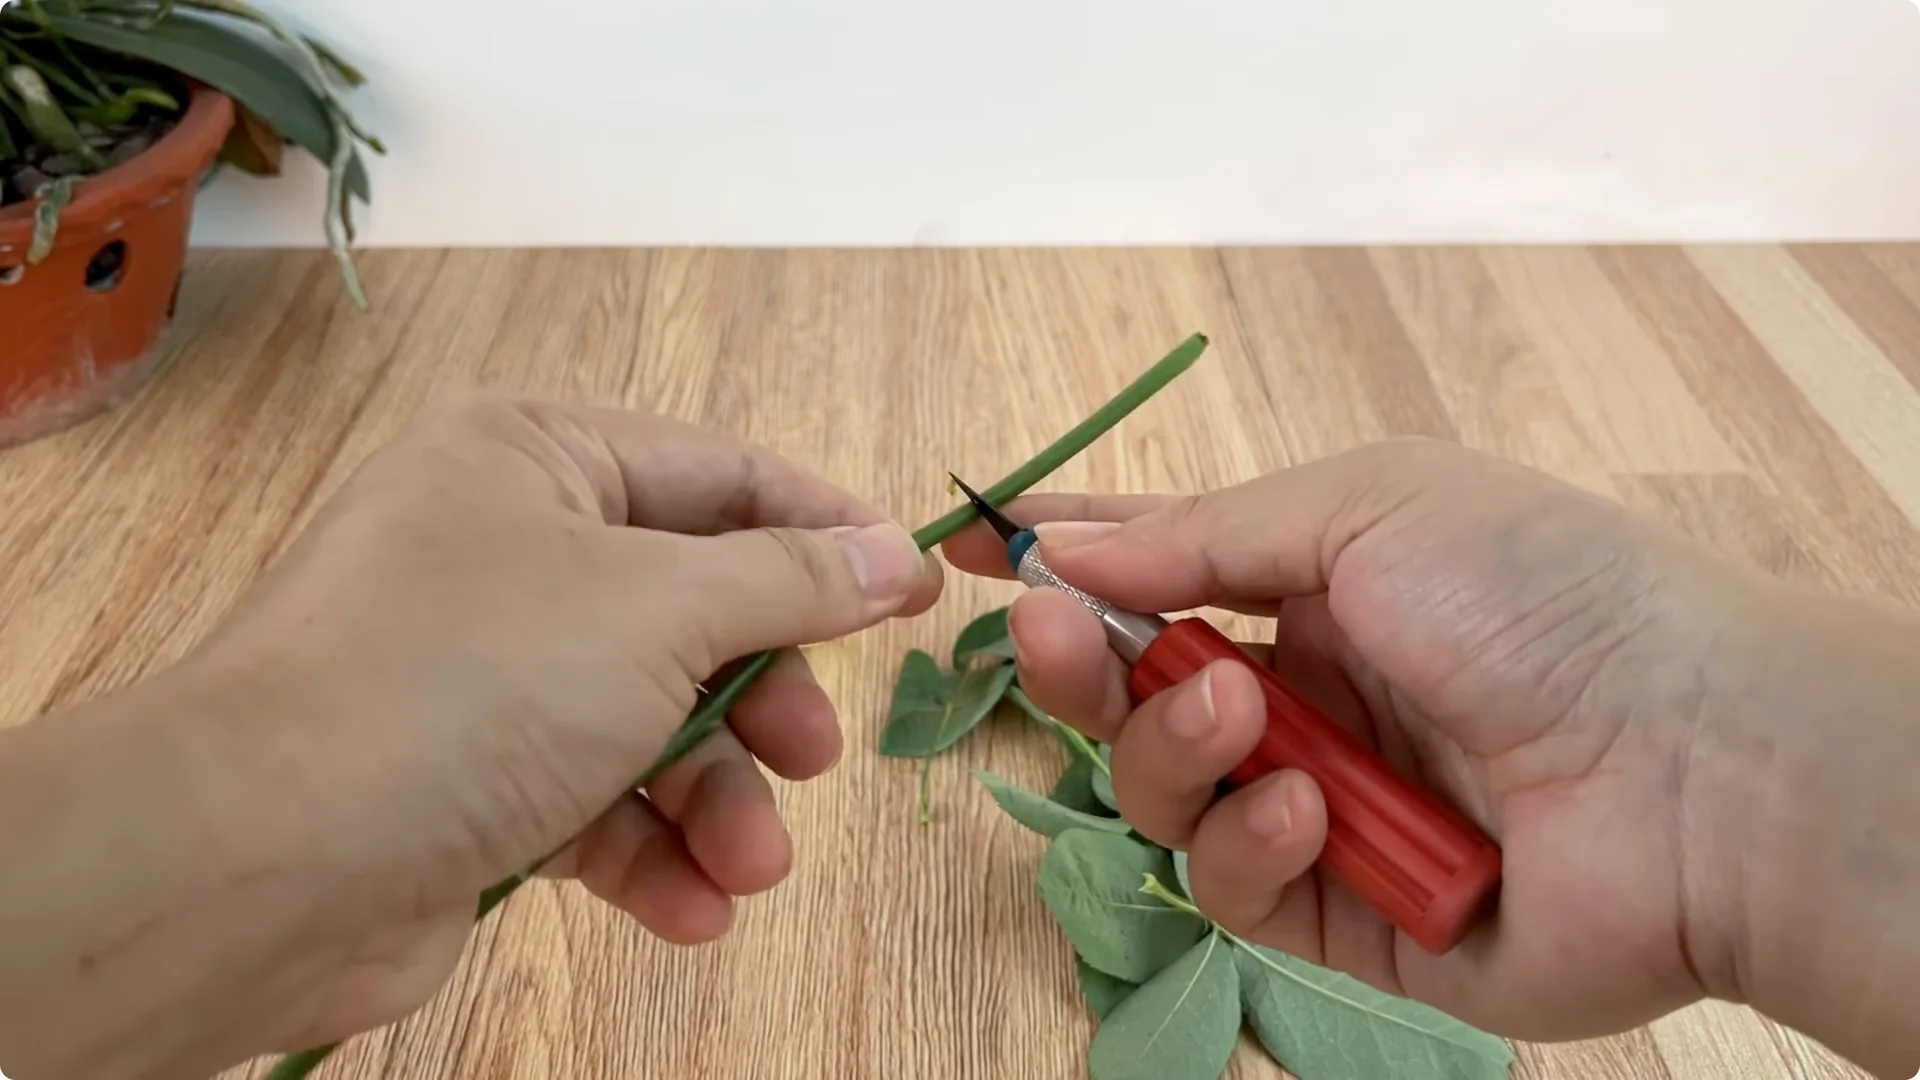
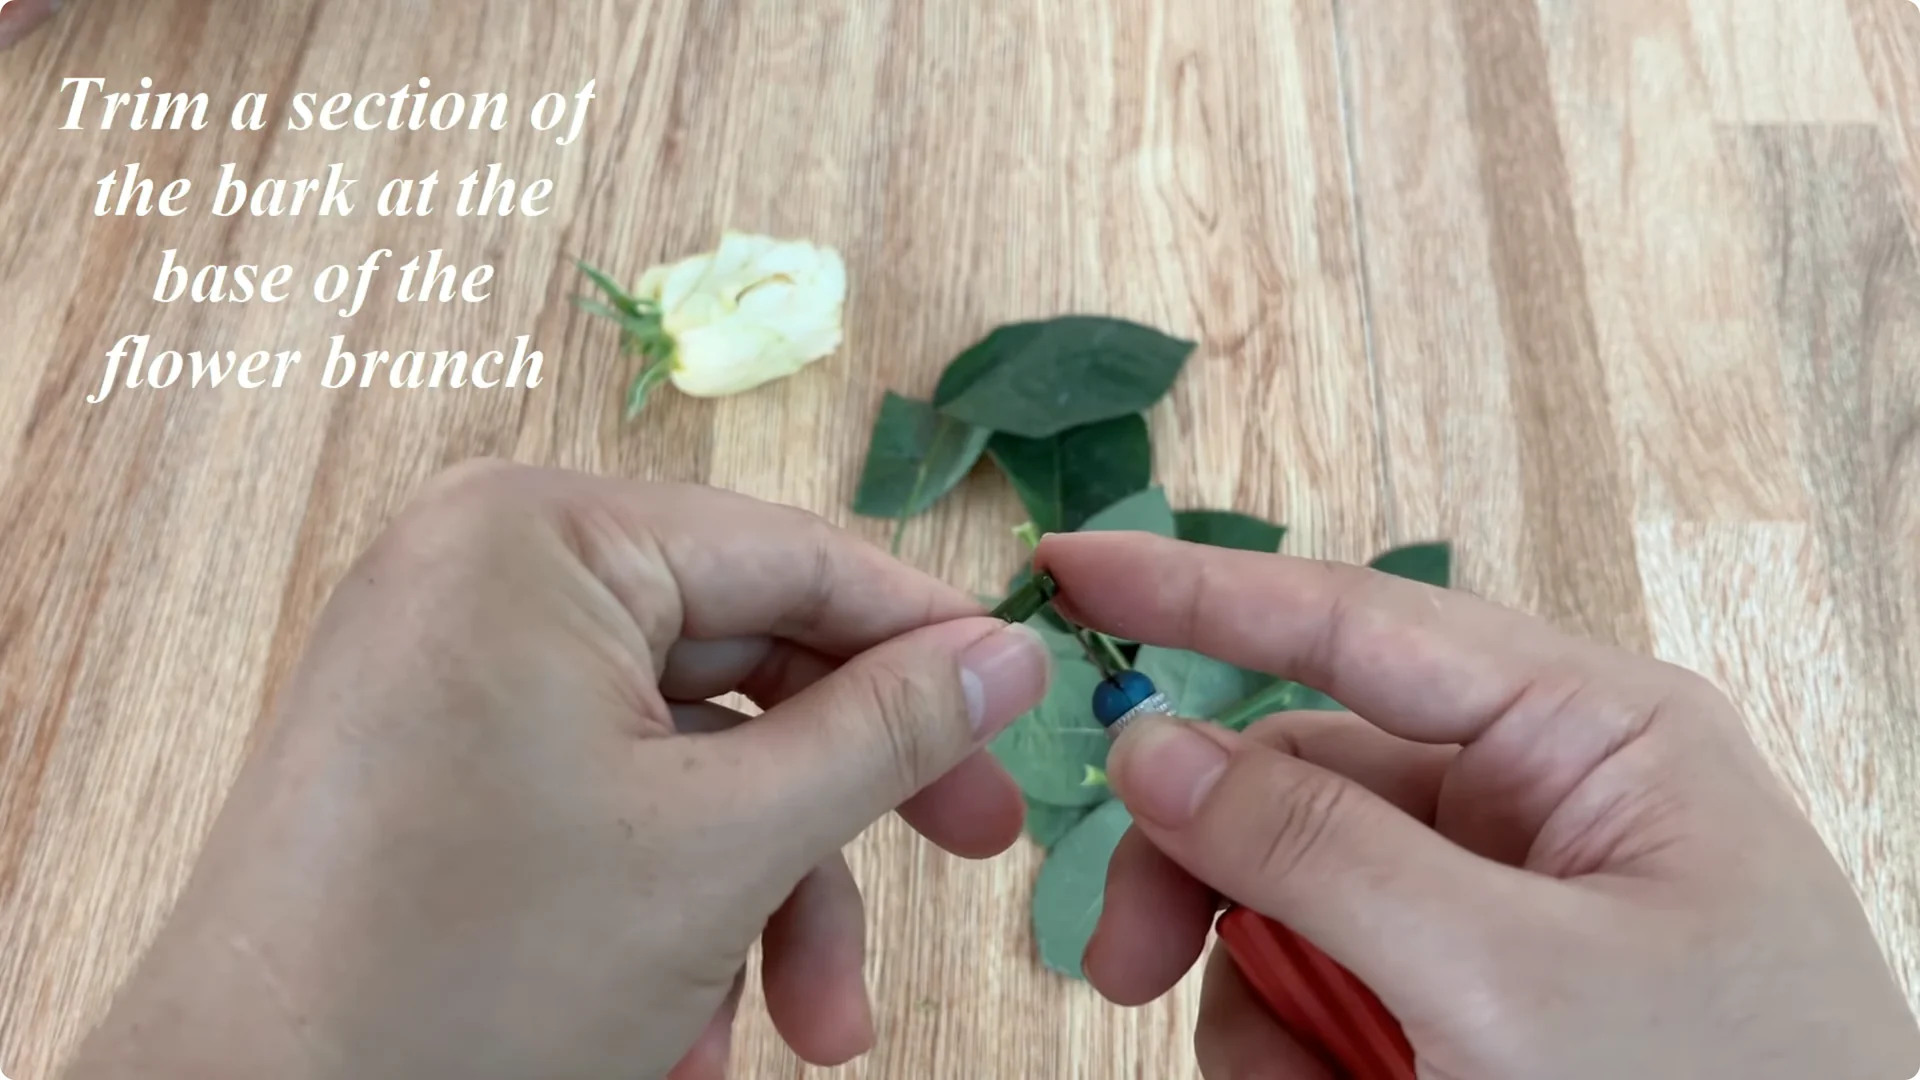
In the final step of preparing the branch, trim a section of bark at the base. This helps increase the contact area with the rooting solution and facilitates the formation of callus – the premise of new roots.
2. Make the Onion Solution – Onion Assisted Rose Propagation
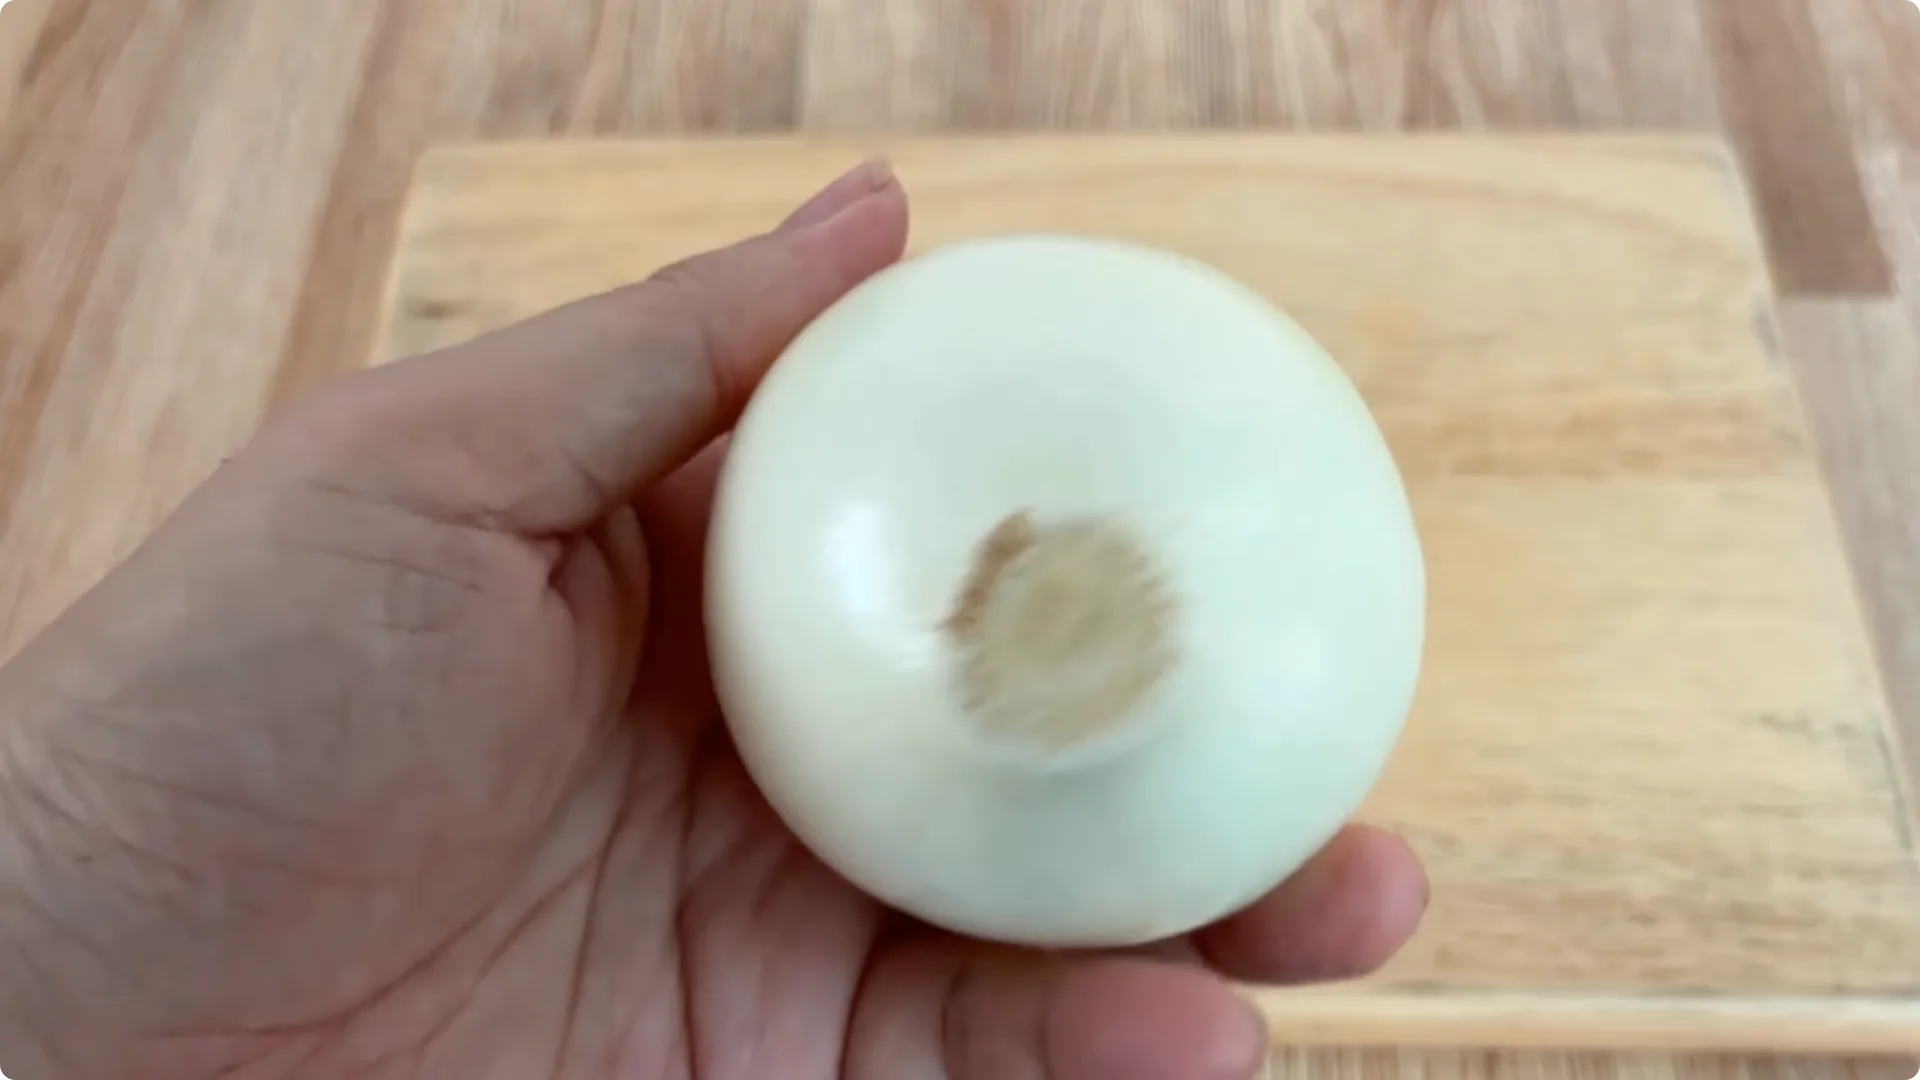
Prepare about 30 grams of onion. Onion is one of the natural ingredients rich in enzymes and sulfur compounds that have antibacterial, antifungal, and stimulating cell division effects at the base of the flower branch.
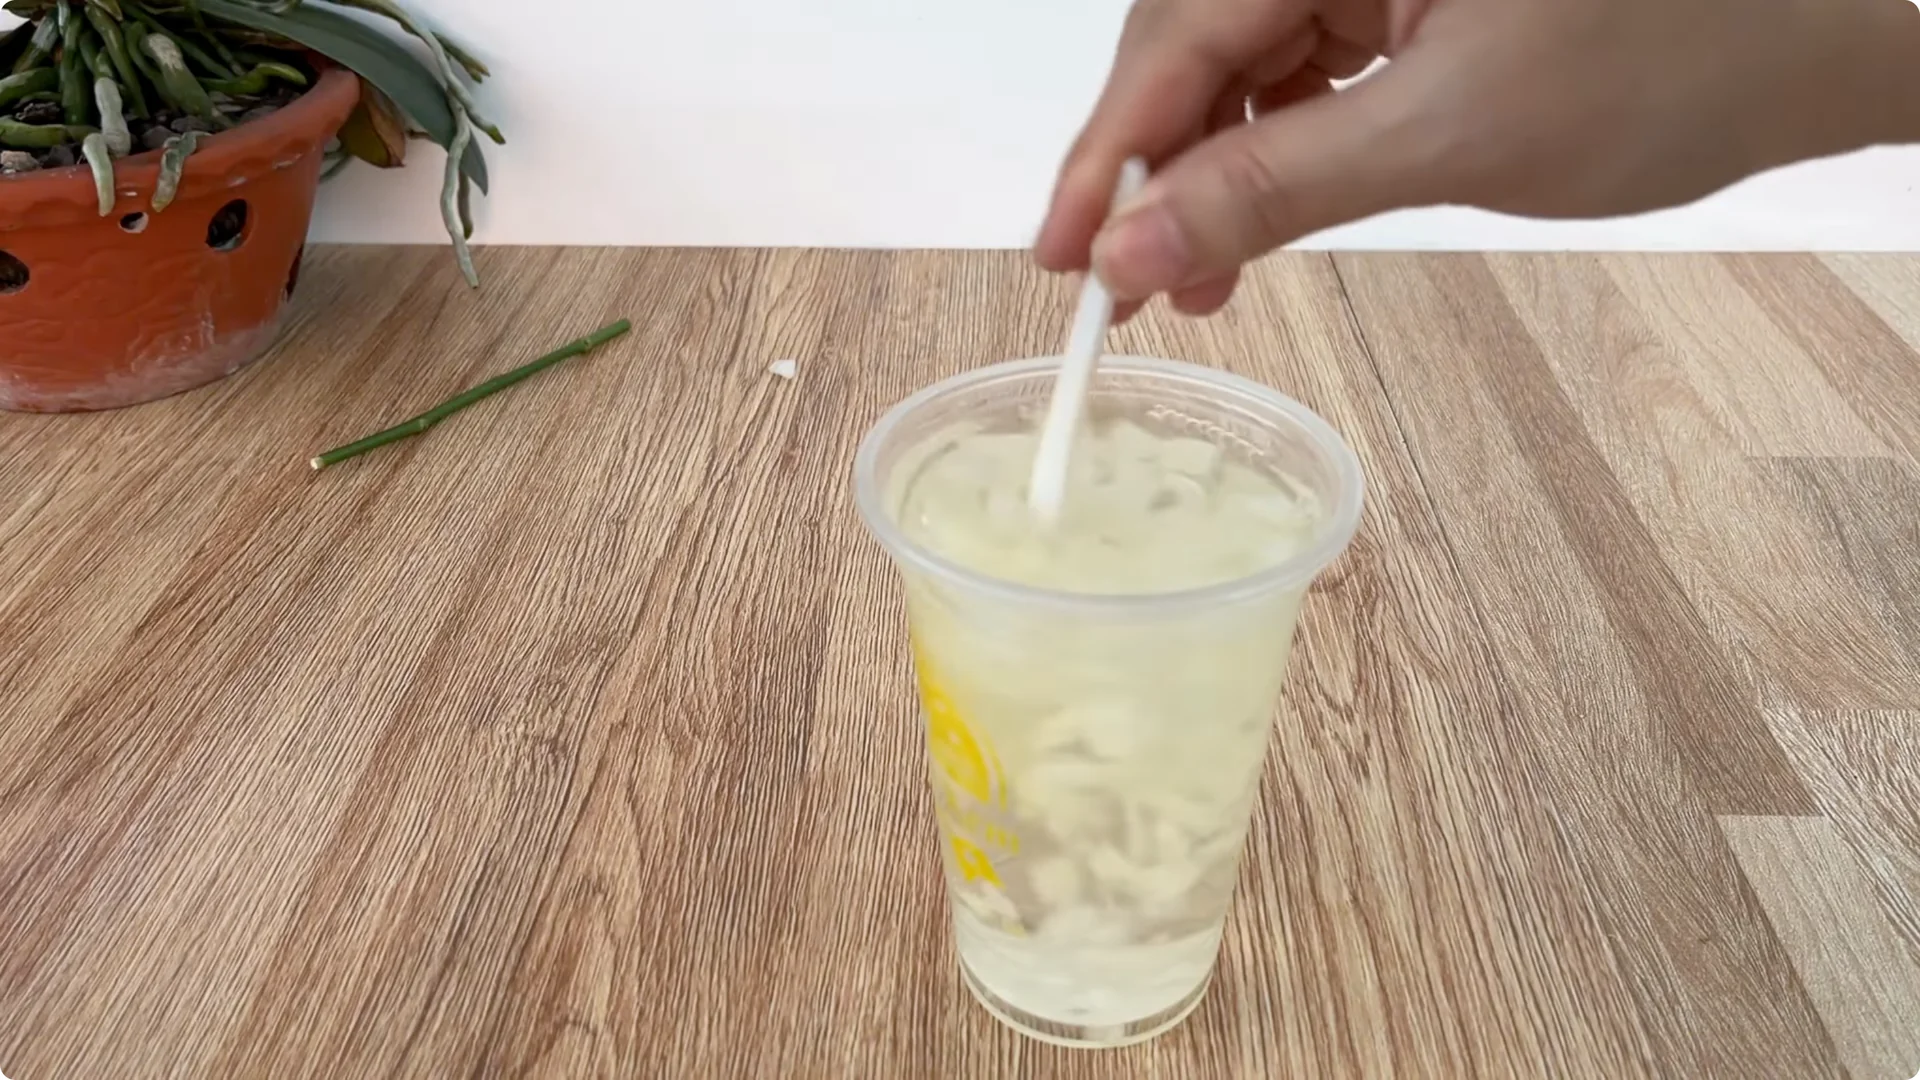
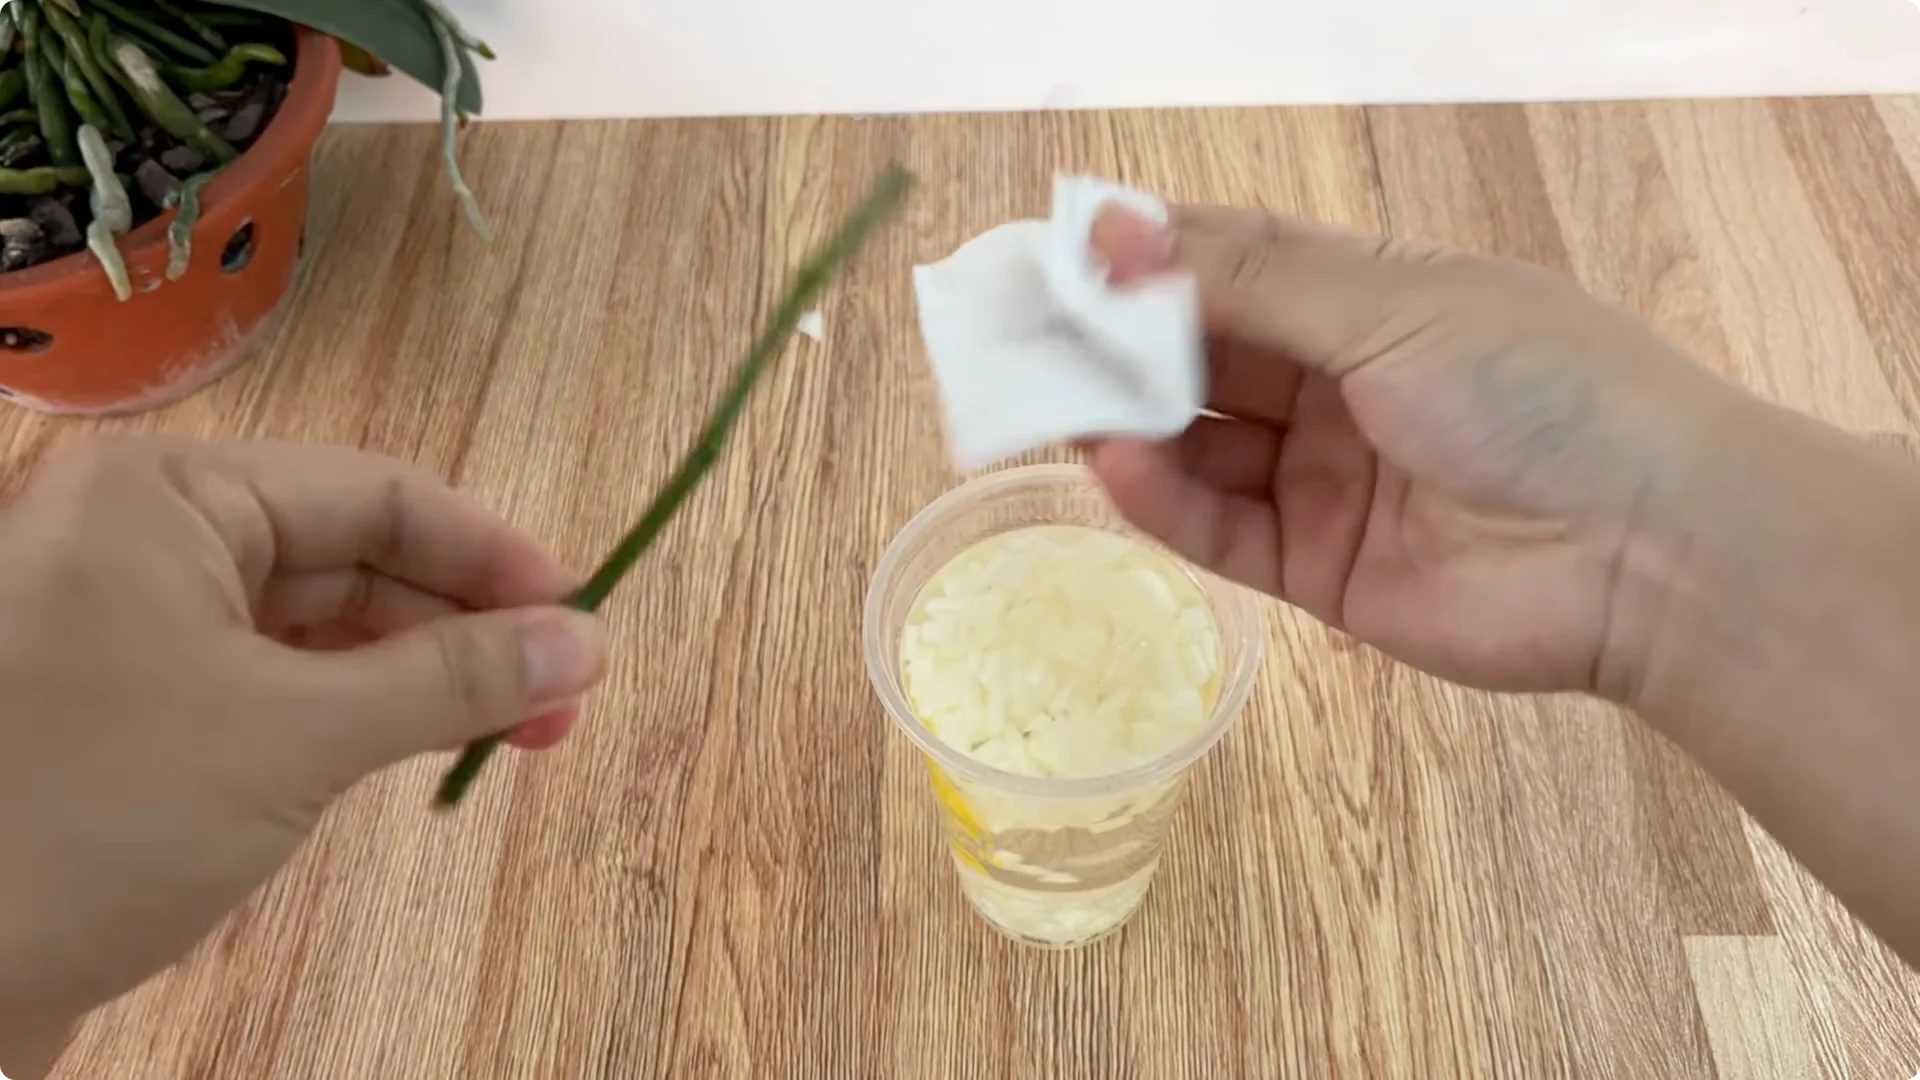
After washing and chopping the onion, put it all in a plastic cup and add 500 ml of clean water. Stir well to dissolve the active ingredients from the onion into the water.
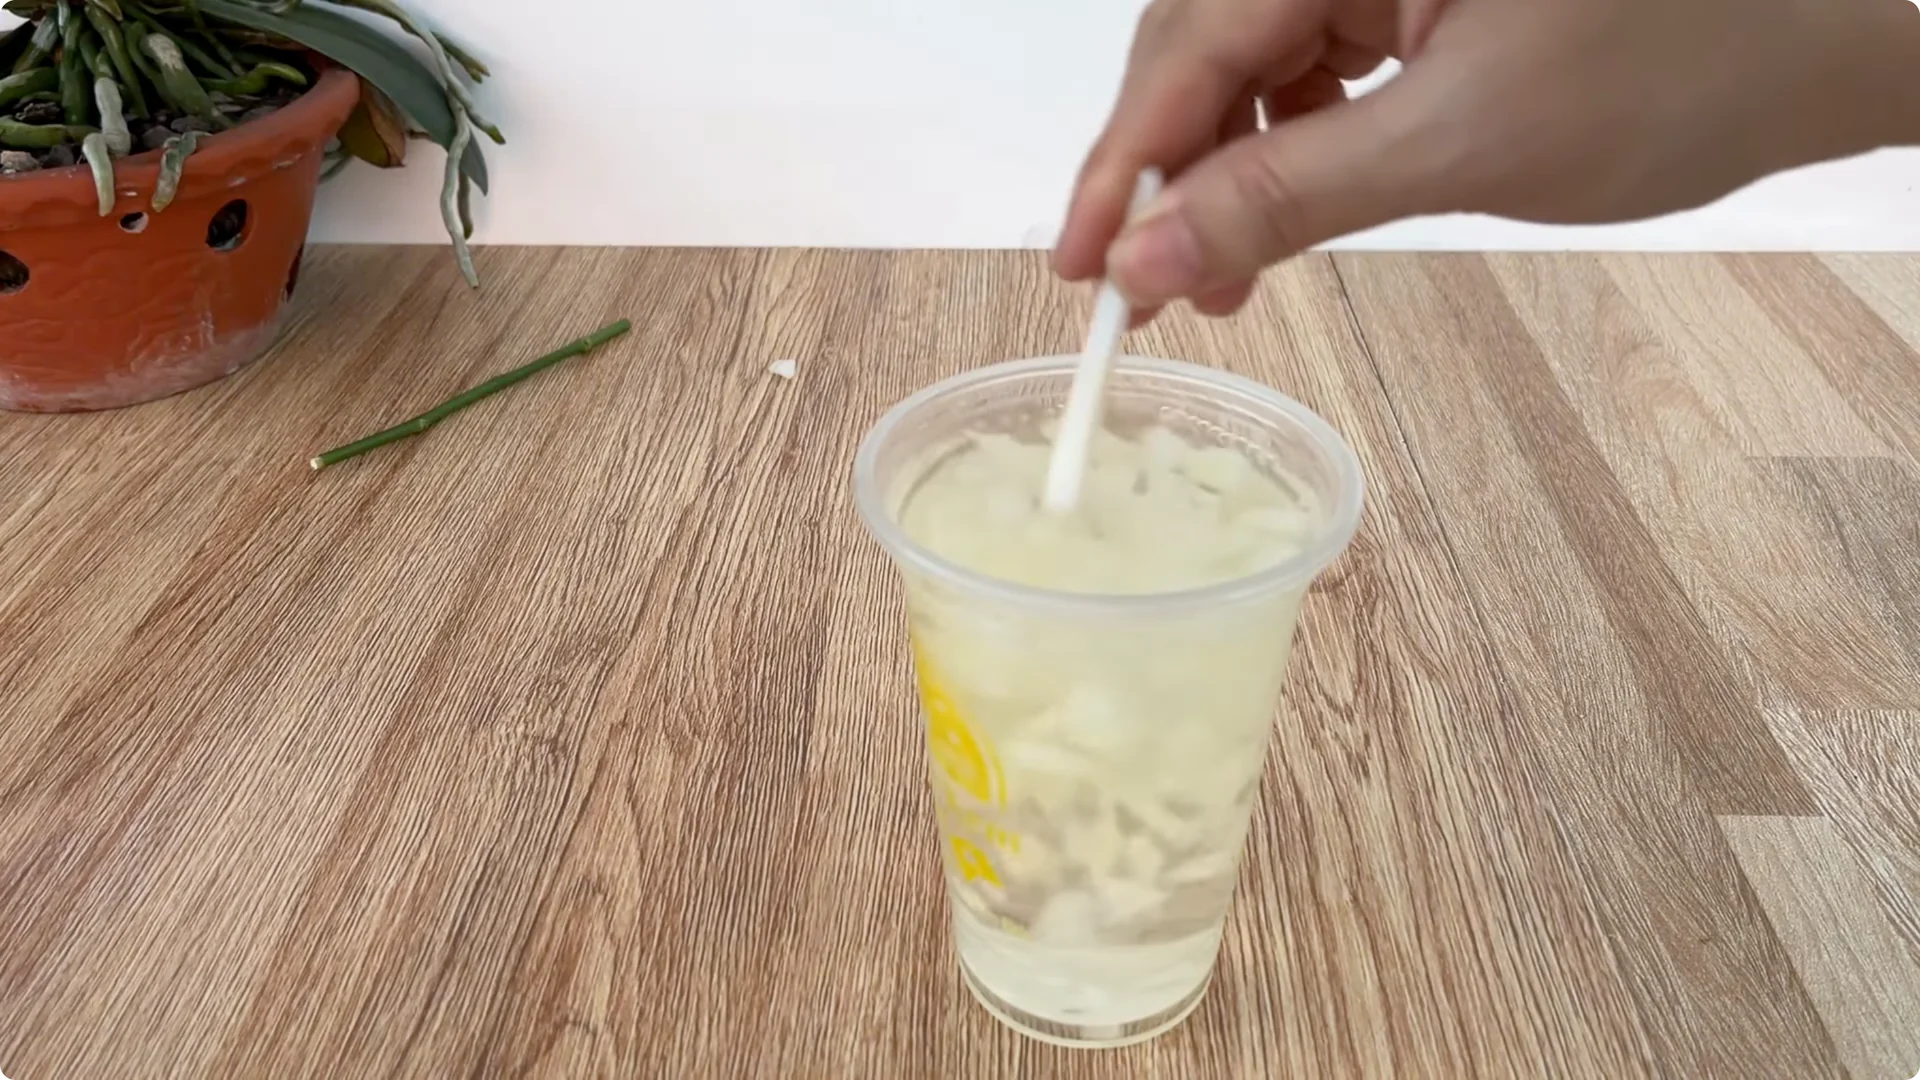
Use a clean soft cloth soaked in this solution and gently wipe the entire rose branch, especially the base area – where you just trimmed the bark. Place the flower branch in a cup of onion solution and soak for 30 minutes so that the nutrients penetrate deeply into the plant tissue.
Read More: Propagate Roses Simple Method
3. Orange Peel and Bread Mix – Onion Assisted Rose Propagation

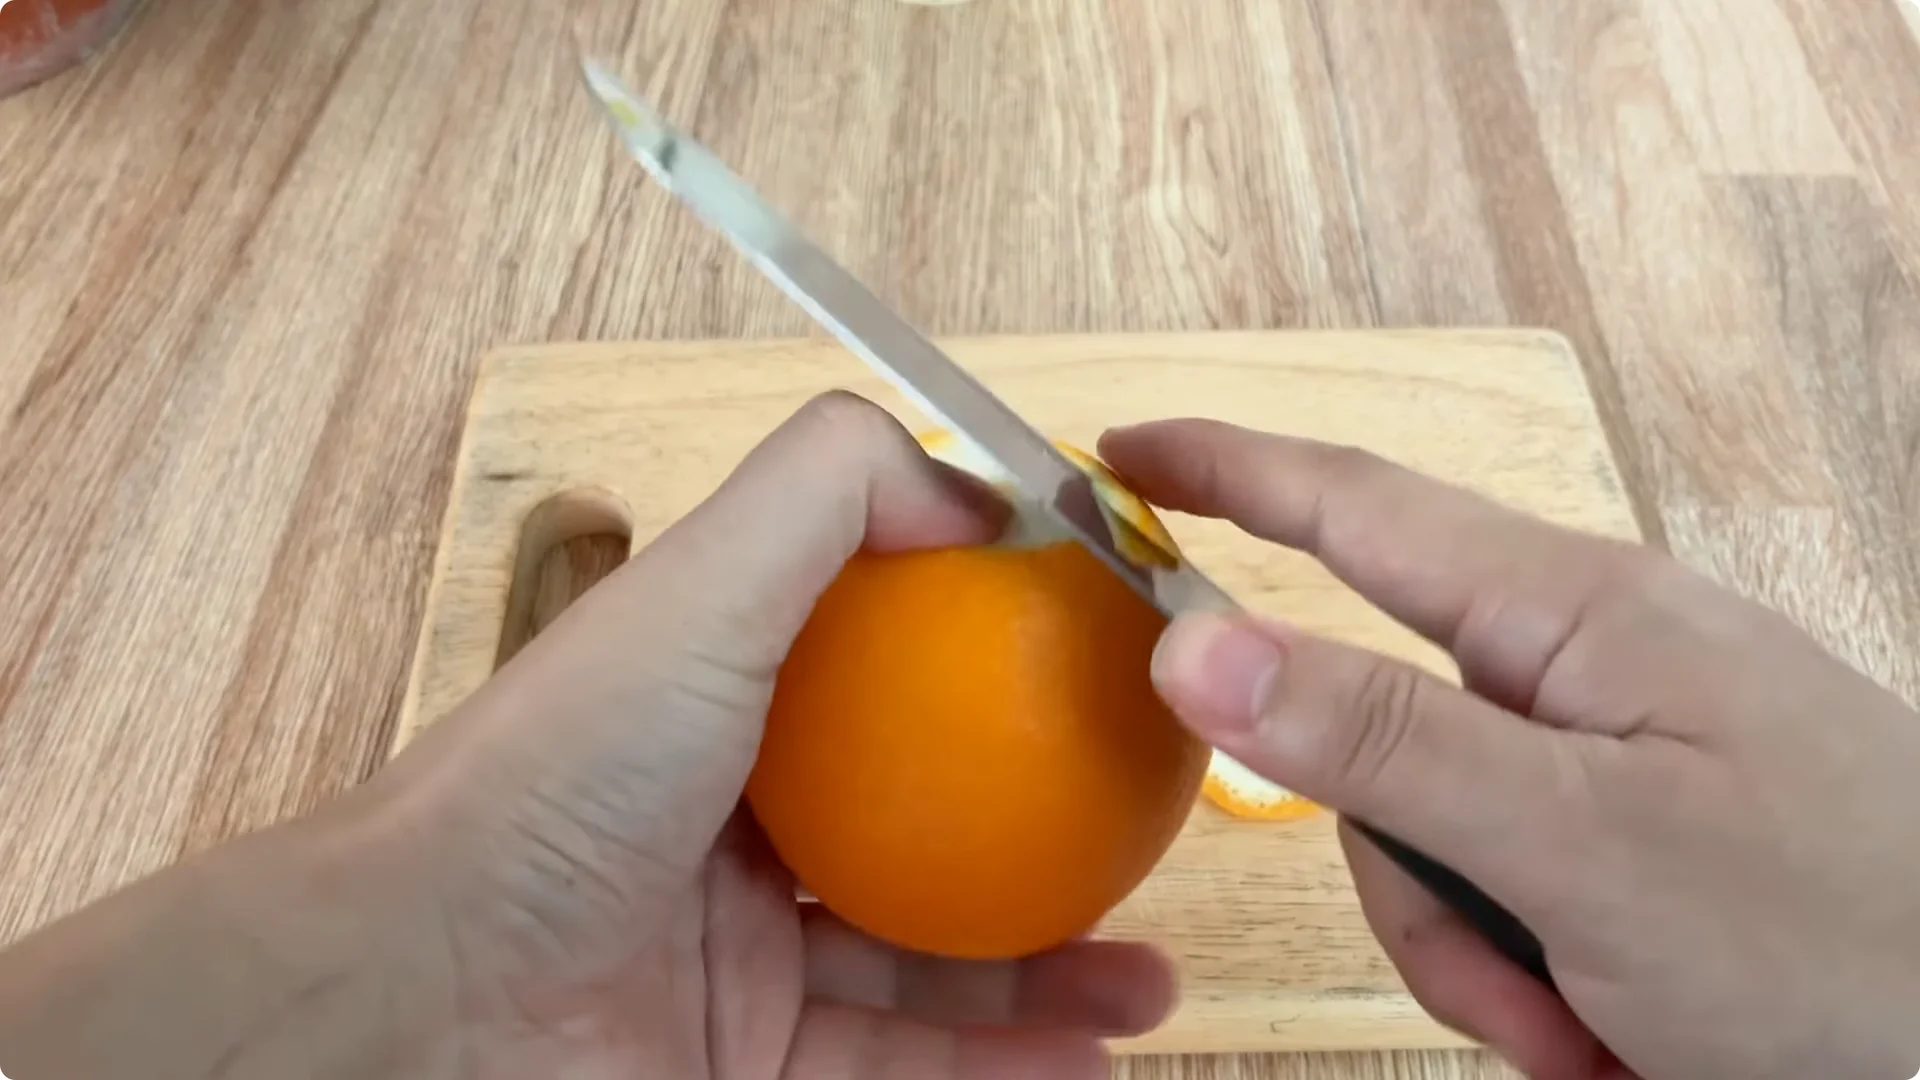
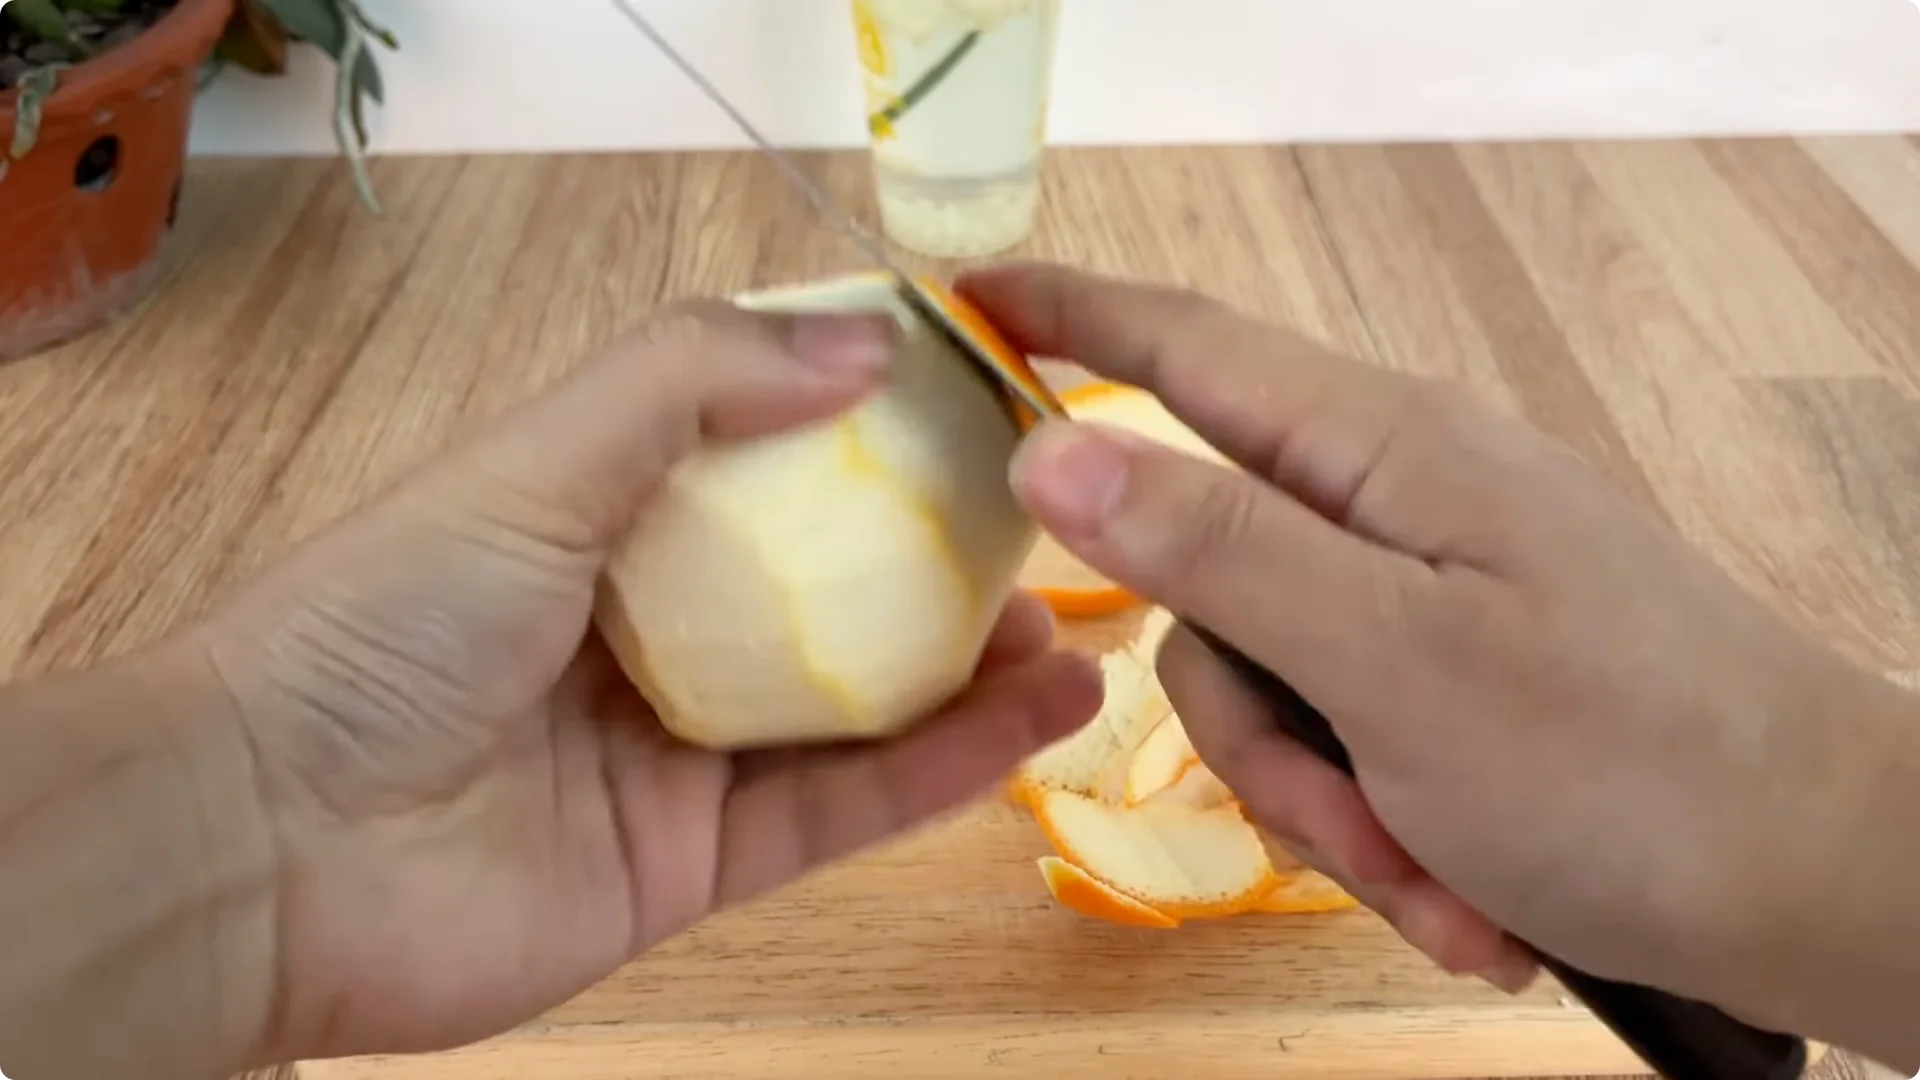
Prepare a second source of nutrients: orange peel combined with bread. Take a fresh orange, wash it, peel it, then cut the peel into small pieces and put it in a clean plastic cup.
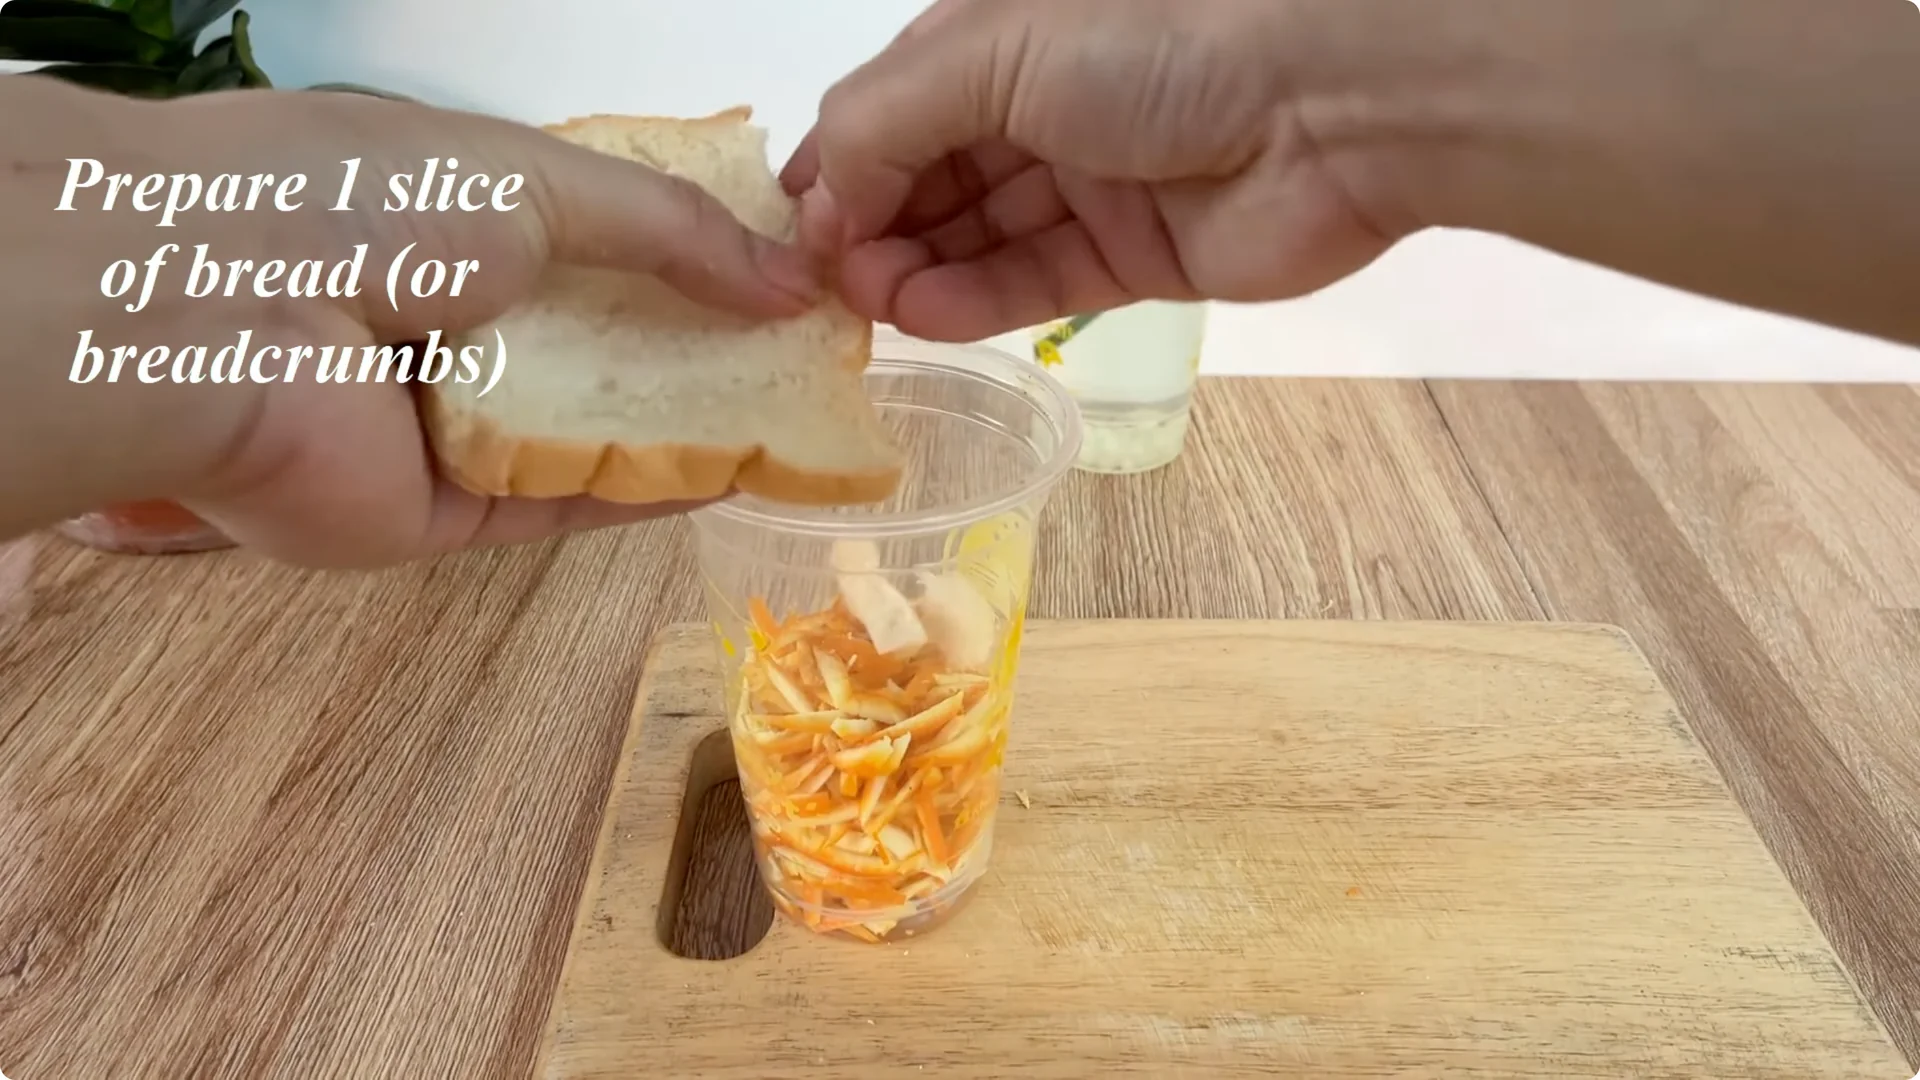
Orange peel is rich in vitamin C, essential oils, and organic acids that help fight bacteria, increase the resistance of the cuttings, and at the same time stimulate the growth of root tissue. Prepare a slice of bread or breadcrumbs.
Break the bread into small pieces and put it in with the orange peel. Bread contains carbohydrates and a small amount of protein, and when soaked in water, it will create a very mild microbial environment supporting the formation of natural hormones that stimulate roots.
Add 500 ml of warm water, stir well, and let it sit for 30 minutes to dissolve the active ingredients.

4. Create the Moist Substrate – Onion Assisted Rose Propagation
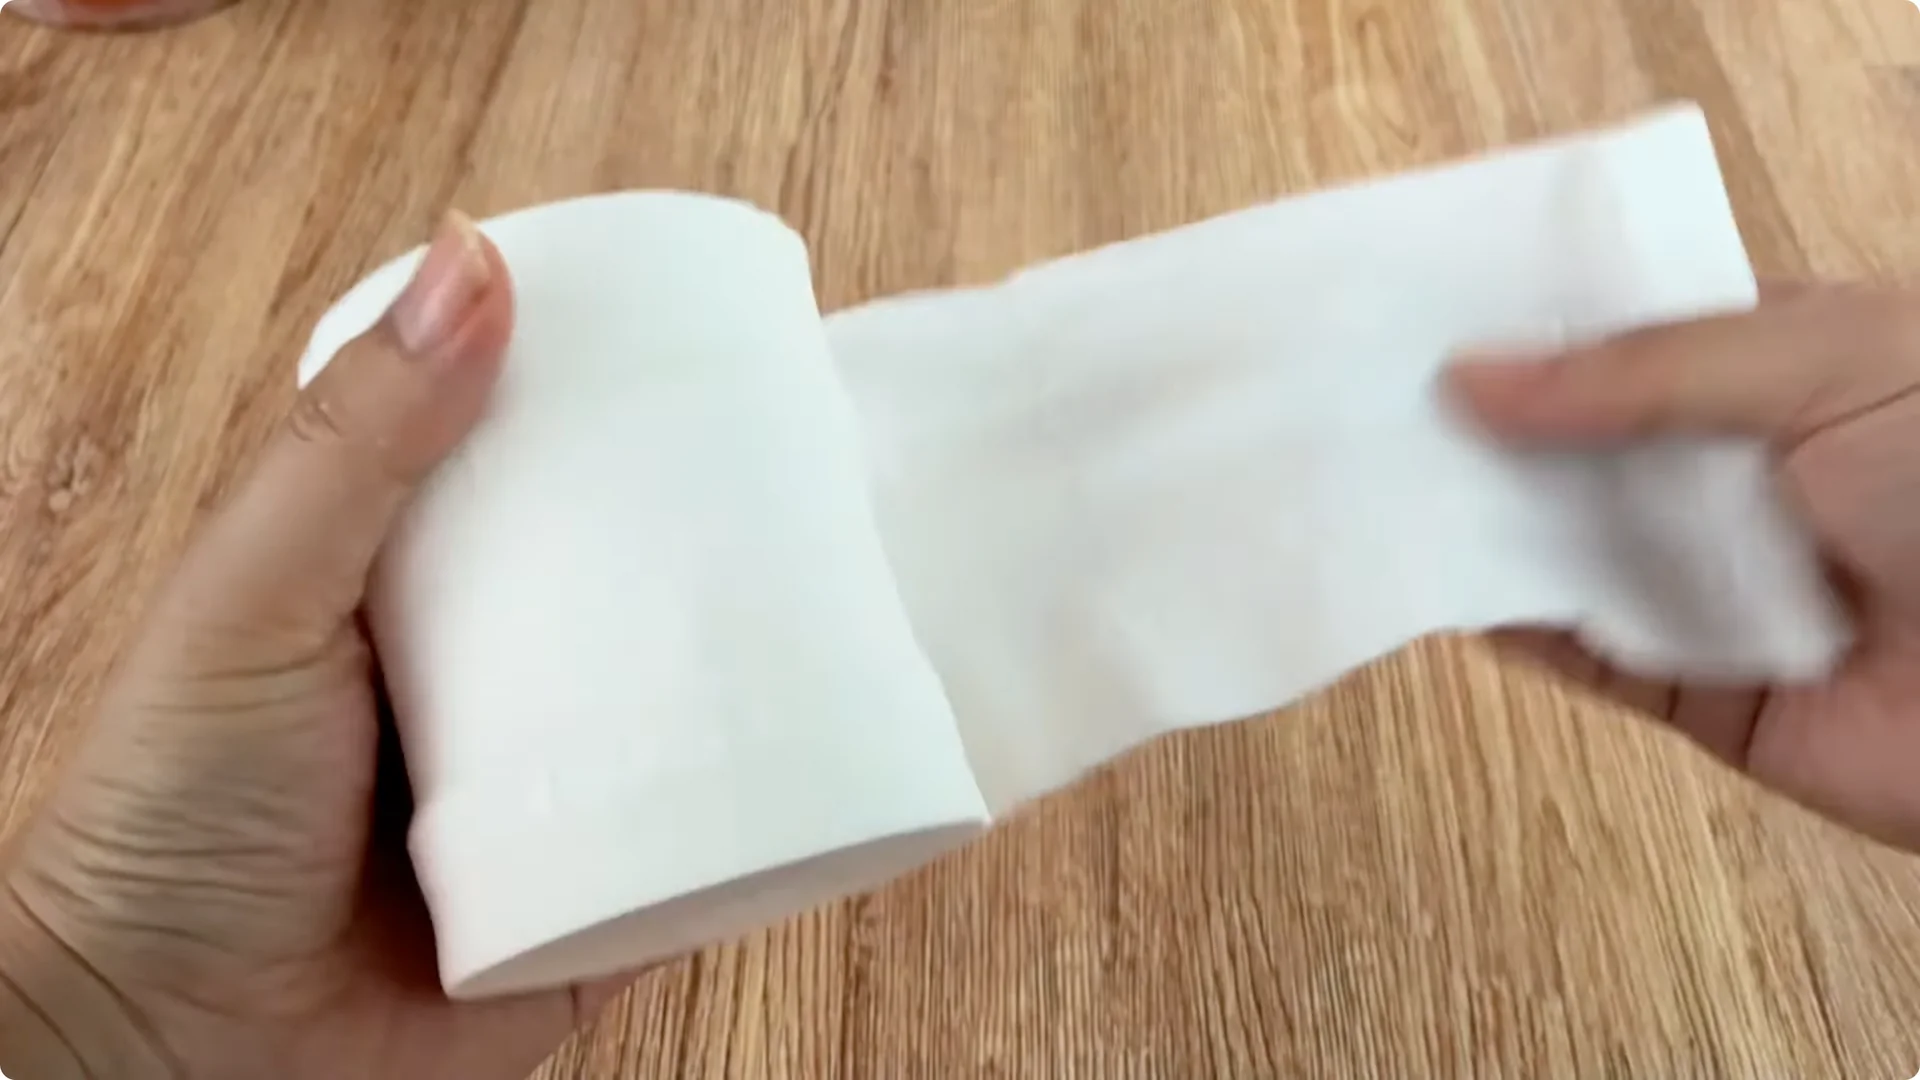
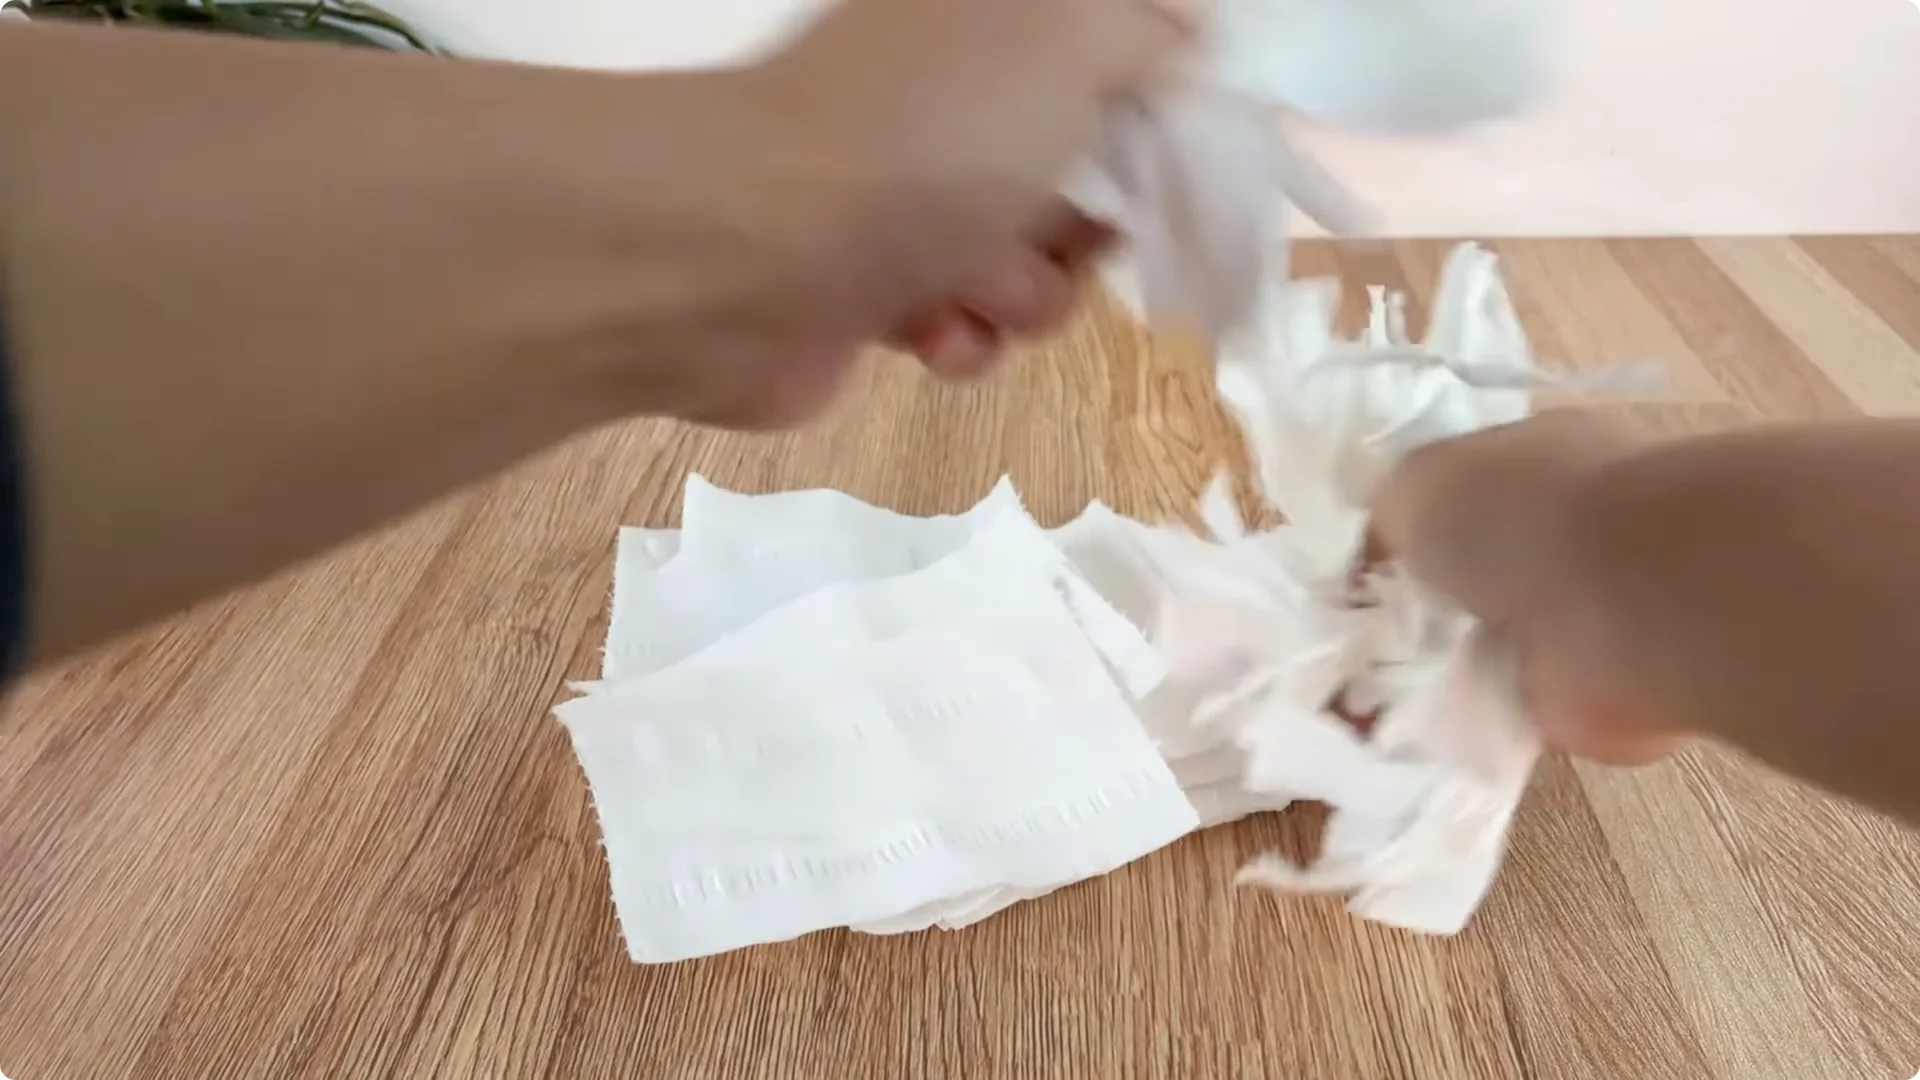
Prepare another clean plastic cup and tear up some soft toilet paper and put it in the cup. When the toilet paper is soaked in the solution, it will create a layer of moist, light, and airy substrate.
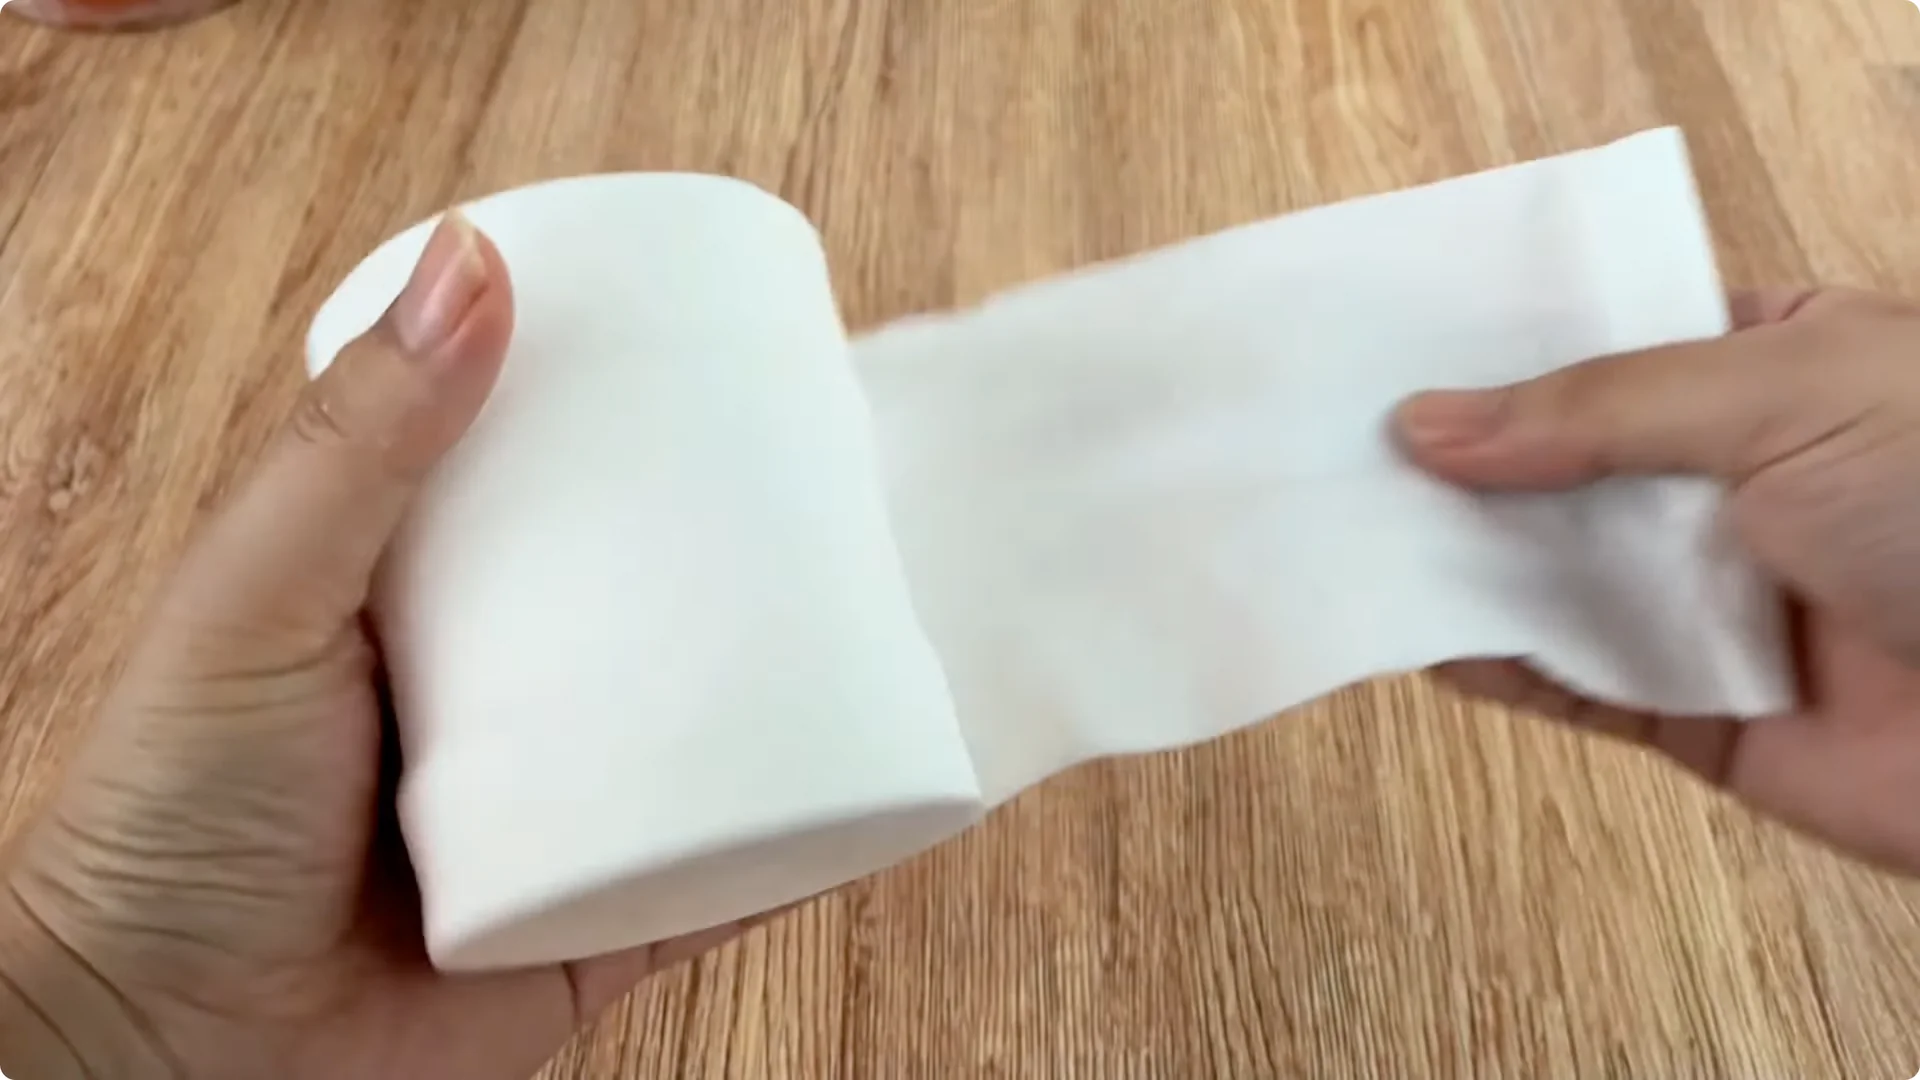
This is the ideal environment to maintain moisture for the base of the branch without causing waterlogging.
5. Assemble and Plant – Onion Assisted Rose Propagation
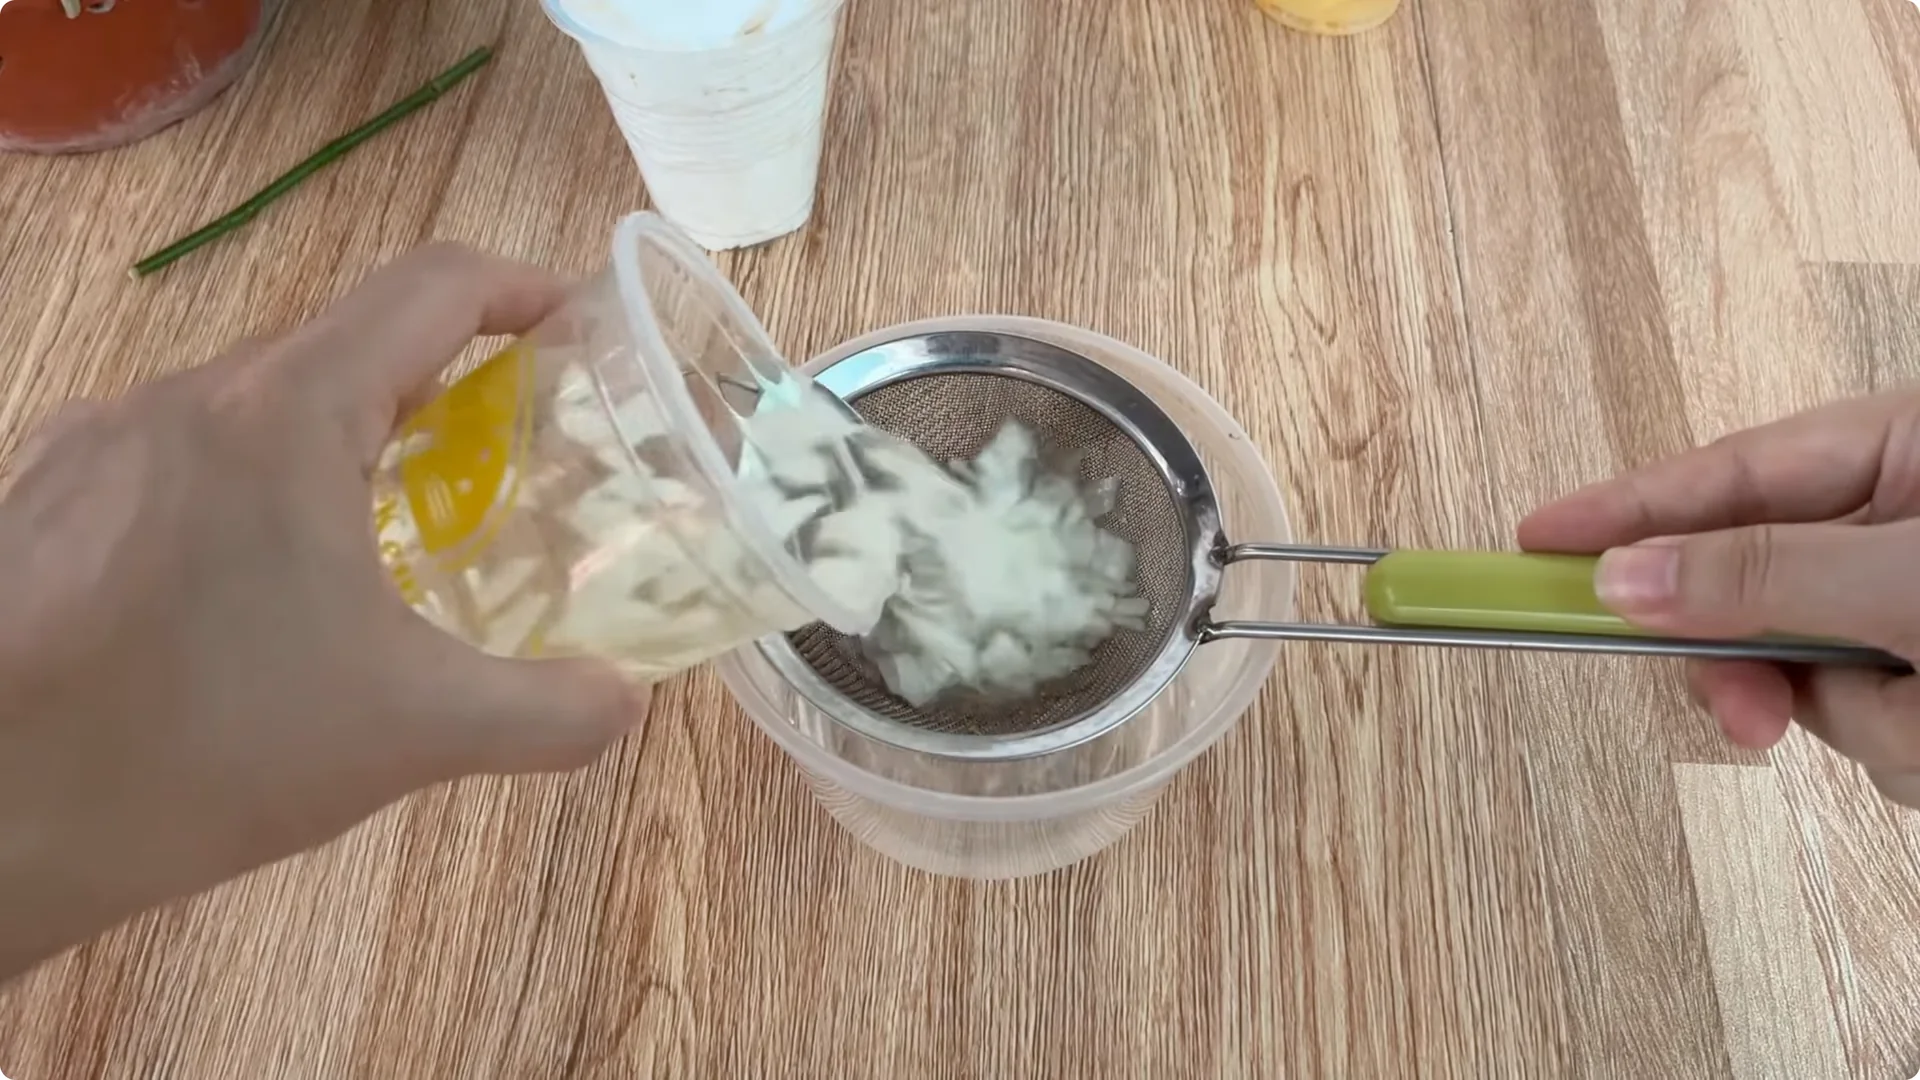
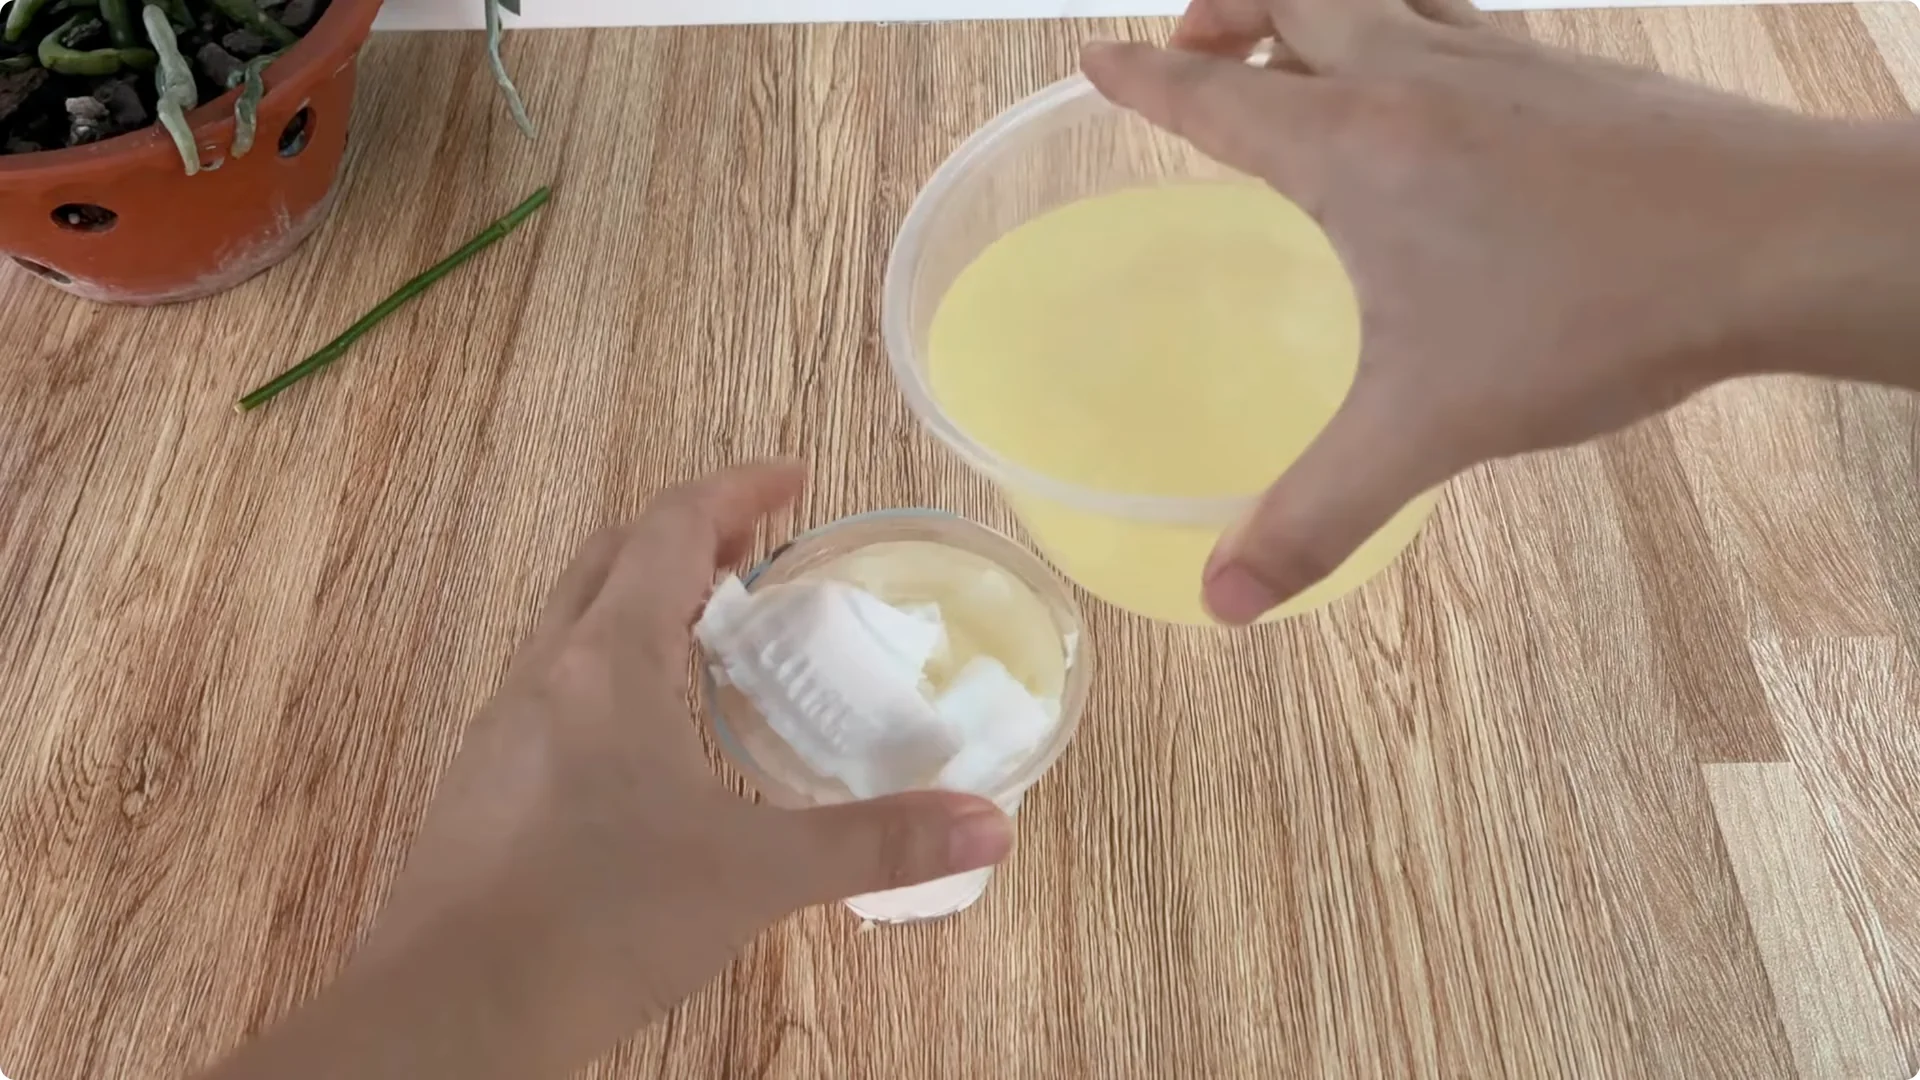
When the flower branch has soaked for enough time, take the branch out of the onion solution. Filter the onion solution and the orange peel – bread solution separately, then mix these two solutions together to create a powerful root stimulant mixture from two sources of organic nutrients.
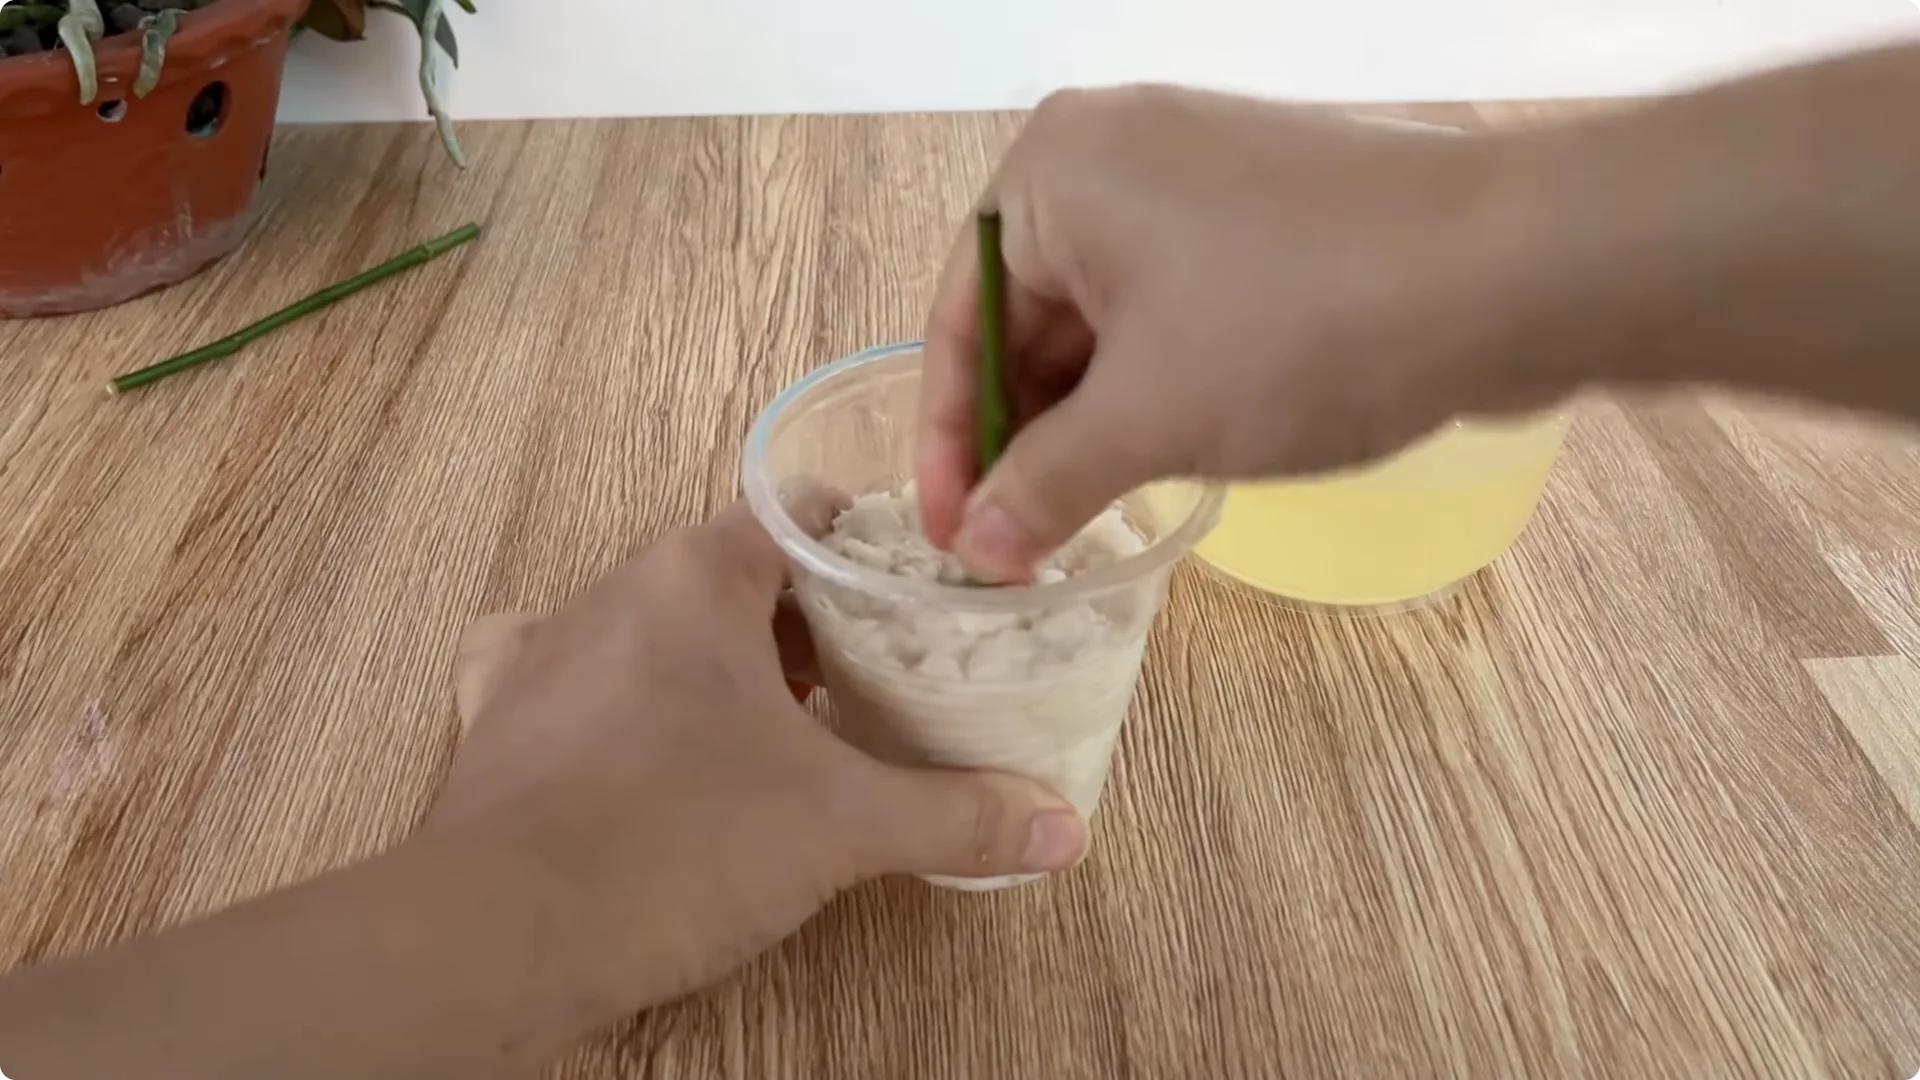
Pour the resulting mixture into a paper cup until the paper is evenly soaked. Press gently to remove excess water, keeping the humidity moderate so that the flower base does not get waterlogged.
Use a small stick to make a hole in the middle of the paper cup, then place the rose branch in this hole and press lightly to fix it.

6. Maintain Humidity and Placement – Onion Assisted Rose Propagation

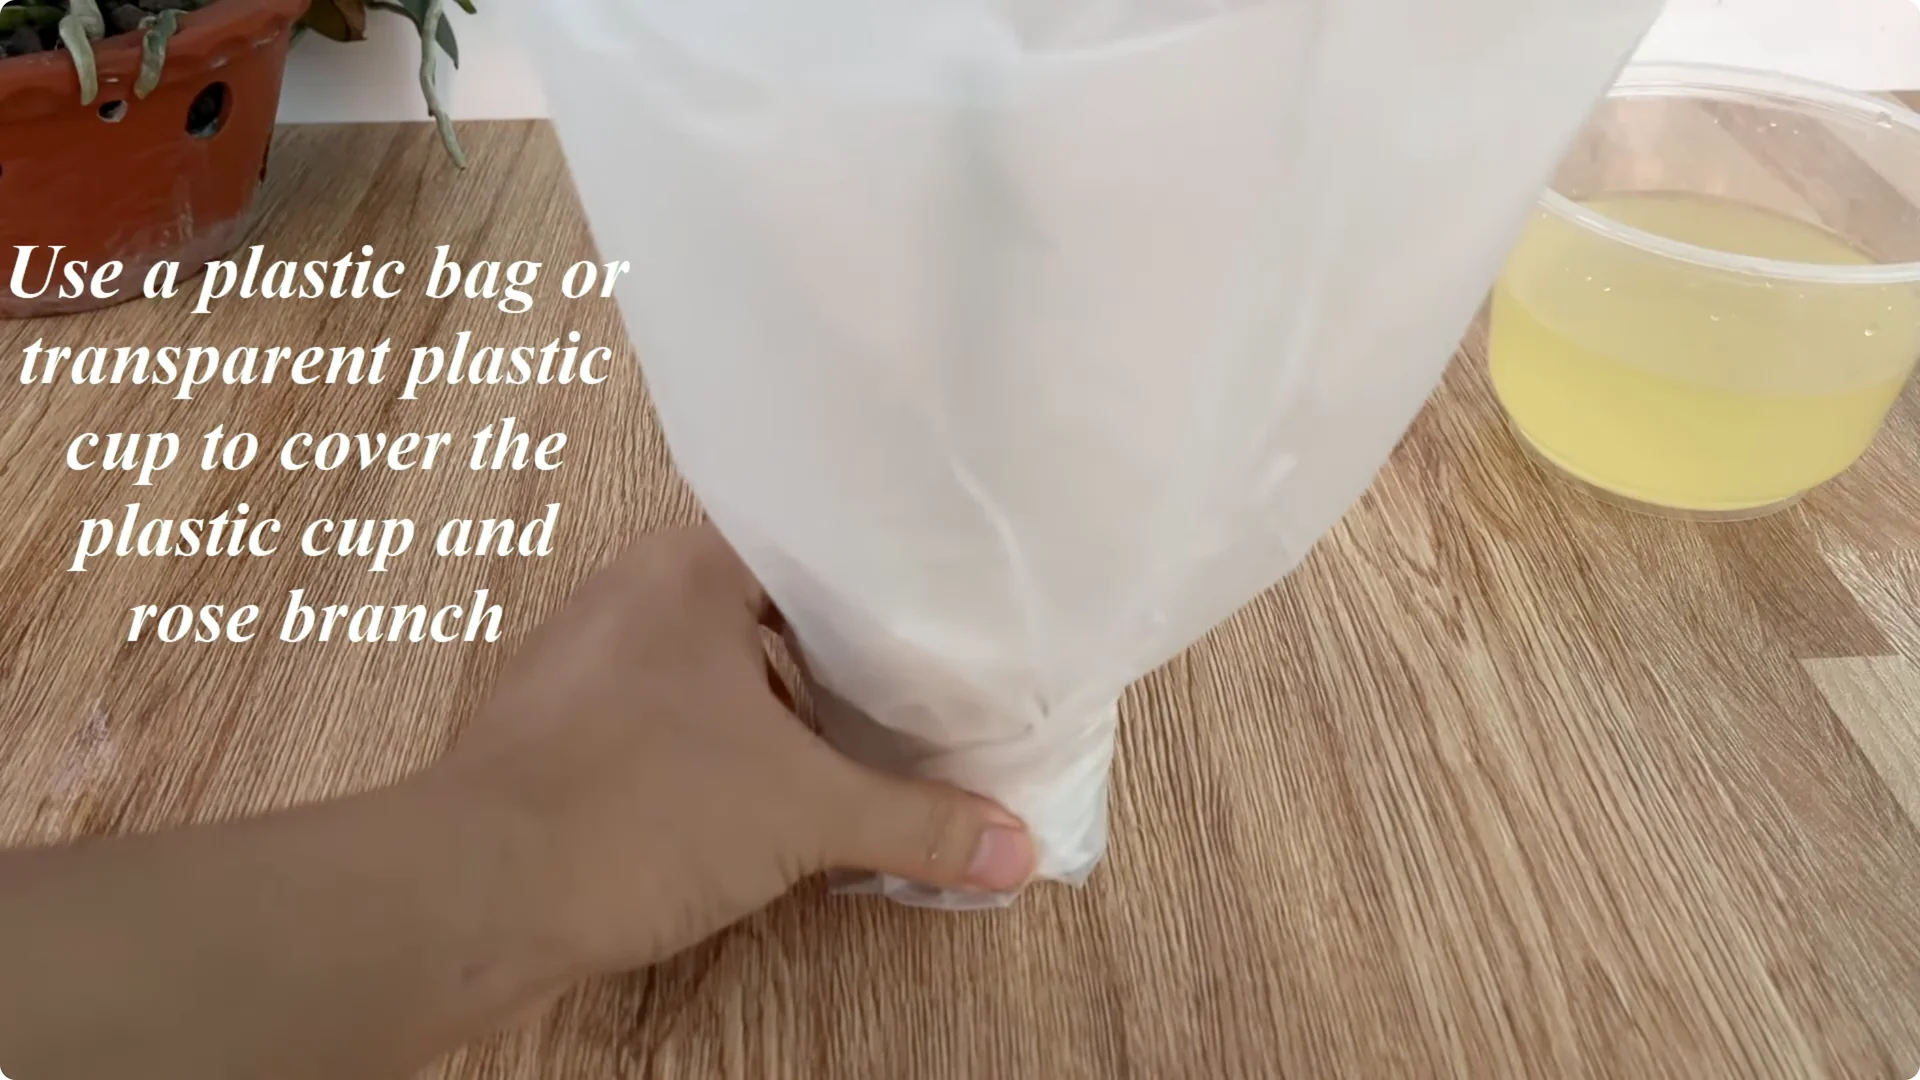
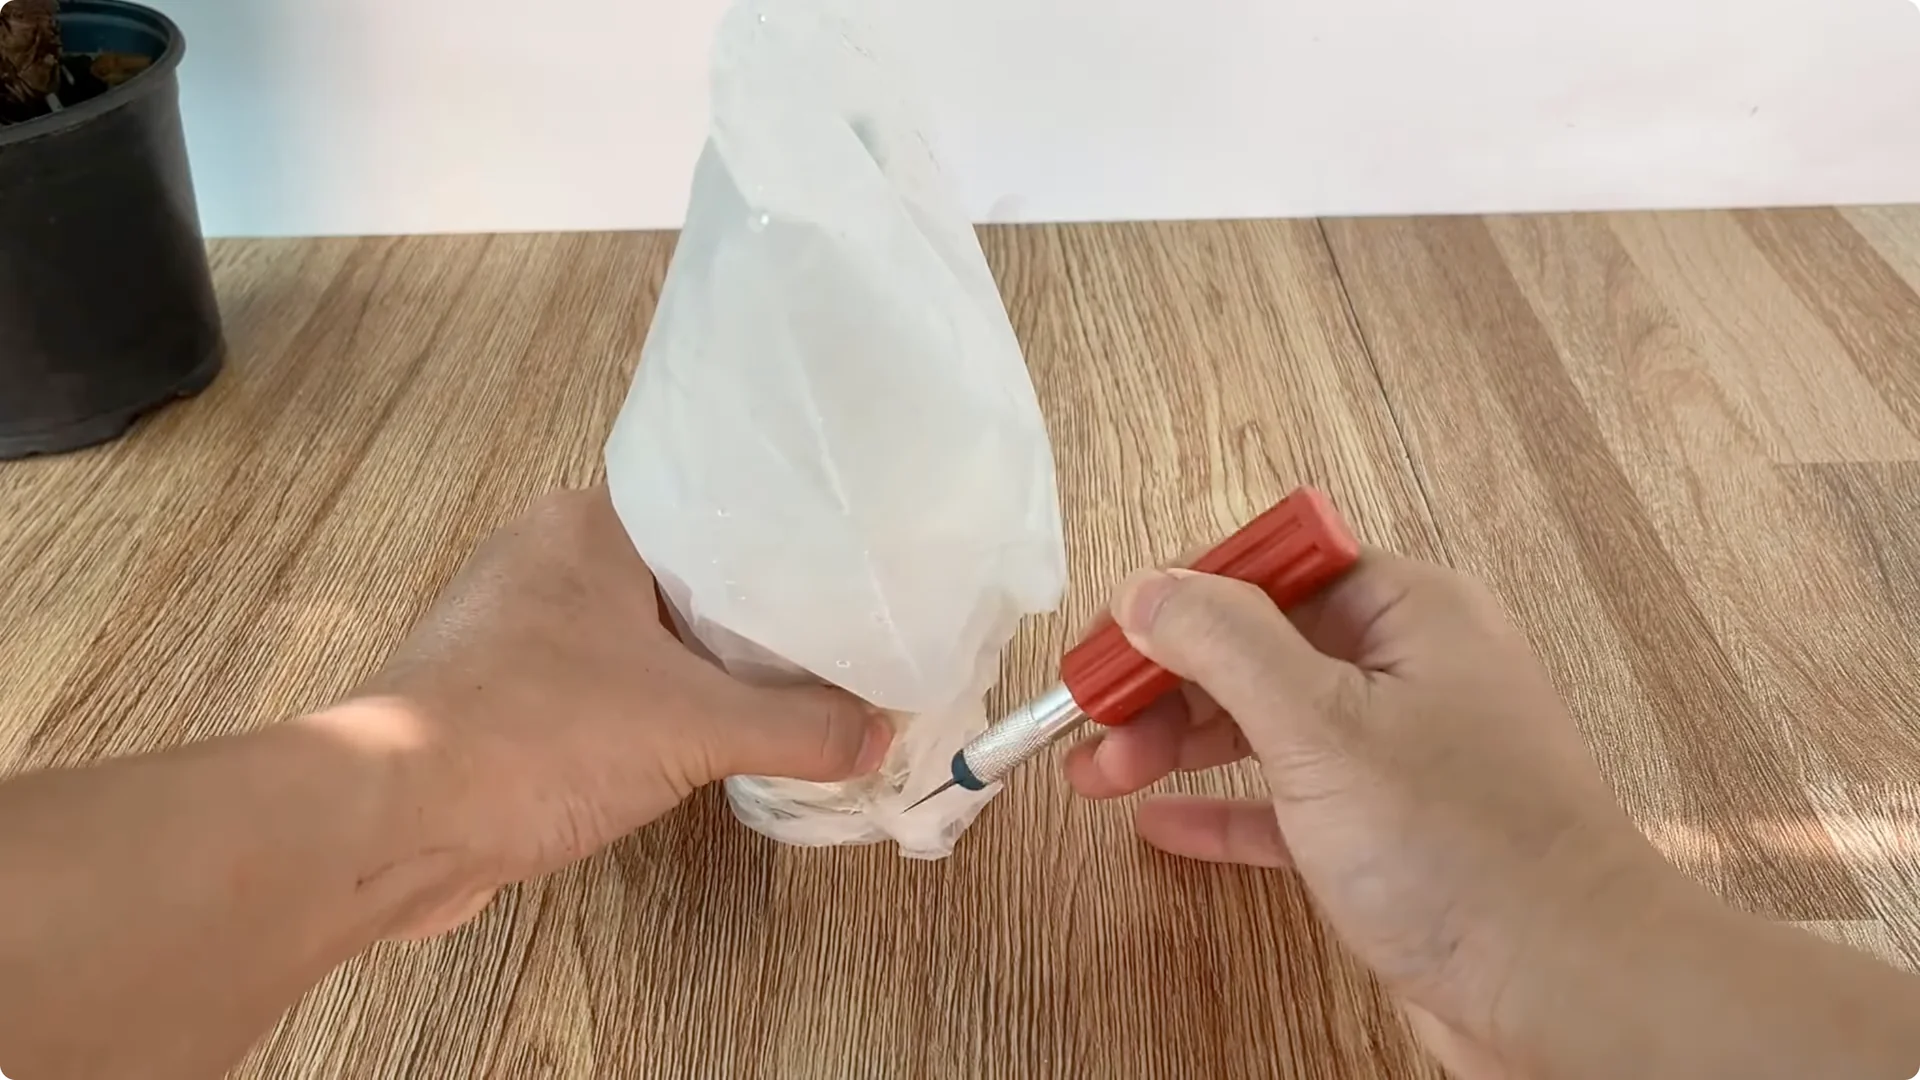
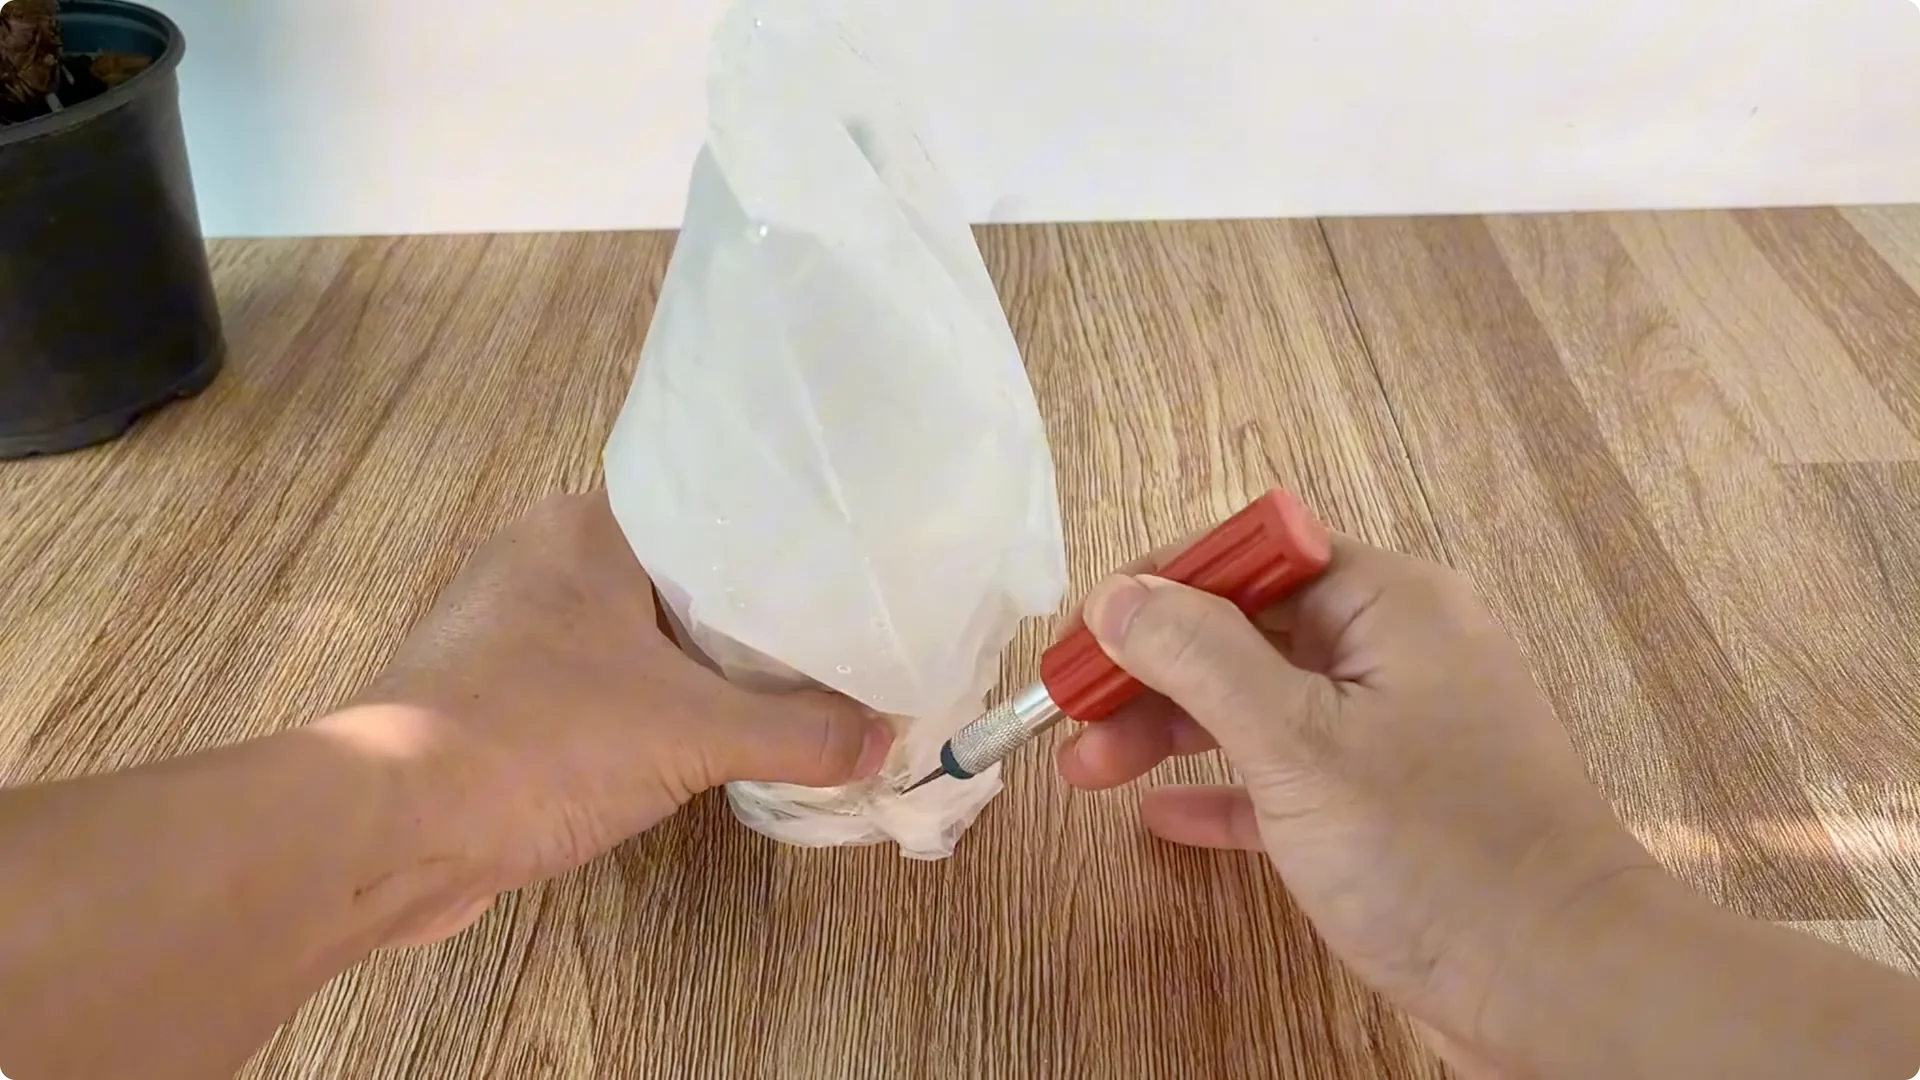
Use a plastic bag or transparent plastic cup to cover the mouth of the cup to create a humid micro-environment. This helps the flower branch limit water evaporation and maintain stable humidity, thereby promoting the regeneration of root tissue.
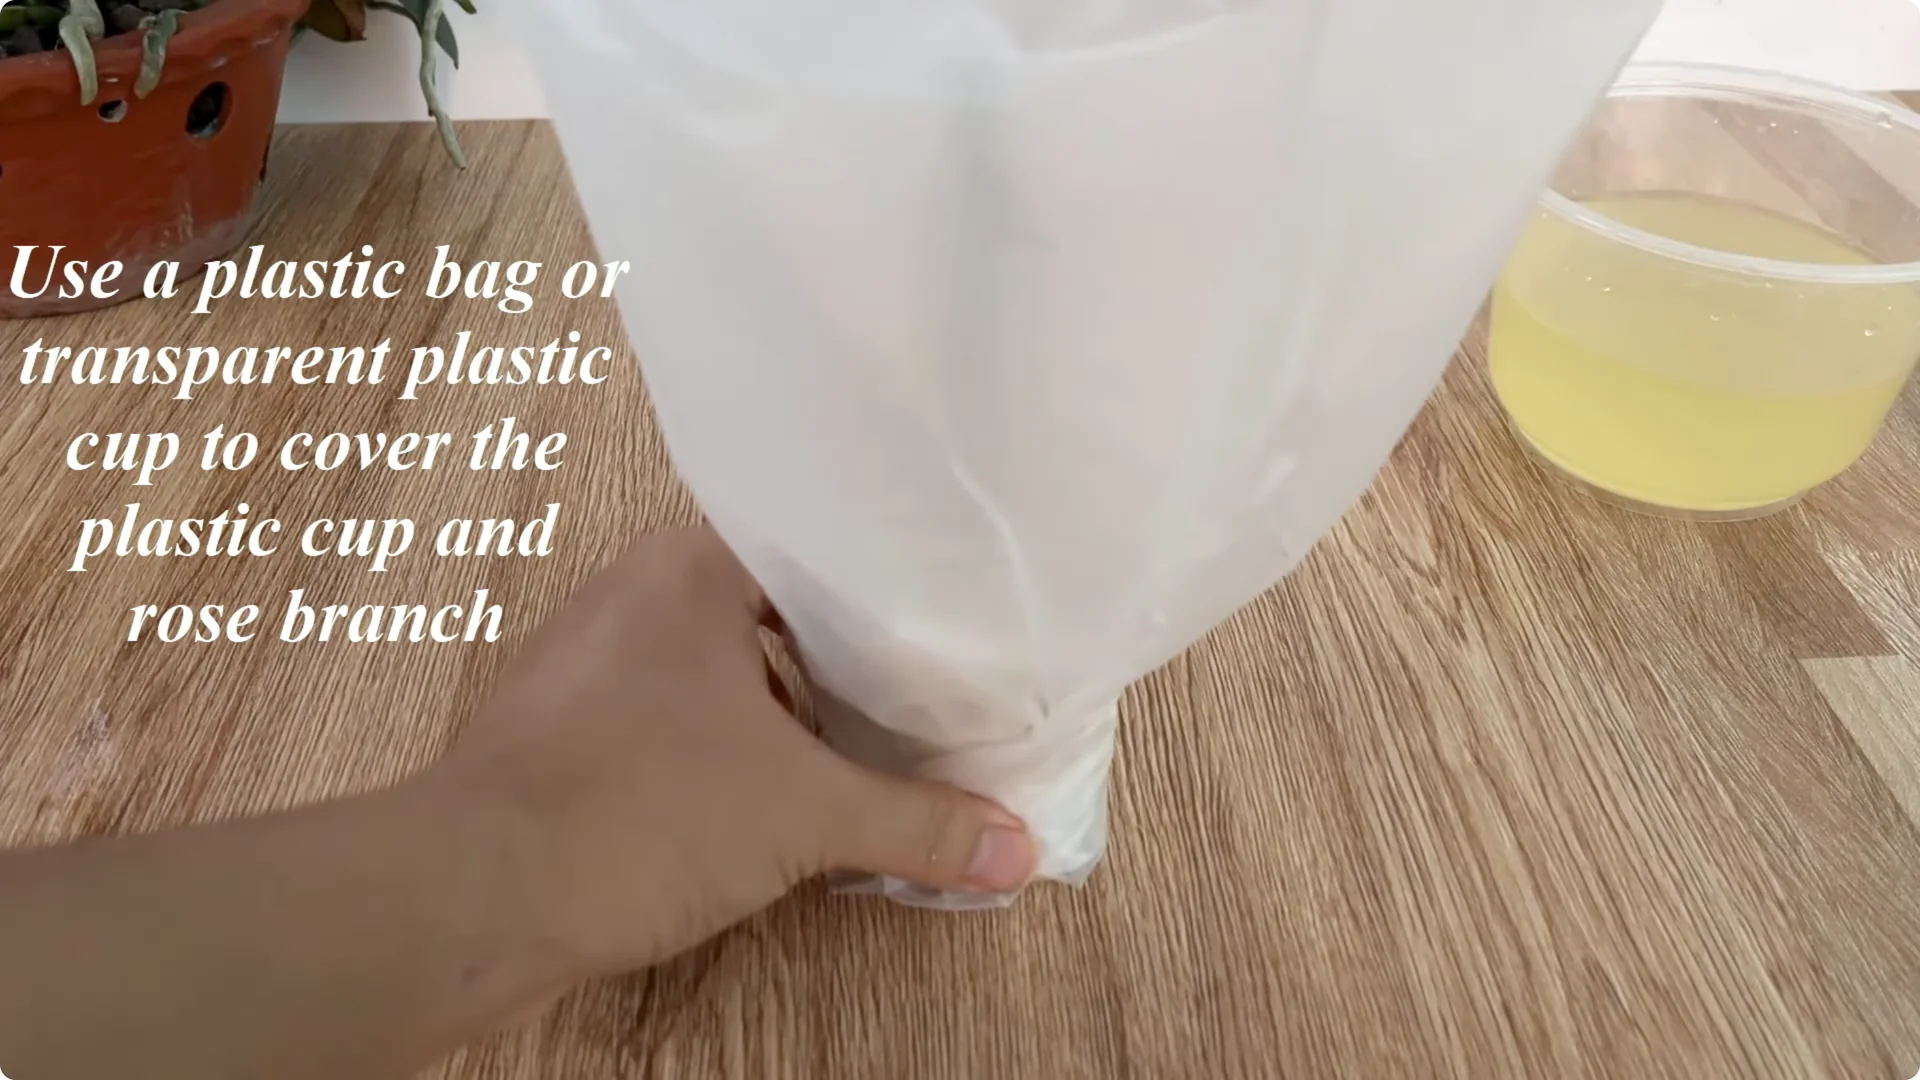
Place the cup in a cool, well-ventilated area, away from strong winds and direct sunlight.
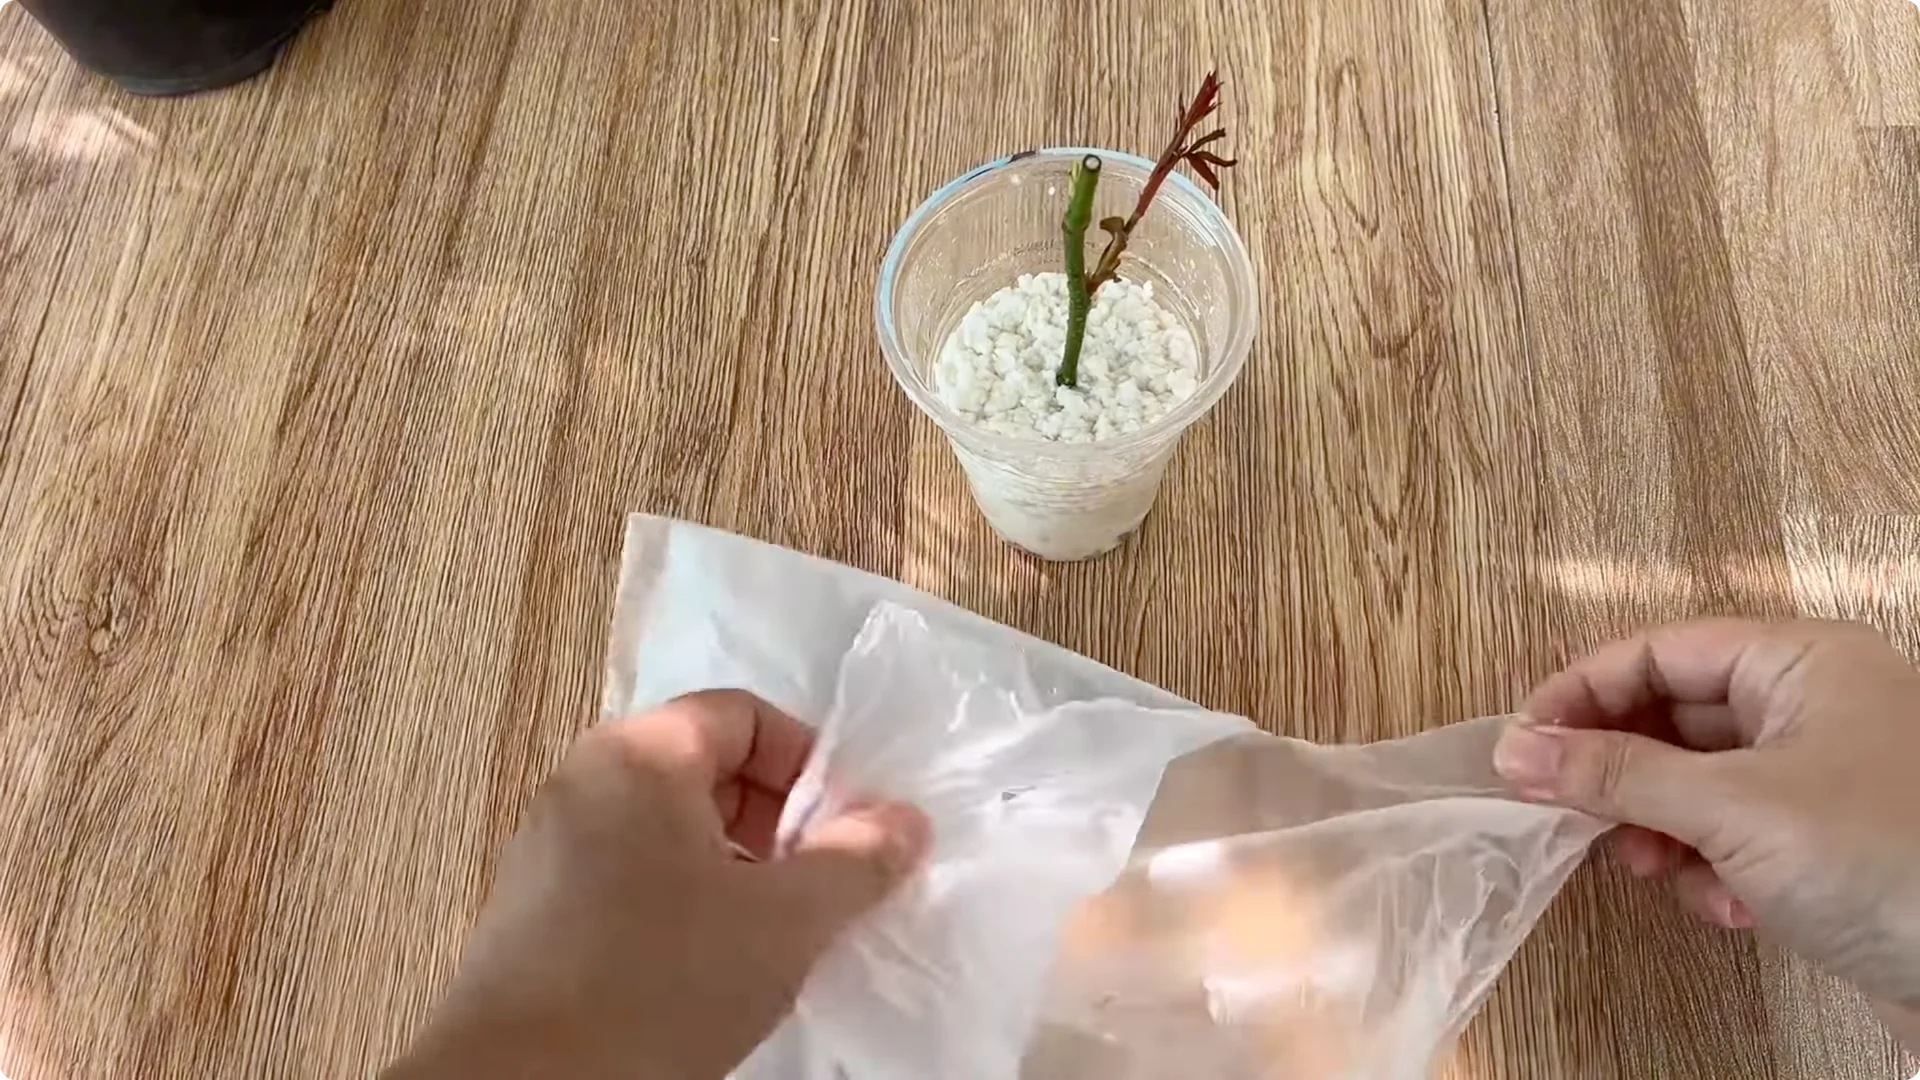
7. Rooting Timeline and Signs – Onion Assisted Rose Propagation
After about 10 days, you will see many new, white, and succulent roots appear around the base of the branch. At the same time, new shoots will also start to sprout healthy and green – a clear sign that the method has been successful.
Read More: Simple Method Propagate Roses
8. Potting Up – Onion Assisted Rose Propagation

At this point, you can replant the rose branch in a pot with good drainage. Use river sand as a substrate so that the young roots have space to grow without being compressed or air-tight.
Final Thoughts on Onion Assisted Rose Propagation
When you see the white roots begin to grow and the green buds open, it is not only the result of a technical process but also the result of the patience and meticulous care you have given to the small rose branch. Each soaking step, each time you wipe the branch, and each seemingly simple natural ingredient such as onion, orange peel, or a piece of bread all contribute to nurturing a new life to form.
Propagating roses with such familiar ingredients brings reliable results and gives a sense of closeness, initiative, and excitement in the journey of caring for the plant. When each young leaf opens in the early morning sun, you feel the joy of a gardener: joy in creating new life, in understanding more about how nature works, and in the peace of seeing the plant grow from your own hands. Keep nurturing that passion, because each rose branch you successfully propagate is a gift from nature in return for the dedication and love you have given.