

This method of root stimulation and rose propagation uses three familiar natural ingredients. It is applied by many rose growers because of its safety, high efficiency, and the ability to promote strong shoot and root development in a short time.
Choose a healthy rose branch, free of pests, mold, or black rot. A standard branch will have a sturdy stem, slightly dark green, not too soft like a young branch but not completely woody.
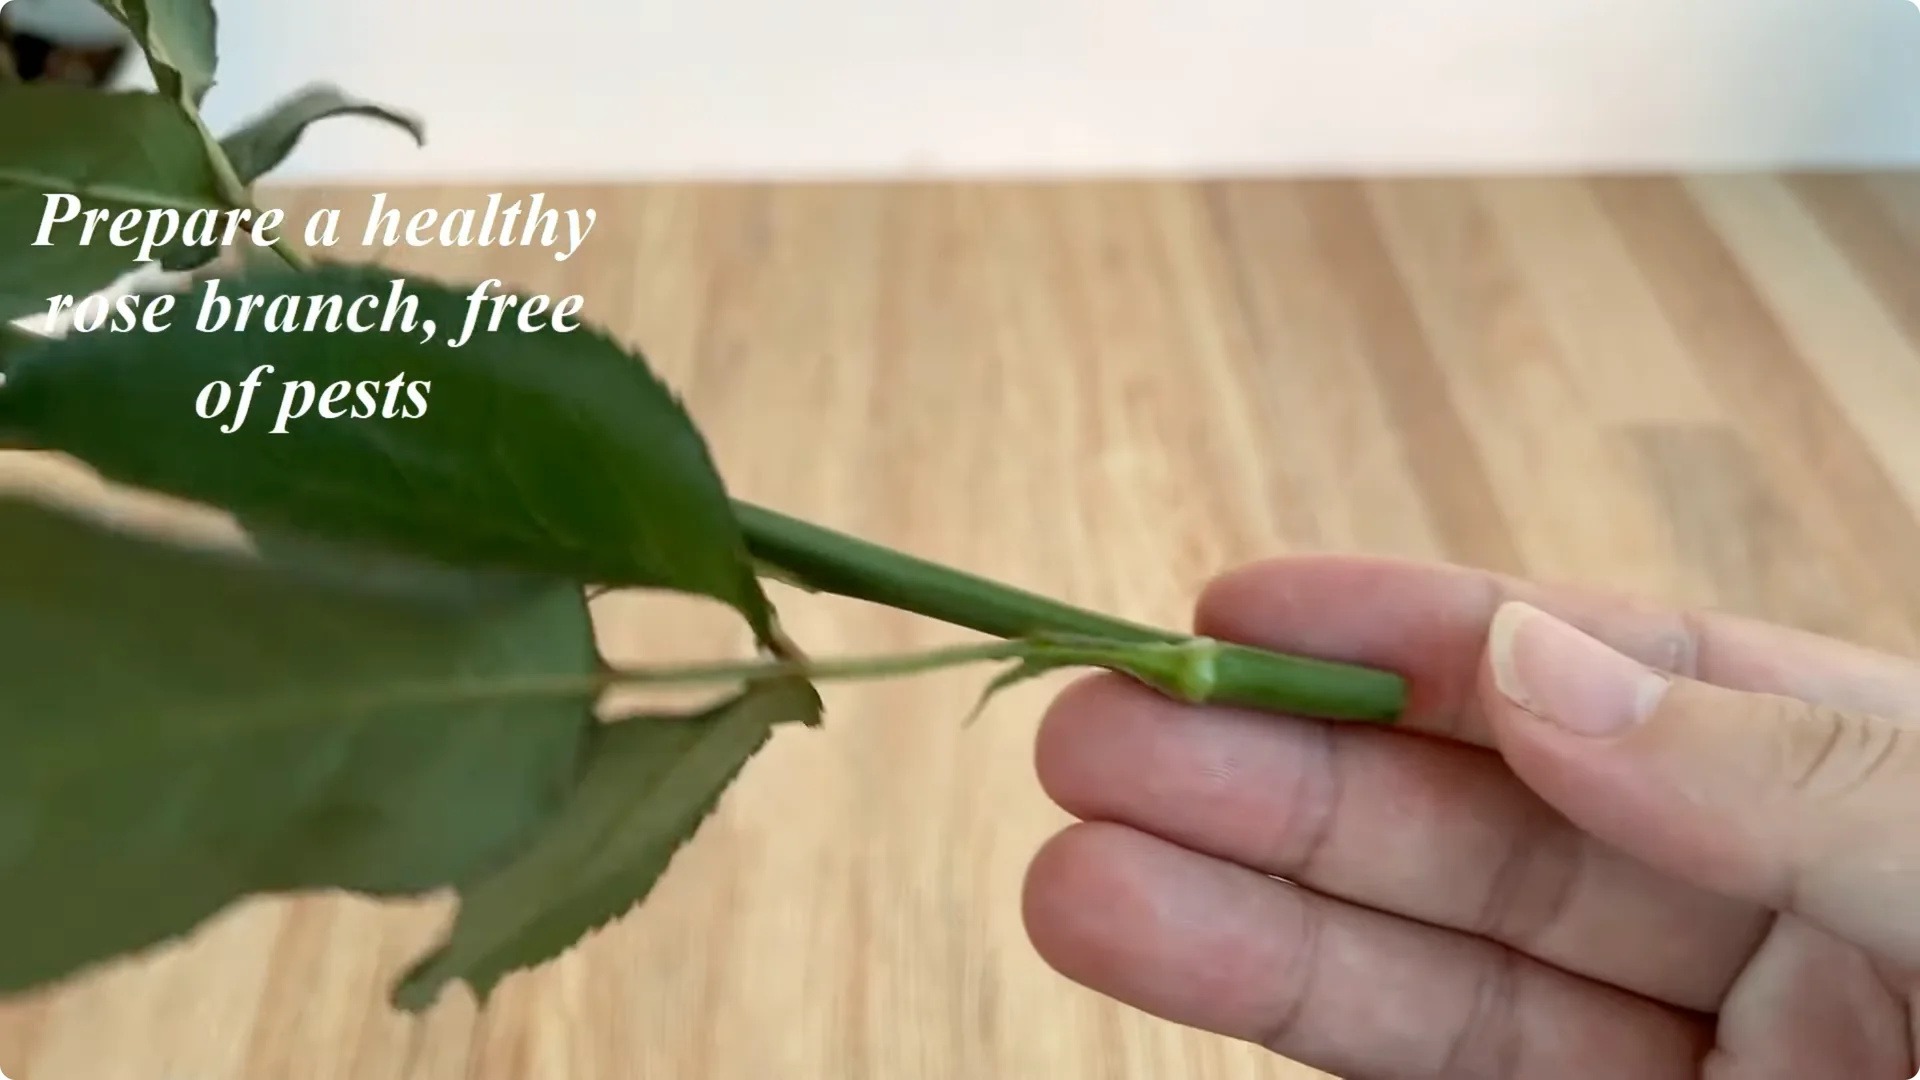
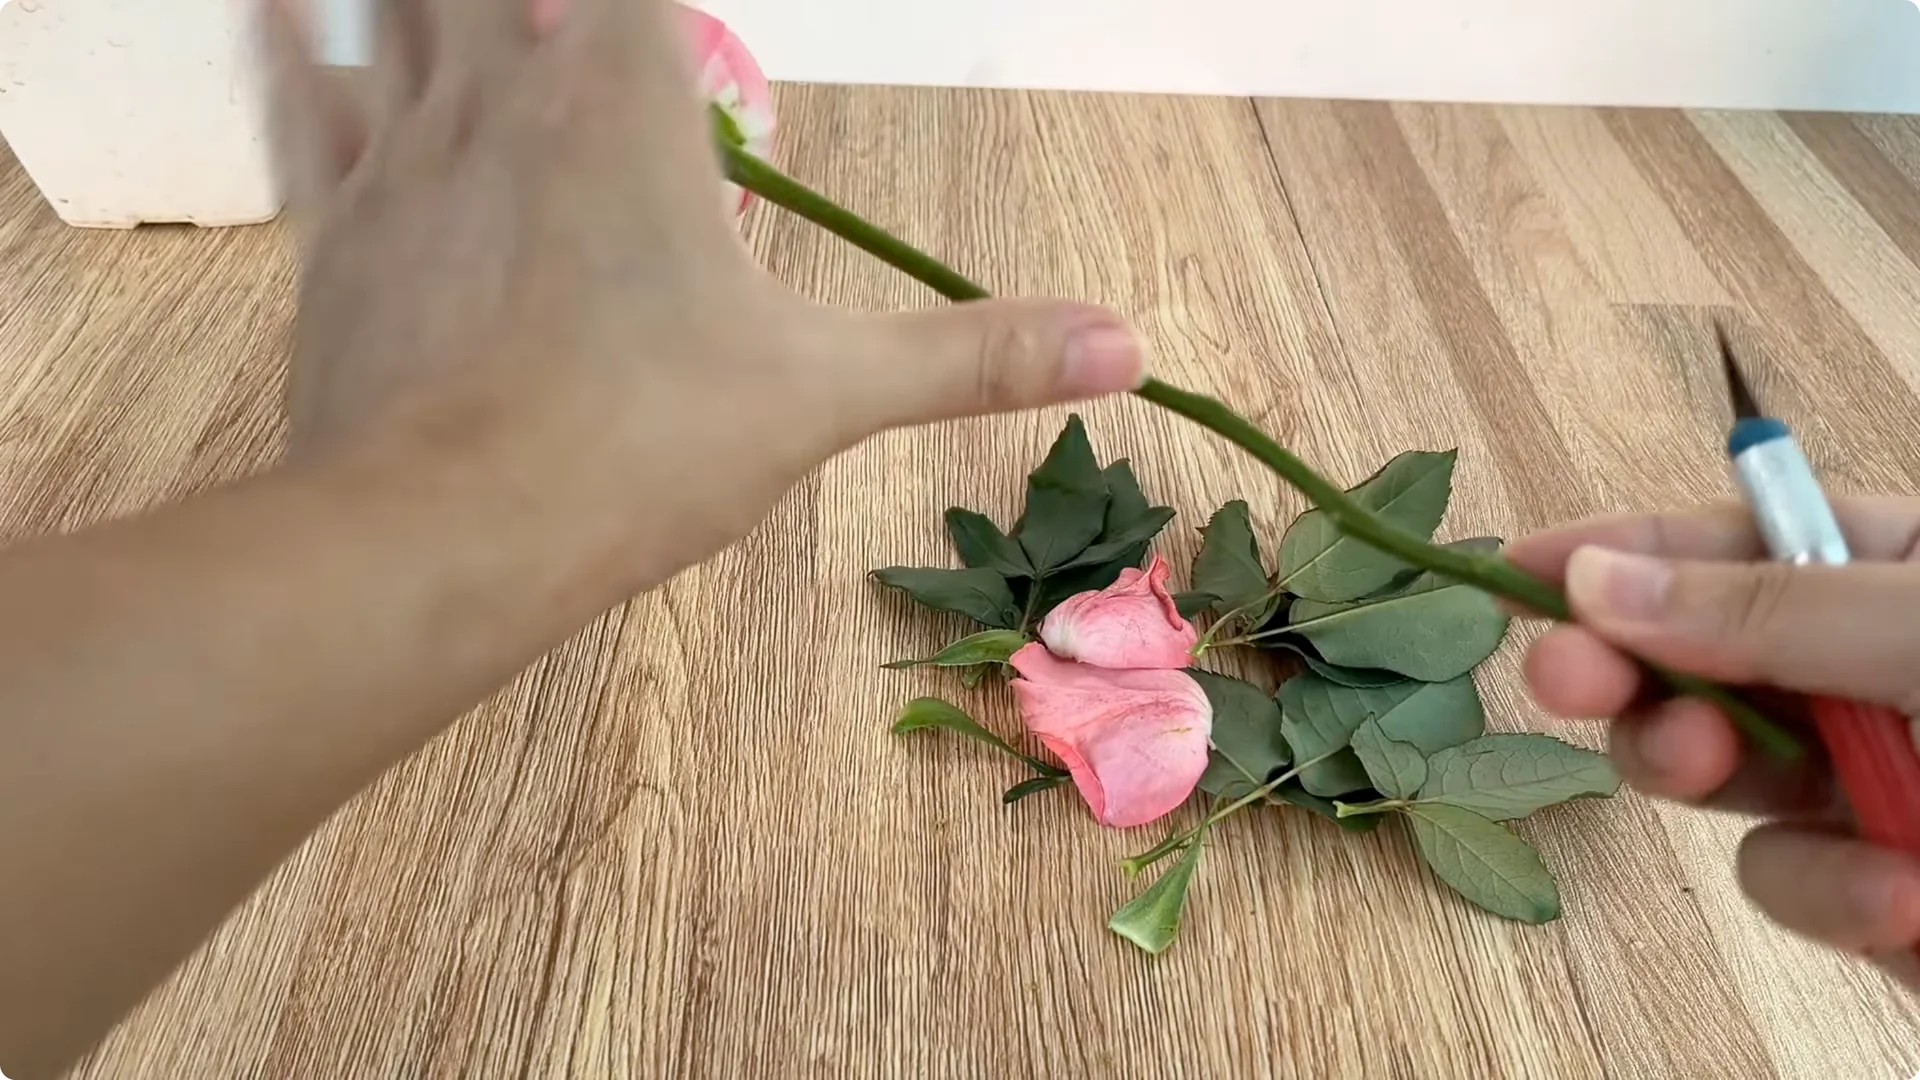
Once you have chosen a satisfactory branch, cut off all the leaves, sharp thorns, and old or wilted petals. This helps reduce water evaporation, preventing the branch from losing strength before it has time to sprout.
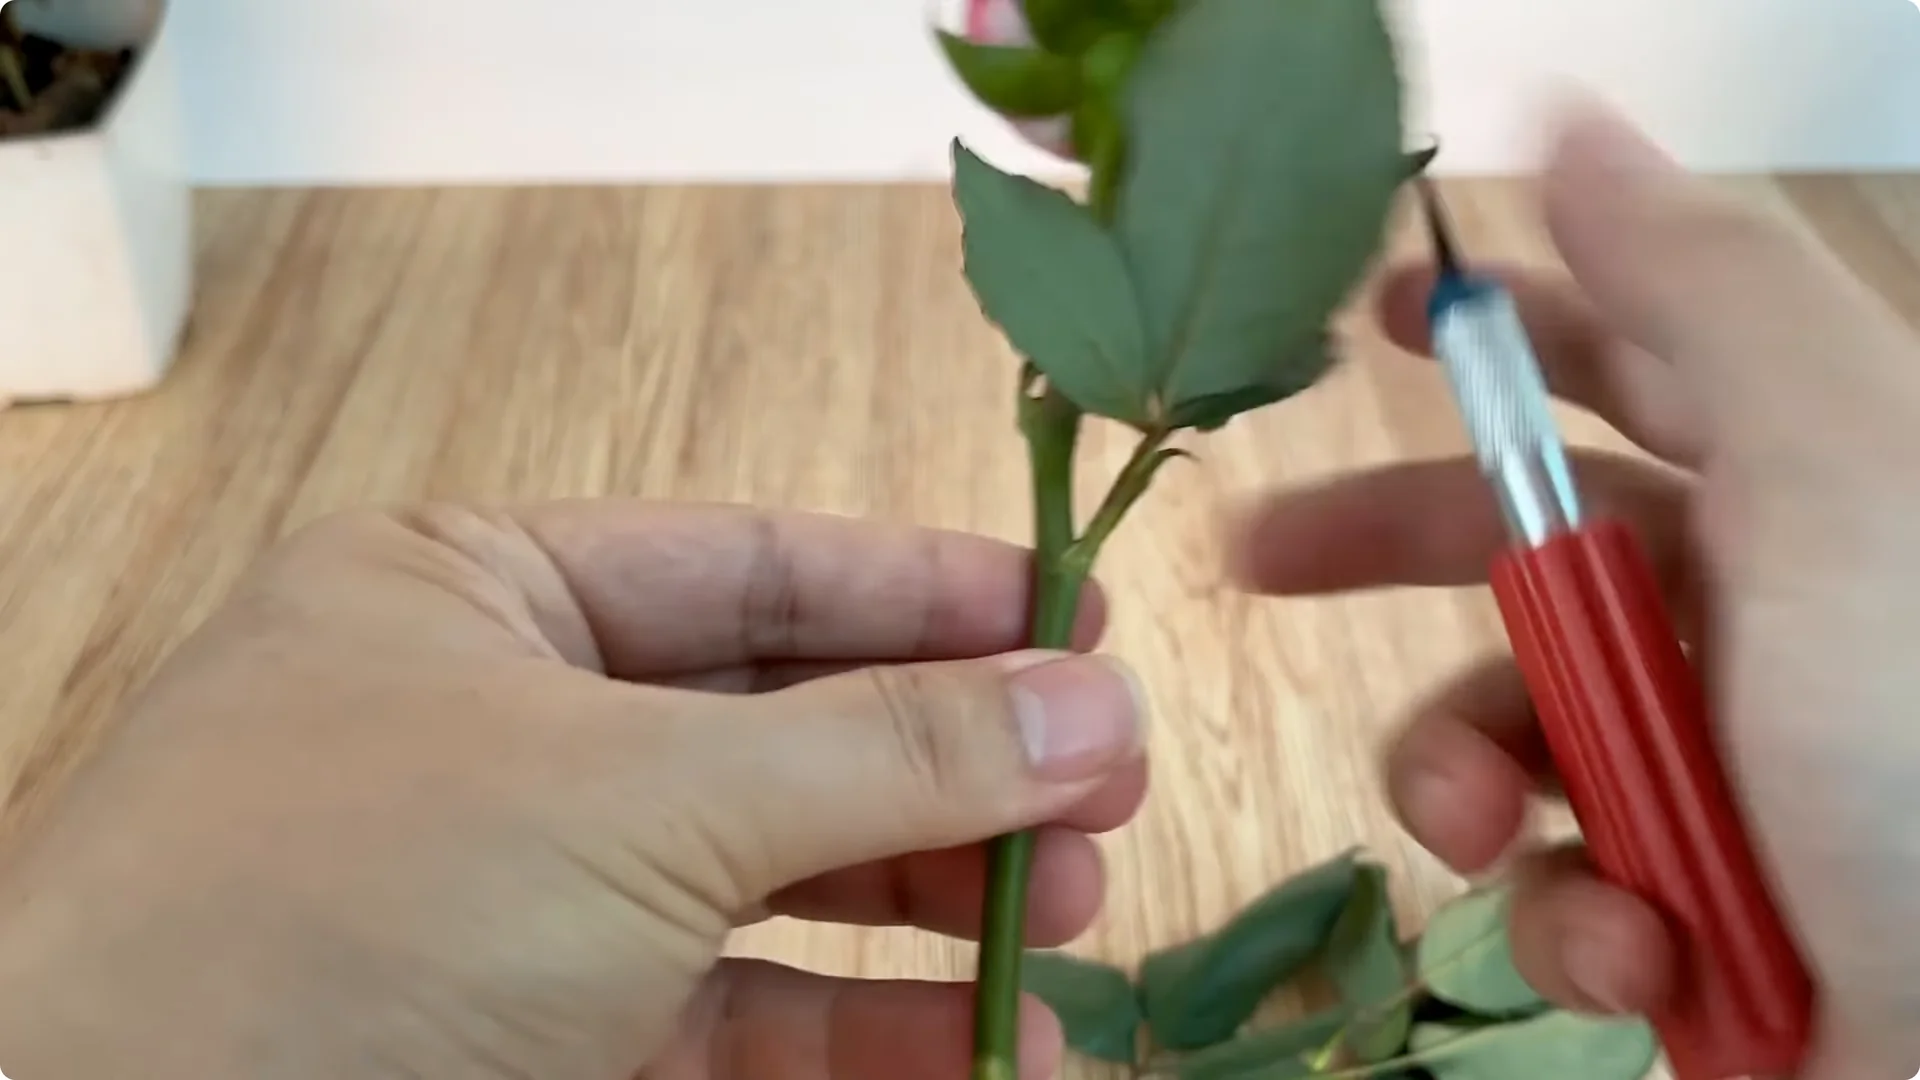
Cut the flower branches to a length of about 15 to 20 cm. This is the ideal size to ensure a balance between the ability to nourish the tissue and the speed of new root formation.
1. Getting started with Rooting Rose Cuttings
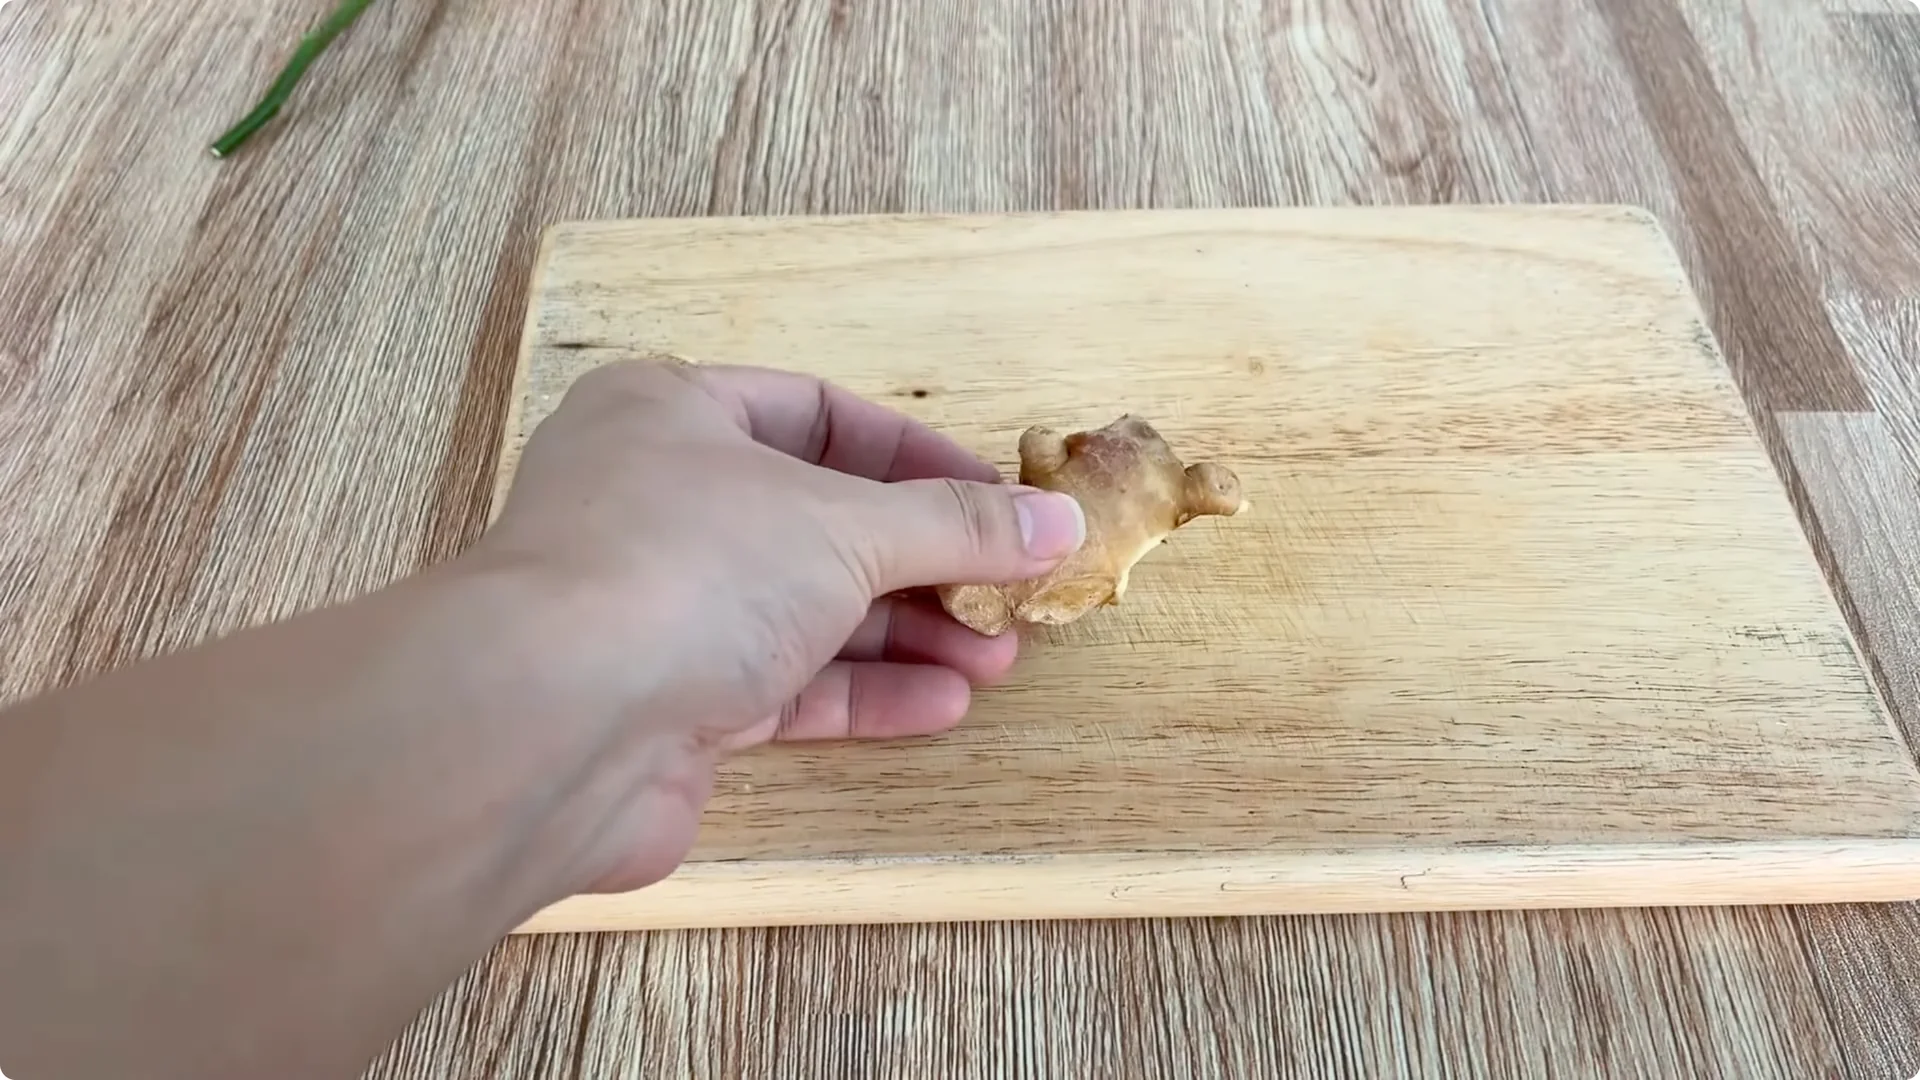
Prepare 10 grams of fresh ginger, wash it, and chop it. Ginger contains many biological active ingredients such as gingerol and shogaol, which have natural antibacterial properties helping to clean the surface of the branches and protect young tissue from fungal attacks.
Put the ginger in a clean plastic cup with 500 ml of water and stir well so that the ginger releases nutrients into the water. Once the solution has mixed, use a soft, clean cloth dipped in ginger water and wipe the entire flower branch, especially the cut areas where plant tissue is vulnerable.
After wiping thoroughly, put the flower branches in the cup of ginger water and soak for 15 minutes. This is a pre treatment step to help disinfect and stimulate the activity of the cambium layer at the bottom of the branch.
For a simple cup based booster that supports rooting and blooming, see a one cup method that helps rose branches root and bloom.
2. Carrot and rice mix for Rooting Rose Cuttings
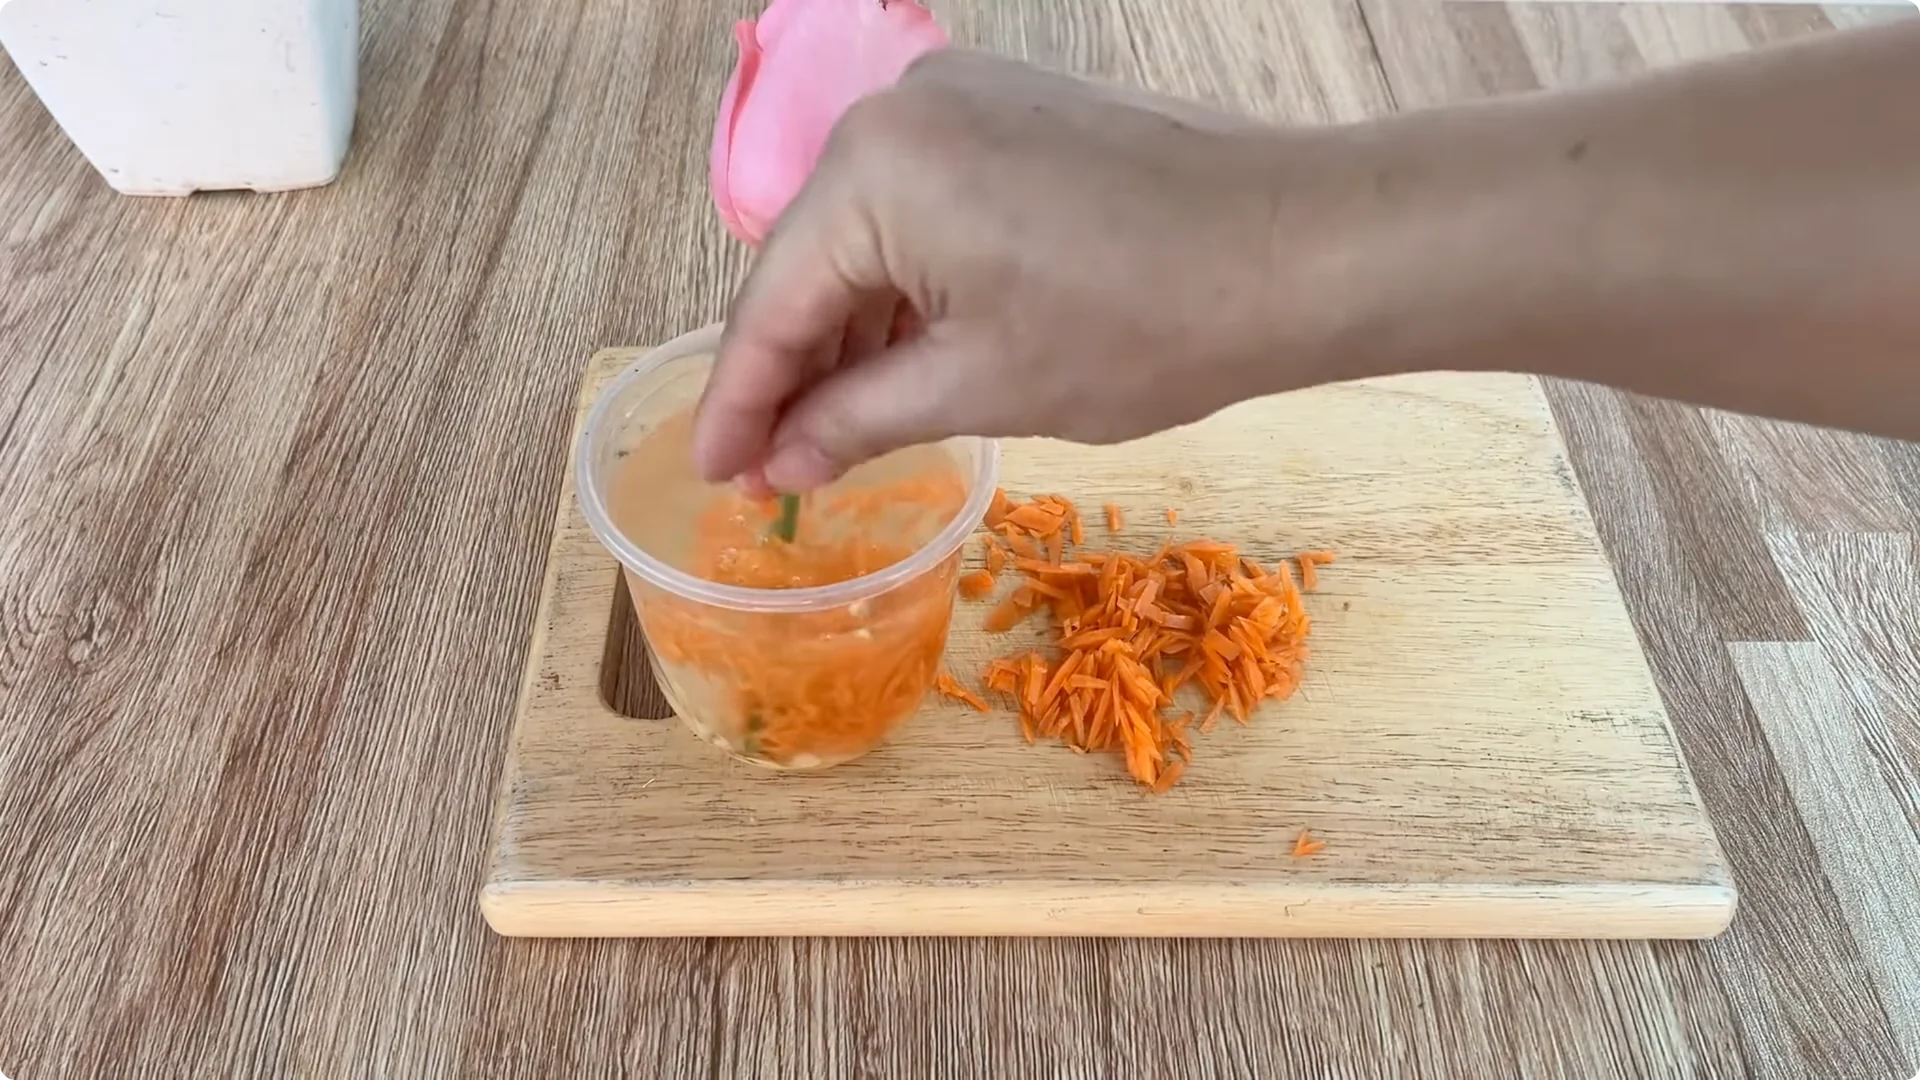
Prepare a carrot, wash it, peel it, and cut it into small pieces. Carrot peels contain beta carotene, vitamins, and minerals that help stimulate cell division in the callus where roots form.
Put the entire carrot peel into the cup of ginger water. Continue adding about 50 grams of rice to the mixture and stir well.
Rice has a high starch content and contains natural enzymes. When soaked in water it will create a nutrient rich environment that helps stimulate root growth and increase the vitality of the branch tissue.
After stirring well, let the mixture sit for 15 minutes to let the ingredients dissolve into the water. When the soaking time is enough, gently remove the rose branch from the mixture.
At this point, the base of the branch has been cleaned, absorbed nutrients, and is ready to enter the strong root stimulation stage. Stir the remaining mixture well and filter the clear water, which is the rice ginger carrot peel solution.
Next, dilute the solution with 0.5 liters of clean water to achieve the right concentration. This helps the young roots not to be shocked by the nutrients when they start to form.
If you like working with a single cup routine, explore this one cup rooting approach that pairs well with natural additives.
3. Planting medium for Rooting Rose Cuttings
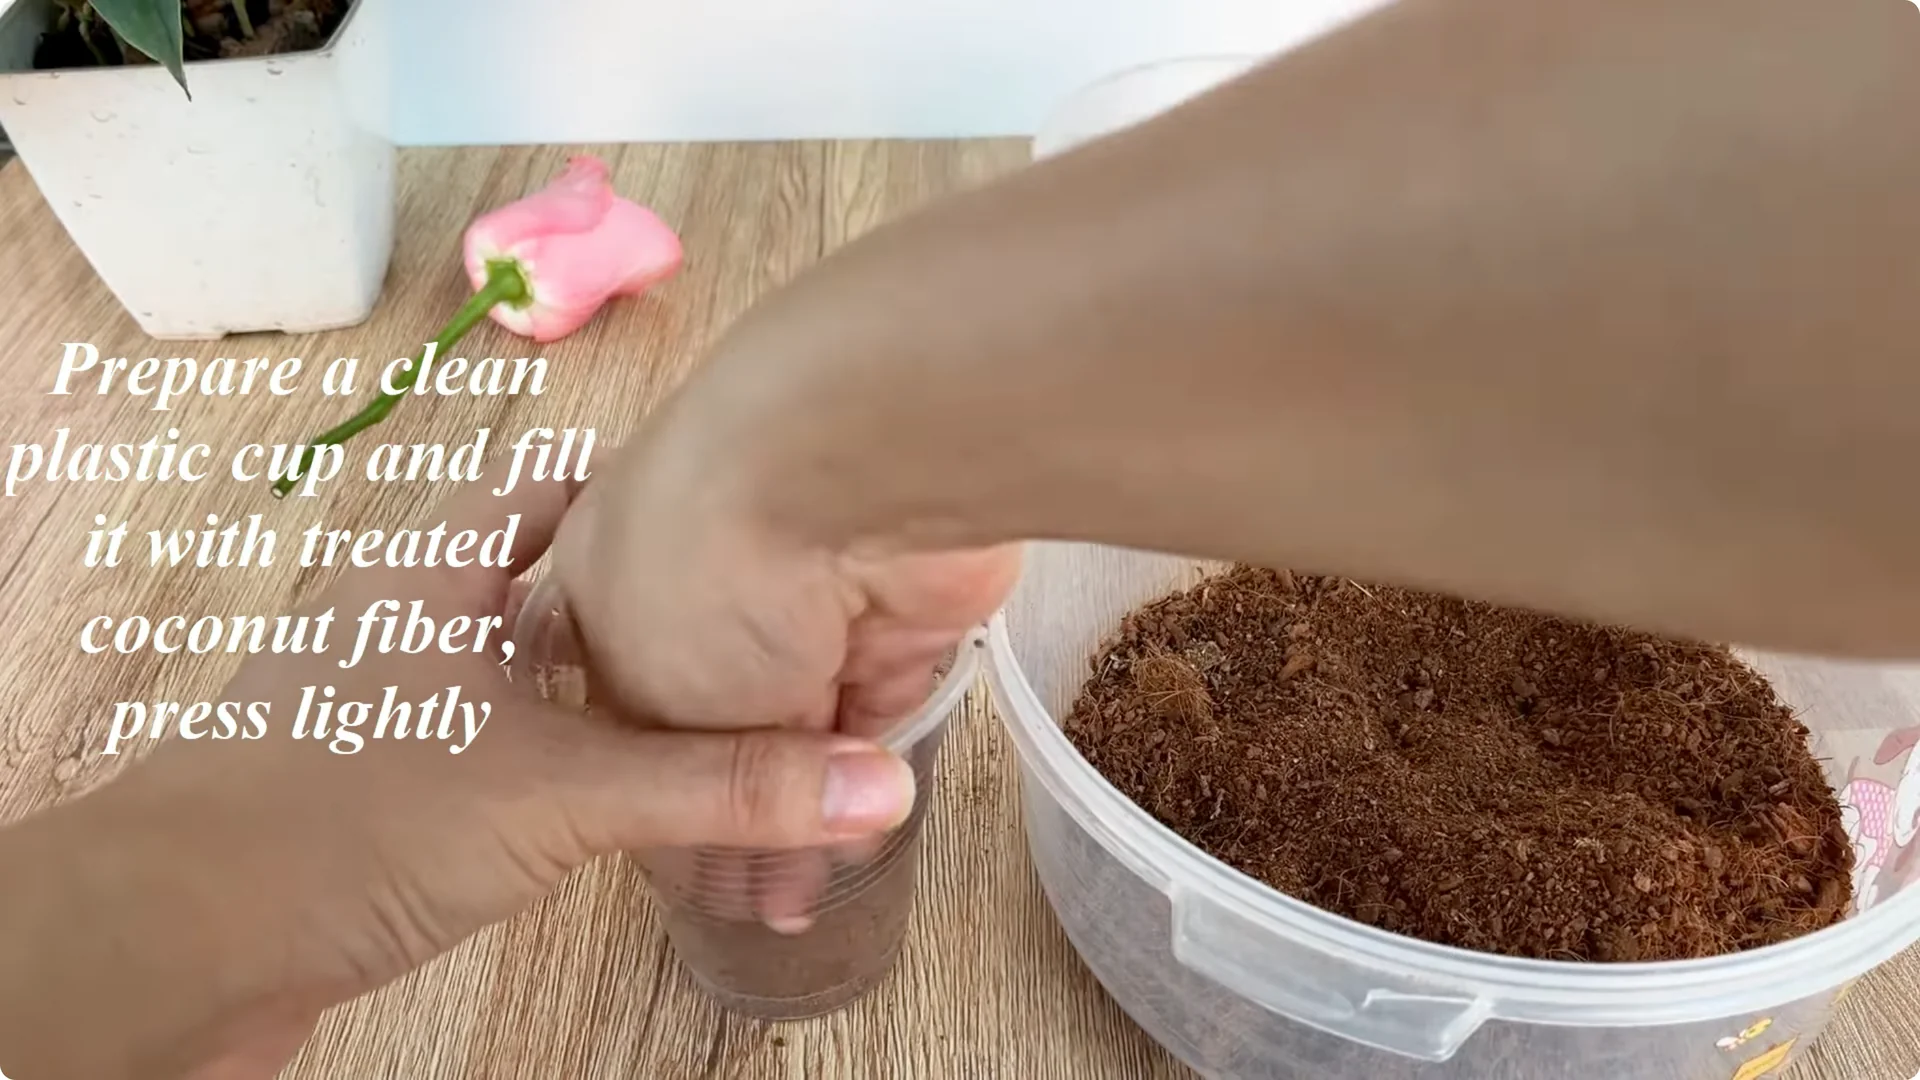
Prepare a clean plastic cup and fill it with treated coconut fiber. Coconut fiber needs to be carefully processed to remove astringent and tannin, substances that can darken and inhibit root growth.
Lightly compress the coconut fiber to create stability but still ensure the necessary porosity. Pour the rice ginger carrot solution into the coconut fiber cup with enough amount, so that the coconut fiber is evenly moist but not waterlogged.
Use your finger to make a small hole in the middle of the cup and then place the rose branch in it. Lightly compress around to fix the stem of the branch, help the branch stand upright, less wobbly, and create optimal conditions for new roots to develop.
4. Humidity and placement for Rooting Rose Cuttings
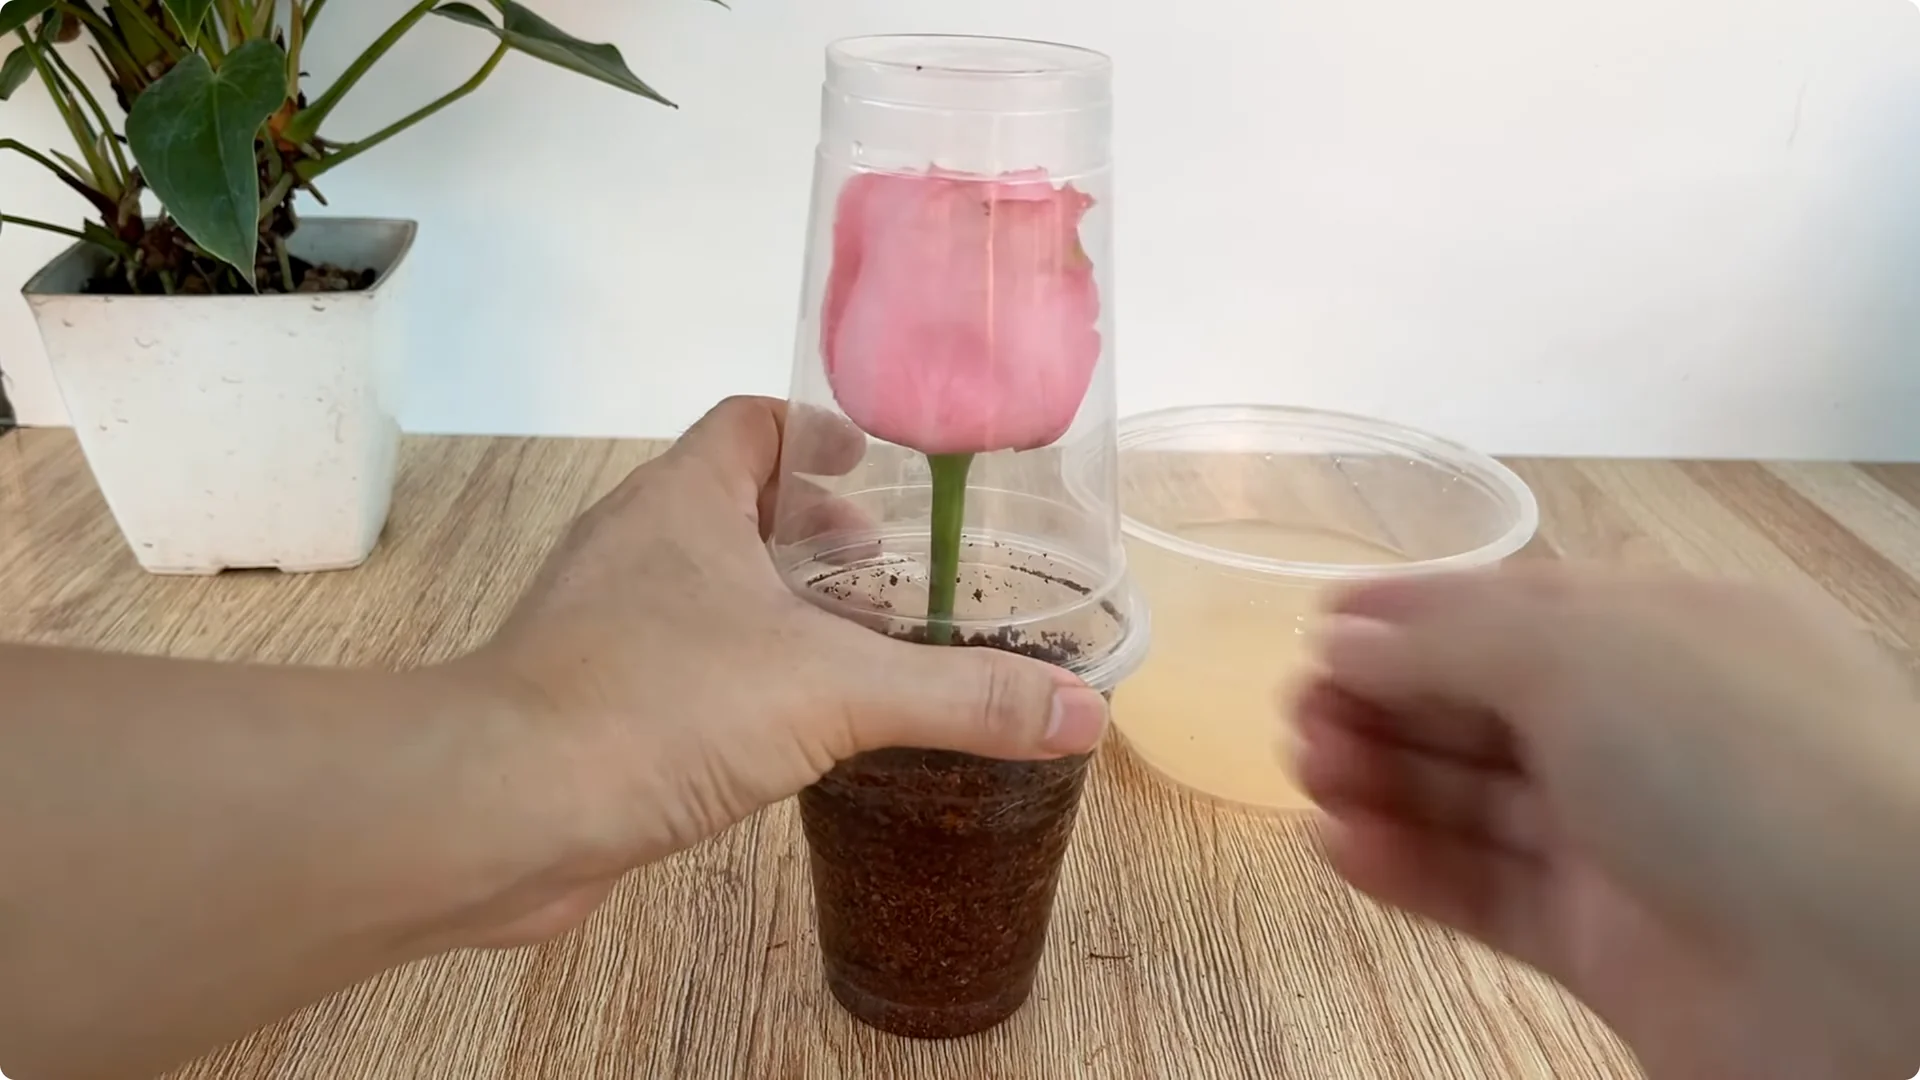
After the branch has been fixed, use a plastic bag or a transparent plastic cup to cover the mouth of the cup to create a humid environment like a mini greenhouse. This cover helps keep the temperature stable and reduces water loss.
Place the cup in a cool place, away from strong winds and direct sunlight because these factors can dry out the branches, reducing the ability to form roots. For a compact routine that supports rooting and later blooms, see another one cup variation for rooting and blooming.
5. Signs of success in Rooting Rose Cuttings
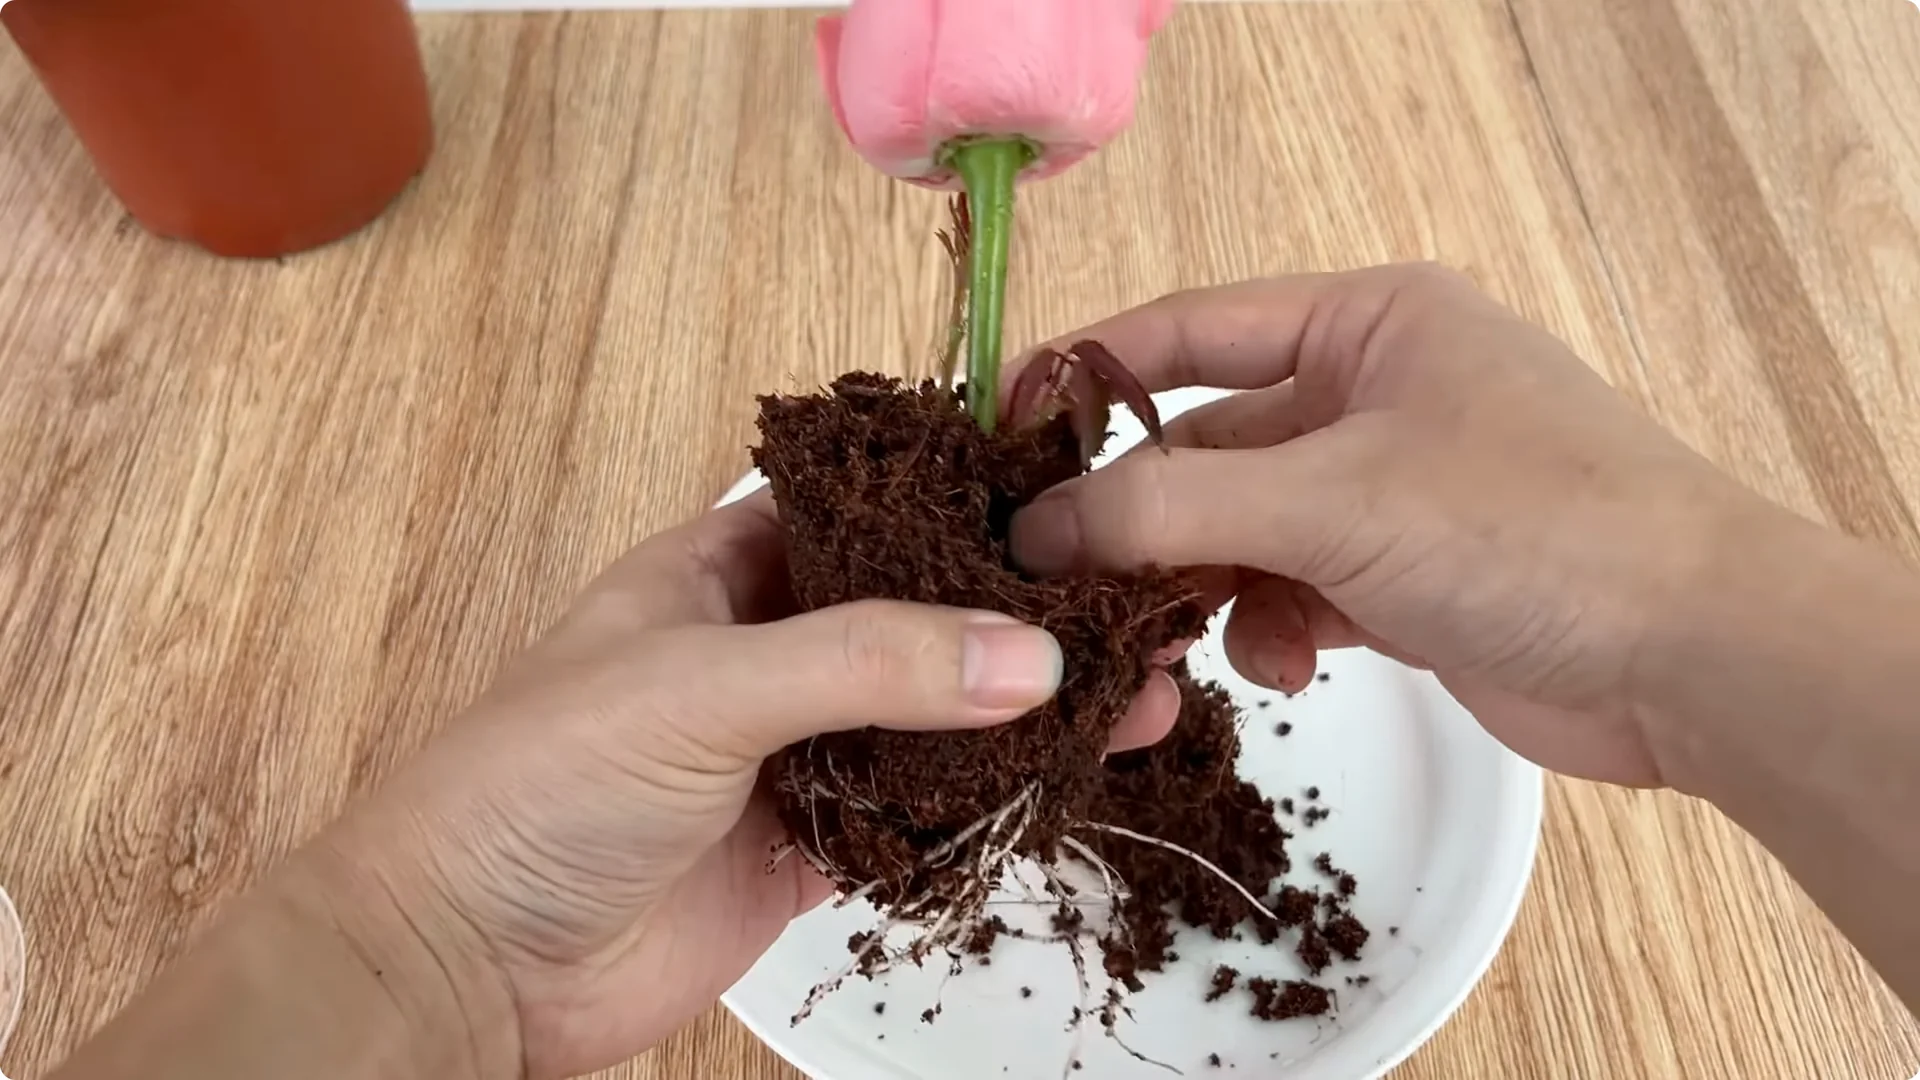
After 10 days, you will see extremely positive signs. At the base of the branch, many white roots grow, plump and water filled, proving that the branch has adapted well and is fully supplied with nutrients.
At the same time, the branch also begins to sprout new buds. The young leaves are green and healthy, a sign that the root tissue and stem tissue are both active.
6. Potting for Rooting Rose Cuttings
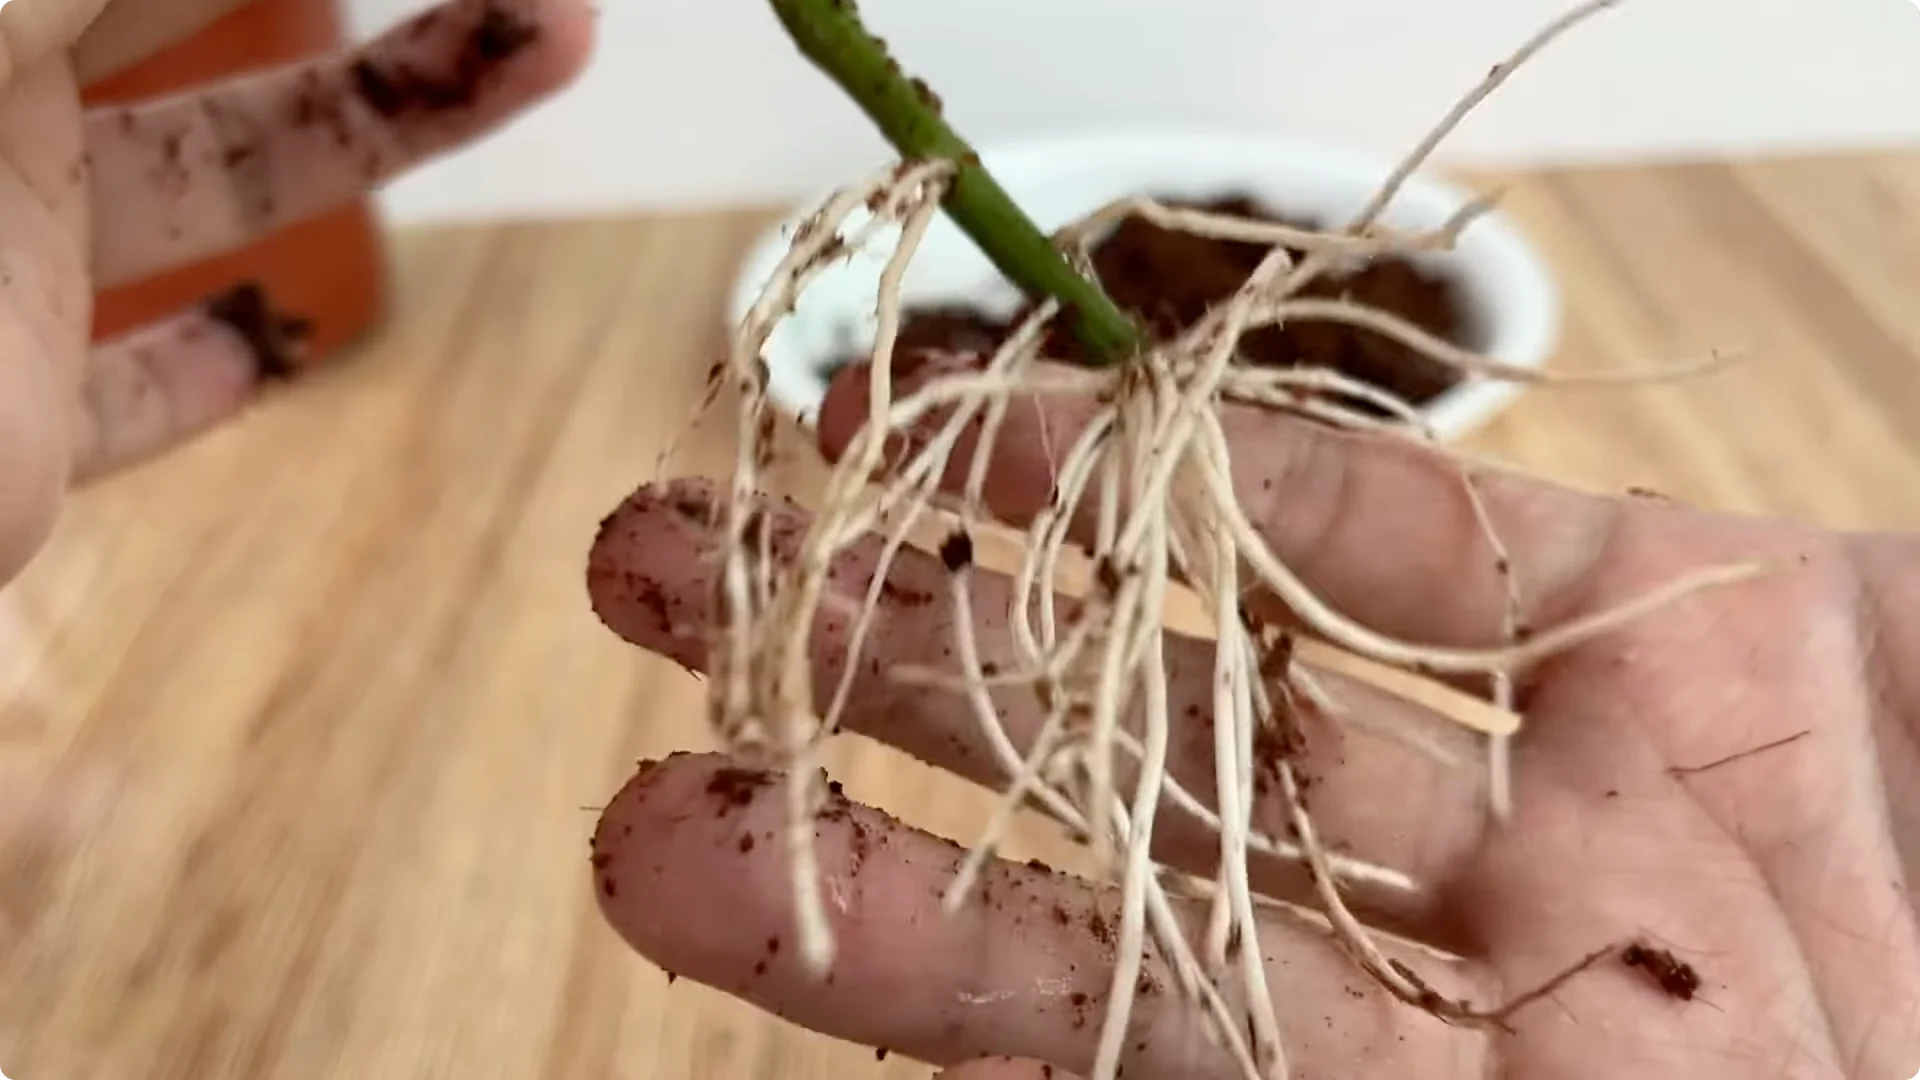
At this time, you can transfer the branch to the official planting pot. Use a pot with a good drainage system and use river sand as a substrate.
River sand is airy and clean. It helps the roots to breathe effectively in the early stages.
Final thoughts on Rooting Rose Cuttings
This method is simple, takes advantage of natural ingredients available in the kitchen, and is highly effective in stimulating roots quickly. I wish you success in propagating many healthy and beautiful rose plants for your garden.