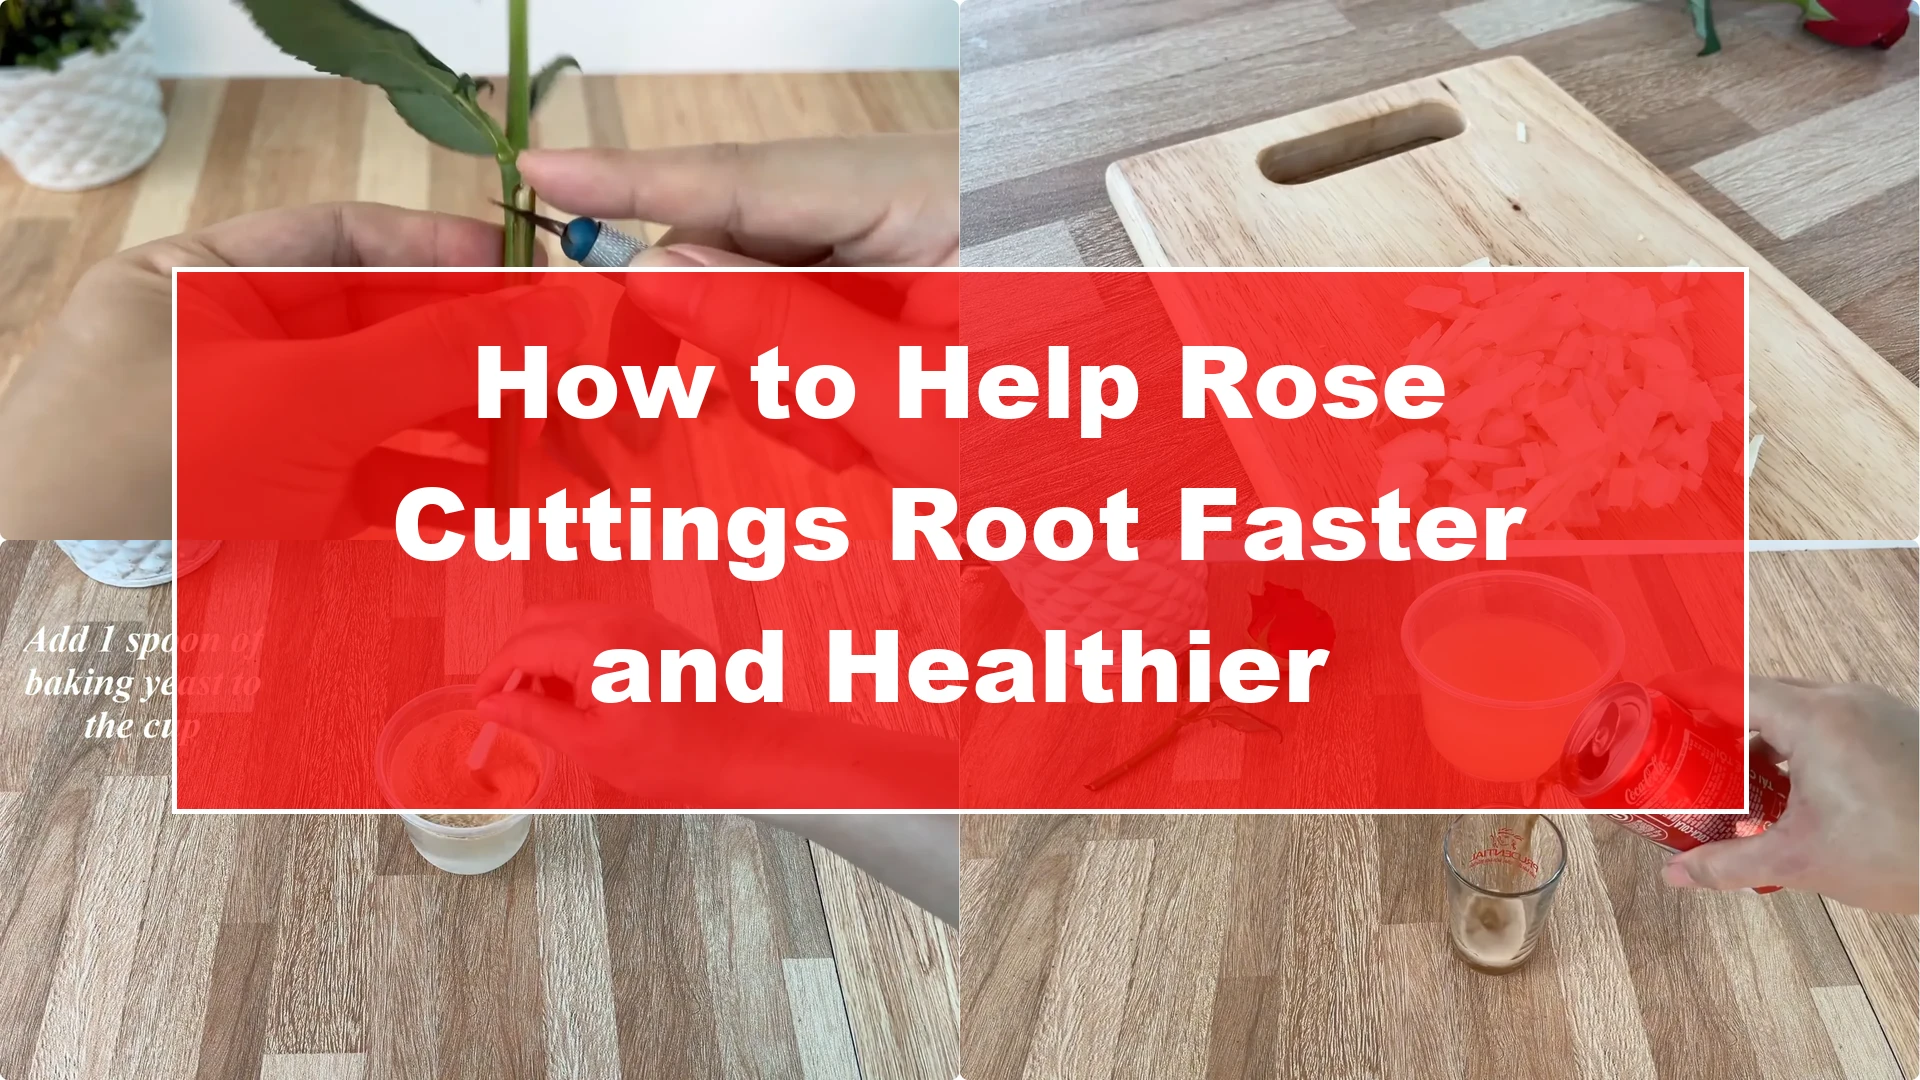
I want to give you more options when propagating roses at home. I will guide you step by step so that from a small rose branch, you can create new plants full of vitality. For extra tips, see root faster.
1. Rooting Rose Cuttings: Choose and Prepare
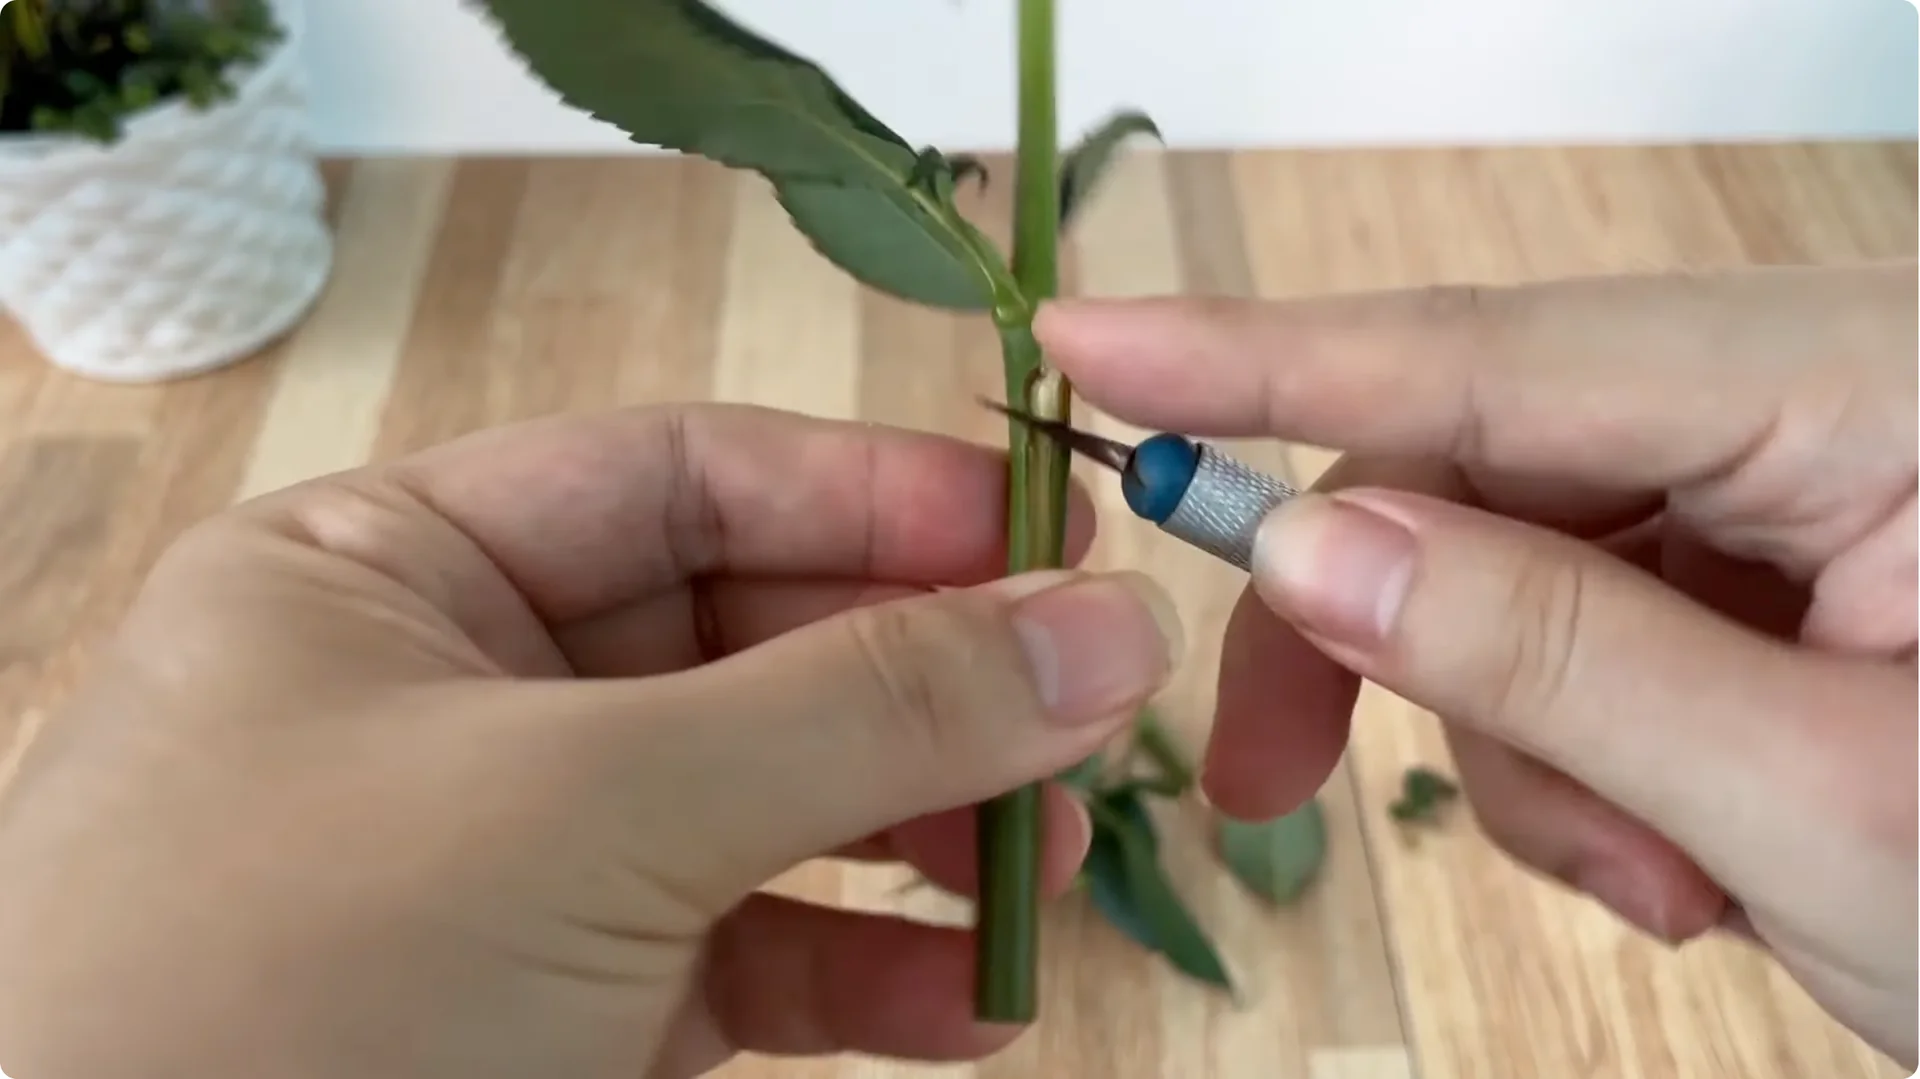
We need a healthy rose branch with moderate age. Young branches are often weak and easily withered, while branches that are too old are difficult to root. Choosing the right age of the branch is very important.
Cut the branch to about 15 cm. Remove all leaves and thorns to limit water loss, but keep the top 2-3 leaves to help the plant photosynthesize gently. This balances saving energy and maintaining life during the cutting stage.
2. Rooting Rose Cuttings: Onion Solution
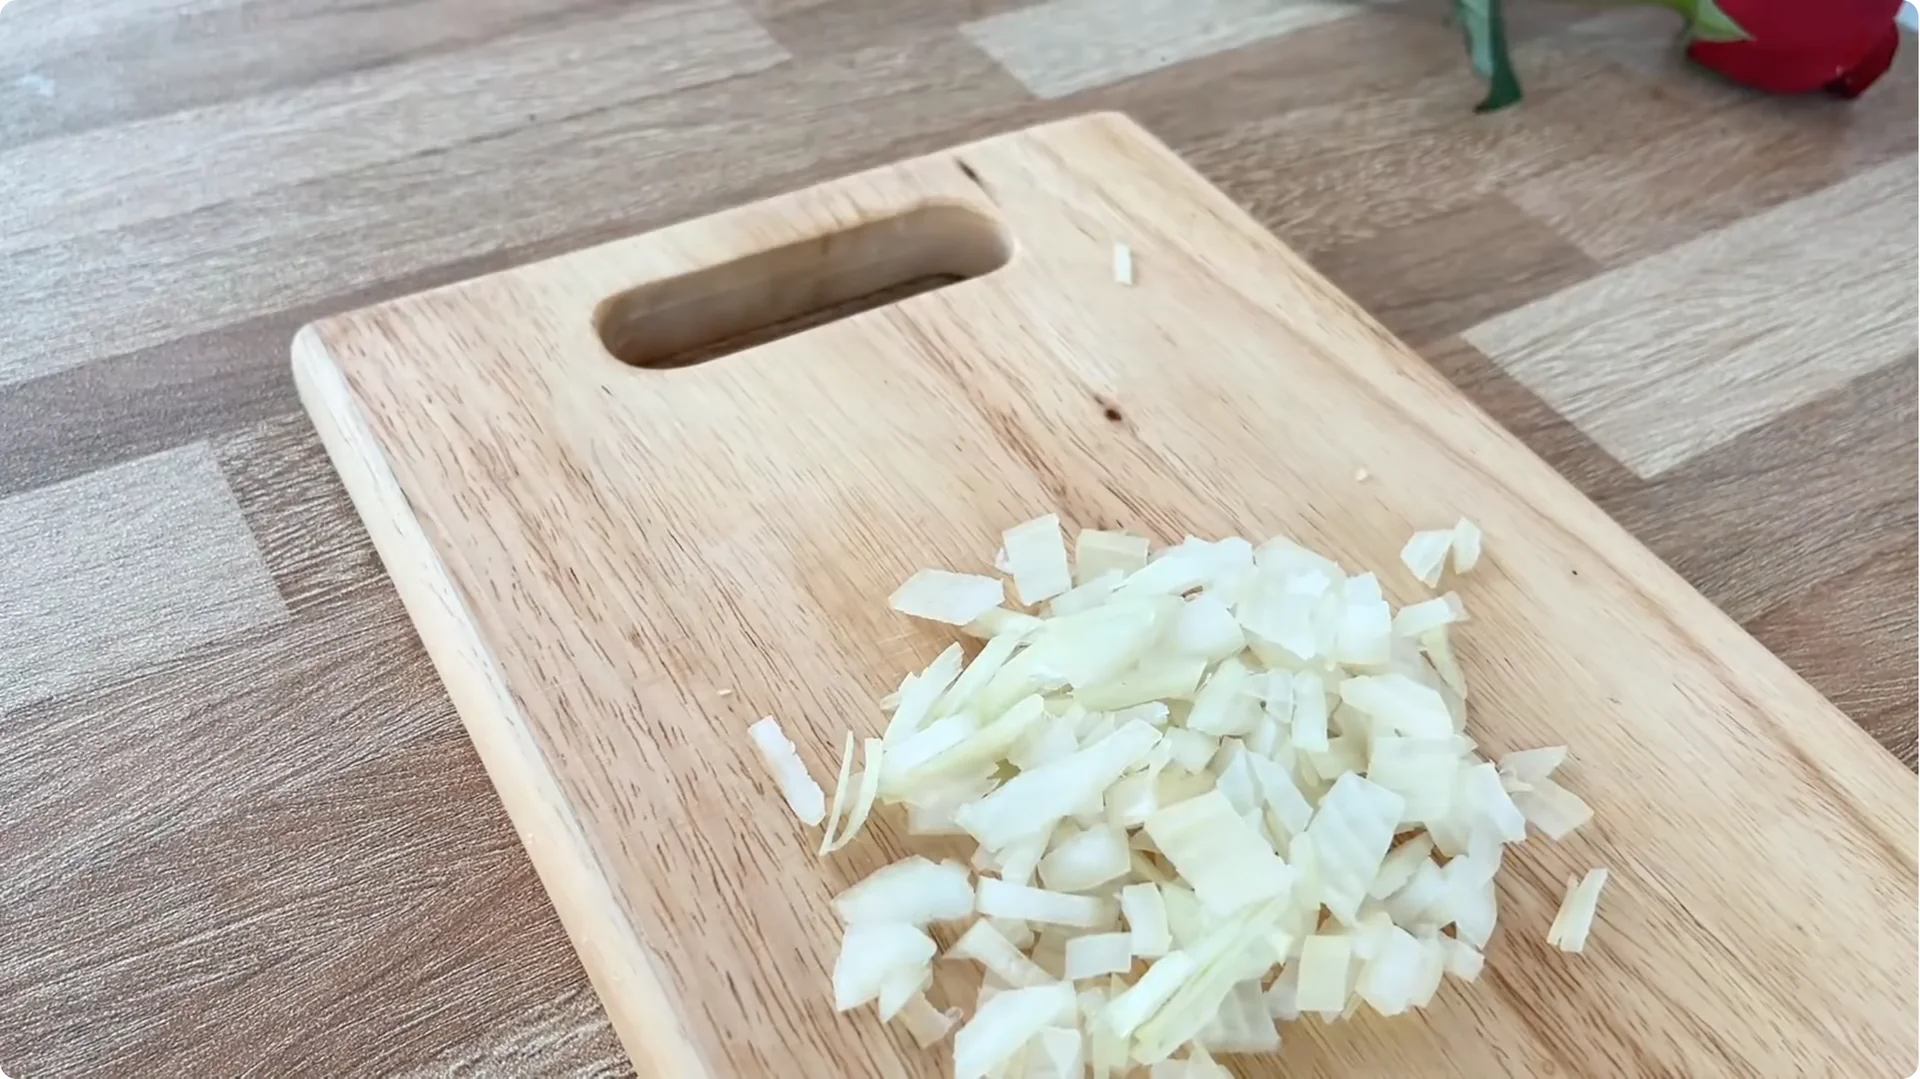
Prepare 30 grams of onions. Onions contain sulfur compounds and powerful antioxidants with antibacterial, antifungal, and root-stimulating properties. During soaking, the essences from onions penetrate the cut of the rose branch, protecting it from pathogens and awakening latent root cells.
Chop the onions, put them in a clean plastic cup, and add 500 ml of water. Stir well, then soak the flower branches in the onion solution for about 30 minutes. Onions are the protector and the awakener in forming new roots.
For a quick start, see sprout faster.
3. Rooting Rose Cuttings: Yeast Boost
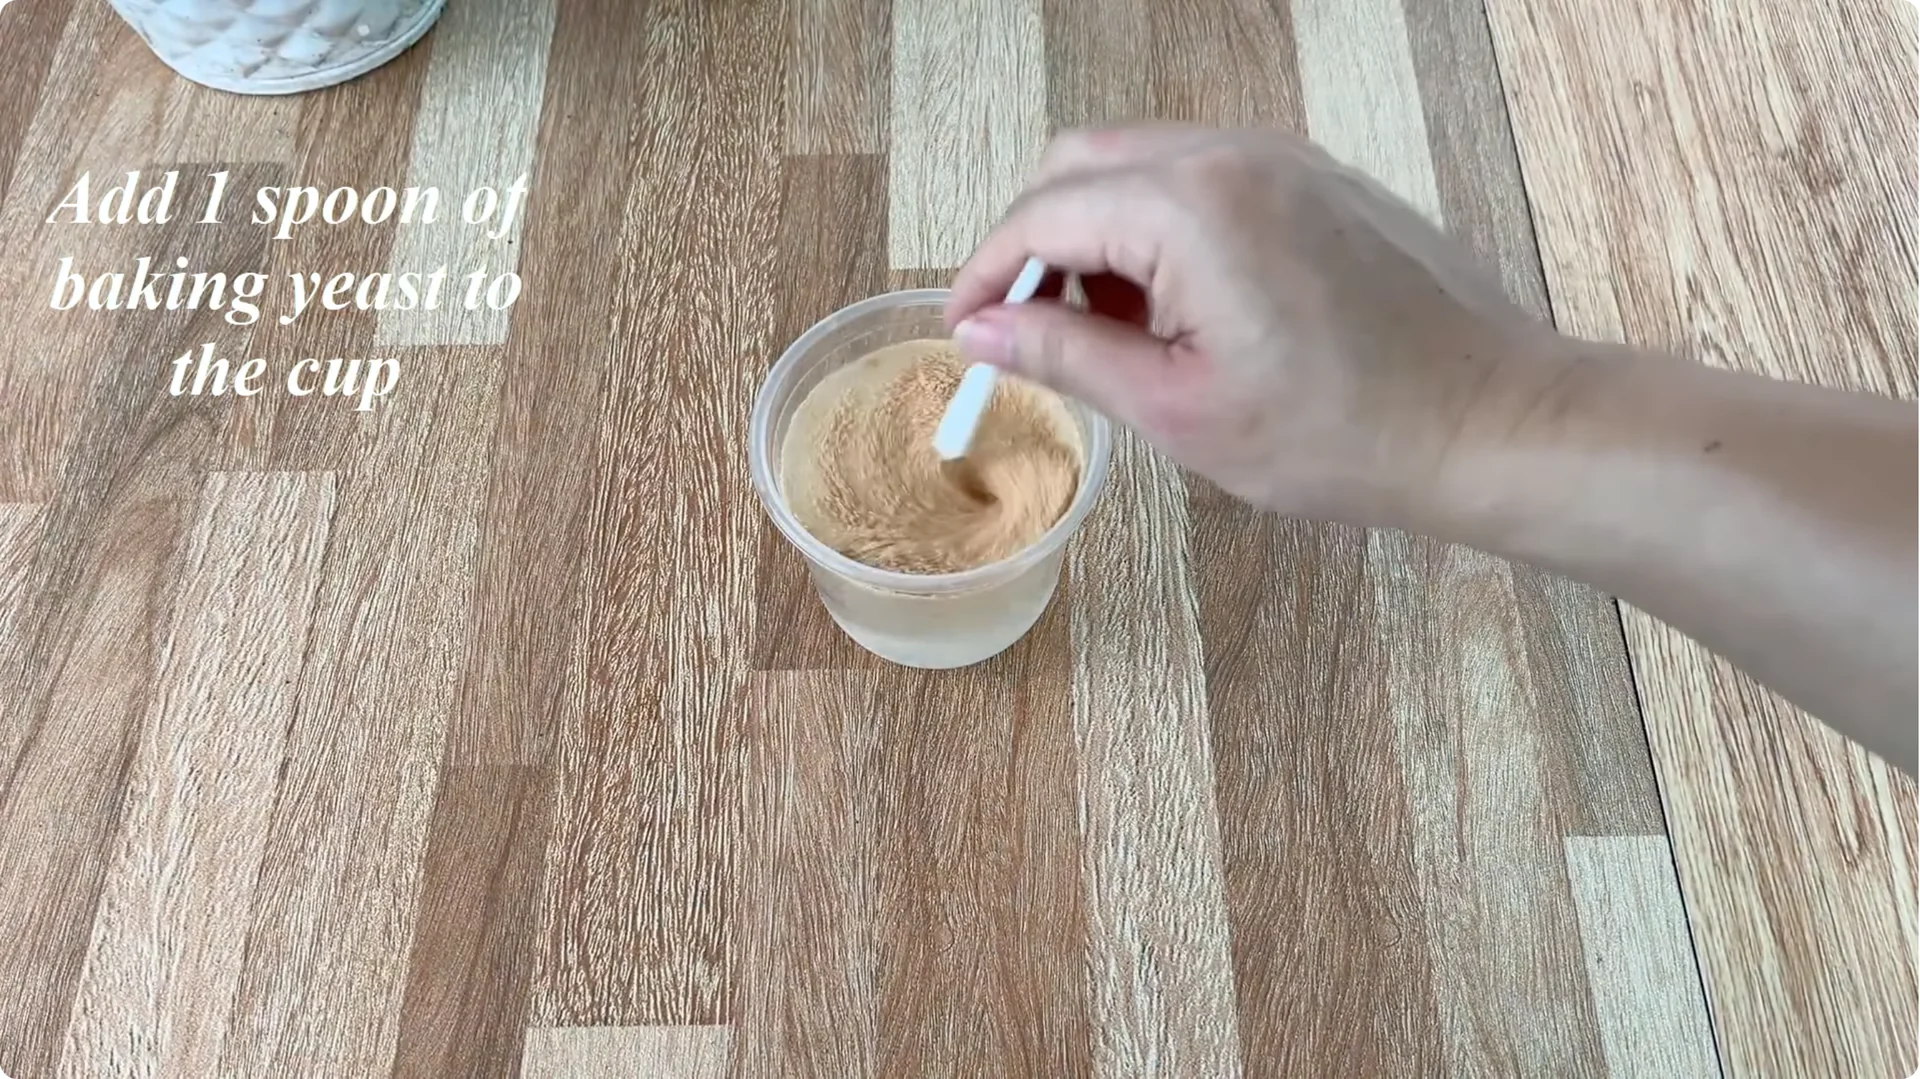
While the branches soak, prepare the yeast solution. Add a spoonful of baking yeast to 500 ml of warm water, stir well, and let it stand for 30 minutes. Baking yeast releases enzymes and B vitamins that stimulate rapid root growth and increase the resistance of rose branches.
After soaking, take out the rose branches. Filter the onion solution to make it clearer and mix it with the yeast solution. This combination is both antiseptic and rich in nutrients.
If onions clear the way and protect, yeast is the nurturer providing strength for the roots to emerge stronger.
4. Rooting Rose Cuttings: Add Coca Cola

Add 150 ml of Coca Cola to the mixture. Coca Cola contains a small amount of sugar and acid that can stimulate metabolism in plant tissue and promote strong root growth. The sugar also acts like a quick source of energy, giving young roots more bounce in the first days.
You can also see more methods.
5. Rooting Rose Cuttings: Planting Medium
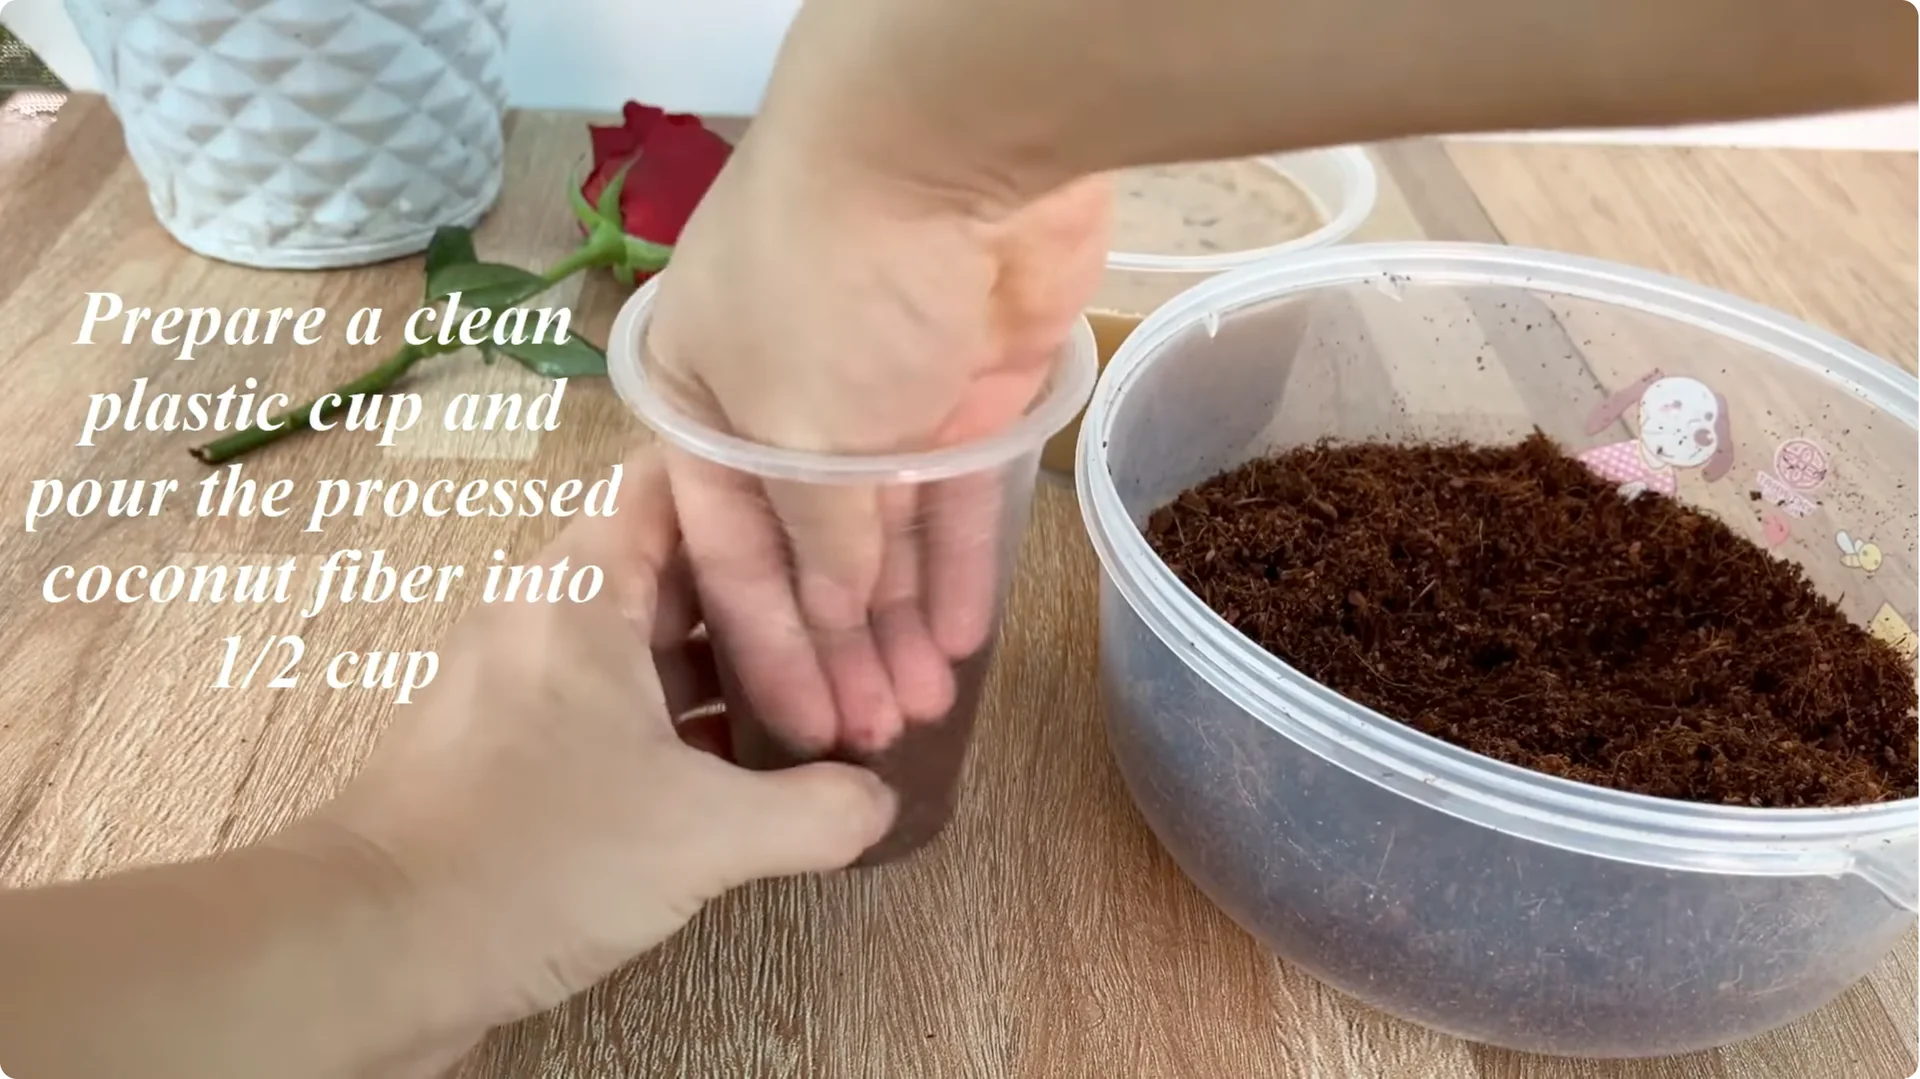
Prepare a clean plastic cup and fill half with processed coconut fiber. Press firmly and make a small hole in the middle to place the rose branch. Cover with another layer of coconut fiber and press lightly to secure.
Coconut fiber retains moisture well but stays airy. Young roots develop easily without being flooded in this medium. It is an ideal environment for the branch to enter the rooting stage safely.
Place the fixed branch in the cup and pour in the onion – yeast – Coca solution to moisten it enough.
6. Rooting Rose Cuttings: Mini Greenhouse
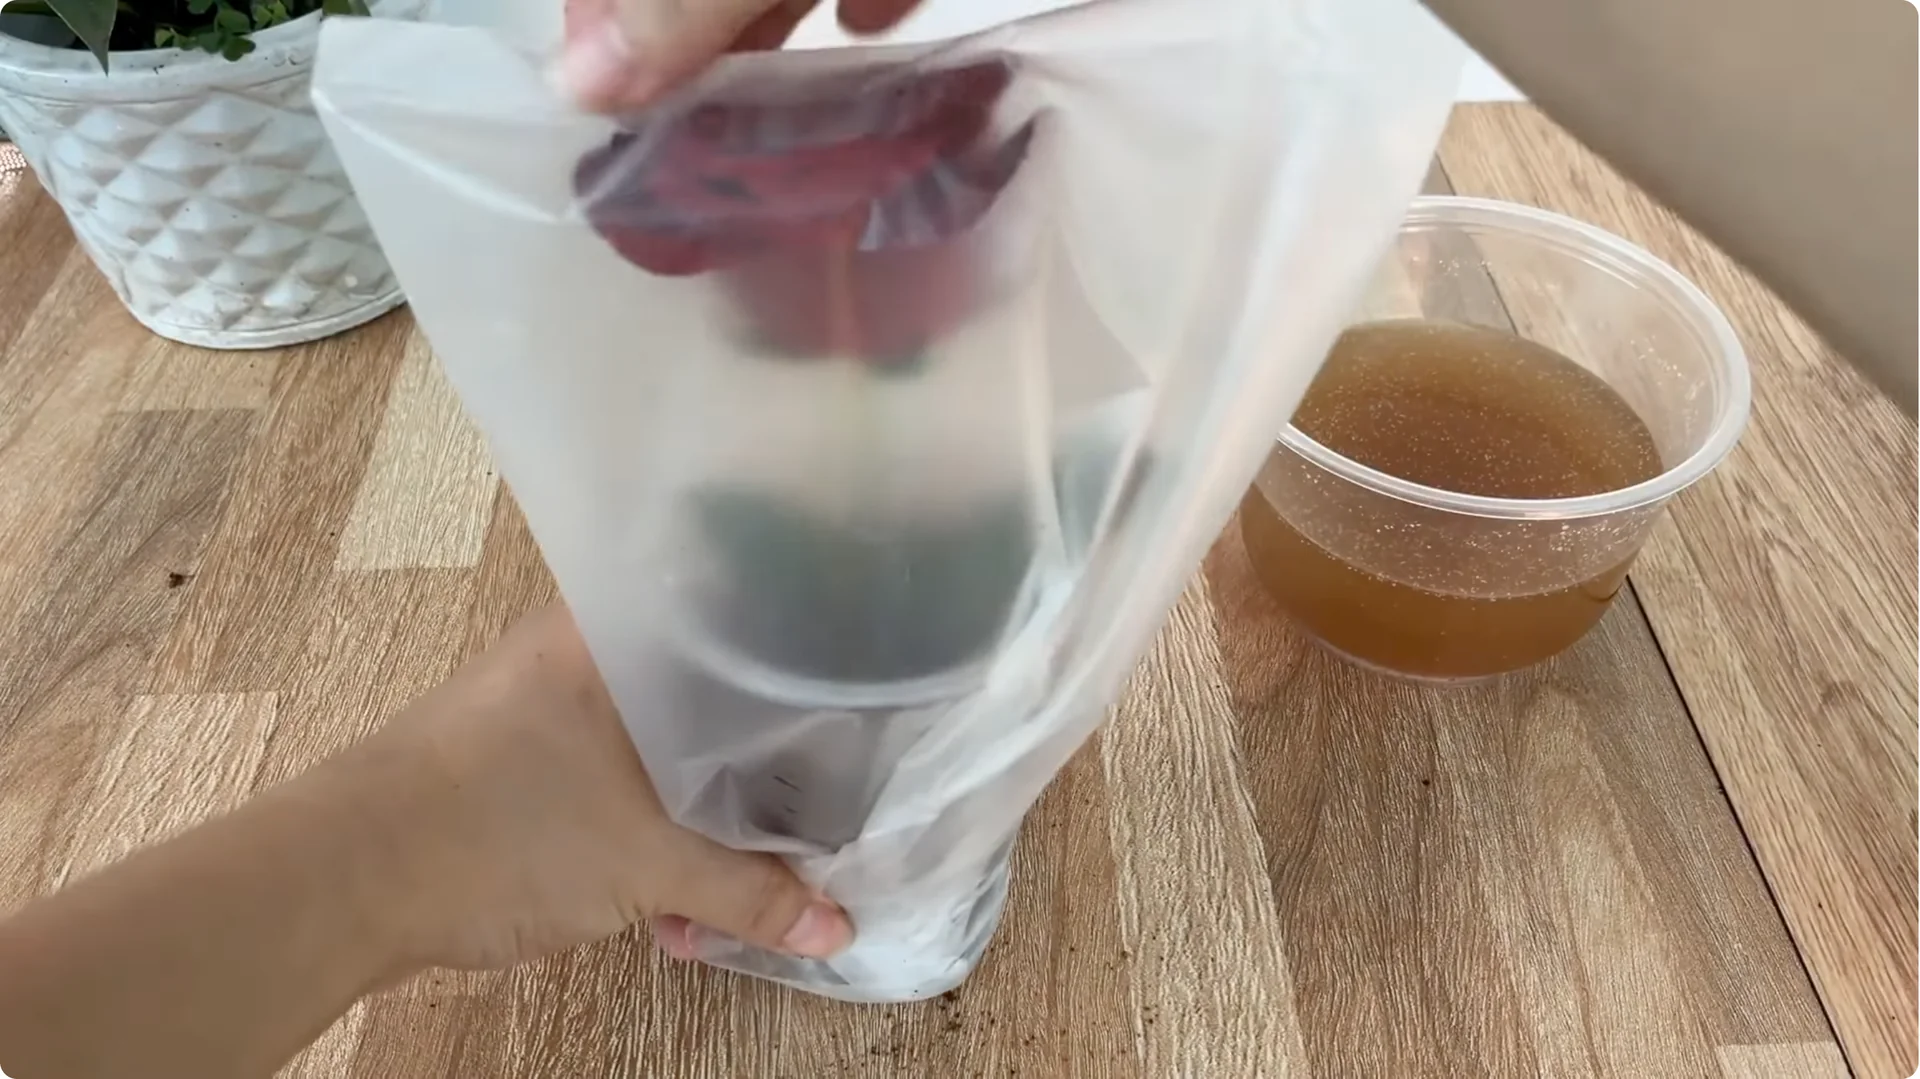
Cover the mouth of the cup with a plastic bag or a transparent cup to create a mini greenhouse. This closed space keeps humidity stable, reduces water loss, and helps block dust and bacteria from outside. Place the cup in a cool location, away from strong sunlight and strong winds.
7. Rooting Rose Cuttings: Signs of Success
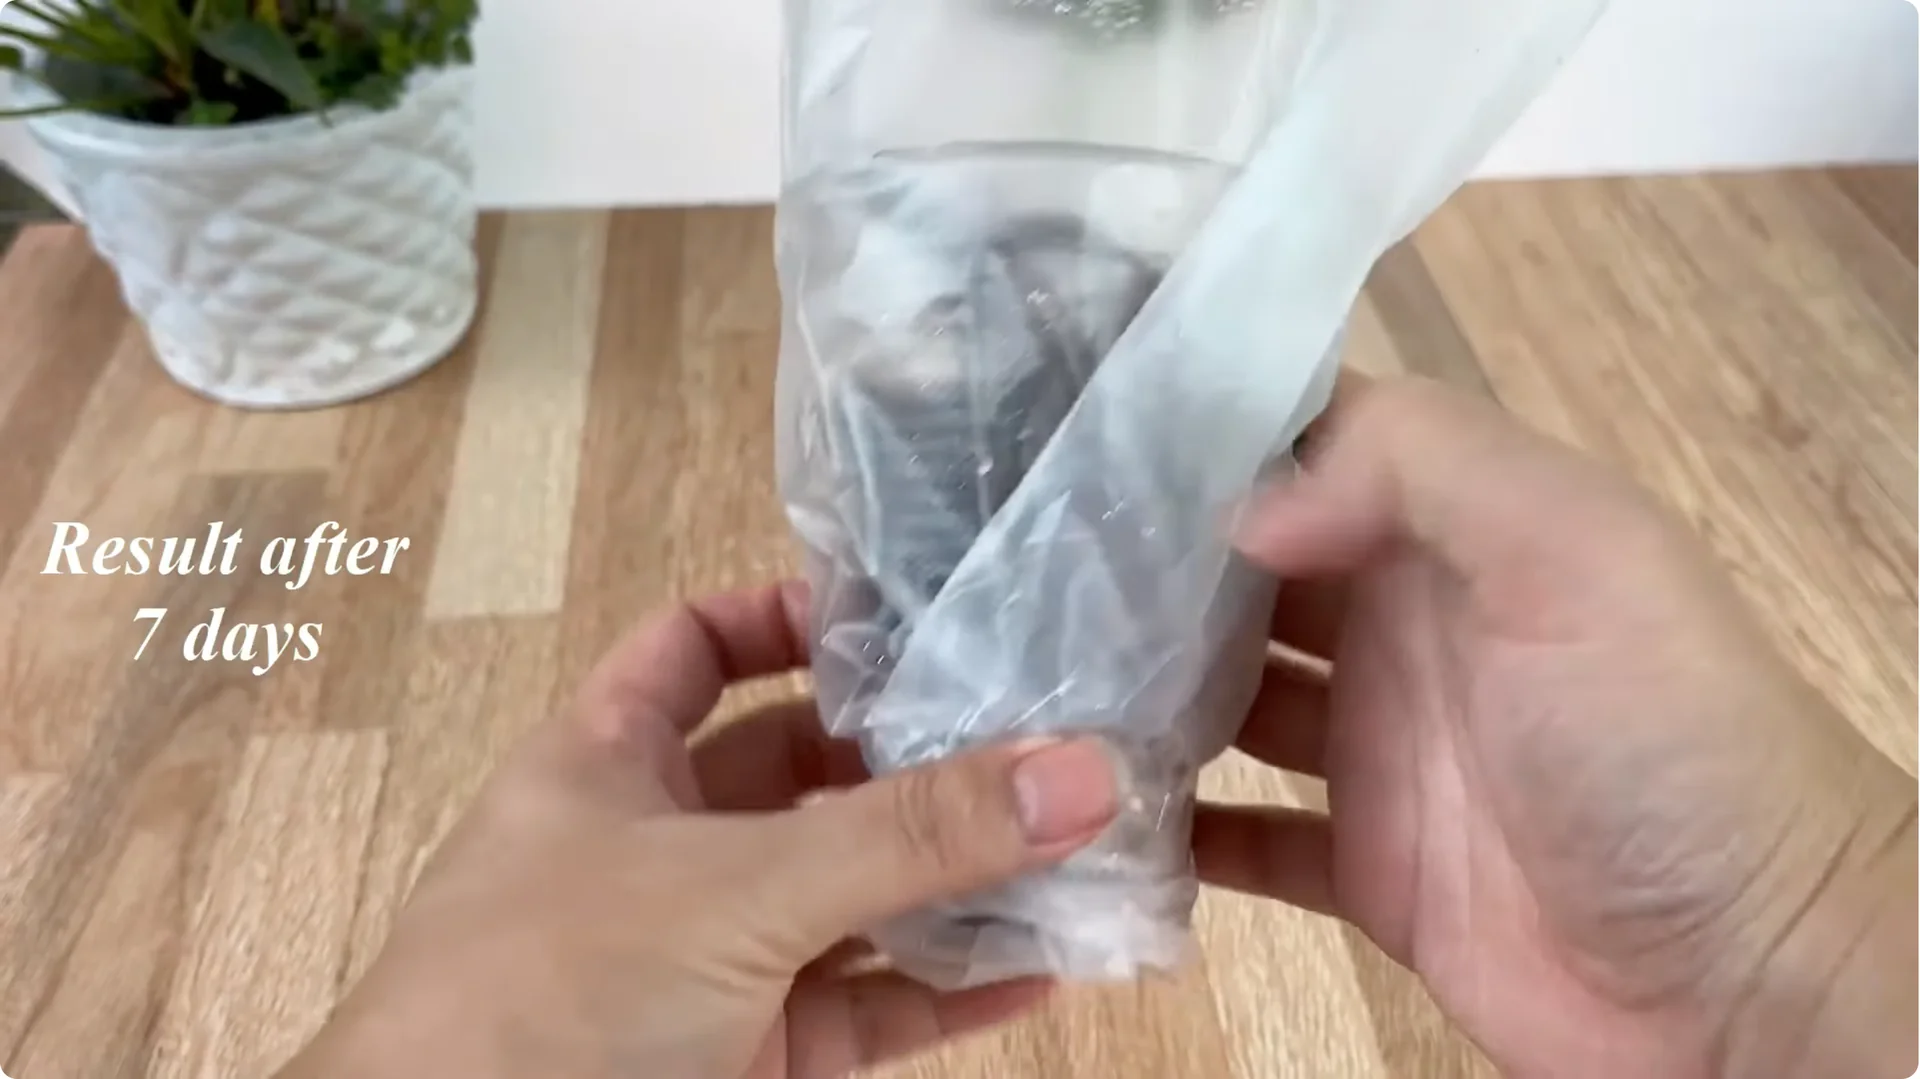
After about 1 week, you will see clear signs of change. White young roots begin to grow densely around the base, thick and plump. Green shoots appear on the trunk, showing life is reviving strongly.
8. Rooting Rose Cuttings: Potting Up

Once the roots are strong enough, plant the branch in a pot with good drainage holes. Use river sand or a loose soil mixture. At this point, the branch has truly become a new plant ready to grow and bloom.
Final Thoughts
It is amazing that from a small flower branch and familiar kitchen ingredients, we can create a new rose full of vitality. If you love flowers, try this method and watch your cuttings respond. In just a few weeks, your balcony or garden may be more brilliant with blooming roses, the sweet fruit of your own care.