Wishing you lots of positive energy and joy on your journey of caring for and propagating roses at home. Today, we’ll be doing a very interesting method of rooting cuttings, utilizing beneficial bioactive compounds for root and shoot formation. This method is especially suitable for those who love natural, safe, and easy-to-apply methods that still yield noticeable results in a short time.
1. Onion Based Rose Rooting setup
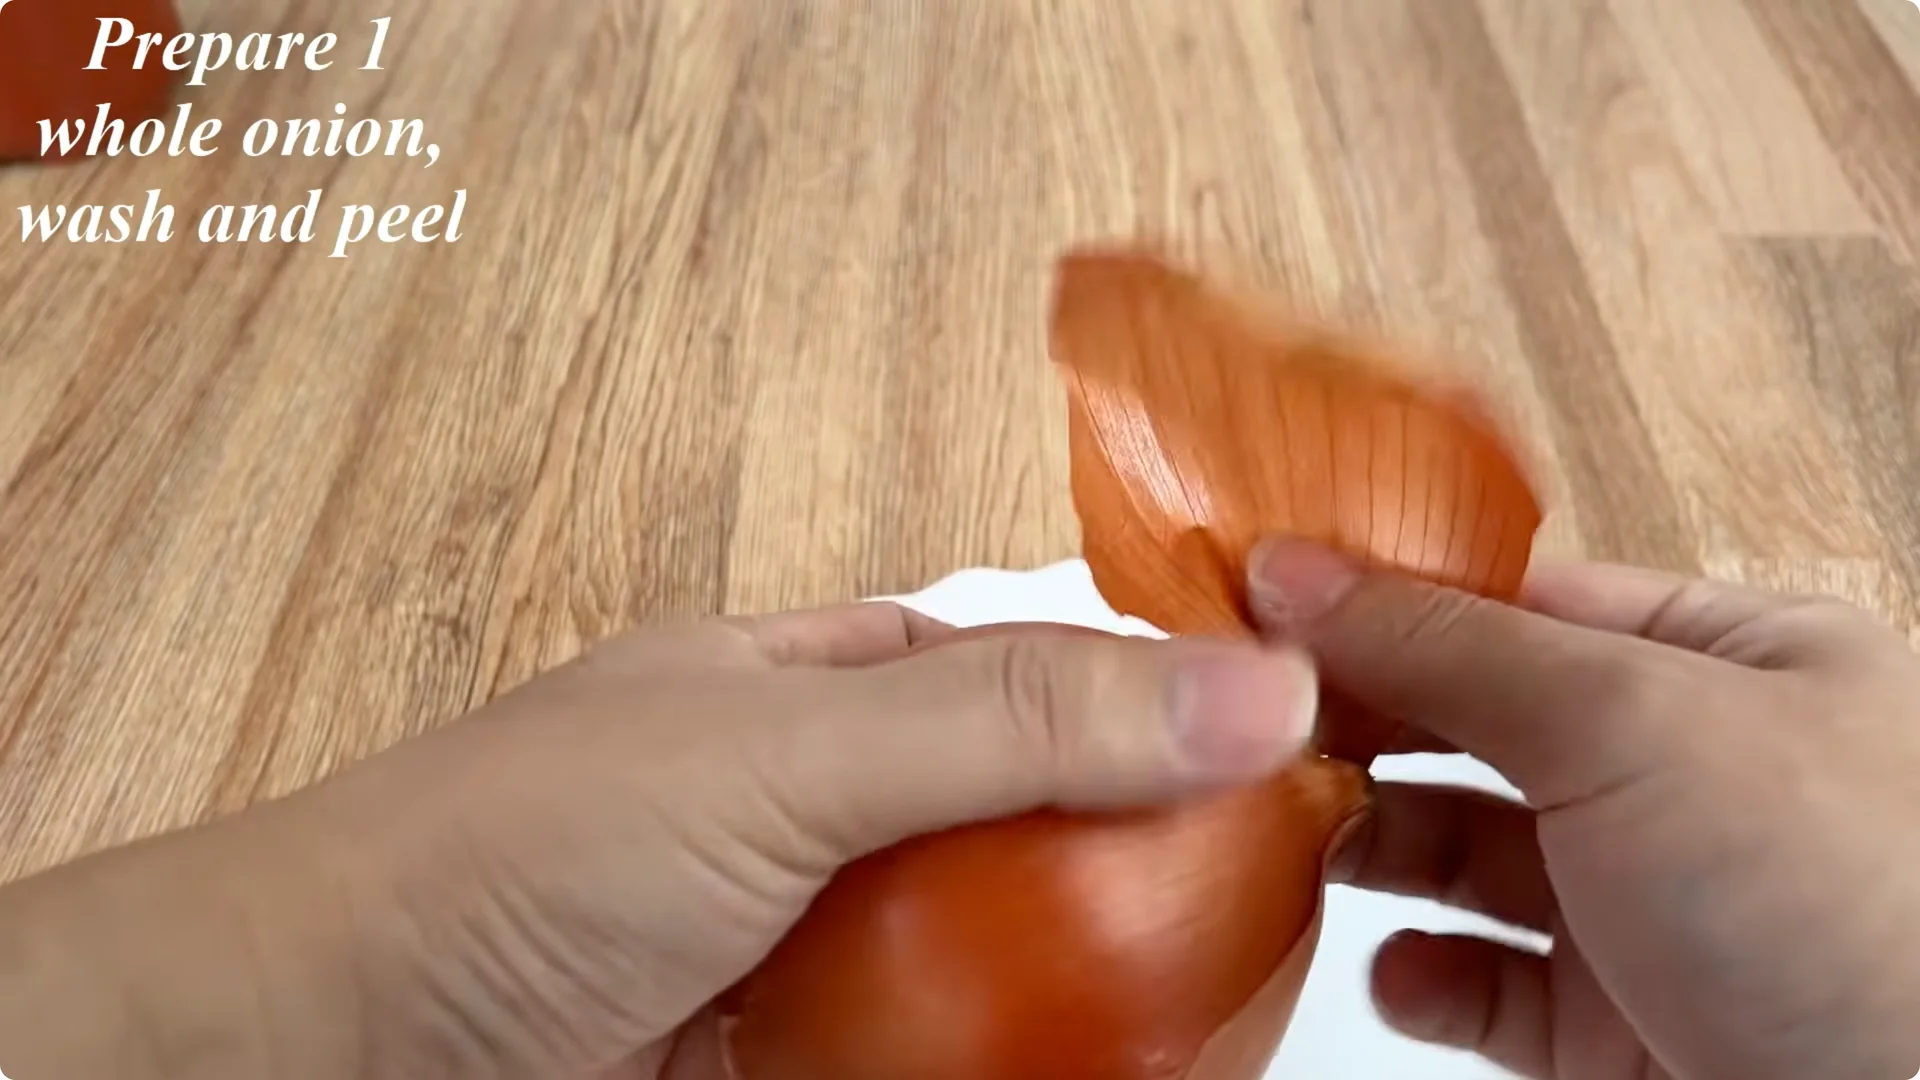
First, prepare a fresh onion, with its skin intact, free from bruising or rot. After washing the onion, peel it, chop the outer skin into small pieces, and place it in a small glass jar. Onion skin contains many sulfur compounds and natural antioxidants which have antibacterial properties, inhibit fungal diseases, and stimulate root tissue growth.
Oatmeal is a source of B vitamins, trace minerals, and organic compounds which help nourish healthy young roots from the very beginning. The method of propagating rose cuttings using an onion and oatmeal solution is not only simple and easy to do but also maximizes the power of natural ingredients. Onions help protect the cutting from fungal diseases, oatmeal provides nutrients to nourish the roots, and the method of rooting in a solution allows you to easily observe the daily development of the root system.
Onion peel – oat infusion
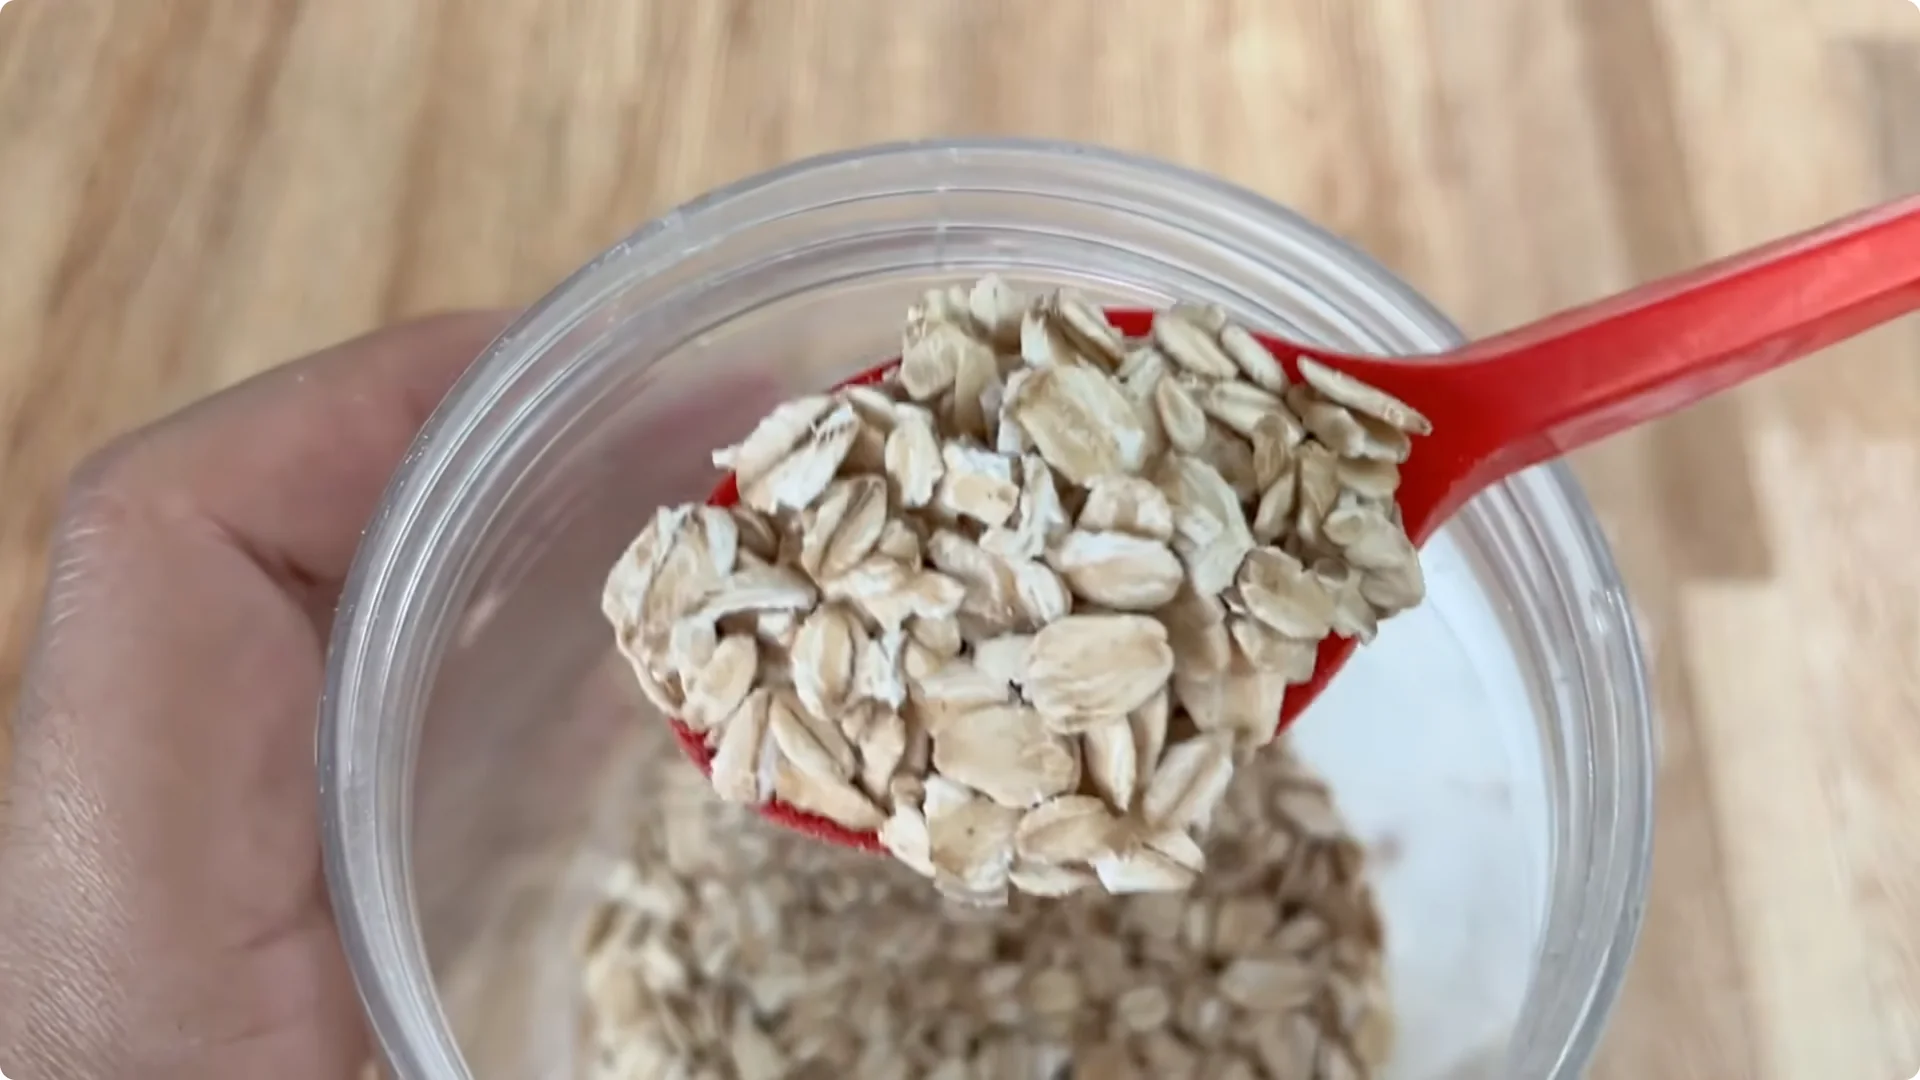
Next, add two tablespoons of oatmeal to the jar. Next, pour about 0.5 liters of boiling water into the jar, stir well, cover, and let it cool naturally. This process helps extract the maximum amount of nutrients from the onion peel and oatmeal into the water.
Fresh onion water
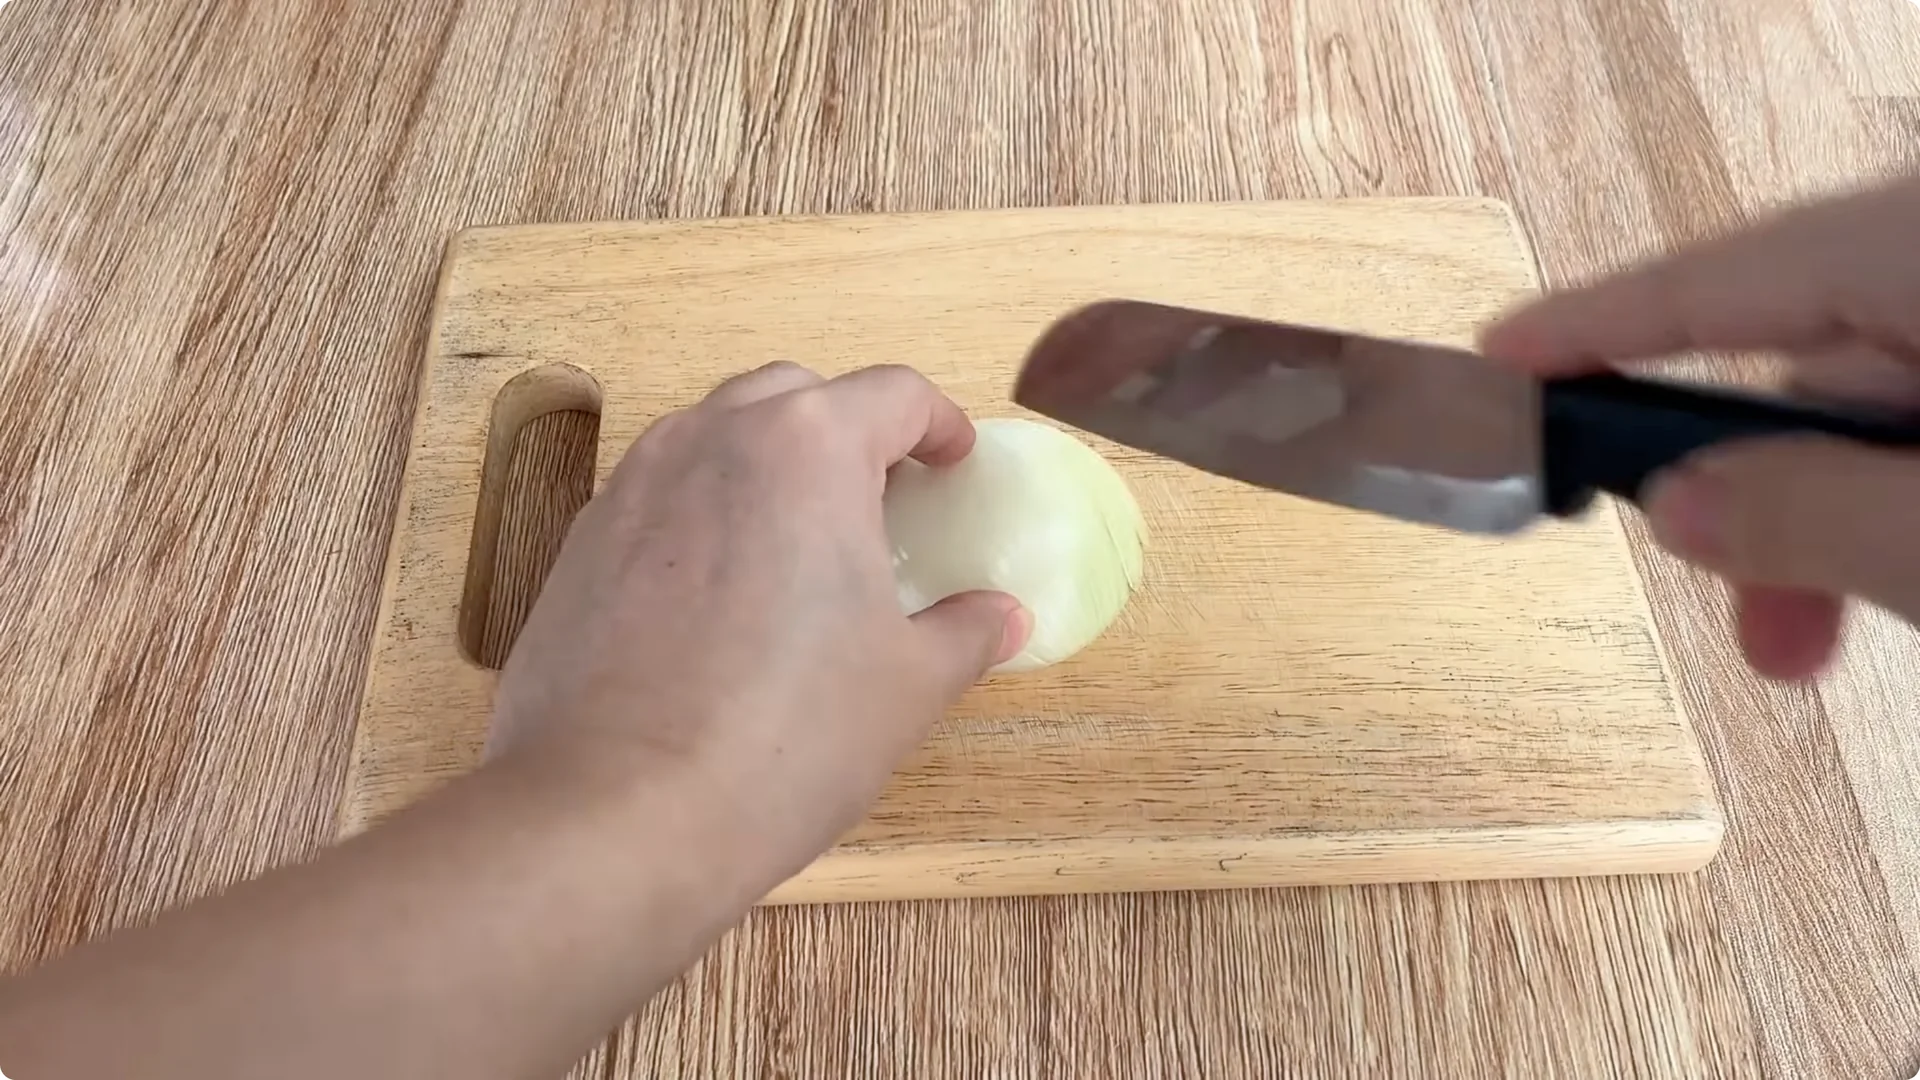
Meanwhile, prepare the fresh onion solution. Take about 40 grams of onion, chop it finely, and put it in a clean plastic cup with 500 ml of warm water. Fresh onion water has a characteristic pungent smell but this smell helps repel harmful bacteria and stimulates the rose cutting to form callus tissue faster at the cut.
Stir well and let it sit for about 15 minutes. Once the solutions are ready, begin preparing the rose cutting.
2. Prepare the cutting for Onion Based Rose Rooting
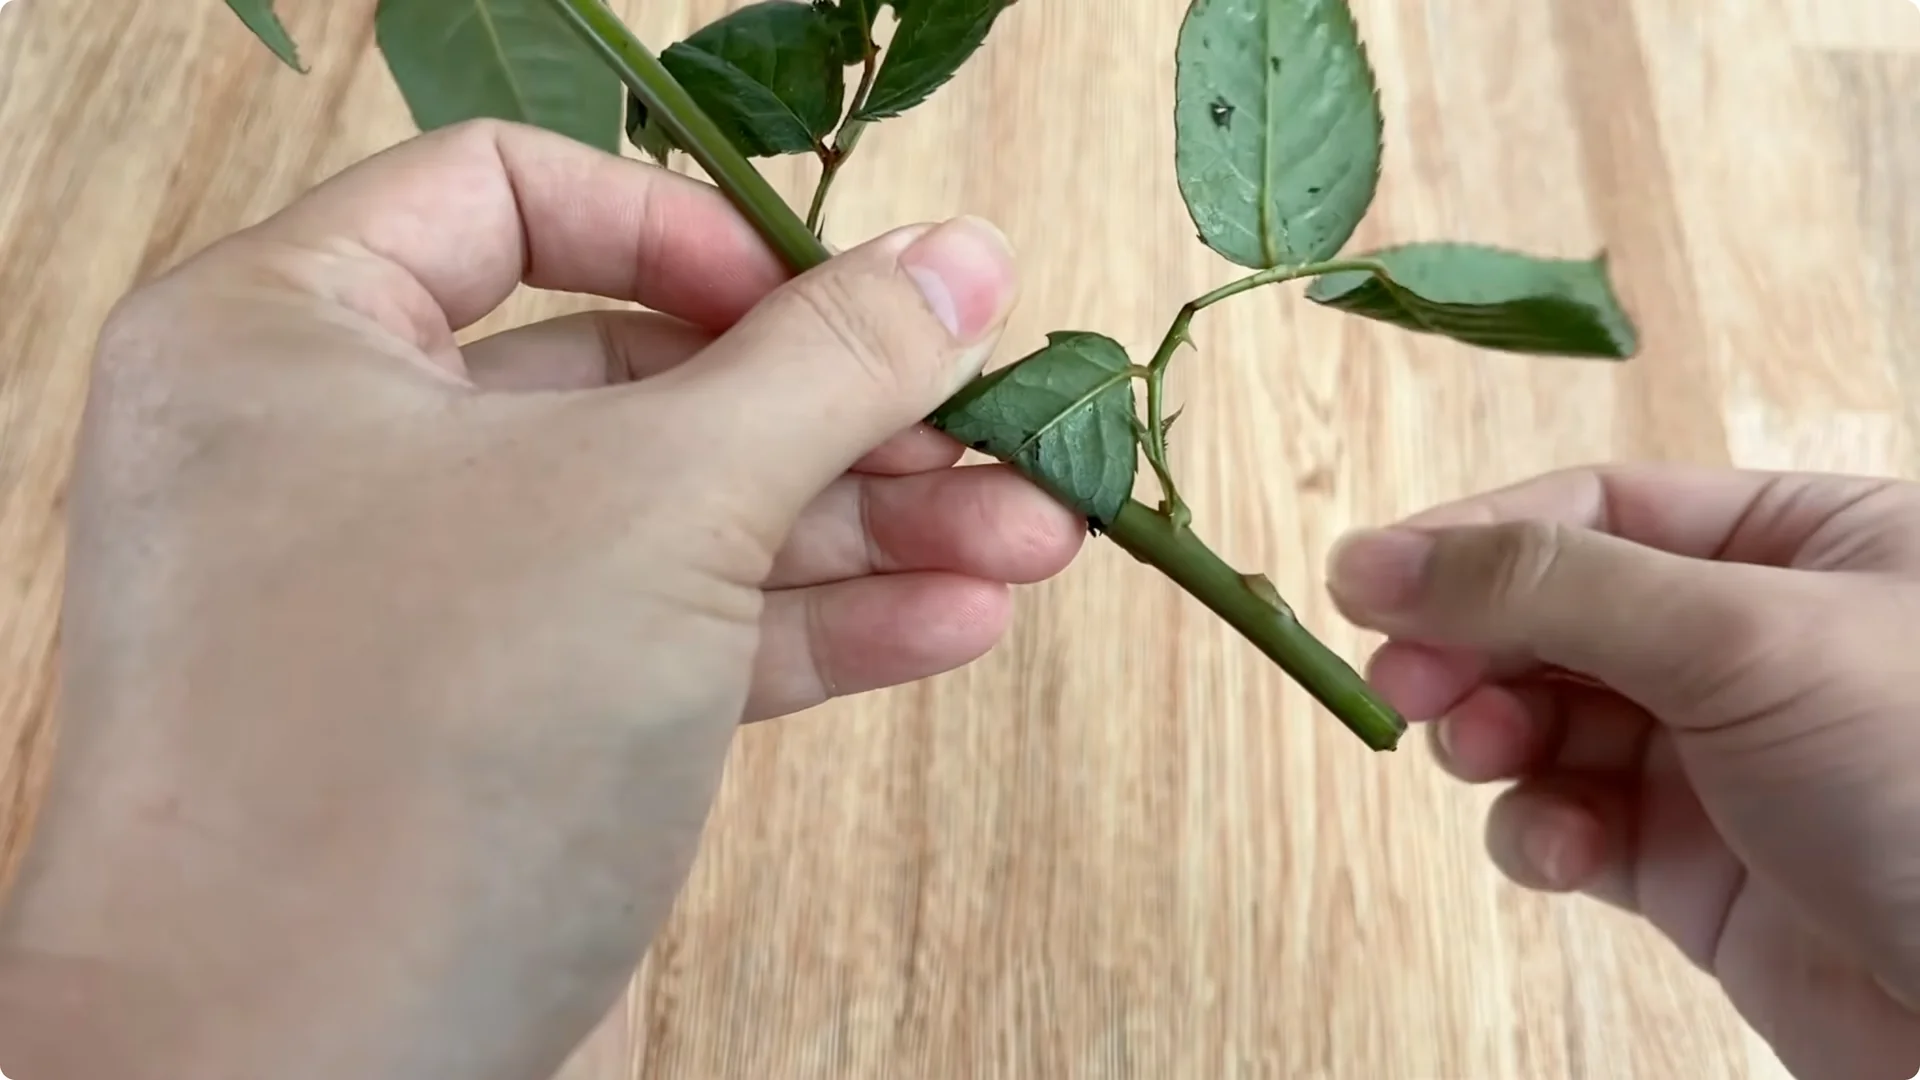
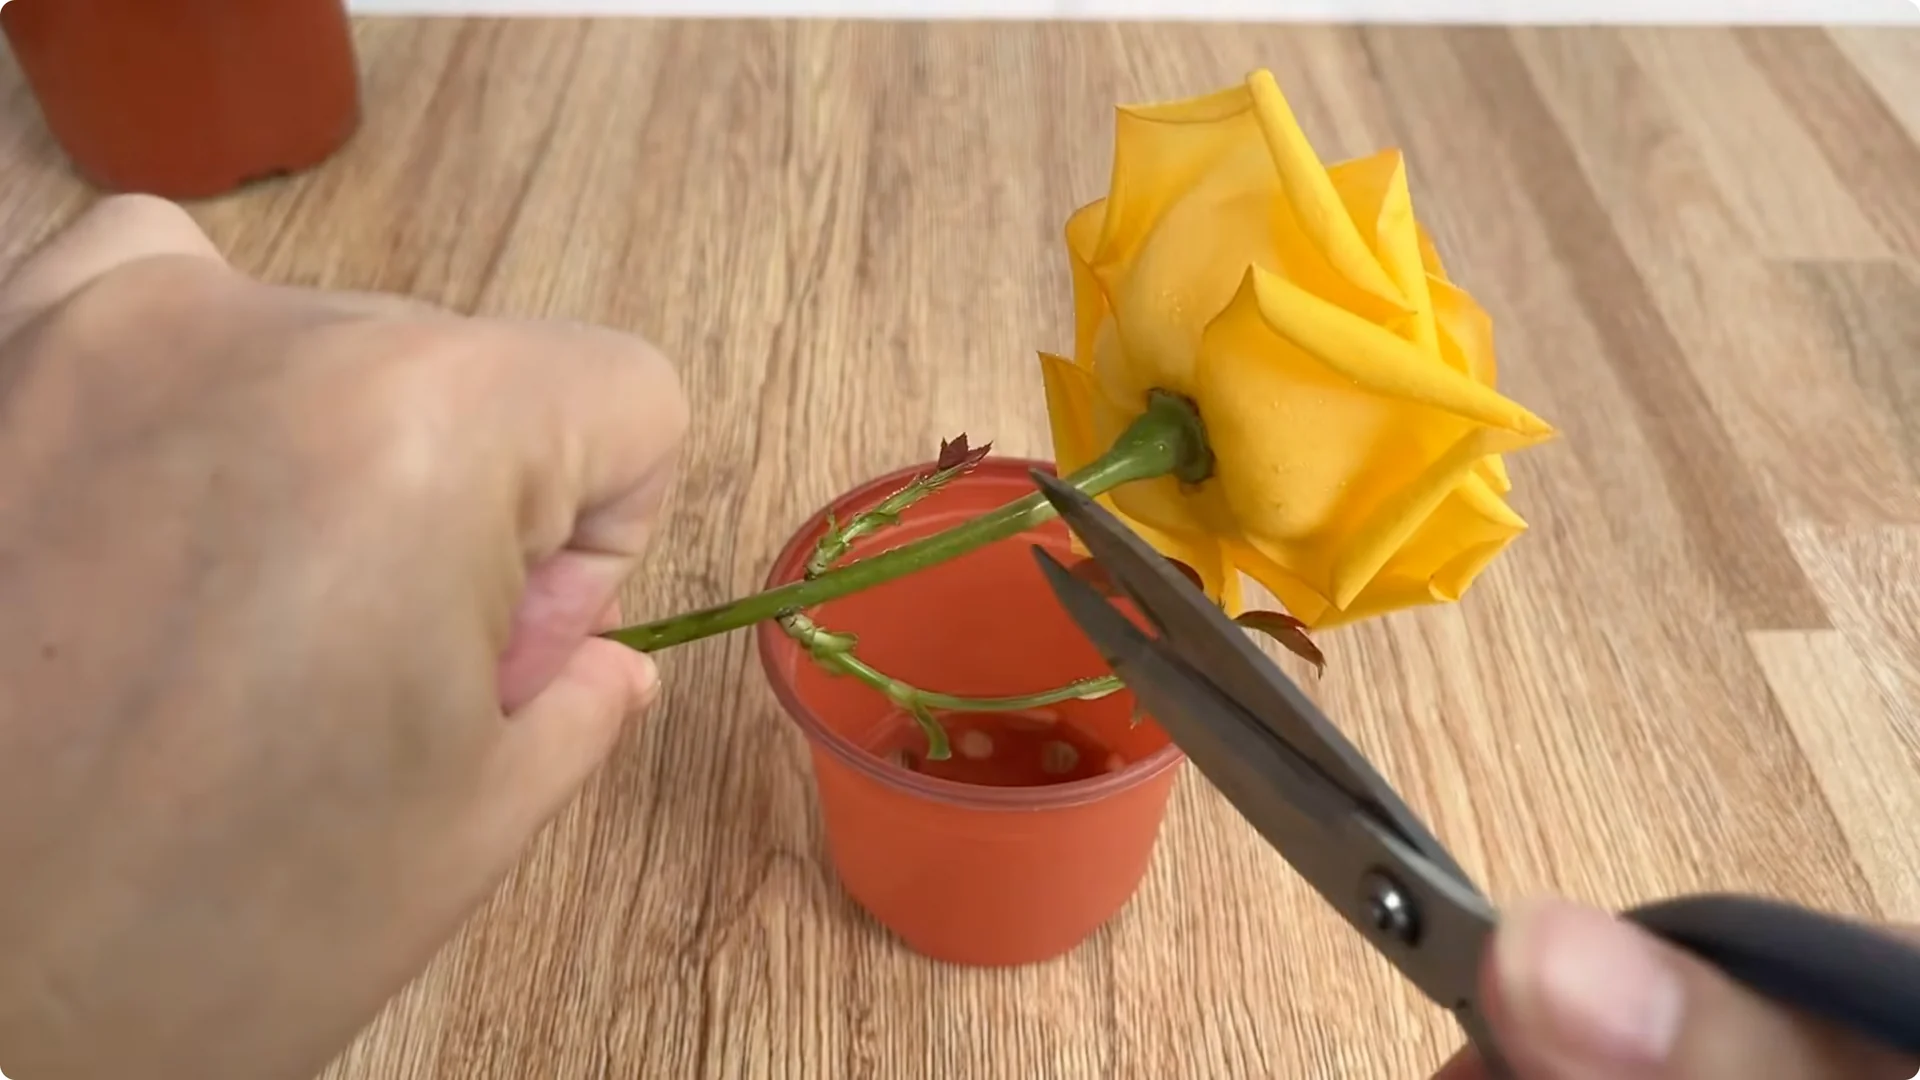
Choose a rose cutting that you like, ensuring it is free from pests and diseases, has a sturdy stem, and is of moderate age. Using sharp scissors, remove all leaves and thorns, and also discard any old, withered, or damaged petals to minimize water loss and prevent fungal infections.
Trim the stem to about 20 cm in length, ensuring each stem has two to three healthy dormant buds. At the base of the stem, trim away some of the outer bark to expose the inner tissue, allowing the stem to easily absorb the rooting solution.
3. Assemble the Onion Based Rose Rooting jar
Next, prepare a clean glass jar and a piece of foam. Cut the foam to fit snugly over the mouth of the glass jar, ensuring it is firm enough to hold the stem securely but still allows for good aeration.
Soak the rose stem in the fresh onion water for about 30 minutes. During this time, the natural compounds in the onion will penetrate the base of the stem, helping to disinfect and stimulate cell division.
After soaking, gently remove the rose stem from the jar, filter out the onion pulp, and keep the clear solution. Next, strain the cooled onion peel-oat solution. Mix the two solutions together, stirring well to create a nutrient-rich mixture that both protects the cuttings and provides the necessary energy for root development.
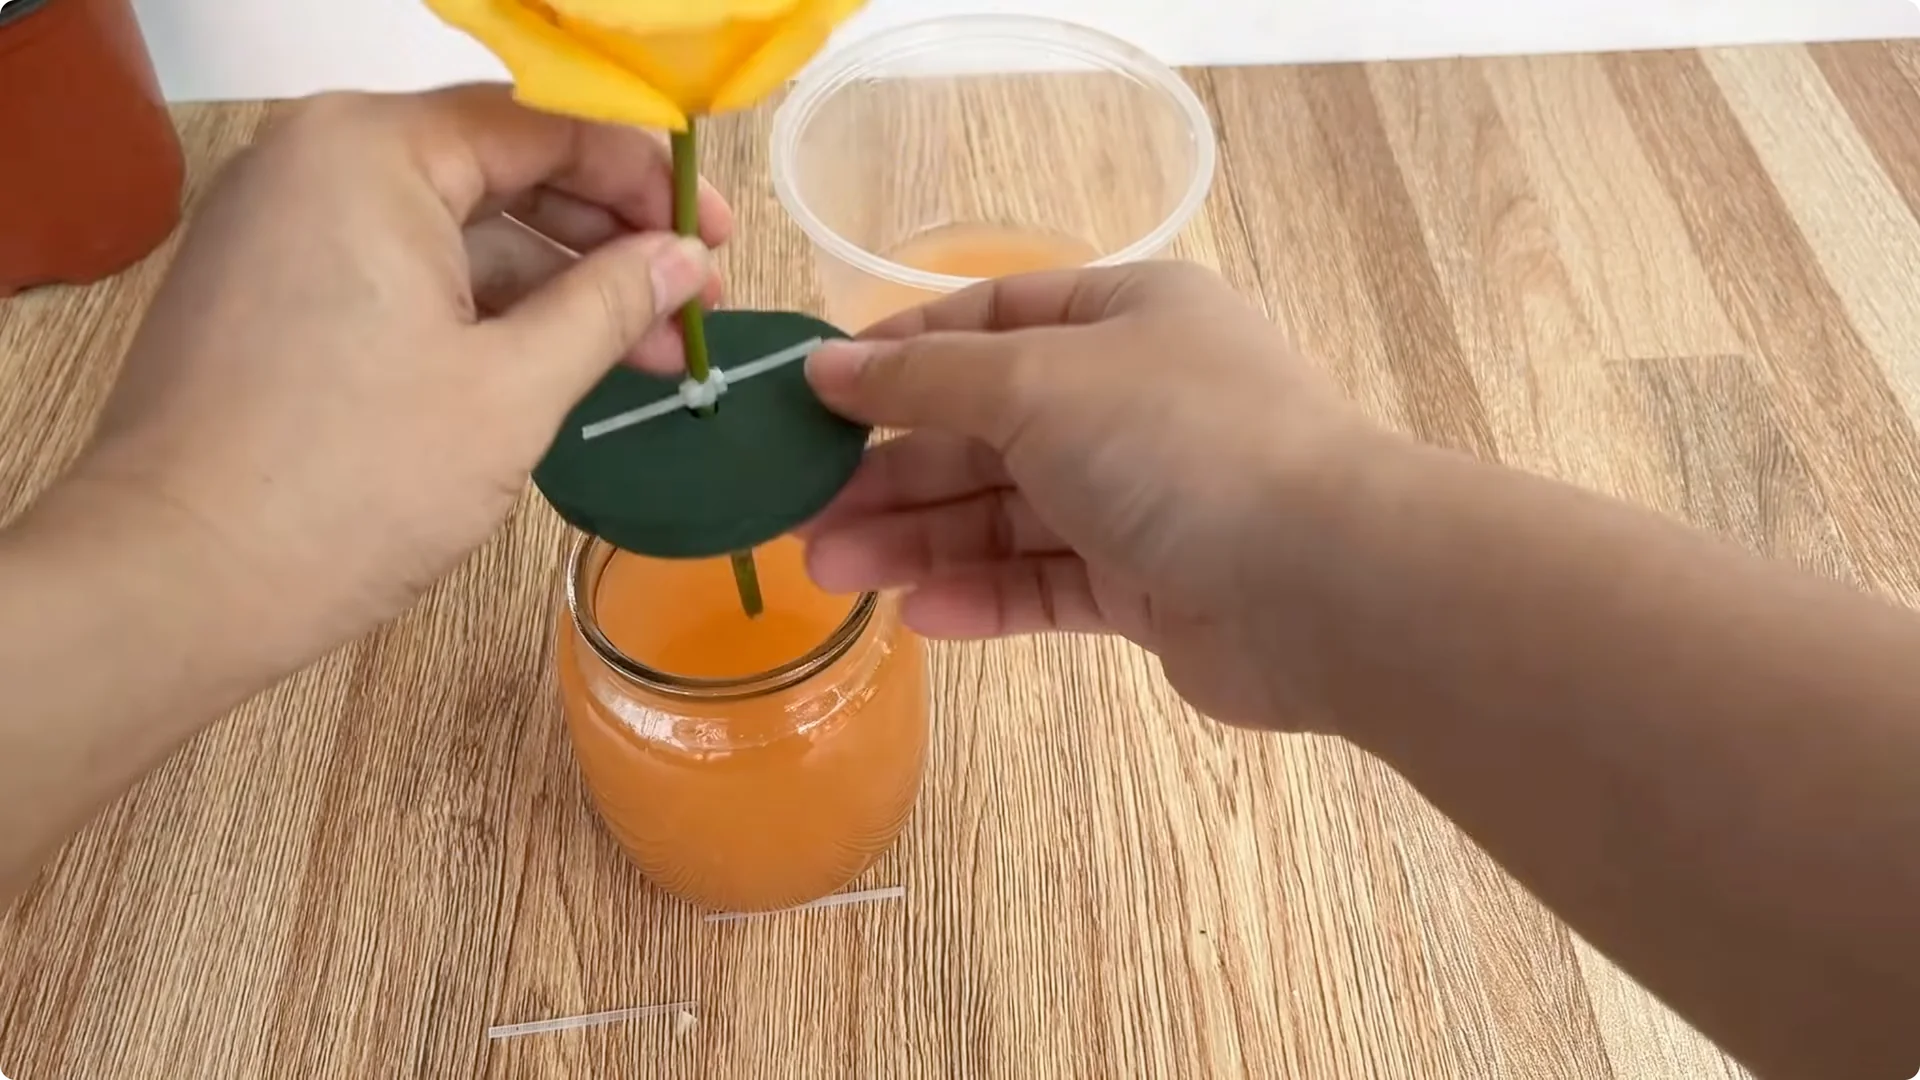
Fill the prepared glass jar with the resulting solution. Use a piece of string to gently secure the middle of the rose stem, then thread the stem through the center of the foam. Place the foam over the mouth of the glass jar ensuring a tight seal so that the base of the rose stem is submerged in the solution, while the upper part remains dry and well-ventilated.
4. Humidity and placement for Onion Based Rose Rooting
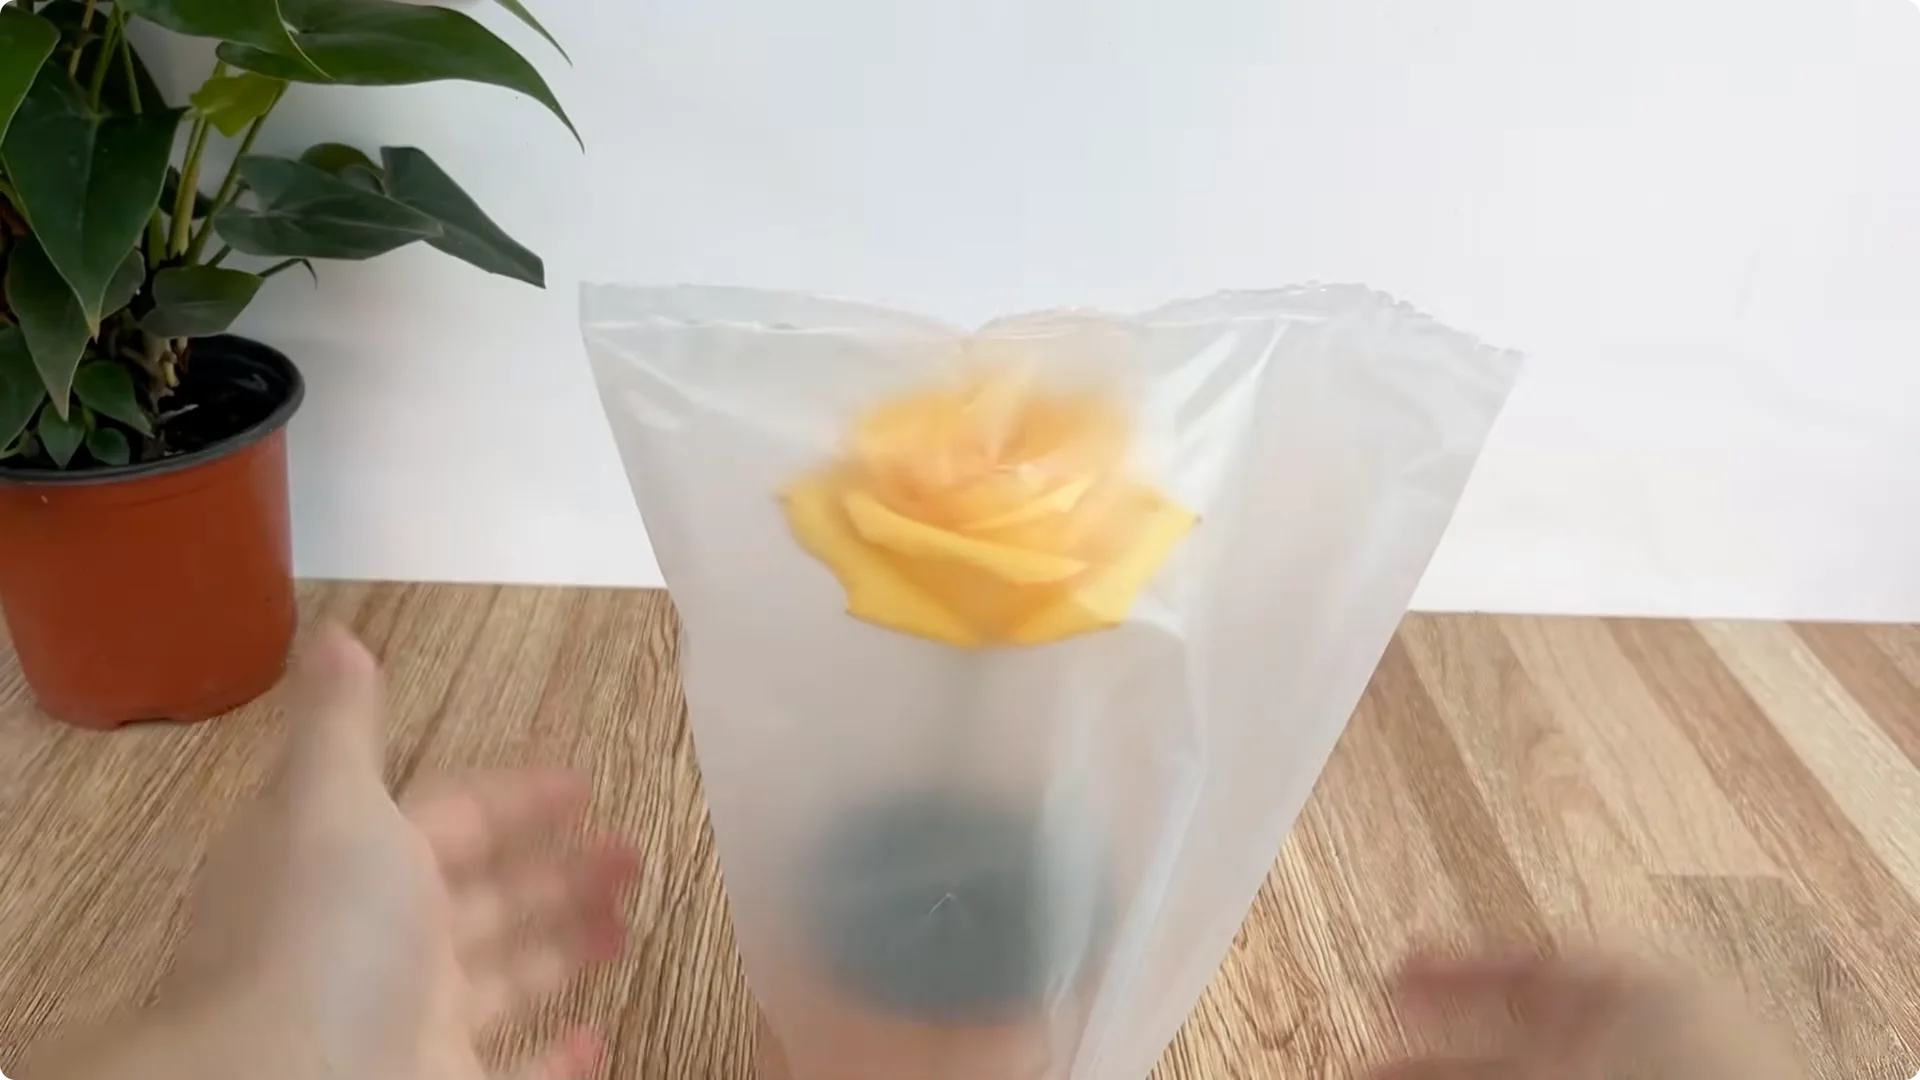
Finally, cover the entire jar and stem with a clear plastic bag or plastic cup to create a stable humid environment. Place the jar in a cool, well-ventilated place, avoiding strong winds and direct sunlight.
5. Results with Onion Based Rose Rooting

After about 10 days of care and monitoring, you will be truly satisfied with the results. Observing the base of the cutting, you will see many new, milky white roots beginning to appear; these roots are thick, succulent, and firmly attached around the base.
On the stem, new shoots are also gradually emerging, and new leaves are fresh and green indicating that the rose cutting has adapted well and the rooting process has been successful.
6. Potting after Onion Based Rose Rooting
At this point, you can gently transfer the rose cutting to a pot with good drainage using treated river sand as a growing medium to allow the roots to continue developing strongly.
Final thoughts on Onion Based Rose Rooting
Most importantly, this method gives gardeners a sense of control, peace of mind, and excitement as they witness the small changes in the cutting. Every new shoot that emerges, every white root that appears, is a testament to patience and love for plants.
Hopefully, this lesson will inspire you to continue experimenting, creating, and building your own healthy, sustainable, and vibrant rose garden in the most natural way possible.