We will be practicing a manual yet highly effective method of propagating roses using familiar kitchen ingredients to create a powerful rooting solution. Just follow each step correctly, and your rose bush will quickly sprout new shoots, develop roots, and grow into a healthy plant.
1. Why This Homemade Rose Rooting Solution Works
Garlic is a familiar ingredient but with excellent antibacterial and growth-stimulating properties. Thanks to its strong antifungal properties, garlic will protect the stem from root rot in the first few days.
The Beginner’s Rose Propagation Starter Kit 🌹
A simple printable PDF guide to help you root rose cuttings successfully.
Get The Guide →
Soaking the bread in water creates an ideal environment to activate beneficial bacteria, aid in nutrient breakdown, and promote the growth of new roots. Coffee powder is rich in minerals and antioxidants, which helps stimulate new root formation.
2. Prepare the Rose Cutting
Select and clean
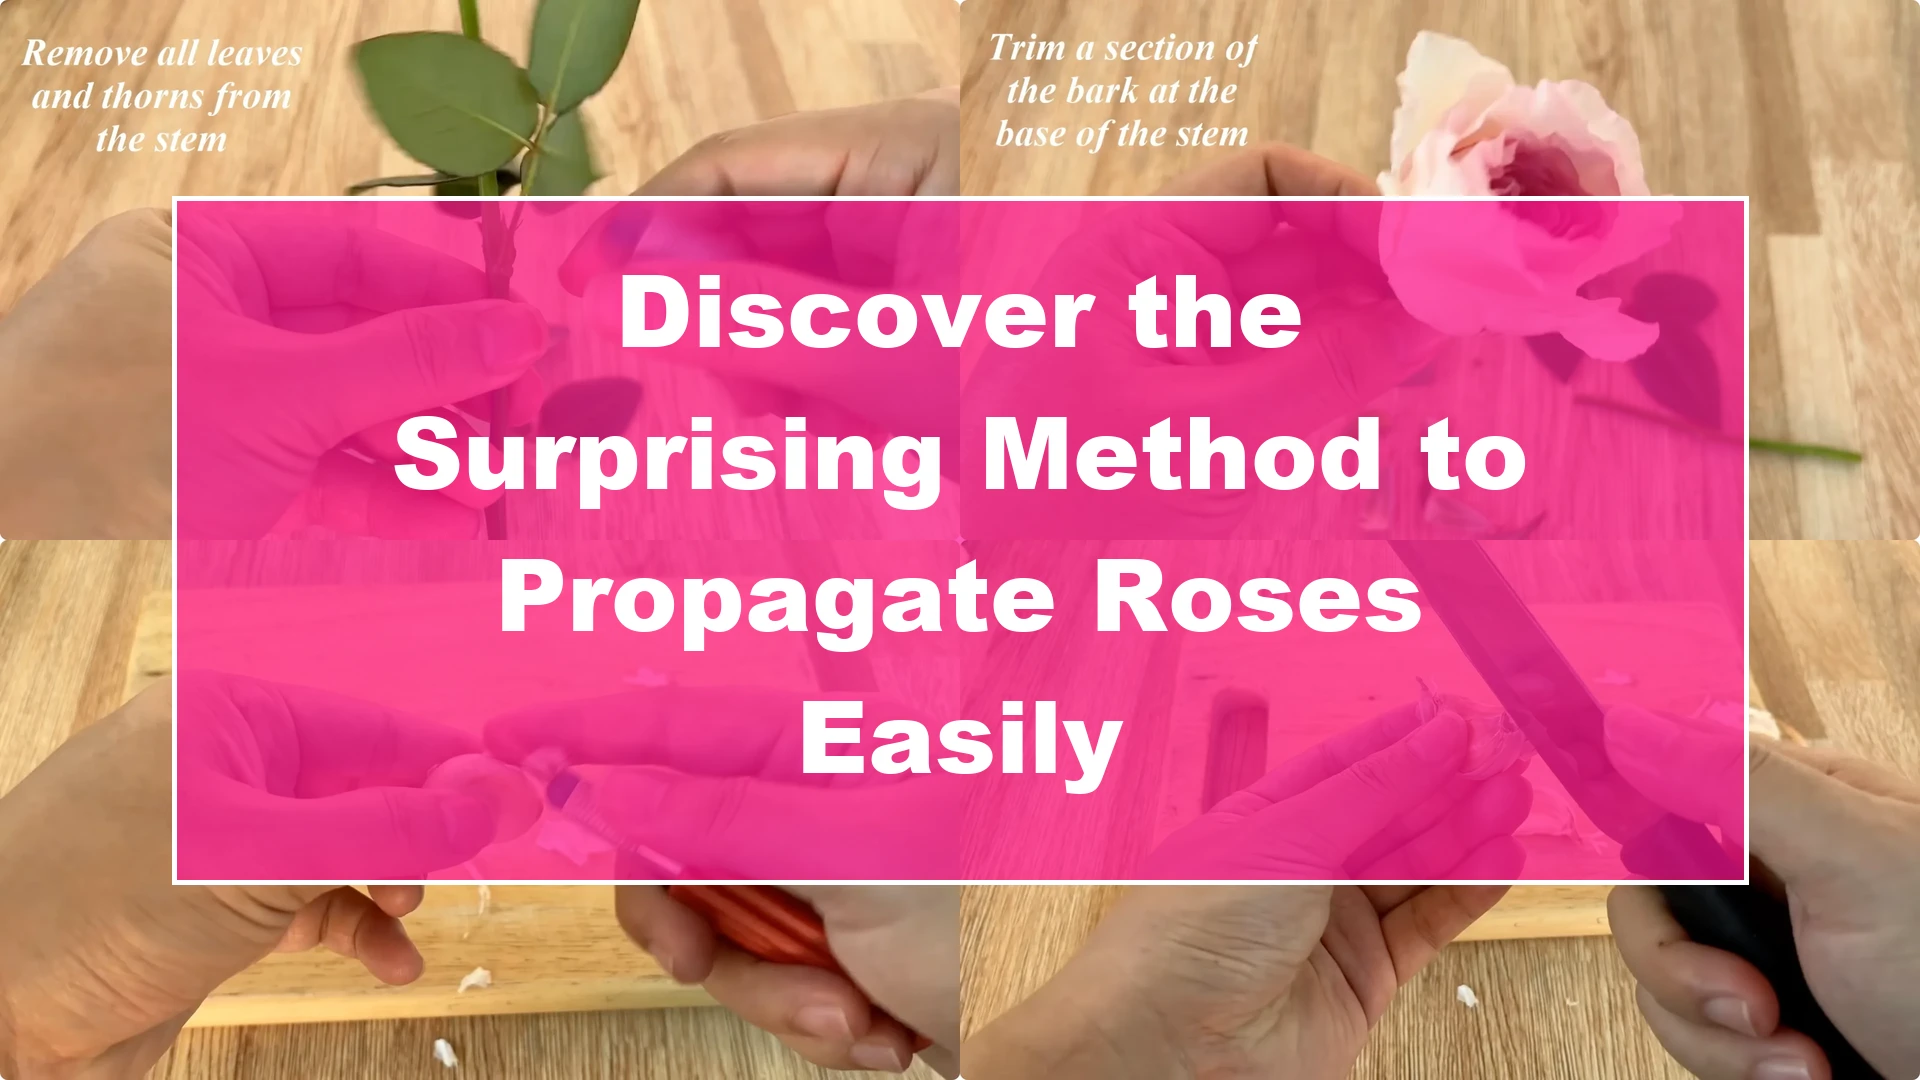
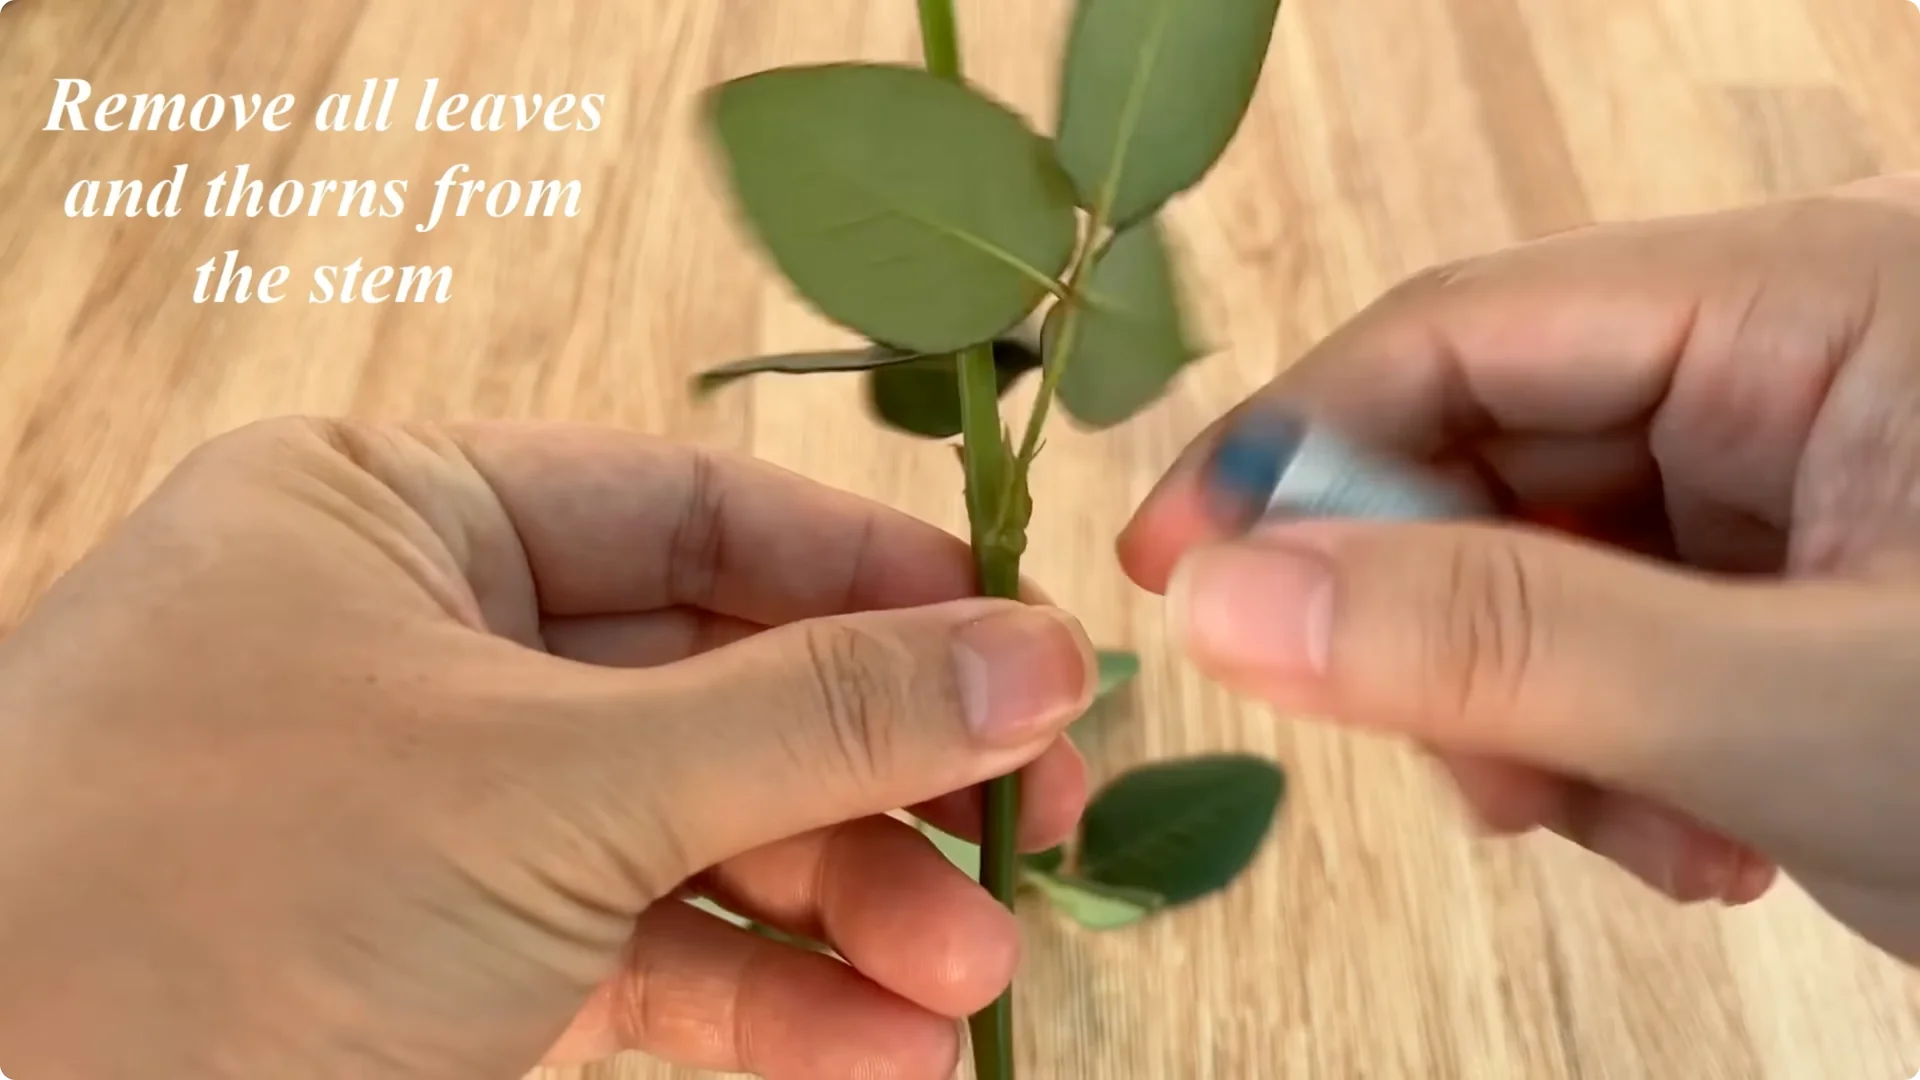
Prepare a rose cutting of moderate age – not too young to avoid rot, and not too old to limit root growth. Use clean scissors or a knife to completely remove the leaves and thorns from the cutting. This reduces water loss and concentrates nutrients on rooting.
Cut the cutting to about 20 cm, removing any old, withered petals to prevent disease.
Expose rooting zone
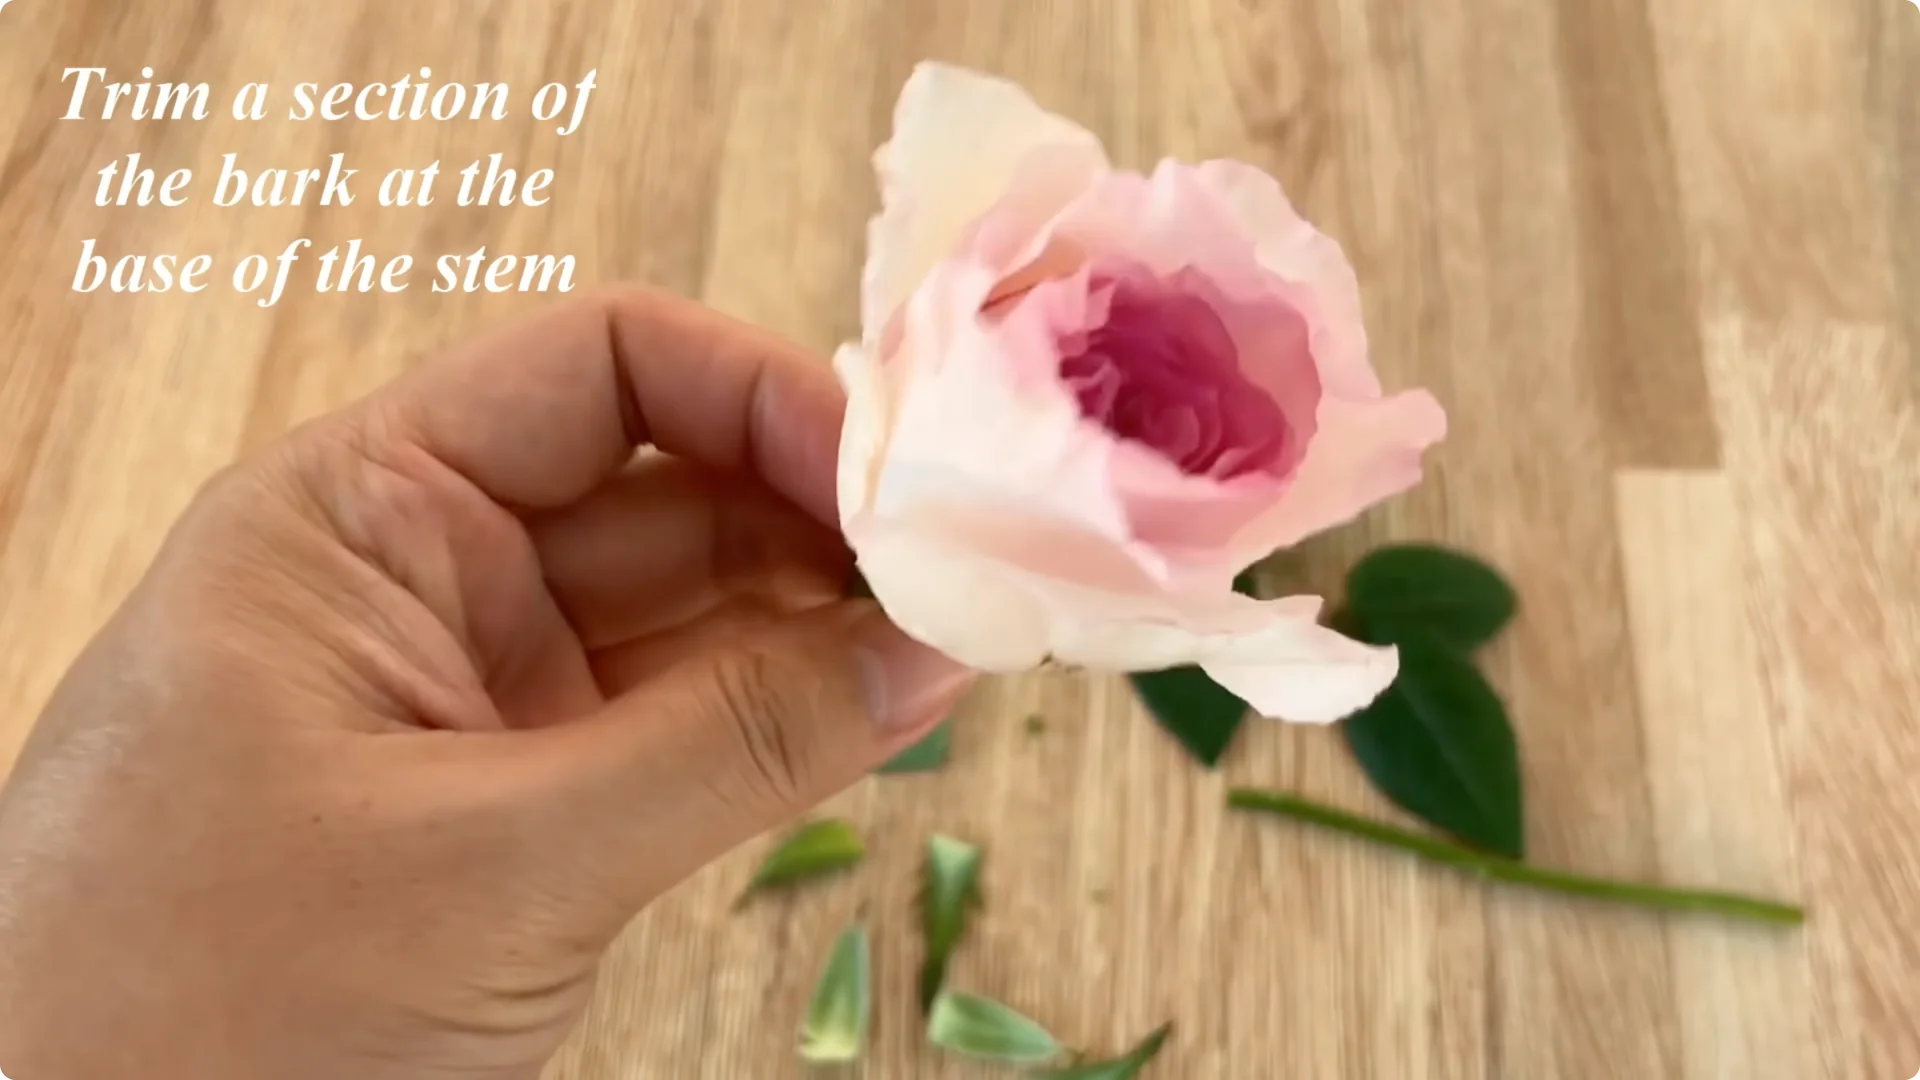
At the base of the cutting, trim away a thin layer of bark to expose the woody tissue. This is where strong new roots will form later.
For another simple approach to propagation, see this step-by-step rose method.
3. Infuse With Garlic
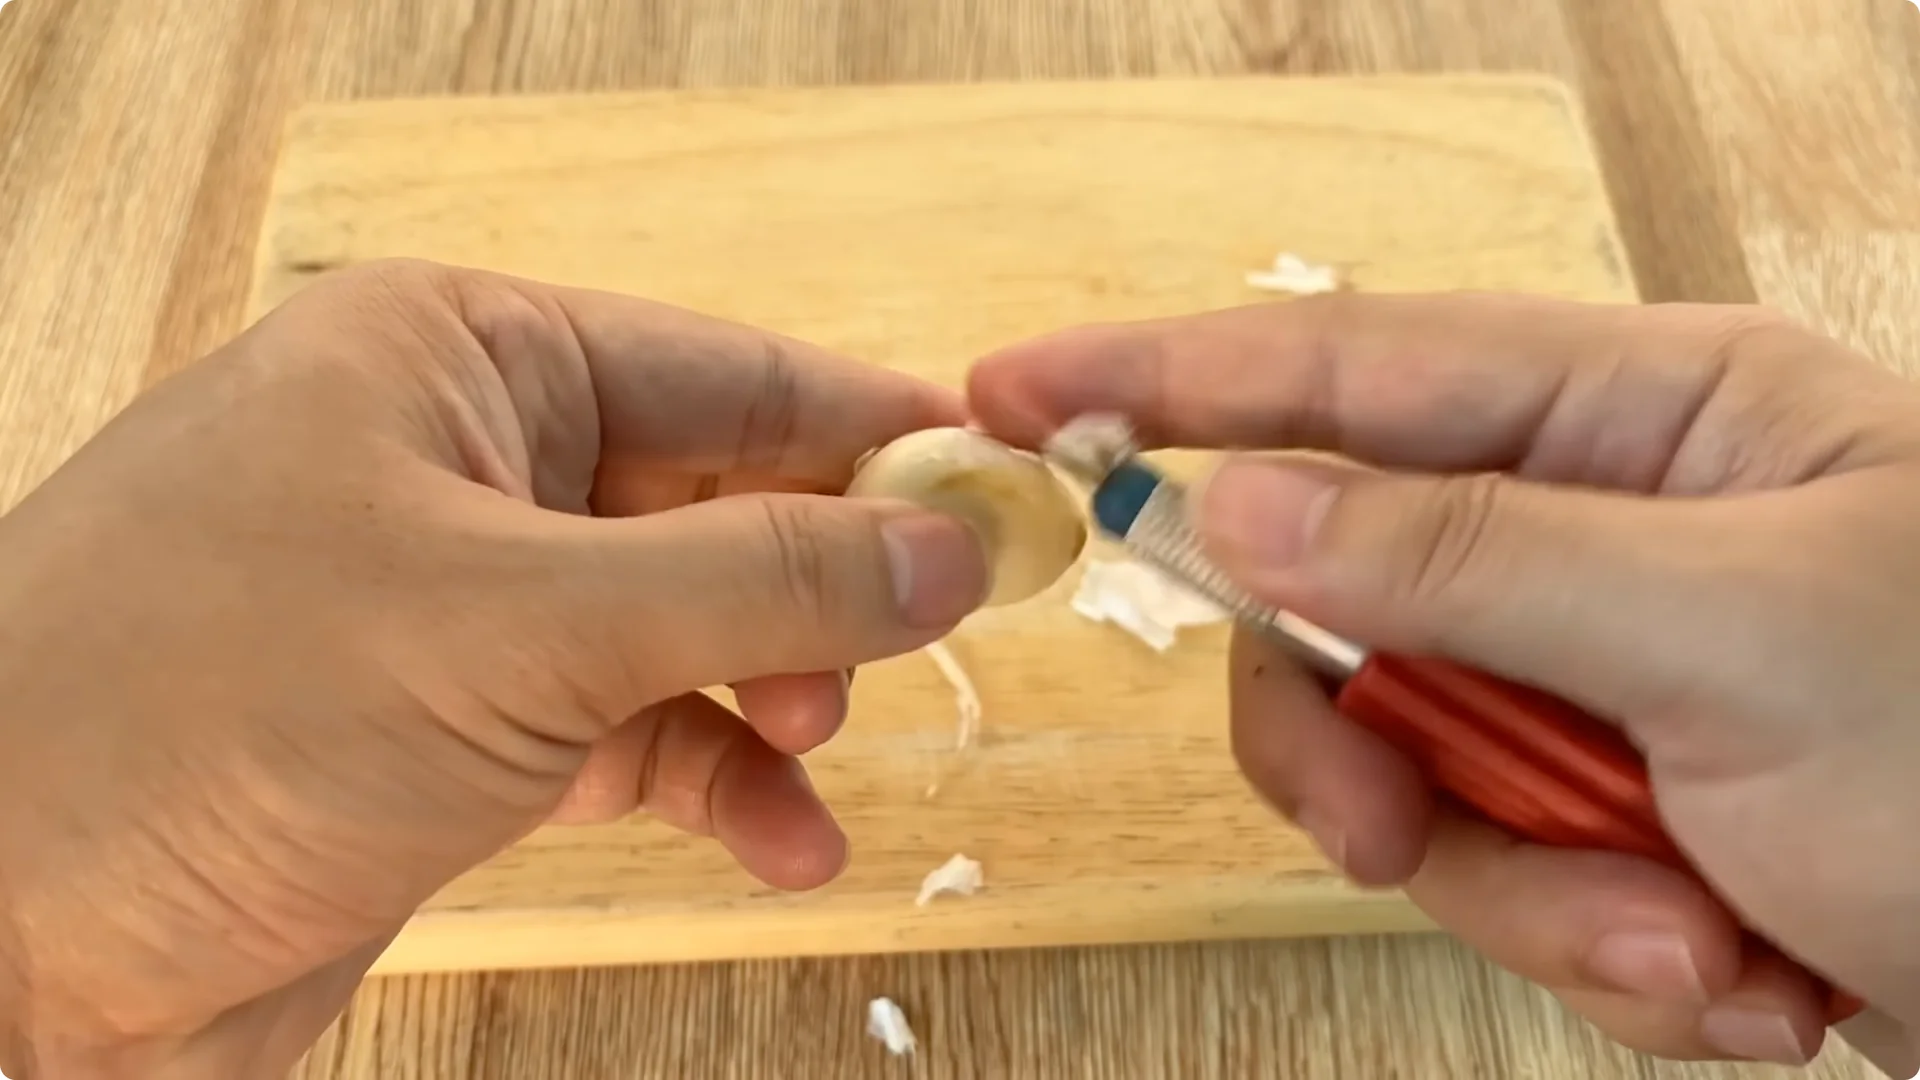
Take a small clove of garlic, peel it, cut off one end, and gently make a small hole in the center. Insert the base of the rose stem into the hole and allow the garlic’s essence to penetrate the root tissue.
With the remaining garlic, rub it all over the stem, covering it evenly from root to tip, and let it dry naturally. Garlic will protect the stem from root rot in the first few days.
4. Mix the Homemade Rose Rooting Solution
Ingredients and prep
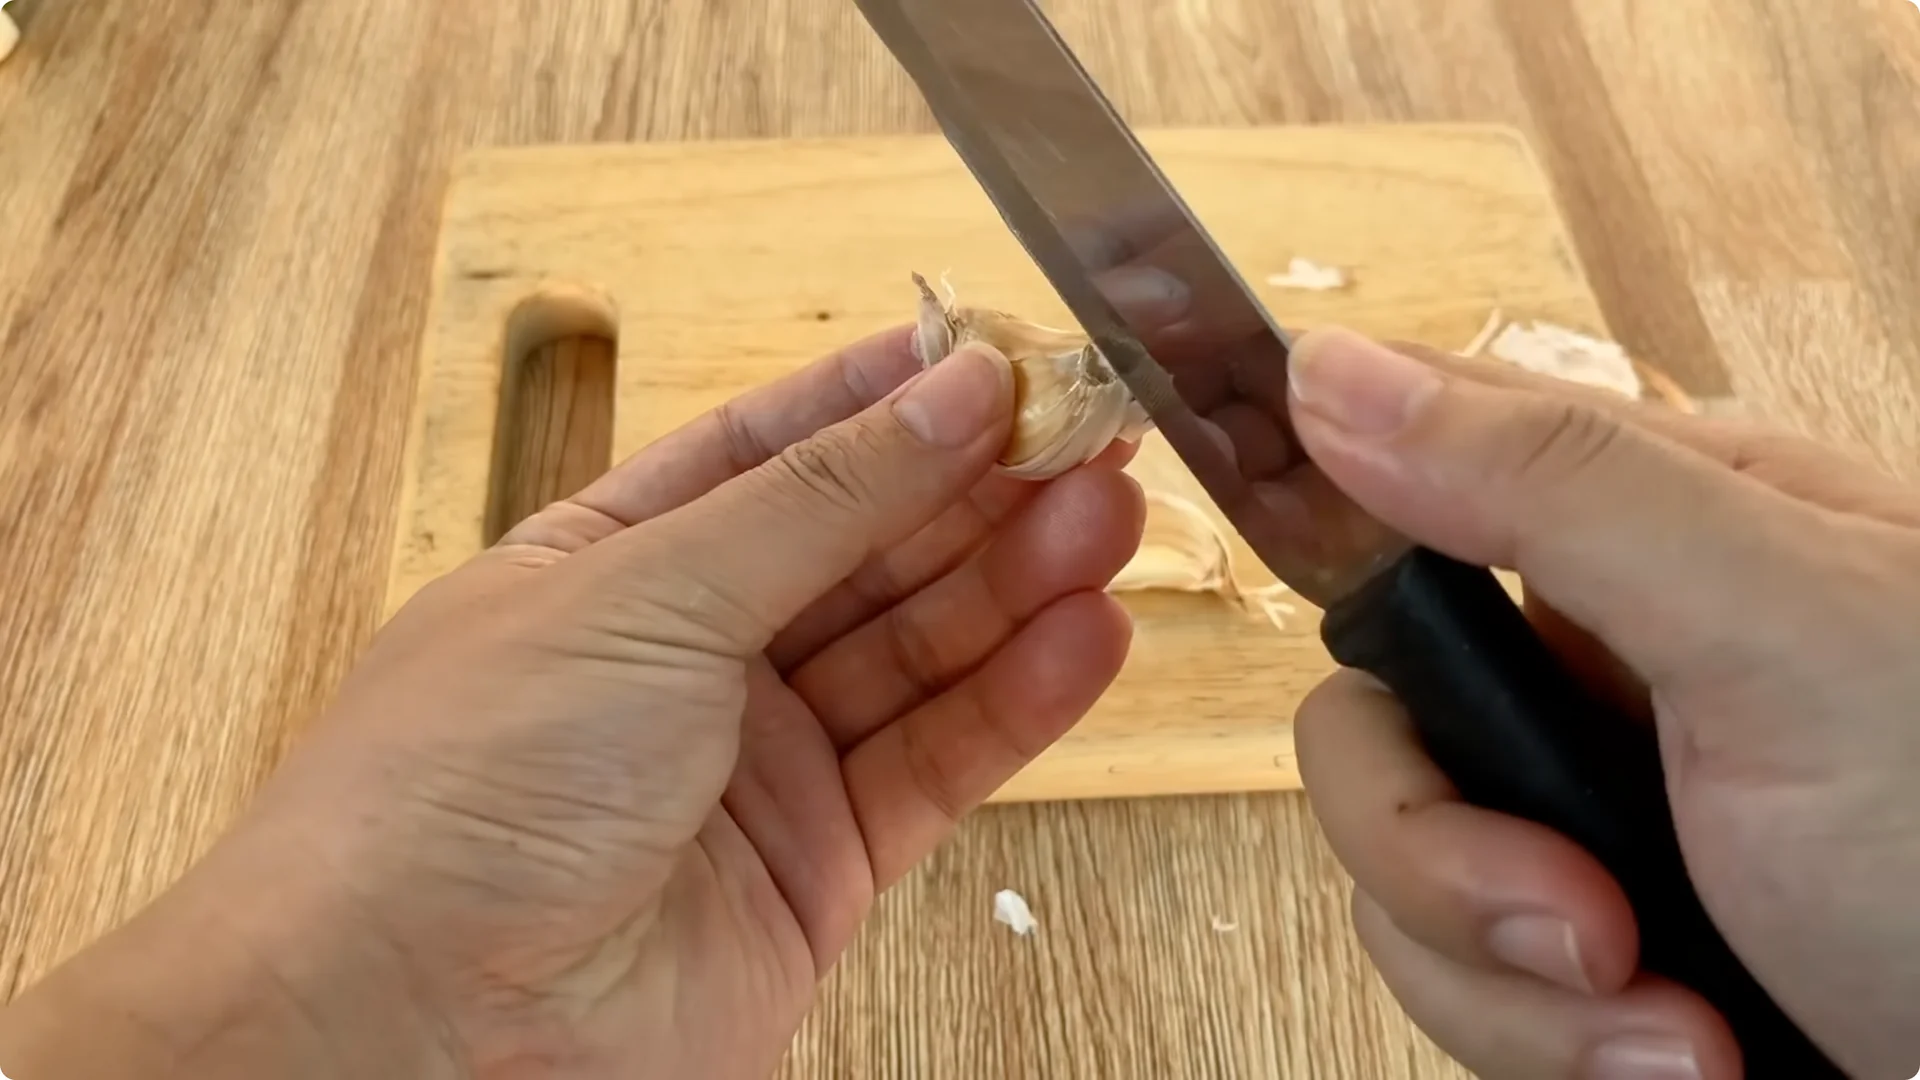
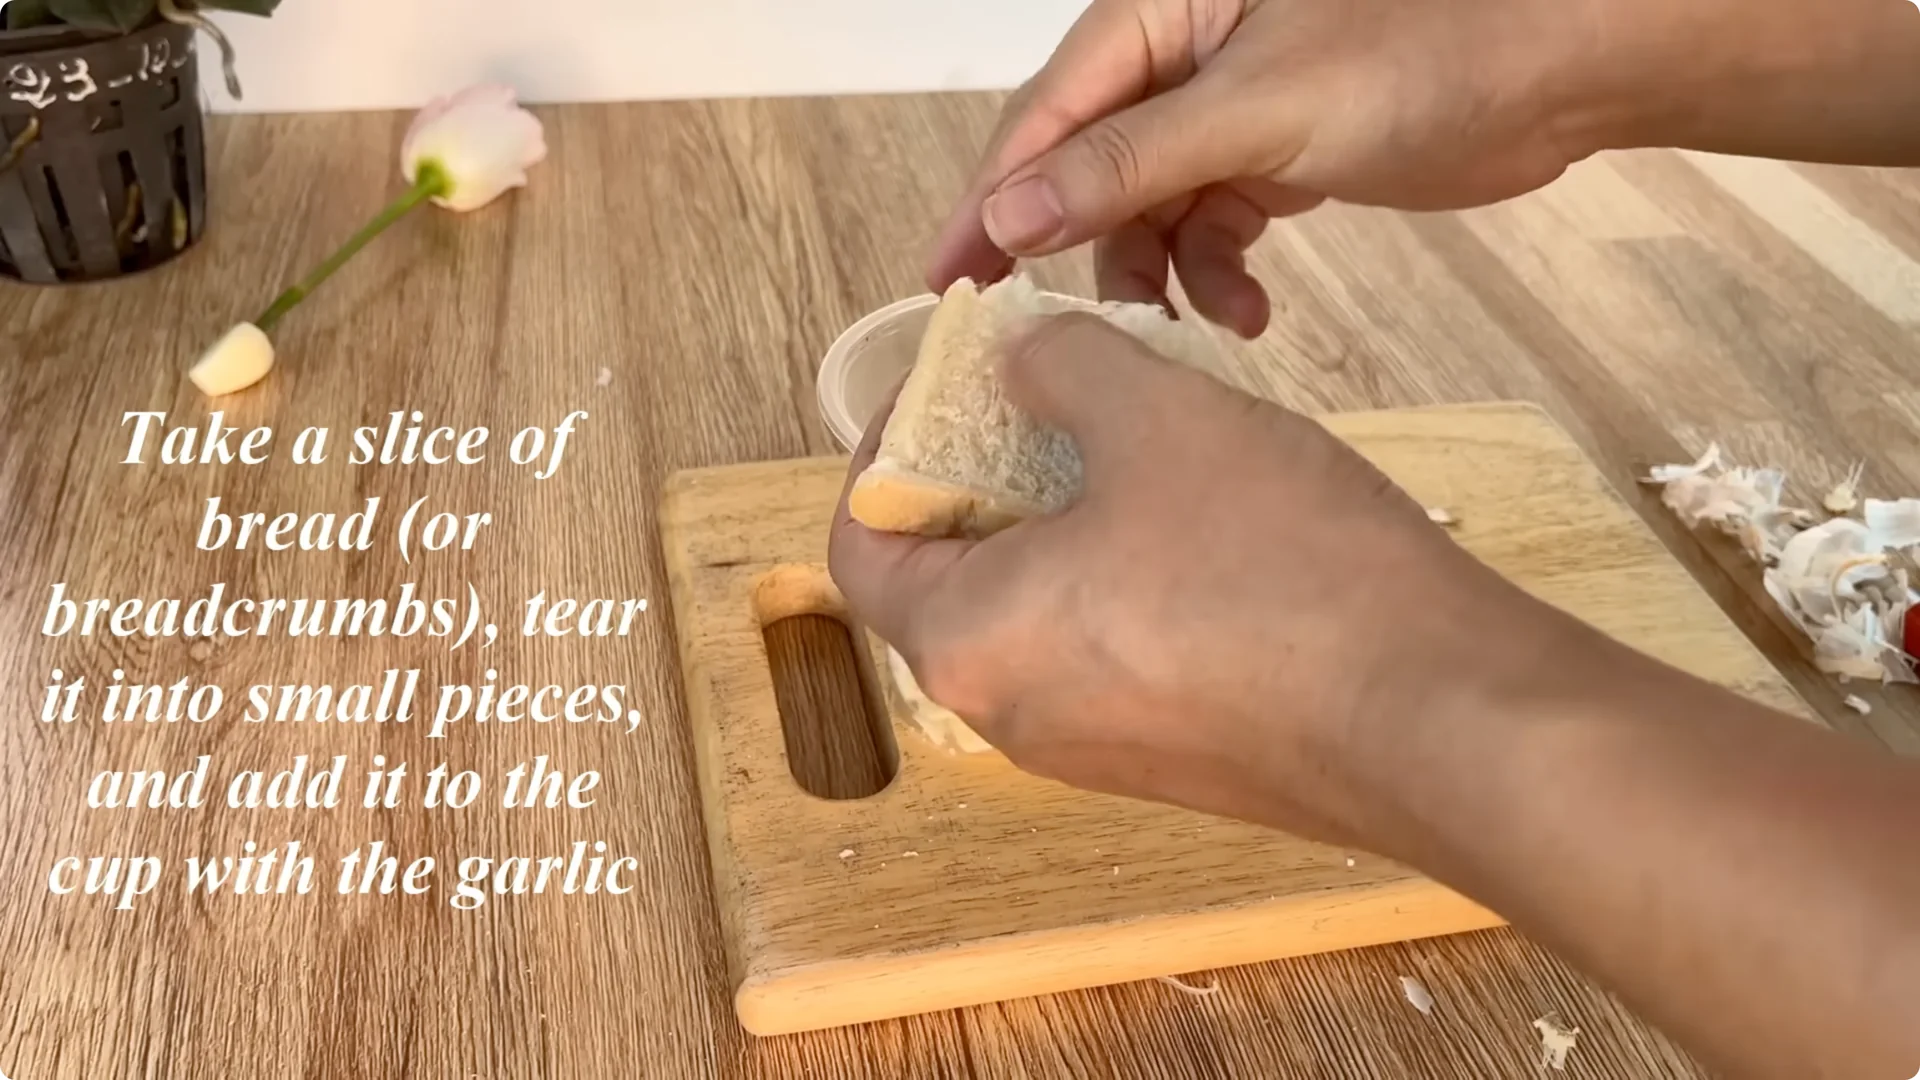
Take two more cloves of garlic, peel them, chop them finely, and put them in a clean plastic cup. Prepare a slice of bread or breadcrumbs and tear them into small pieces. Add a teaspoon of coffee powder to the cup.
Activate and steep
Soaking the bread in water creates an ideal environment to activate beneficial bacteria, aid in nutrient breakdown, and promote the growth of new roots. Pour 500 ml of warm water into the cup, stir well, and let it sit for about 30 minutes.
During this time, the nutrients in the garlic, bread, and coffee will dissolve, creating a rich organic mixture that is very good for the plant. After the mixture has soaked for the sufficient time, filter out the clear liquid – this is the nutrient-rich garlic-bread-coffee solution.
For more rose rooting tricks, see these practical tips.
5. Dilute and Prepare the Medium
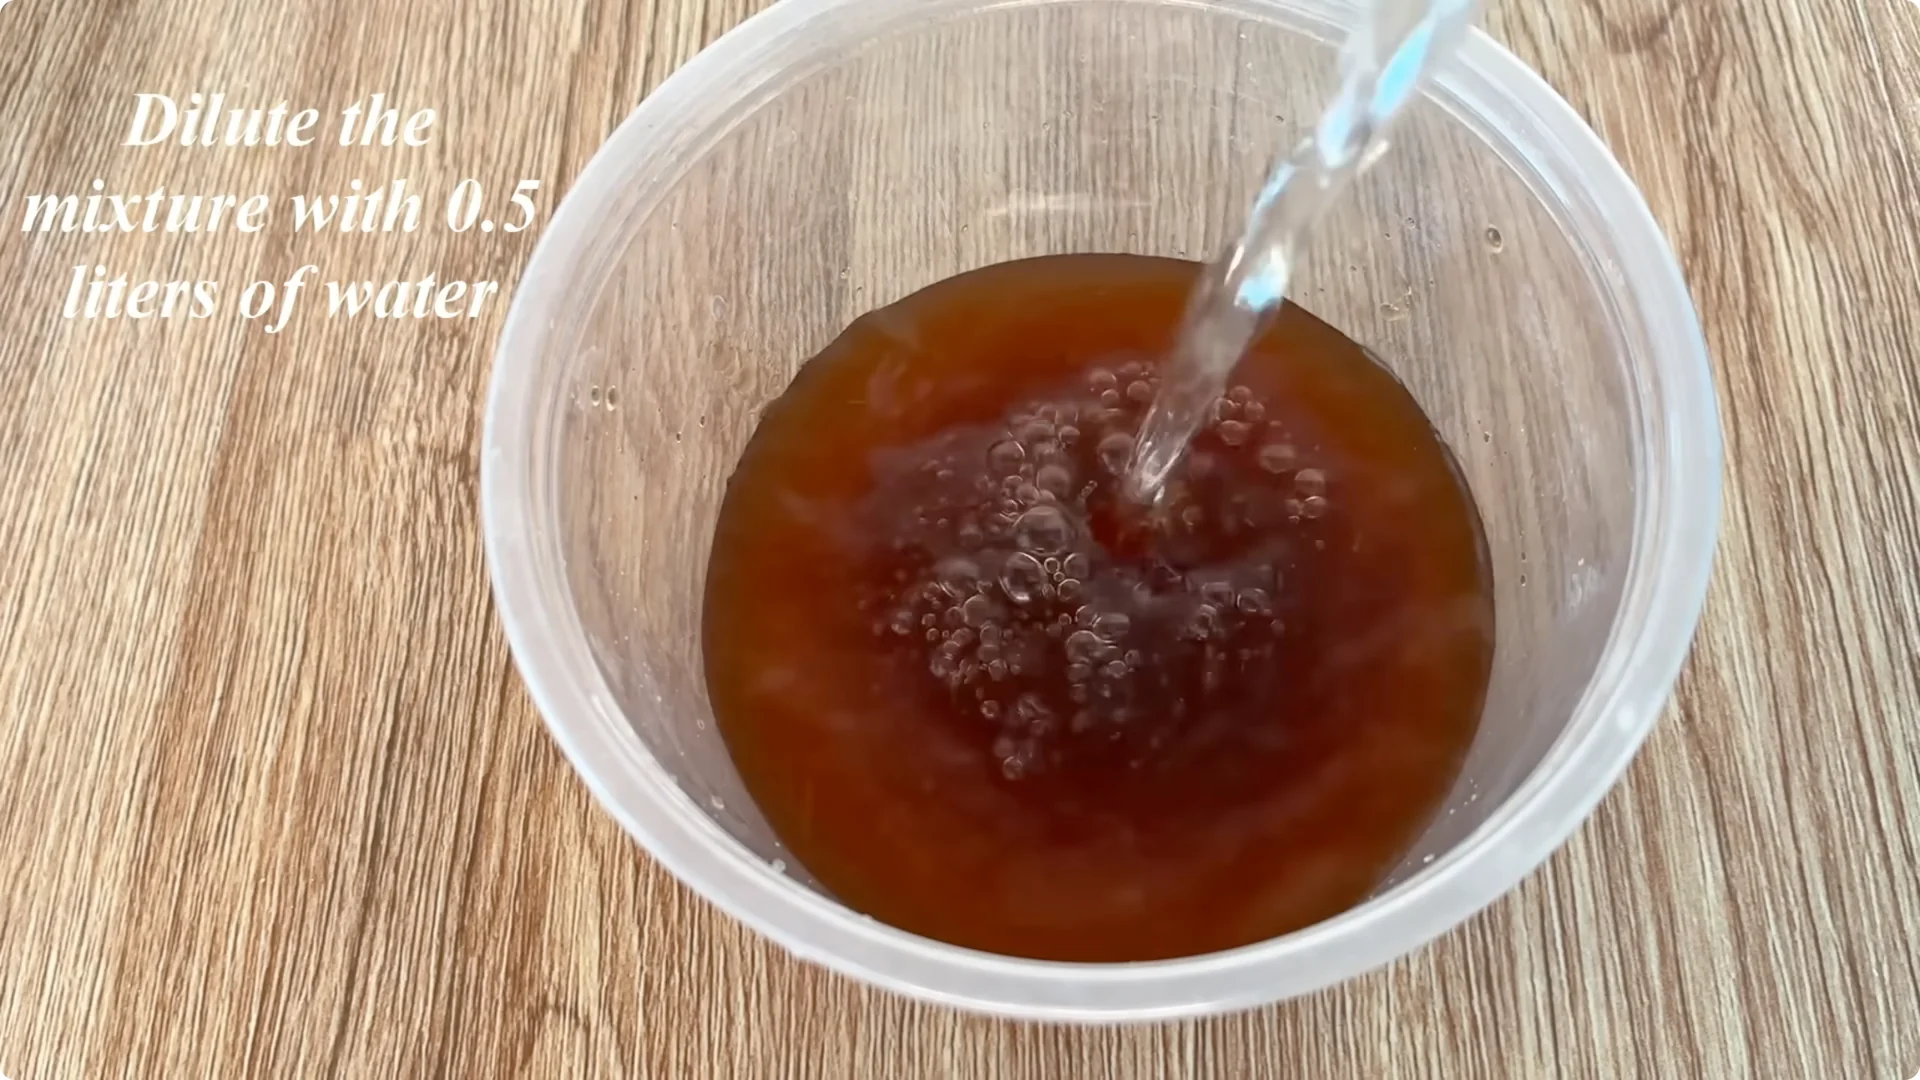
To achieve the appropriate consistency for the rose cutting, add another 0.5 liters of clean water to balance the pH and avoid nutritional shock to the plant.
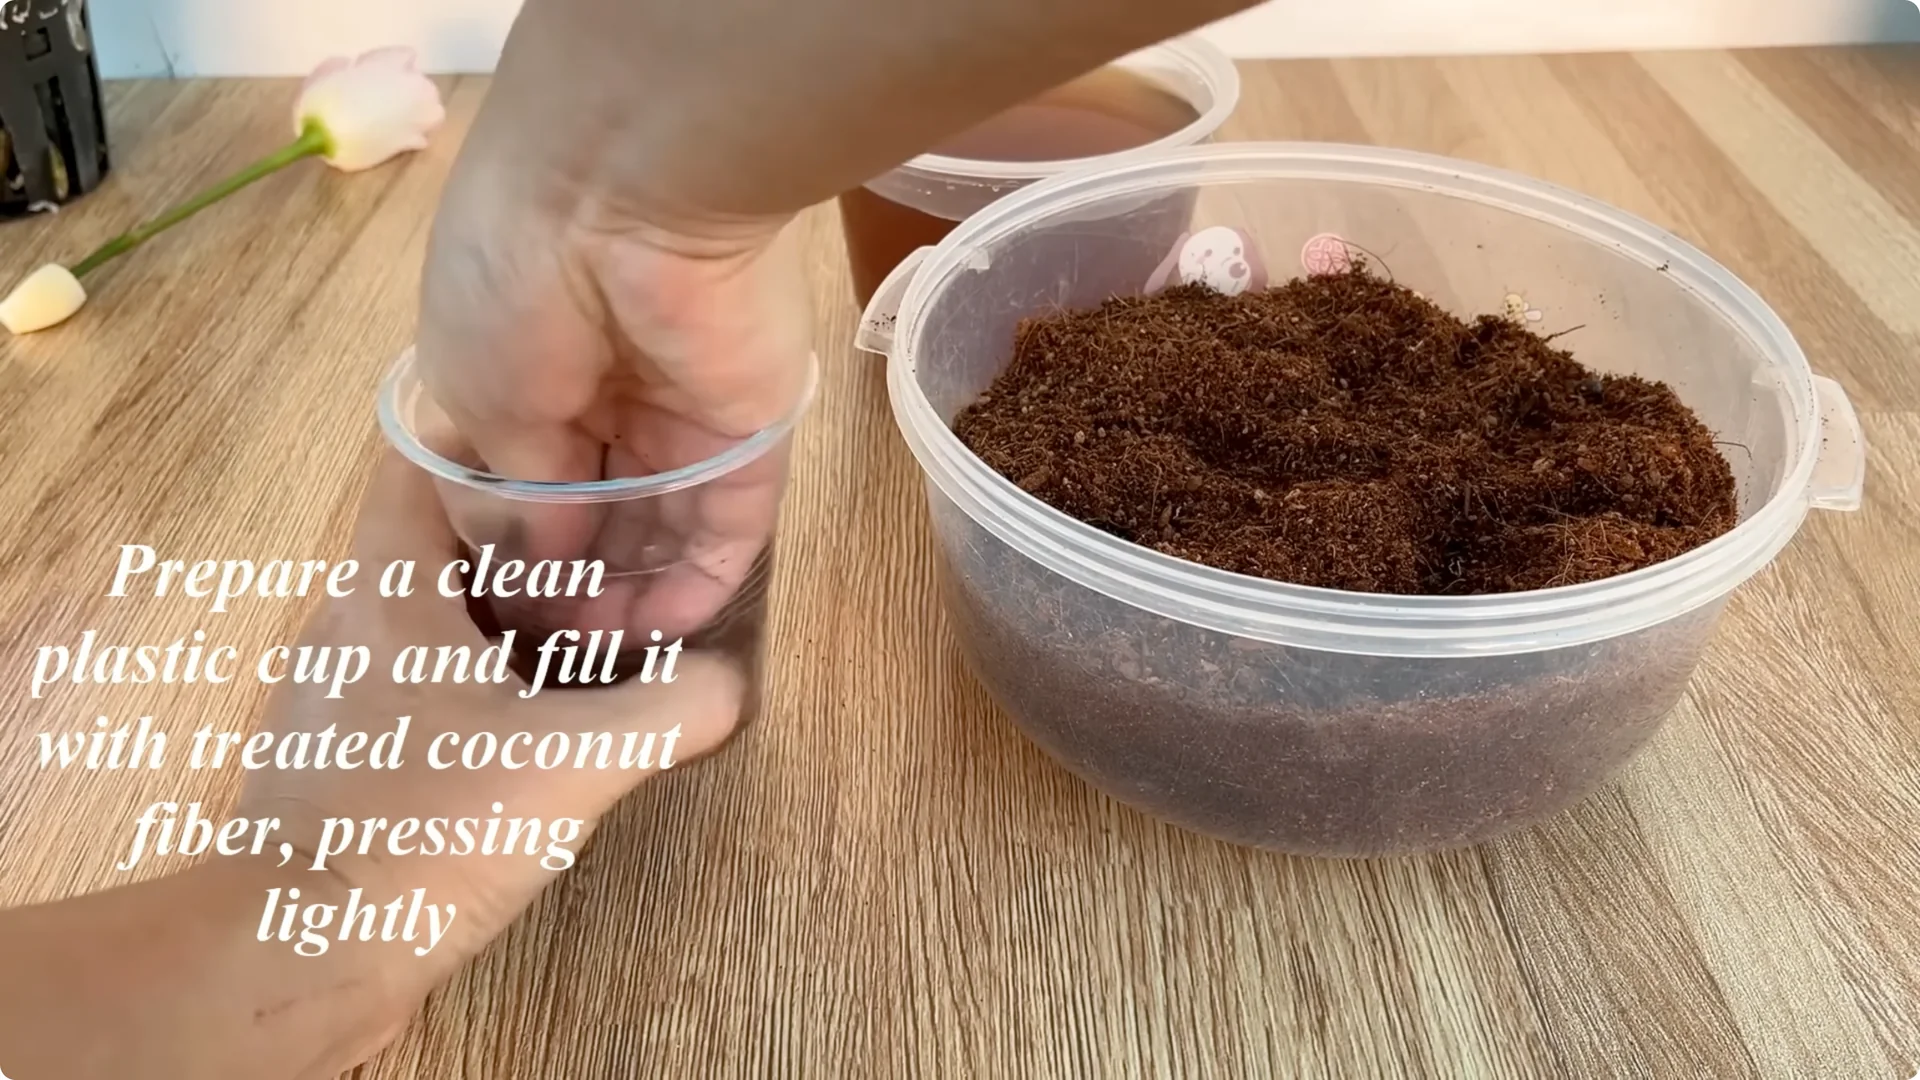
Prepare a clean plastic cup and fill it with treated coconut fiber. It is aerated and very disease-free, helping new roots develop quickly without waterlogging. Gently press down to stabilize the cutting when planting.
6. Plant the Cutting
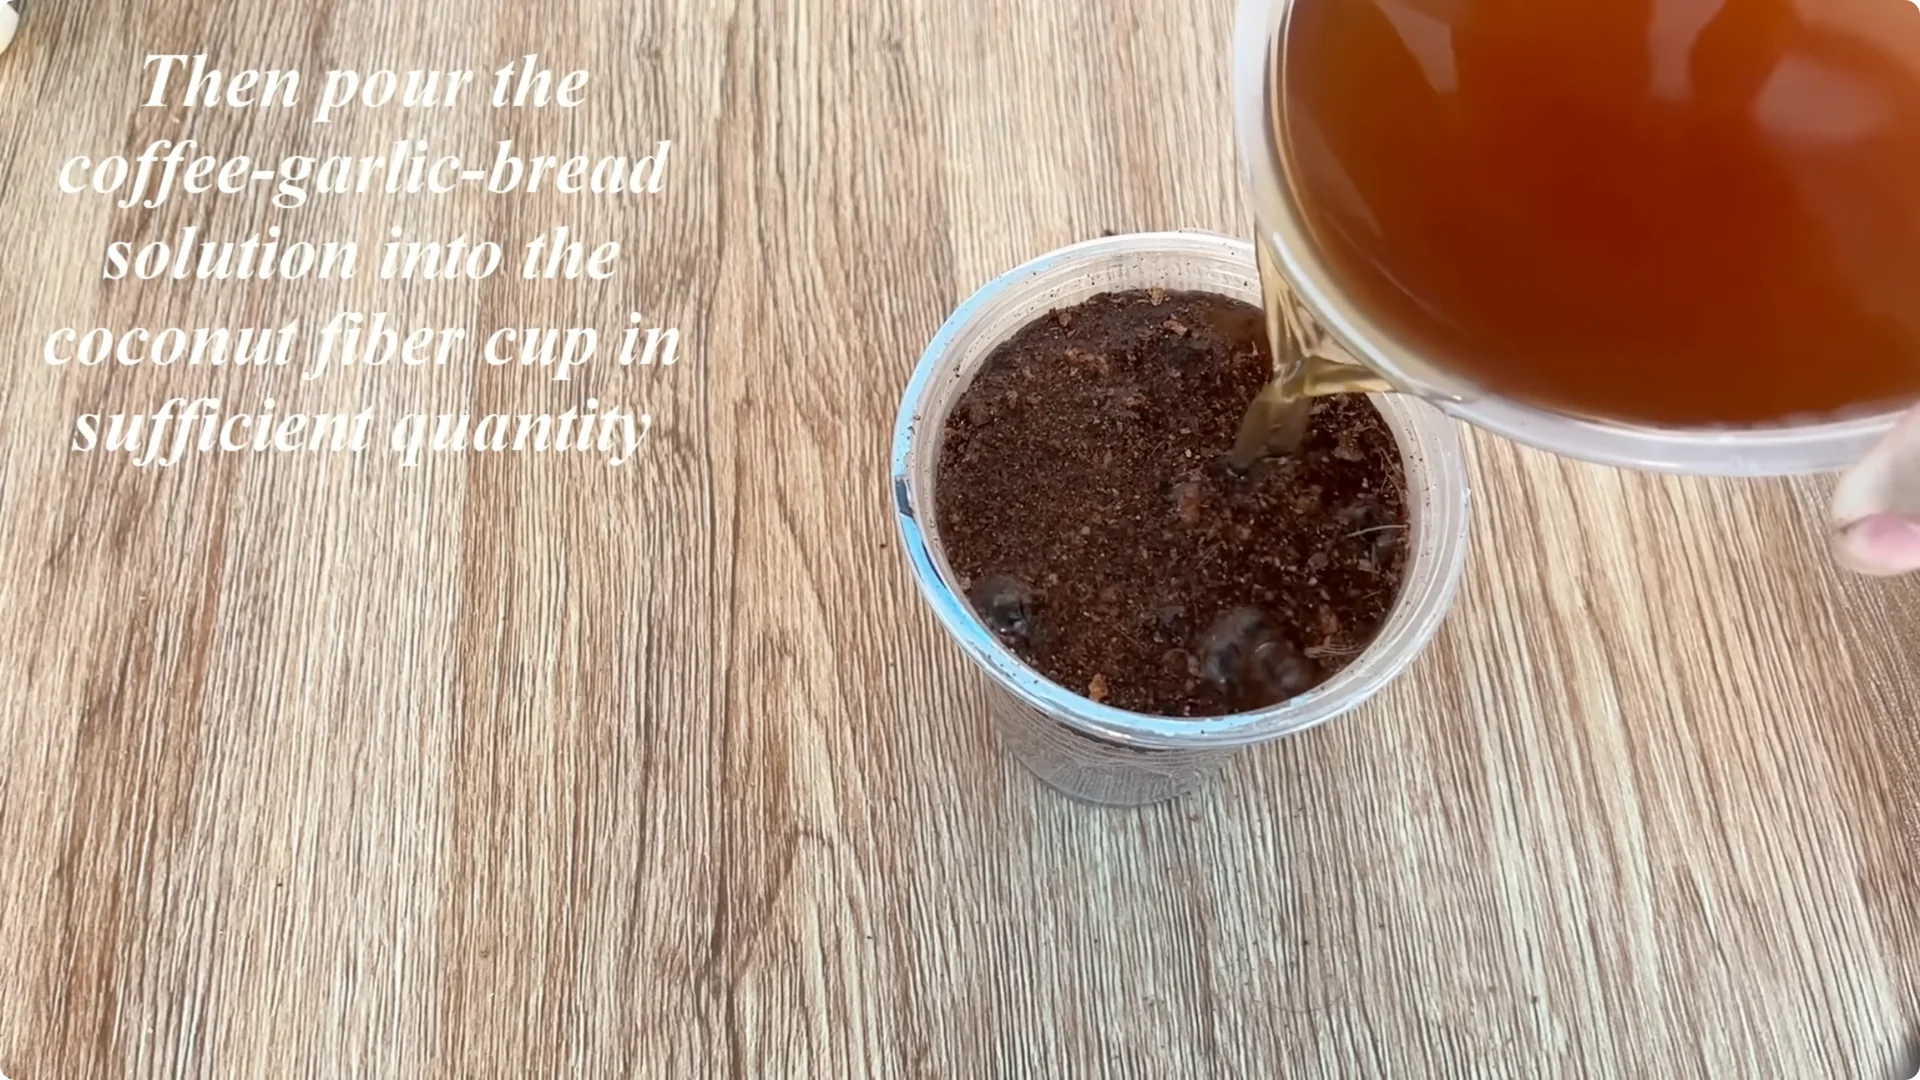
Pour the diluted garlic-bread-coffee solution into the cup, just enough to moisten the entire coconut fiber but not cause waterlogging.
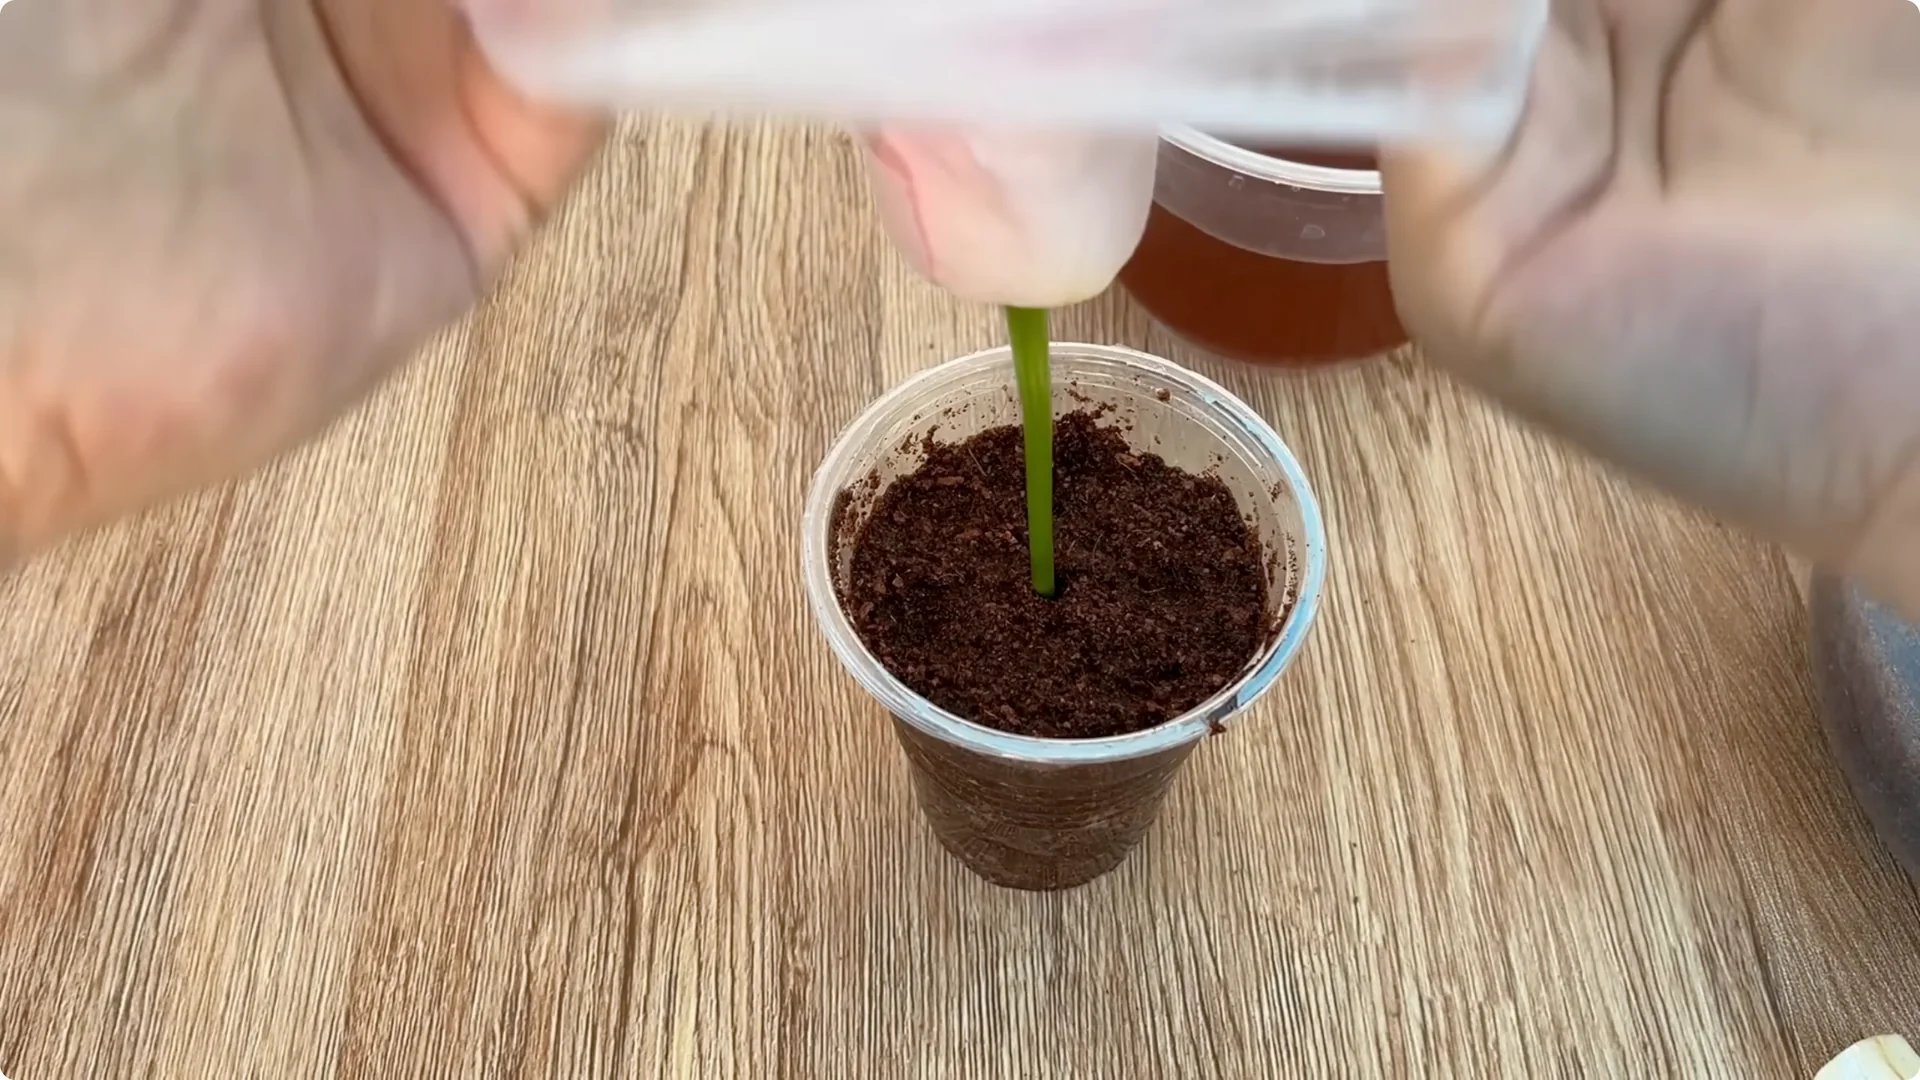
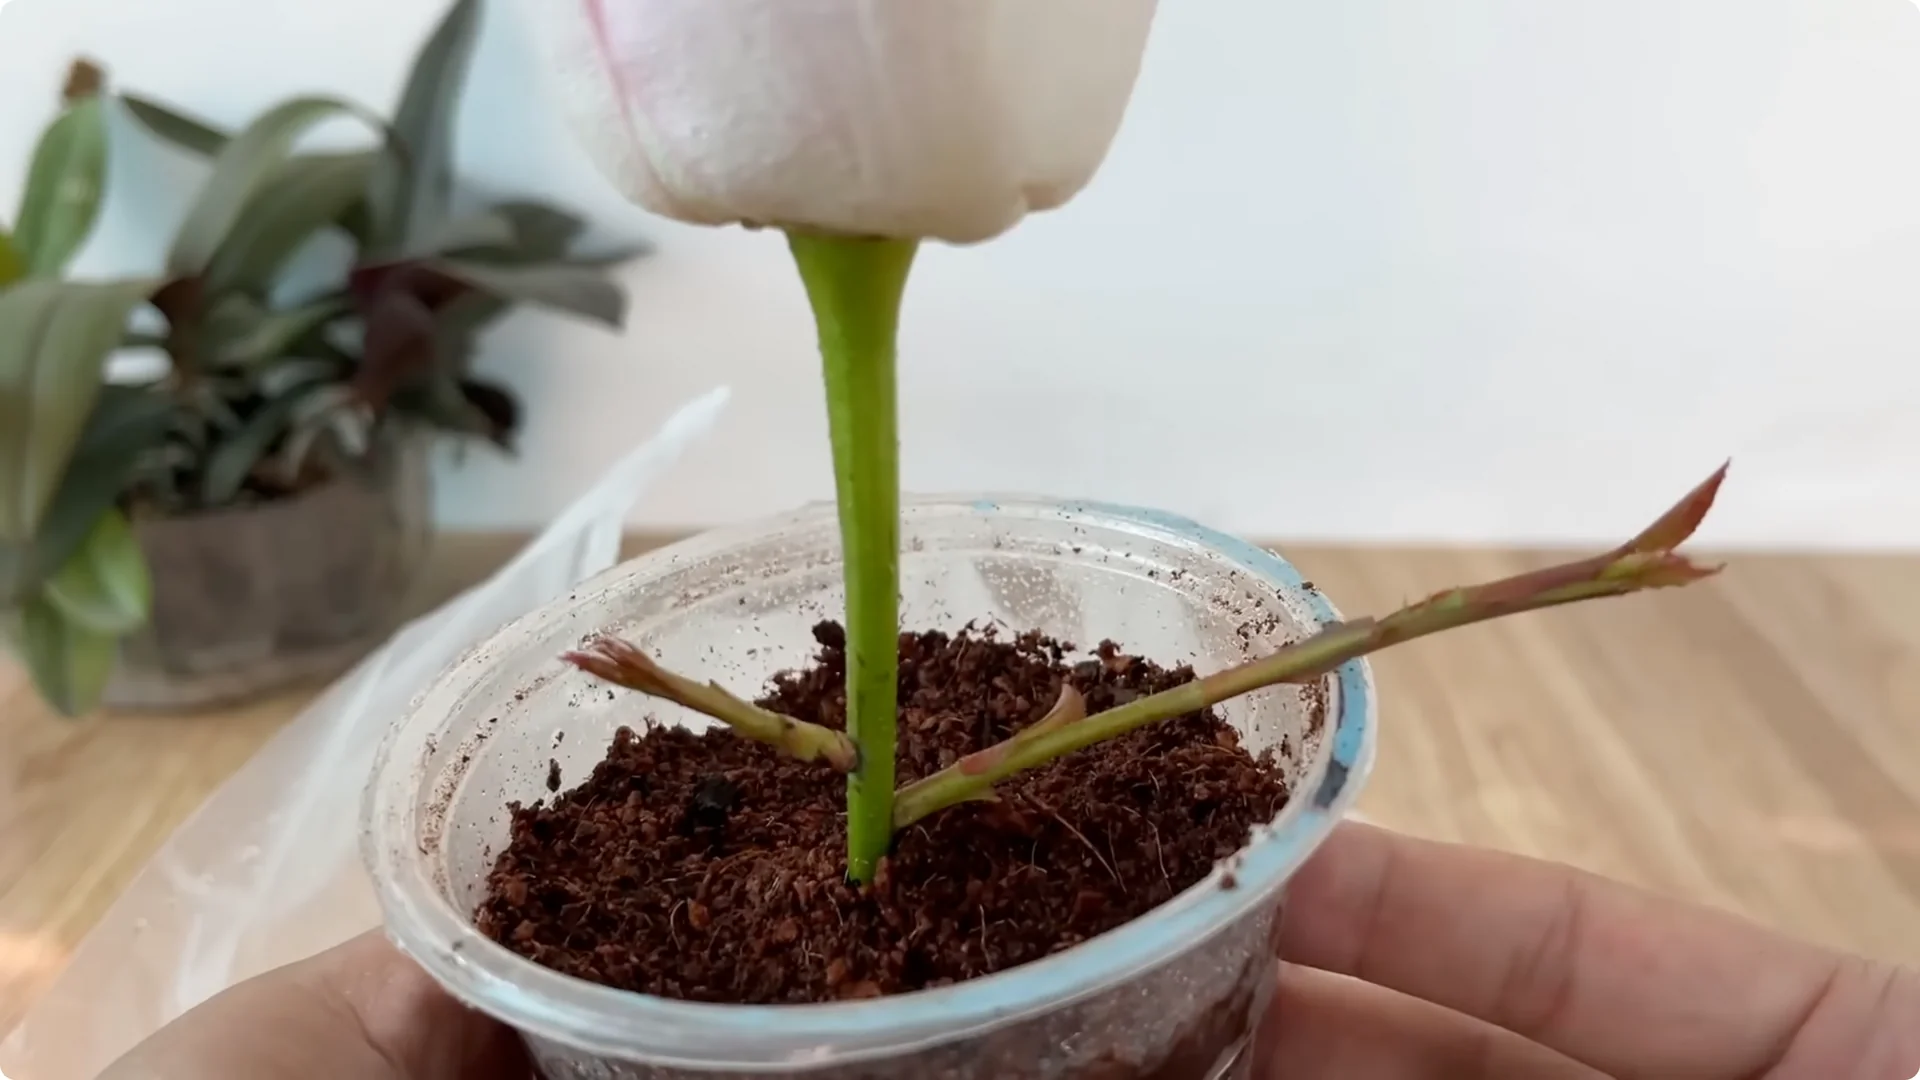
Use a small stick to create a hole in the center of the coconut fiber cup, gently place the rose stem in, and lightly press around it to secure it.
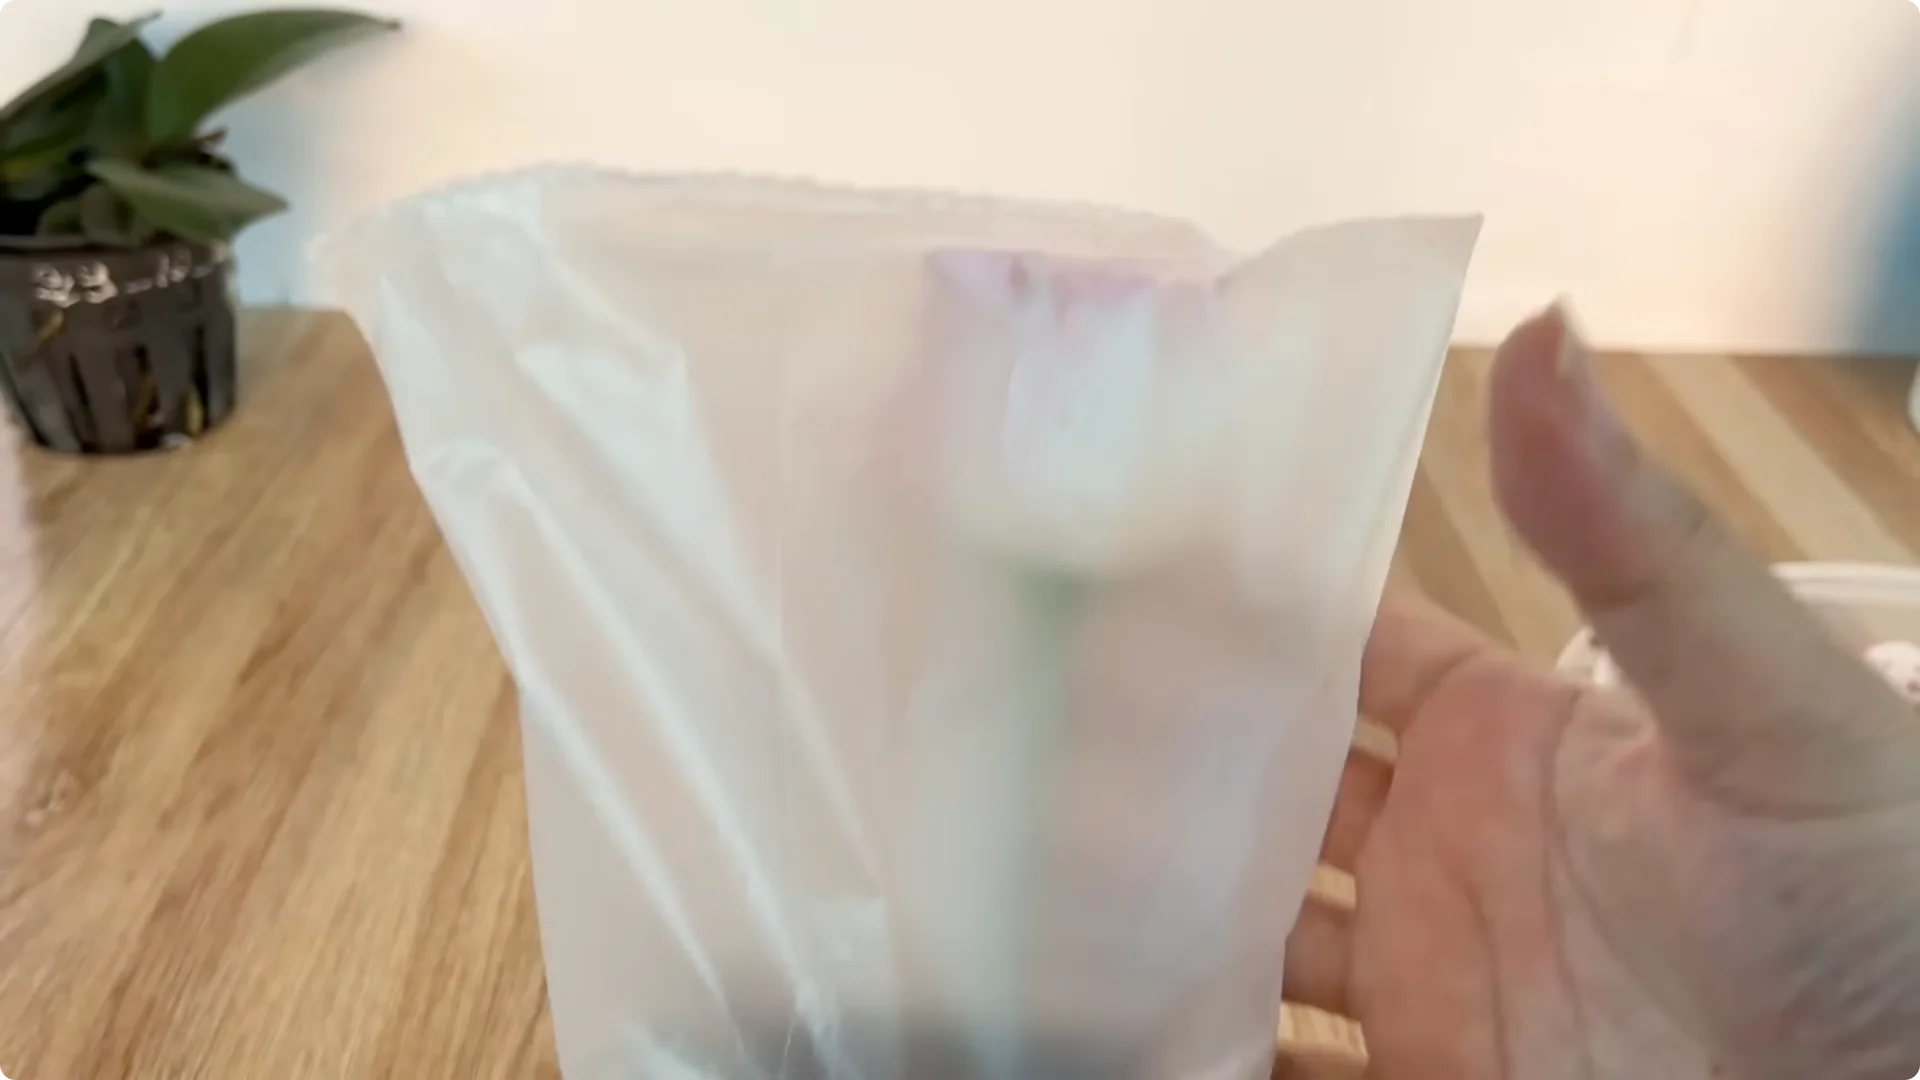
Cover the cup with a plastic bag or a clear plastic cup to create a microclimate. Humidity remains stable, helping the stem retain water and increasing root growth.
7. Placement and Early Care
Place the cup in a cool, airy place, away from strong winds and direct sunlight. This is the stage where the plant needs stability to adapt to the new environment and stimulate root growth.
If you are new to rose cuttings, see this beginner-friendly guide.
8. Results and Transplanting
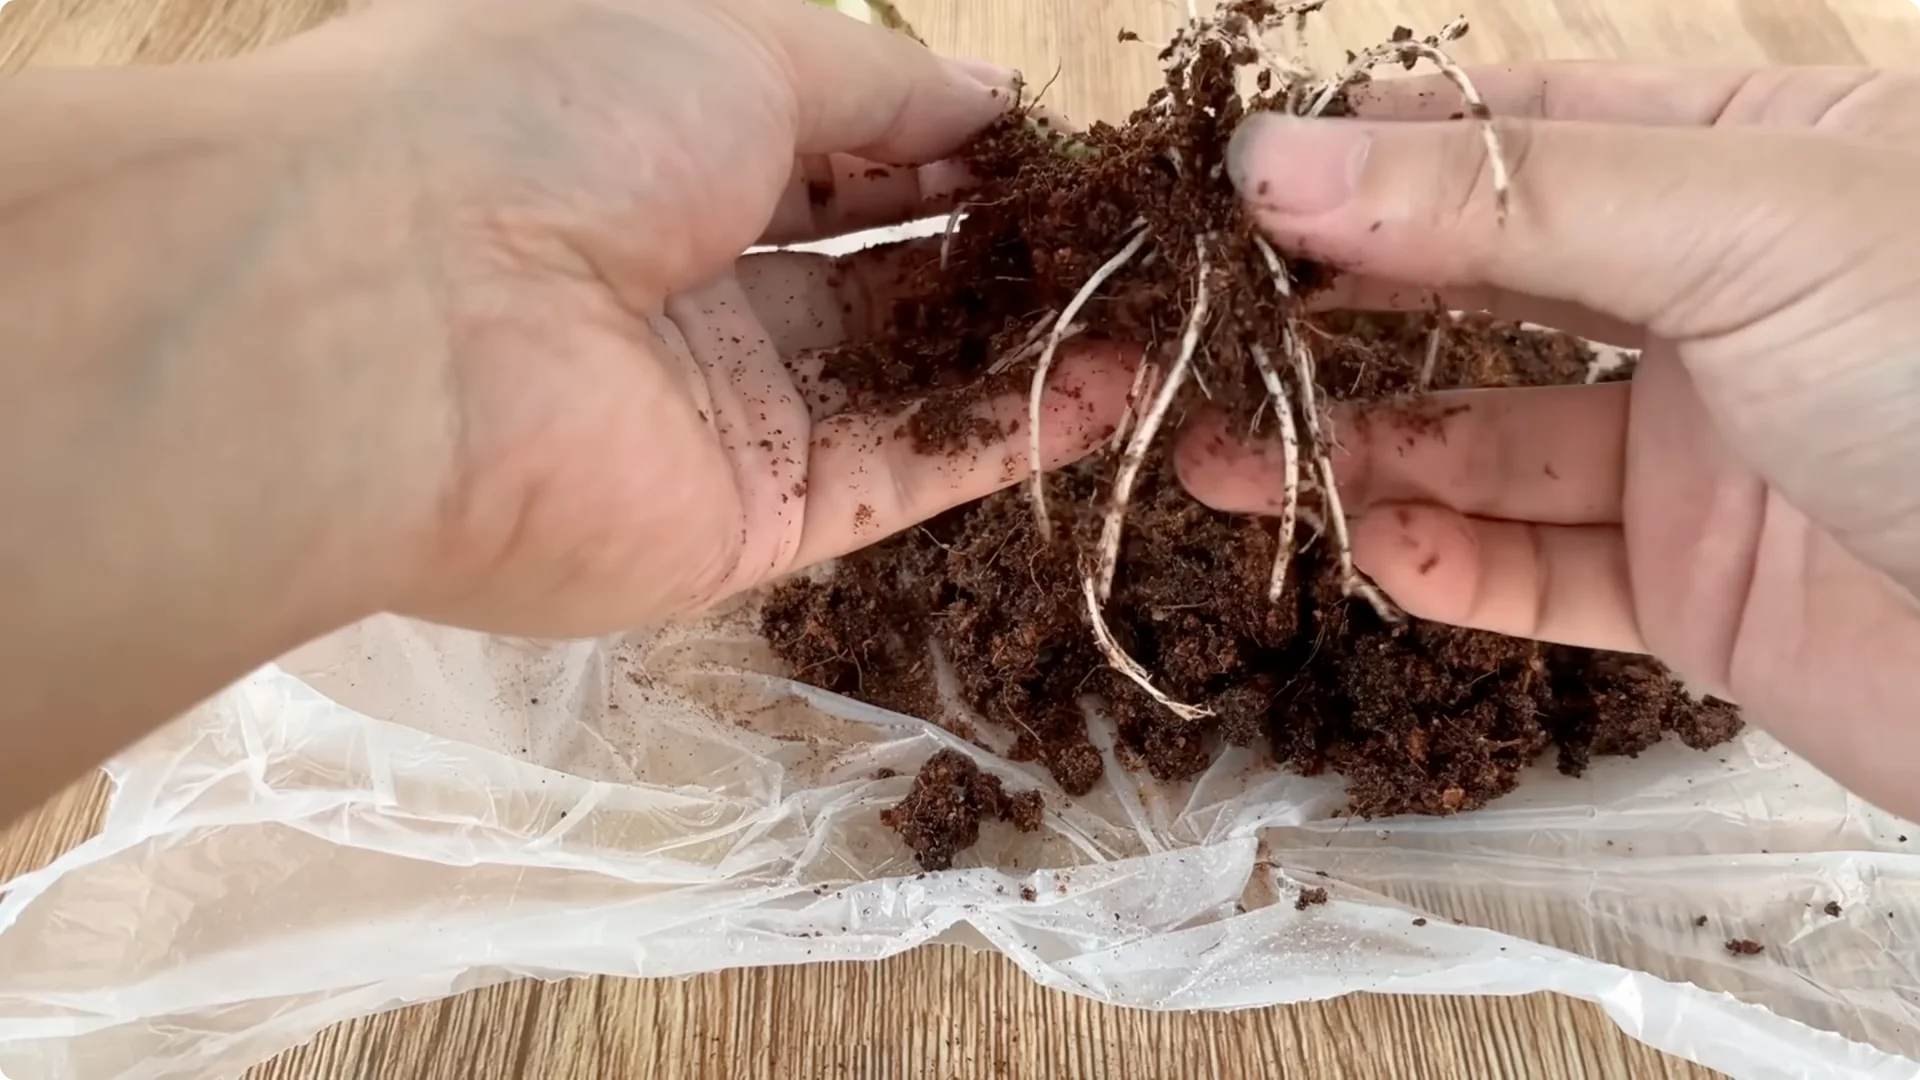
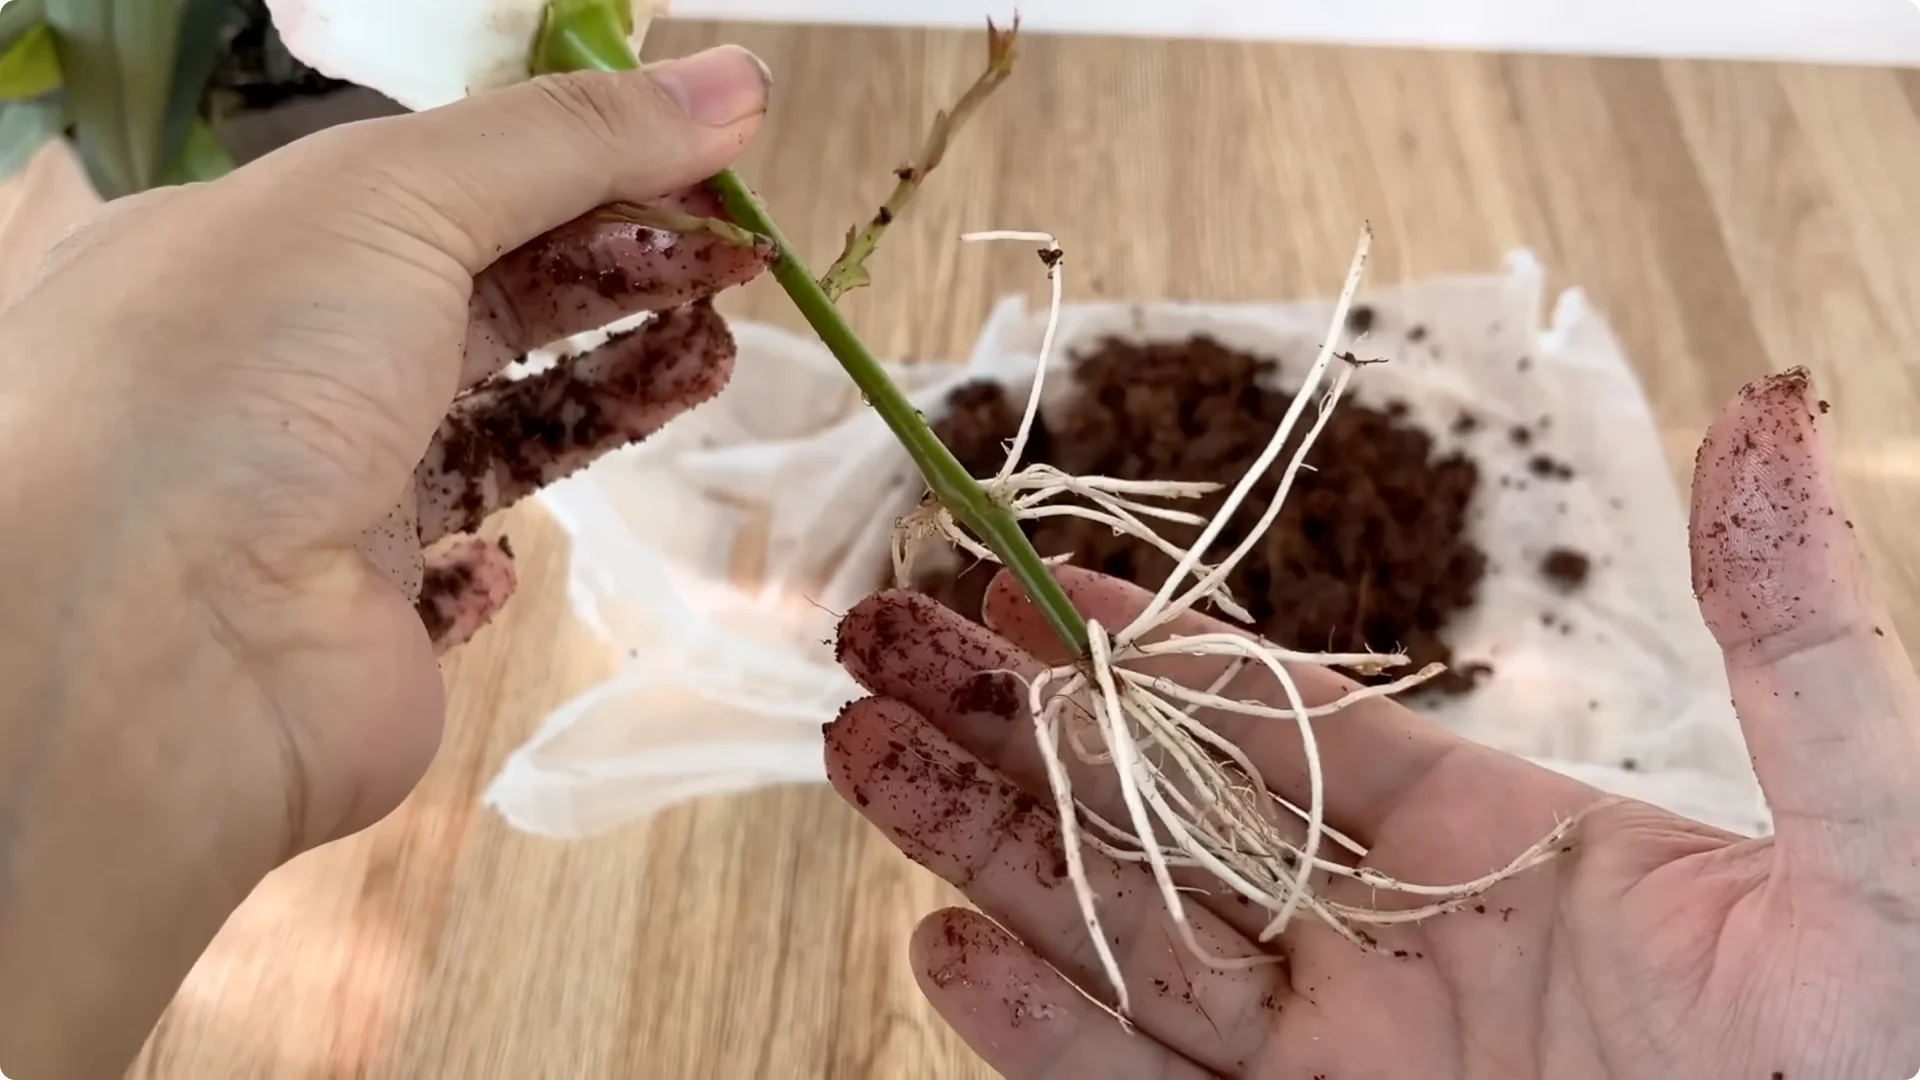
After 10 days, you will see truly impressive results. The rose stem will begin to sprout fresh healthy green shoots, and young roots will grow around the base with a translucent white color indicating that the plant has adapted well and is ready for planting.
Once the roots are longer and stronger, replant the cutting in a well-draining pot using river sand as a growing medium. It is a very suitable choice for the initial root development stage.
9. Benefits of This Homemade Rose Rooting Solution
When you complete this process, you are not only successfully propagating a rose cutting but also creating your own proactive and innovative care method. Combining garlic, bread, and coffee not only provides nutrients but also helps build a healthy microbial environment, comprehensively supporting the formation of new roots.
All these ingredients are readily available in your kitchen, saving money and being safe for the plant. Above all, the feeling of seeing the once bare rose cutting begin to sprout, burst with life, and grow into a healthy rose bush will bring you the joy that any flower lover longs for.
Continue to be patient and nurture gently, and you will see your garden change day by day. Each new shoot is a well-deserved reward for your efforts. May you always be successful with every rose you care for!
Final Thoughts
This manual yet highly effective method helps you propagate roses with a kitchen-made rooting solution. Follow each step correctly, and your cuttings will sprout new shoots, develop roots, and grow into healthy plants.
About The Author
The Beginner’s Rose Propagation Starter Kit 🌹
A simple printable PDF guide to help you root rose cuttings successfully.
Get The Guide →