
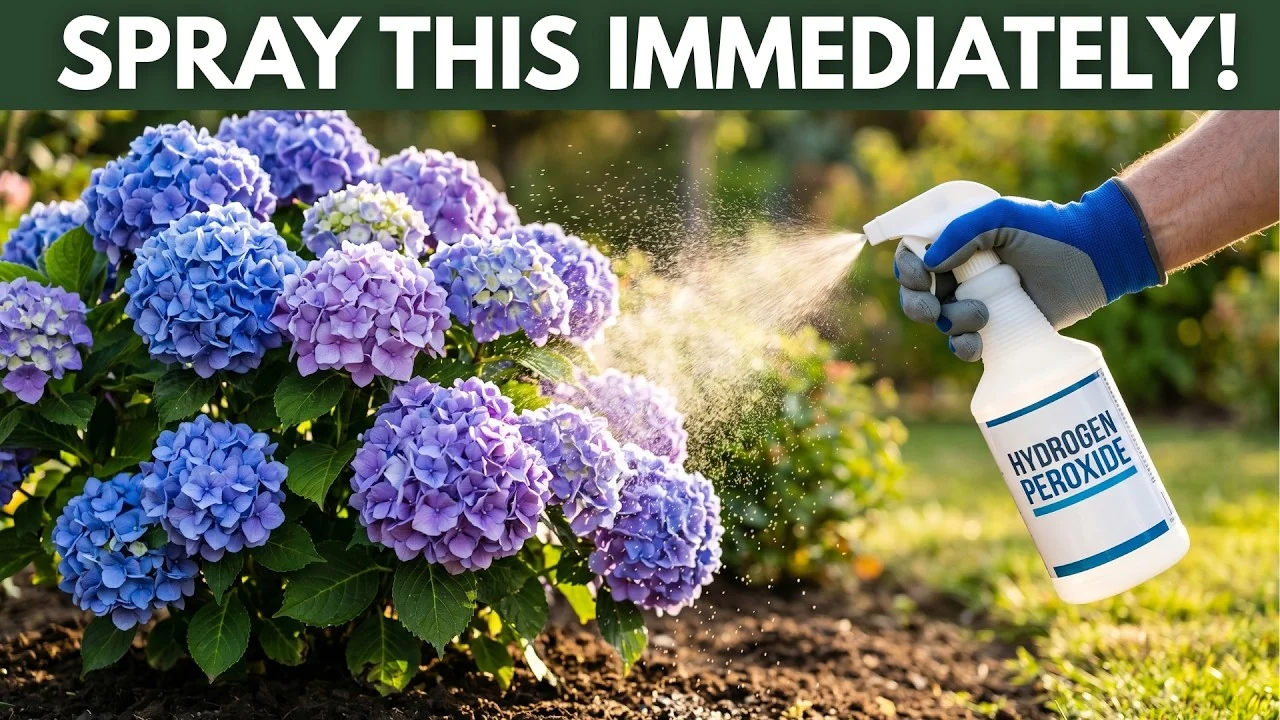
Brown spots, drooping blooms, white powder, or a black sooty film on your hydrangea are all red flags. A simple bottle of hydrogen peroxide can help, but only when mixed and applied correctly.
Used the right way, it clears fungal trouble and re-oxygenates soggy soil. Used the wrong way, it can scorch leaves and set a plant back.
Here’s the precise, no-nonsense guide.
Hydrogen Peroxide for Hydrangeas basics
Hydrogen peroxide is H2O2. That extra oxygen is loosely attached and breaks free on contact with soil and microbes.
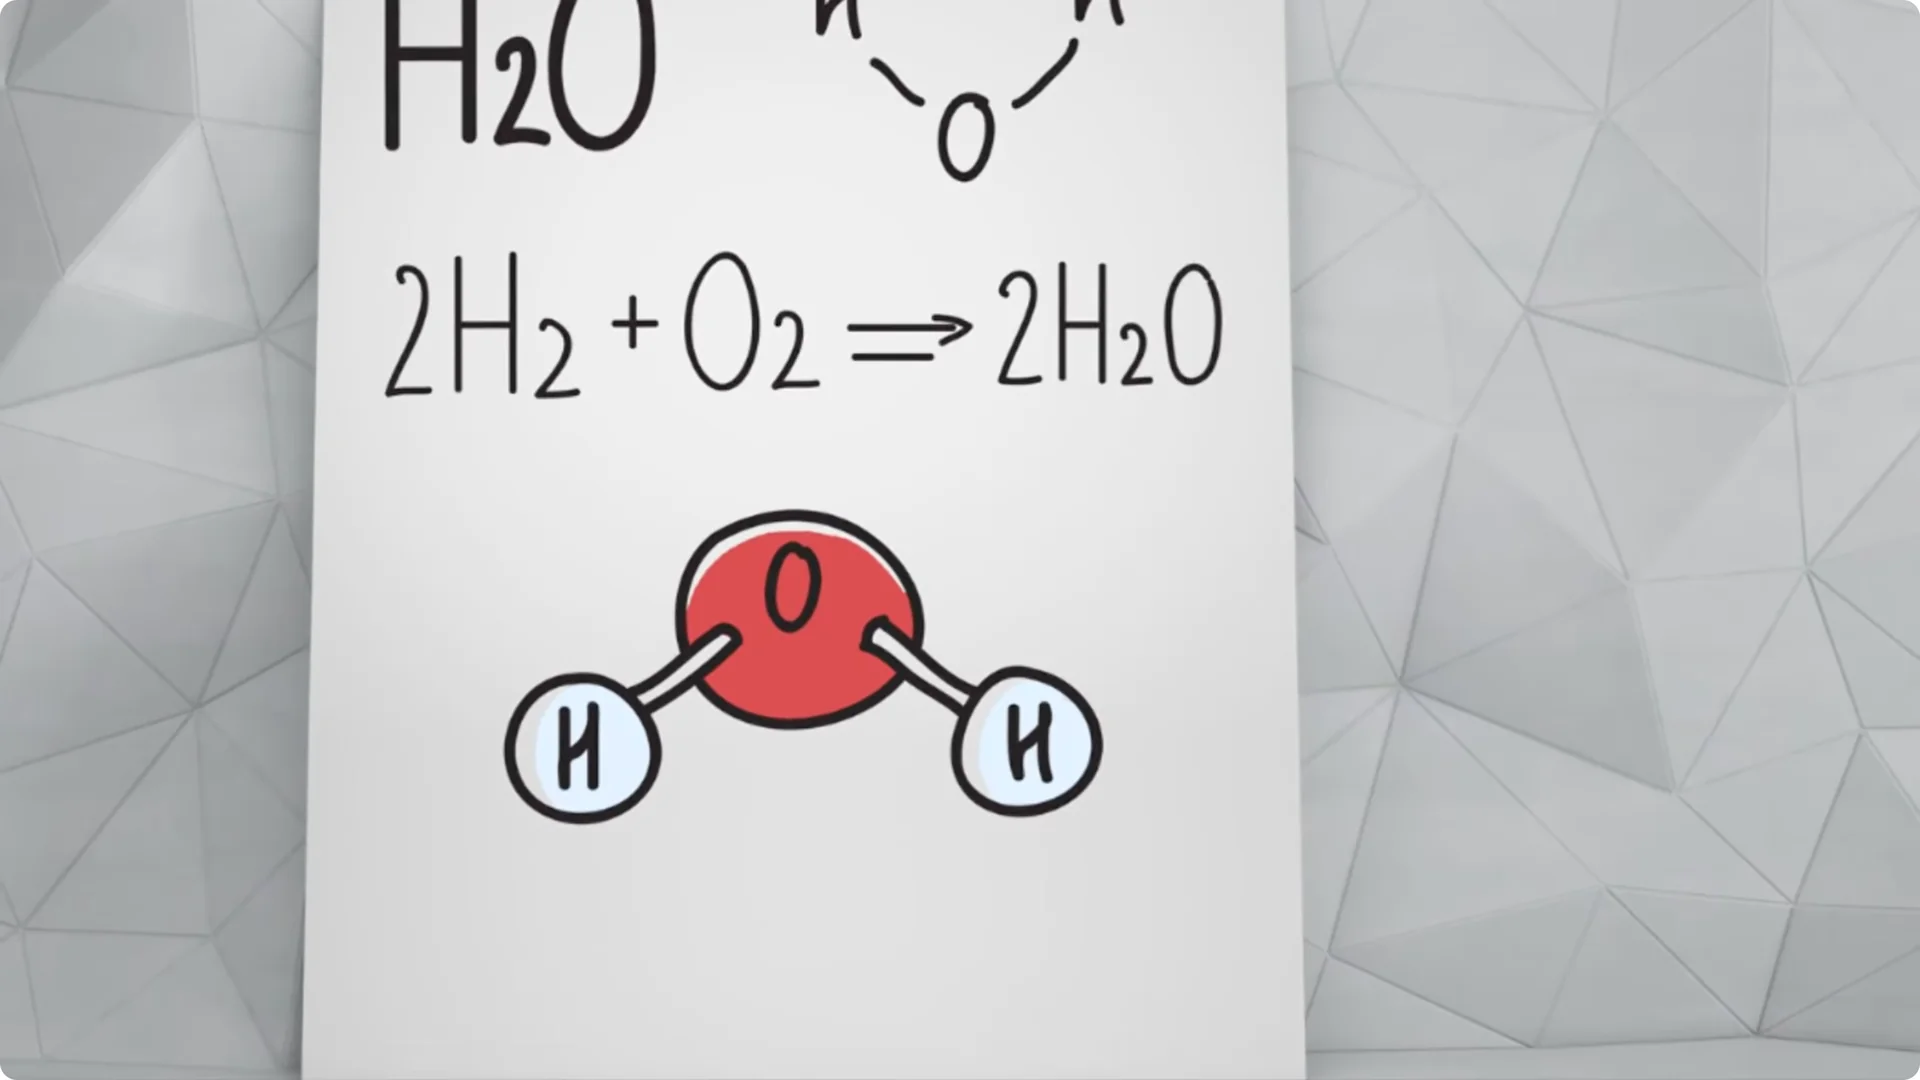
- What it does: Releases reactive oxygen that disrupts fungus and bacteria, then breaks down into plain water and oxygen.
- Why it helps: Kills pathogens causing rot and mildew, and adds oxygen to suffocating root zones.
- What it is not: Not a fertilizer. Think of it as a reset that clears the way for recovery.
For more on how peroxide supports root performance in other plants, see how it supports orchid roots and blooms.
Hydrogen Peroxide for Hydrangeas ratios
Match the strength to the problem. Different issues need different mixes with standard 3% hydrogen peroxide.
- Root rot
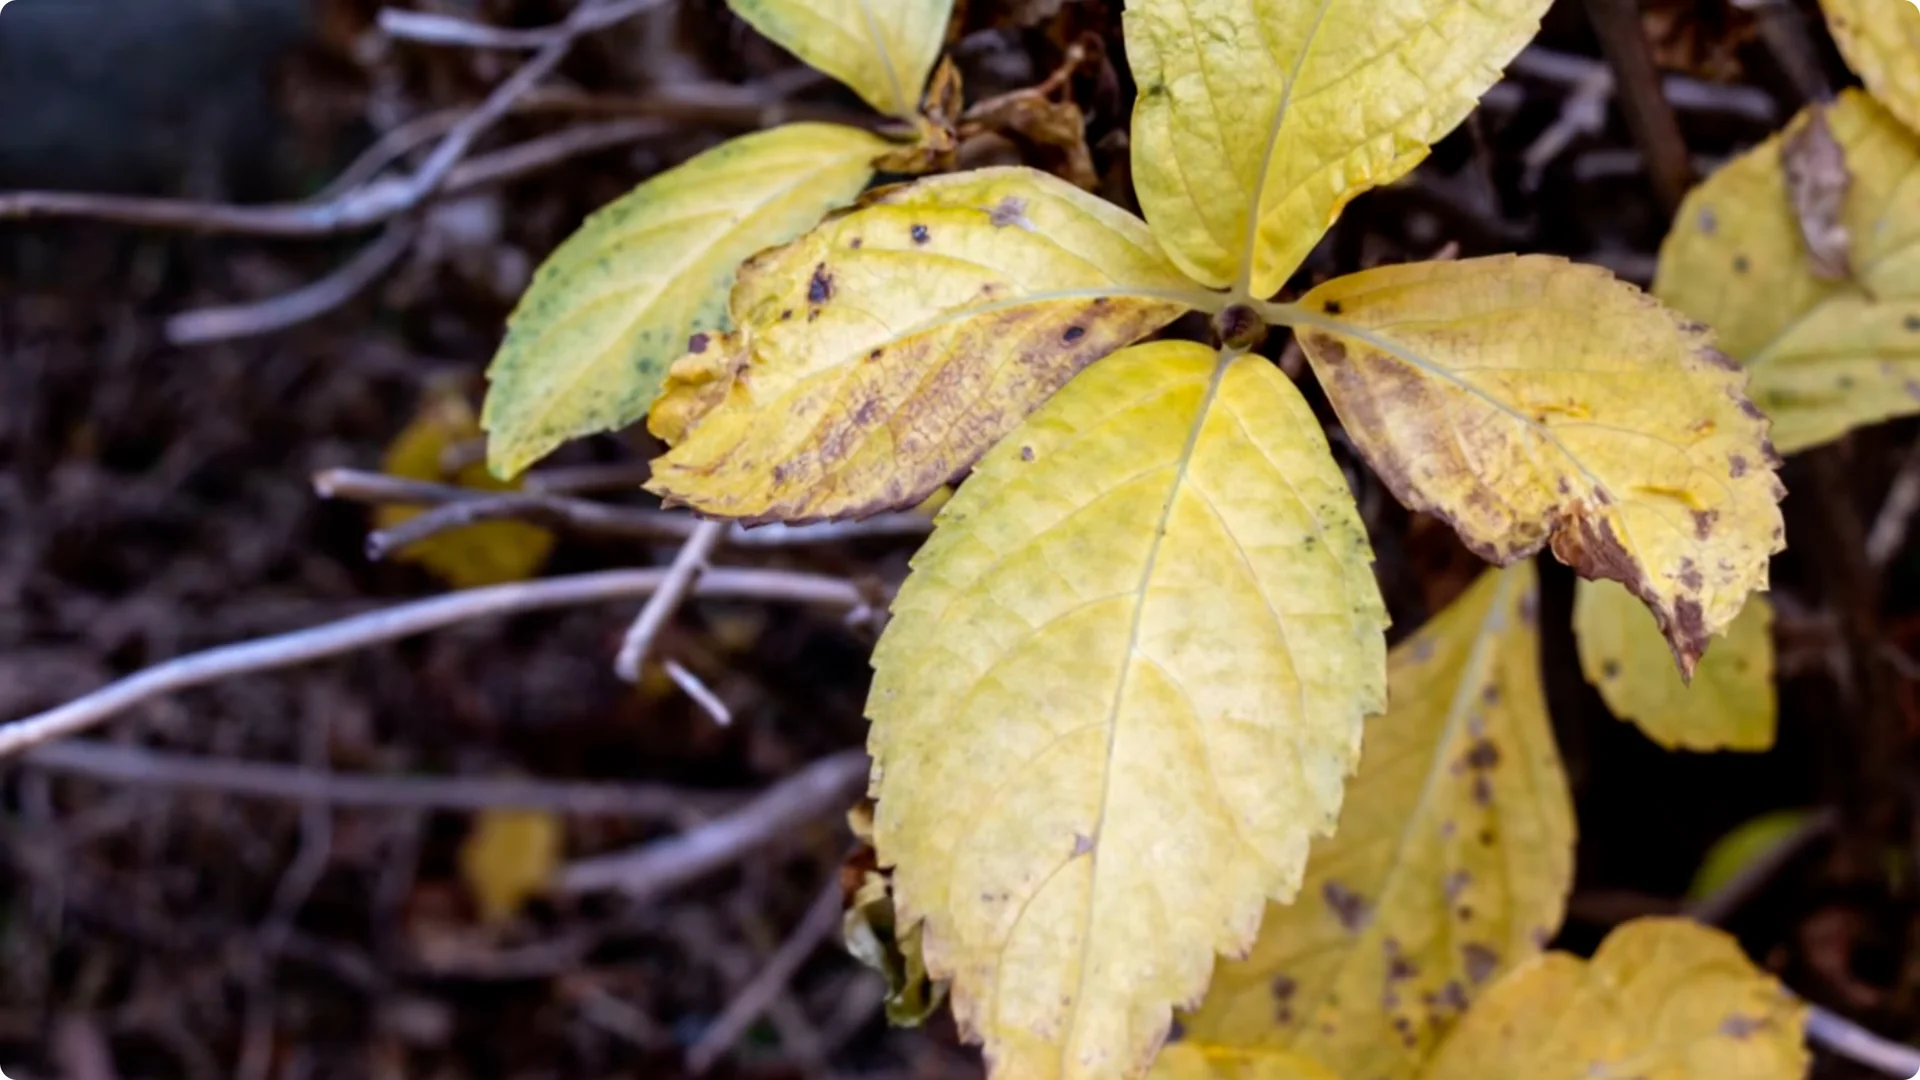
– Symptoms: Wilting in wet soil, yellowing lower leaves, mushy dark roots with a foul smell.
– Mix: 1 part peroxide to 4 parts water.
– Use: Soil drench at the base to soak the root zone.
- Leaf fungus
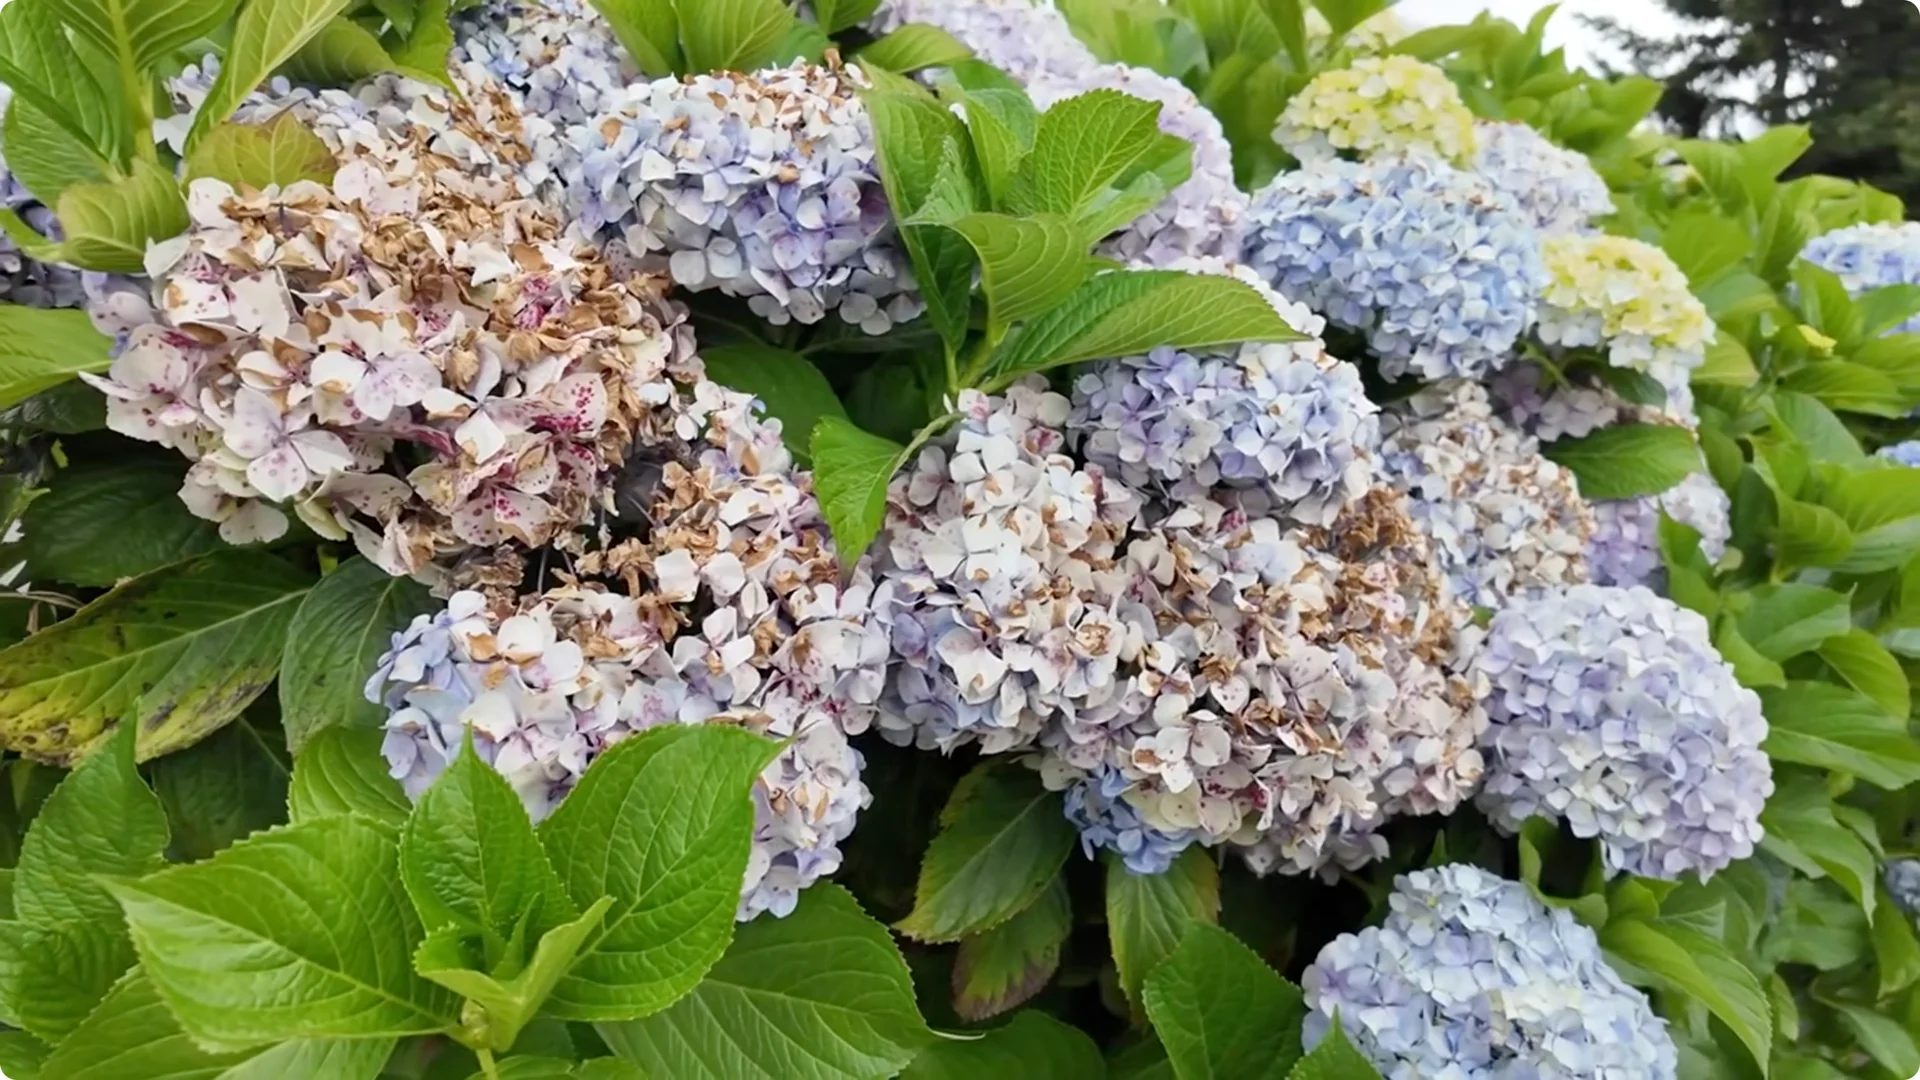
– Symptoms: Powdery mildew, brown or purple leaf spots, outbreaks after humid spells.
– Mix: 1 part peroxide to 10 parts water.
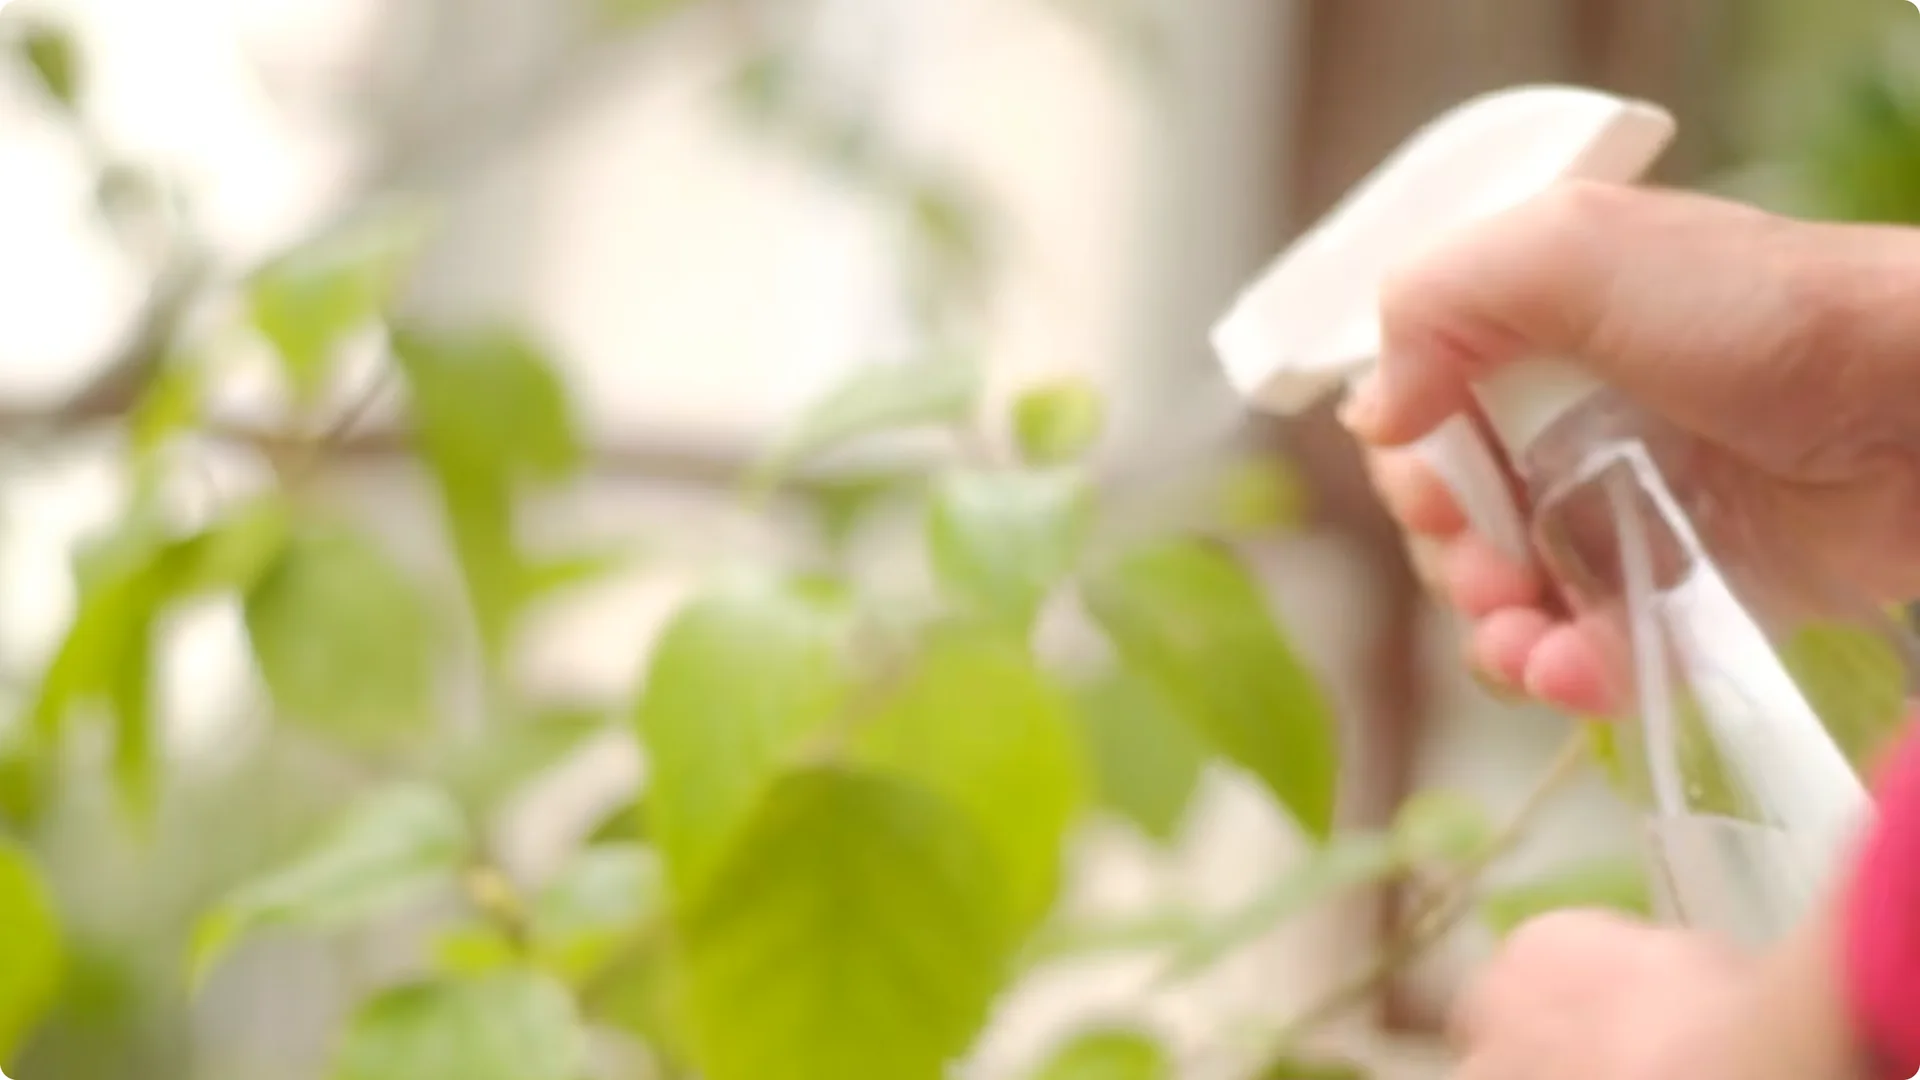
– Use: Light spray on both sides of leaves. Aim for a thin coat, not a drench.

- Seeds, cuttings, fresh transplants
– Goal: Reduce damping-off and give tender roots a small oxygen boost.
– Mix: 1 teaspoon peroxide per 1 cup water.
– Use: Gentle soil drench once around the base.
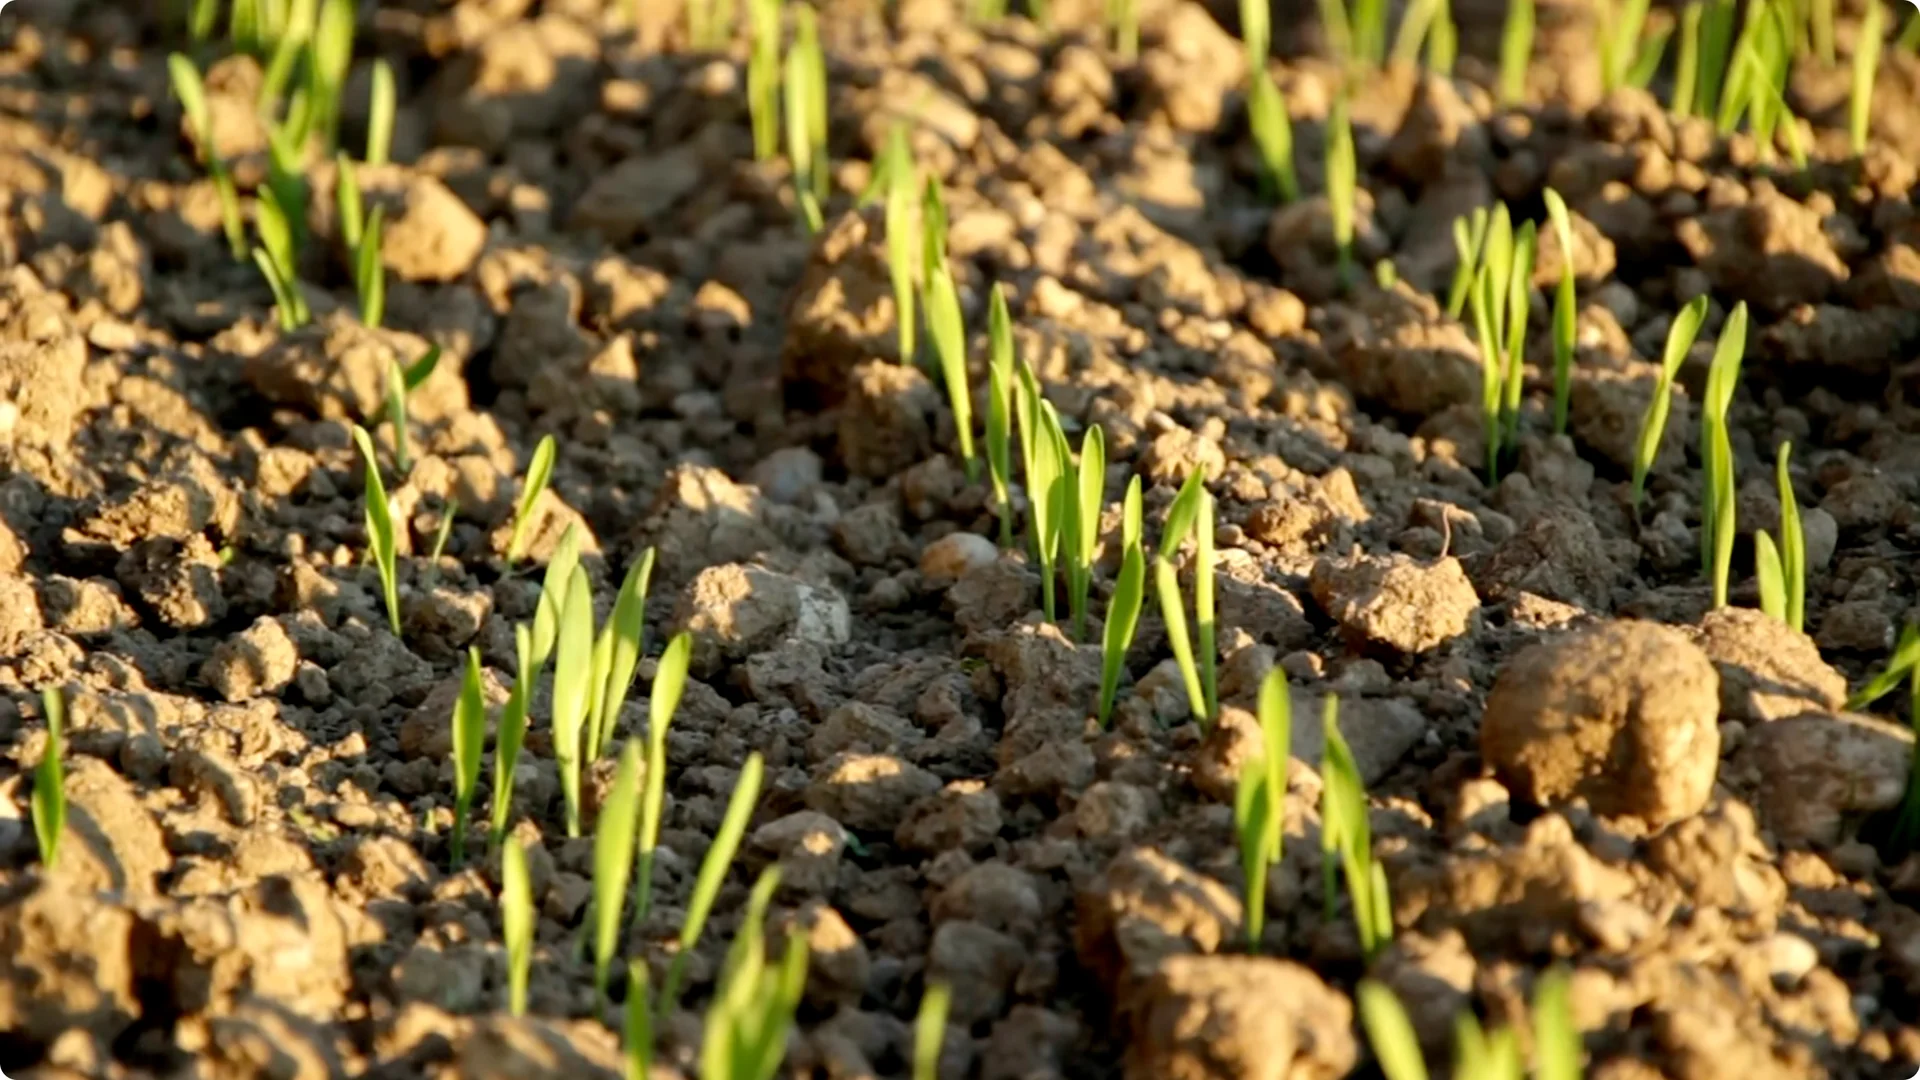
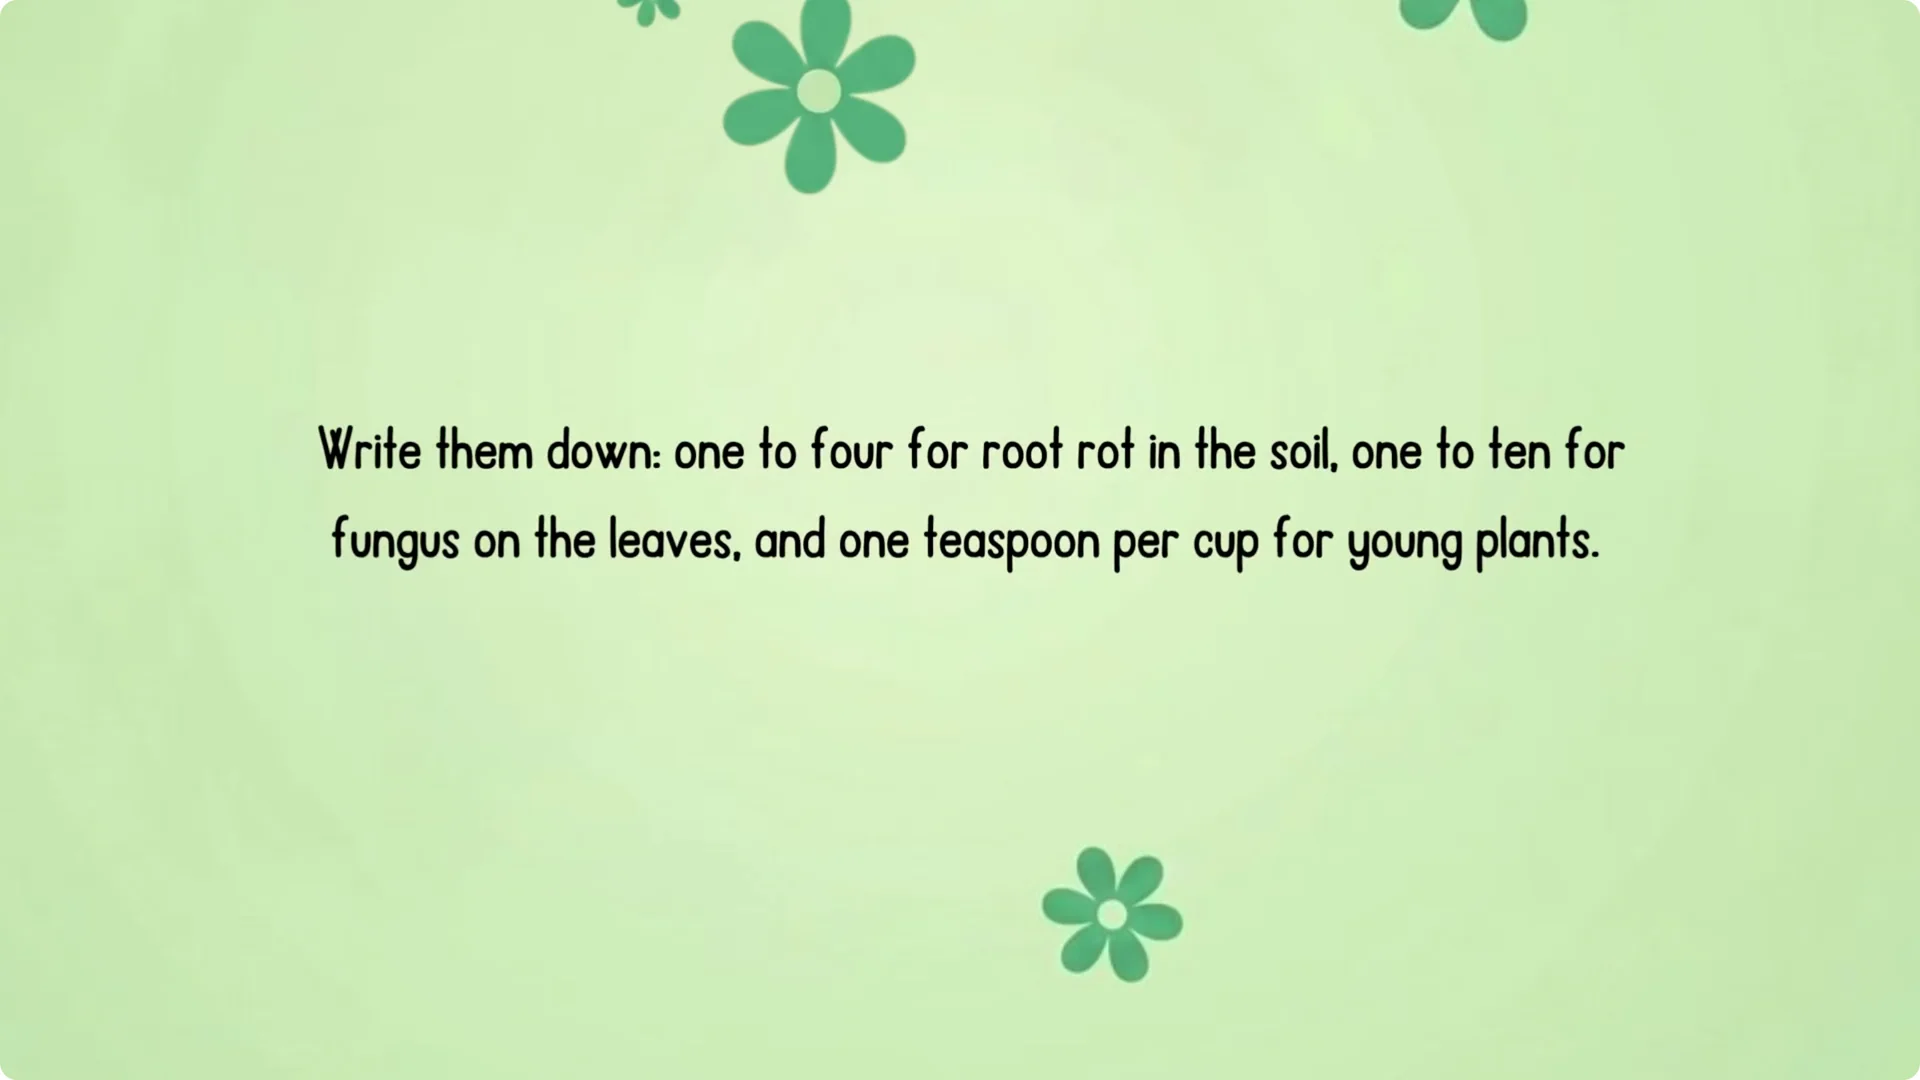
Write it down:
- 1:4 for root rot in soil
- 1:10 for leaf fungus
- 1 tsp per cup for young plants
Hydrogen Peroxide for Hydrangeas application
How you apply it is just as important as the ratio.
Timing: Spray in early morning or evening. Never in bright midday sun or you risk leaf scorch.
Mix fresh: Peroxide loses punch quickly once diluted. Make only what you need each session and store the original bottle in a cool, dark spot.
Root rot steps: If soil is soggy, gently loosen the top layer so the mix reaches roots. Pour the 1:4 solution slowly and evenly. Wait one week before repeating and let soil dry between treatments.
Leaf fungus steps: Mist a 1:10 solution lightly, including undersides. Recheck in 3 to 4 days. Repeat after a week if needed. Also improve airflow by thinning congested interior growth, since poor circulation fuels fungus.
Patch test: Spray a couple of lower leaves first and wait 24 hours. Proceed only if there’s no bleaching or curl.

Read More: Lavender Planting Mistakes To Avoid
Hydrogen Peroxide for Hydrangeas when not to use
Know when to keep the cap on. These four situations call for restraint.
Healthy plants: Routine dosing can harm beneficial soil life your hydrangea relies on. Treatment, not maintenance.
Fresh stress or recent feeding: Right after transplant shock or fertilizing is a bad time to add another stressor. Let the plant settle first.
High concentrations: Skip 35% products. They are dangerous and easy to mis-measure. Stick with 3% only.
Nutrient or pH problems: Yellowing between leaf veins with green veins, or bloom color concerns, are nutrition or soil chemistry issues.
Peroxide won’t fix them. For feeding guidance, see natural fertilizers for hydrangeas.
Hydrogen Peroxide for Hydrangeas quick reference
- Ratios: 1:4 root rot, 1:10 leaf fungus, 1 tsp per cup for young plants.
- Schedule: Root rot once, then reassess in a week. Leaf fungus weekly if needed. Young plants only once.
- Rules: Morning or evening only, mix fresh, improve airflow, and always patch test.

Final Thoughts
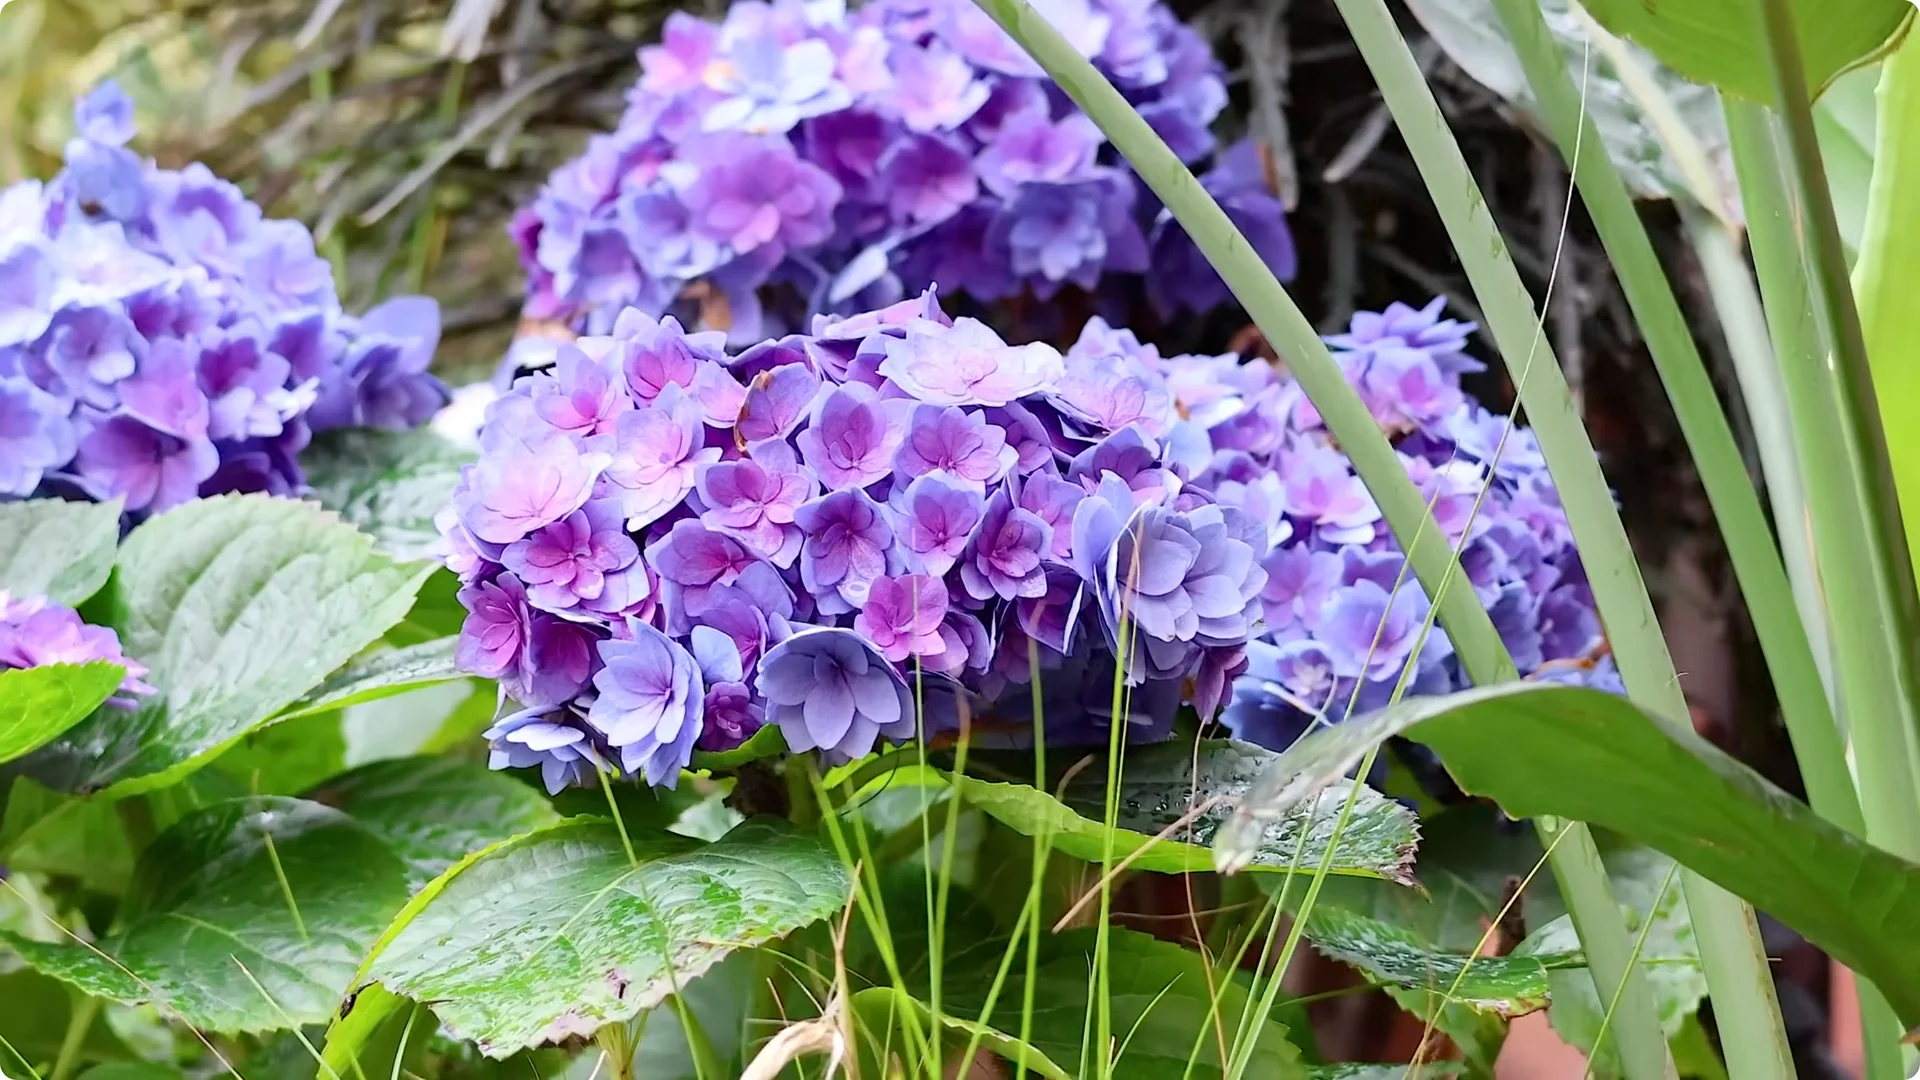
Used with precision, hydrogen peroxide is a targeted fix for rot and fungus and a smart way to re-oxygenate soggy soil. Identify the real problem first, pick the right ratio, and apply with care. The difference between a rescue and a setback is all in the mix and the timing.
About The Author