
Have you tried propagating roses at home? Do you believe that with just a few cloves of garlic, a piece of bread and some soft toilet paper, we can completely turn a seemingly ordinary rose branch into a young tree full of vitality?
Let’s explore each step in detail right now.
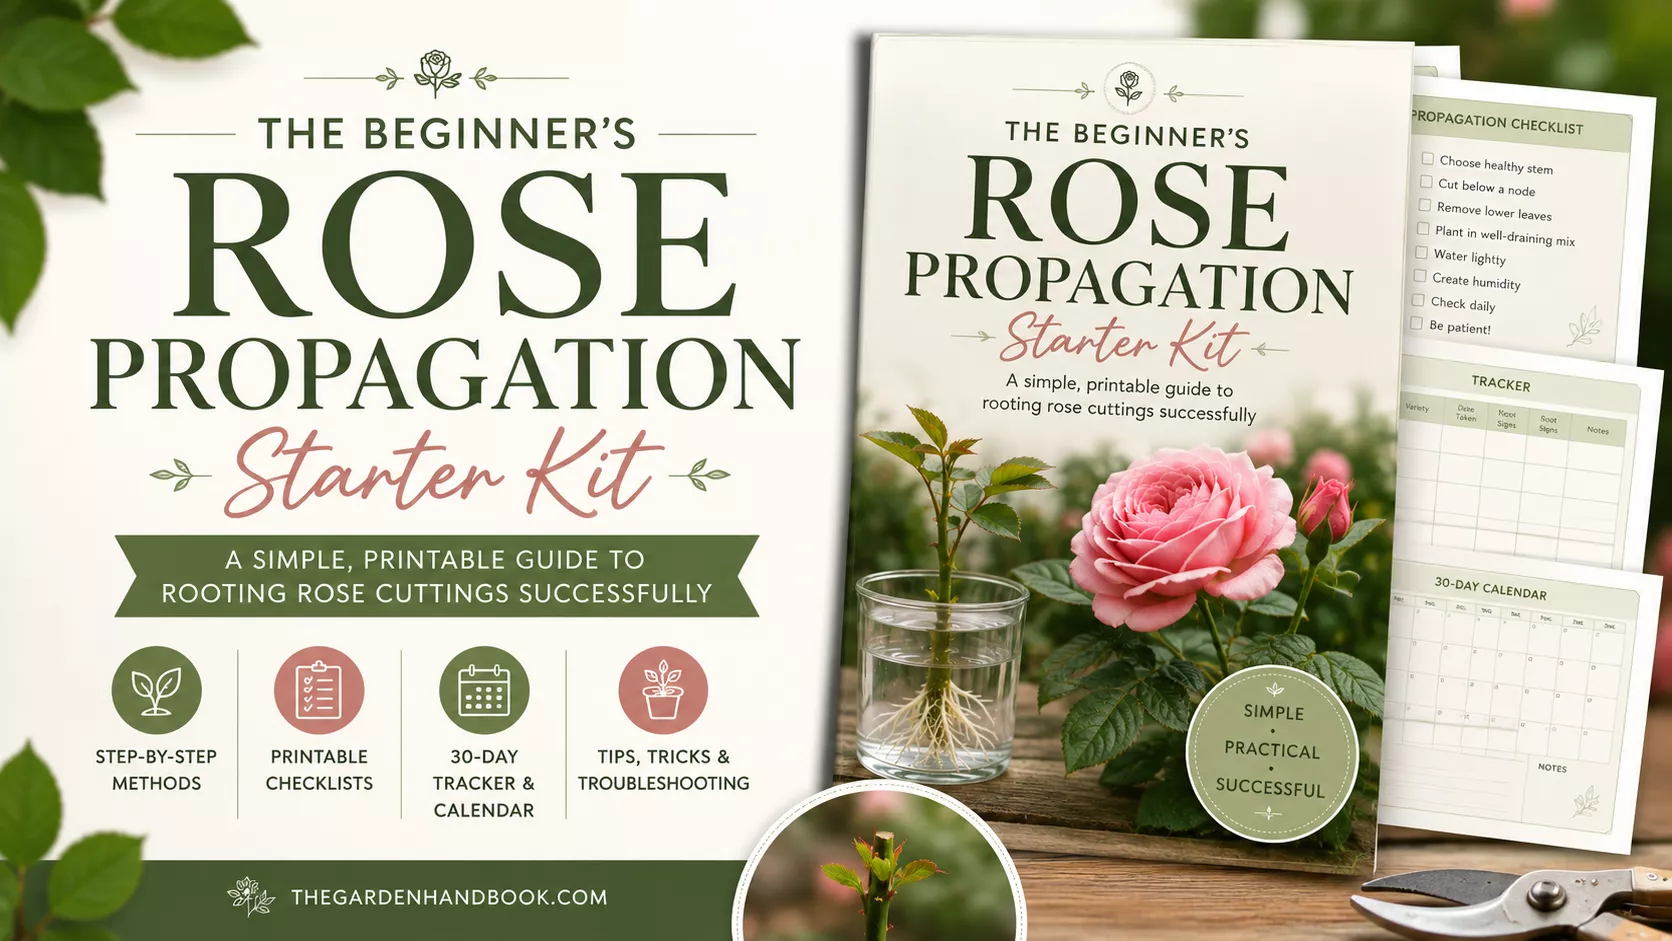
The Beginner’s Rose Propagation Starter Kit 🌹
A simple printable PDF guide to help you root rose cuttings successfully.
Get The Guide →1. Garlic-Based Rose Propagation preparation

First, we need a really healthy rose branch, with a moderate age. If the branch is too young, it will easily wither, and if the branch is too old, it will be difficult to root. Ideally, the branch is sturdy but still has strong vitality.
Cut the branch to about 15 to 20 cm. Remove all leaves and sharp thorns to reduce water loss. Keep the stem clean, ready to receive nutrients.
This is an important foundation step, like preparing a student to be ready to learn a new lesson. For a streamlined walkthrough, see a simple rose propagation method. It pairs well with the approach below.
2. Garlic-Based Rose Propagation garlic and bread solution
Garlic treatment
Take 4 cloves of garlic, cut 1 clove in half, and peel off the skin. Use a small knife to make a hole the size of the rose branch and insert the branch. The remaining half of the garlic clove is gently rubbed on the stem, helping to kill bacteria, prevent mold, and stimulate roots.
Garlic contains allicin, a compound famous for its antibacterial properties and stimulating cell growth. The remaining garlic cloves are chopped and put in a clean plastic cup. This will go into the nutrient mix.
You can also explore an unexpected method for rose propagation success. It offers a smart complement to the garlic step.
Nutrient mix
Weigh a small piece of bread. Break the bread into small pieces and put it in the cup with the chopped garlic. Bread contains natural yeast, starch, and sugar that, when mixed with water, create a rich nutritional environment.
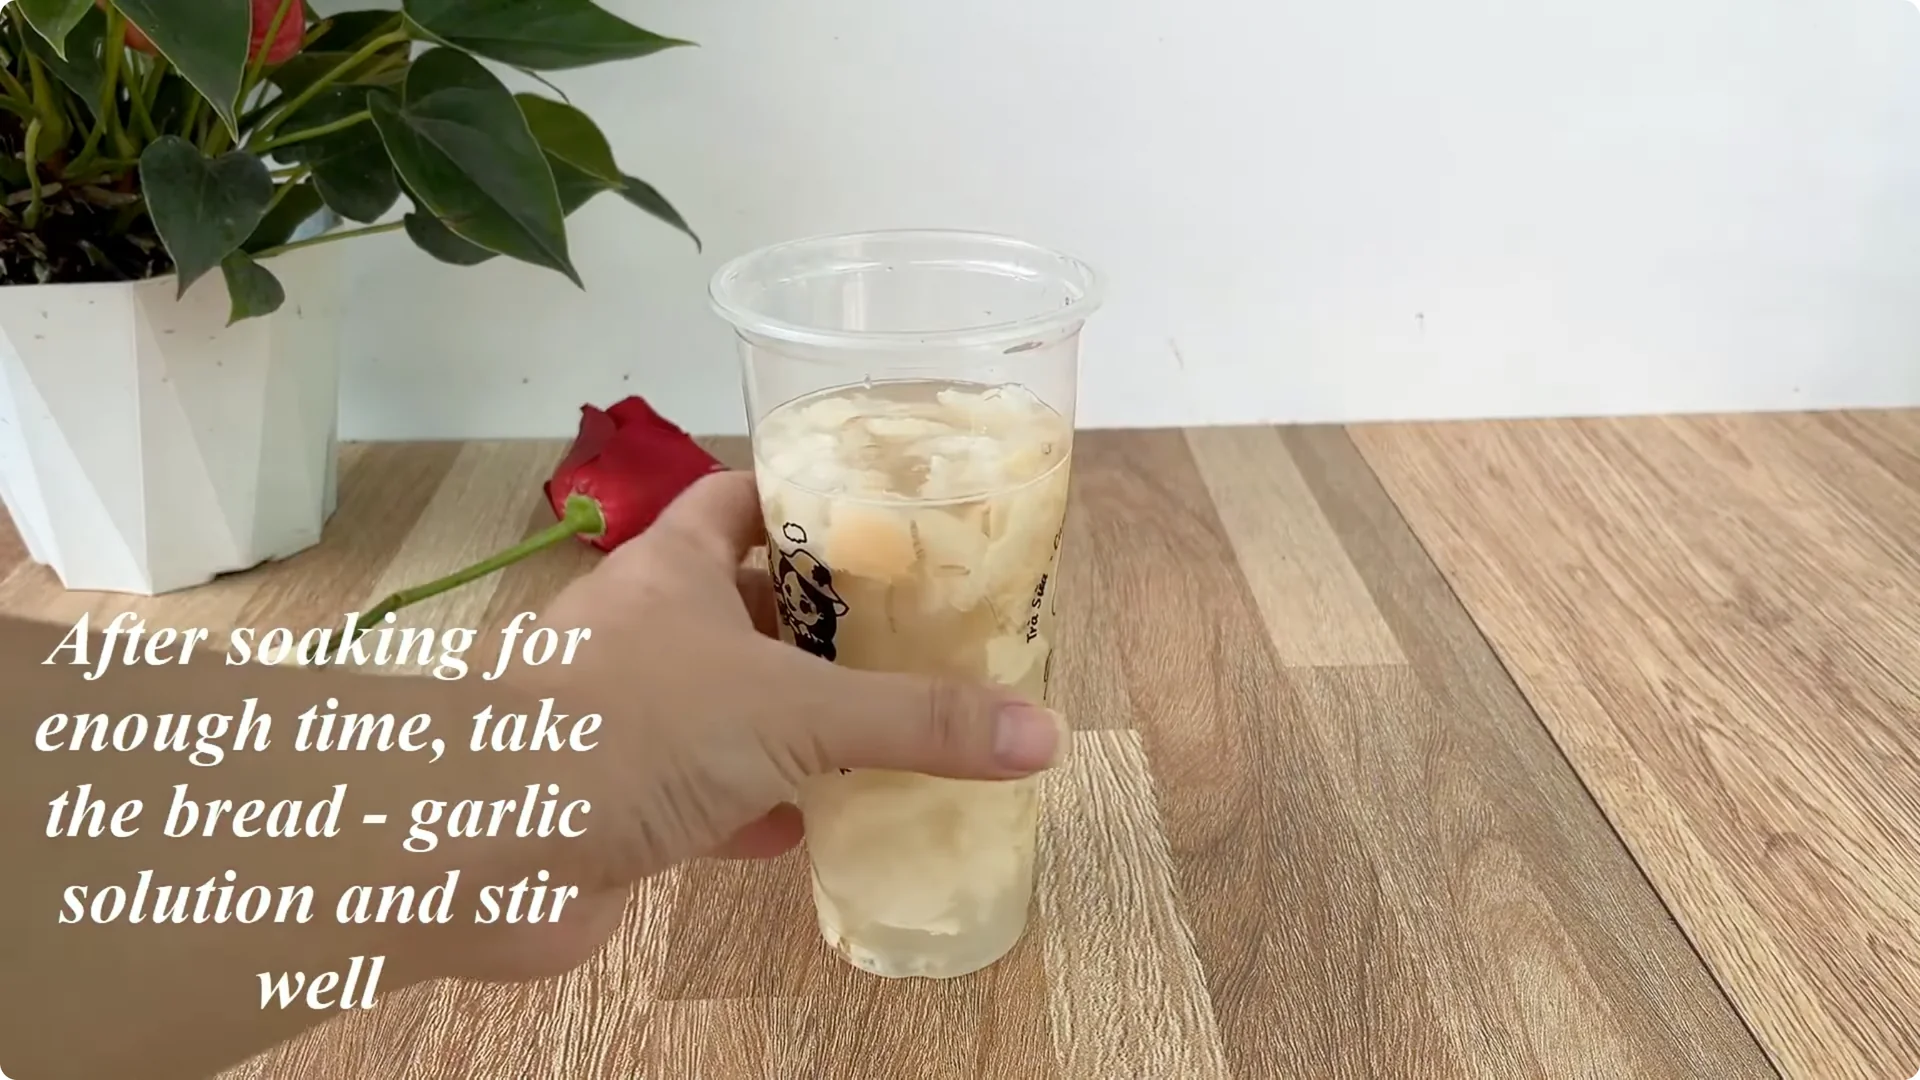
This solution both protects and nourishes, creating optimal conditions for the rose roots to sprout faster. Add 500 ml of warm water, stir well, and let stand for 30 minutes. After enough time, filter out the residue, collect the clear solution, and dilute it with 0.5 liters of clean water.
This way, the solution has a milder concentration, enough nutrients without shocking the rose branches. This is the water of life, a harmonious combination of antibacterial, stimulating, and nourishing. It sets the stage for fast and healthy rooting.
3. Garlic-Based Rose Propagation moisture wrap
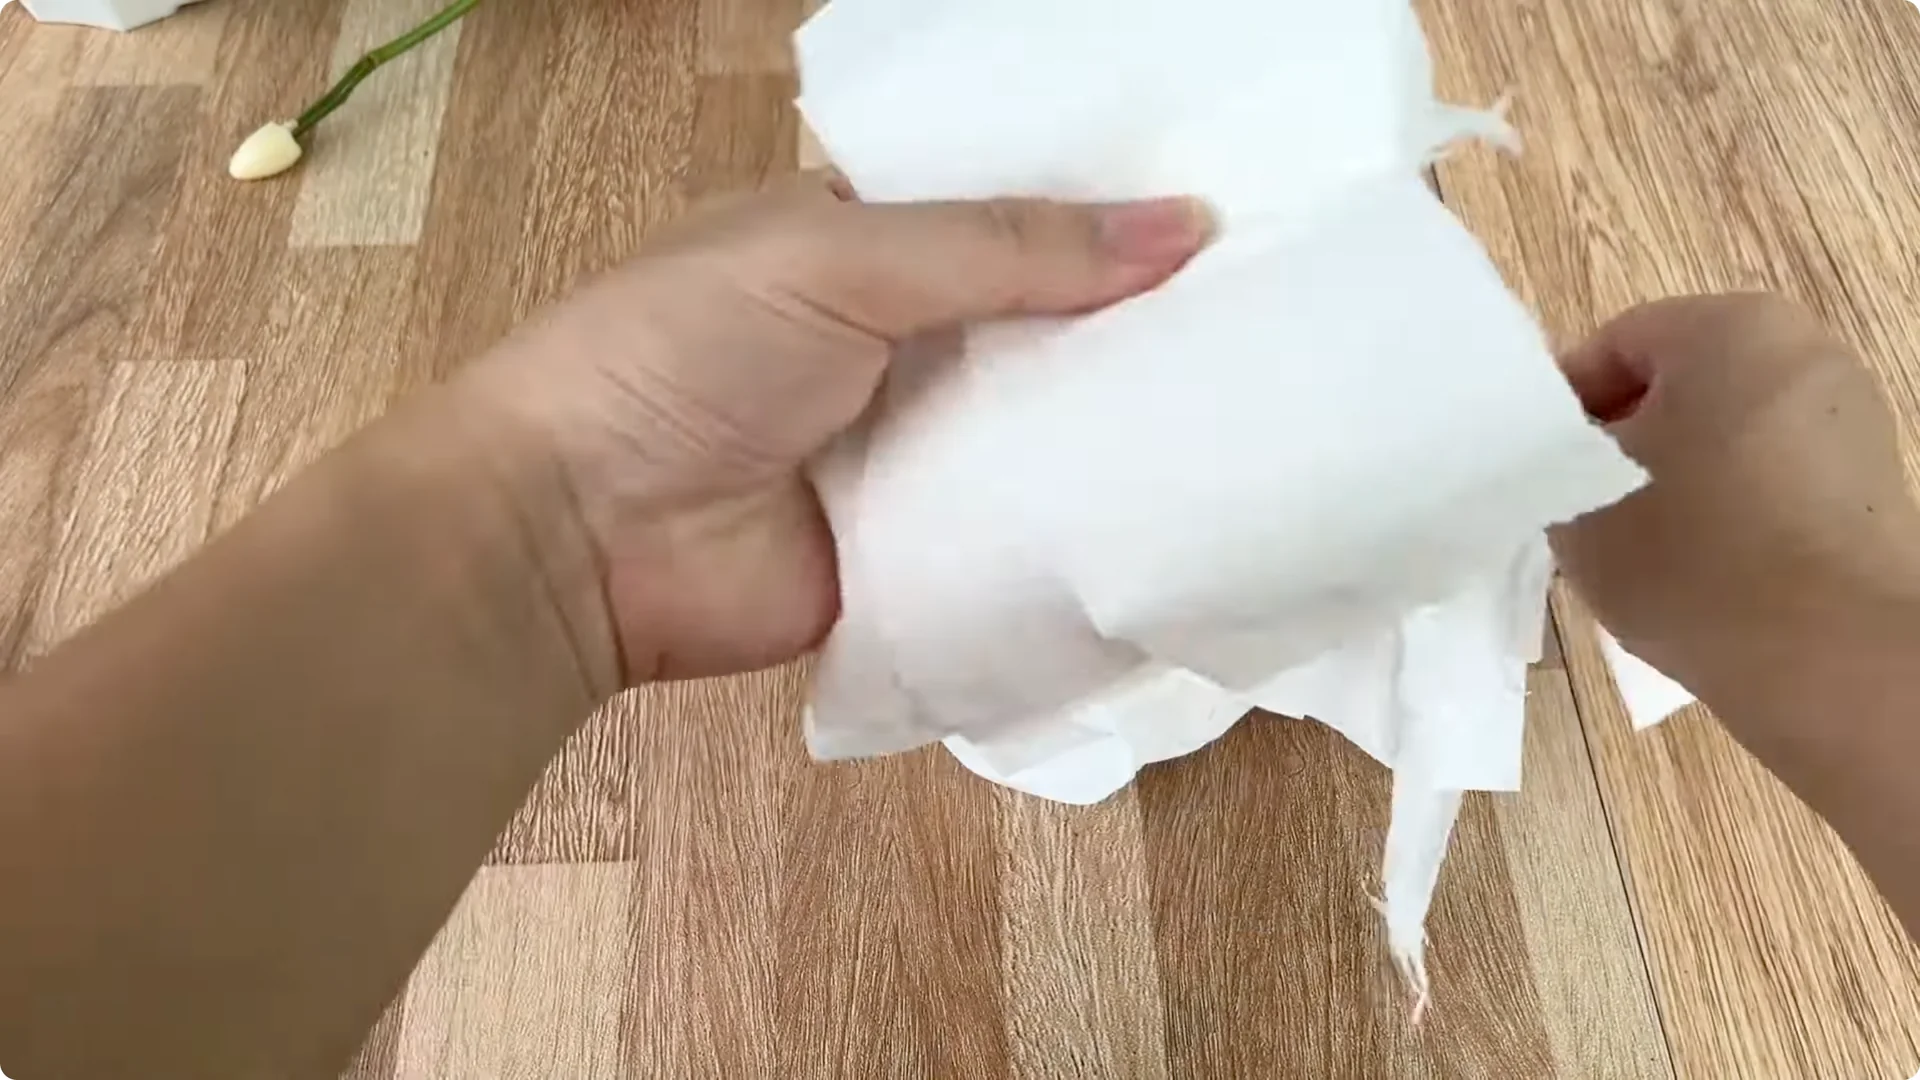
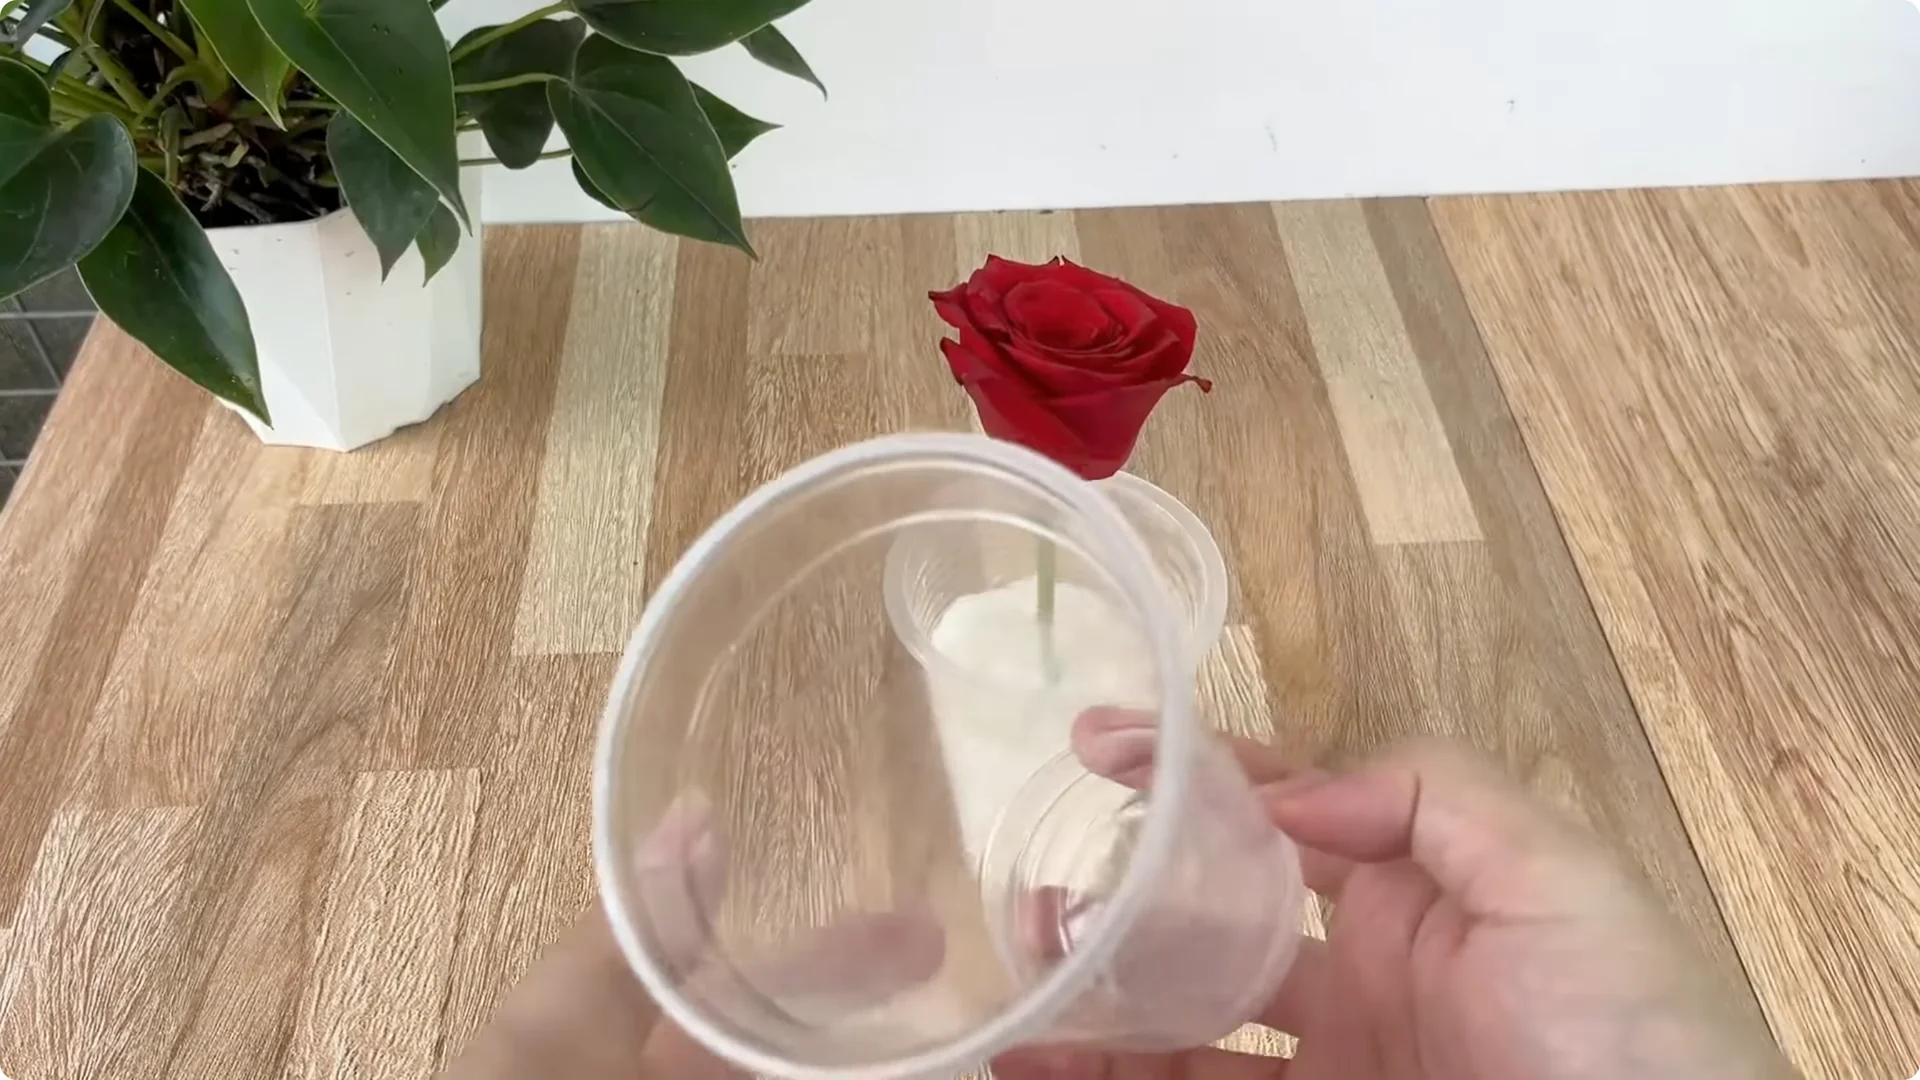
Tear some soft toilet paper into small pieces and put them in a clean plastic cup. Pour the garlic and bread solution to fill the cup. Soak for about 10 minutes to absorb the water, then gently press to reduce the water, keeping the humidity moderate.
Toilet paper here acts as a special substrate. It is soft, retains moisture well, and covers the rose stem. Use a small stick to make a hole in the middle of the paper cup.
Wrap and stabilize
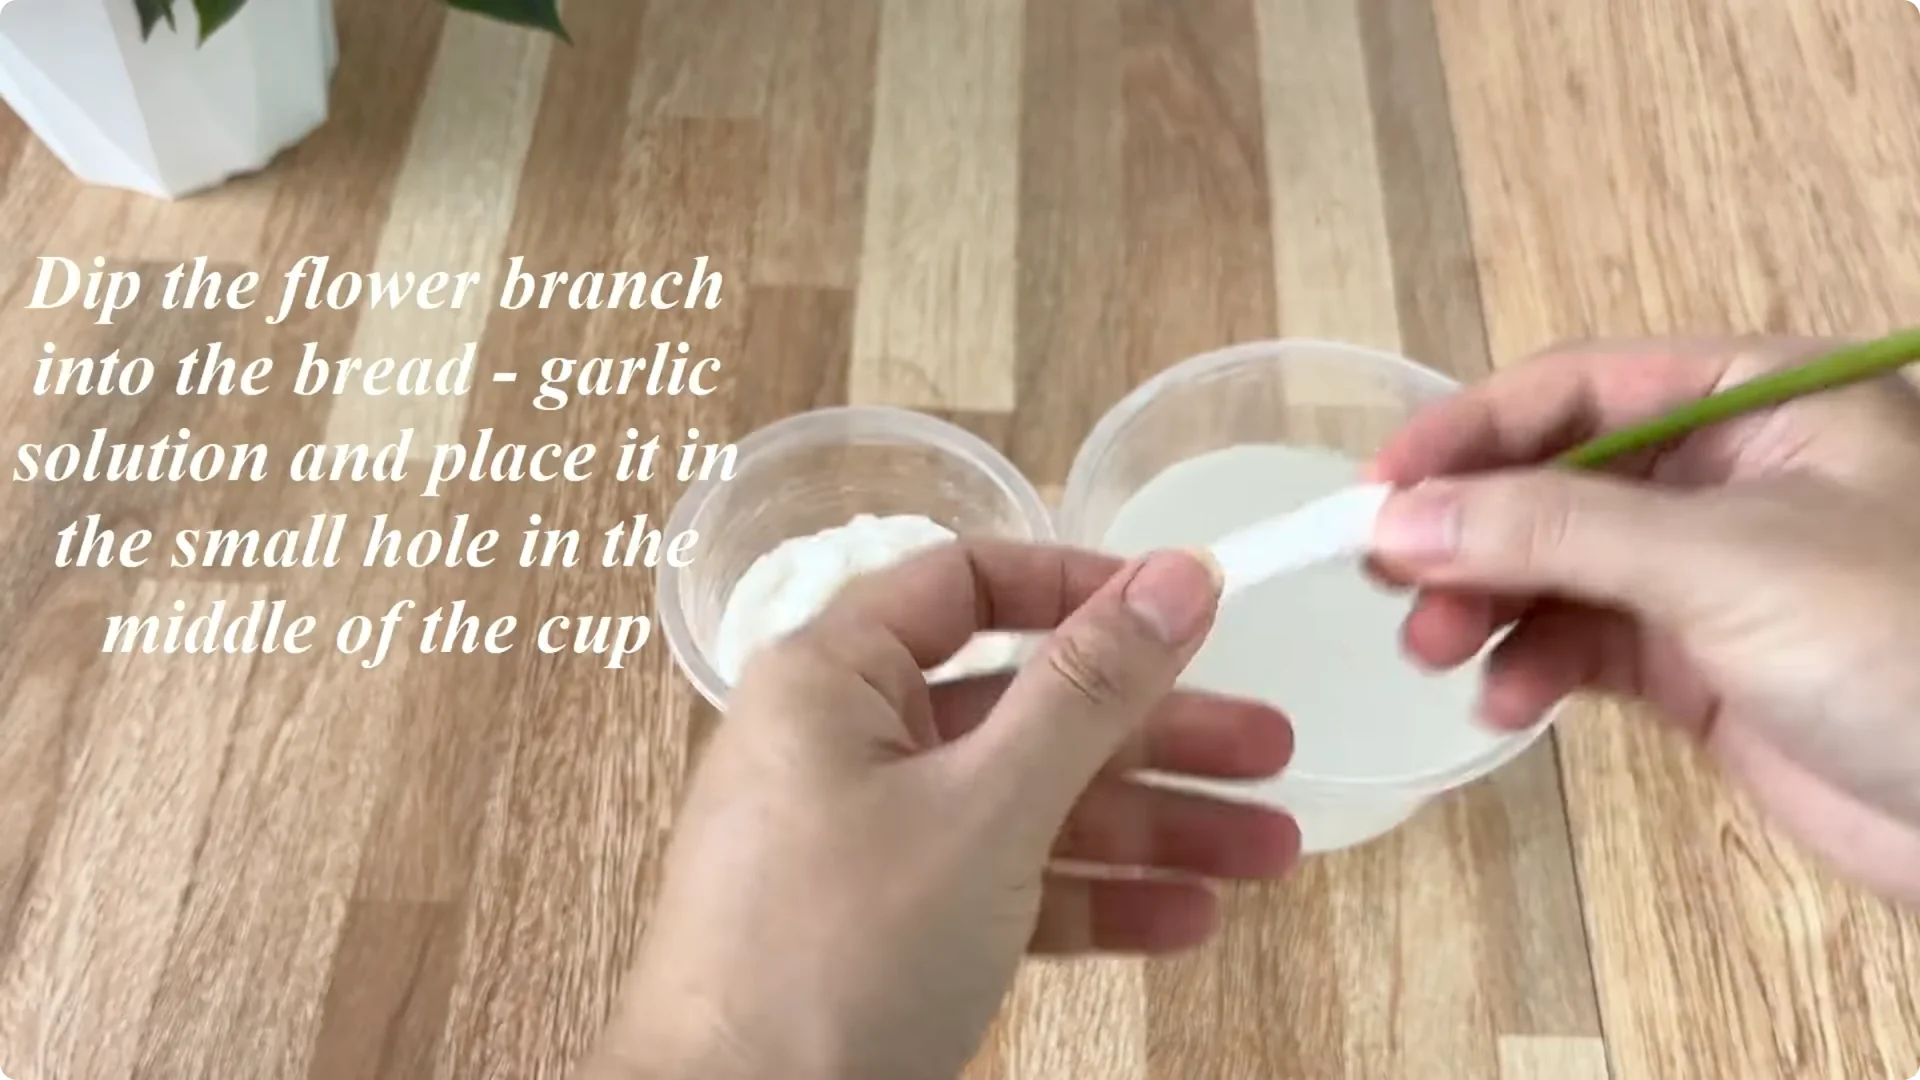
Wrap 2 to 3 times around the stem so the rose branch is kept at a stable humidity. Place the rose branch dipped in the solution and press lightly around it to stabilize it. Make sure the stem sits snugly in the moist paper.
For a helpful complement at this stage, see a simple trick for rooting roses. It aligns closely with the wrap and moisture control.
4. Garlic-Based Rose Propagation mini greenhouse
Use a plastic bag or transparent cup to cover the mouth of the cup, creating a mini greenhouse. This space helps to retain moisture, prevent evaporation, and block harmful agents from the outside. Keep the seal light but consistent.
Place the cup in a cool place, away from harsh sunlight and strong winds. The rose branch will have a safe environment to revive. Avoid heat buildup and dry air during this stage.
5. Garlic-Based Rose Propagation rooting timeline

After just one week, you will see obvious changes around the base of the rose branch. Plump, white young roots begin to grow, and lush green shoots pop up full of vitality. That is proof of the effectiveness of this unique combination.
Stay patient and keep humidity stable. Check for condensation on the cover as a sign of a well maintained microclimate. Vent slightly if excessive moisture pools on the surface.
6. Garlic-Based Rose Propagation transplant
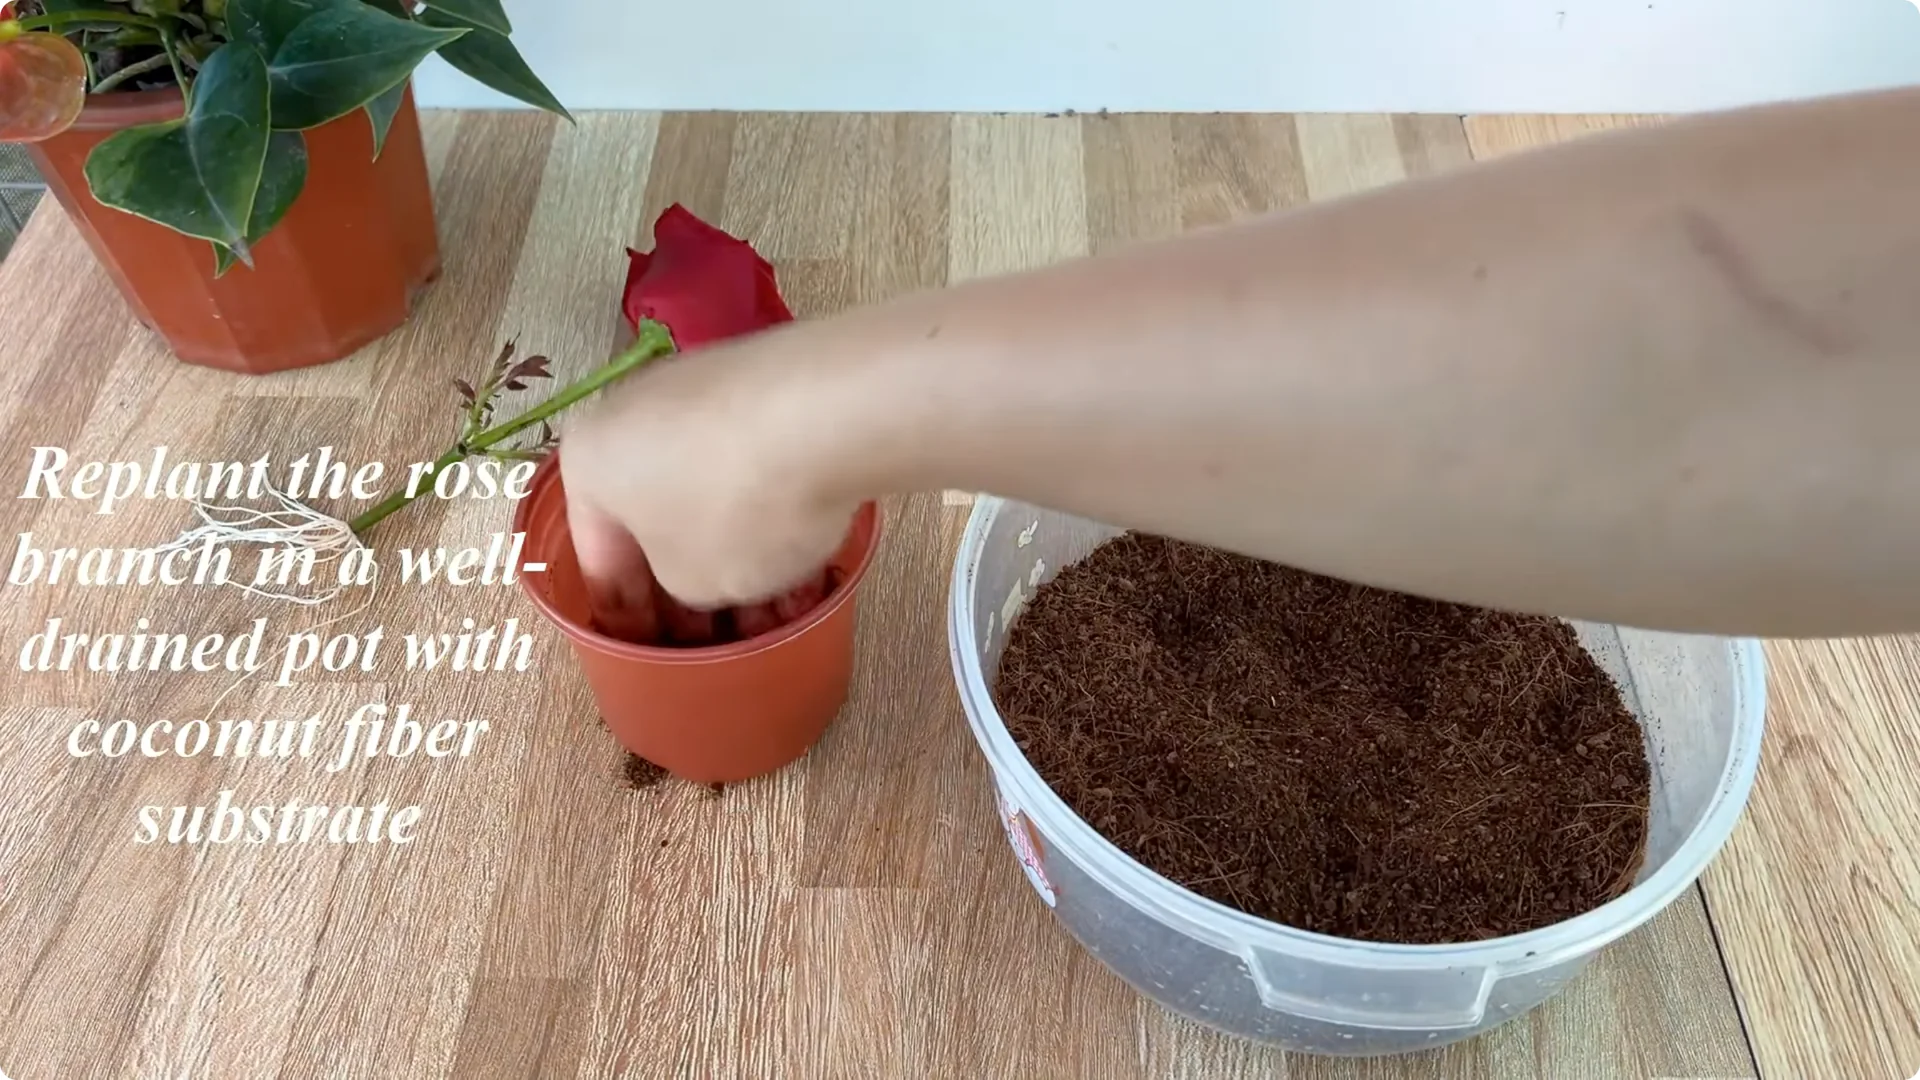
When the roots are strong enough, you can move the branch to a well drained pot with coconut fiber or loose soil. Handle the new roots gently and keep the root zone moist but not waterlogged. From here, the rose branch will continue to grow and bloom brilliantly.
Acclimate the plant to brighter light gradually. Keep airflow gentle and steady. Resume regular rose care once new growth is active.
Final thoughts on Garlic-Based Rose Propagation
With just a few simple ingredients in the kitchen, we can create an extremely effective cutting method. This is not only a small tip for propagating roses, but also a way for us to feel the magic of nature in every small detail. Try it, and after a few weeks you may have more beautiful rose pots created by your own hands.
The Beginner’s Rose Propagation Starter Kit 🌹
A simple printable PDF guide to help you root rose cuttings successfully.
Get The Guide →