We turn seemingly discarded rose branches into new, vibrant plants. I will share with you a unique cutting method that is extremely effective in stimulating root growth and preventing diseases for roses.
1. Rose Cutting Propagation Basics
The Beginner’s Rose Propagation Starter Kit 🌹
A simple printable PDF guide to help you root rose cuttings successfully.
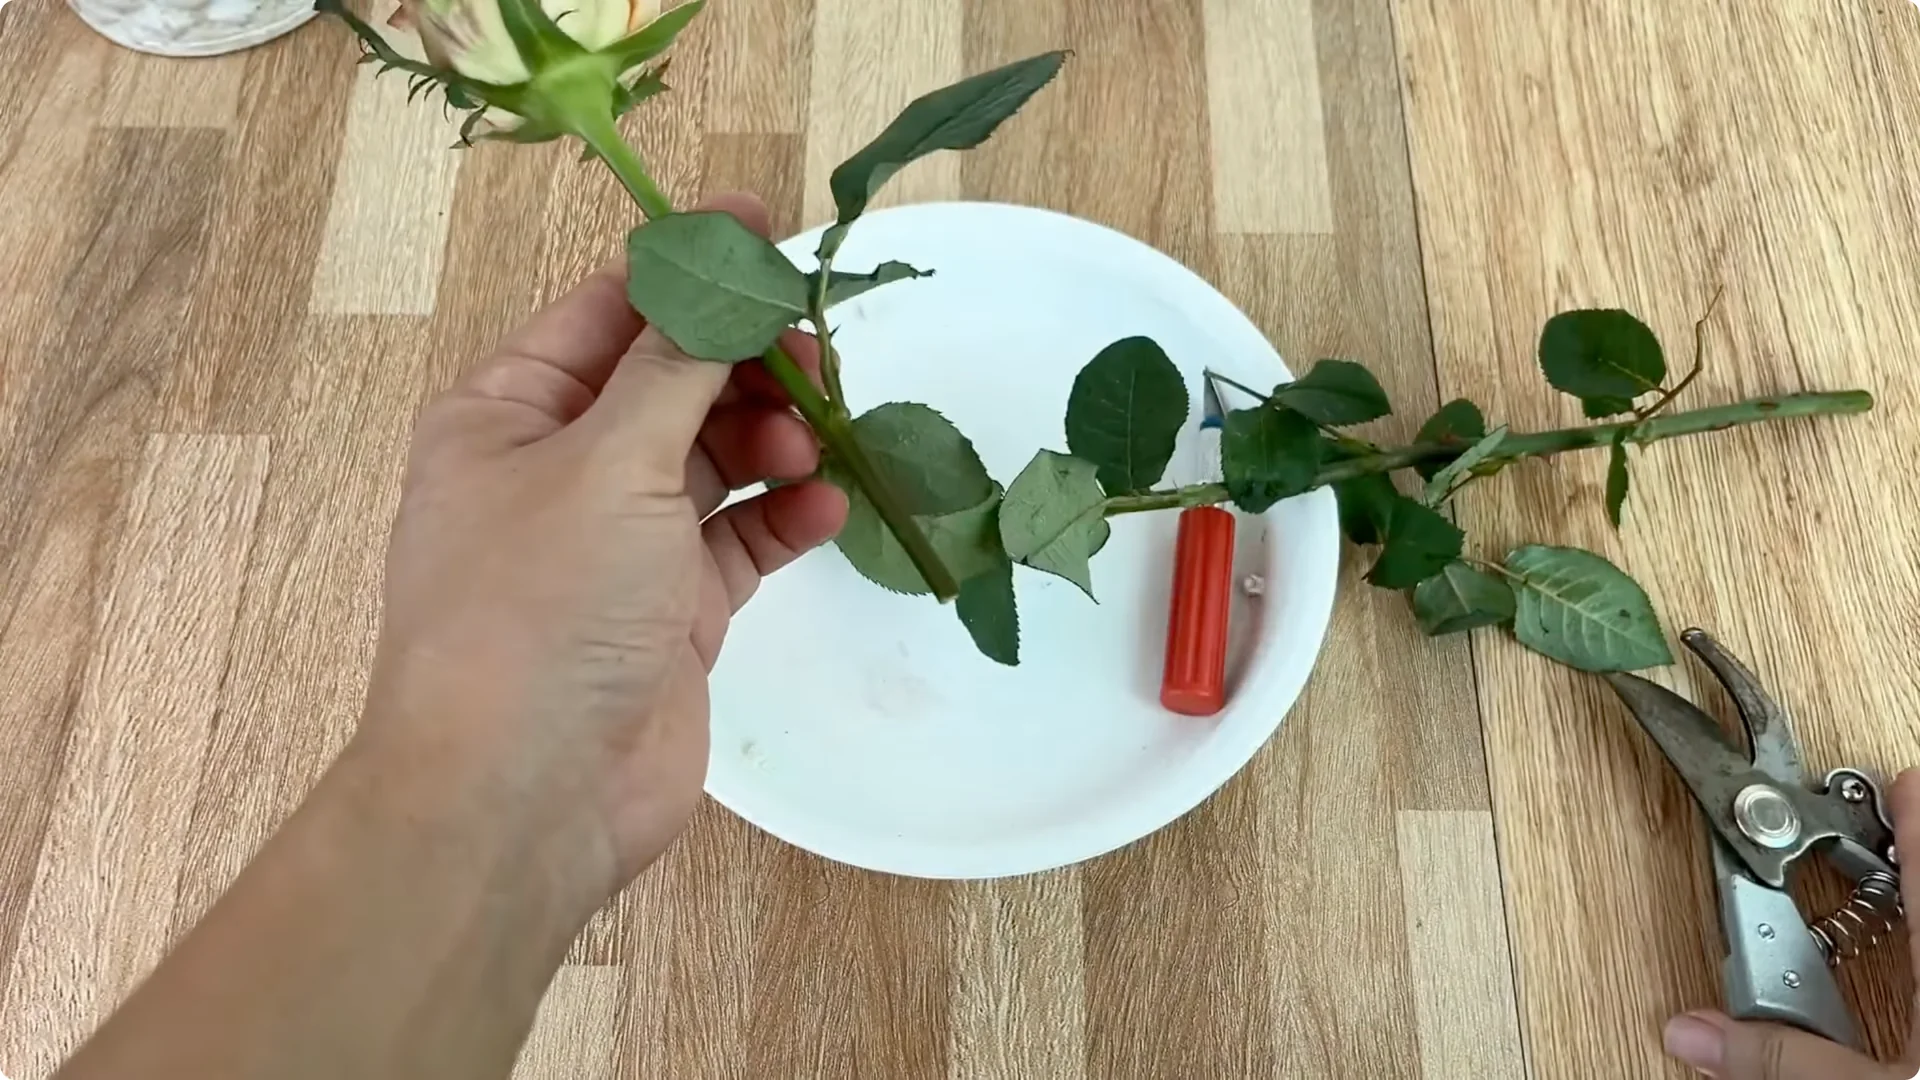
Get The Guide →First, choose a favorite rose branch that is moderately old, meaning not too young to wither easily, nor too old to reduce the ability to root. The ideal branch is usually dark green, the bark is still smooth, and when gently broken, it makes a “crack” sound.
We cut the branch short, leaving a length of about 15-20 cm, and remove all the leaves and sharp thorns. Removing leaves helps limit water loss through transpiration, while pruning thorns helps prevent scratches and infection when soaking in solution.
With just a few initial steps, you have laid a solid foundation for successful rooting.
Read More: 1 Cup Sparks Roots Year Round Roses
2. Rose Cutting Propagation – Garlic Prep
Rose Cutting Propagation – Garlic Benefits
Next, you need to prepare garlic. Garlic is the “hero” in this recipe.
Garlic contains allicin – a natural compound that has the ability to kill bacteria, fight fungi and protect plant tissue from rotting.
Rose Cutting Propagation – Garlic Steps
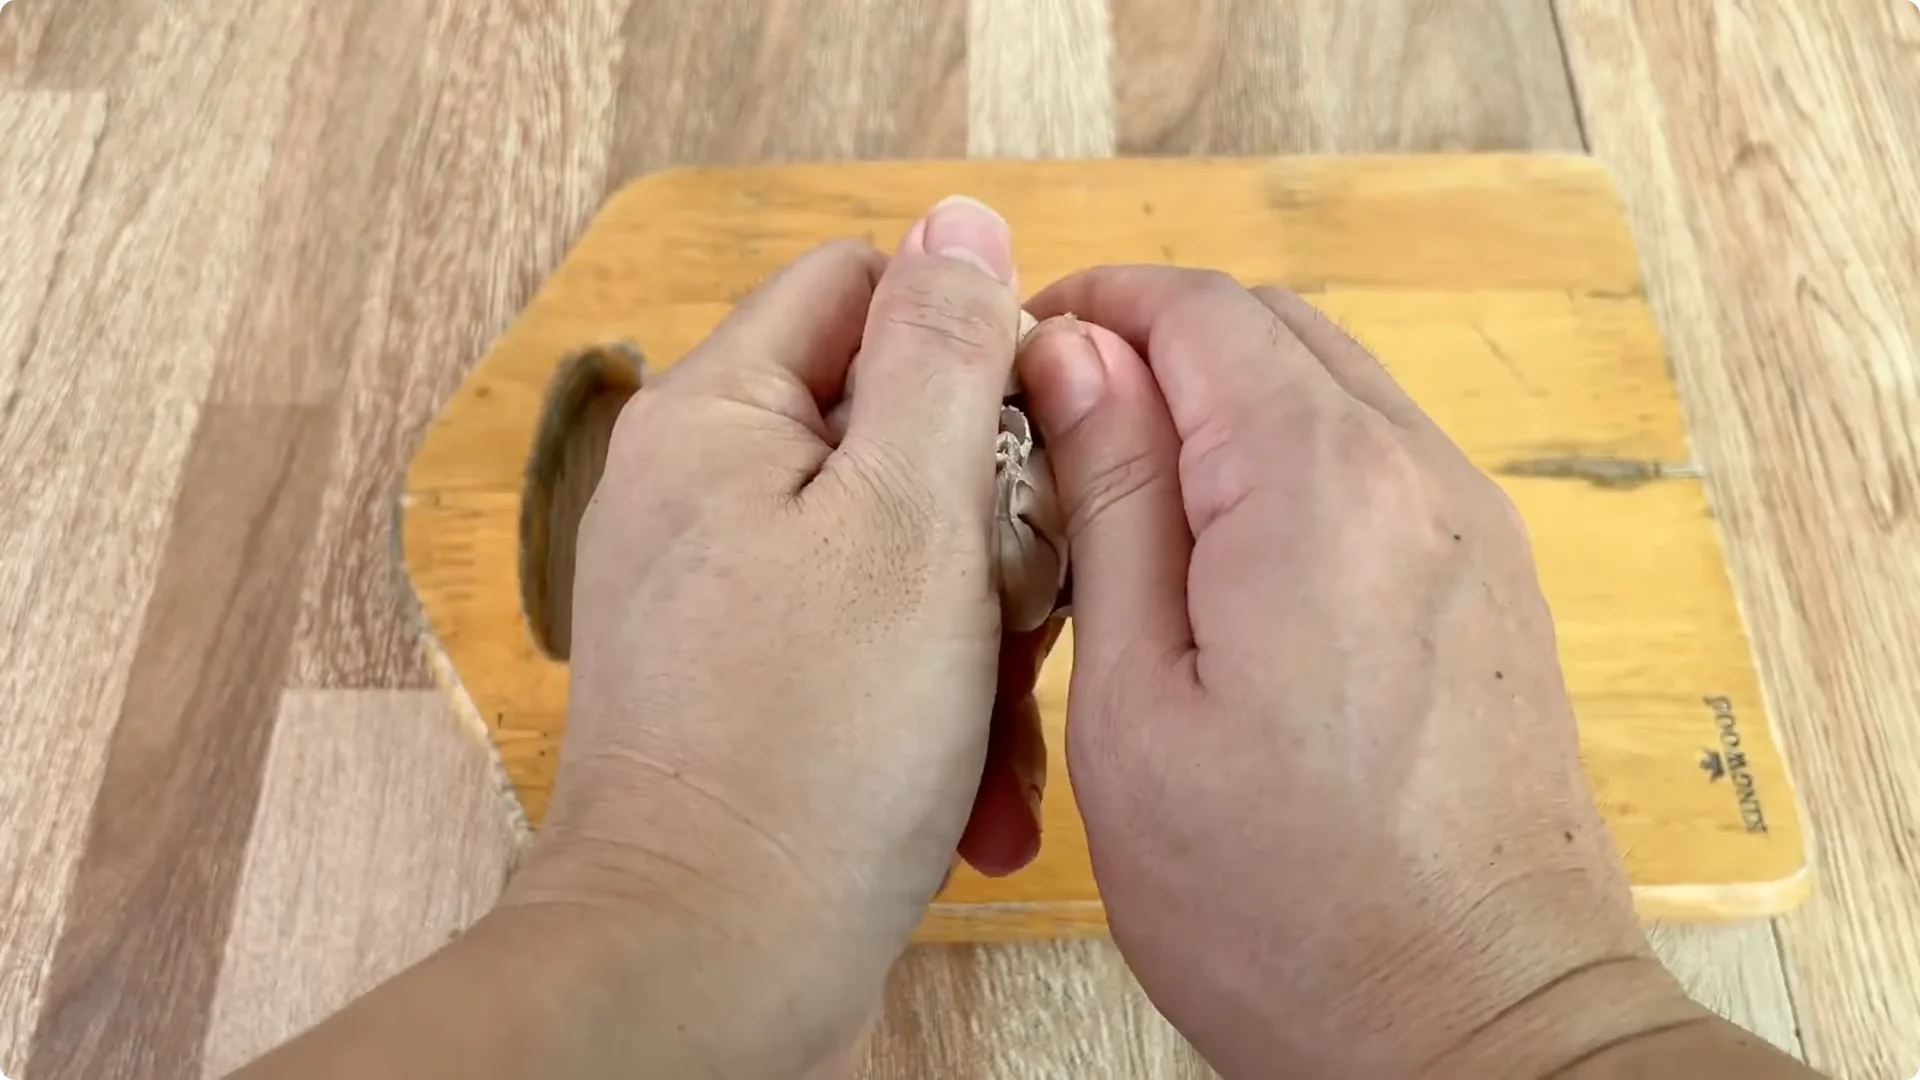
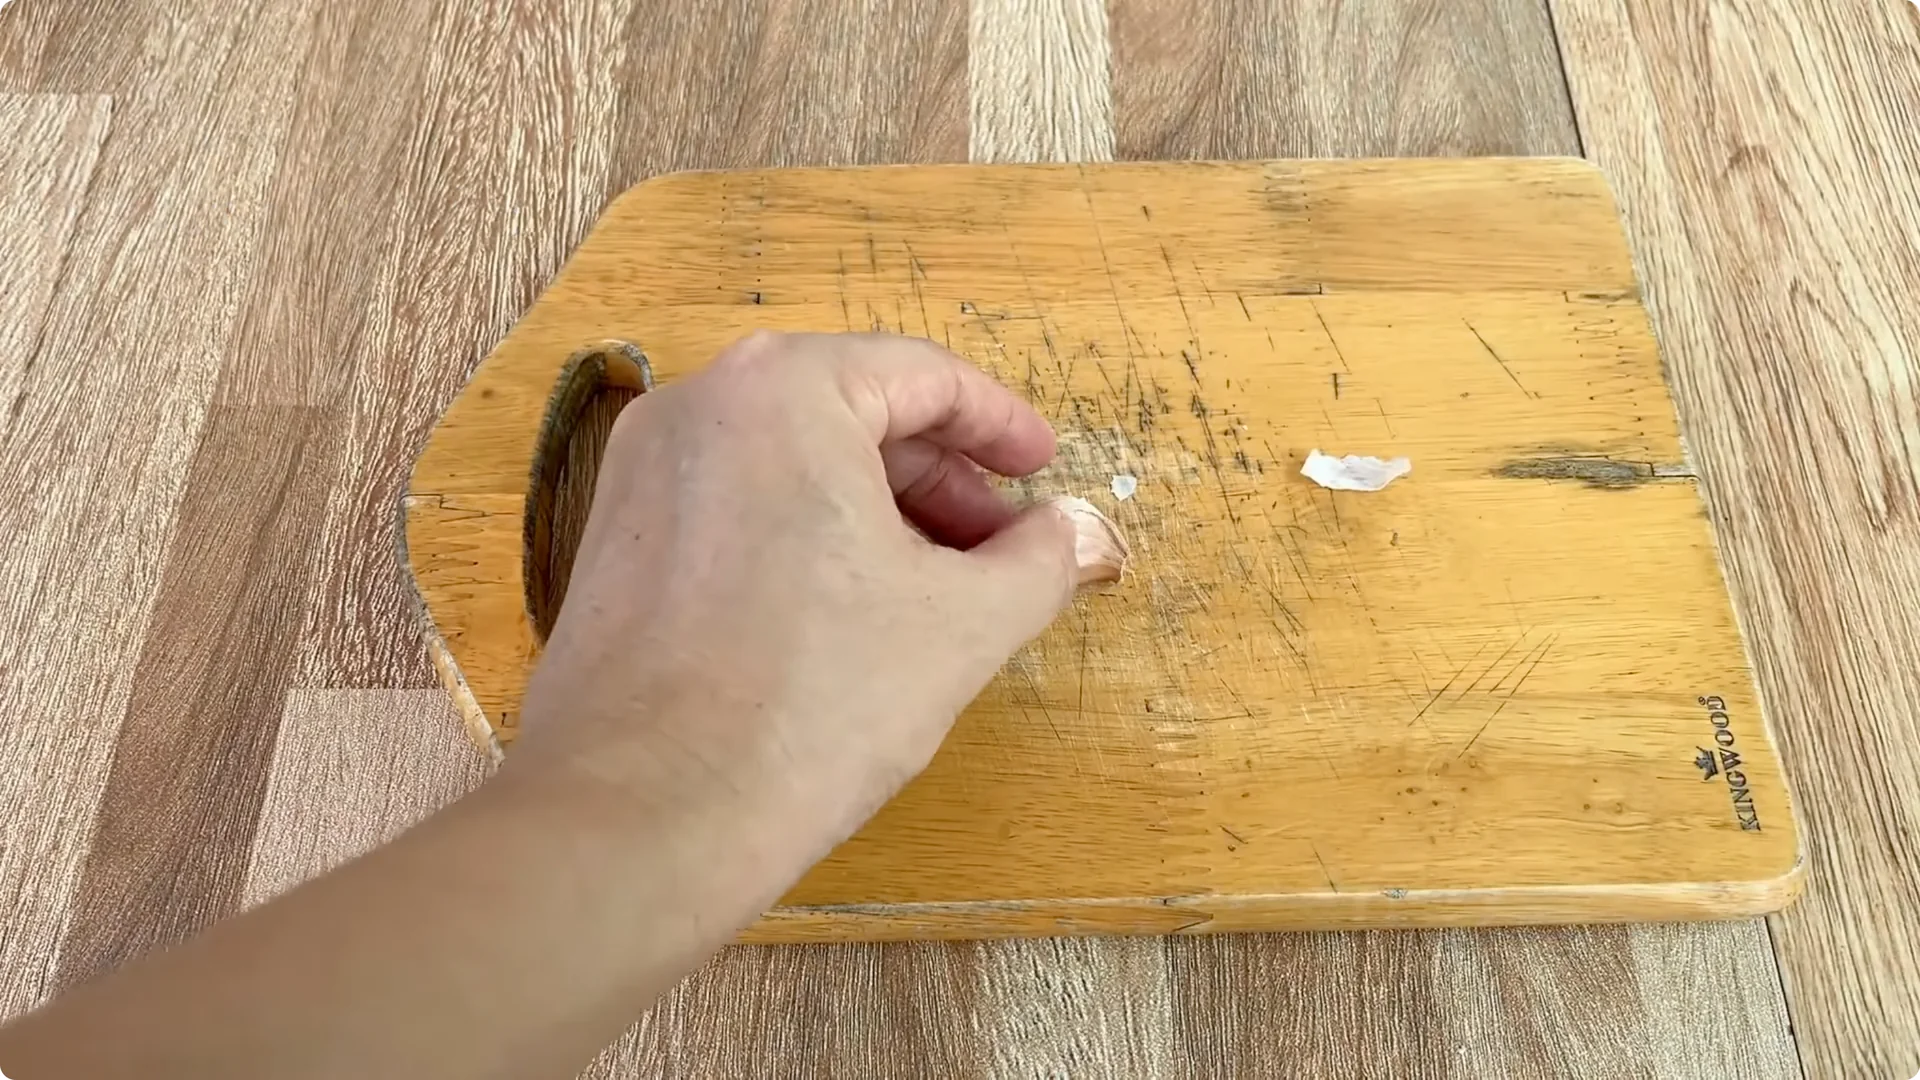
Take 2 cloves of garlic, cut 1 clove in half and peel off the skin. Use a sharp knife to make a small hole that fits the diameter of the rose branch, then insert the base of the branch into this hole.
When in direct contact with garlic, the stem cells of the branch will be stimulated and at the same time protected from pathogens. With the remaining half of the clove, rub it all over the stem to create a natural antibacterial layer, making the cutting process safer.
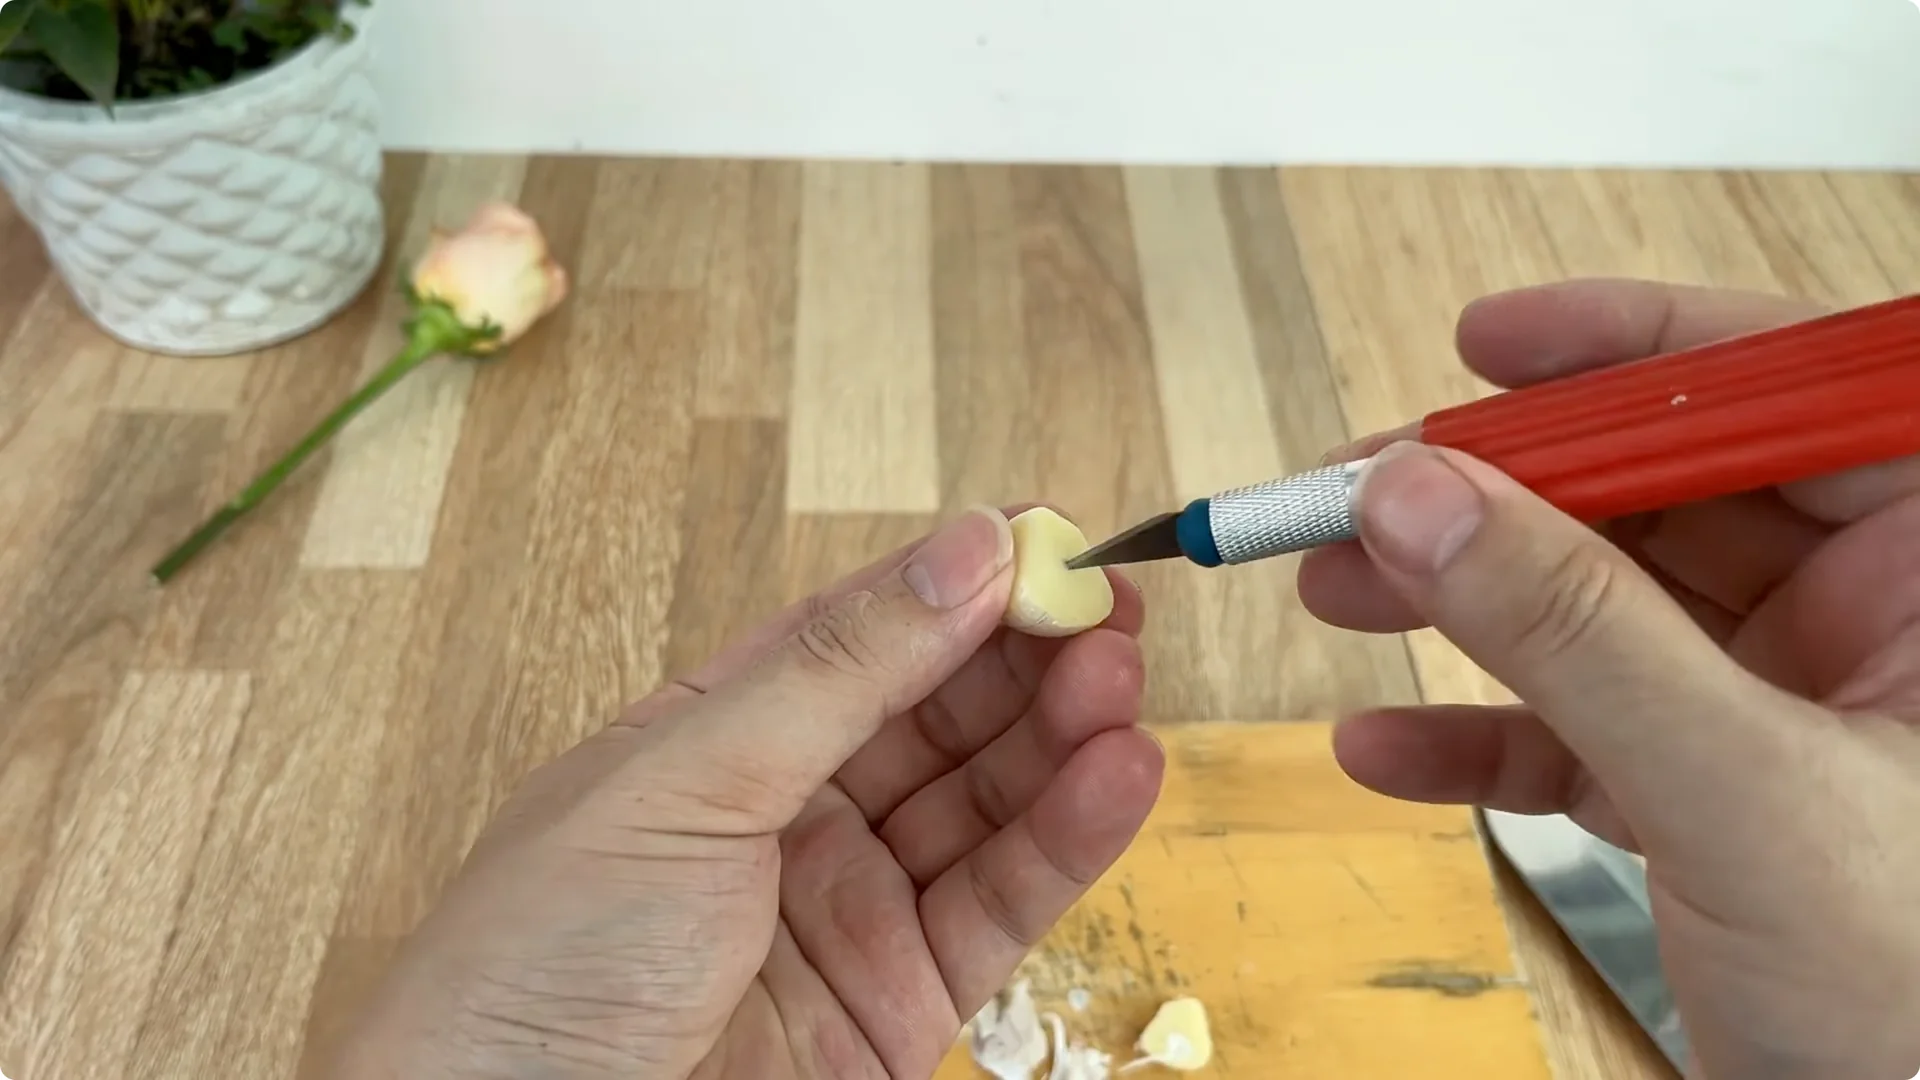
The remaining garlic clove is cut into very thin slices to release the maximum essential oils and nutrients. Put the garlic in a clean plastic cup.
3. Rose Cutting Propagation – Tomato-Garlic Infusion
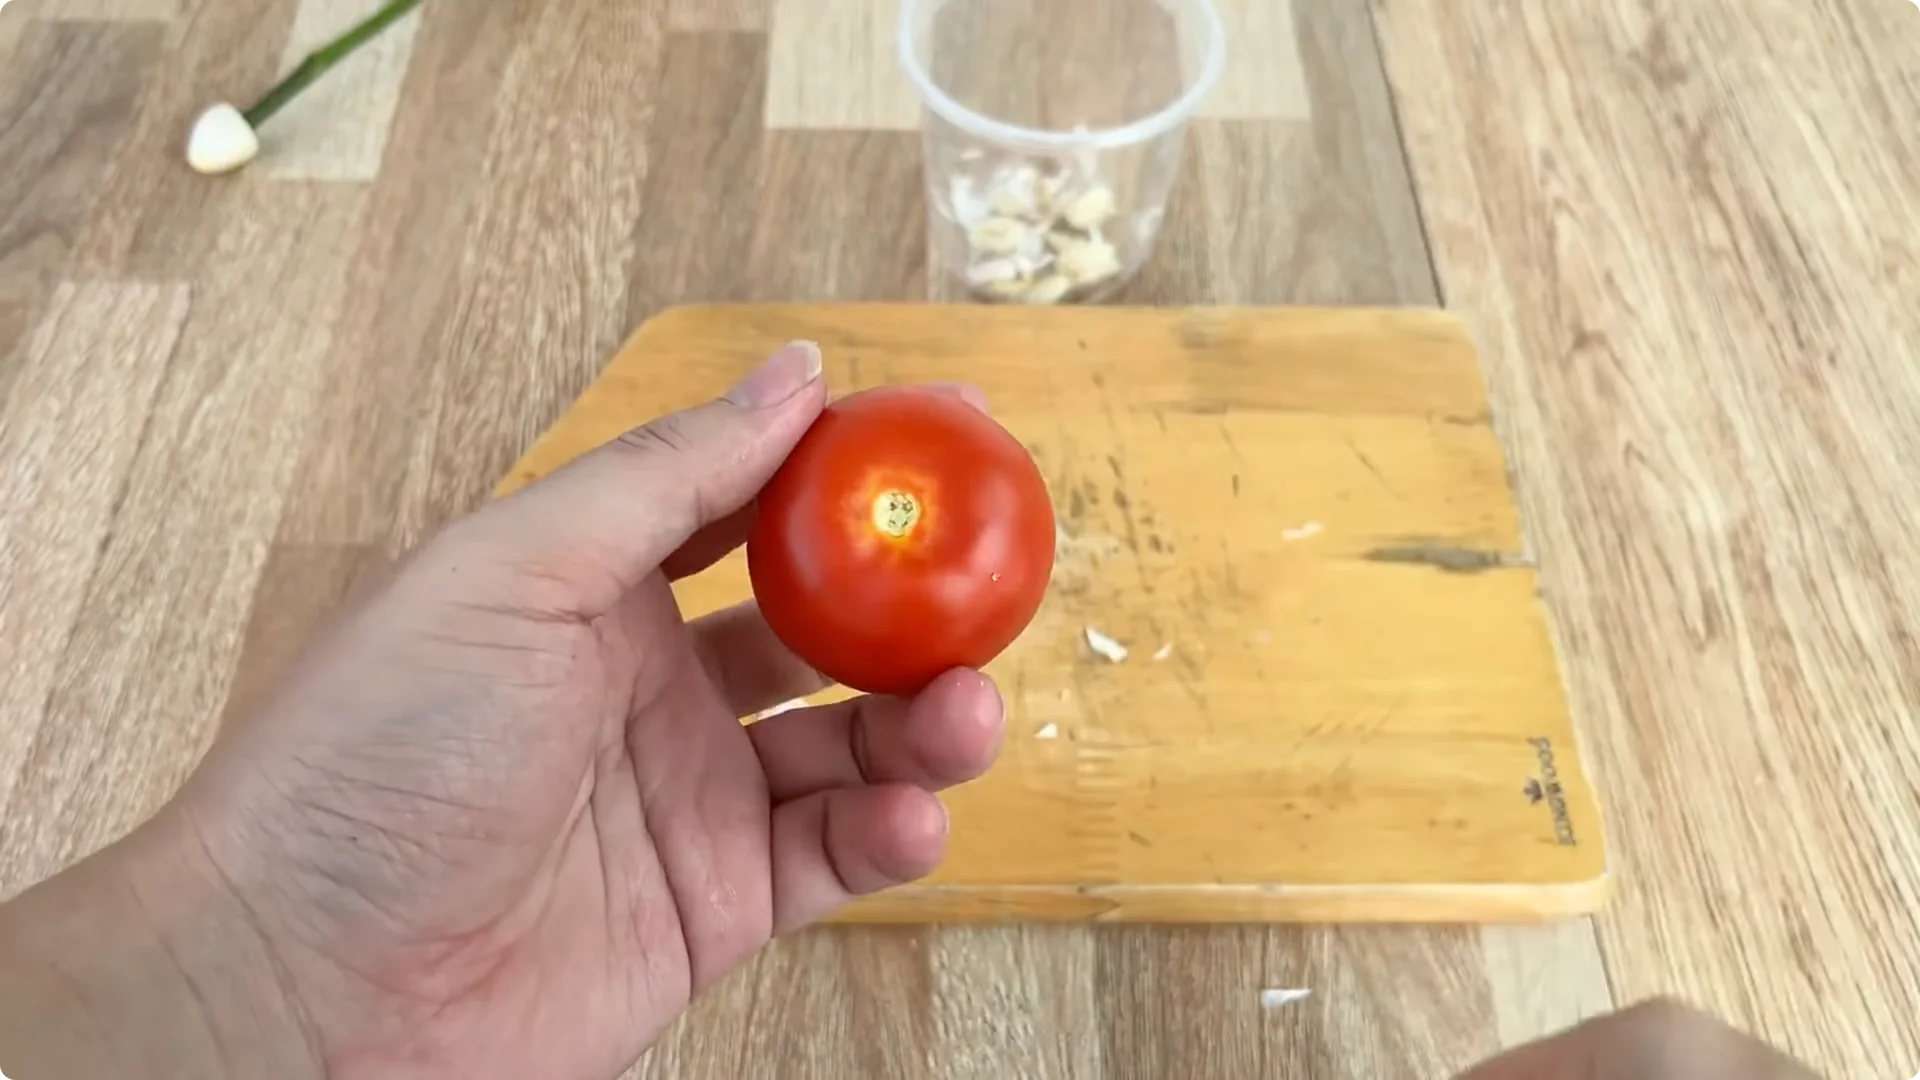
Next, we cut about 30 grams of tomatoes into small pieces. Tomatoes are a fruit rich in lycopene, vitamin C and organic acids which help stimulate cell division, thereby supporting the root formation process.
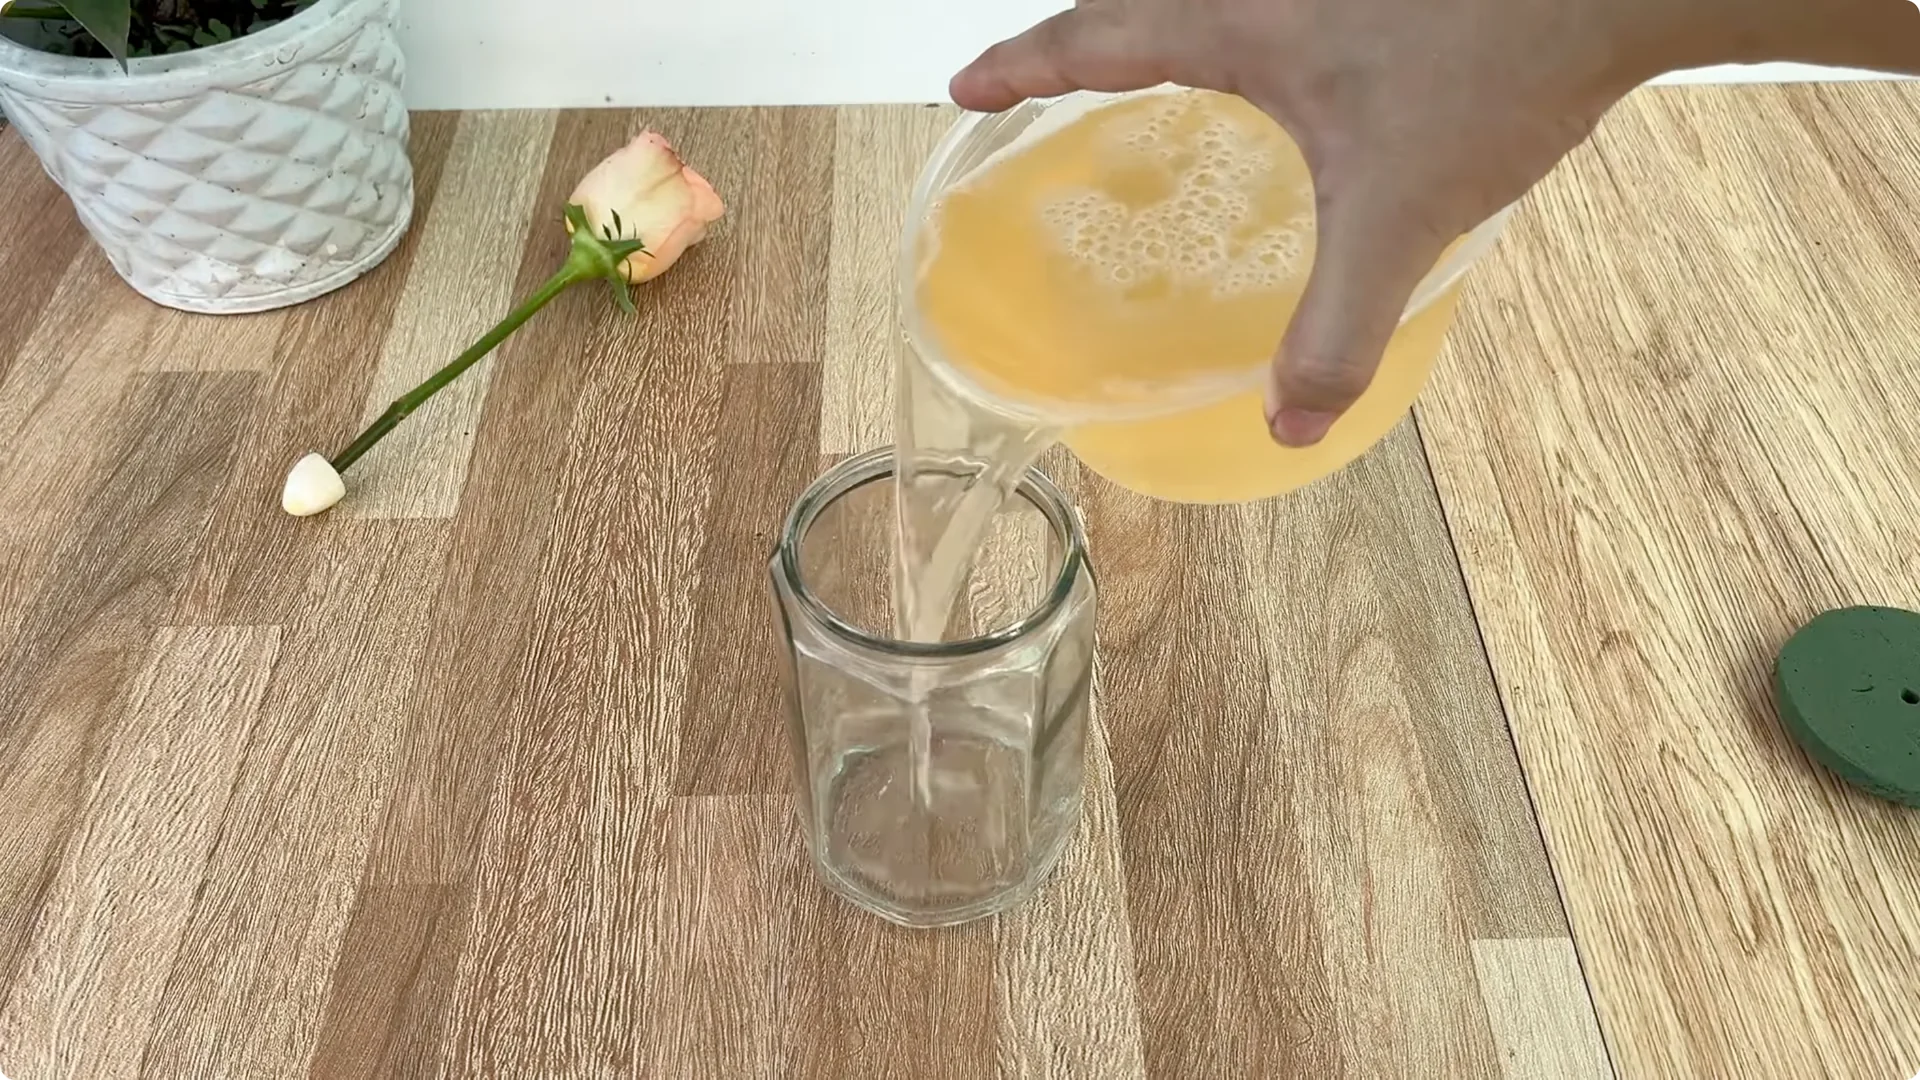
Add tomatoes to the garlic, add 0.5 liters of clean water and stir well. Then, let it sit for about 30 minutes so that the natural active ingredients from garlic and tomatoes can penetrate the water, creating a nutrient-rich and antibacterial solution.
Rose Cutting Propagation – Filter and Fix
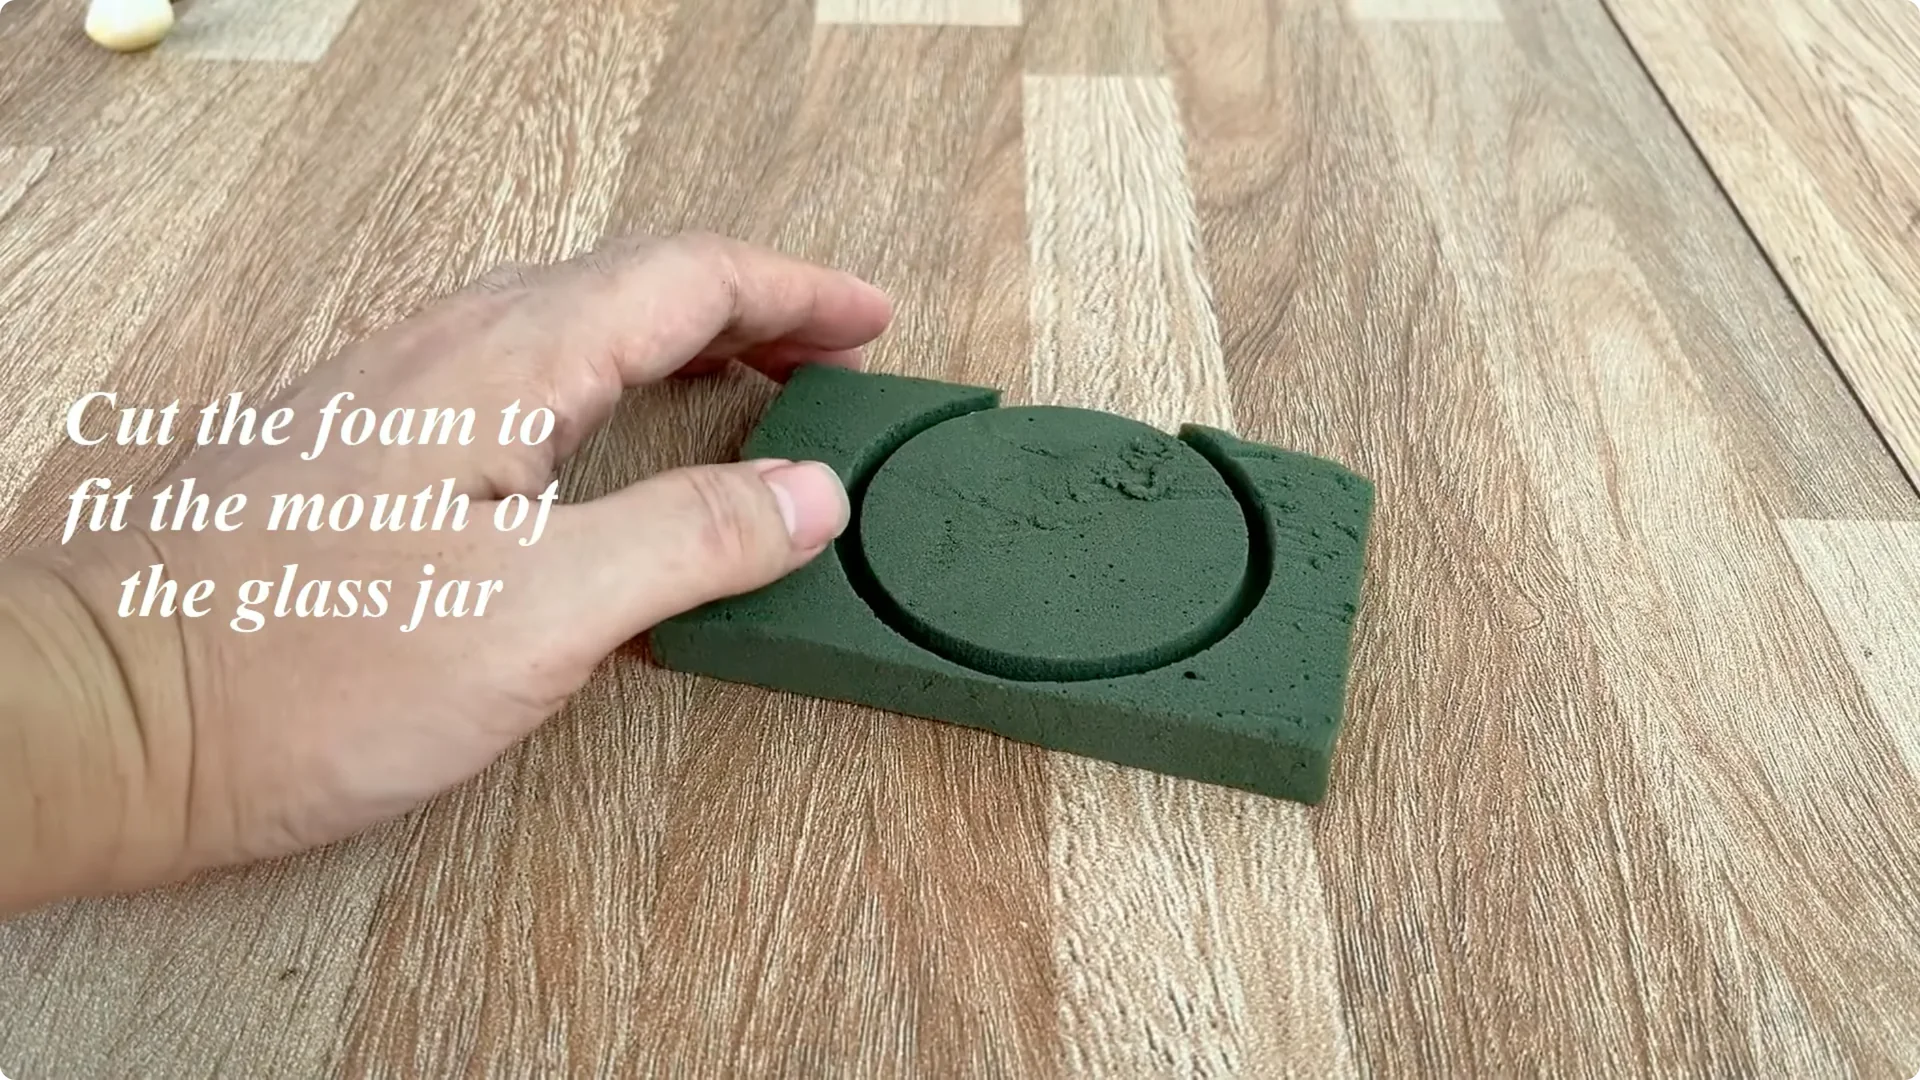
Prepare a clean glass jar and a piece of foam. Cut the foam to fit the mouth of the jar.
The foam will act as a fix for the branch, keeping the base always submerged in the solution without being moved or exposed to direct air – a factor that can dry the base. Use a sharp stick to make a small hole in the middle equal to the diameter of the rose branch.
After the garlic-tomato solution has soaked, stir well and filter out the residue, keeping the liquid.
Read More: Simple Cup Sparks Roots Roses
4. Rose Cutting Propagation – Add Beer and Assemble
Rose Cutting Propagation – Add Beer
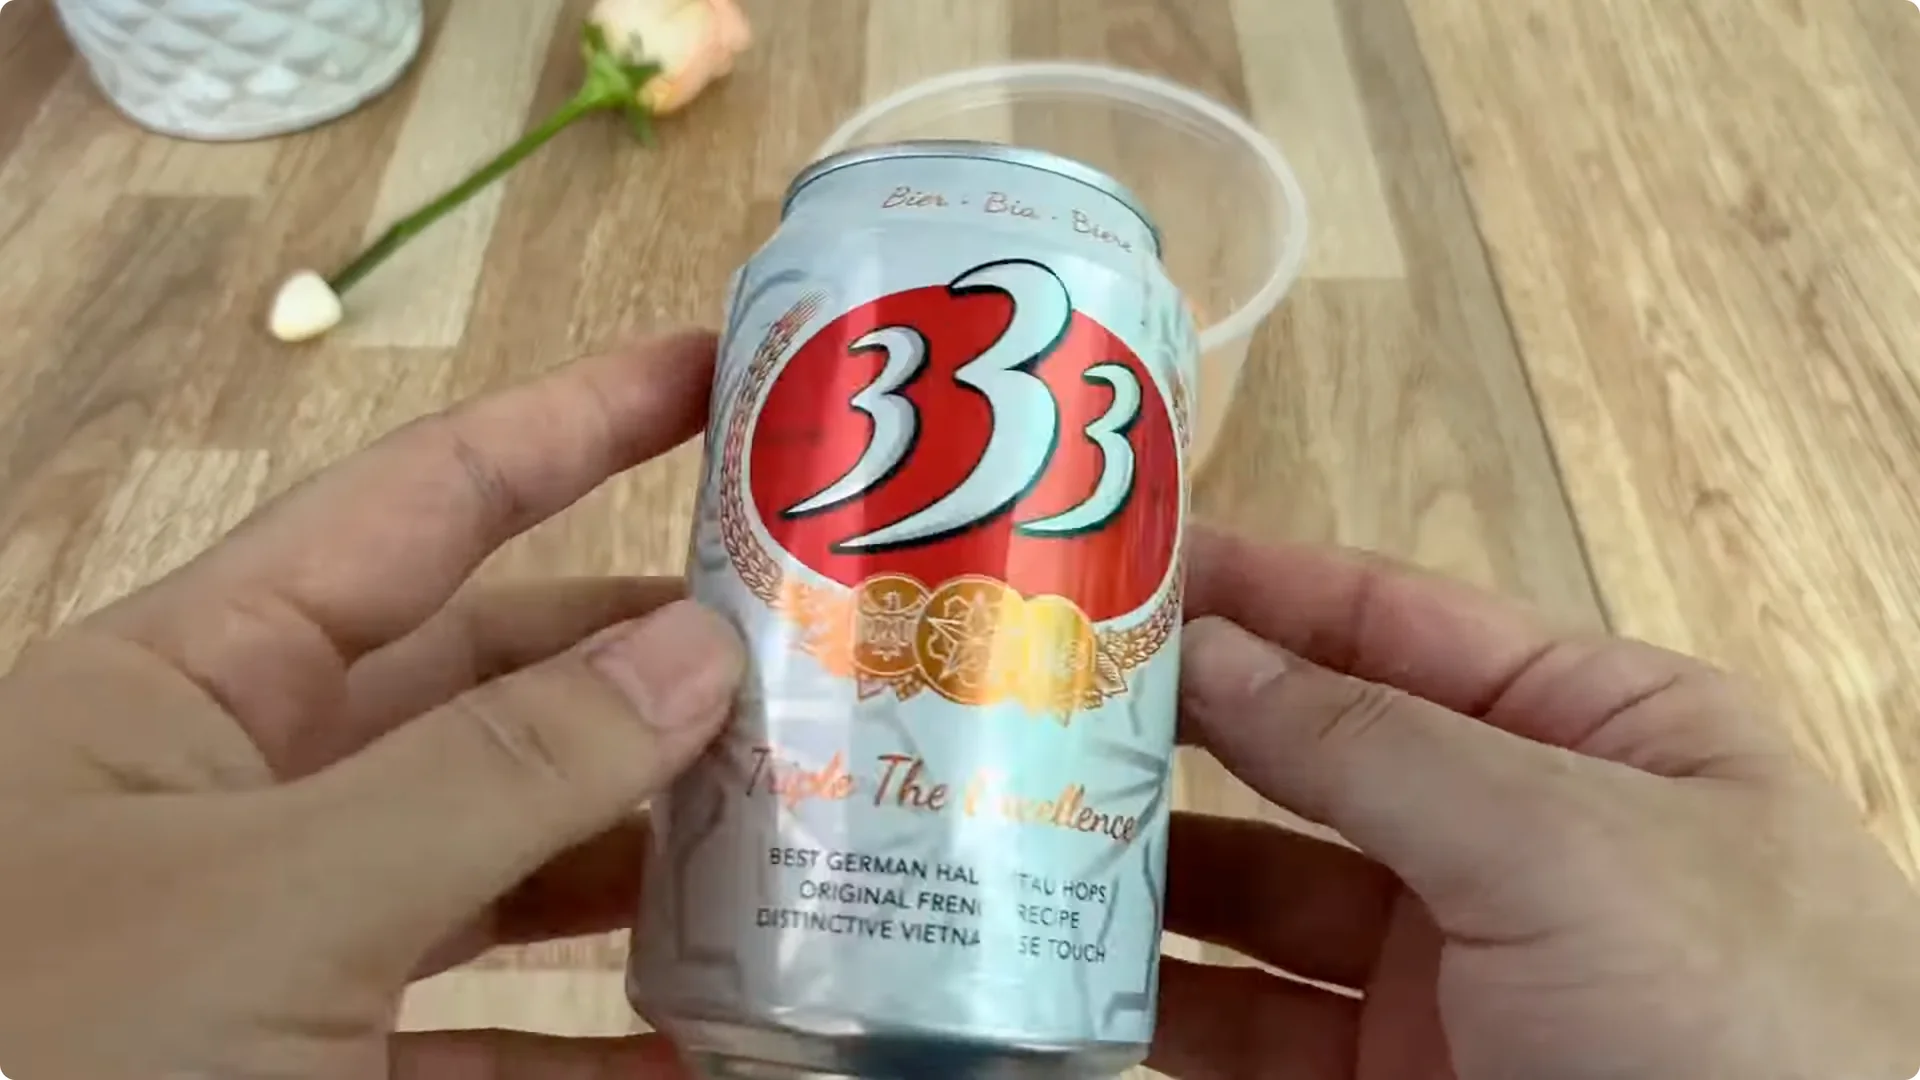
Next, prepare 100 ml of beer. Beer is a drink containing many B vitamins, carbohydrates and minerals that are very good for the root stimulation process.
Beer also contains natural yeast, which helps decompose organic matter and creates a favorable environment for young roots to grow. Mix the beer with the filtered solution, then dilute this mixture with 0.5 liters of clean water.
Finally, pour the solution into a nearly full glass jar.
Rose Cutting Propagation – Assemble and Cover

Remove the rose branch from the garlic clove. Use a cable tie to fix the stem to the foam, then insert the branch through the hole in the middle so that the root is deeply immersed in the solution.
Cover the jar tightly with a plastic bag or transparent plastic cup to maintain high humidity, limit water loss and prevent insects from entering. Place the jar in a cool place, away from strong winds and direct sunlight because young roots are very sensitive to high temperatures and dry environments.
Read More: One Cup Grow Rose Plant Roots Blooms 2
5. Rose Cutting Propagation – Rooting and Potting
If you do the above steps correctly, after only about 7 days you will see many white, plump roots appear around the base of the branch. On the trunk, green shoots will begin to grow, signaling new vitality.
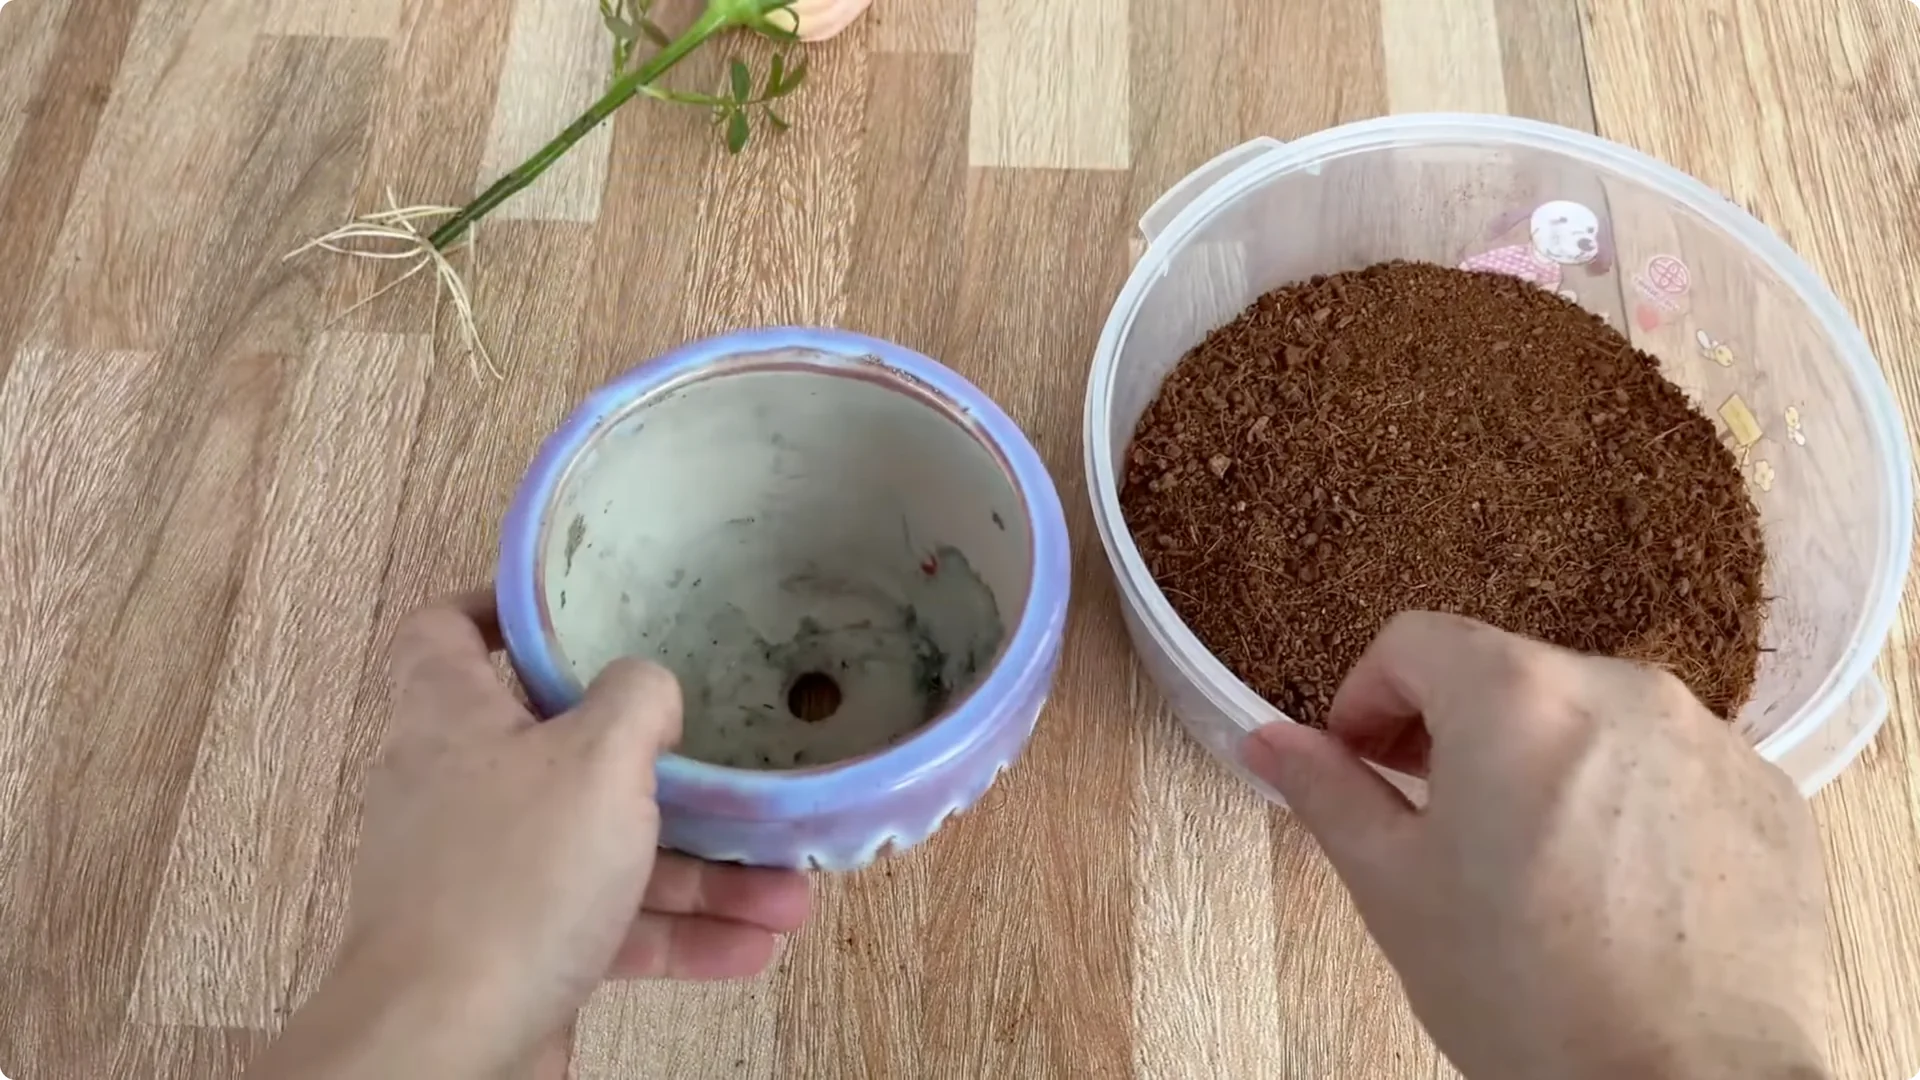
At this time, you can gently plant the branch in a pot with good drainage holes using coconut fiber substrate or a loose soil mixture so that the tree can easily adapt and grow strongly. From a single branch, you now have a new rose tree, ready to show off its beauty in your garden.
With just simple ingredients available in the kitchen, you have turned an ordinary rose branch into a healthy, vibrant young tree.
Final Thoughts
Choose a moderately old branch, prepare the garlic-tomato infusion, and support it with a little beer for nutrients. Keep the cutting stable, humid, and out of direct sun, then transplant once roots and shoots appear. This method is simple, protective against rot, and remarkably quick to spark new life.
About The Author
The Beginner’s Rose Propagation Starter Kit 🌹
A simple printable PDF guide to help you root rose cuttings successfully.
Get The Guide →