If you are a rose lover and have tried to propagate but failed, I will share a simple and effective method that you can do at home. With just familiar ingredients in the kitchen, you can help cuttings grow roots strongly and safely.
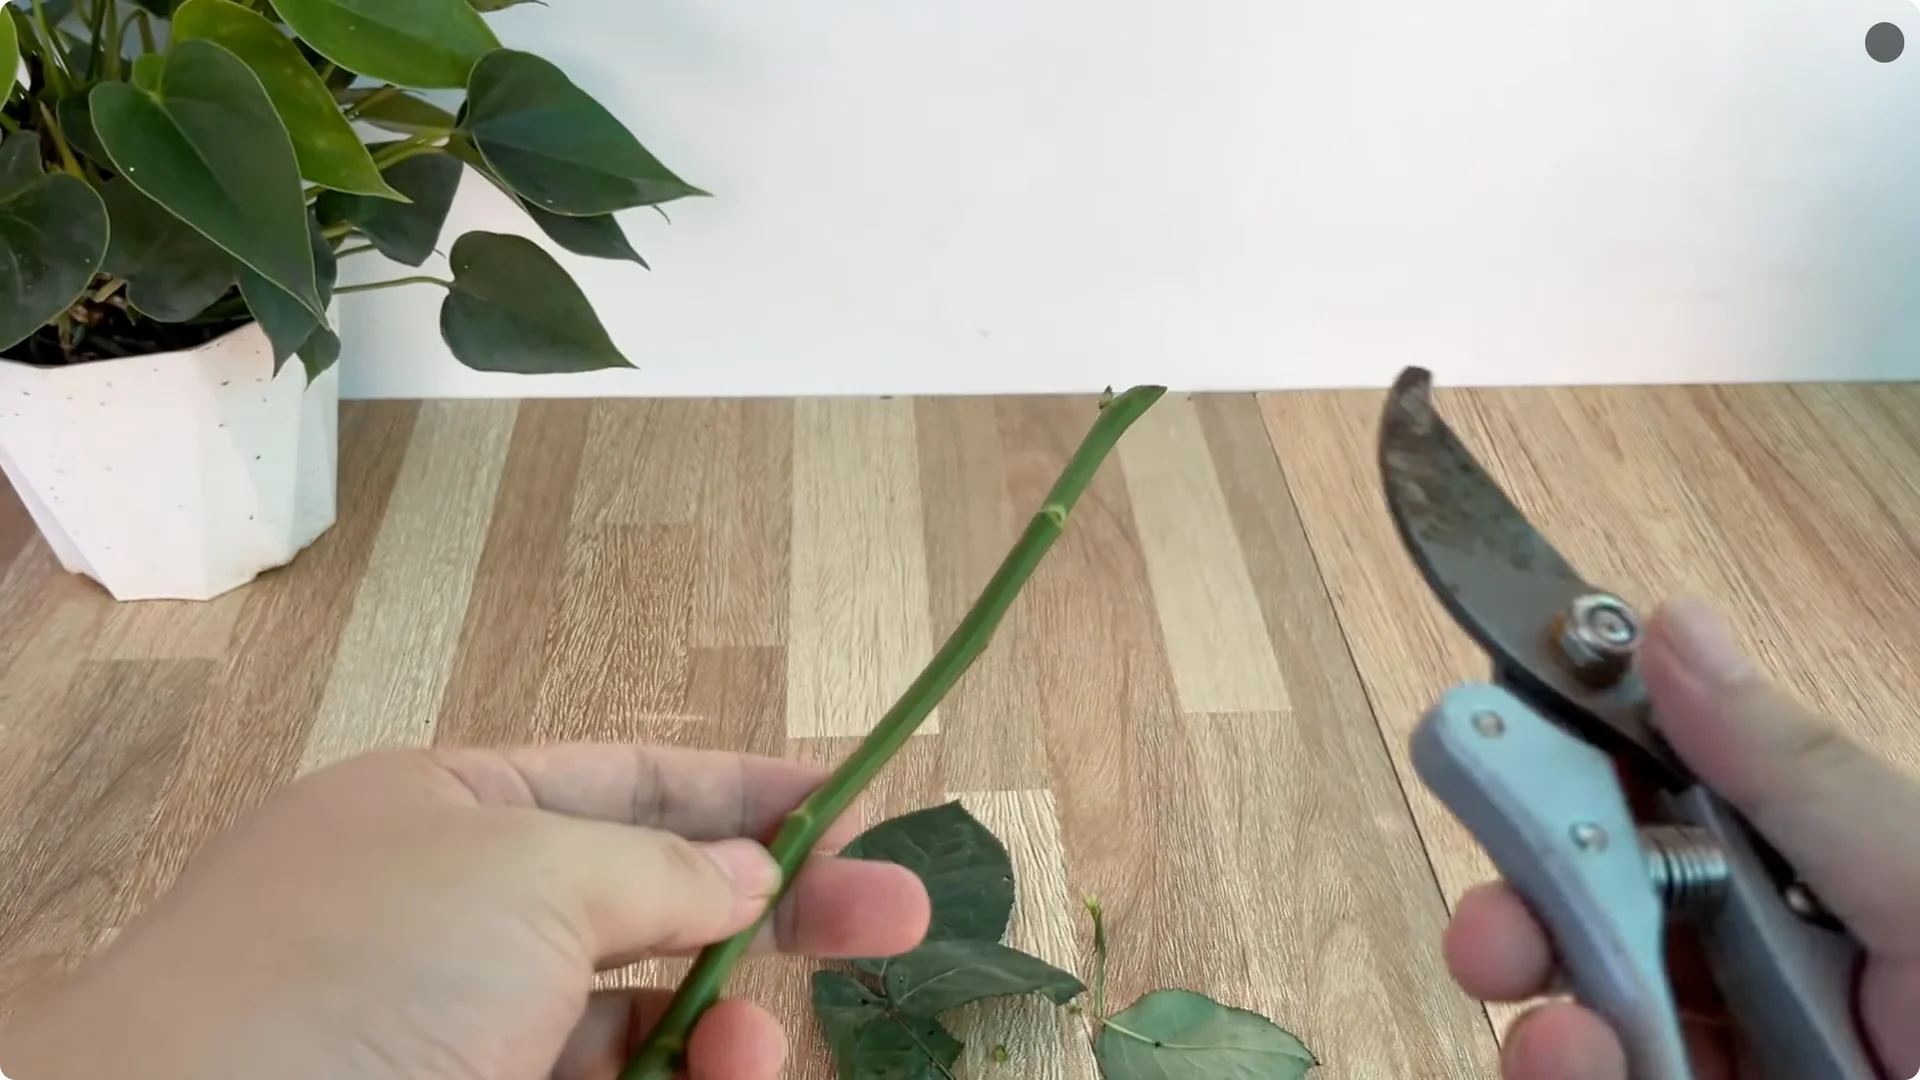
Choose a healthy rose branch that is free of pests and diseases. A branch with moderate age is ideal because it is both sturdy and has good growth ability.
For extra help getting results sooner, see these tips for fast-rooting rose cuttings. They pair well with the methods below.
1. Rose Cutting Propagation: Garlic, Potato, and Banana Peel
Prepare the Cutting for Rose Cutting Propagation
Cut off all the leaves and sharp thorns on the branch to limit water loss and avoid hindering the rooting process. Cut the branch short, leaving only about 15-20 cm long. This action helps the plant focus its energy on forming new roots, instead of growing unnecessary long tips.
Make the Garlic-Potato-Banana Solution for Rose Cutting Propagation
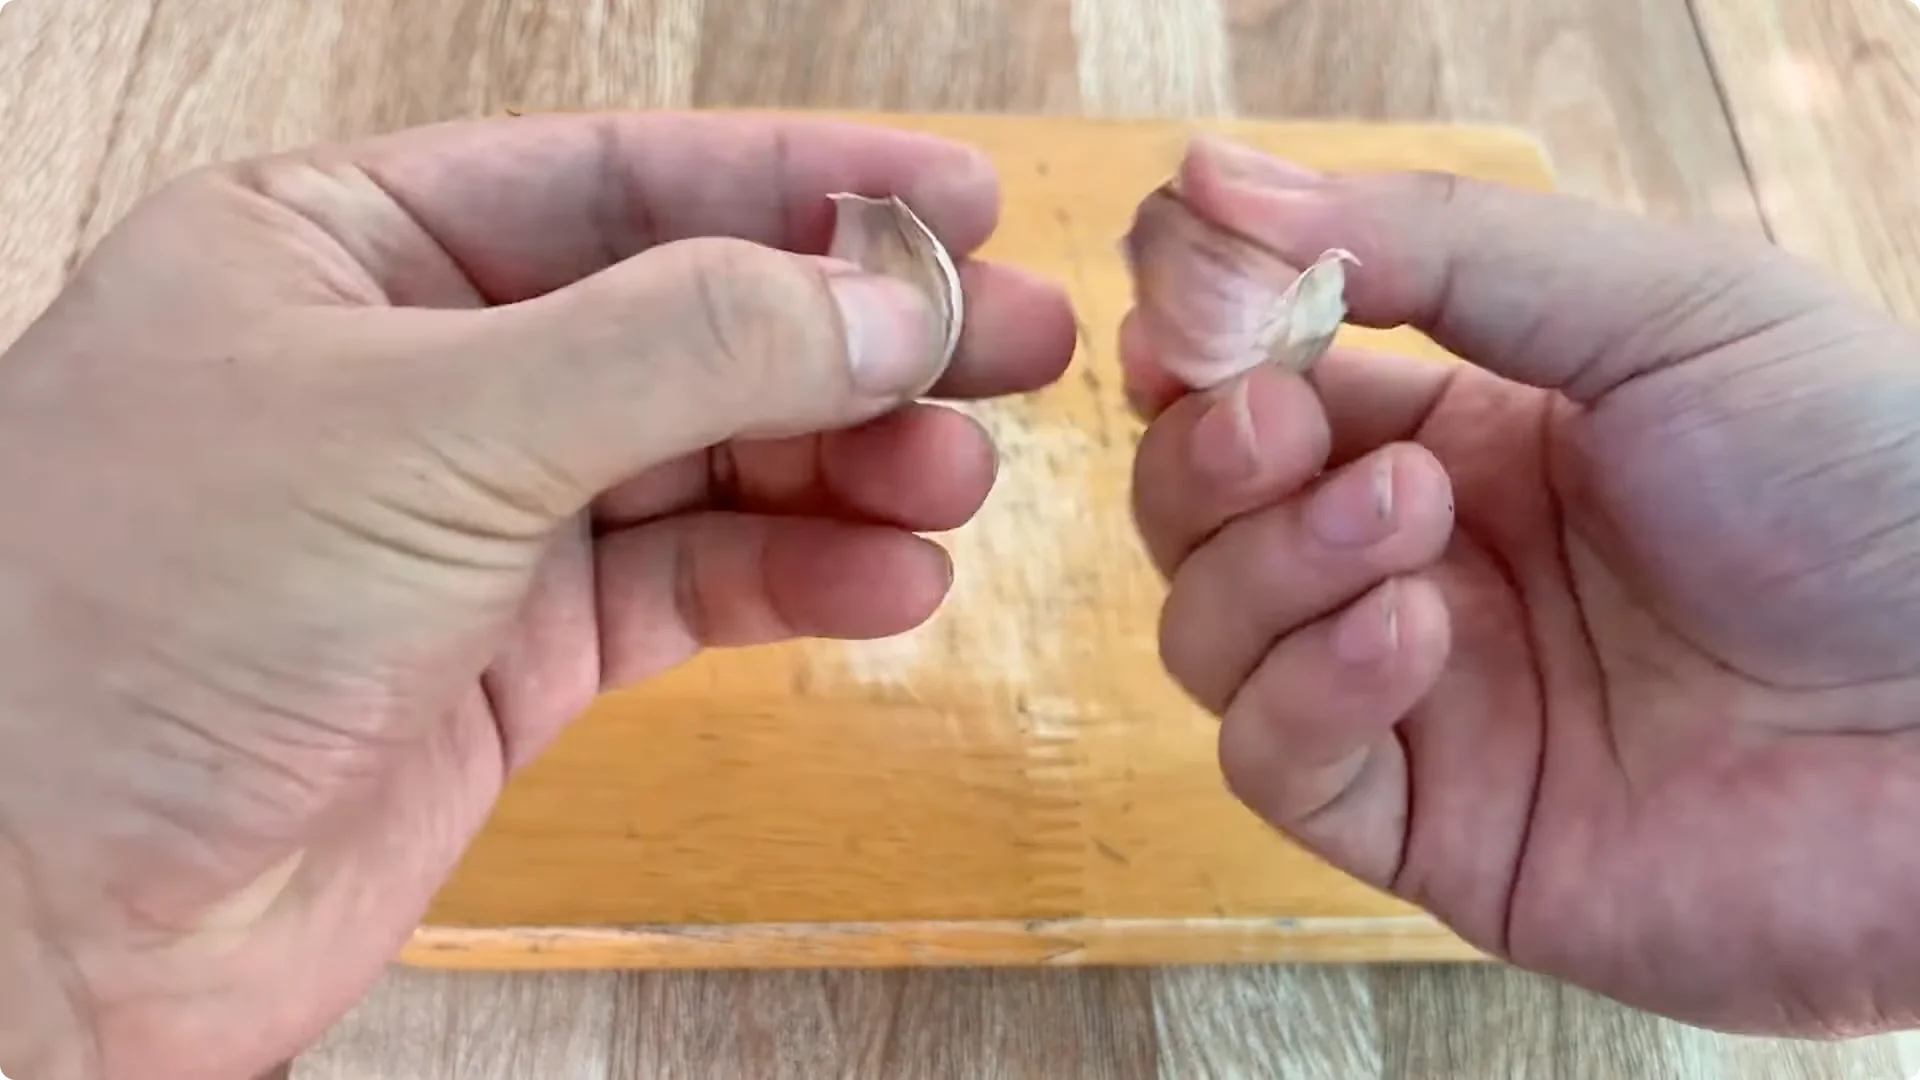
The first ingredient is 2 cloves of fresh garlic. Garlic is known as a “natural antibiotic” in agriculture, containing many allicin compounds that have antibacterial, antifungal, and anti-pathogenic effects.
When used on roses, the garlic solution helps protect the cut from bacteria and mold while stimulating tissue regeneration at the base of the branch. After peeling off the skin, cut the garlic into small pieces, put it in a clean plastic cup, add about 0.3 liters of water, stir well, and soak the rose branch in it for 15 minutes.
Prepare about 30 grams of fresh potatoes. Potatoes contain a lot of starch, B vitamins, and minerals such as potassium and phosphorus – essential nutrients for the formation of young roots.
When combined with garlic, potatoes provide energy and retain moisture, helping the base of the rose cuttings not dry out during the cutting process. Cut the potatoes into small pieces and put them directly into the cup of garlic water.
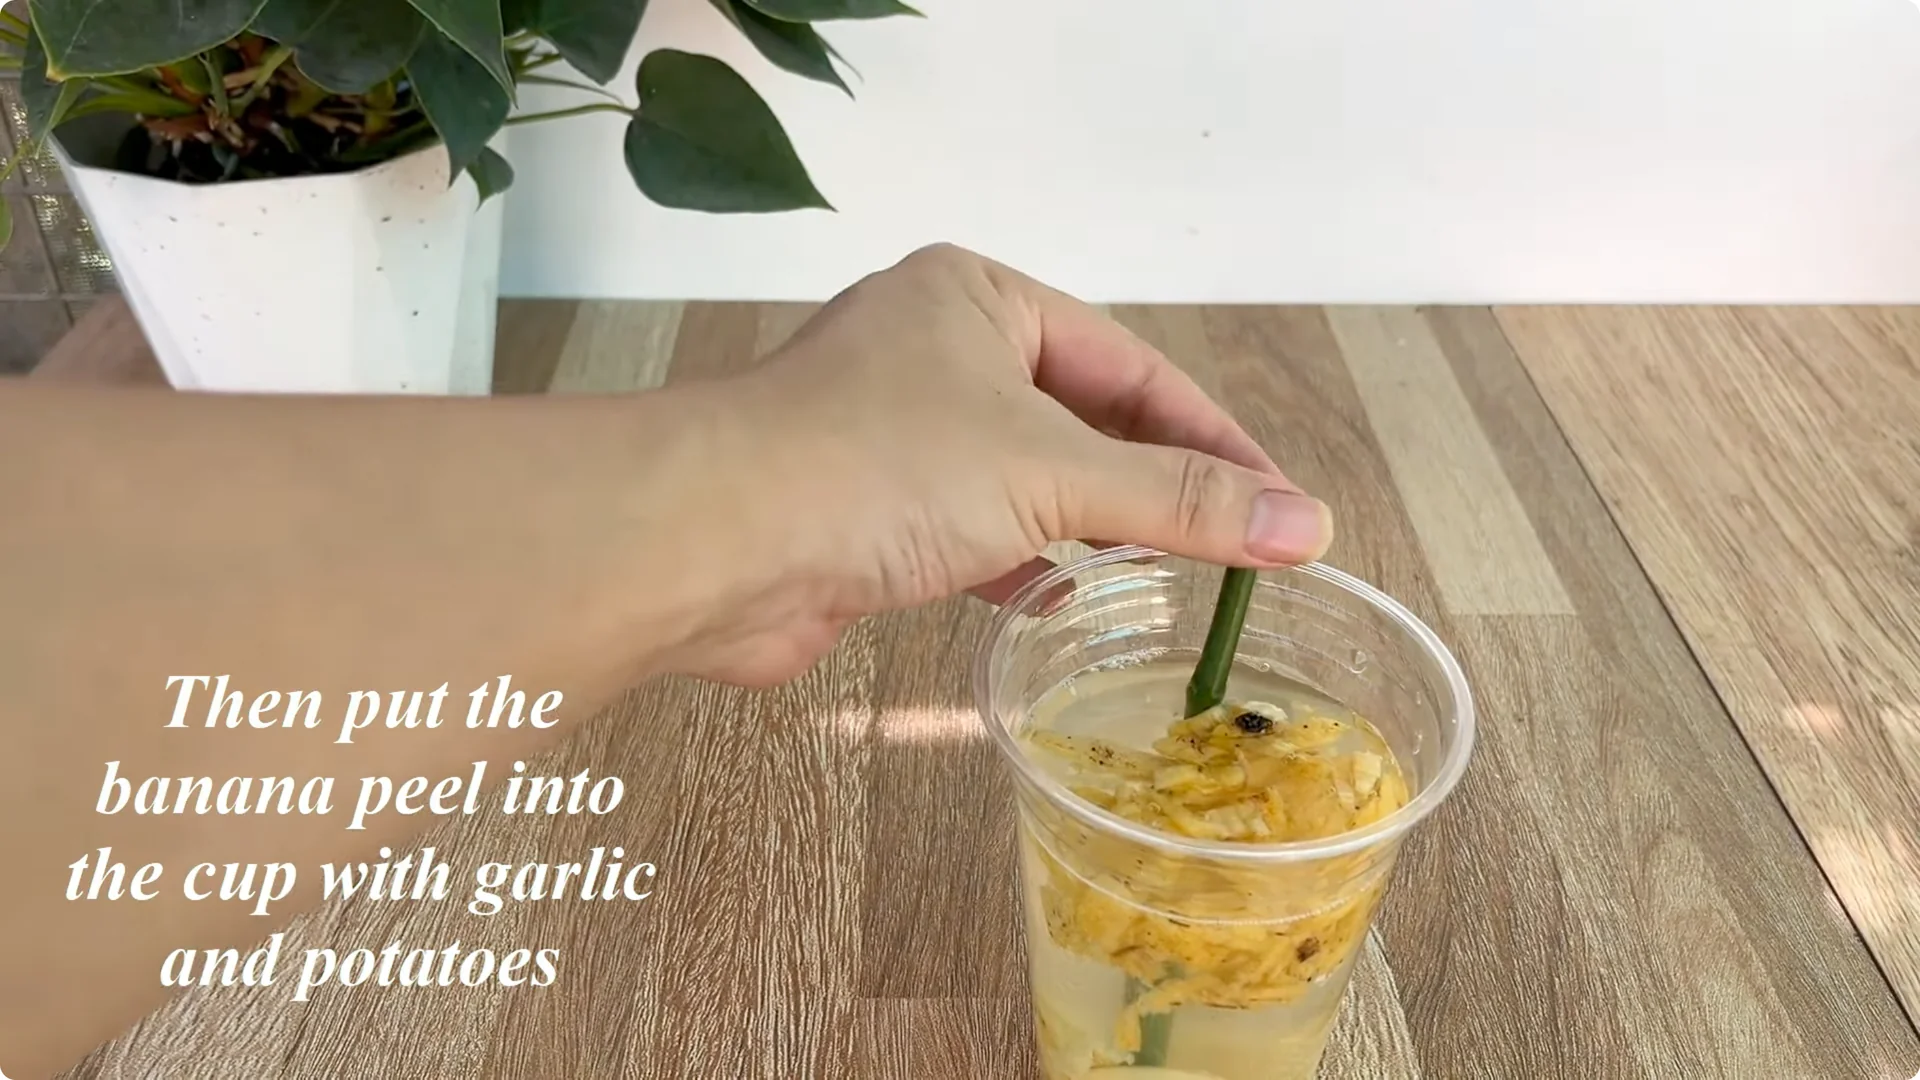
Add the peel of a ripe banana. Banana peel contains a large amount of potassium and phosphorus, two important nutrients for stimulating root growth.
Potassium helps the roots become stronger and fatter, while phosphorus supports the formation of new root tissue. Peel, chop, and put them in the garlic-potato solution, then stir well and let stand for another 15 minutes.
After soaking for enough time, take the rose branch out and filter out the residue to collect the clear solution. This is the nutrient source you will use to nourish the cuttings.
Planting and Humidity Setup for Rose Cutting Propagation
Prepare a clean plastic cup with treated river sand. Fill the cup with sand almost full, then pour in the garlic-potato-banana peel solution with enough amount to moisten it.
River sand is a great substrate because it drains quickly and does not retain moisture for too long, so the young roots do not rot. Insert the flower branch in the middle and press the sand lightly around to fix it.
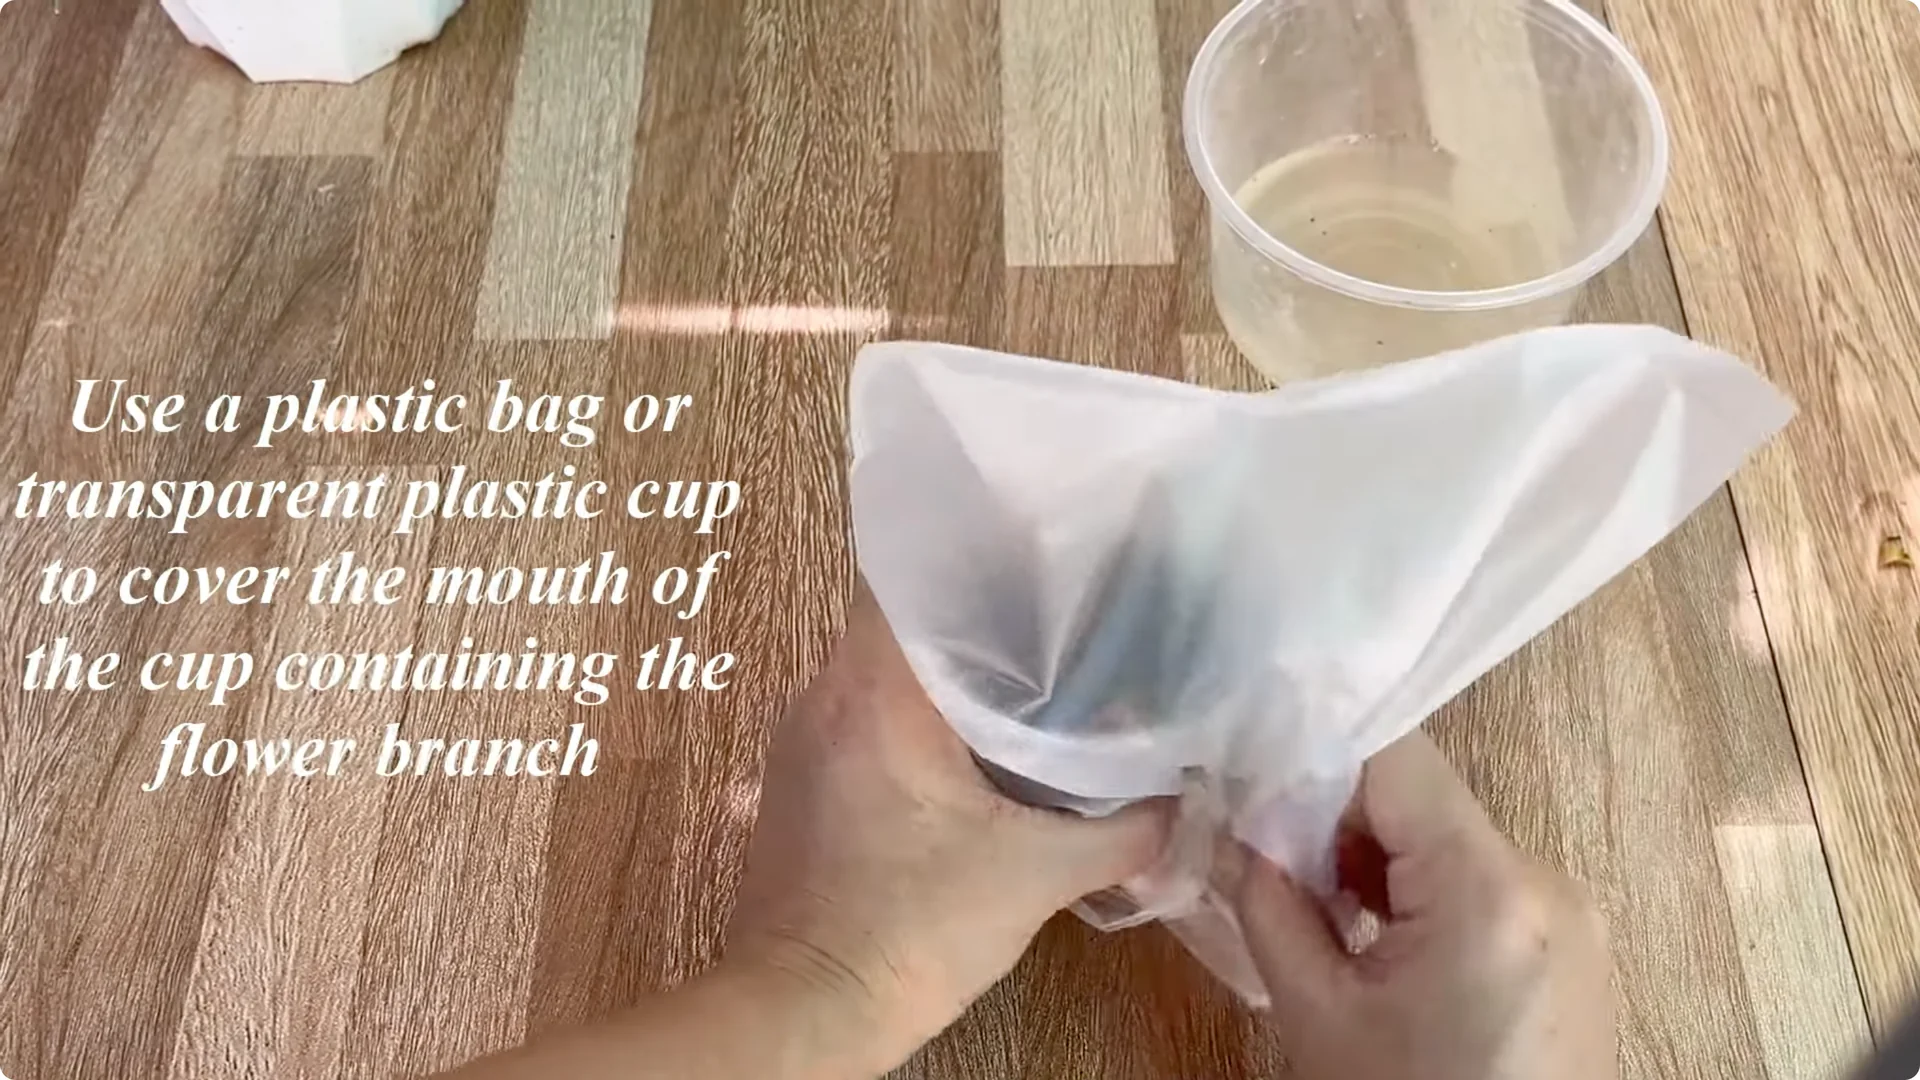
Create a closed environment that keeps humidity high but still airy. You can use a plastic bag or a transparent plastic cup to cover the mouth of the planting cup to create a mini greenhouse effect.
Place the cup in a cool place, away from drafts and direct sunlight. This helps the cuttings not lose water while maintaining stability for young roots to develop.
Rooting Results and Potting Up in Rose Cutting Propagation
After only about 10 days, you will see a change. The rose branch begins to sprout green shoots, and at the base, new white, plump roots grow in clusters.

When the roots are long and strong enough, gently plant the branch in a large pot using a well-drained substrate such as coconut fiber or mix in humus for more sustainable growth. You can also try a simple trick that grows rose stems into roots to reinforce your success.
2. Rose Cutting Propagation: Aloe, Lemon, and Carrot
Prepare the Cutting for Rose Cutting Propagation
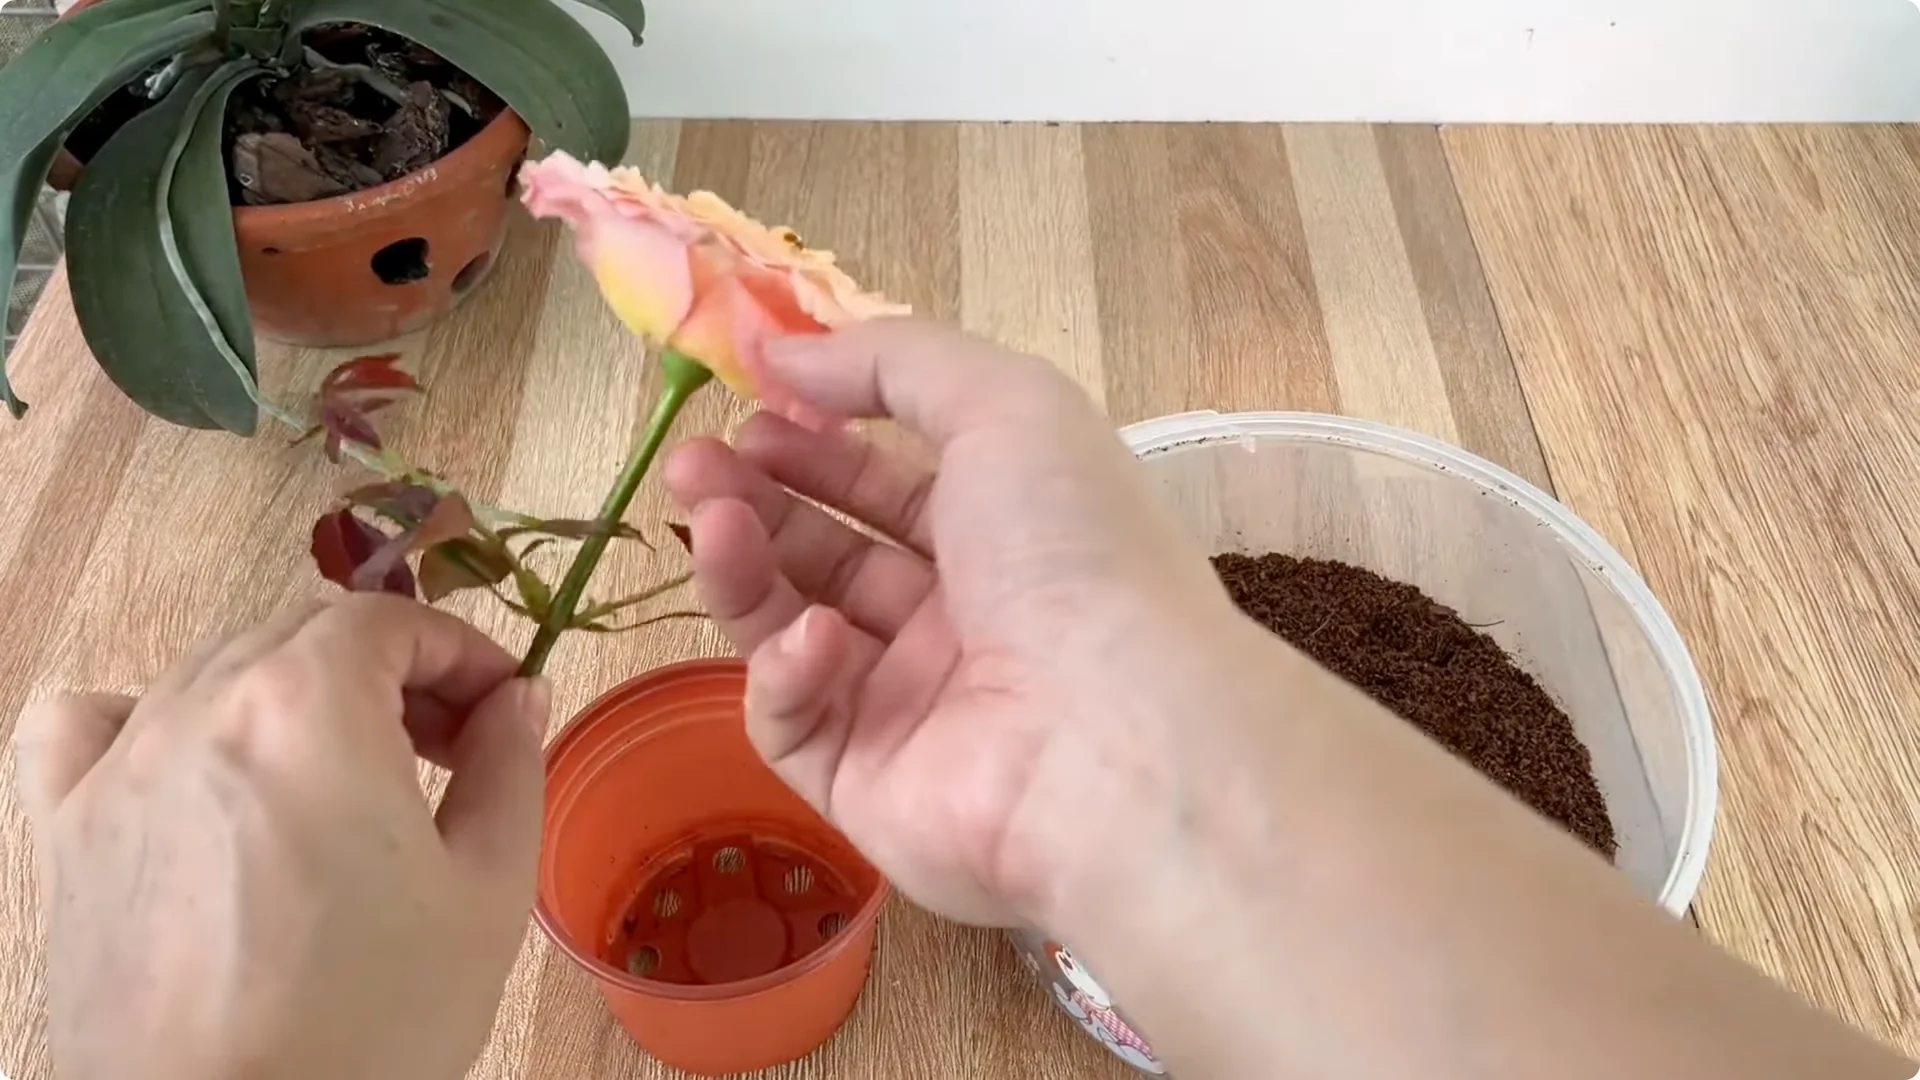
Start with a healthy rose branch free of pests and diseases. Remove most of the leaves and thorns to limit transpiration, but retain the top 2-3 leaves to maintain photosynthesis.
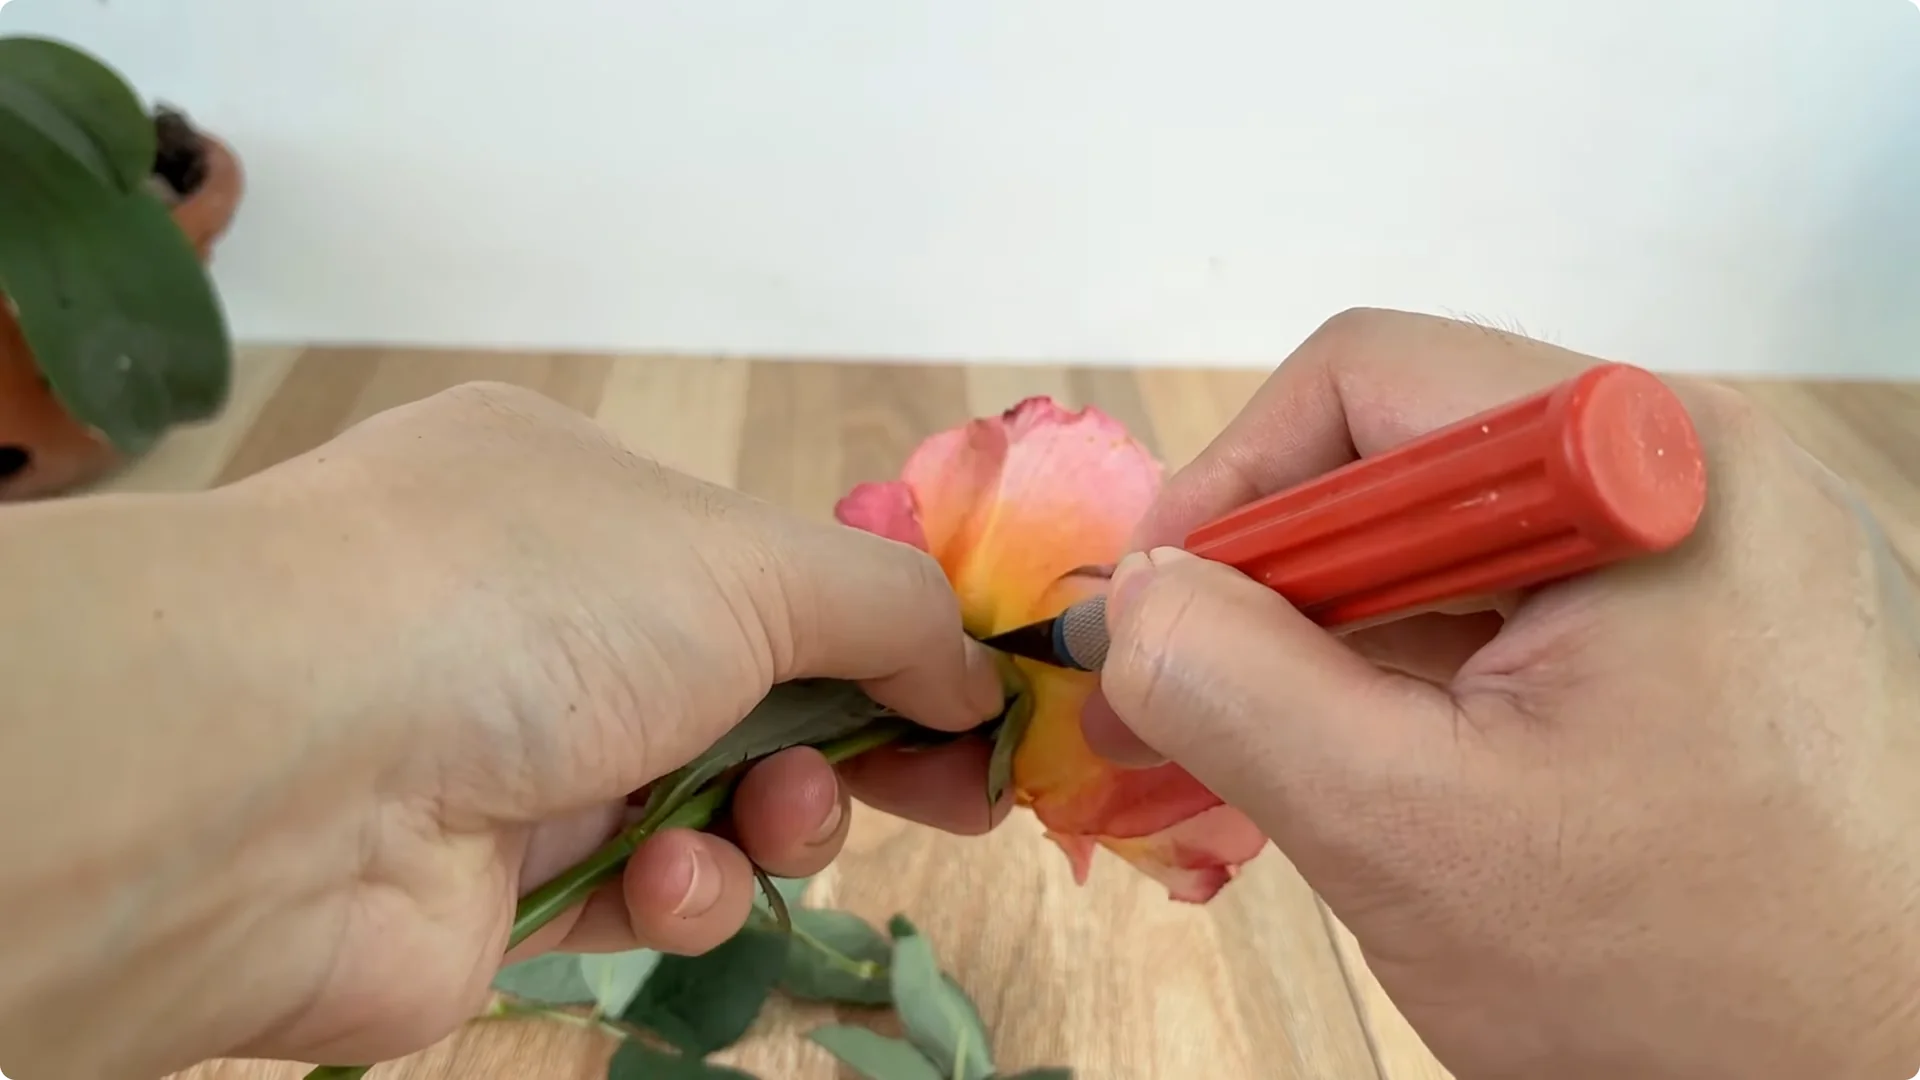
Cut the branch short, keeping a length of about 15-20 cm. A neat cut helps the branch absorb nutrients quickly, creating favorable conditions for the formation of new roots.
Mix the Aloe-Lemon-Carrot Nutrient for Rose Cutting Propagation
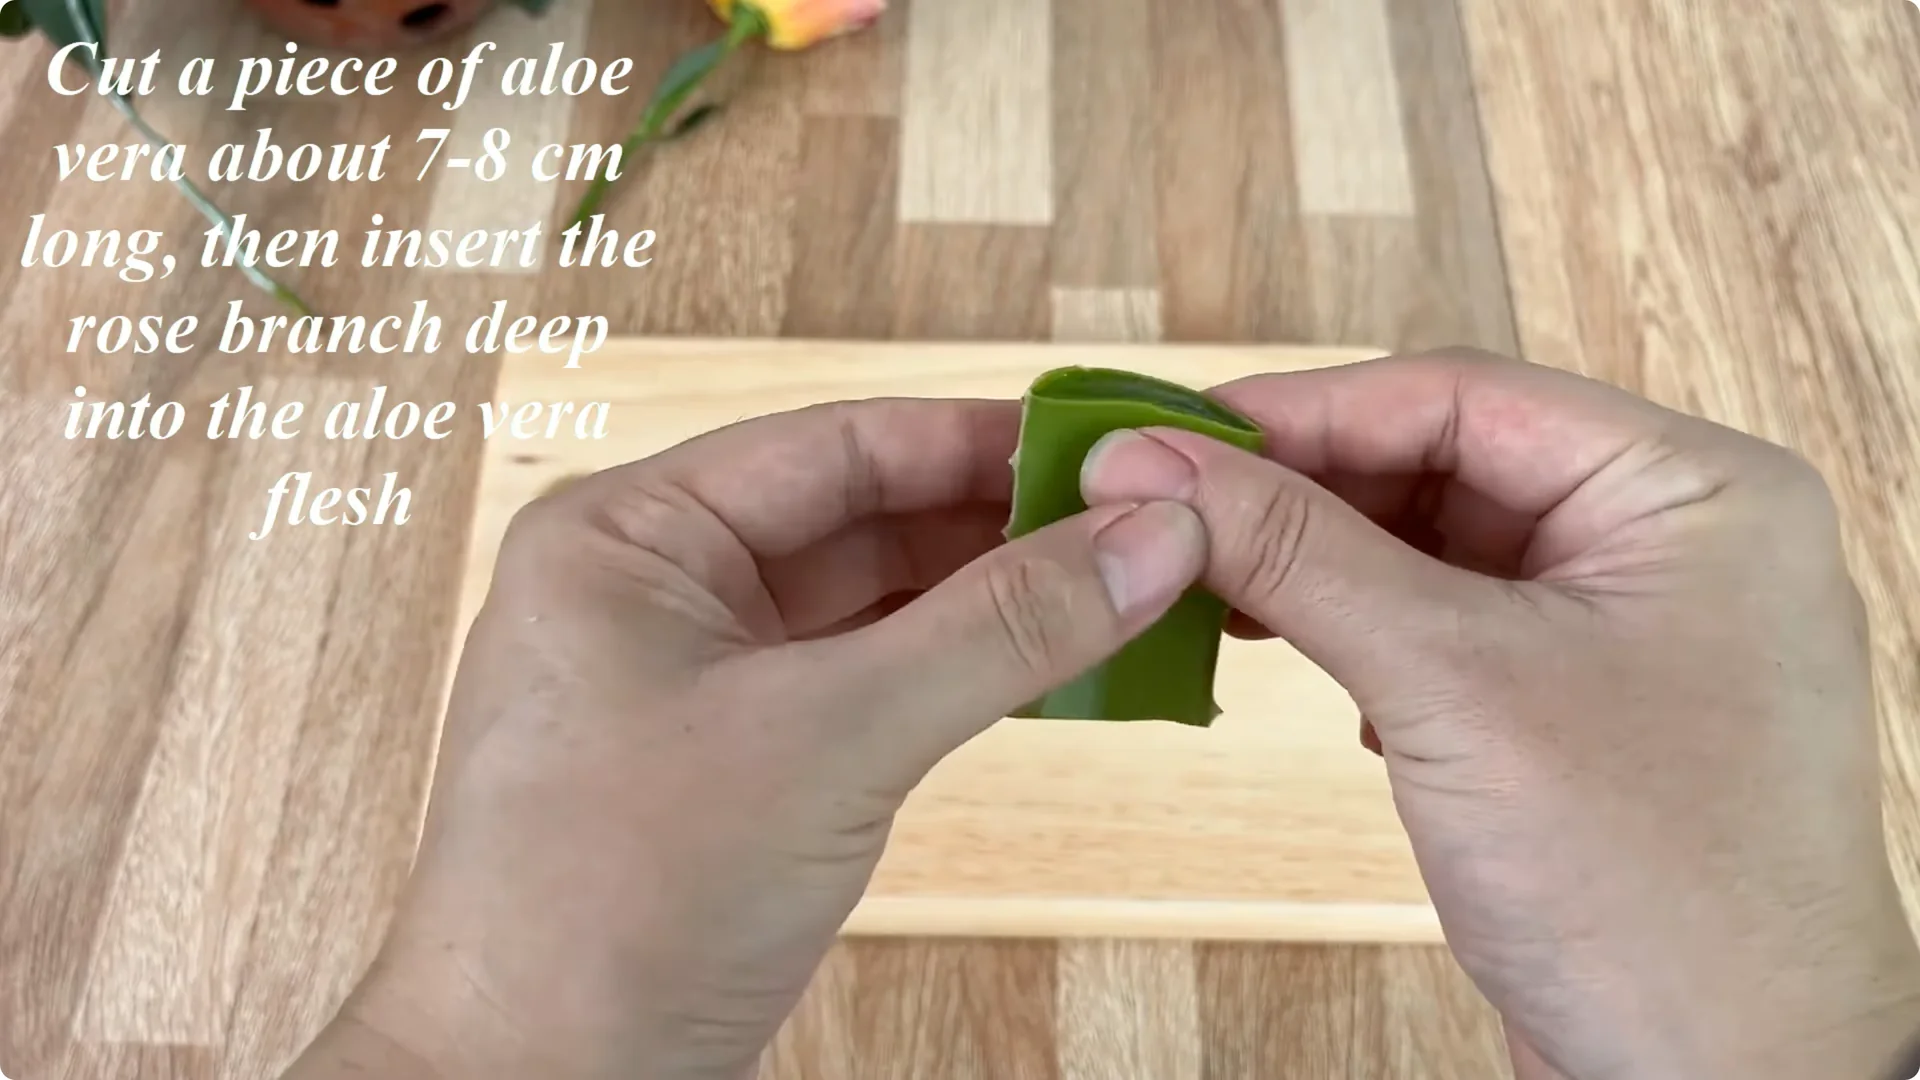
Prepare a piece of aloe vera about 7-8 cm long. Insert the rose branch into the aloe vera flesh so the transparent gel rich in auxin and vitamins comes into direct contact with the stem, promoting the rooting process.
Aloe vera keeps moisture and has natural antibacterial properties, protecting the cut from the invasion of microorganisms. Cut the remaining aloe into small pieces and put them in a clean plastic cup to make the most of the nutrients.
Wash a small lemon and cut it into thin slices. When added to the aloe cup, the organic acids in lemon act as a stimulant for the formation of callus at the base of the branch.
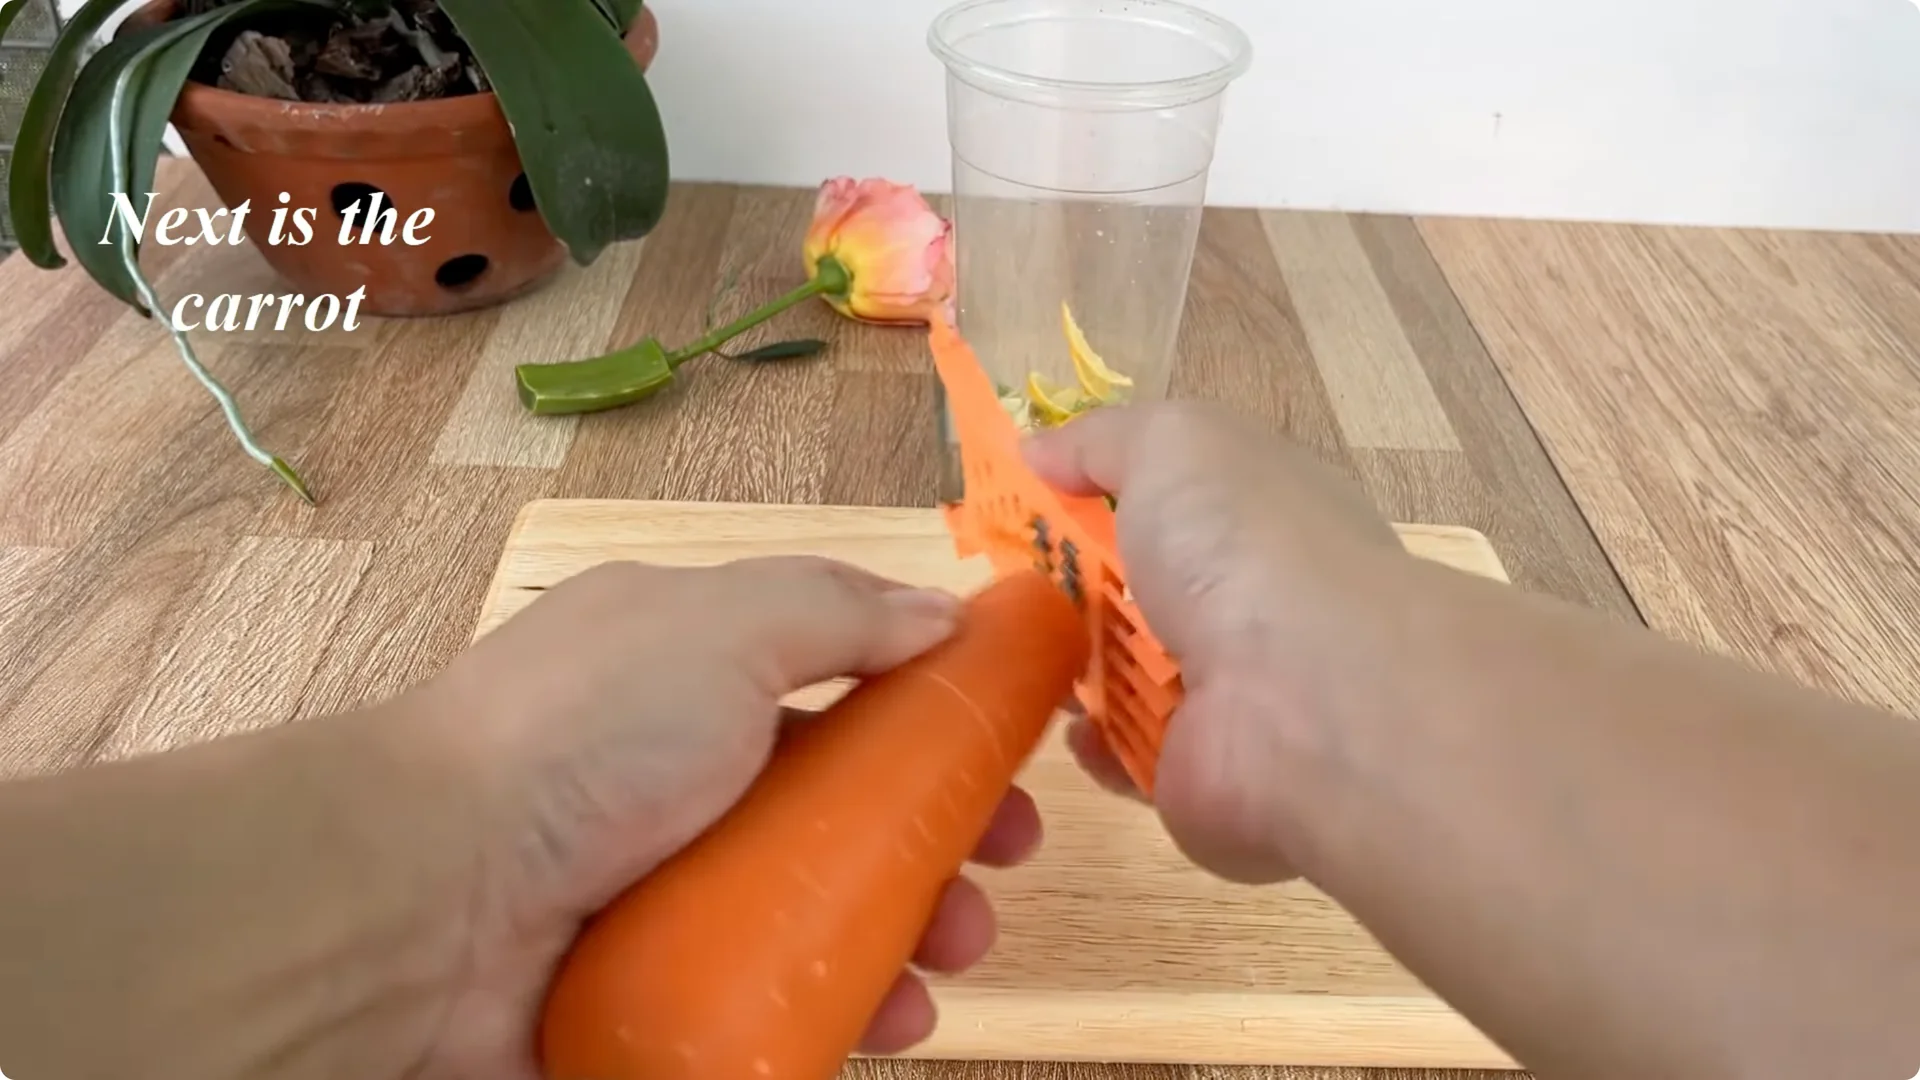
Lemon also helps disinfect and keeps the solution from fermenting incorrectly during soaking. Grate about 20 grams of carrots and put them in the cup containing aloe vera and lemon.
Carrots are rich in carotenoids, natural sugars, and many vitamins A, C, and K that help young roots grow quickly and strongly. Add 500 ml of clean water and stir well to create a complete nutrient mixture.
Remove the rose branch from the original aloe and soak it in the aloe-lemon-carrot solution for about 30 minutes to absorb the nutrients.
Jar Setup and Humidity for Rose Cutting Propagation
Prepare a clean glass jar and a piece of sponge that fits the mouth of the jar. Use a sharp stick to make a hole in the middle of the foam piece so that it fits the size of the flower branch.
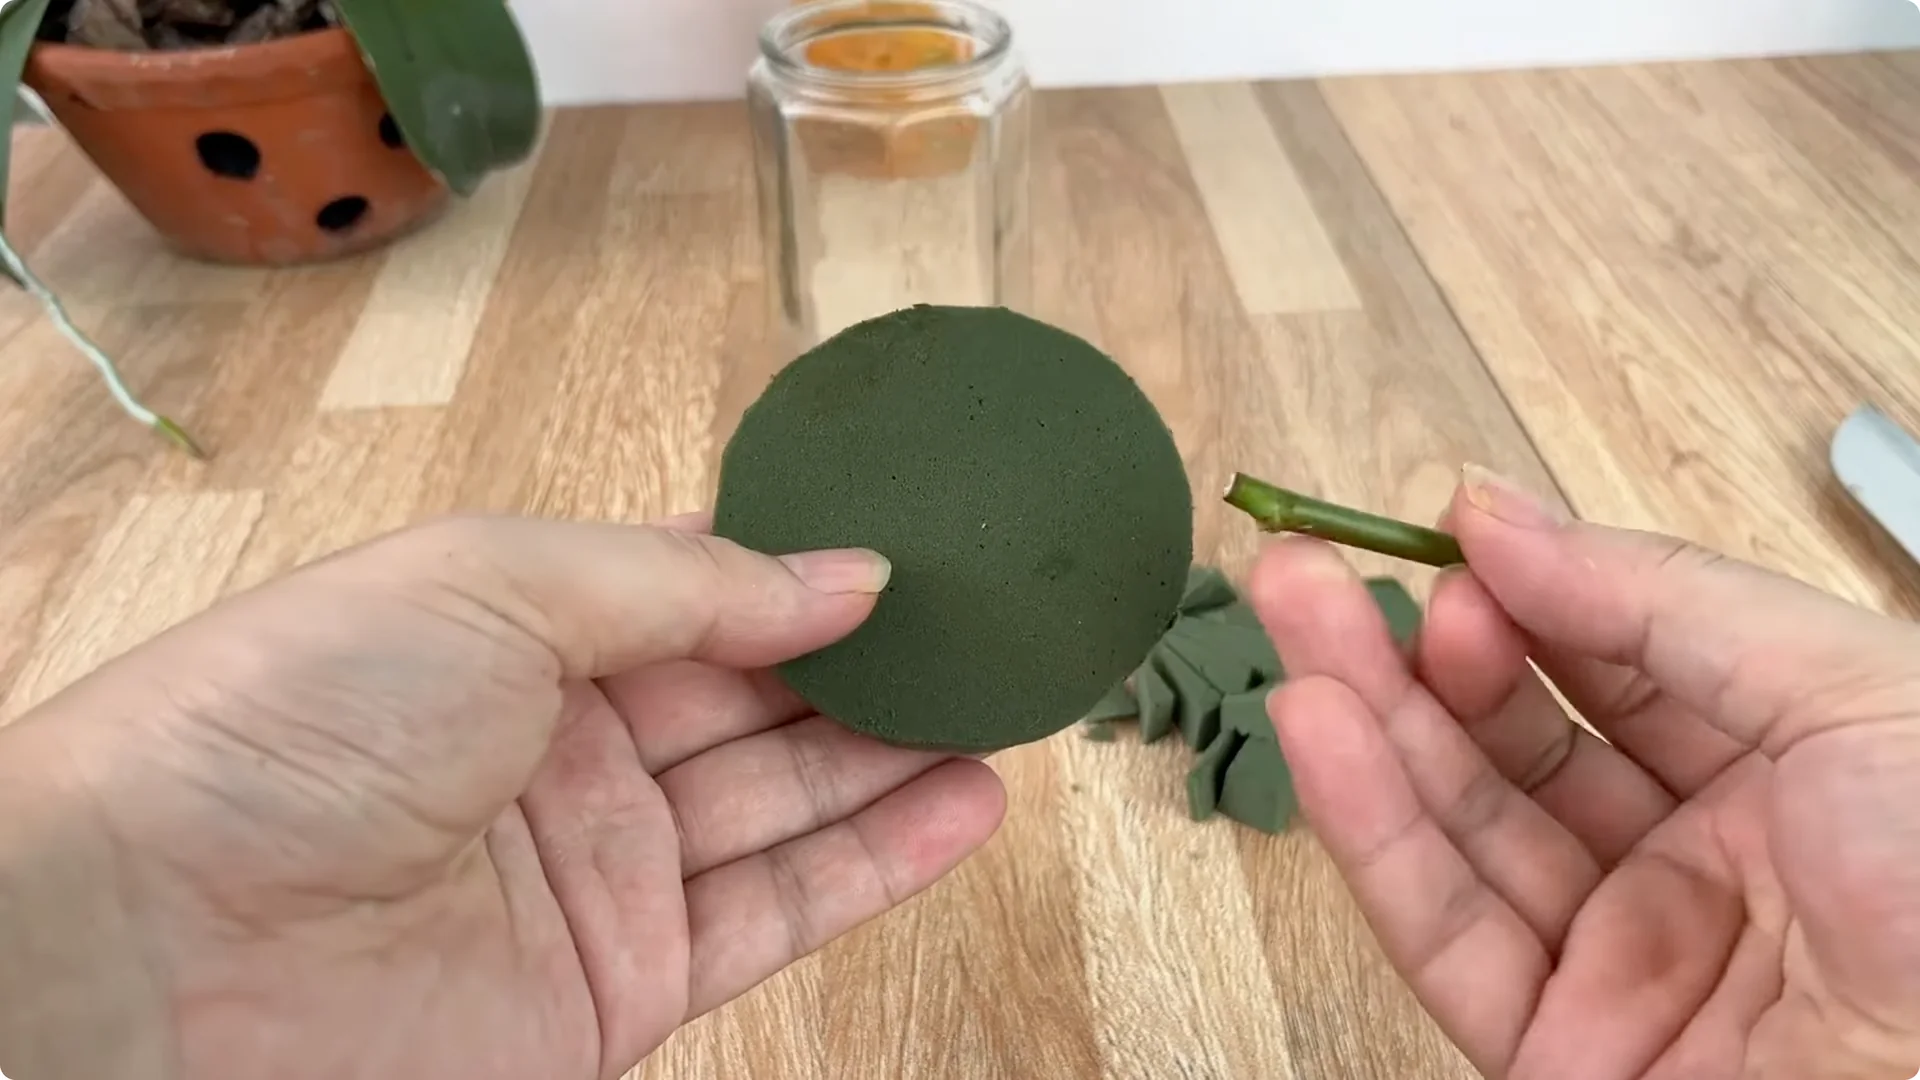
After soaking, filter out the residue and collect the clear solution, then dilute it with 0.5 liters of clean water to make the solution gentle and not shocking to the branch. Pour this solution almost full into the glass jar.
Place the foam piece on the mouth of the jar and fix the flower branch through the foam piece. A cable tie will help keep the position firm, ensuring the branch always stands steadily during rooting.
To keep humidity stable, cover the mouth of the glass jar tightly with a plastic bag. This creates a mini greenhouse, helping to limit water evaporation and maintain the ideal temperature and humidity for rooting.
Place the glass jar in a cool place, away from direct sunlight and strong winds so the branch does not dry out.
Rooting Results and Transplanting in Rose Cutting Propagation
After about 10 days, you will see a surprising change. Plump new shoots begin to grow, strong and green.
At the base, a series of white roots grow out, healthy and dense, proving that the mixture has had a wonderful effect. This is the right time to move the plant to a new pot with a well-drained substrate such as treated coconut fiber.
Final Thoughts on Rose Cutting Propagation
With just a few cheap and readily available ingredients such as garlic, potatoes, banana peels, aloe vera, lemon, and carrots, we have created natural cutting methods that work as effectively as root stimulants. This is a useful gardening tip that brings the joy of growing from simple things.
If you love roses, try applying these methods to propagate them yourself and you will be surprised to see your garden become more and more brilliant. For another simple approach that helps cuttings root and bloom, see this helpful trick for rooting and blooming.