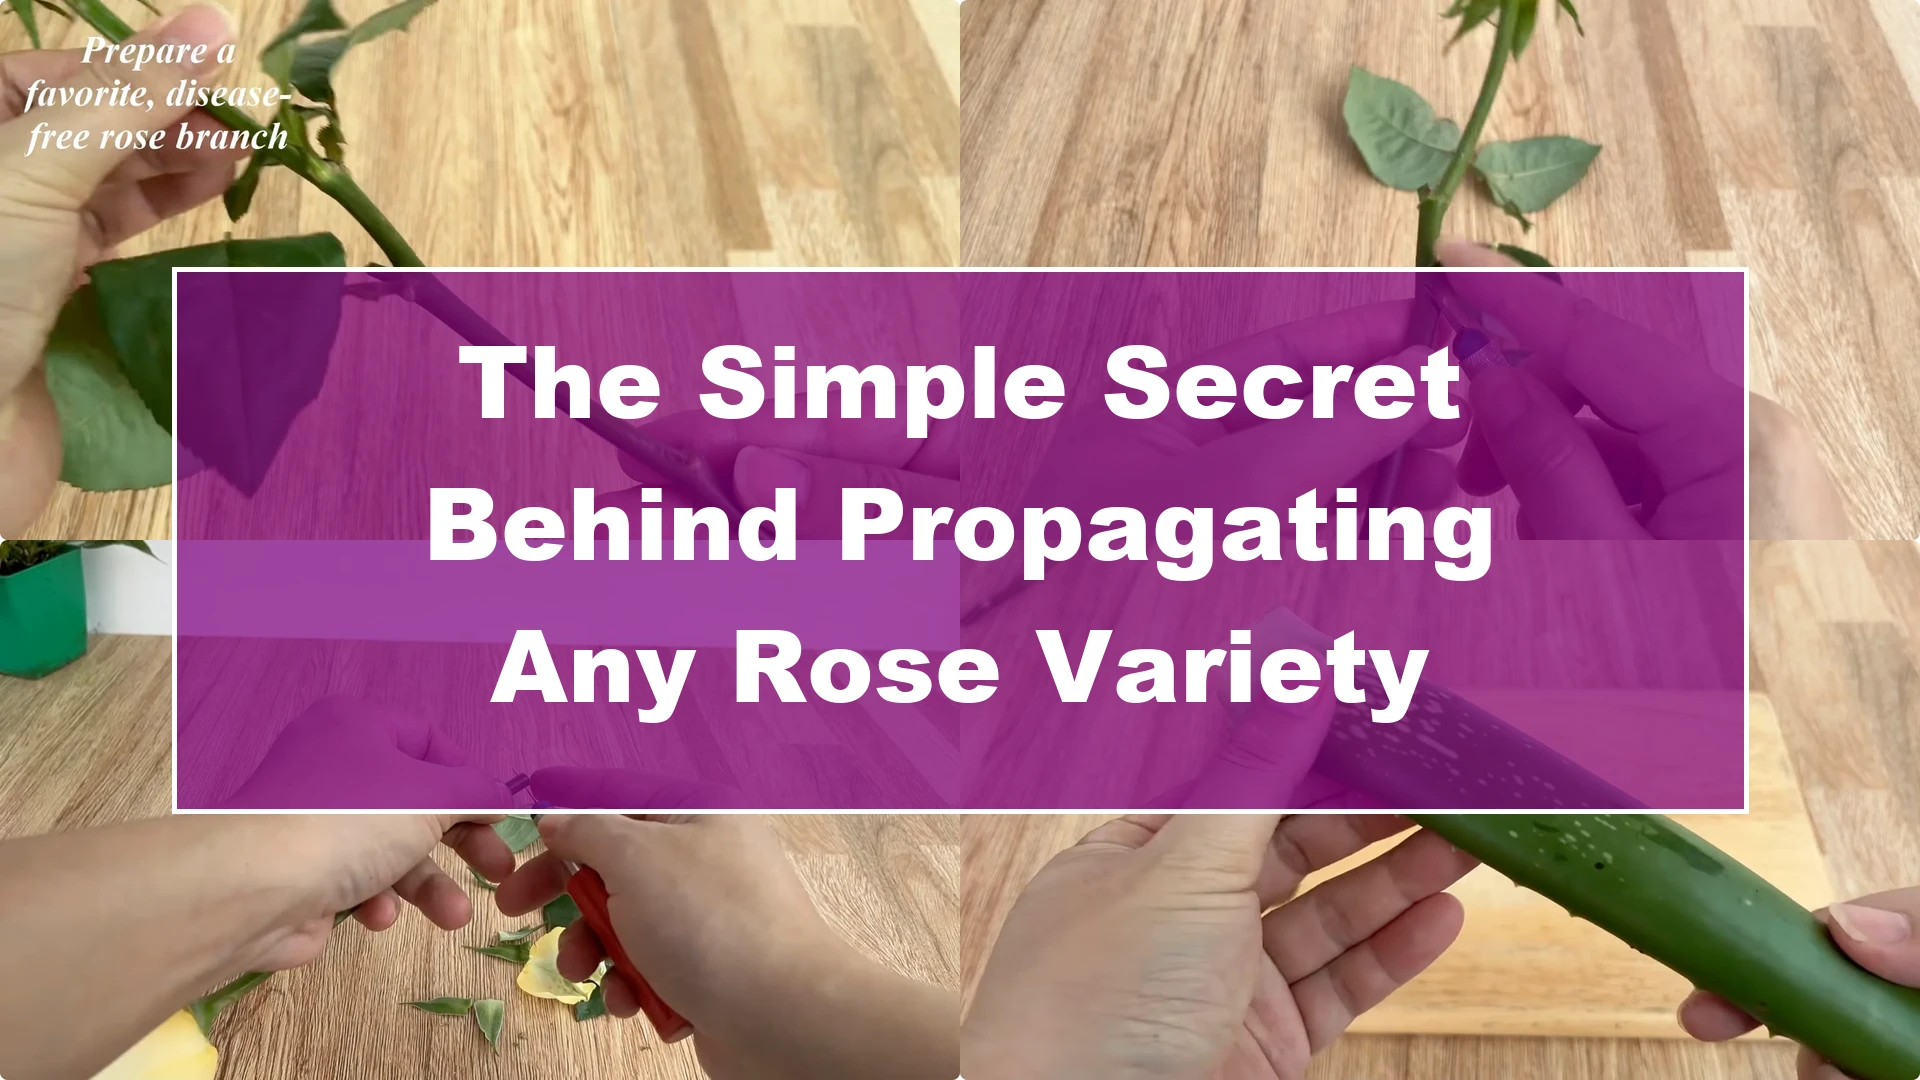
We’ll be practicing a very gentle yet highly effective method of propagating roses by cuttings. This method not only helps the cuttings root quickly but also creates a safe and stable environment for the young plant to grow healthily from the very beginning.
Each step is gentle and slow, allowing the grower to better observe the changes in the cutting day by day. When you see the first new roots appear, you’ll understand that nature always has wonderful solutions available; we just need to know how to use them at the right time and in the right way.
1. Why Rose Propagation by Cuttings Works
Aloe vera acts as a natural growth stimulant, protecting the rose cuttings from harmful bacteria and supporting cell division at the root. During the initial soak, the aloe vera gel covers and soothes the damaged tissues at the base of the stem while providing moisture, enzymes, and natural compounds to help the stem quickly adapt to the new environment.
Potatoes, especially the peel, contain a lot of starch, vitamins, and minerals. When soaked, they create an energy-rich solution, ideal for the initial development of young roots.
2. Prepare the Cutting
First, prepare a rose cutting that you love, preferably one that is free from pests, diseases, and signs of rot or mold. The cutting should be of moderate age, with a sturdy stem, neither too young nor too old.
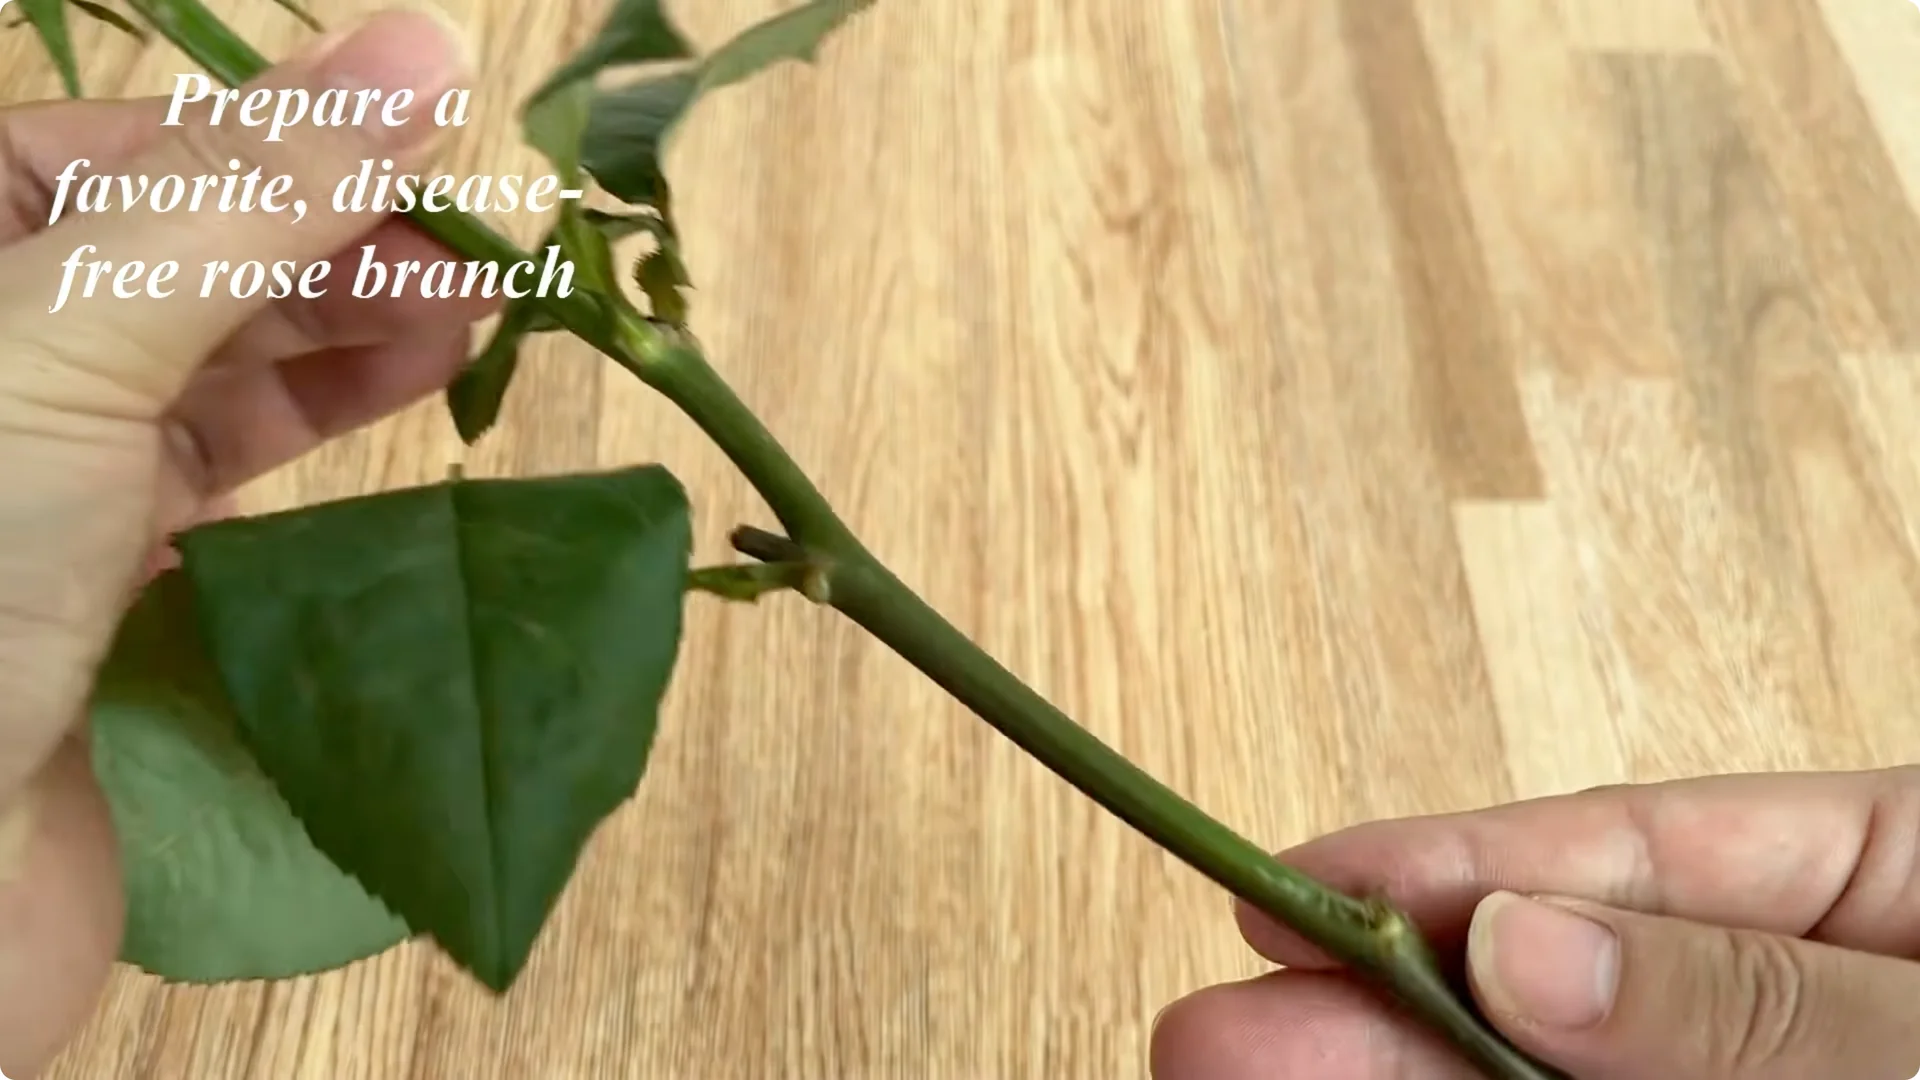
Remove all leaves and sharp thorns to minimize water loss and prevent damage to the cutting during care. Trim the cutting short, leaving only about 20 cm in length.

At the base, use a sharp knife to make a 45-degree angle. This beveled cut will increase the contact area with the substrate and nutrient solution, thereby stimulating the formation of new roots more vigorously.
3. Aloe Pre-Soak
Prepare a fresh aloe vera branch and wash it thoroughly to remove dirt and yellow sap. From this aloe vera branch, cut two sections, each about 10 cm long.
Take one small section of aloe vera and insert the base of the rose stem deep into the aloe vera flesh. Leave it in this position for about 30 minutes so the gel can protect and nourish the cut surface.
4. Make the Aloe-Potato Solution
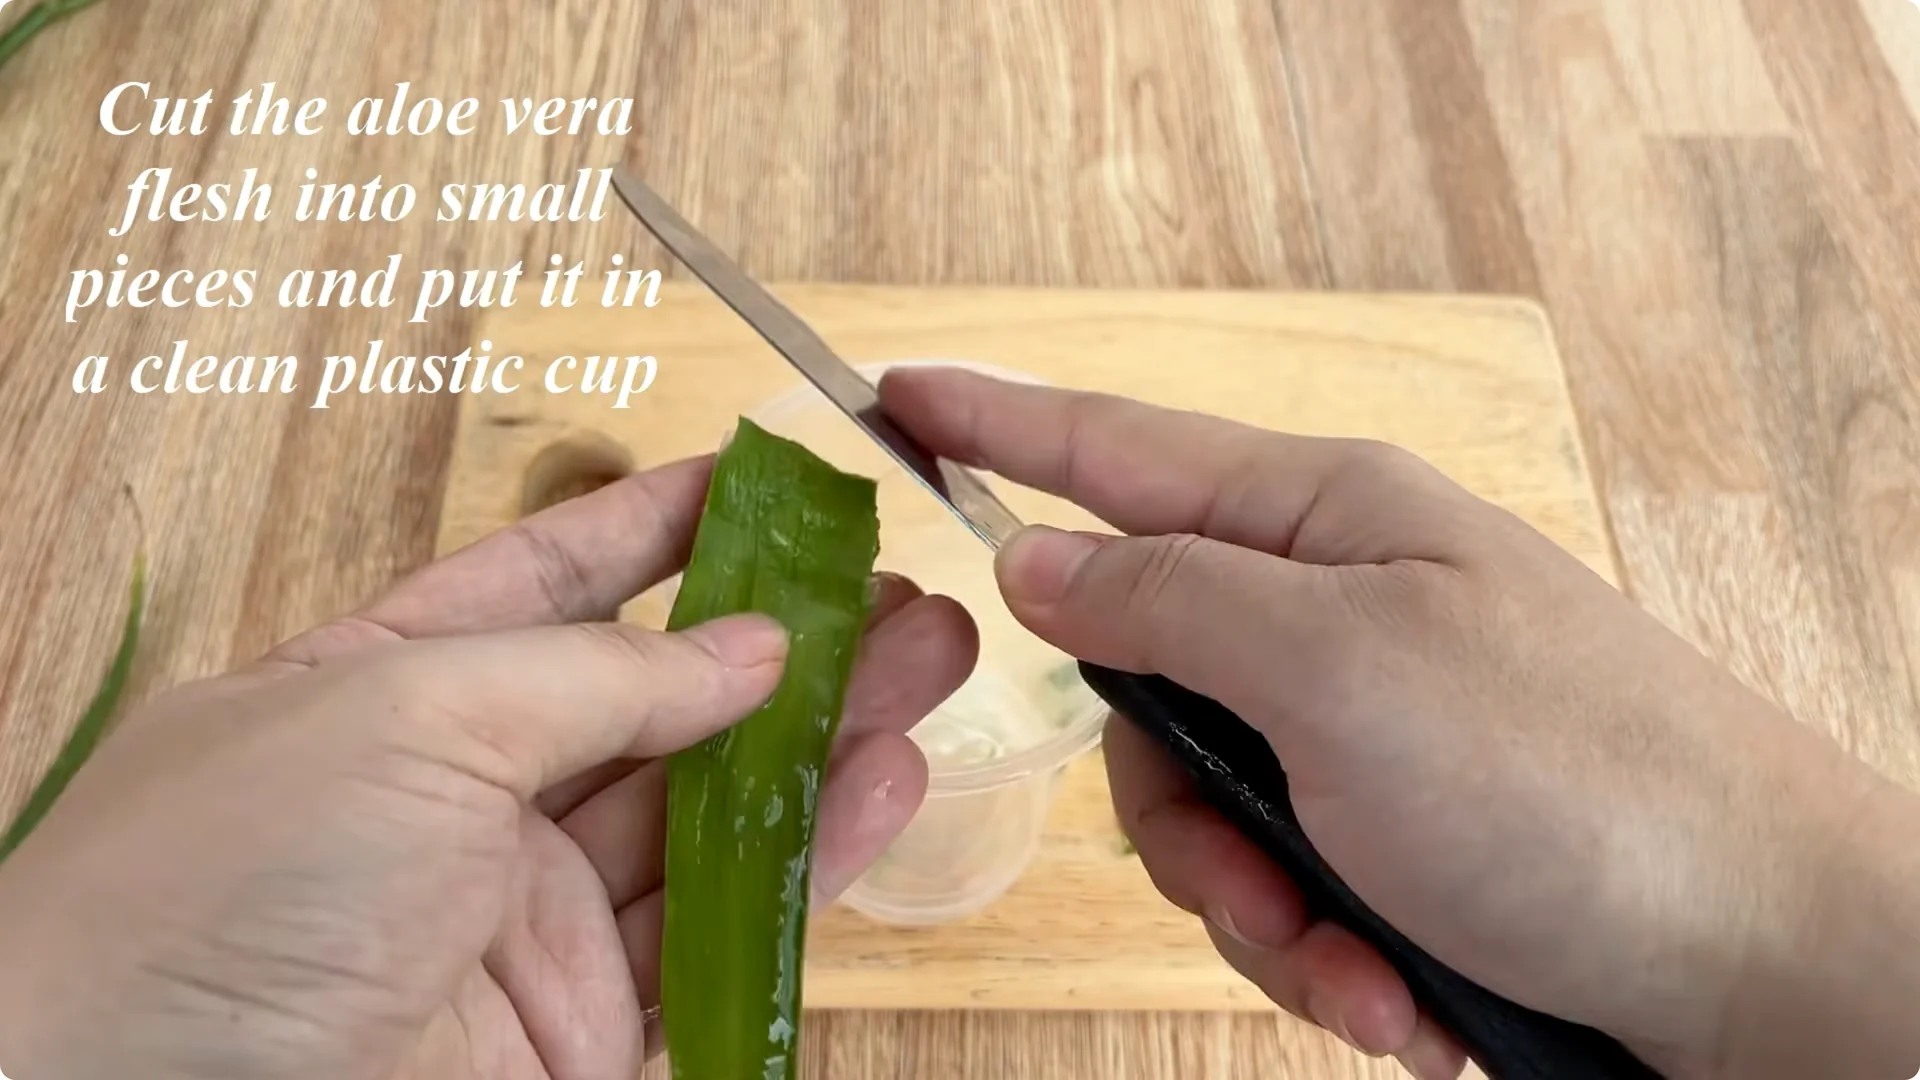
For the remaining aloe vera, completely remove the green outer layer, keeping only the transparent aloe vera flesh. Chop this flesh into small pieces and put it in a clean plastic cup.
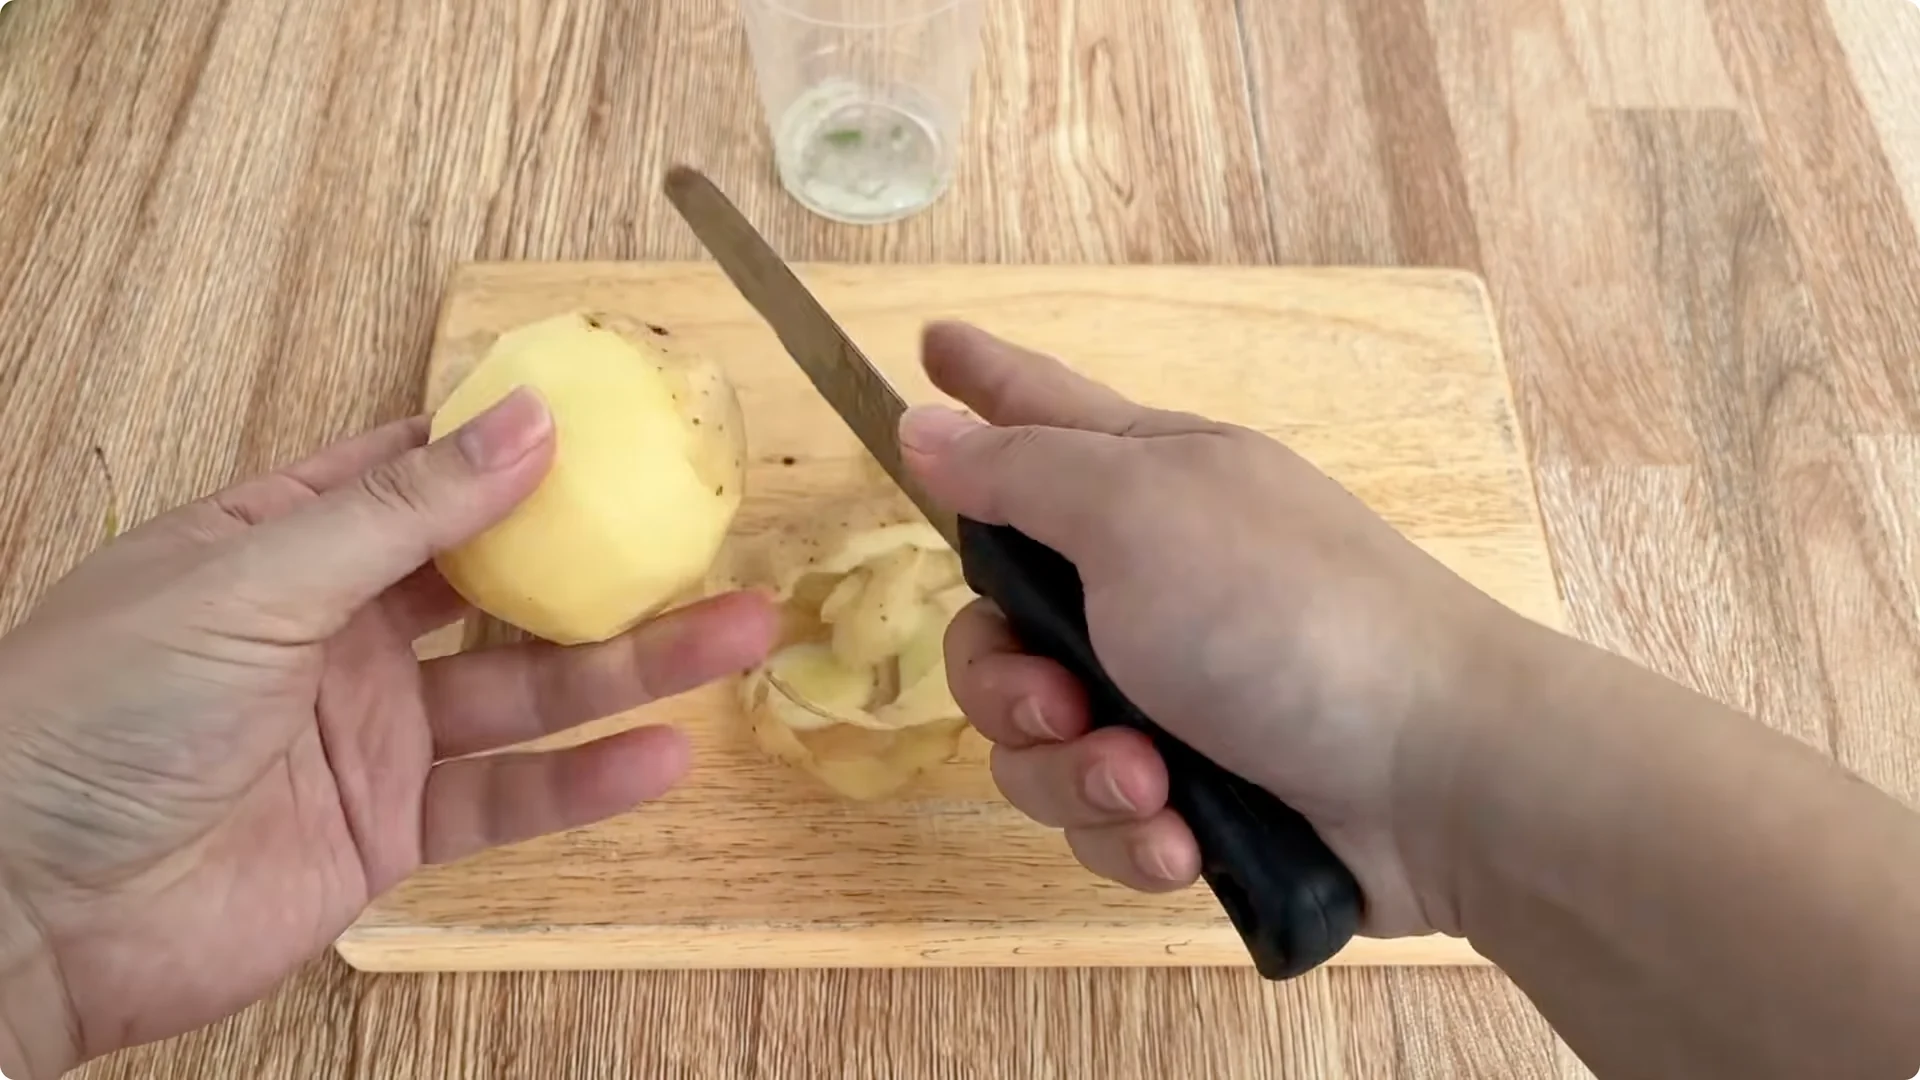
Prepare a potato, wash it, and peel it. Chop the peeled potato into small pieces and add it to the prepared cup of aloe vera.
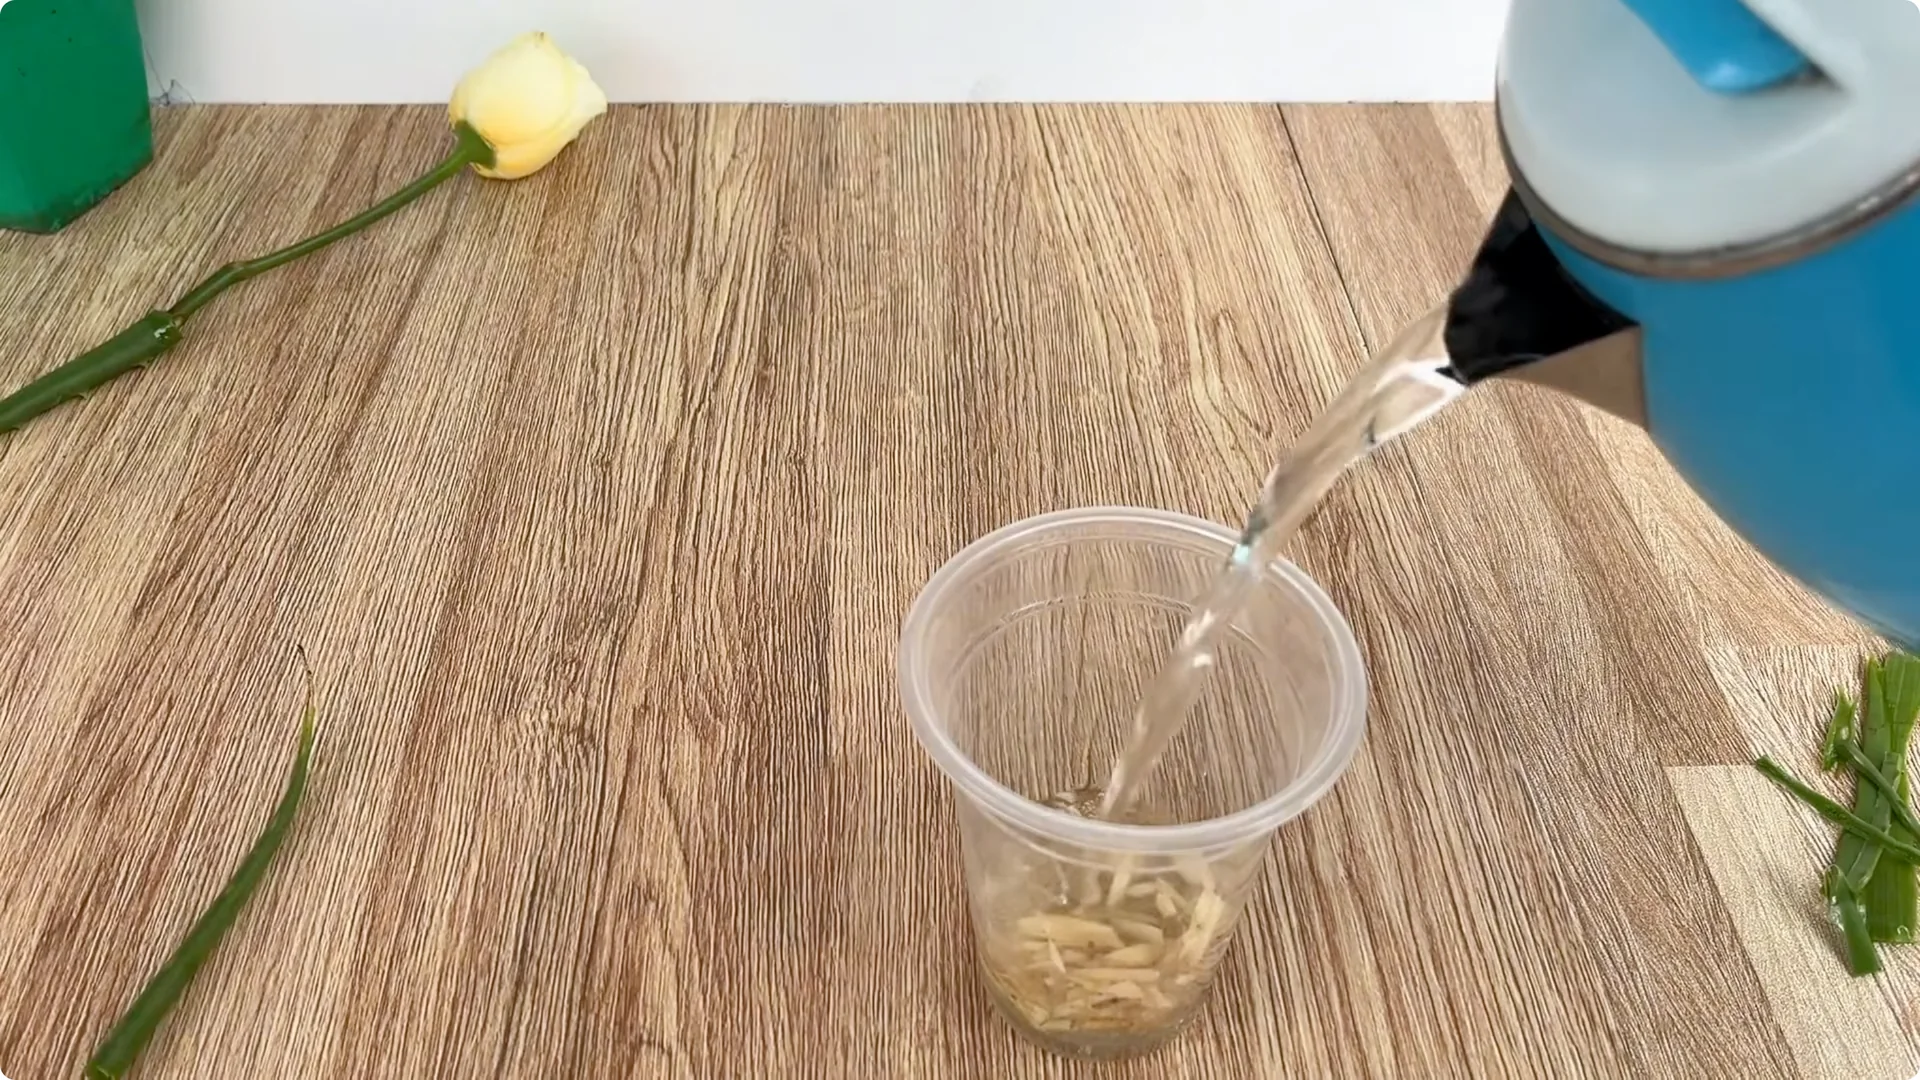
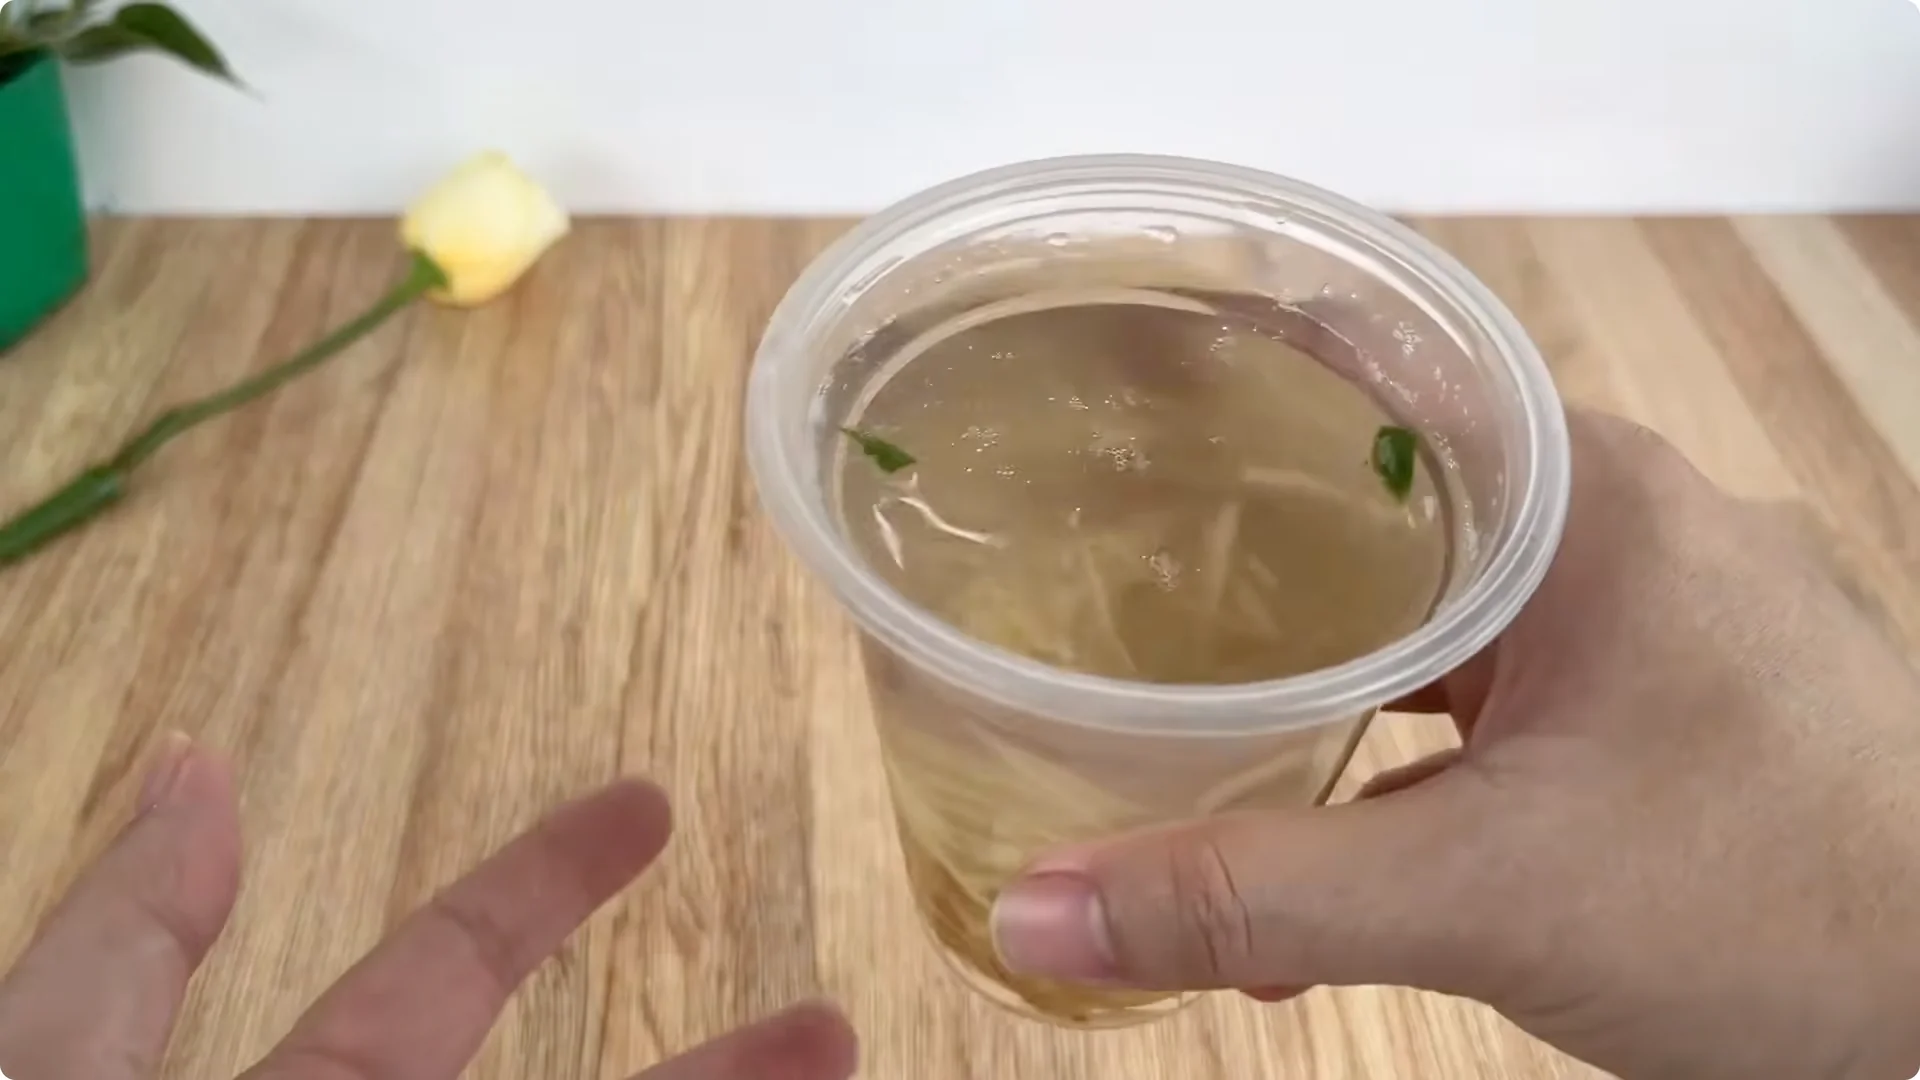
Add about 500 ml of warm water, stir the mixture well, and let it sit for 30 minutes to allow the nutrients to dissolve. After the soaking time, filter out all the aloe vera pulp and potato peel, keeping only the clear liquid. This aloe vera-potato peel solution is a natural, gentle yet effective source of nutrients that stimulates the rose cuttings to root quickly and healthily.
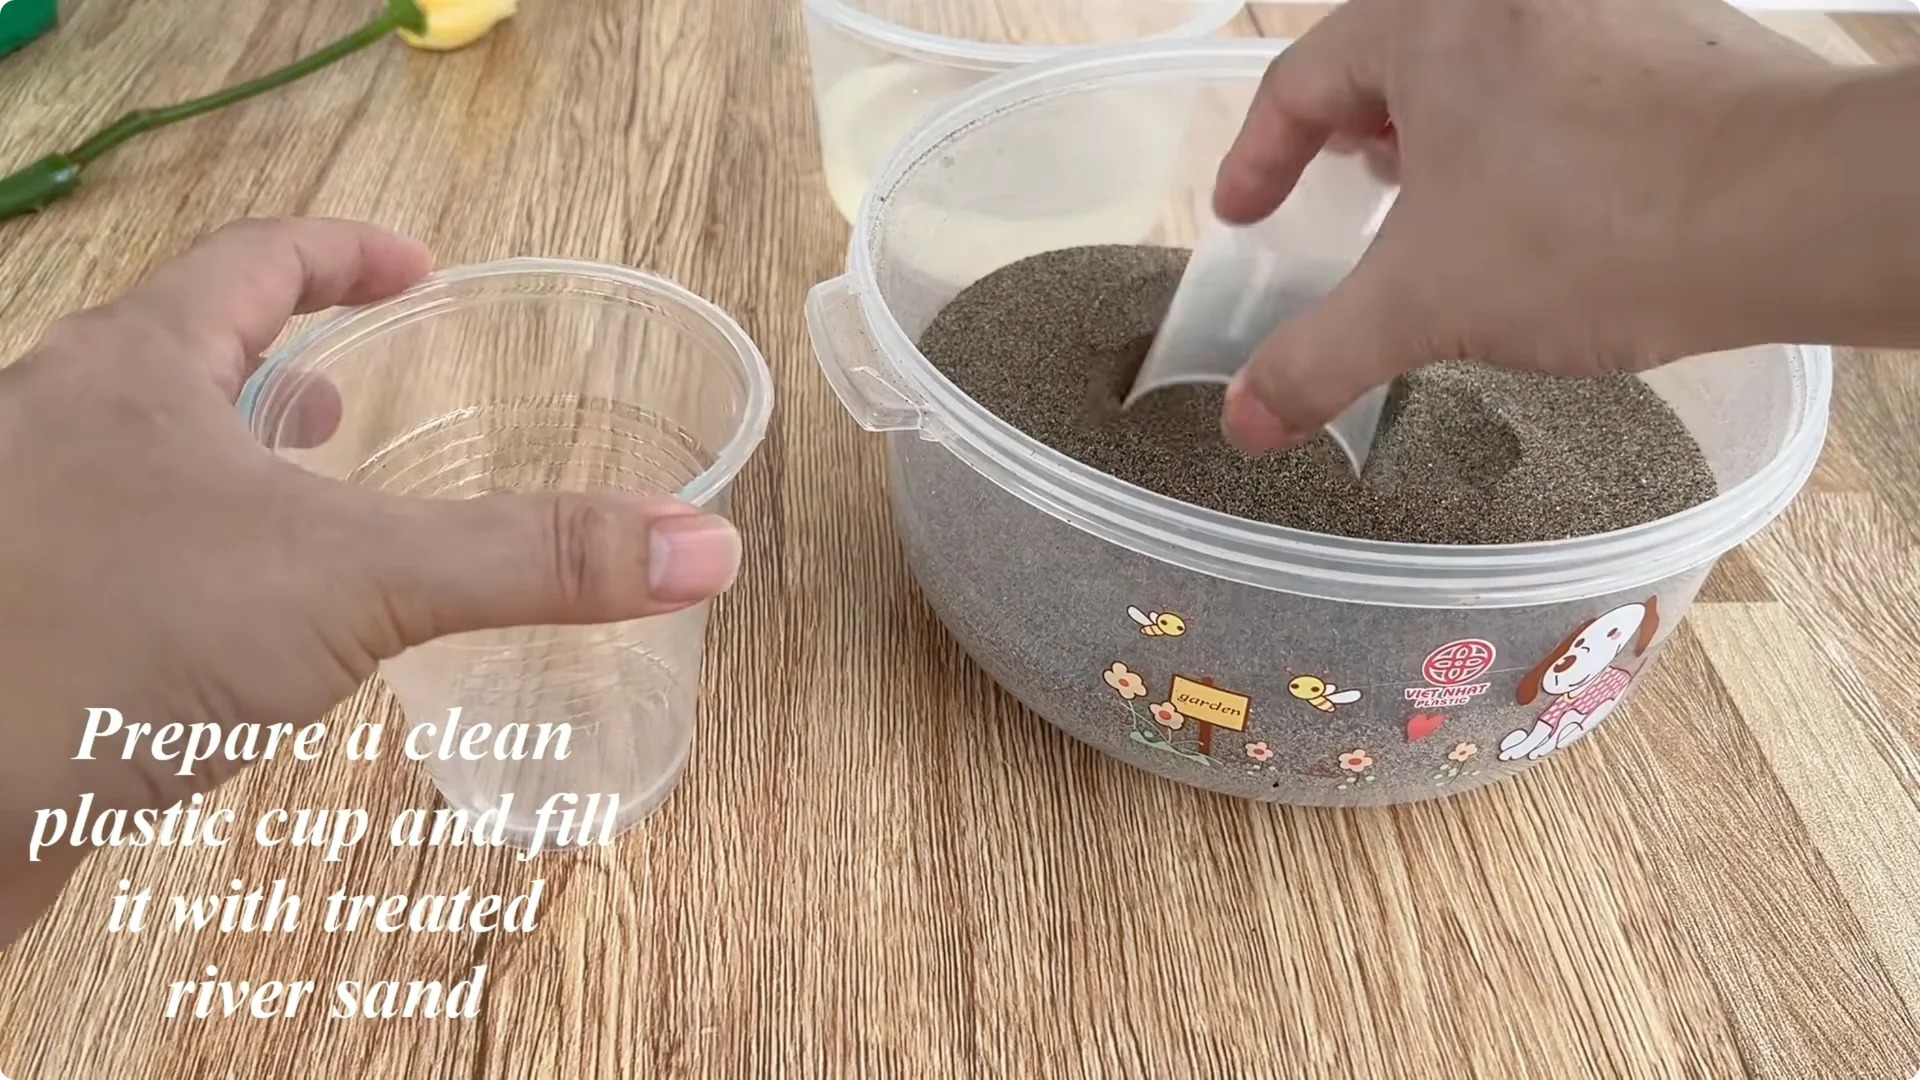
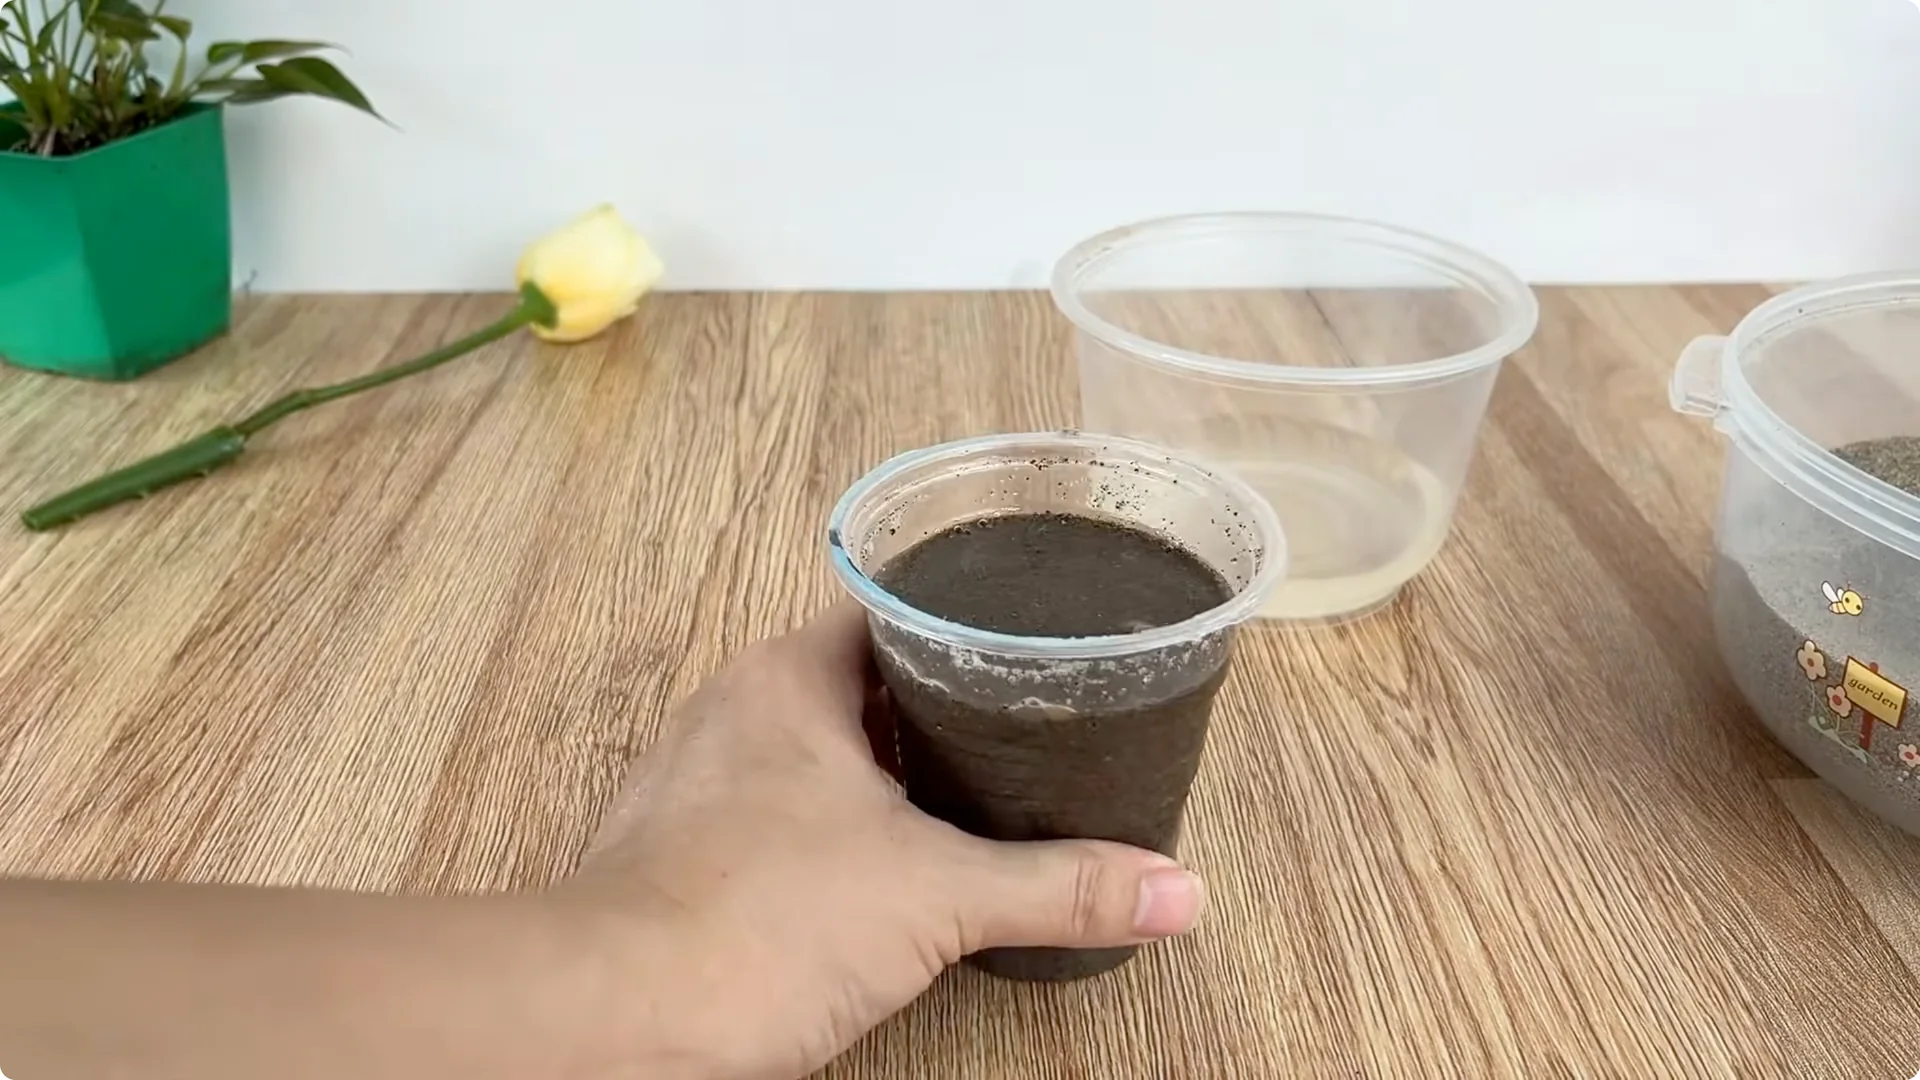
5. Prepare the Sand Substrate
Prepare another clean plastic cup and fill it with treated river sand. The river sand needs to be thoroughly washed to remove impurities, salt, and pathogens, ensuring a well-draining and airy growing environment.
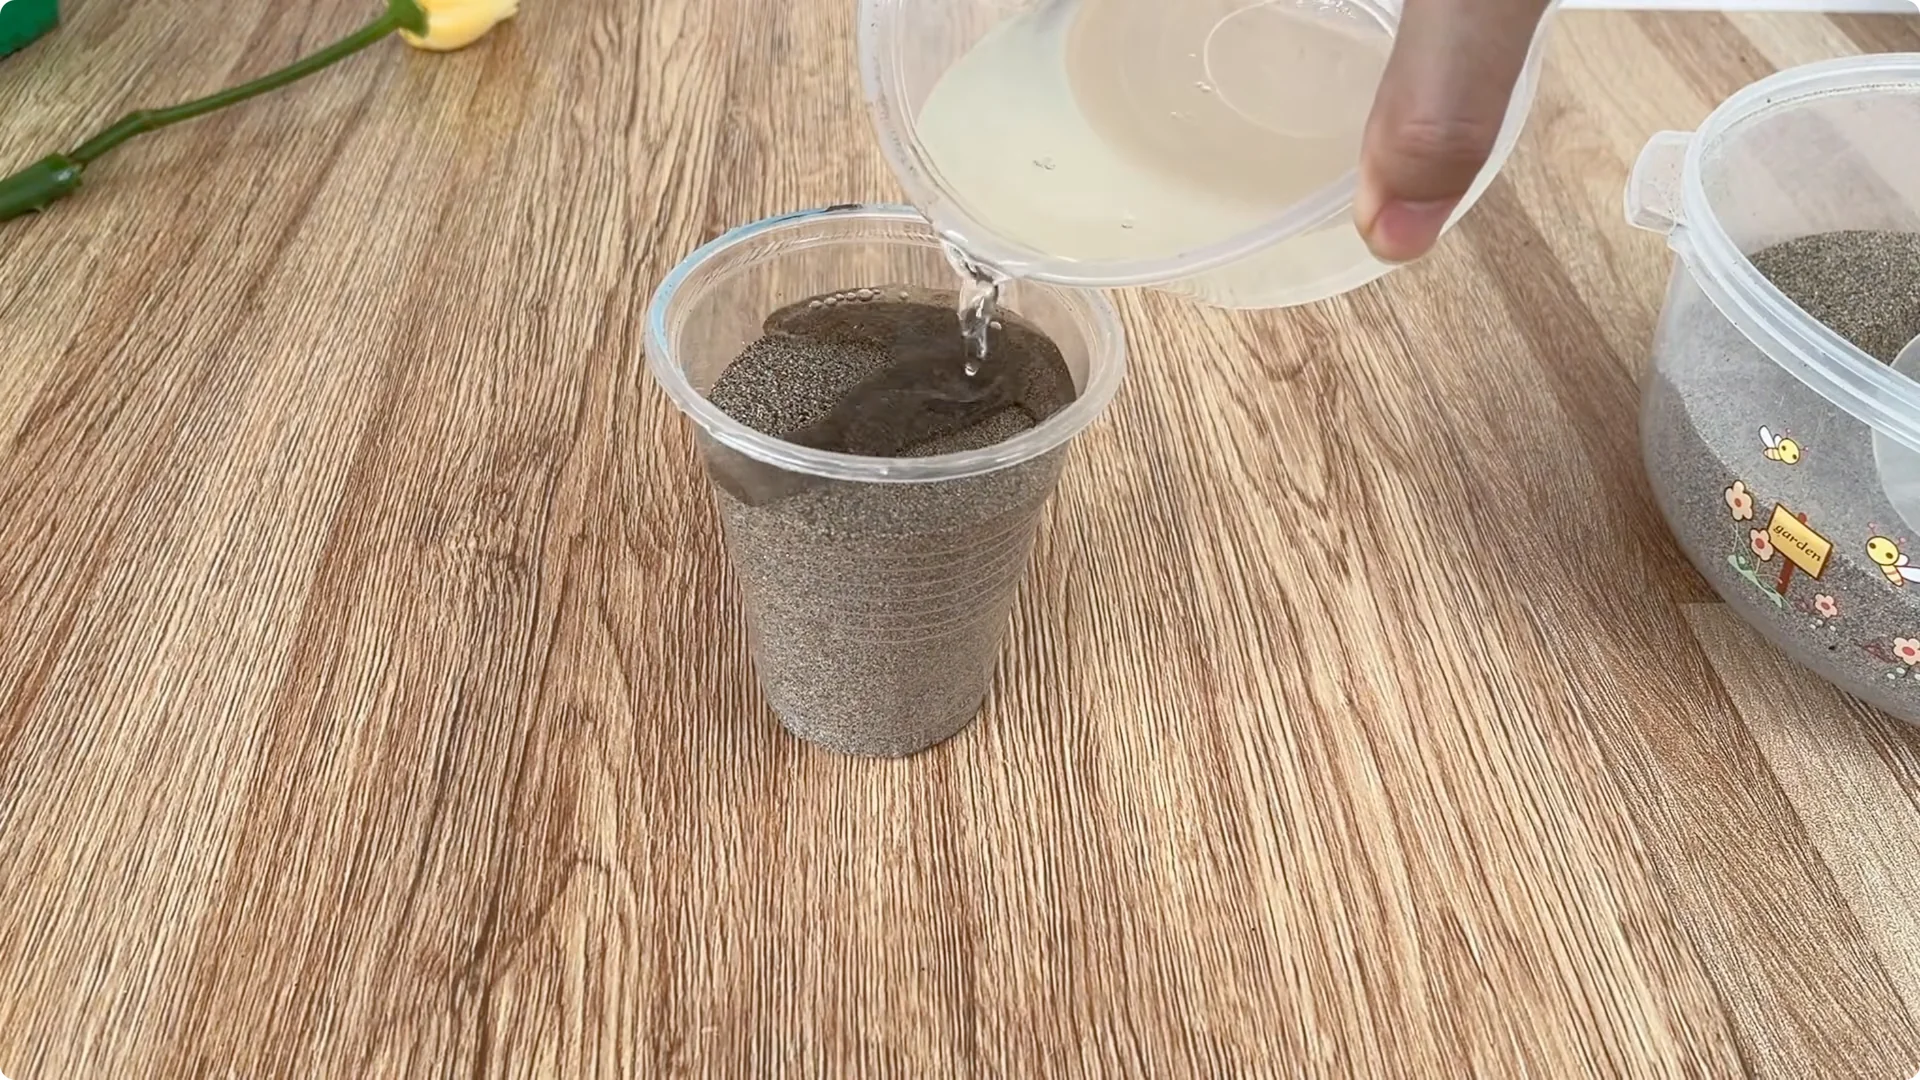
Slowly pour the aloe vera-potato peel solution into the cup of sand just enough to evenly moisten the substrate, avoiding overfilling which would cause the sand to become waterlogged.
6. Plant the Cutting
Remove the rose cutting from the initial aloe vera section and insert it into the center of the cup of sand, ensuring the base is deeply embedded. Gently press down around the cutting to secure it, ensuring it stands firmly and makes good contact with the substrate.
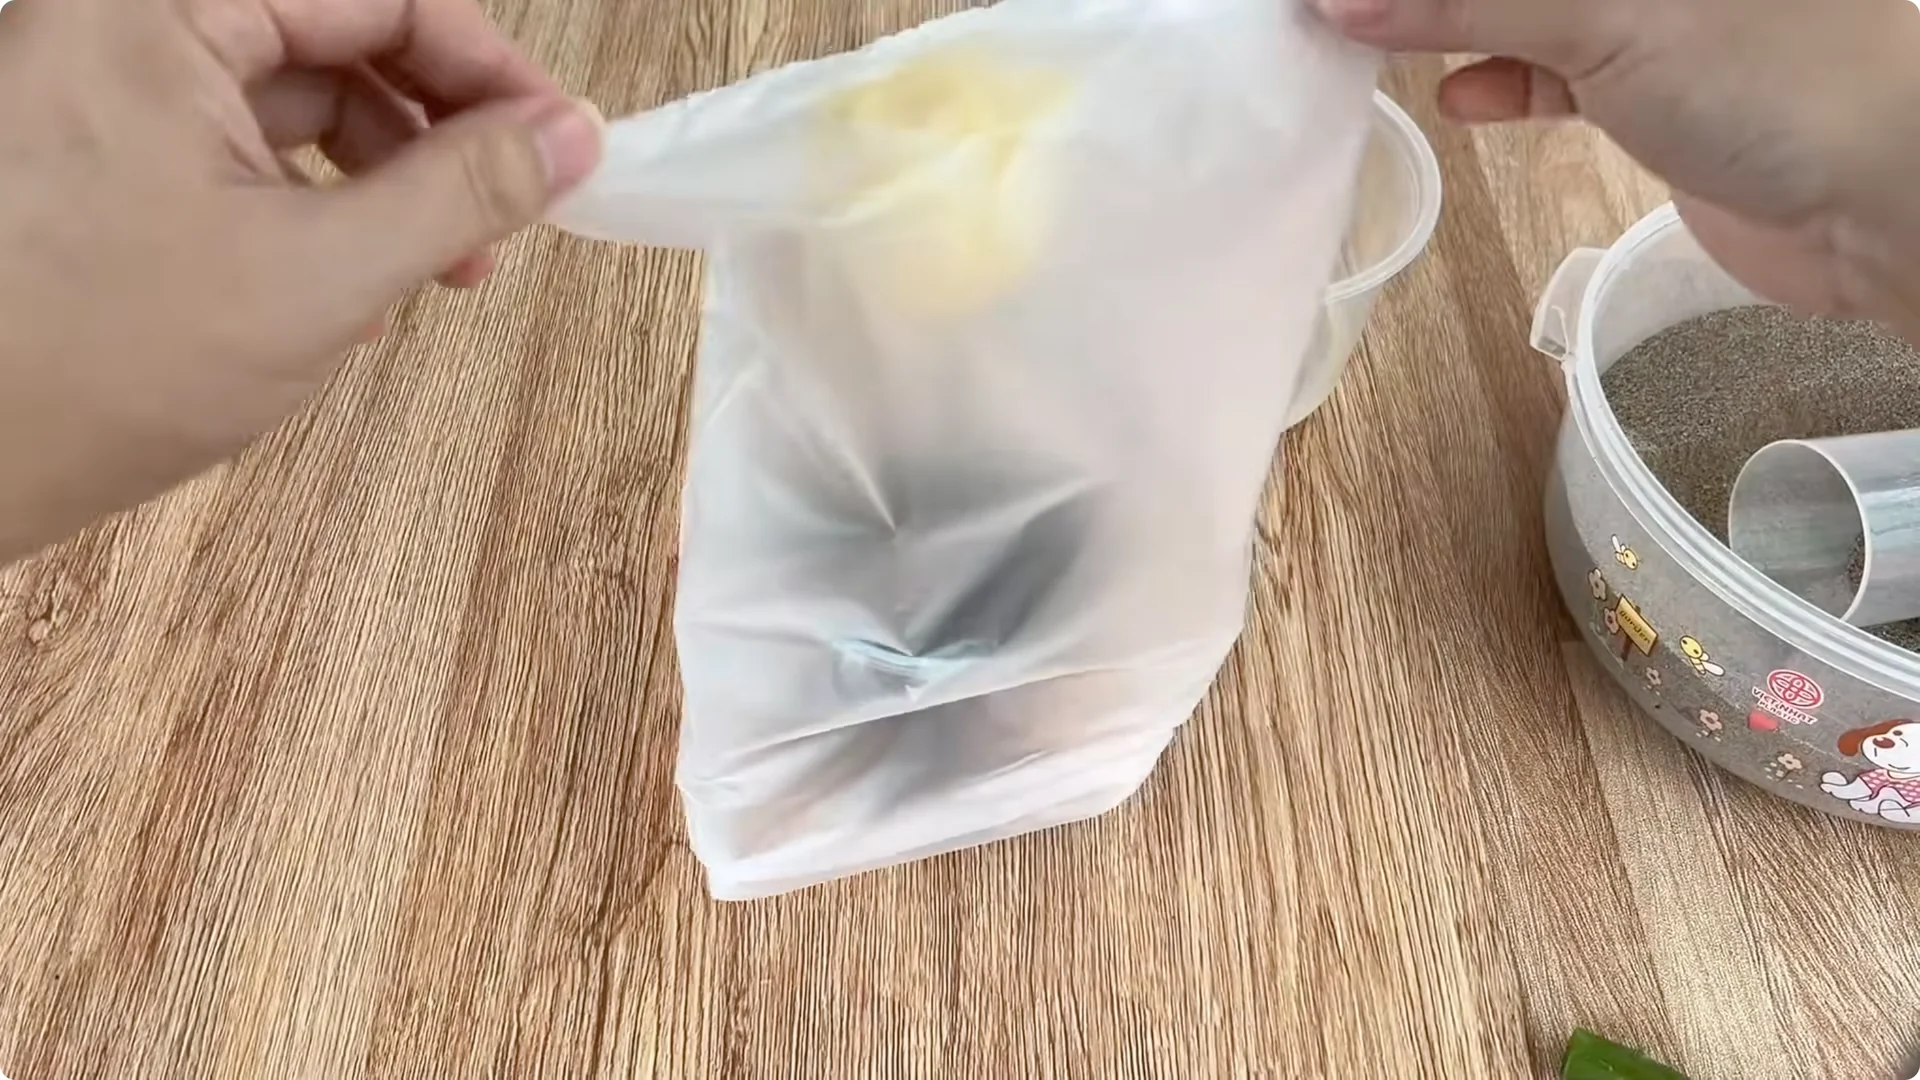
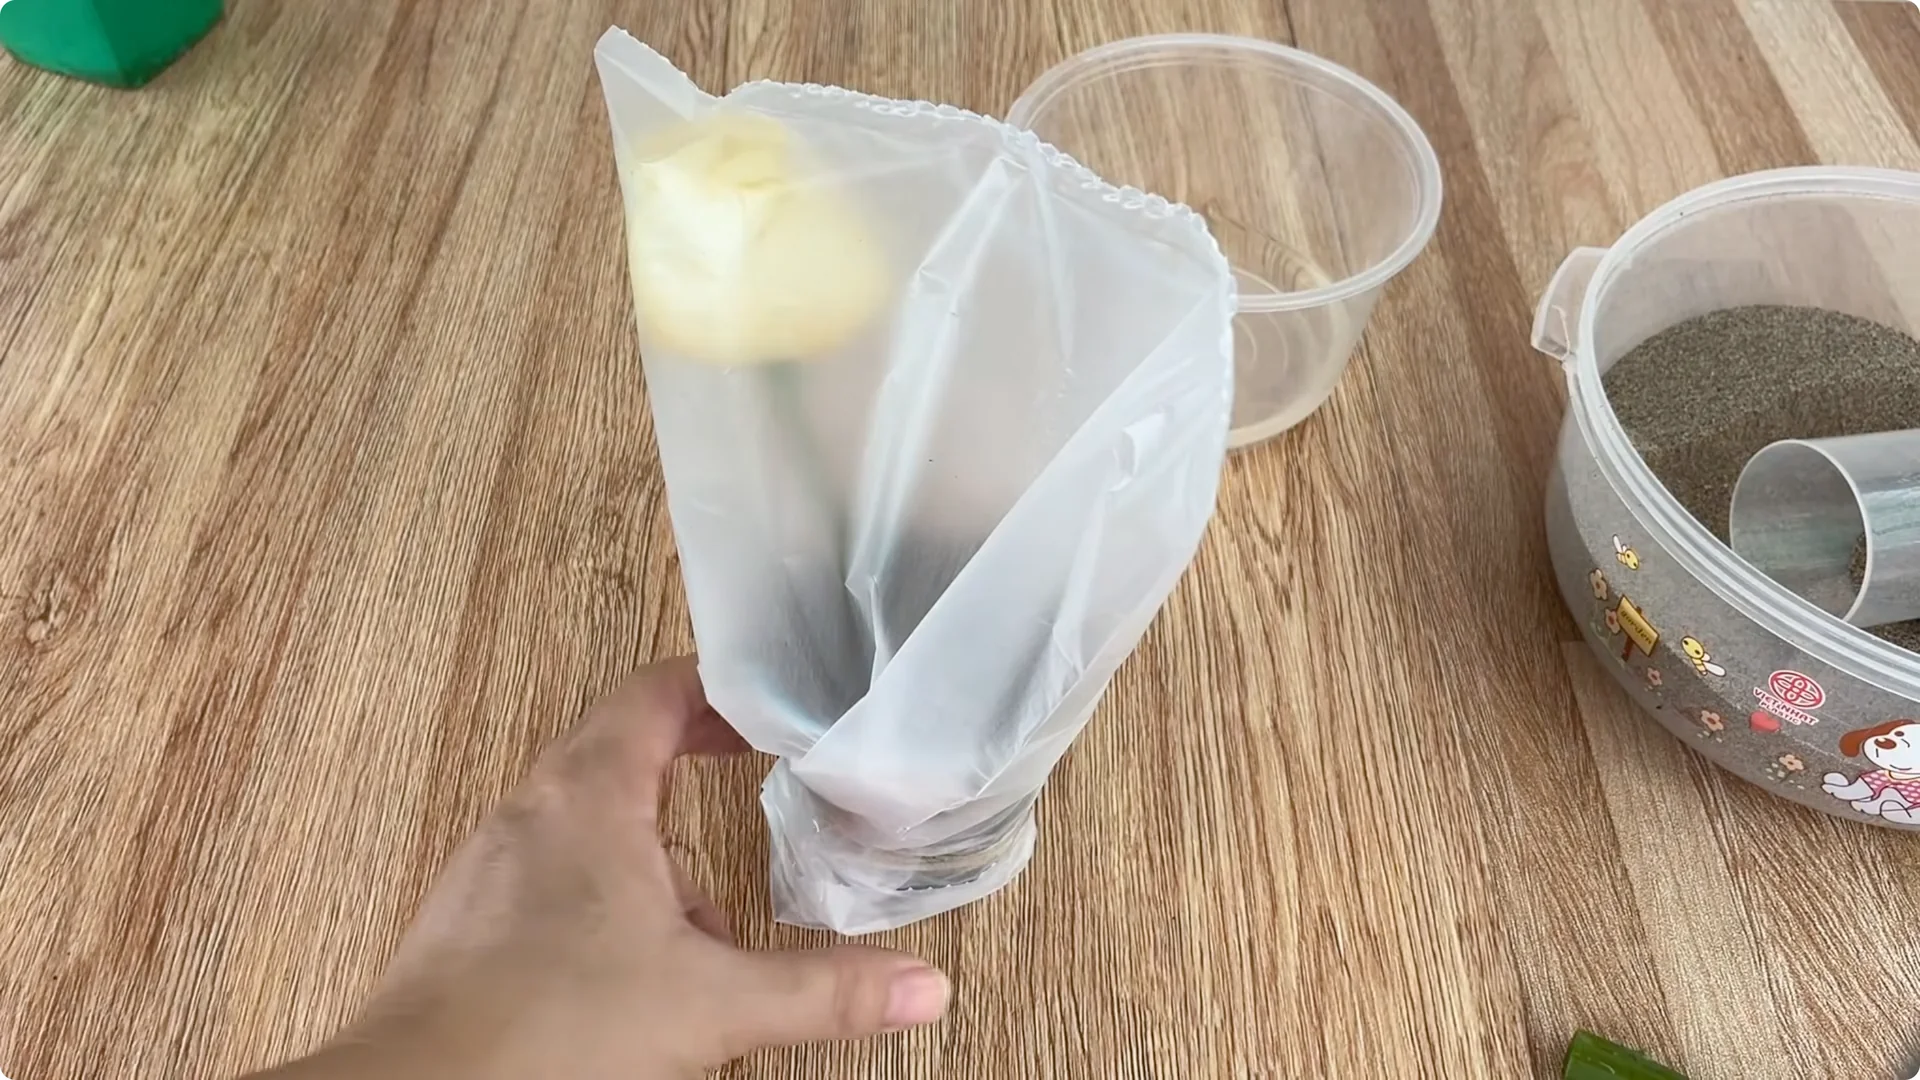
7. Create a Humid Cover
Cover the cup and the rose cutting with a plastic bag or clear plastic container. This covering will create a closed, humid environment, reducing water evaporation, like a miniature greenhouse, which is very beneficial for root development.
8. Placement and Care
Place the cup of cuttings in a cool, airy place, away from strong winds and harsh sunlight. Simply maintaining a stable environment, without moving or opening the bag frequently, will provide ideal conditions for the cutting to develop roots.
9. What You’ll See in About 10 Days
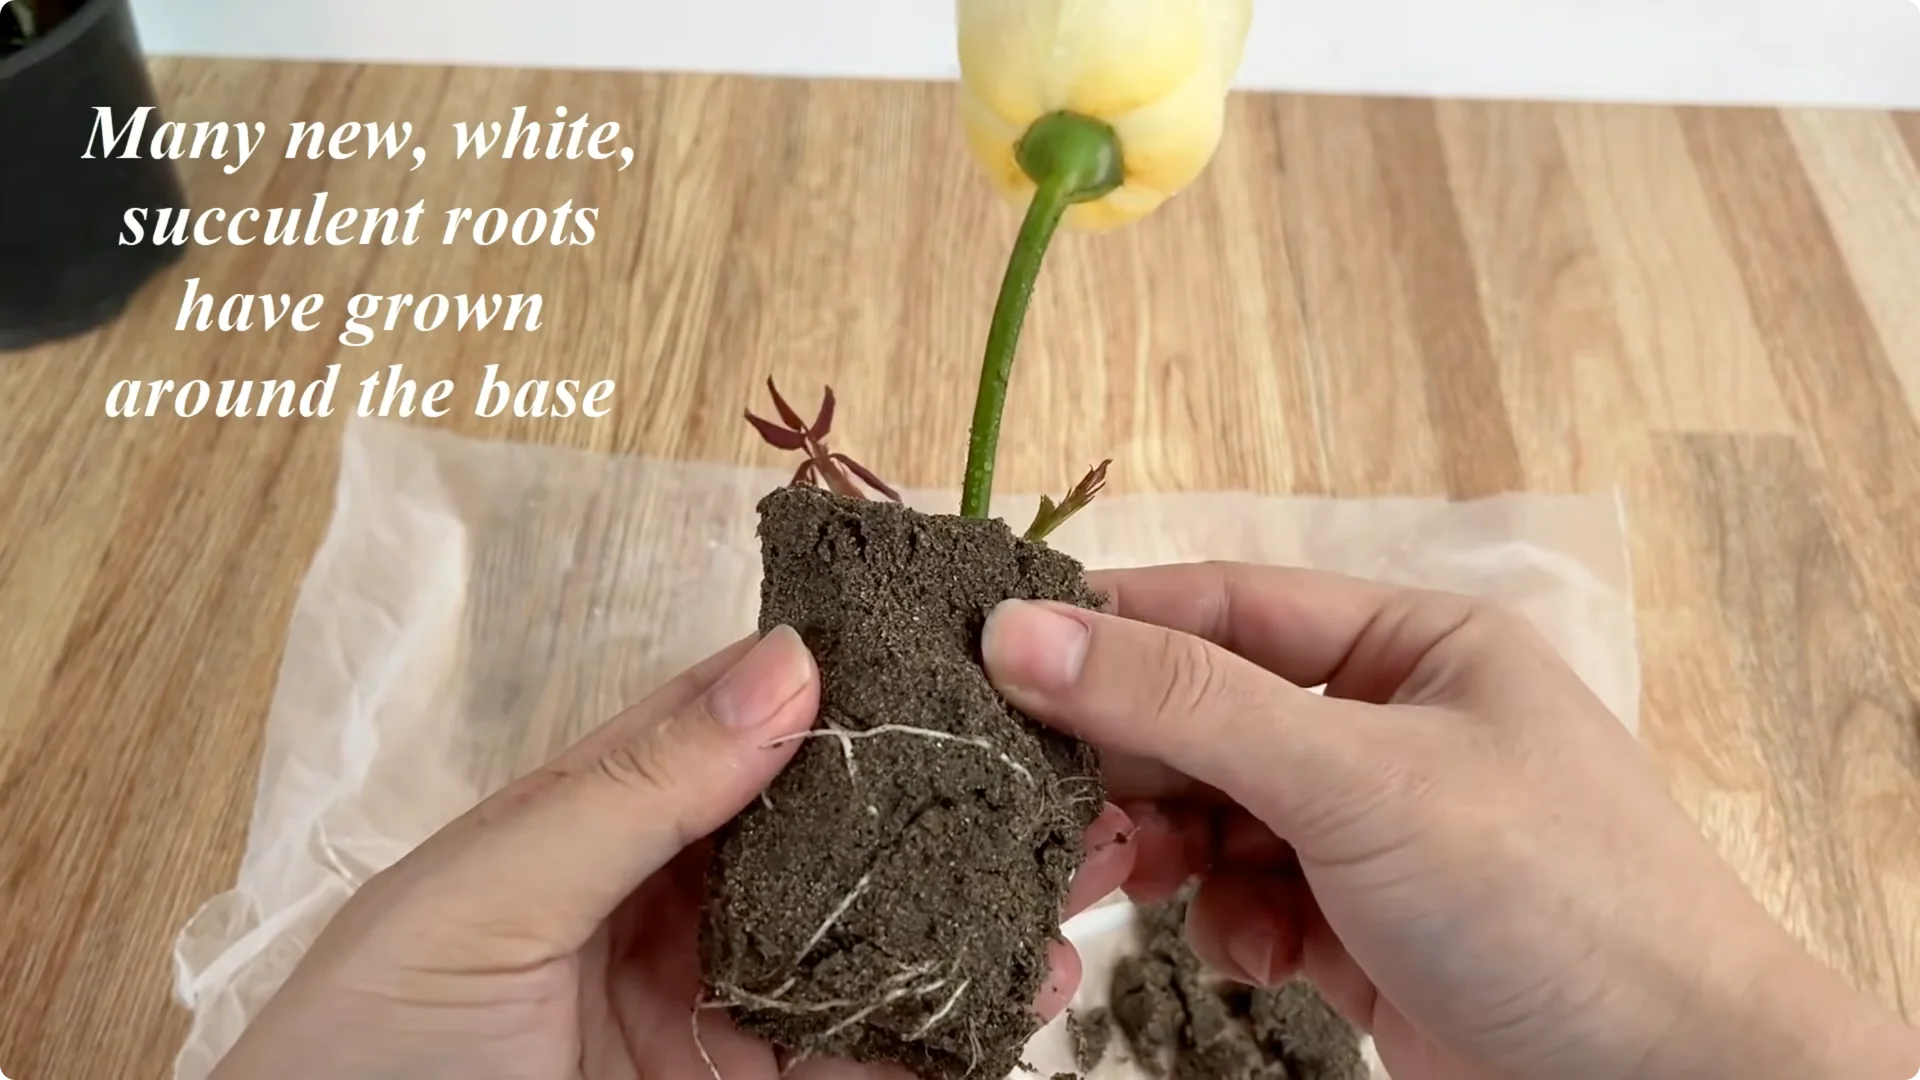
After about 10 days, you will begin to notice very positive signs. New shoots appear on the stem, fresh green, plump, and full of vitality.
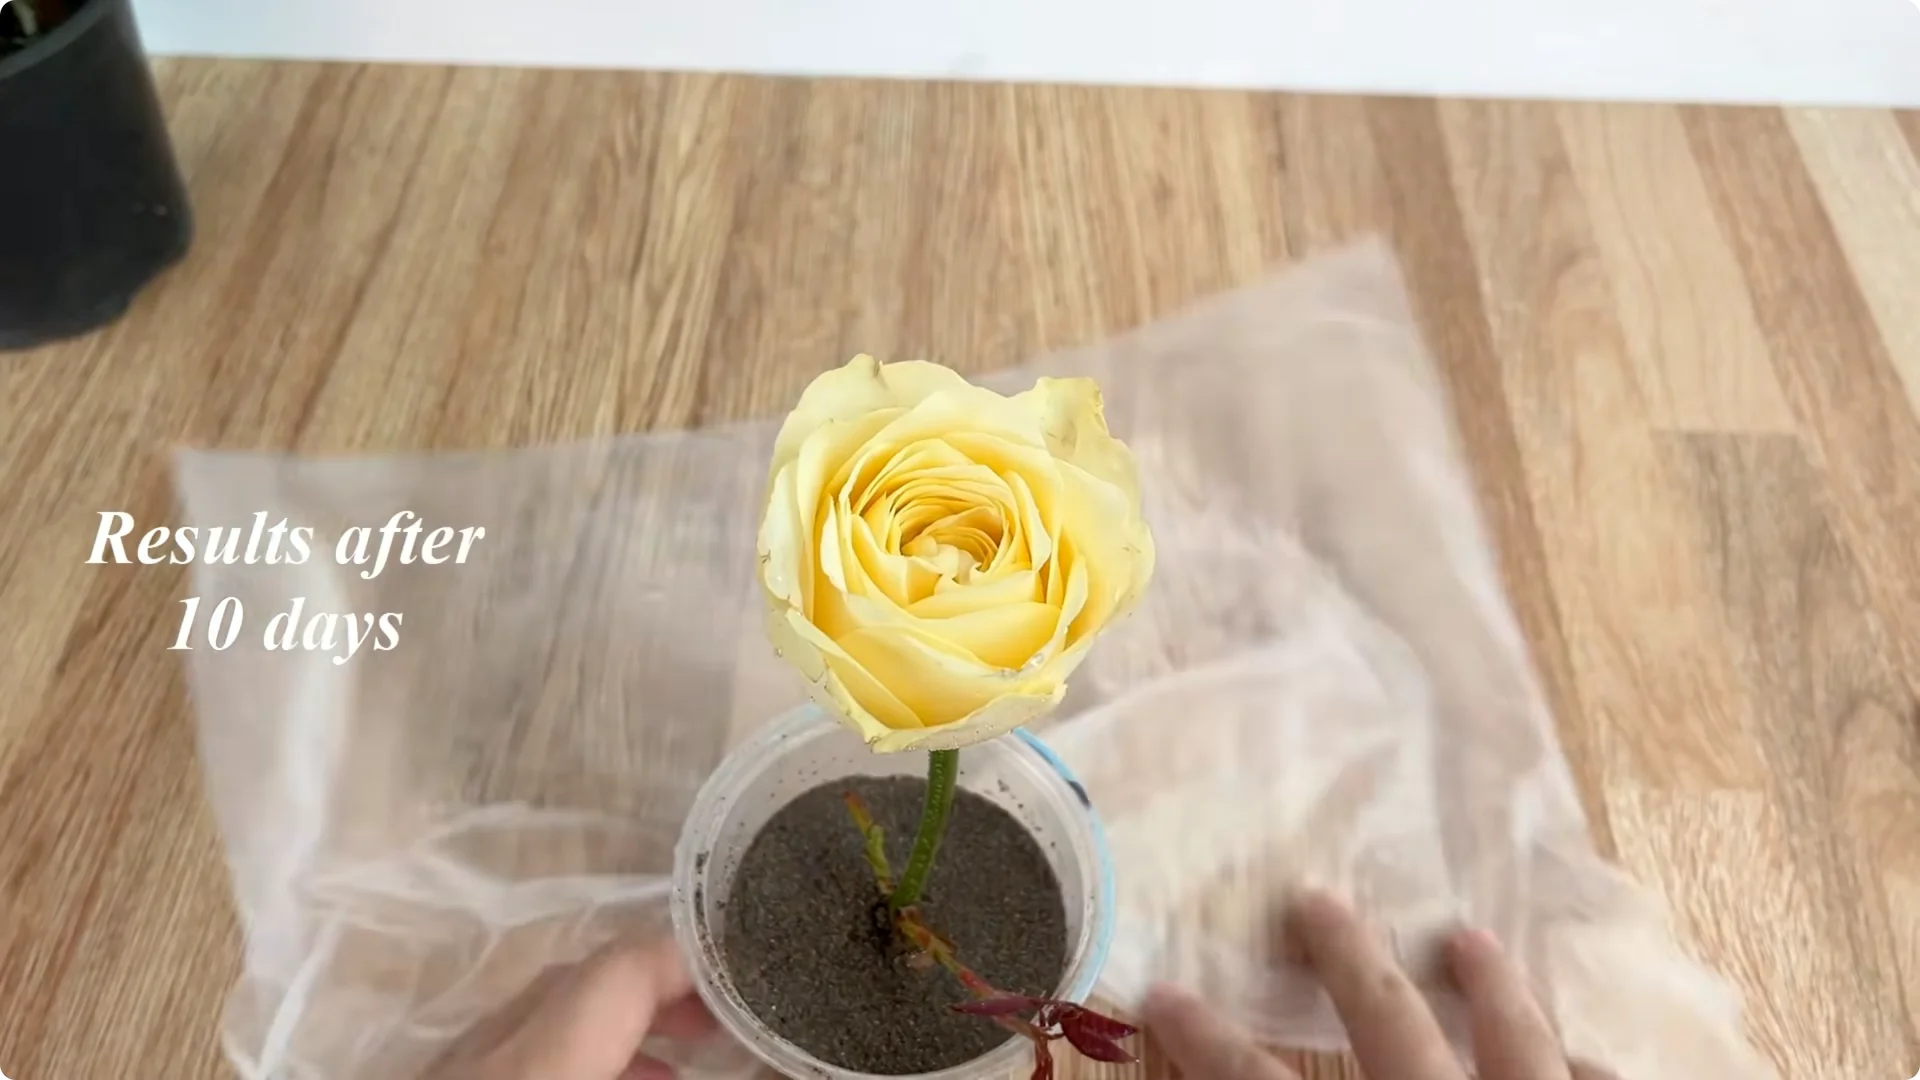
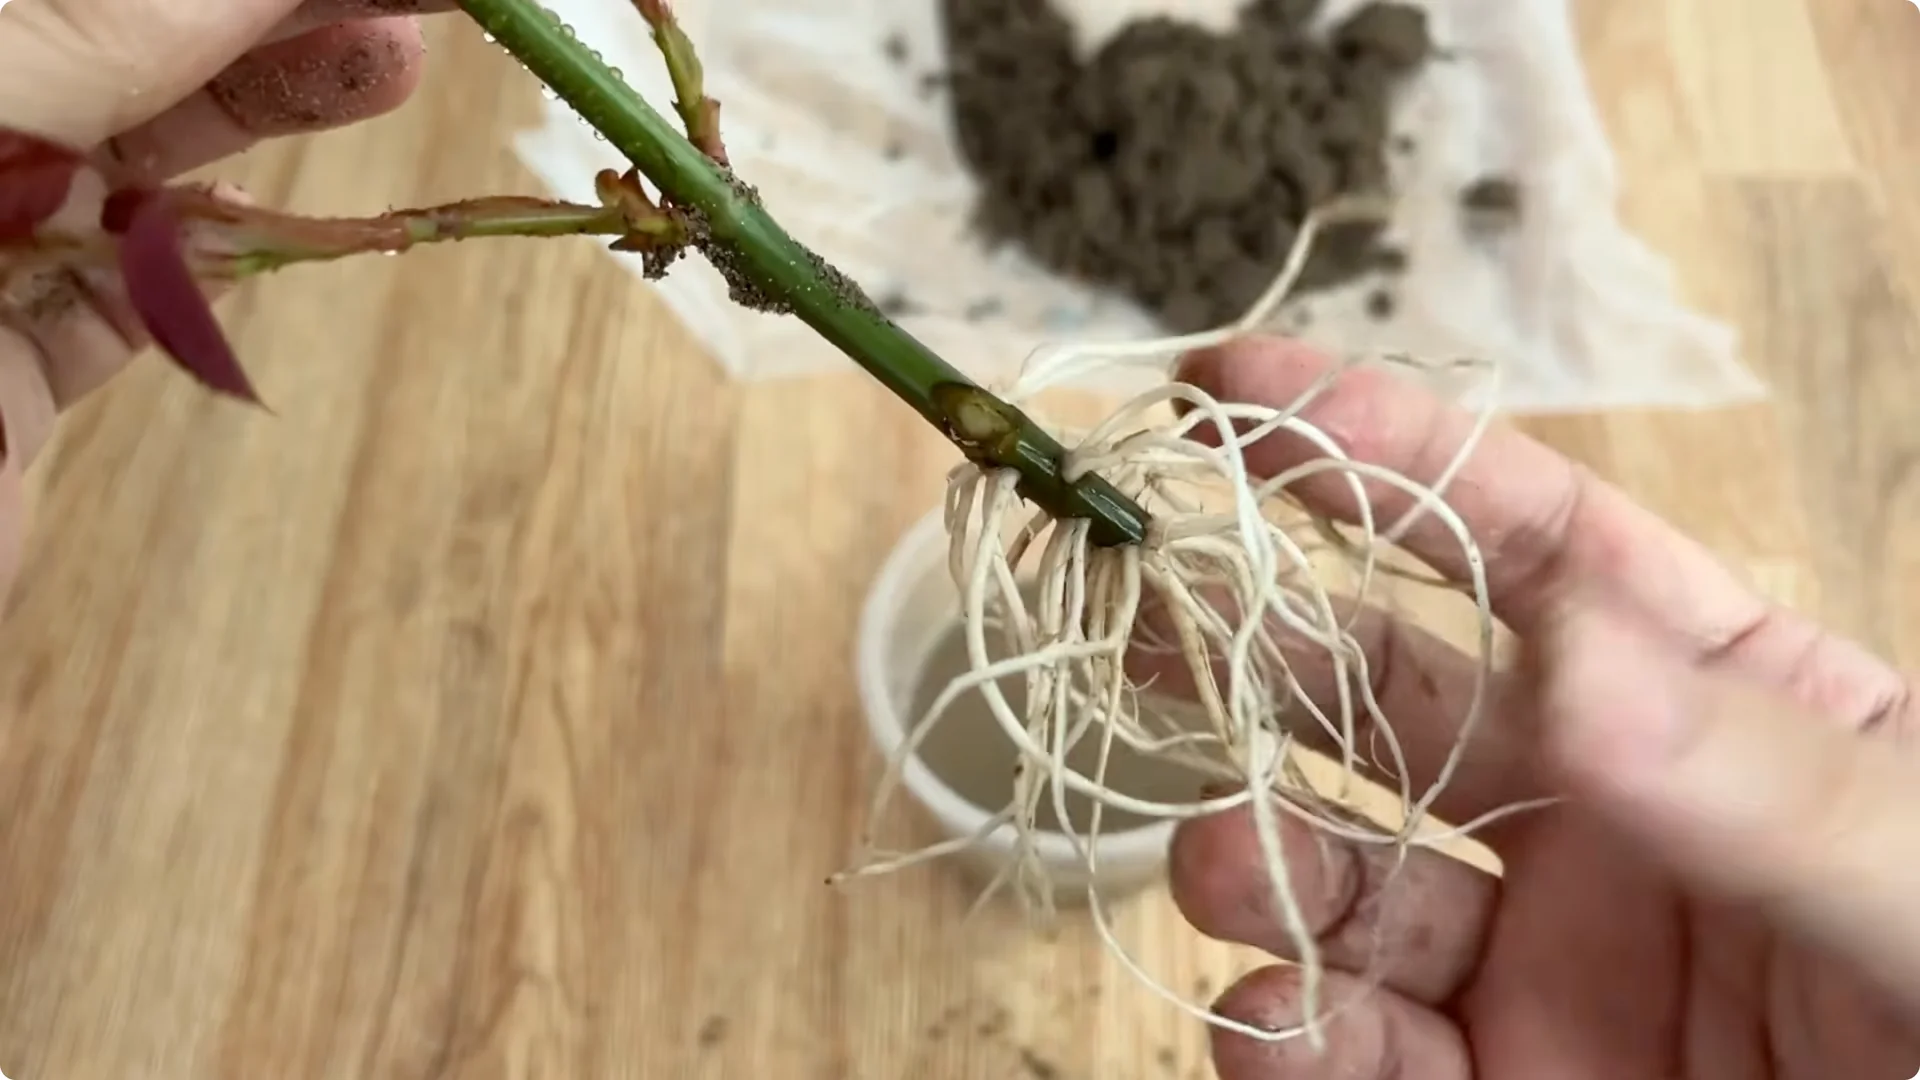
At the base, many new white, succulent roots gradually form and firmly grip the sand, indicating that the cutting has successfully rooted.
10. Potting On for Long-Term Growth
Once the root system is strong enough, you can replant the rose cutting in a well-draining pot using coconut fiber as a growing medium. This will support continued long-term growth.
Final Thoughts on Rose Propagation by Cuttings
The method of propagating rose cuttings using aloe vera and potatoes is not just a simple method of propagation but also a refined plant care experience. From a seemingly simple flower branch, you’ll have a new rose bush, carrying with it joy, patience, and love for your little garden.