Here is a method of propagating roses that is very applicable. With the experience of a long-time gardener, I hope this will help you easily understand and apply it at home.
Choose a rose branch that you love, prioritizing branches that are of moderate age, not too young or too woody. Branches of this age often contain a stable amount of nutrients and the ability to sprout and root more strongly.
1. Rooting Rose Cuttings – Select the Right Stem
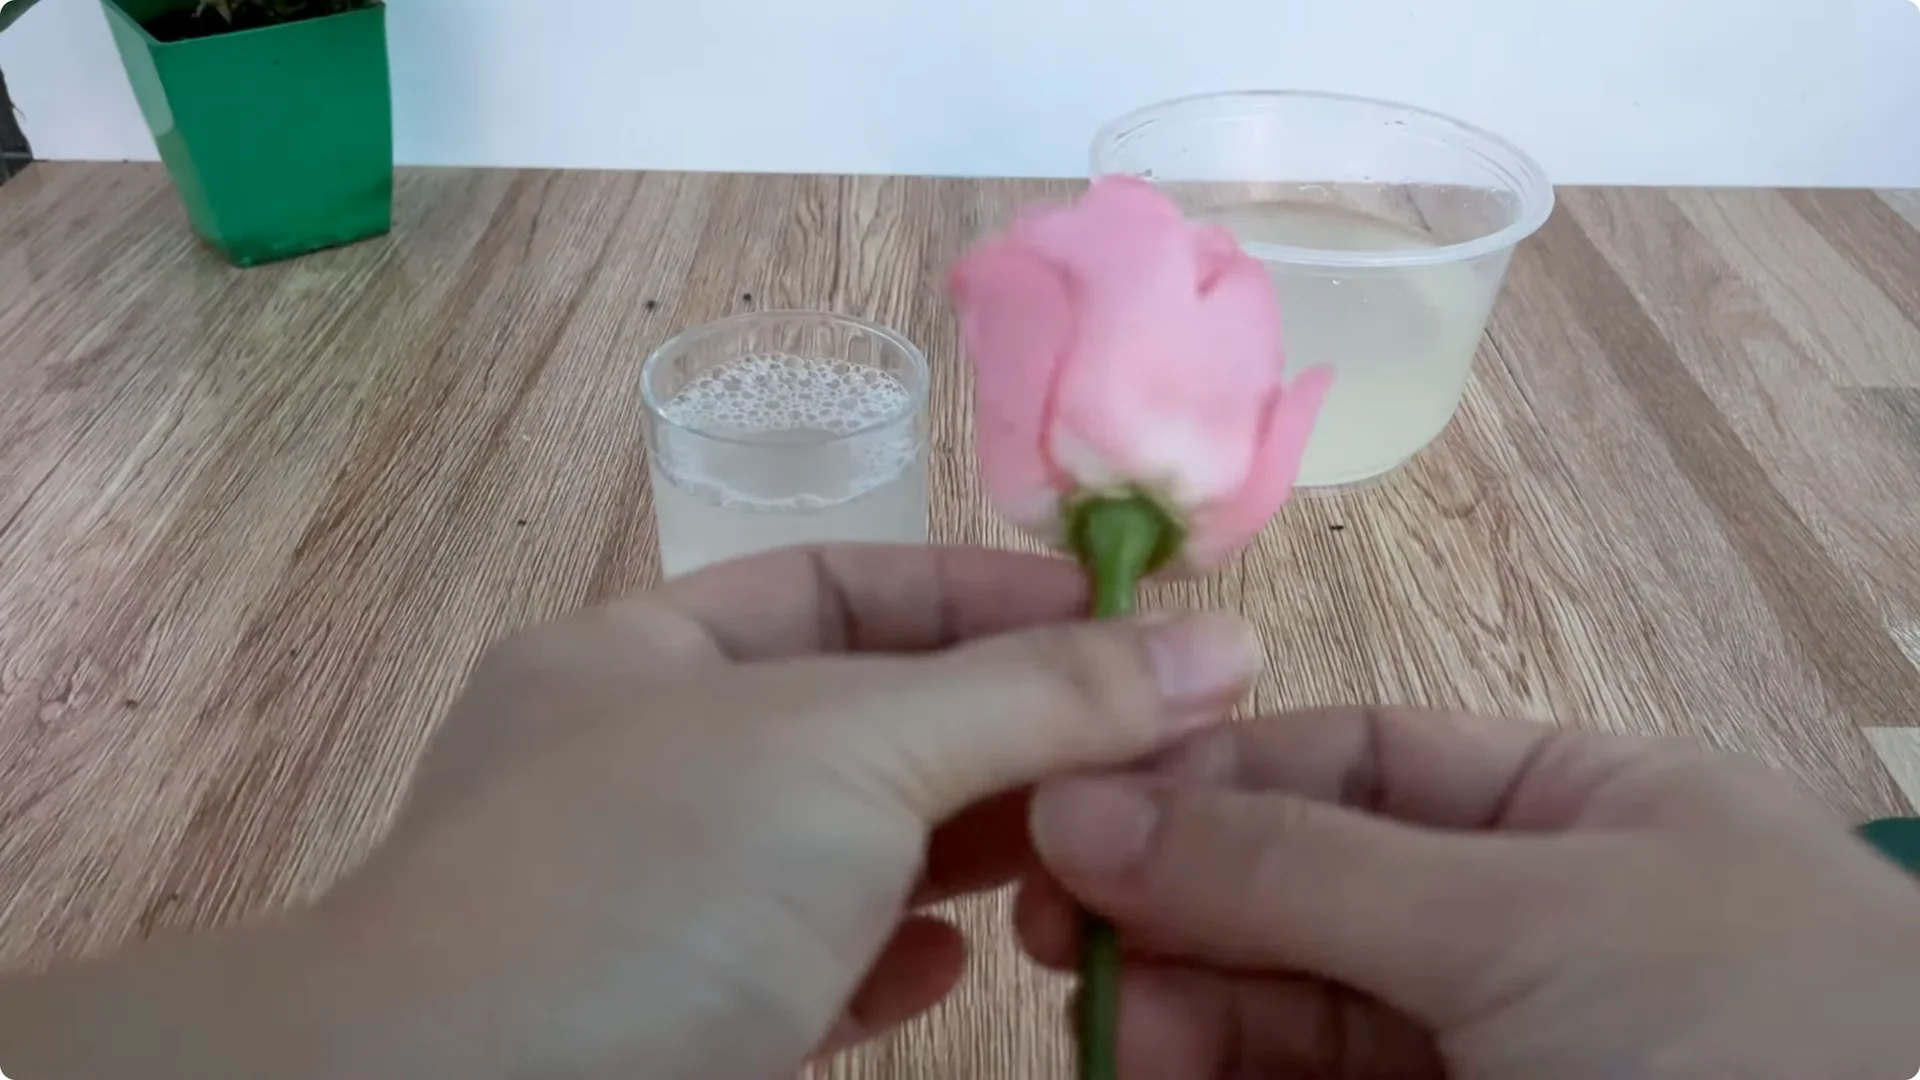
Before processing the branch, cut off all the leaves and sharp thorns on the stem. Remove old or wilted petals to avoid wasting nutrients.
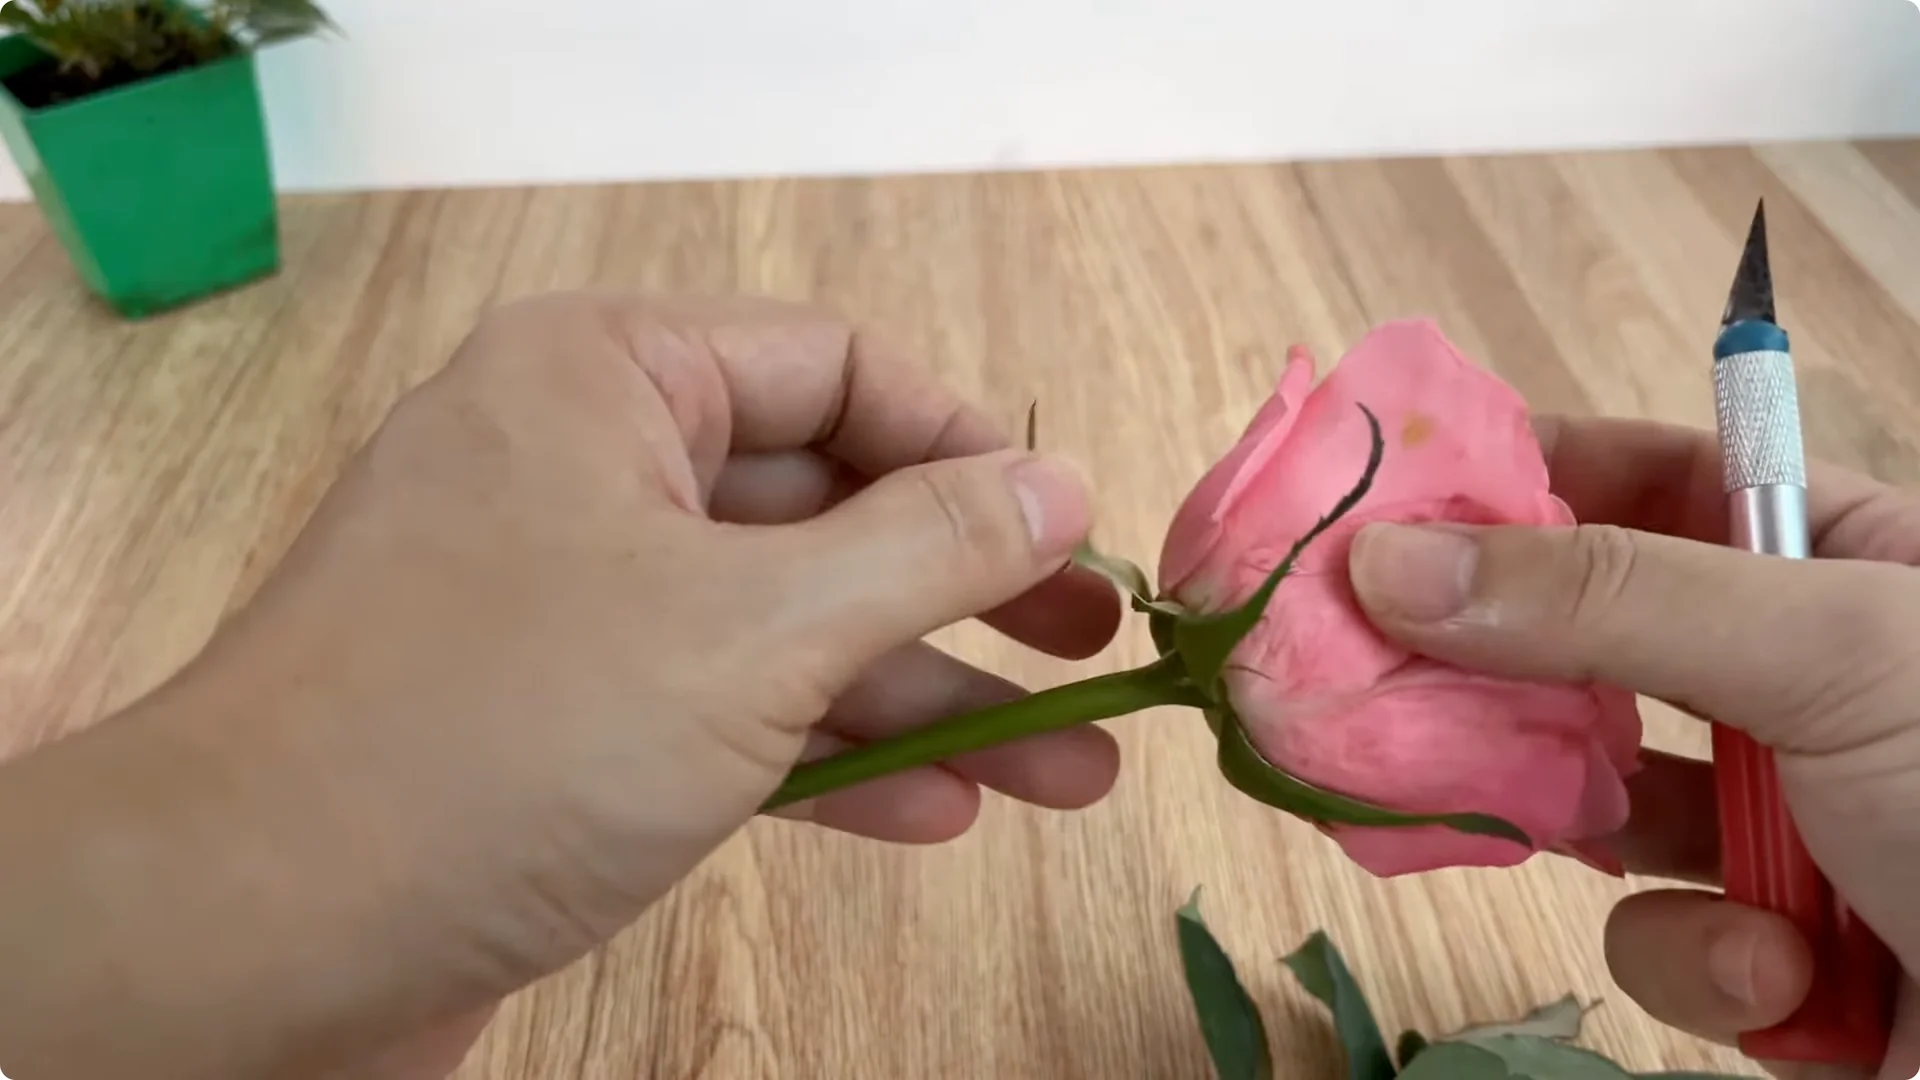
Cut the flower branch and keep it only about 15-20 cm long. This is the ideal size so the branch does not lose too much water but still has enough space to nourish new cell tissues.
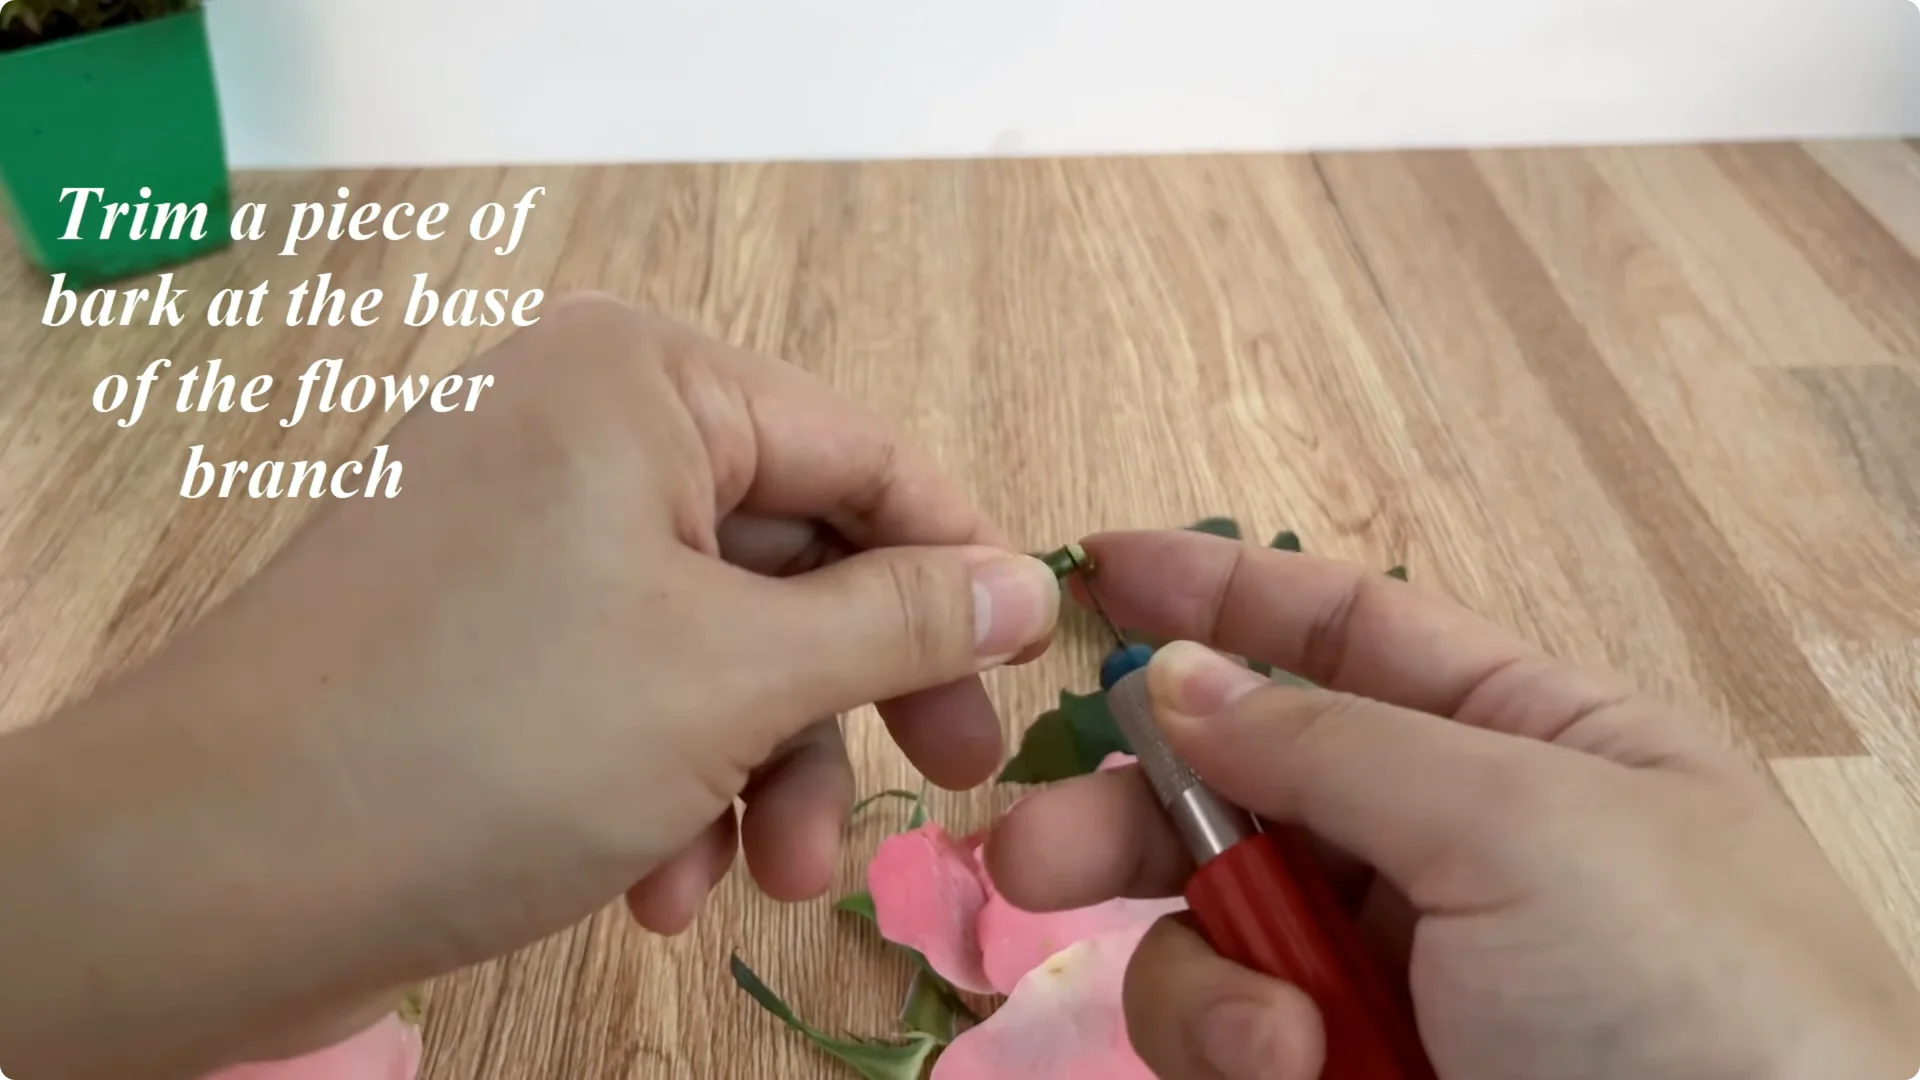
2. Rooting Rose Cuttings – Expose the Cambium
At the base of the branch, trim a thin piece of skin to expose the cambium layer. This layer has strong division ability, which helps stimulate root formation more effectively.
For more ways to speed up rooting at this stage, see this fast-rooting guide.
3. Rooting Rose Cuttings – Lemon Juice Pre-Soak
Prepare a fresh lemon, wash it, and cut it in half to get all the juice. Lemon juice contains many natural organic acids, especially citric acid with a mild antiseptic effect.
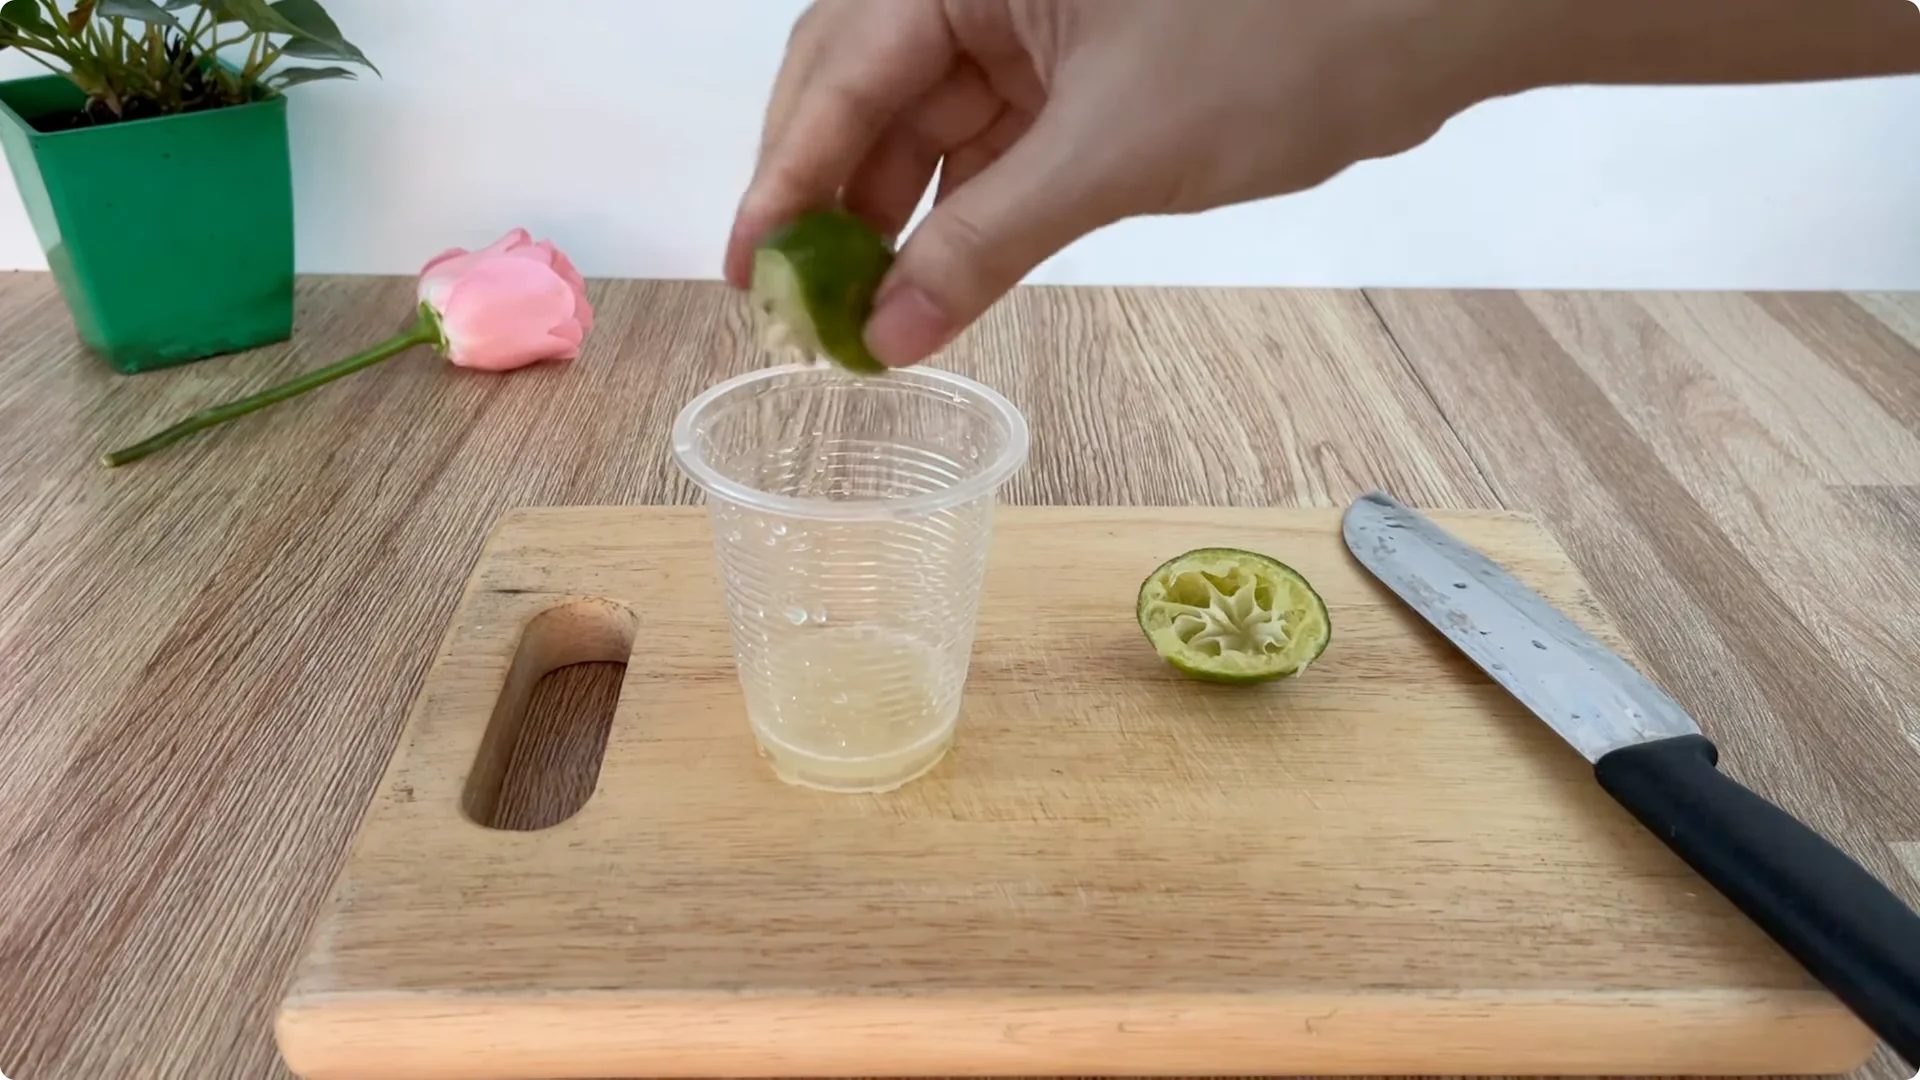
It also softens the wood tissue at the base of the branch, helping the nutrient solution easily penetrate the cells. Put the lemon juice in a small cup and soak the rose branch for 30 minutes.
This step helps clean the branch and clear the vascular tissues, creating favorable conditions for the root stimulation process later.
4. Rooting Rose Cuttings – Make a Natural Rooting Solution
After squeezing, do not throw away the lemon peel. Cut the lemon peel into small pieces and put it in a clean plastic cup.
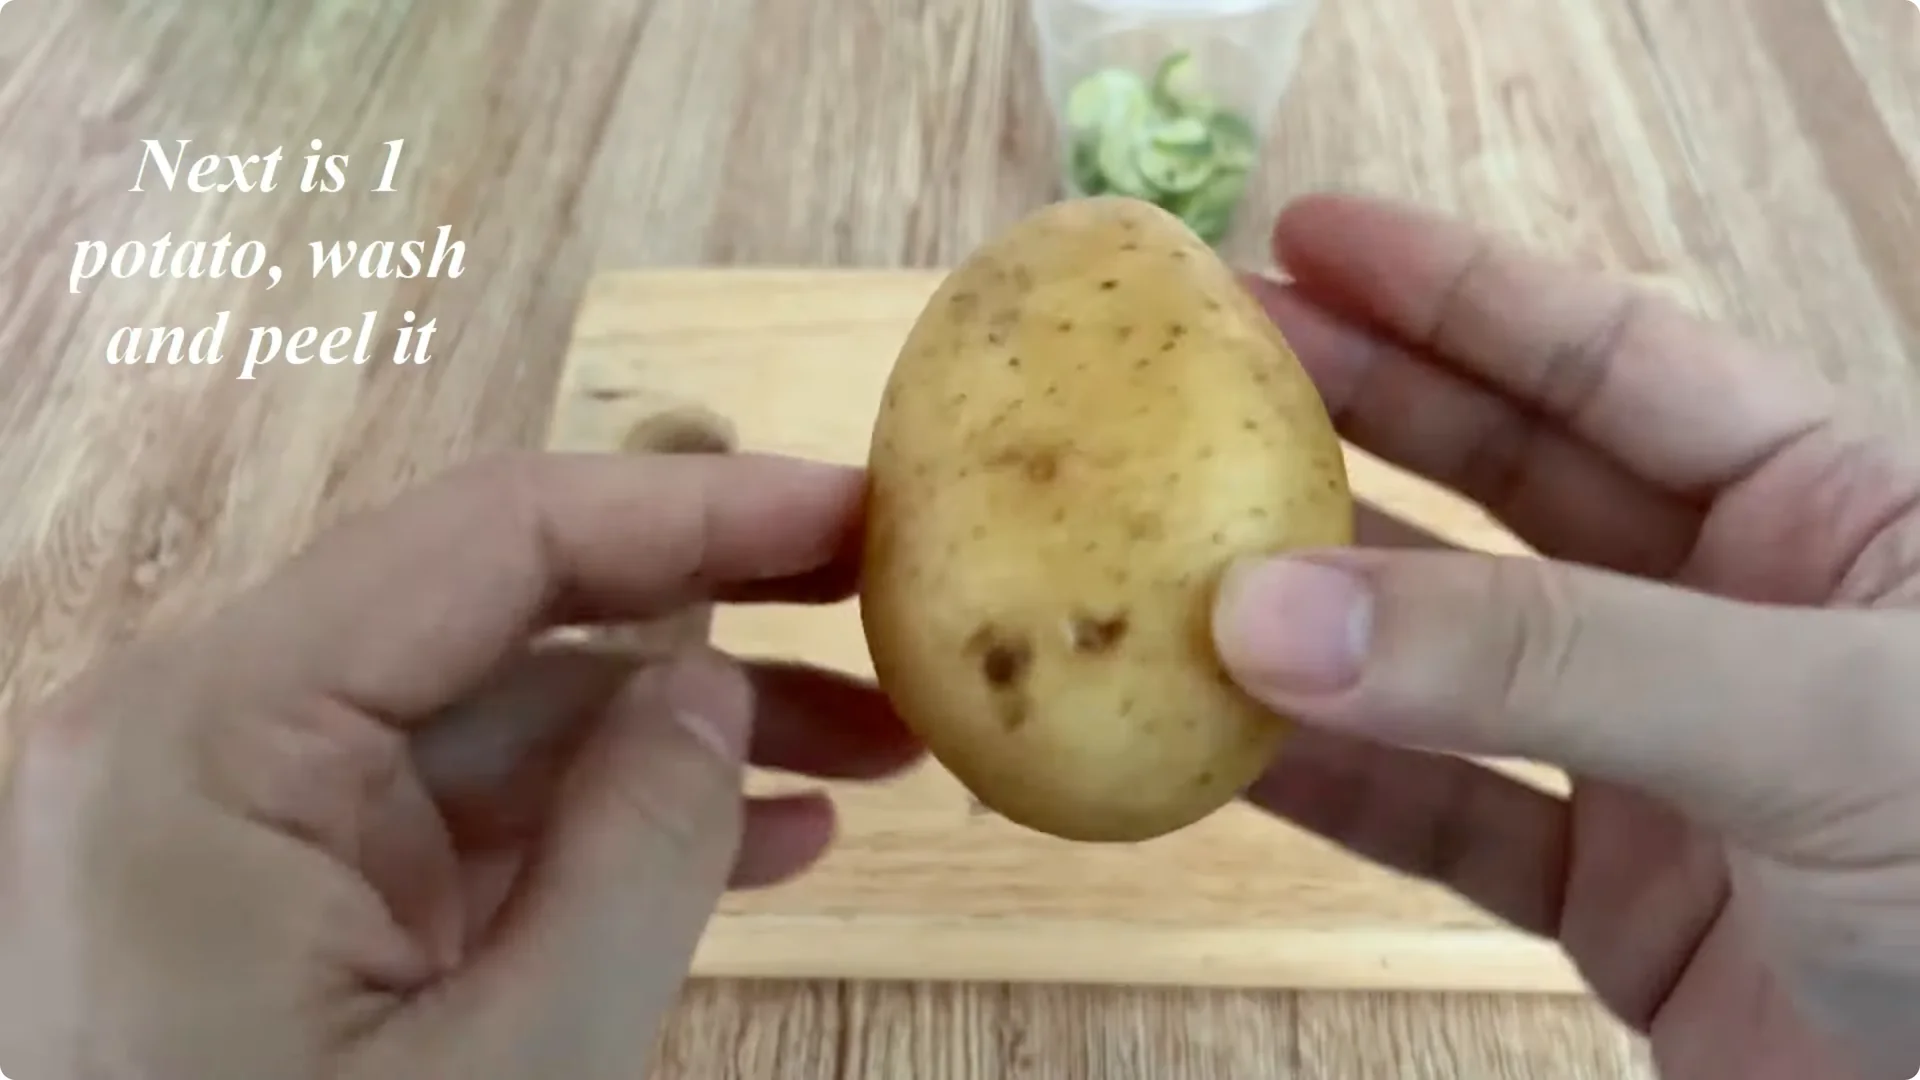
Lemon peel contains essential oils and phenolic compounds that are very useful in stimulating the growth of callus at the base of the branch. In addition, prepare a potato, wash it, peel it, and cut the potato peels into small pieces.
Potato peels contain starch, minerals, and a small amount of natural growth regulators. When combined with lemon peels, they create a nutrient solution that supports a strong rooting process.
Put the potato peels in with the lemon peels and pour in 500 ml of warm water. Stir the mixture well and let it sit for 30 minutes to release the natural nutrients into the water.
5. Rooting Rose Cuttings – Set Up the Cup and Foam
While waiting for the solution to soak, prepare a small, clean glass cup and a piece of foam. Cut the foam to fit the mouth of the cup.
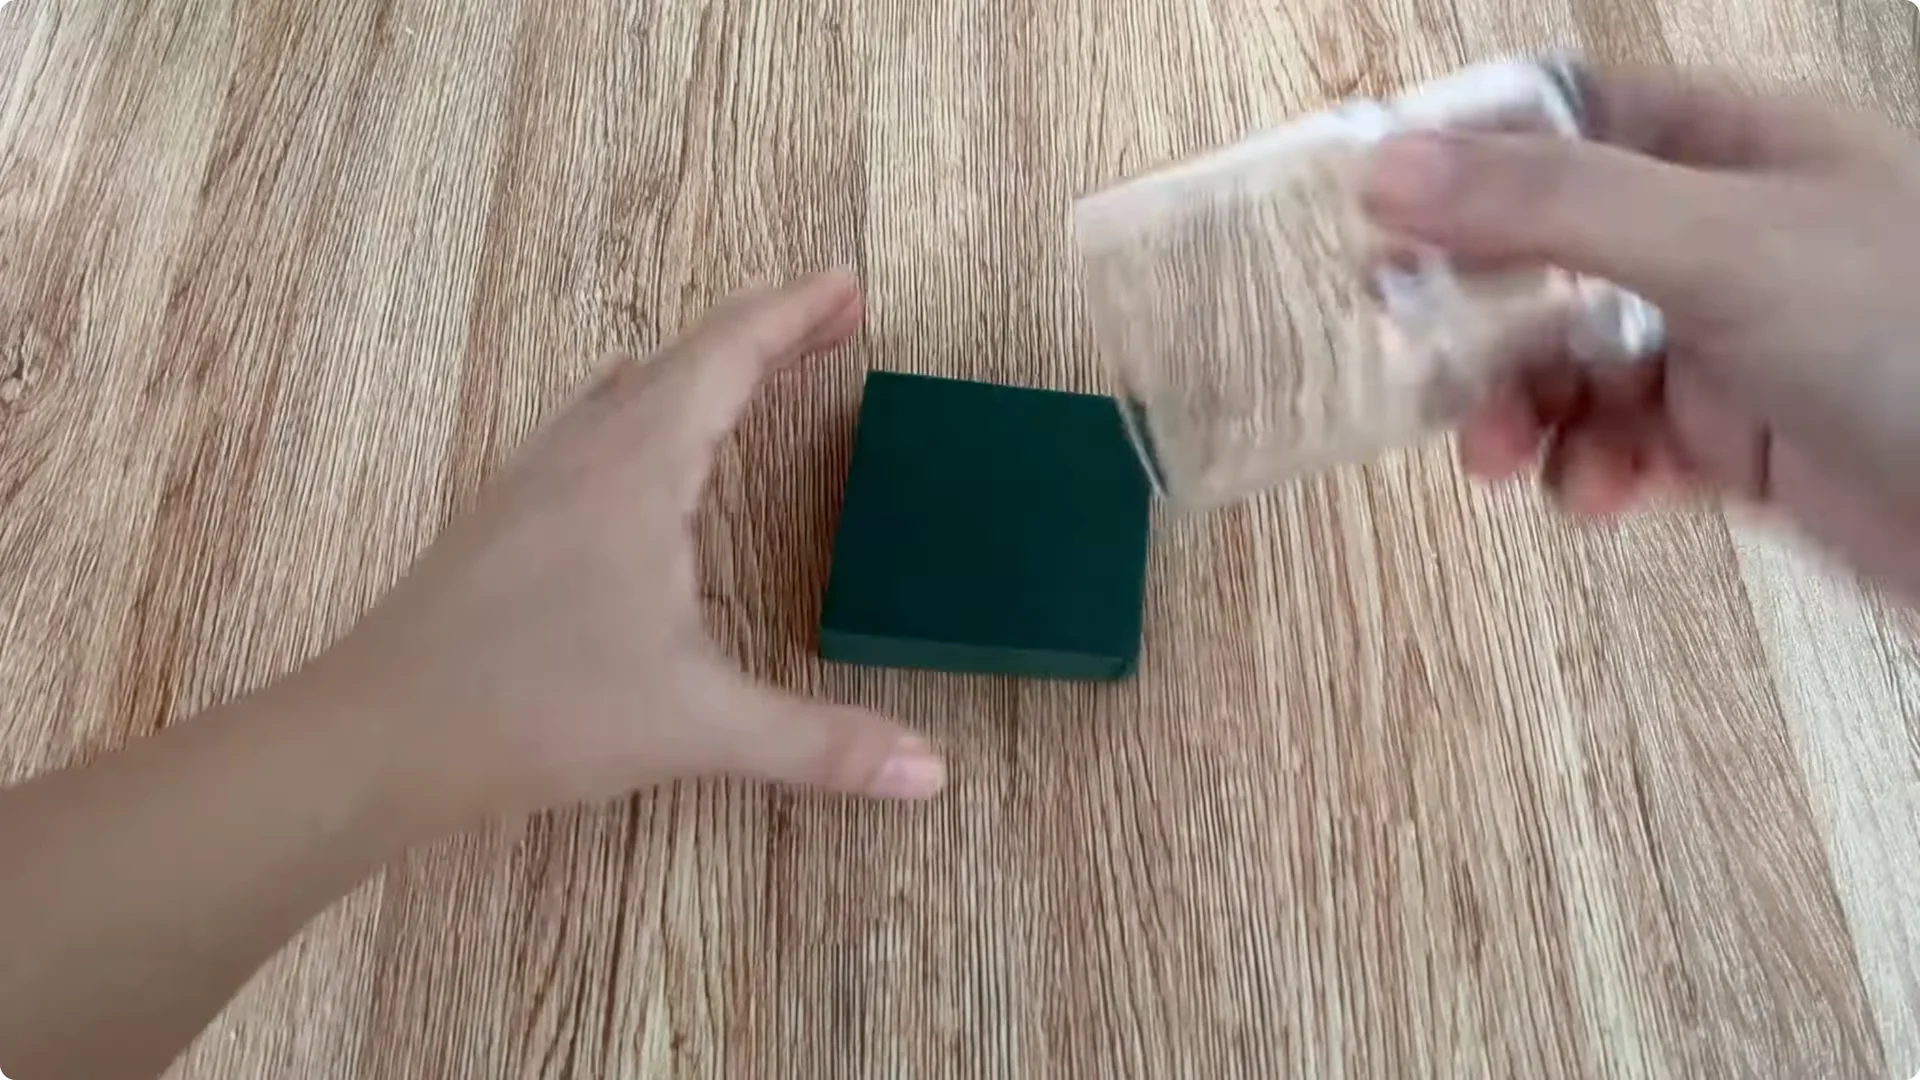
The foam will help fix the rose stem, limit shaking, and reduce the risk of breaking young tissue during the incubation process.
6. Rooting Rose Cuttings – Combine and Dilute
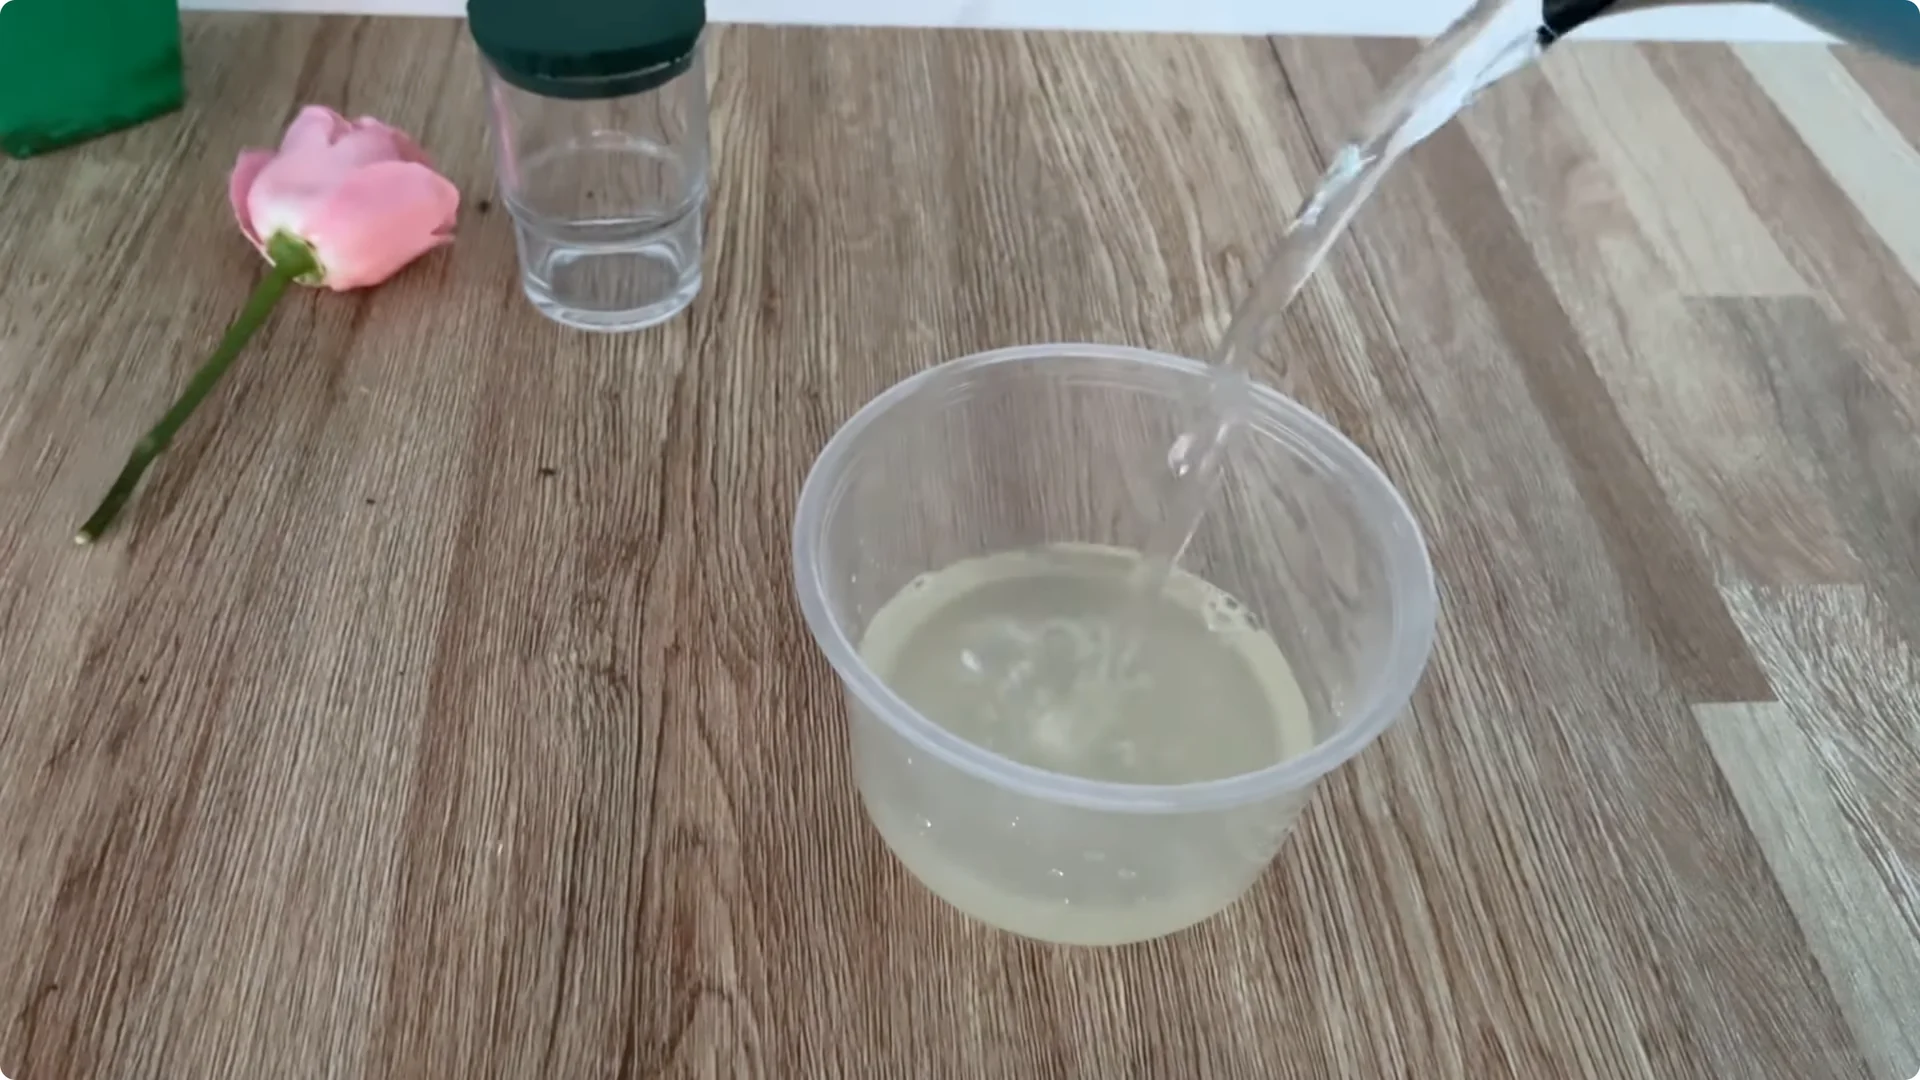
When the time is up, stir the lemon peel – potato peel mixture well and filter the clear water. Take the rose branch out of the lemon juice cup and pour all the lemon juice into the filtered solution.
Dilute this mixture with 0.5 liters of clean water to create a balanced nutrient solution that is not too concentrated. This helps avoid shocking the tissue.
7. Rooting Rose Cuttings – Secure the Stem
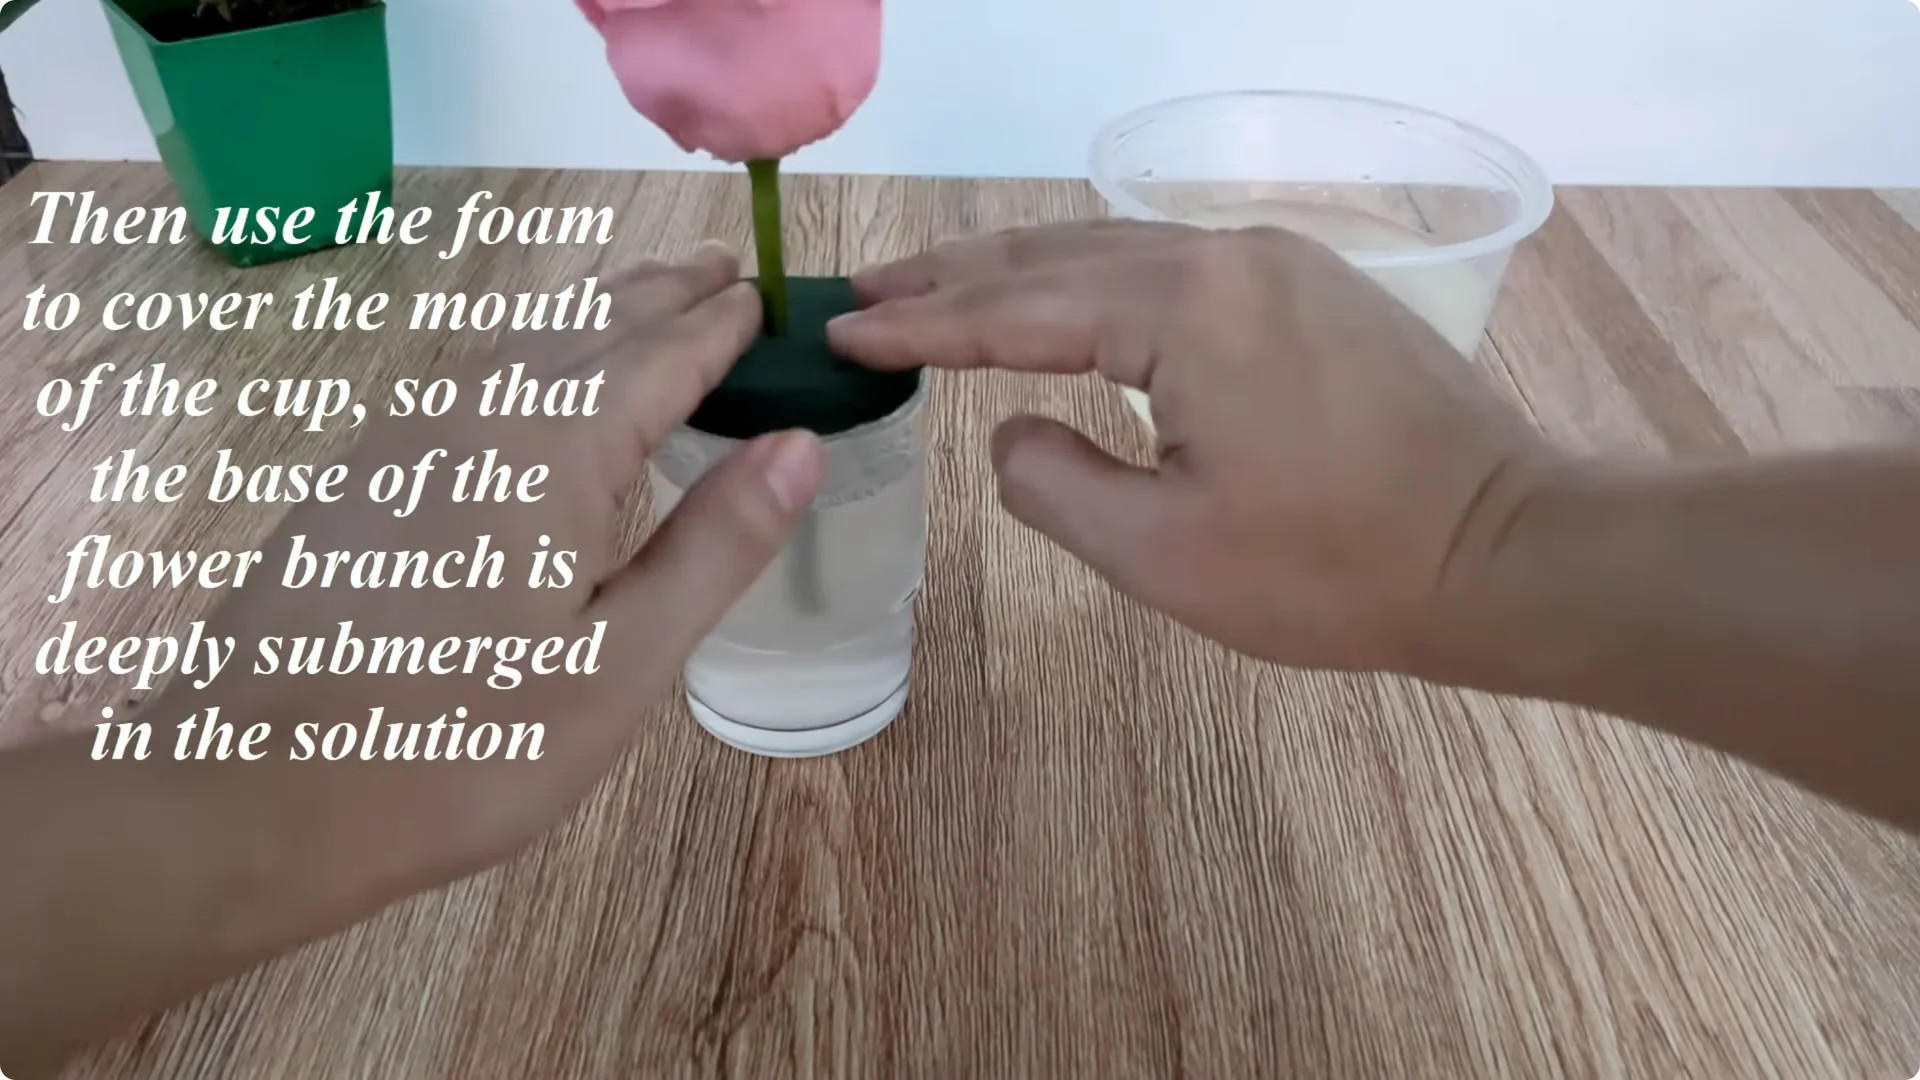
Fill a glass cup with this solution. Use the piece of foam to make a small hole in the middle and insert the flower stem through the hole.
Ensure the base is deeply submerged in the solution while the upper stem is firmly secured by the foam.
For another approach focused on fast growth, explore this fast growth method.
8. Rooting Rose Cuttings – Create a Humid Chamber
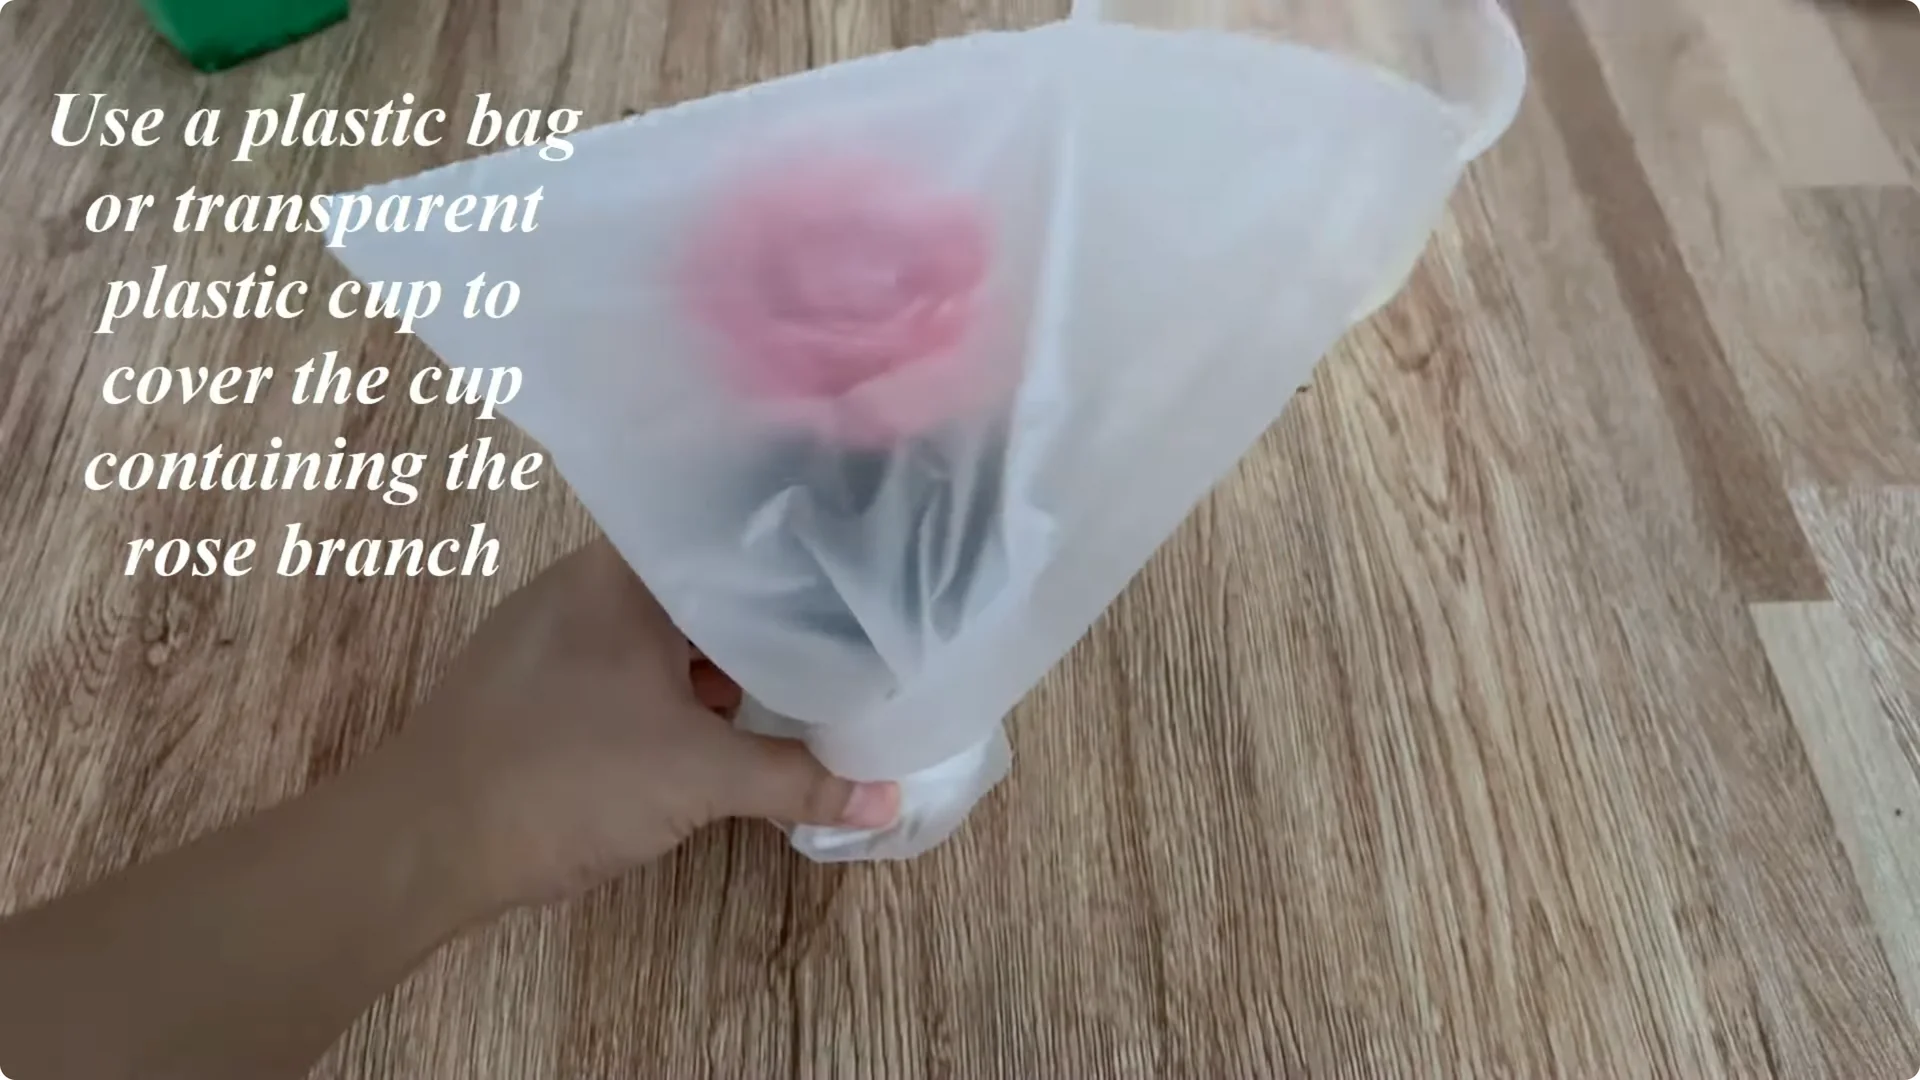
Cover the mouth of the cup with the foam and wrap the entire cup with a plastic bag or a transparent plastic cup. This layer helps keep the humidity constant.
It creates an environment like a miniature greenhouse that protects tender tissues.
9. Rooting Rose Cuttings – Place and Wait
Place the cup in a cool place, away from strong winds and direct sunlight. Keep the setup stable and avoid frequent disturbance.
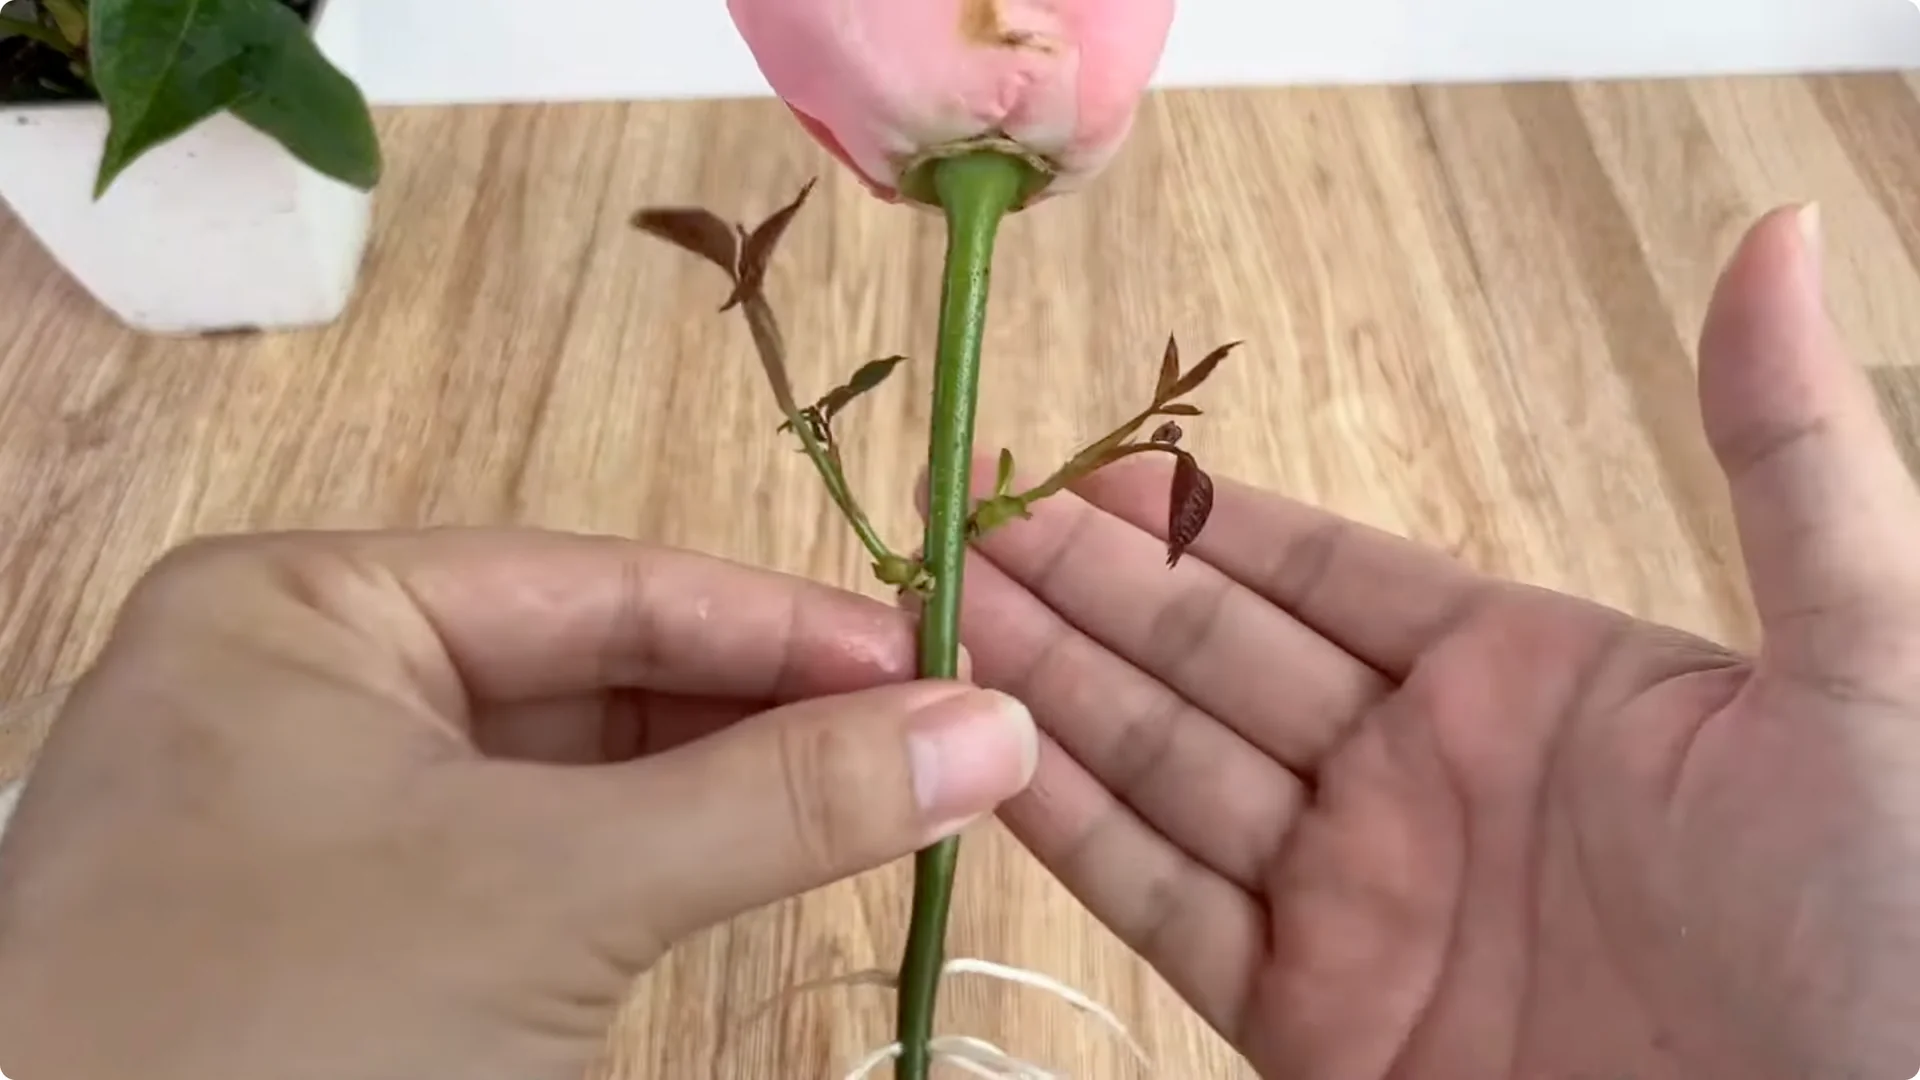
10. Rooting Rose Cuttings – Check Progress at Day 10
After 10 days, you will see a clear change. The rose branch begins to sprout fresh green shoots, proving that the root tissue is active and receiving nutrients well.
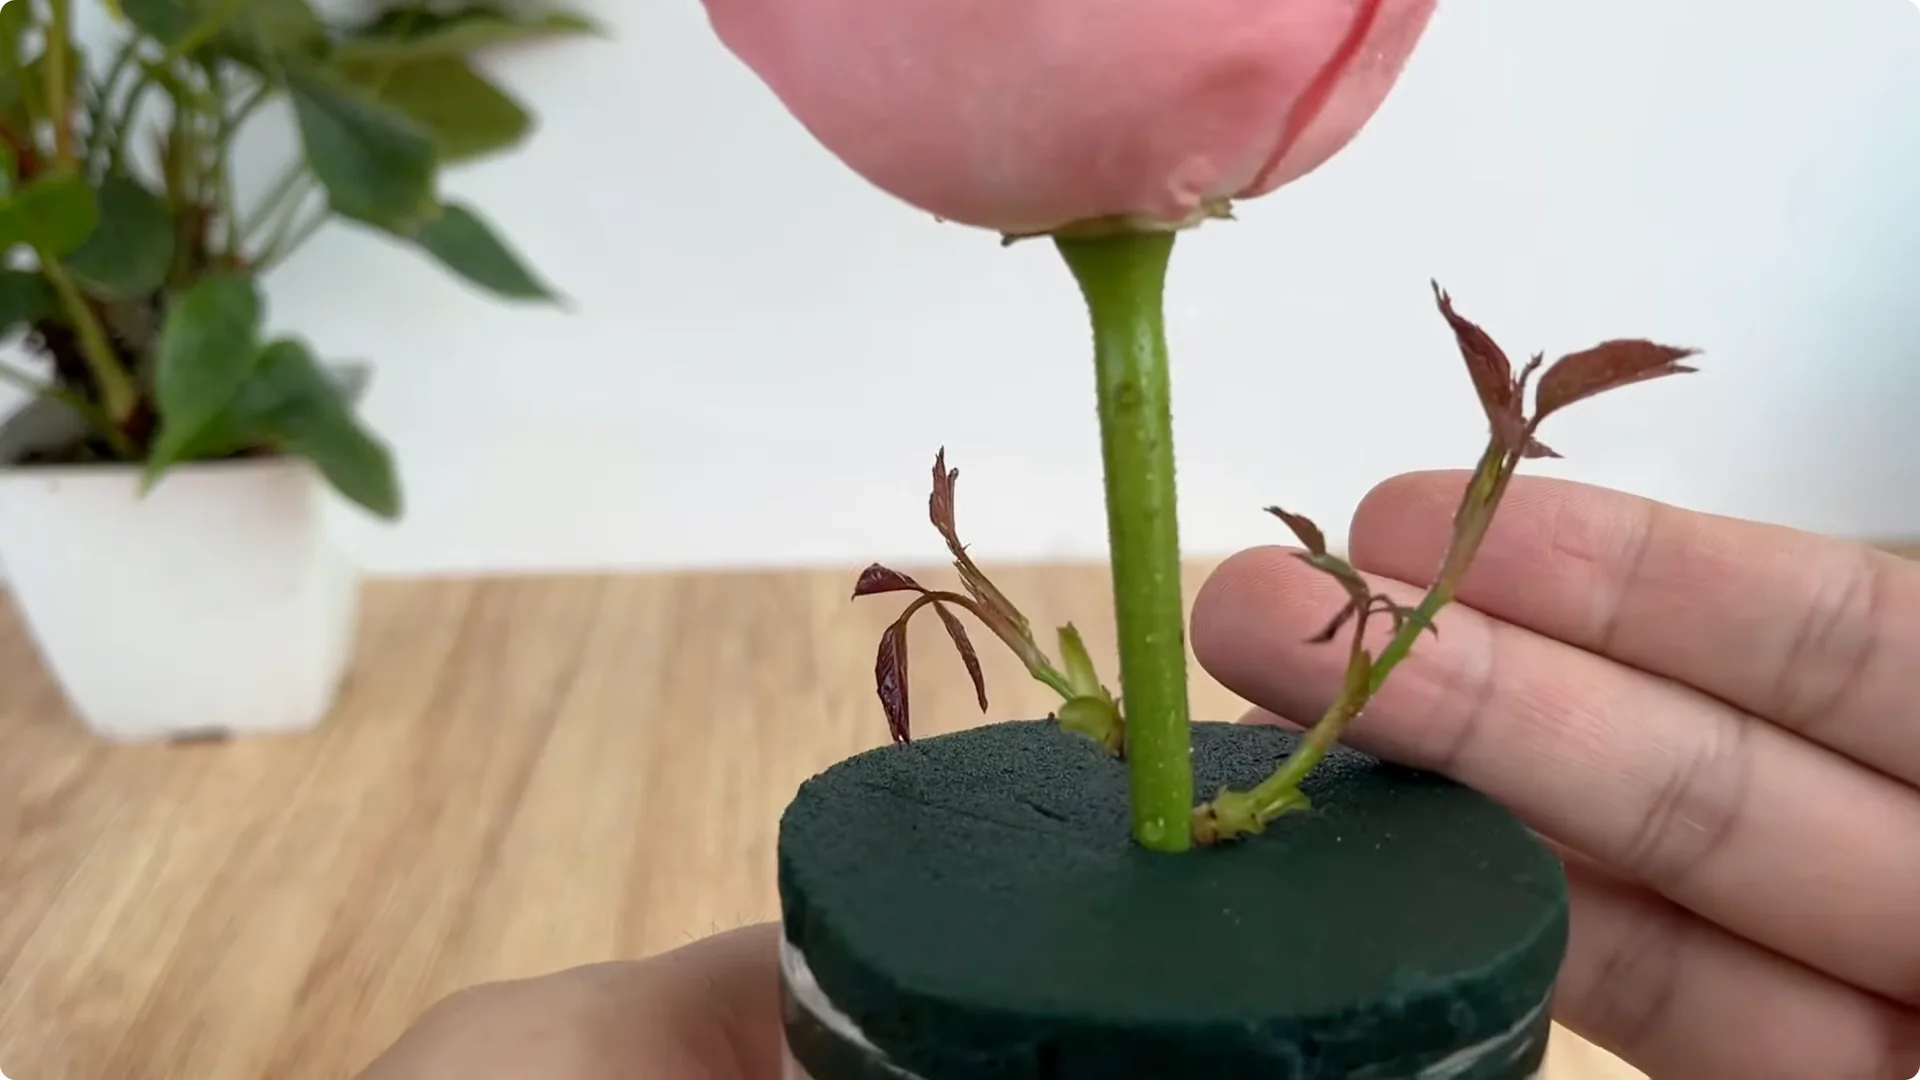
Around the base, many plump white roots will have formed, water-filled and healthy. This is a sign that the branch is completely ready to move to a new growing environment.
If you want to push sprouting even faster, see these root sprout overnight techniques.
11. Rooting Rose Cuttings – Potting Up
Gently put the branch into a pot with a good drainage system. Use treated river sand as a substrate so the roots can easily breathe and develop.
Keep the medium lightly moist and continue to protect the young plant from direct sun until growth is steady.
Final Thoughts
This method is simple and easy to do, makes use of familiar natural ingredients, and is safe and effective. Apply it step by step, and you can continue to propagate many healthy rose plants for your garden.