Wish you a happy and energetic day. Here is a simple and scientific method of stimulating rose roots, especially suitable for creating colorful flower pots in a small garden. You just need a few familiar kitchen ingredients and a little meticulousness to be successful.
This method prepares a natural source of nutrients to help flower branches form roots quickly and strongly. Each ingredient is easy to find, gentle on plants, and effective in the early stages of rooting.
The Beginner’s Rose Propagation Starter Kit 🌹
A simple printable PDF guide to help you root rose cuttings successfully.
Get The Guide →Read More: Rose Cuttings Root Bloom Fast
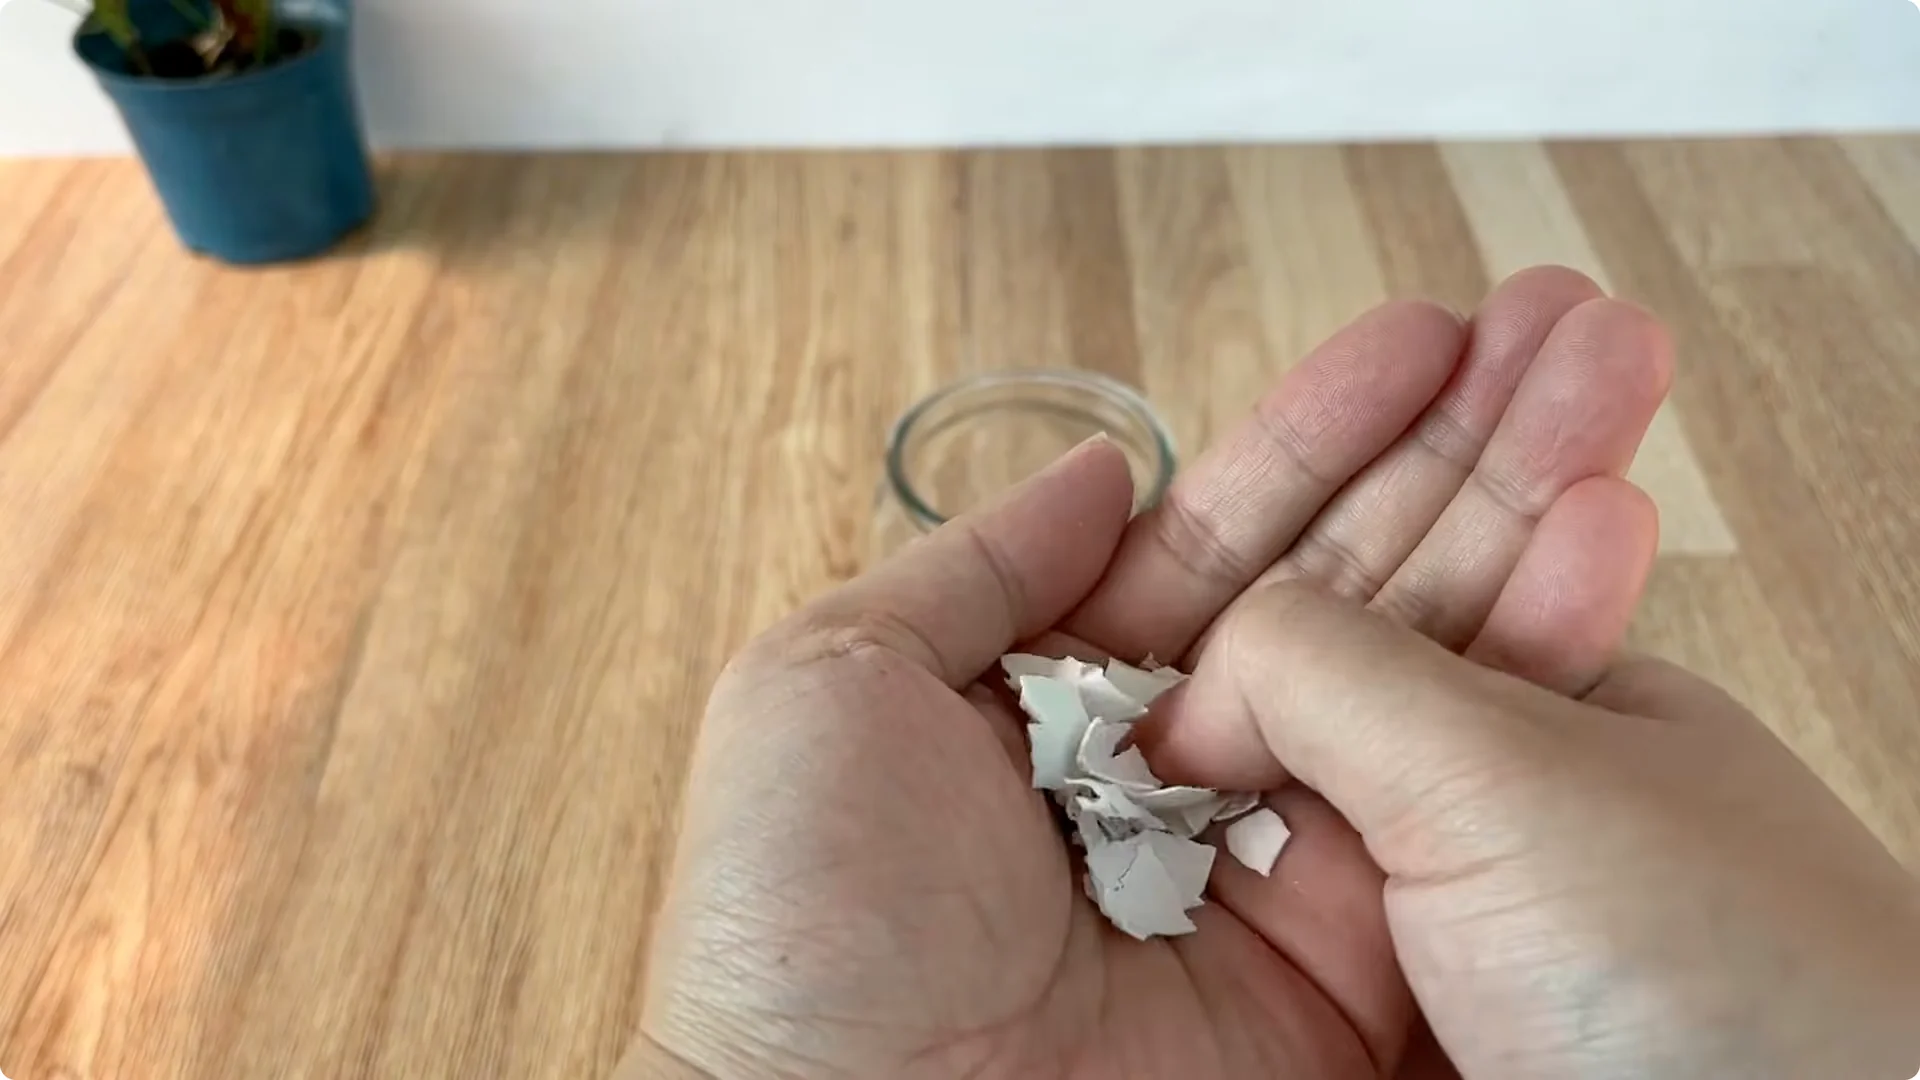
1. Prepare the nutrient base – Rose Cuttings Rooting Method
Take the shells of two chicken eggs, wash off the inner membrane, and dry them completely. Eggshells contain calcium carbonate with trace minerals such as magnesium and phosphorus. They help neutralize pH and provide a light mineral source to the base of the branches.
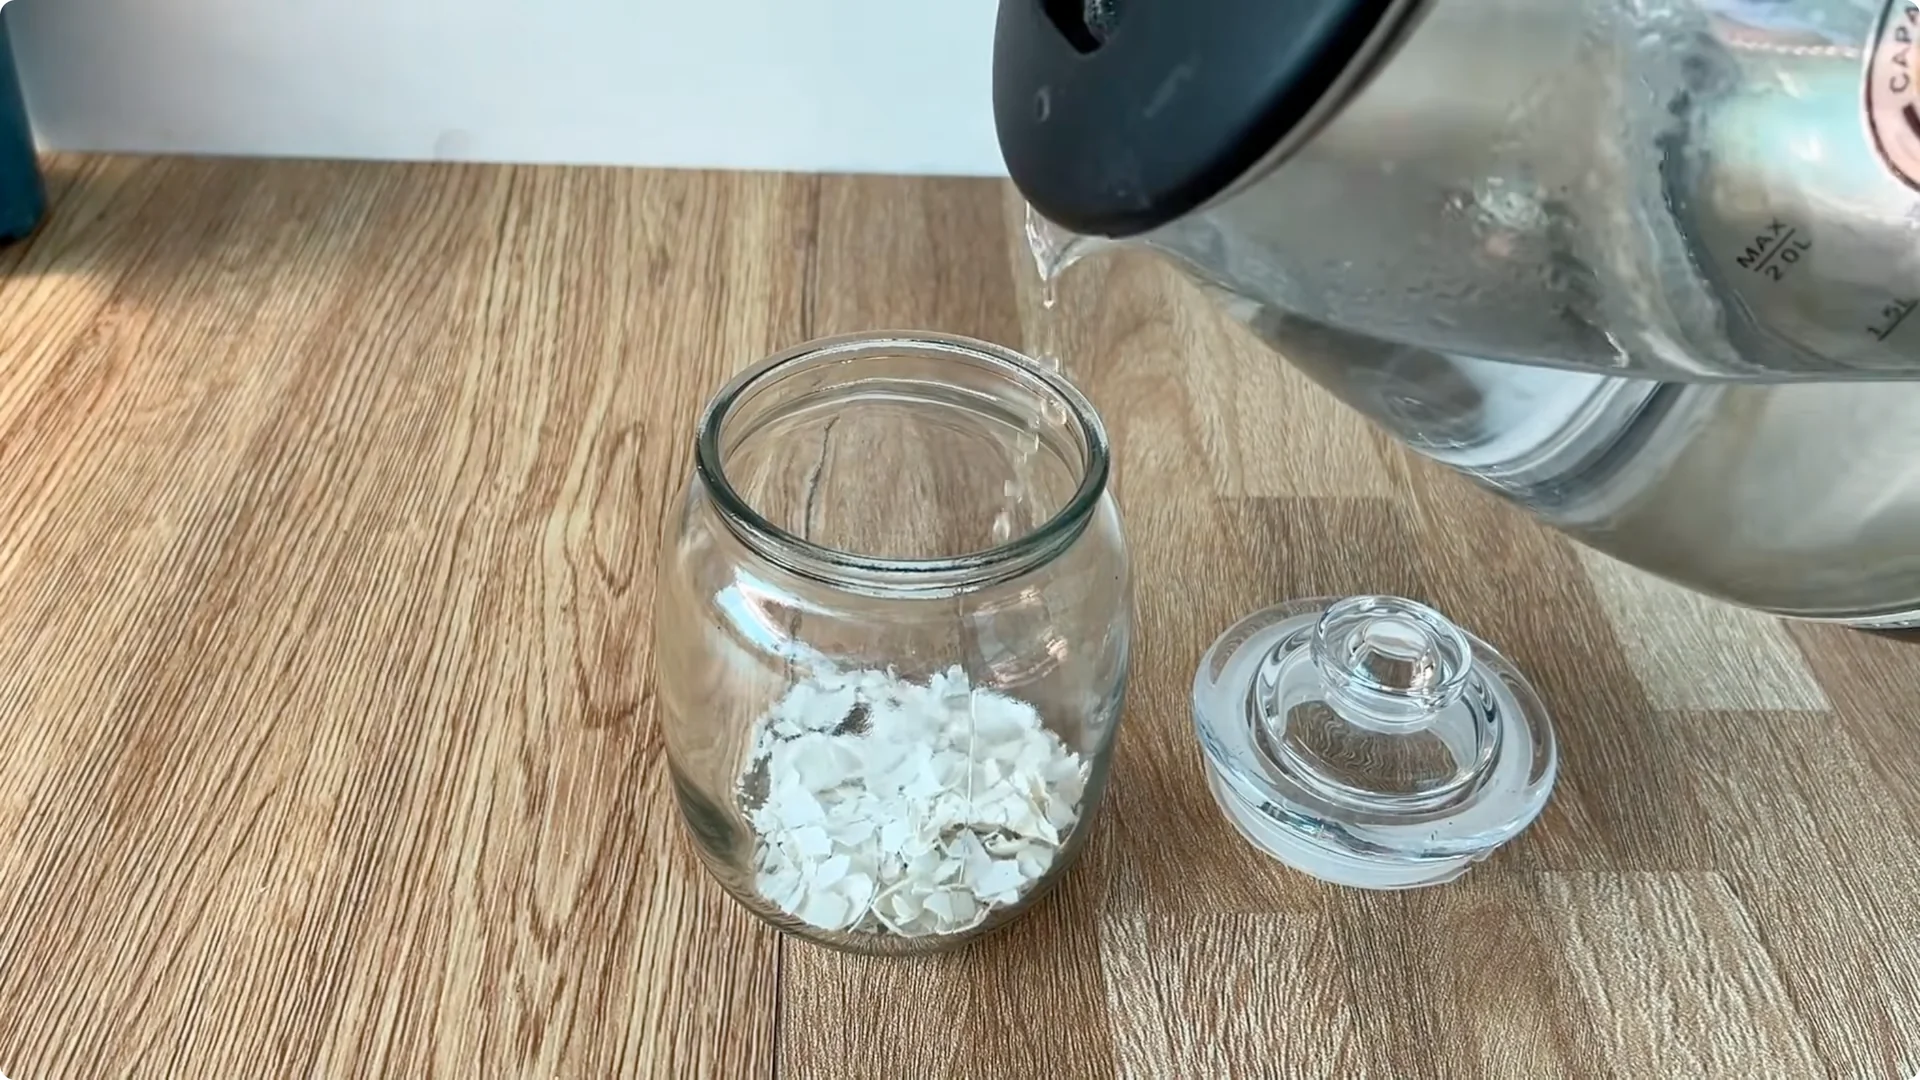
When the eggshells are dry, crush them and put them in a clean glass jar. Pour in 500 ml of boiling water, cover, and let it cool gradually. Boiling water extracts minerals better and completely disinfects the liquid you will use to soak the branches.
2. Prepare the cutting – Rose Cuttings Rooting Method
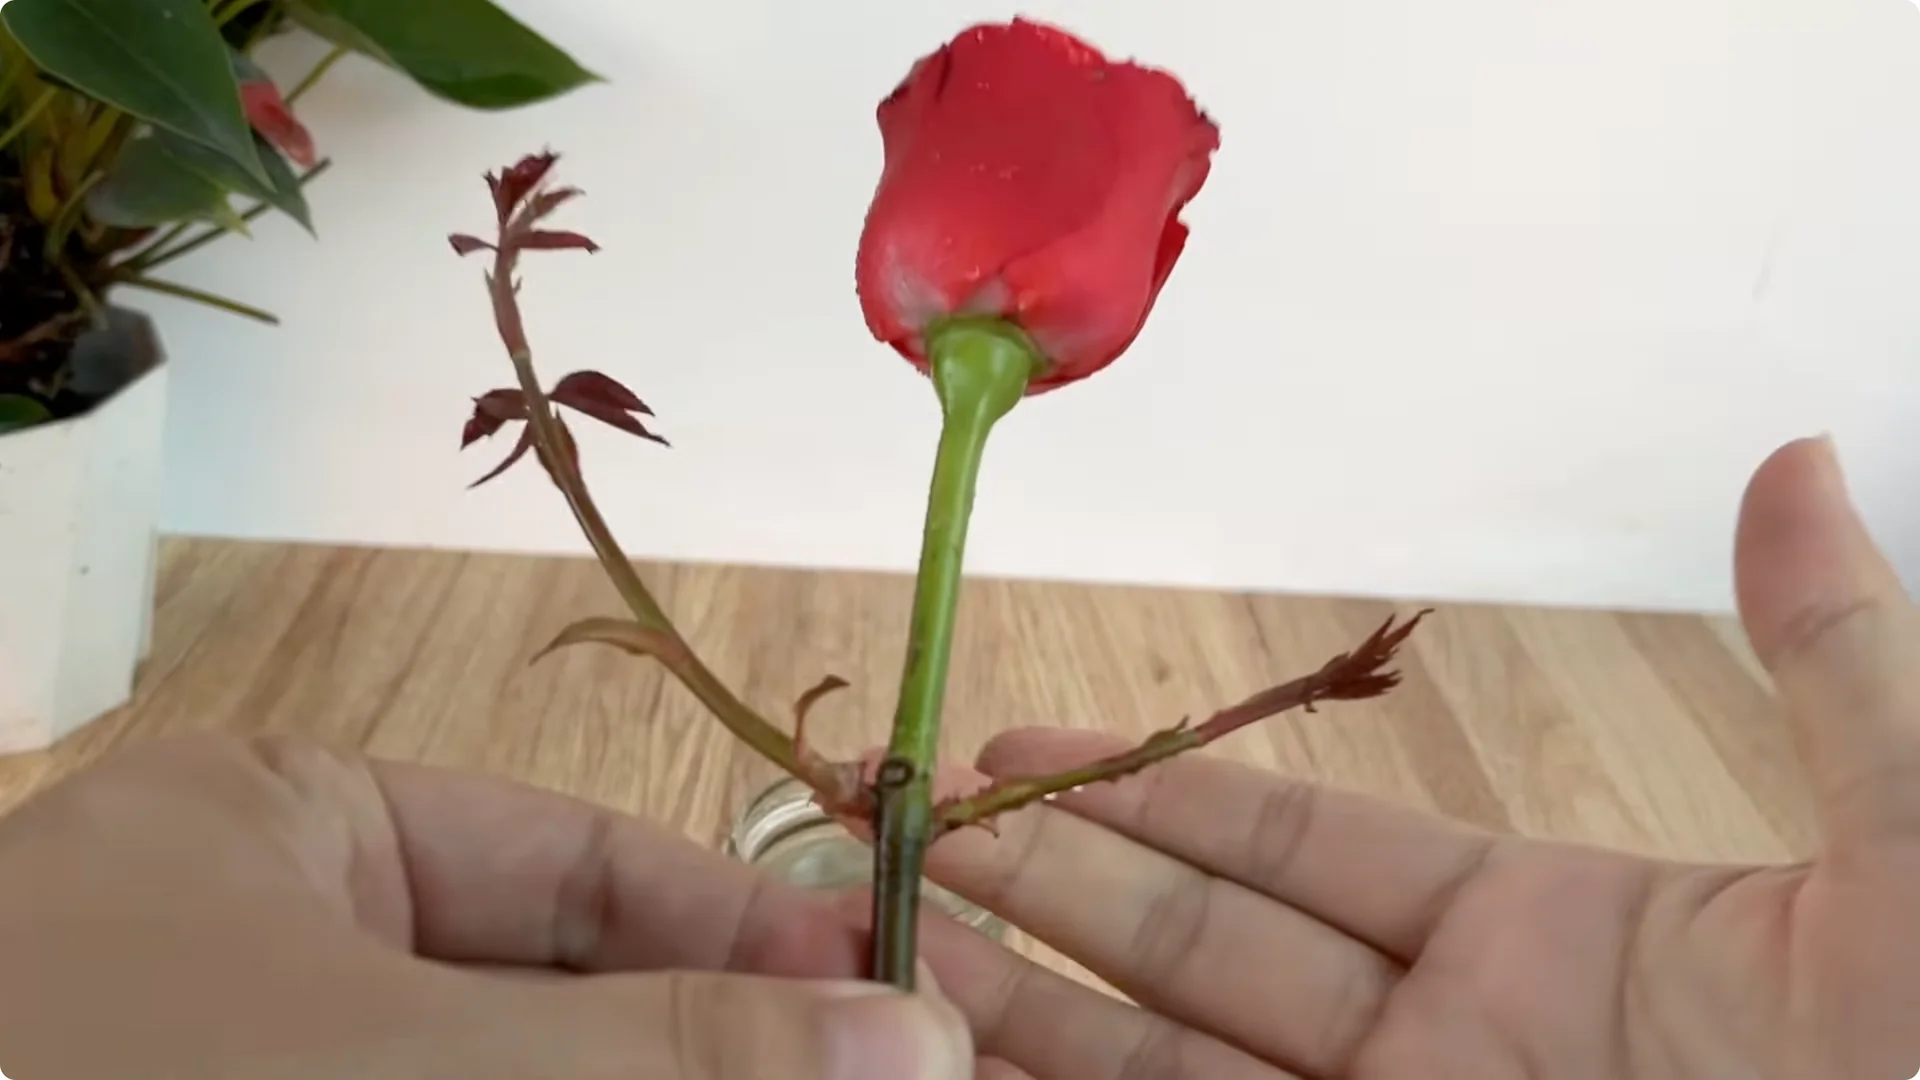
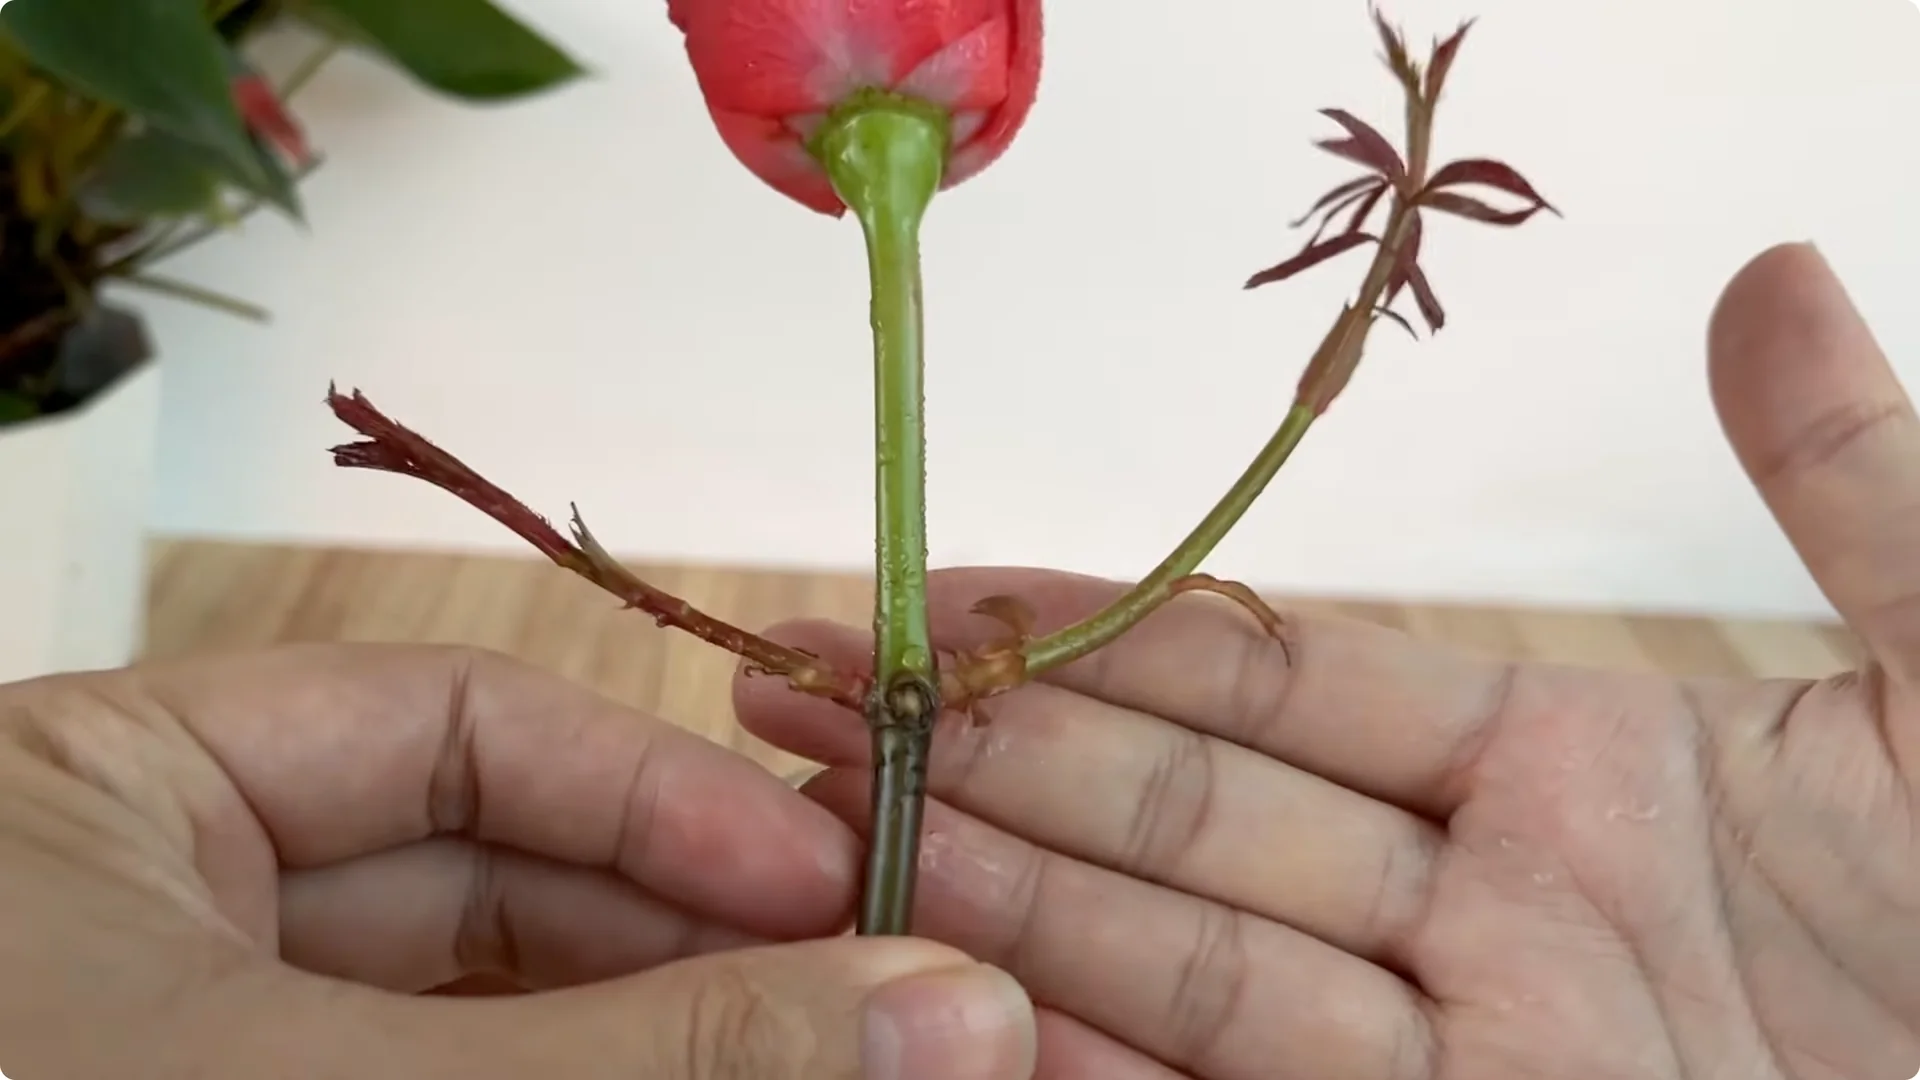
Choose a healthy rose branch, free of pests and diseases, with clear dormant buds. Shorten the branch to about 15 to 20 cm. This length prevents excessive water loss while keeping enough stored nutrients.
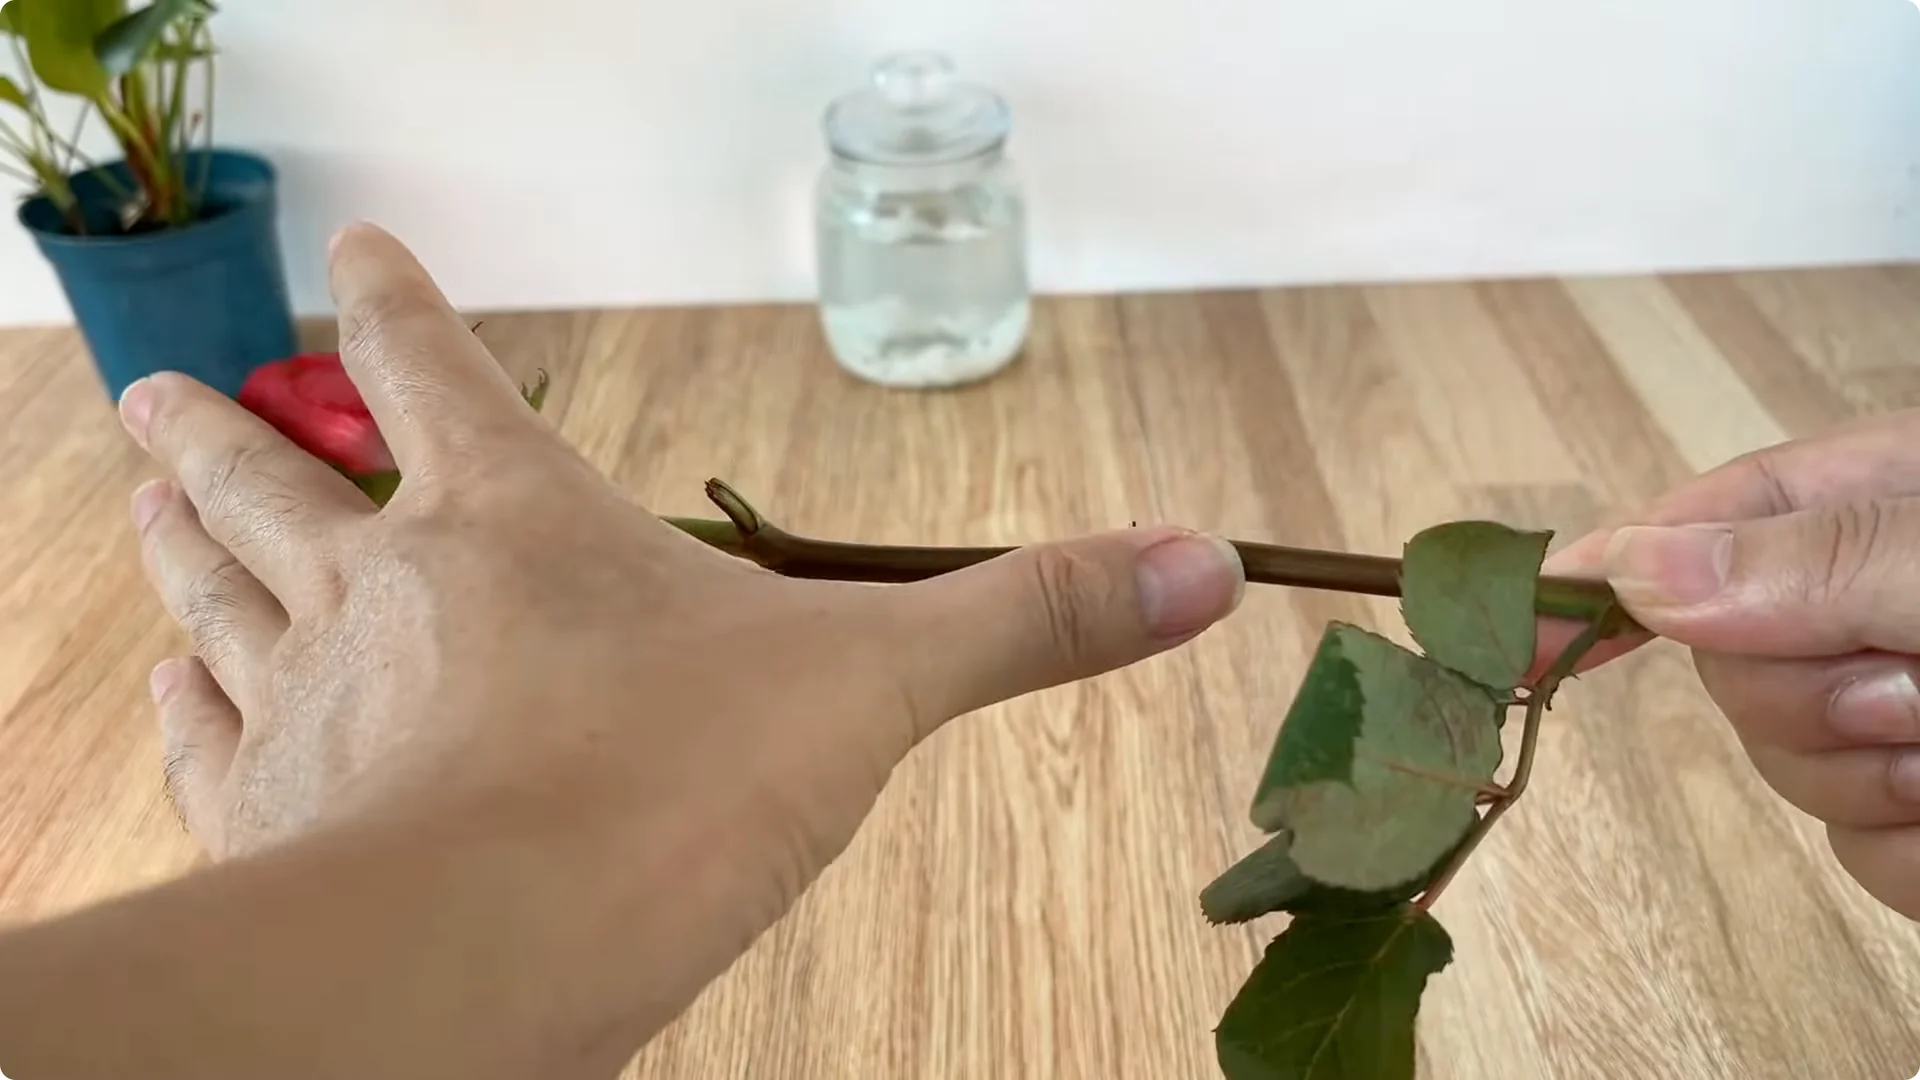
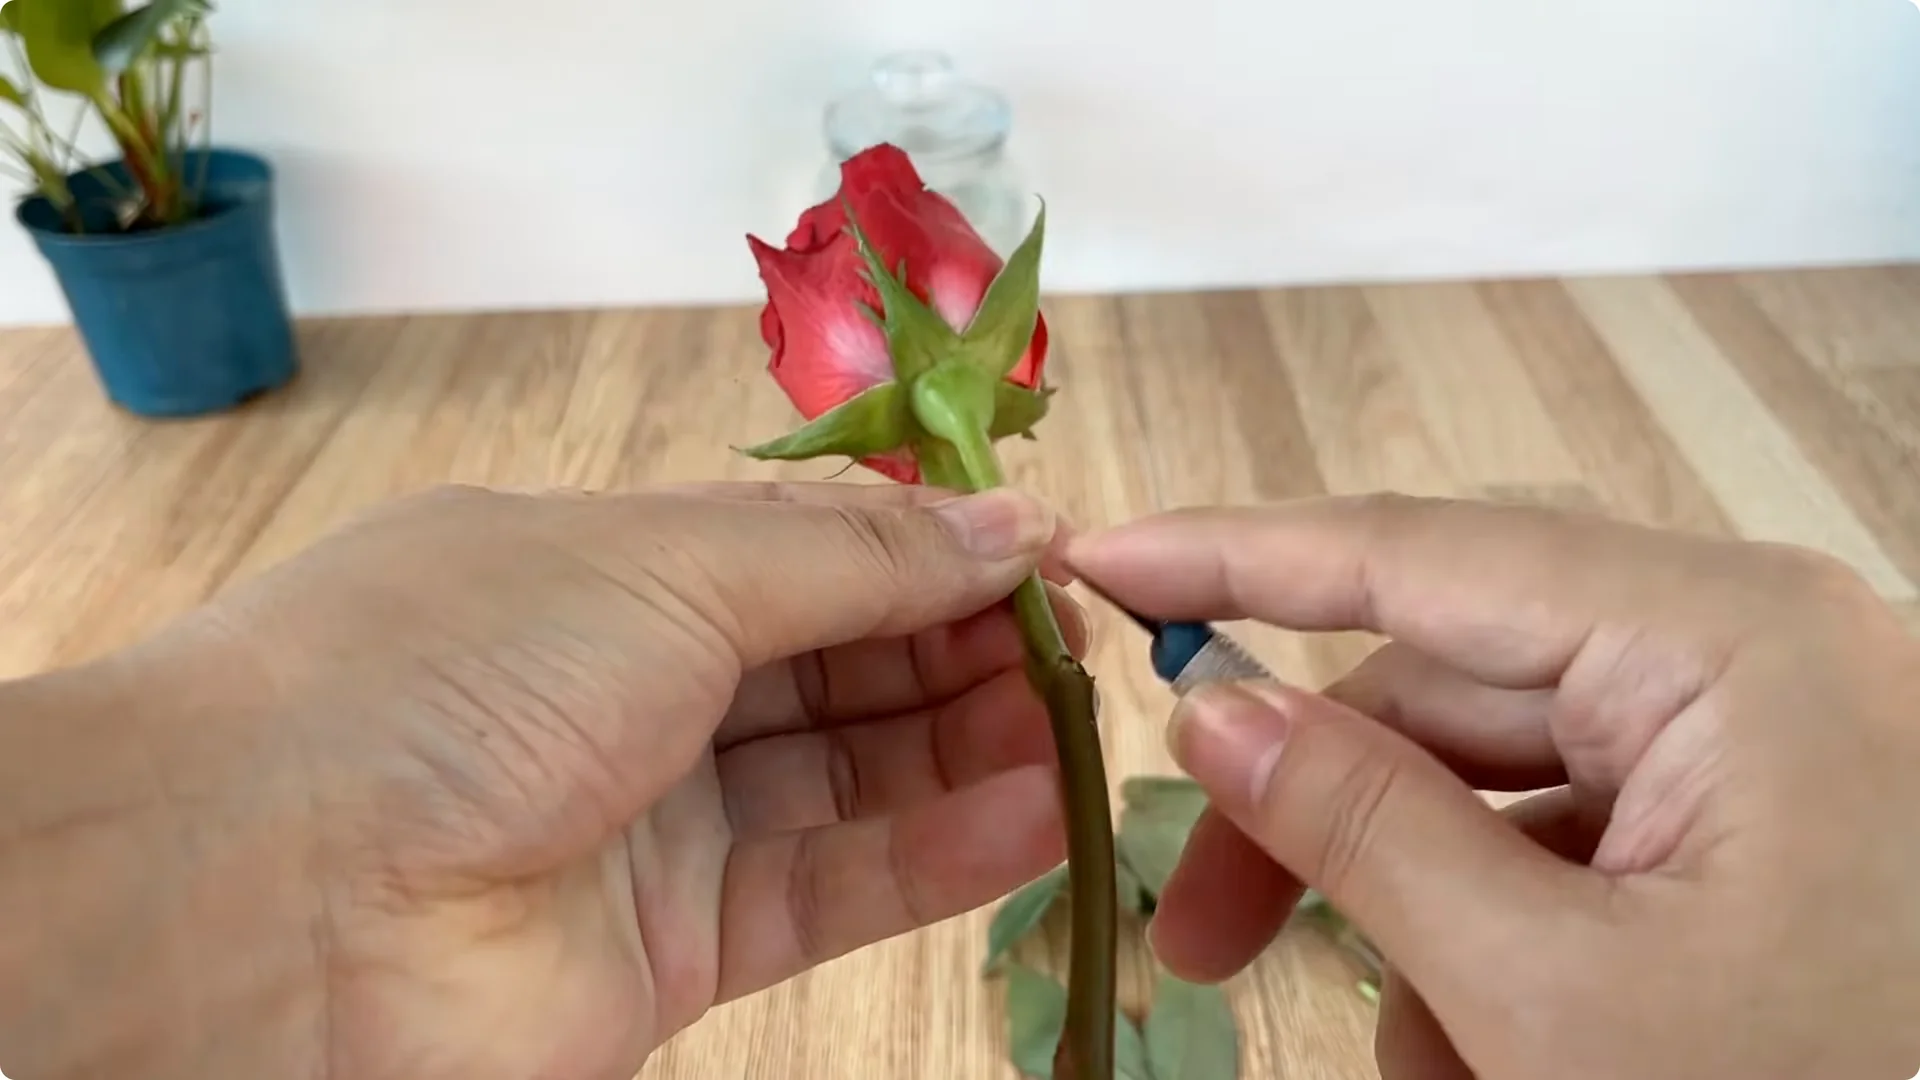
Remove all leaves and sharp thorns along the stem. This reduces water evaporation and limits fungal issues on fresh cuts.
3. Garlic protection – Rose Cuttings Rooting Method
Prepare garlic for its strong antibacterial properties. It is rich in allicin that protects cuts and stimulates scar tissue formation quickly.
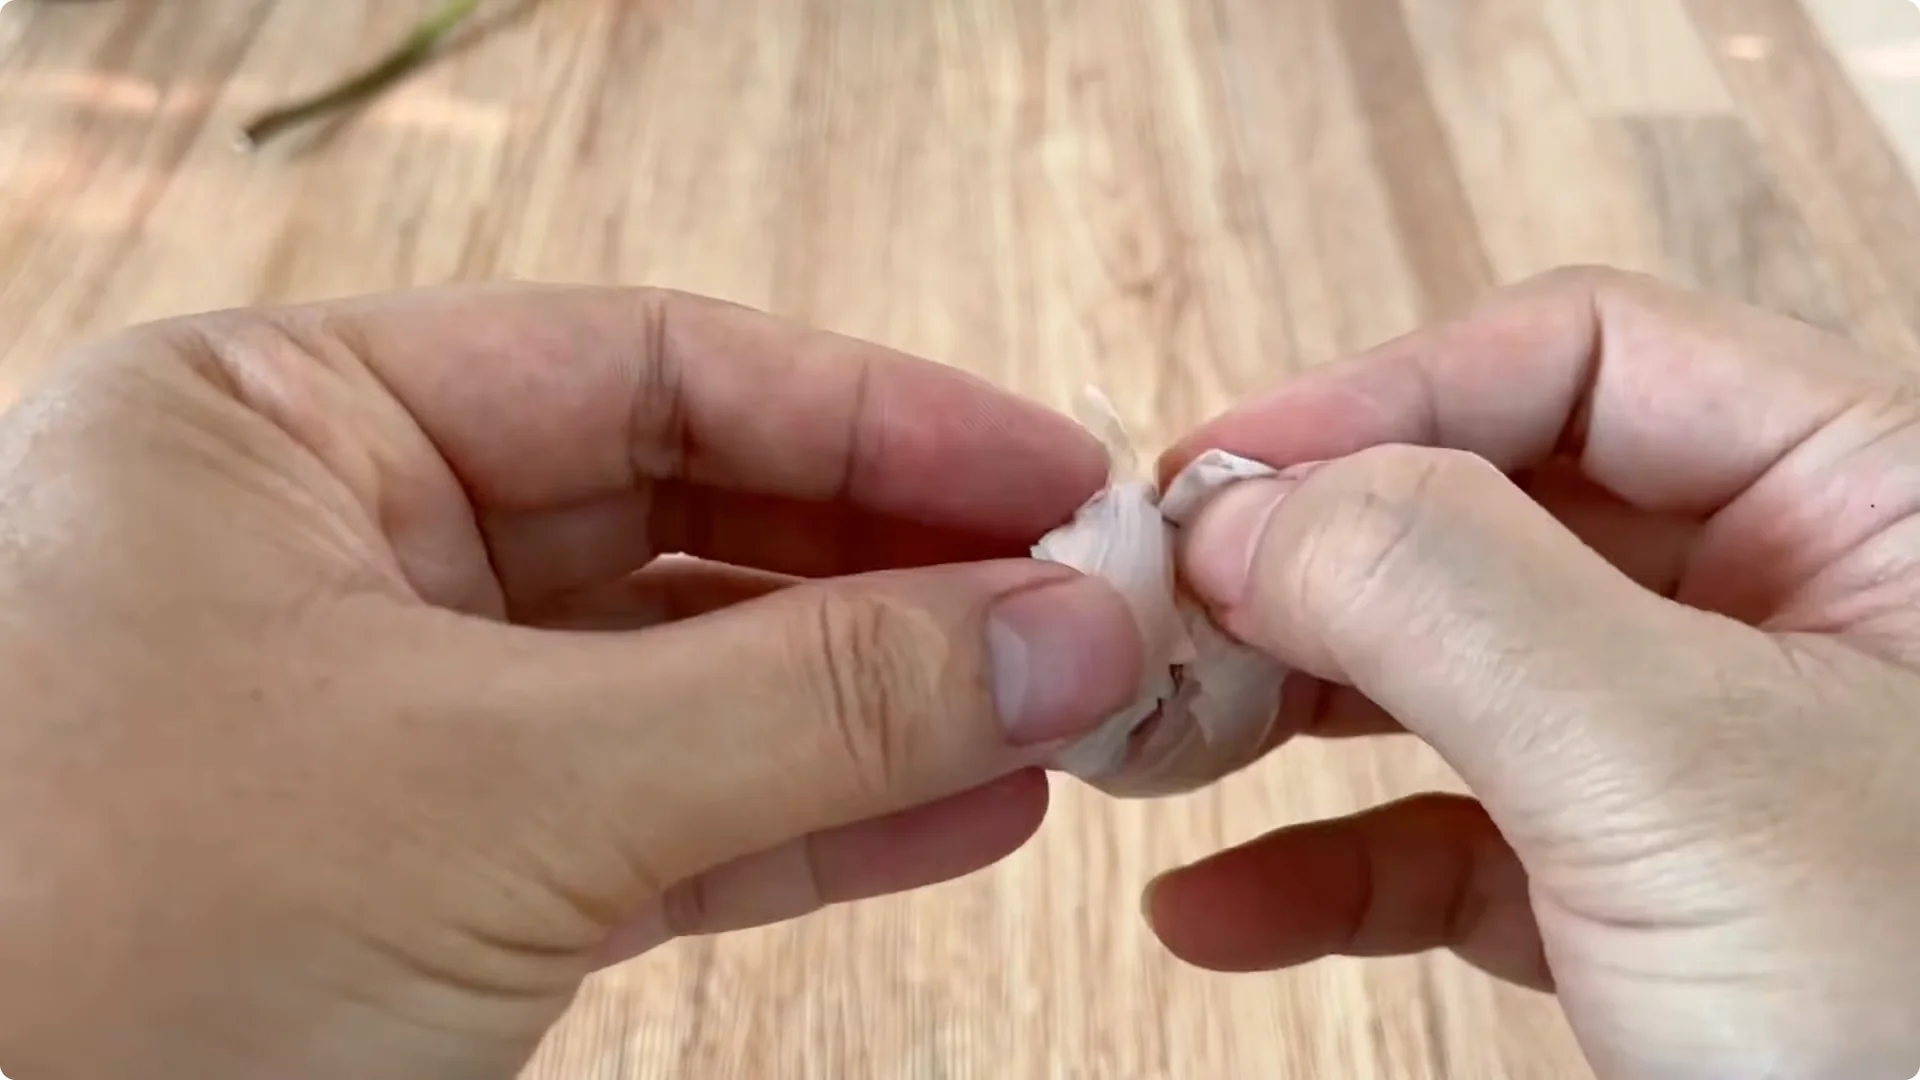
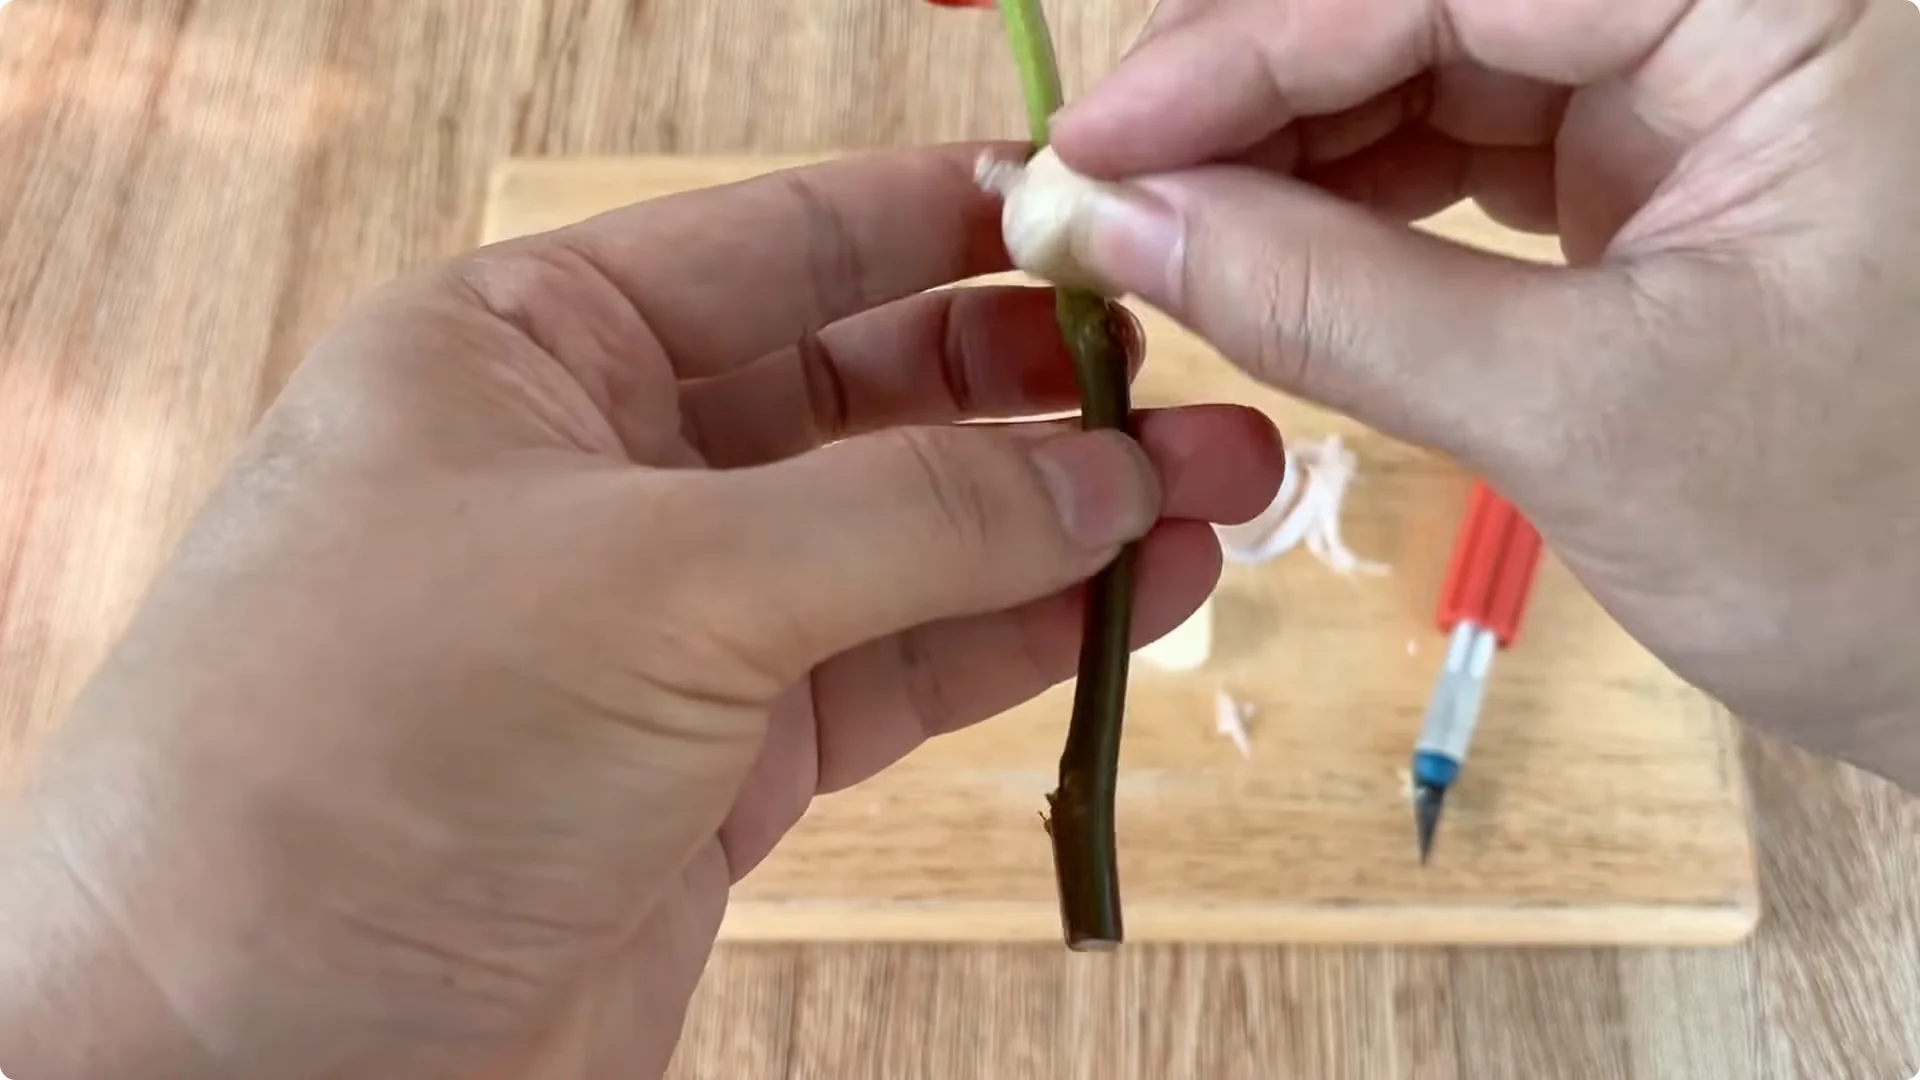
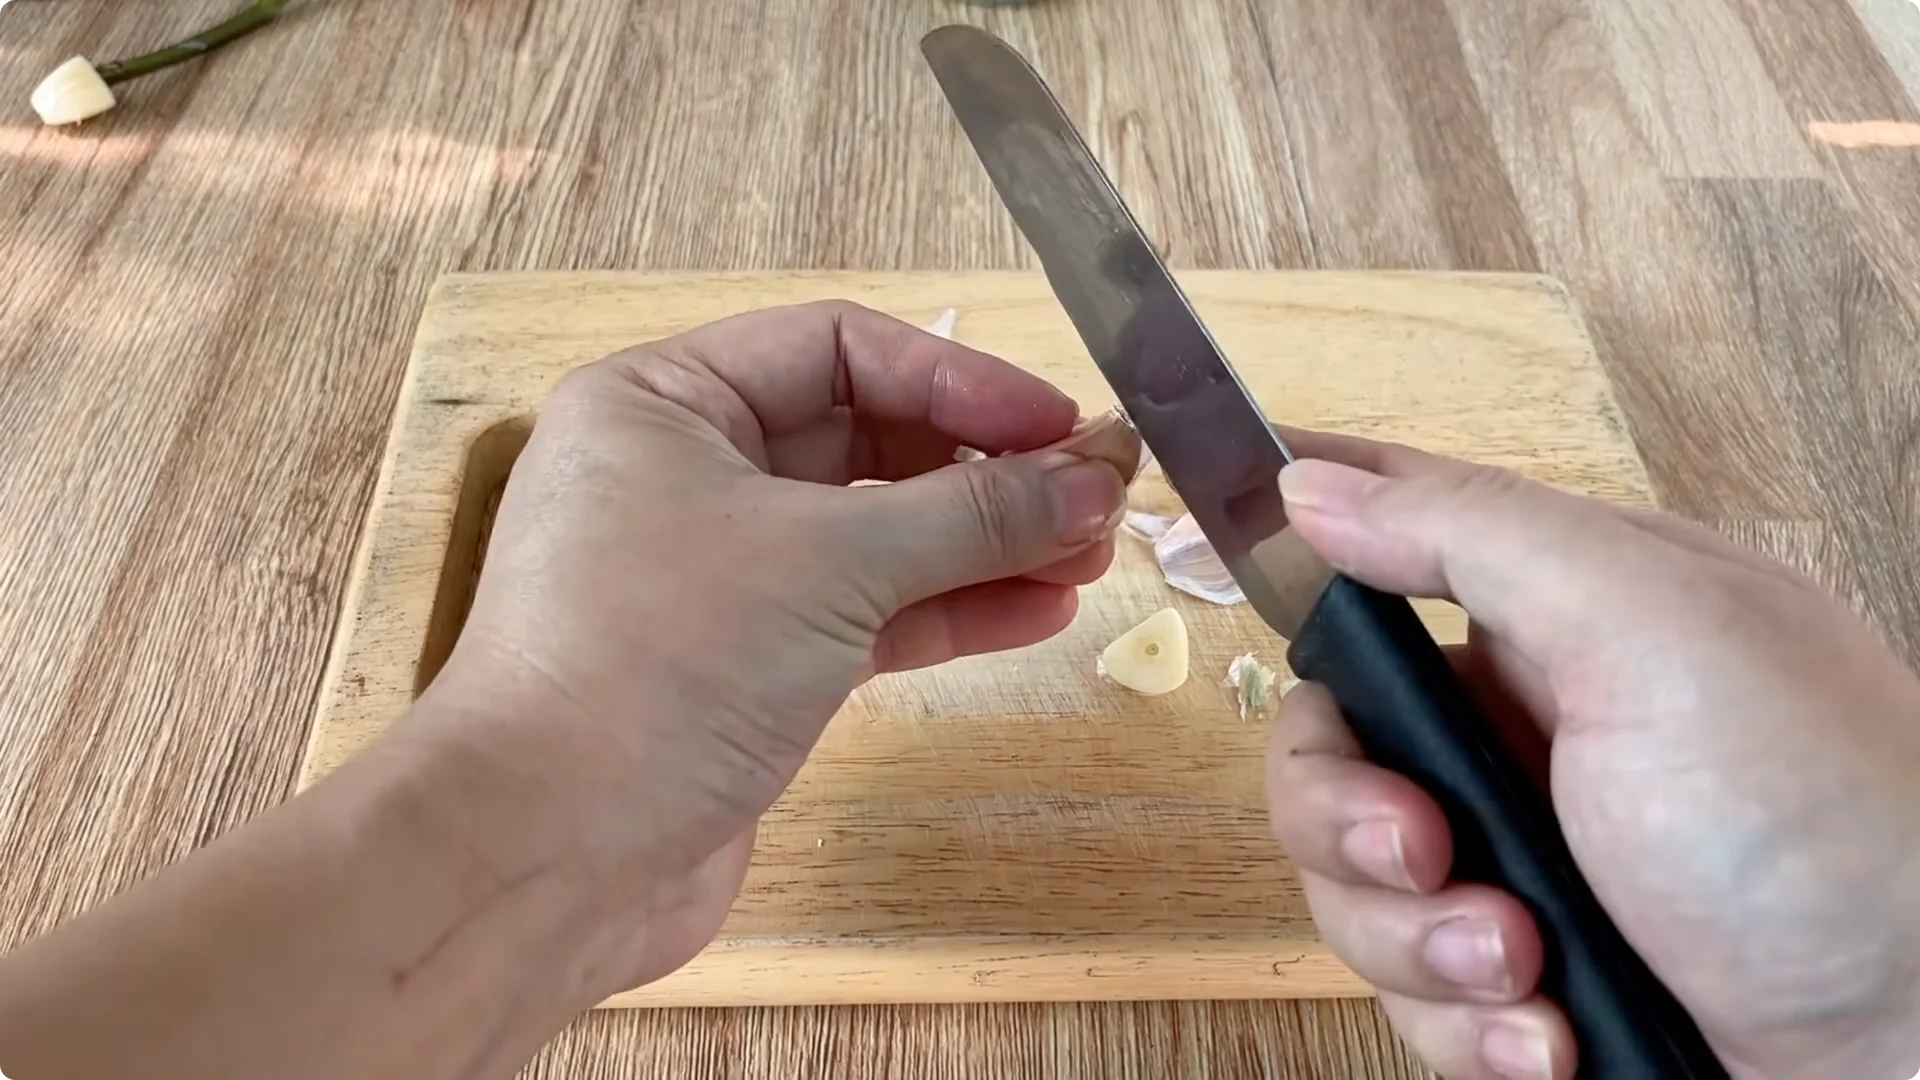
Take 2 cloves of garlic. Peel one clove and trim the tip to create a flat surface, then make a small hole in the middle sized to the rose stem. Rub the whole stem with the garlic, especially the cut areas, then insert the branch into the middle of the clove and leave it for 30 minutes so the active ingredients can penetrate the root tissue.
Peel the remaining garlic clove, cut it into small pieces, and put it in the jar with the gradually cooling eggshell solution. Garlic adds natural antibiotics to keep the solution clean and reduce bacteria that cause root rot during soaking.
Read More: Simple Trick Rose Cuttings Root Bloom
4. Potato peel booster – Rose Cuttings Rooting Method
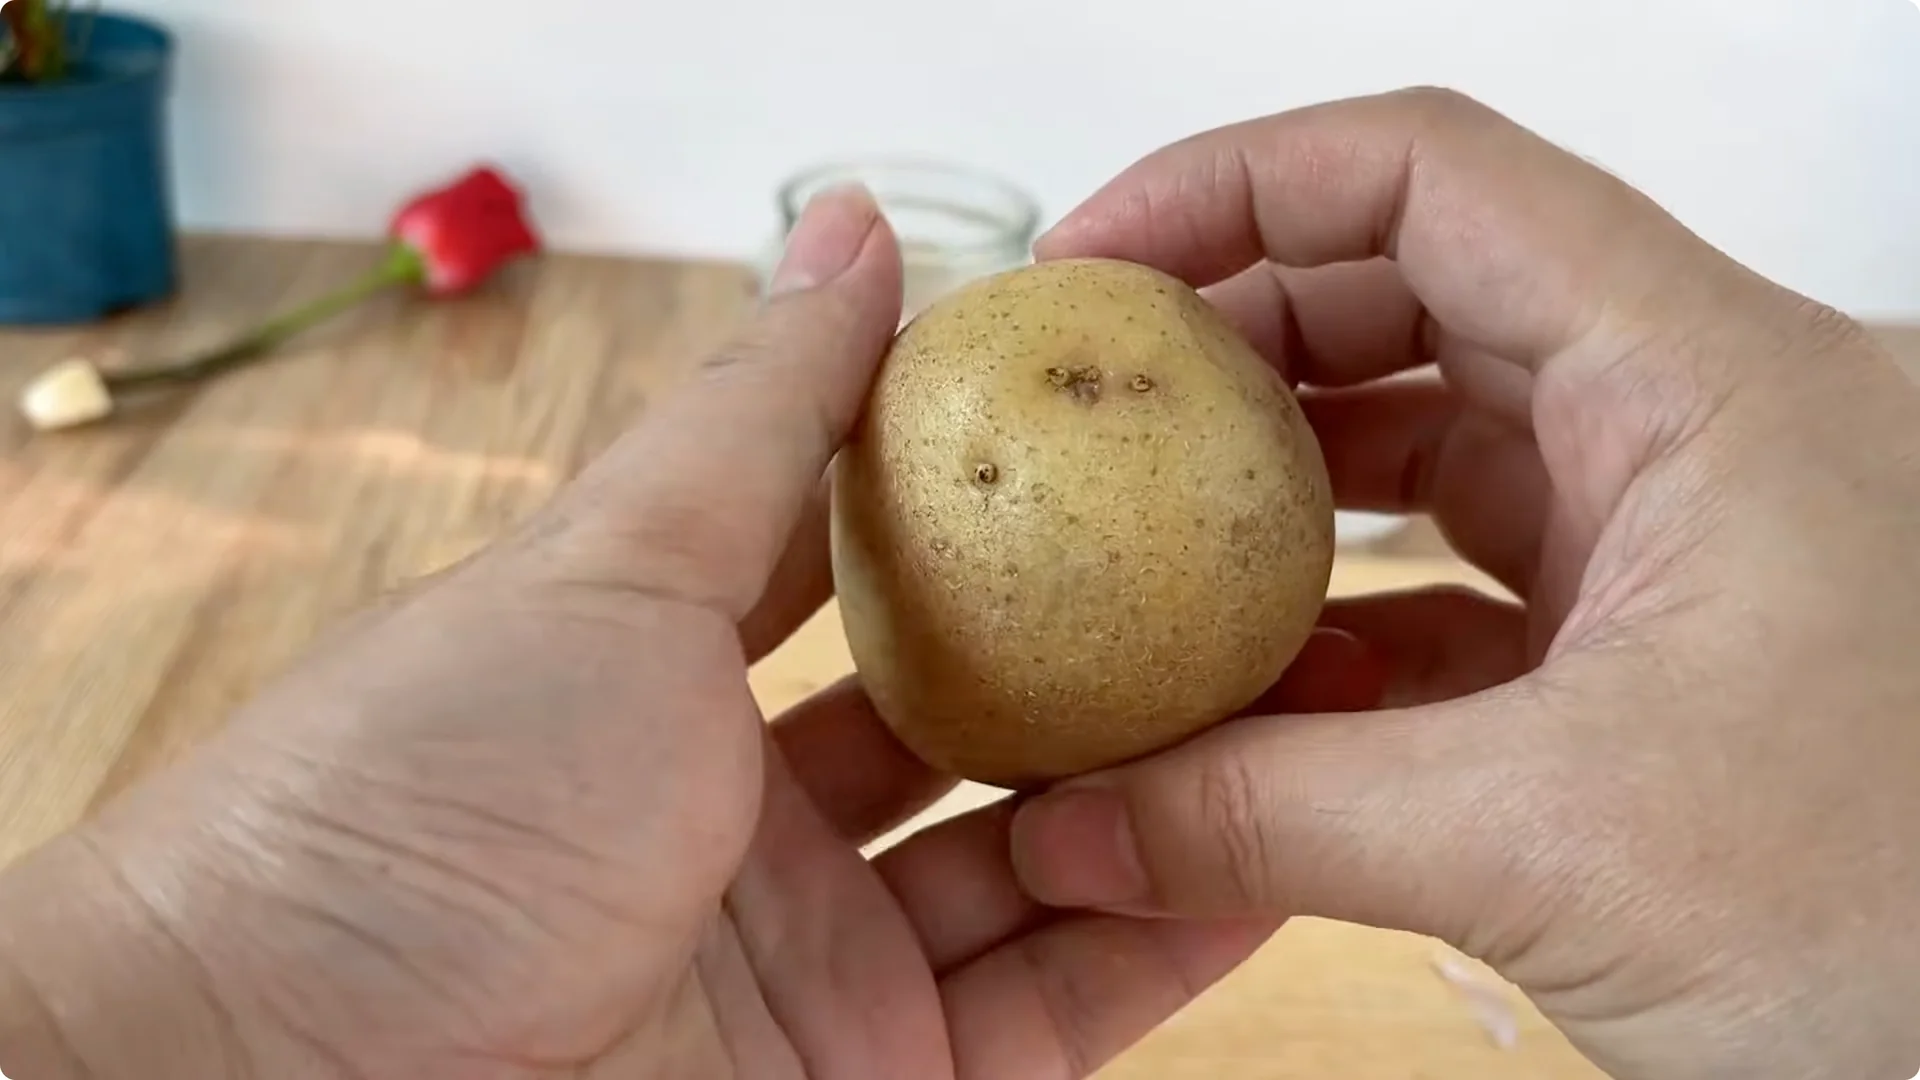
Prepare a potato, wash it, and peel it. Potato peels contain starch, vitamin C, and compounds that provide energy for the branch during early root formation.
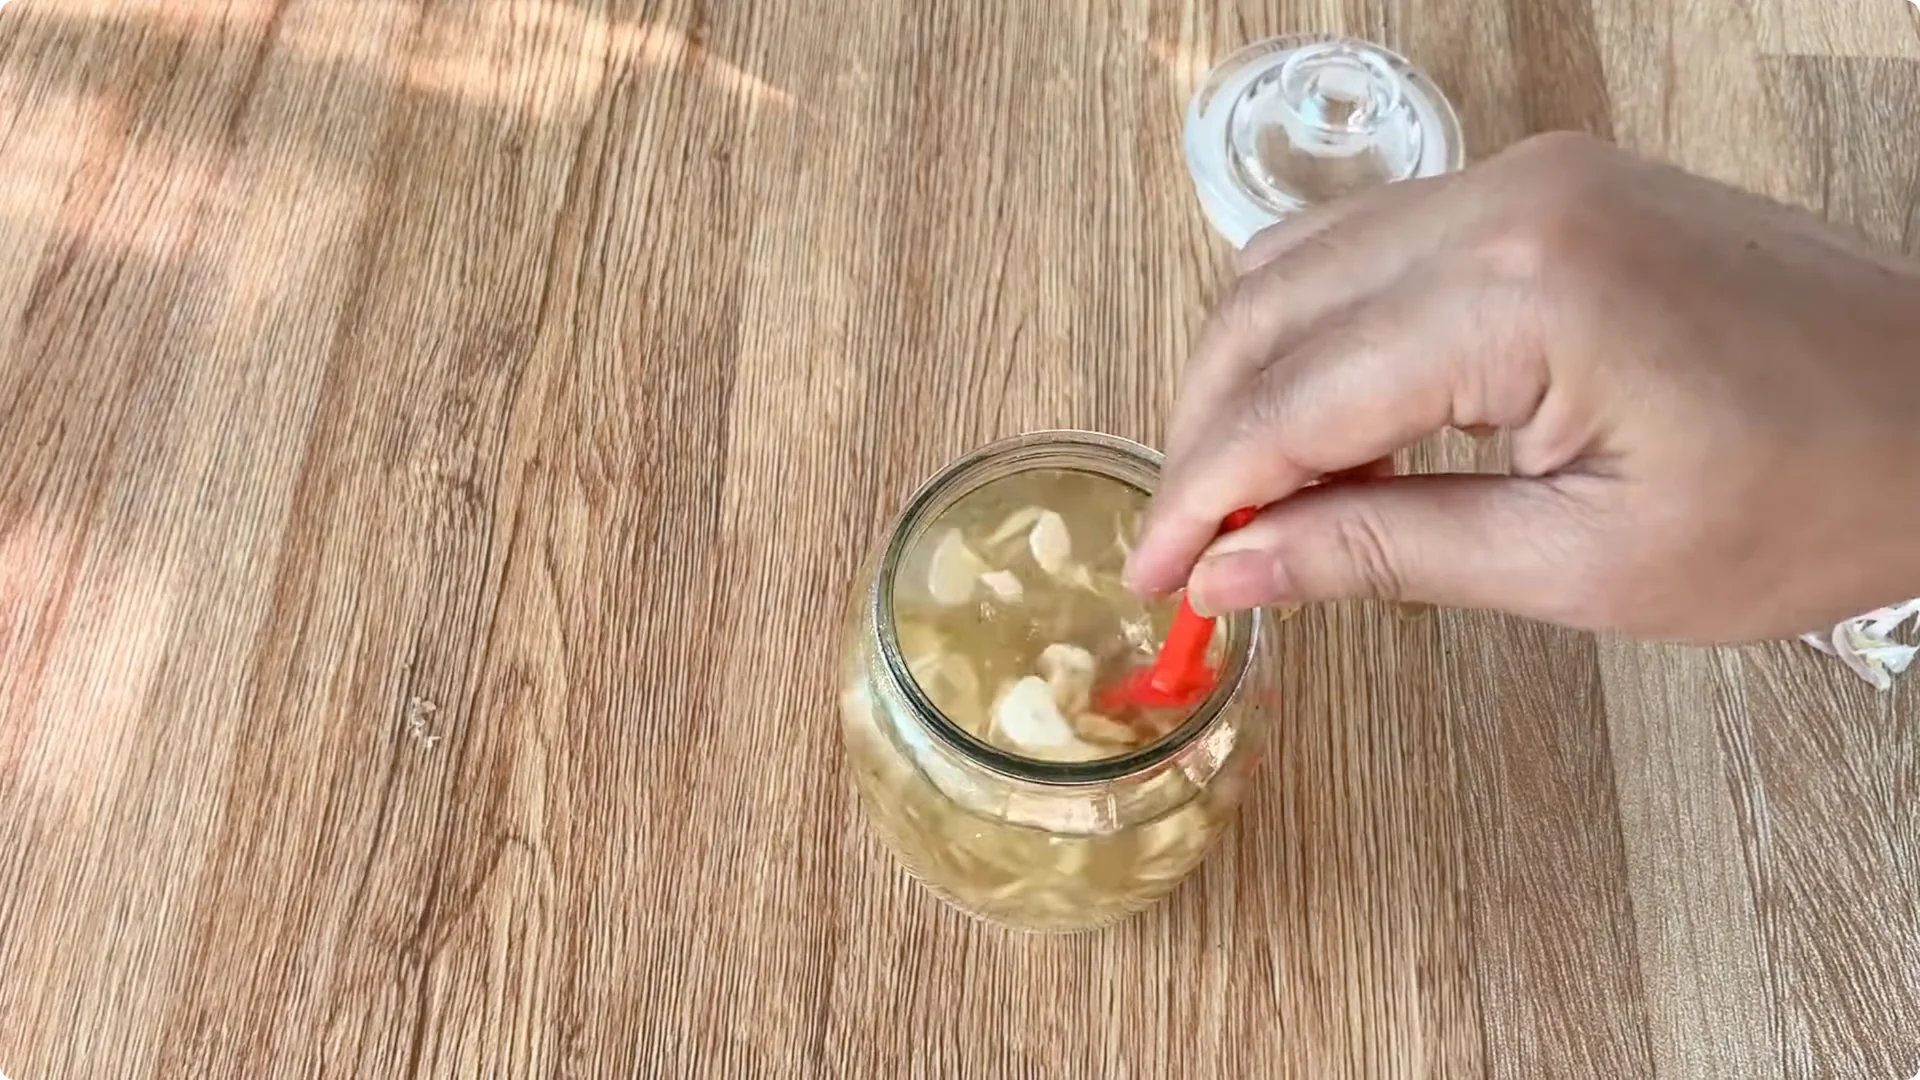
Chop the peels and add them to the eggshell-garlic jar. Stir the mixture well and let it sit for 30 minutes to dissolve nutrients.
5. Assemble the setup – Rose Cuttings Rooting Method
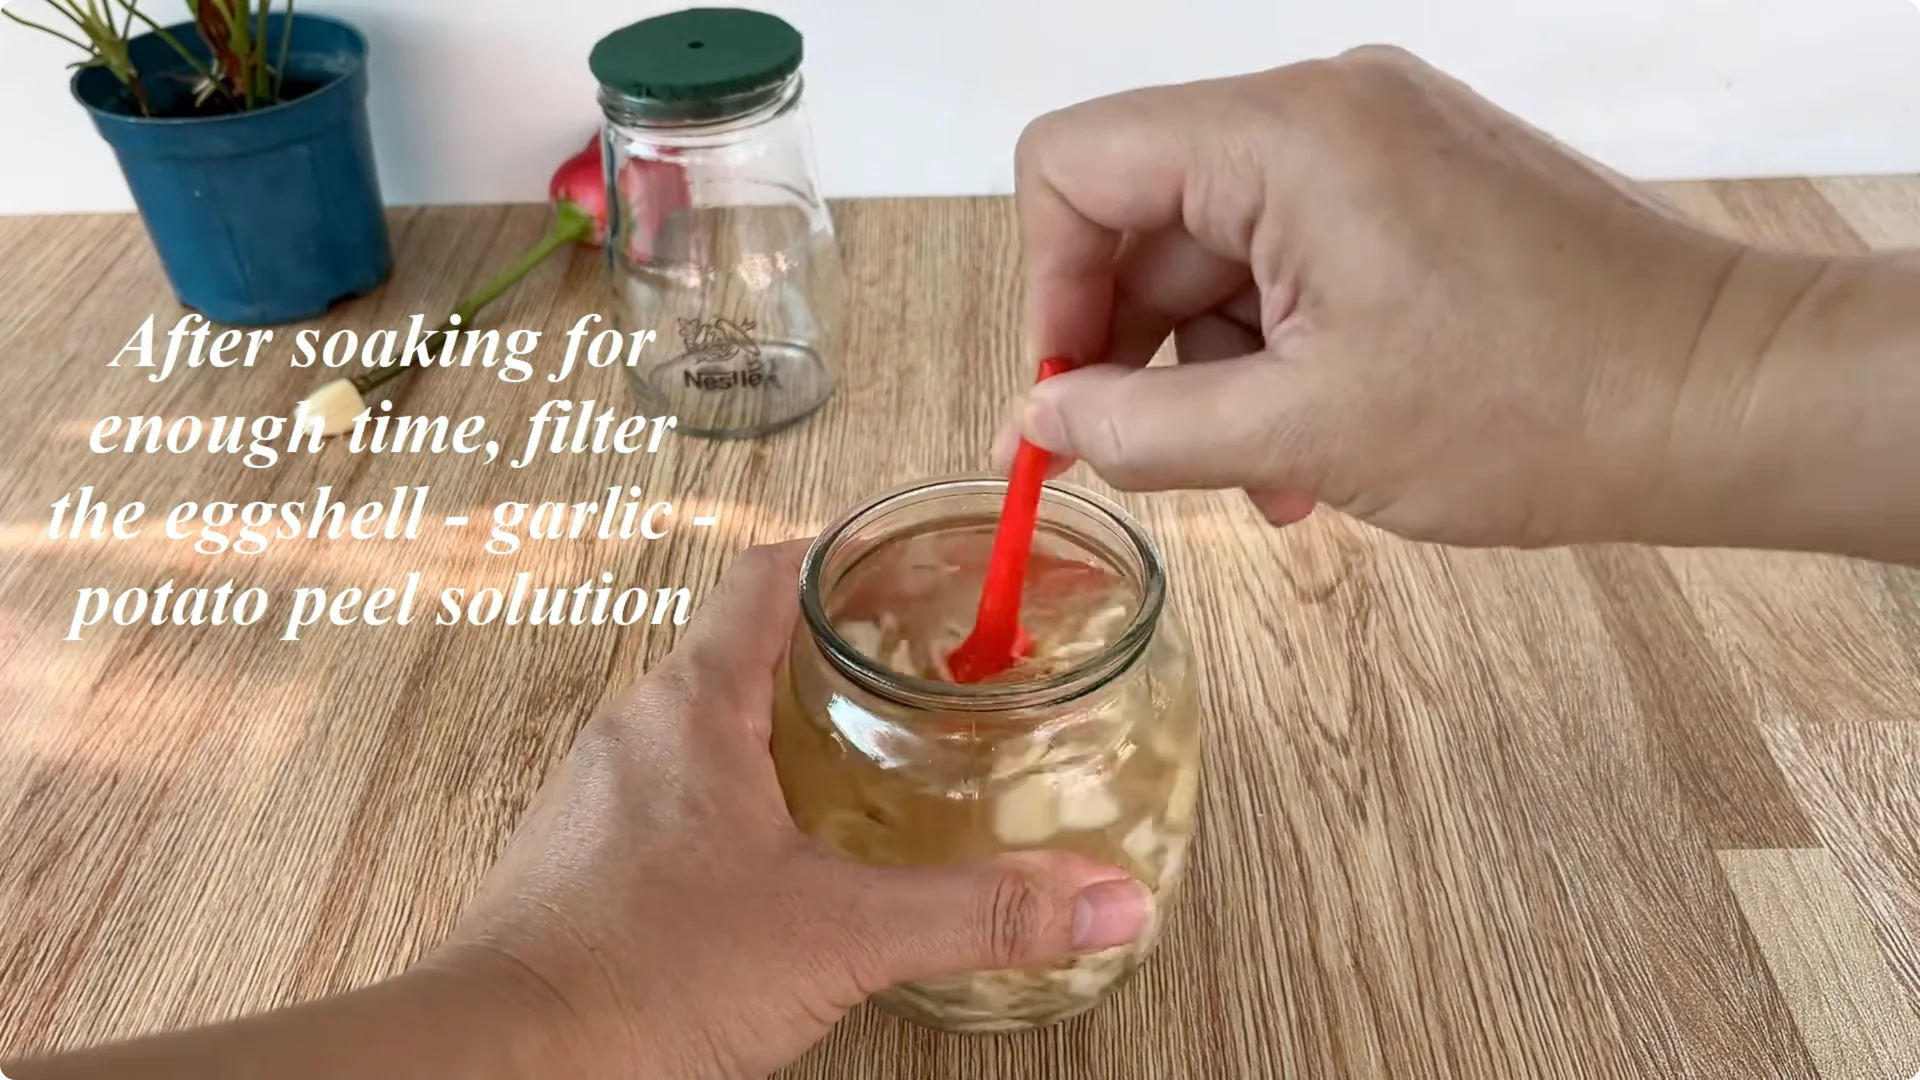
Filter and dilute – Rose Cuttings Rooting Method
Filter the mixture of eggshells – garlic – potato peels to get a clear solution. Dilute with 0.5 liters of water to make it light for long-term soaking without causing nutritional shock. Pour this solution into a small prepared glass jar.
Fix and position – Rose Cuttings Rooting Method
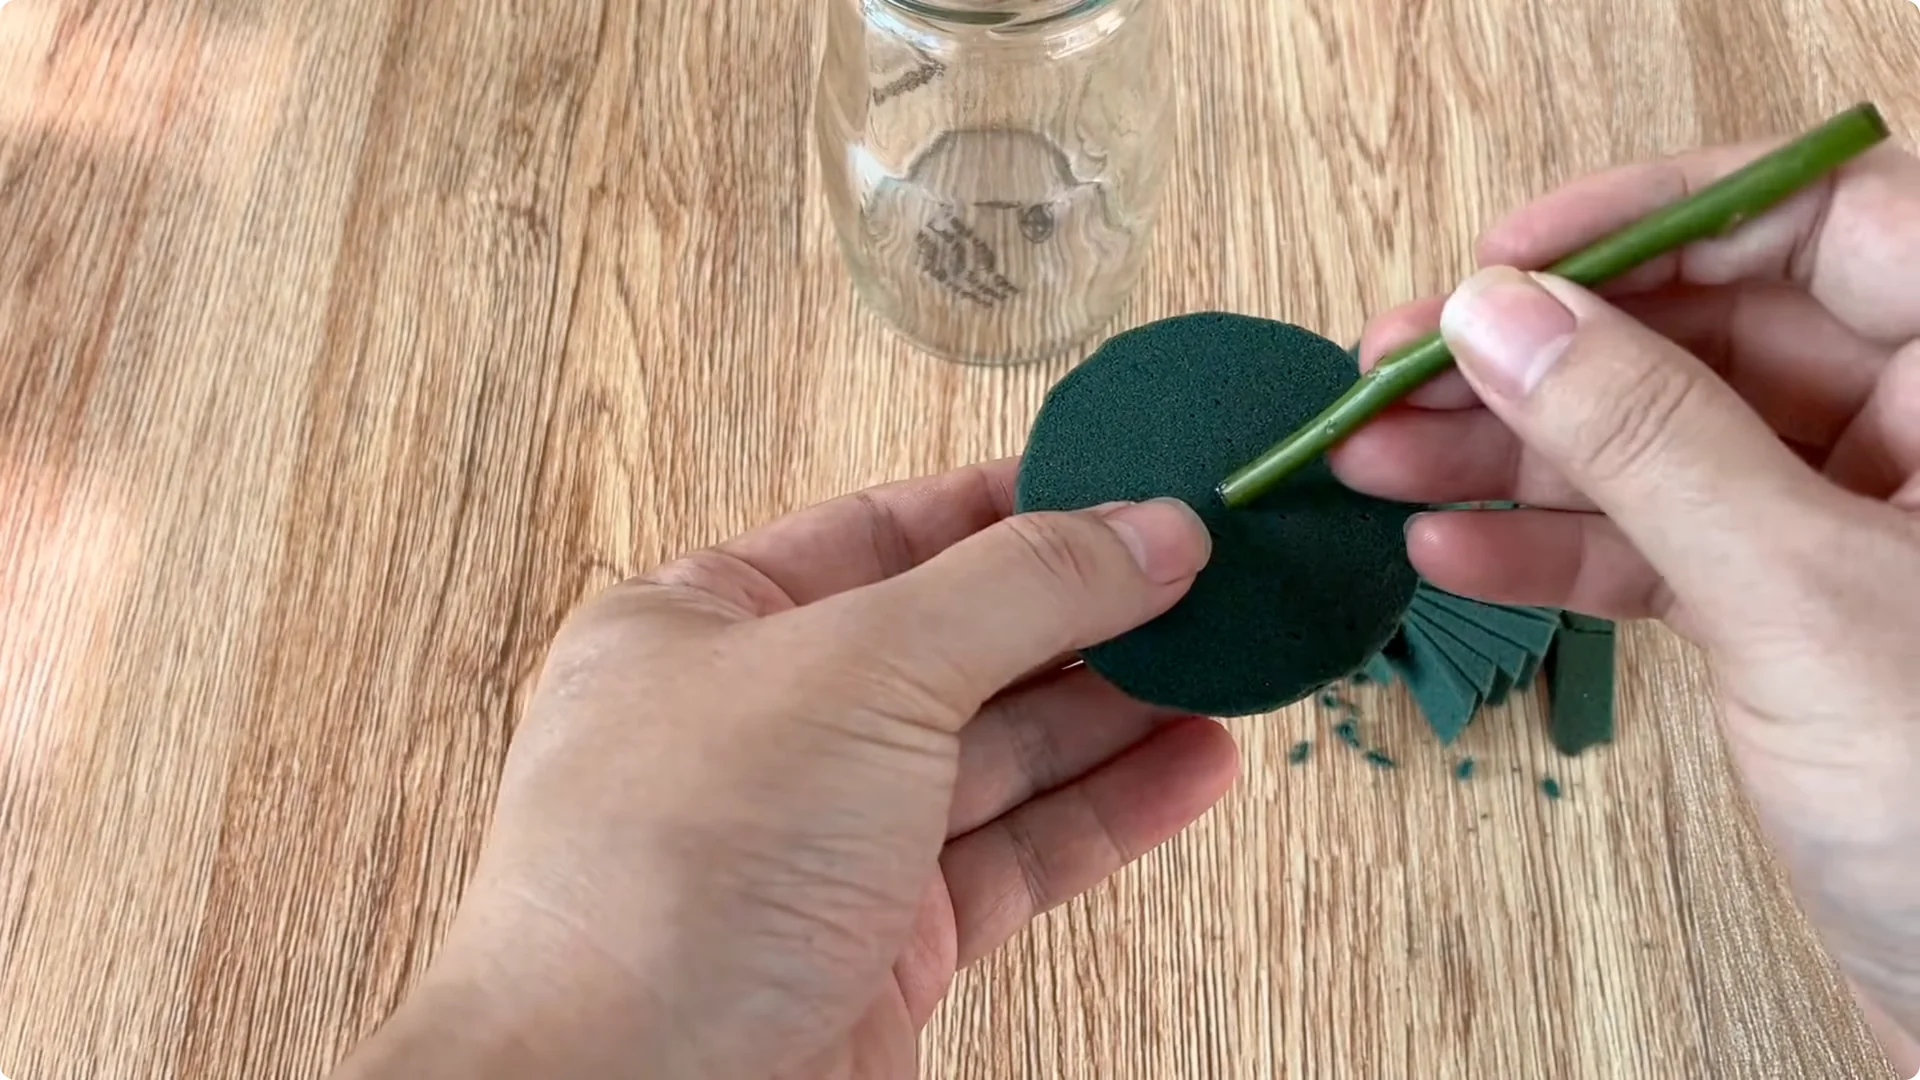
Cut a piece of foam to fit the mouth of the jar. Use a small stick to poke a hole in the middle with the same diameter as the flower branch so it will be held firmly.
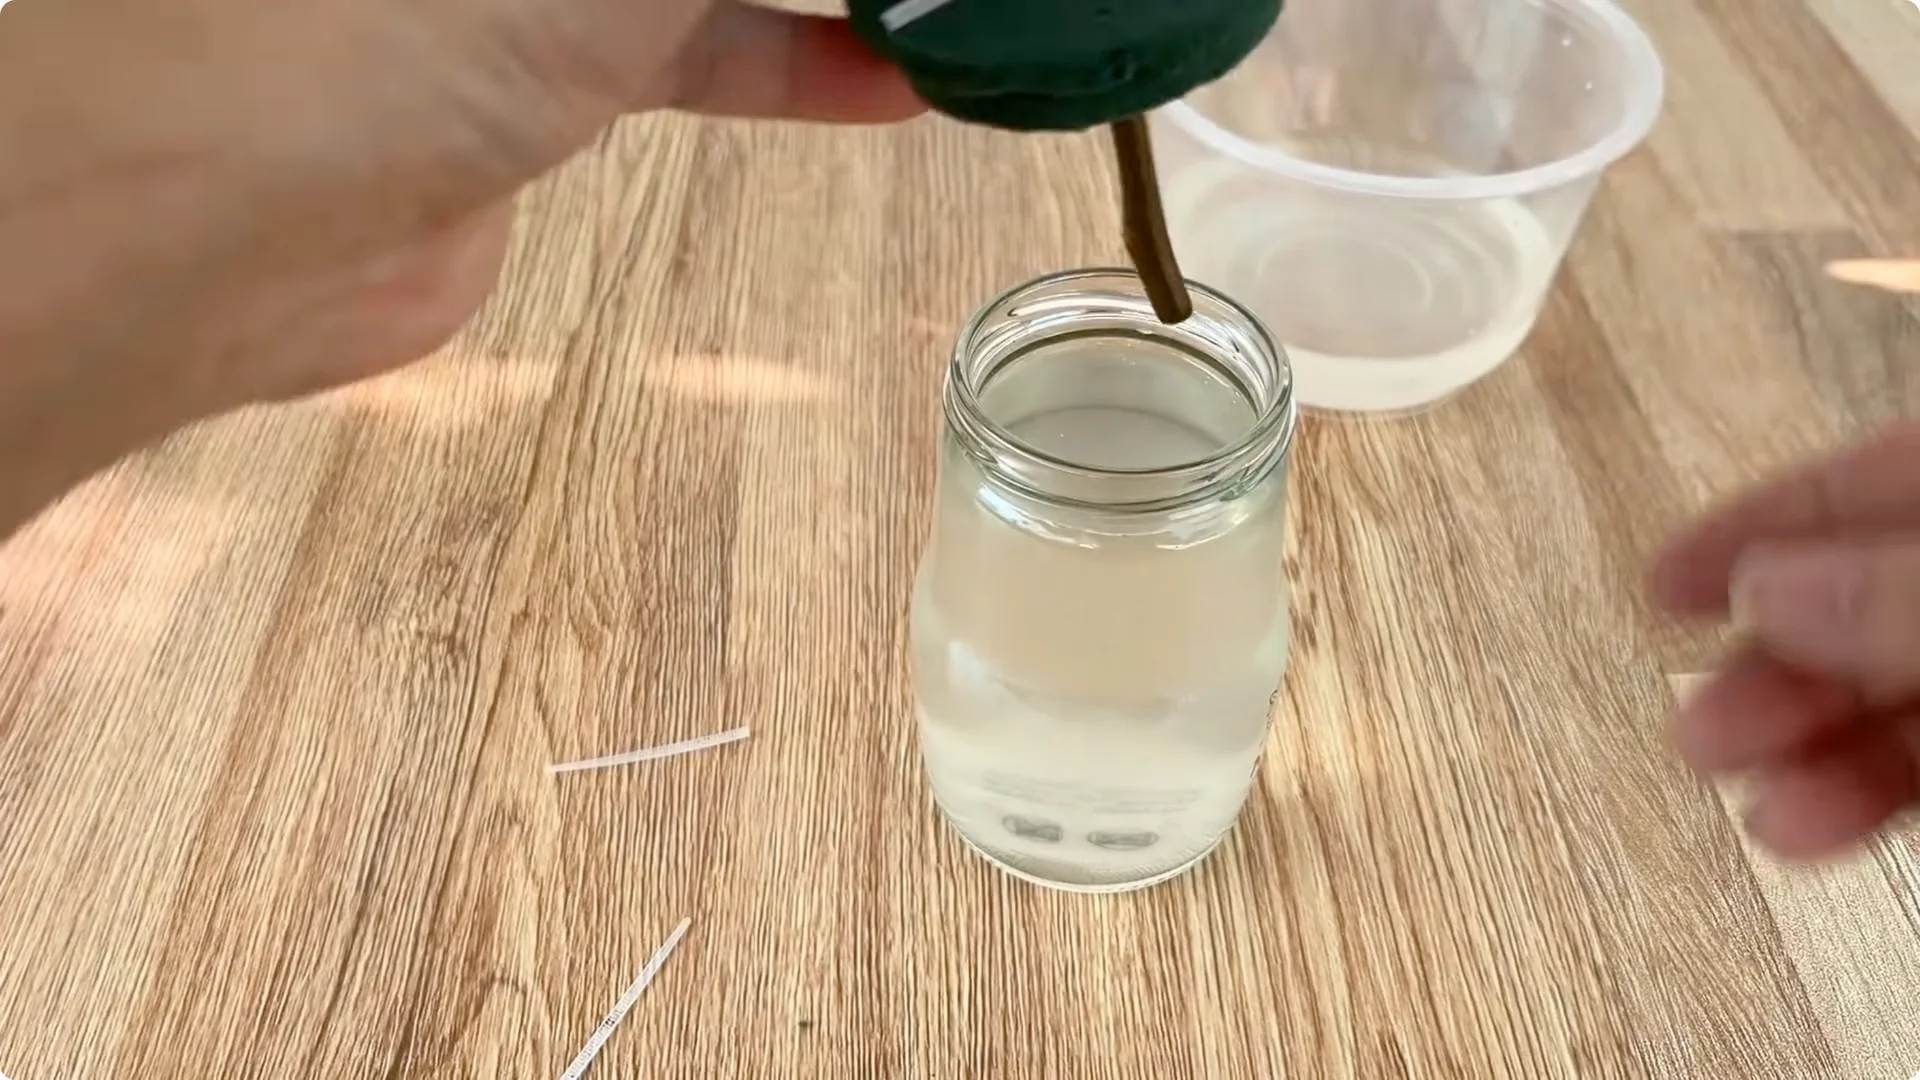
Remove the rose branch from the garlic clove. Lightly tie the middle of the stem with a cable tie to create a fixed point when inserting into the foam. Slide the stem through the foam and set the foam on the jar so the base is deeply immersed in the nutrient solution.
Humidity and placement – Rose Cuttings Rooting Method
Cover the mouth of the jar with a plastic bag or a transparent plastic cup to keep humidity stable. Stable humidity is important for young roots to form.
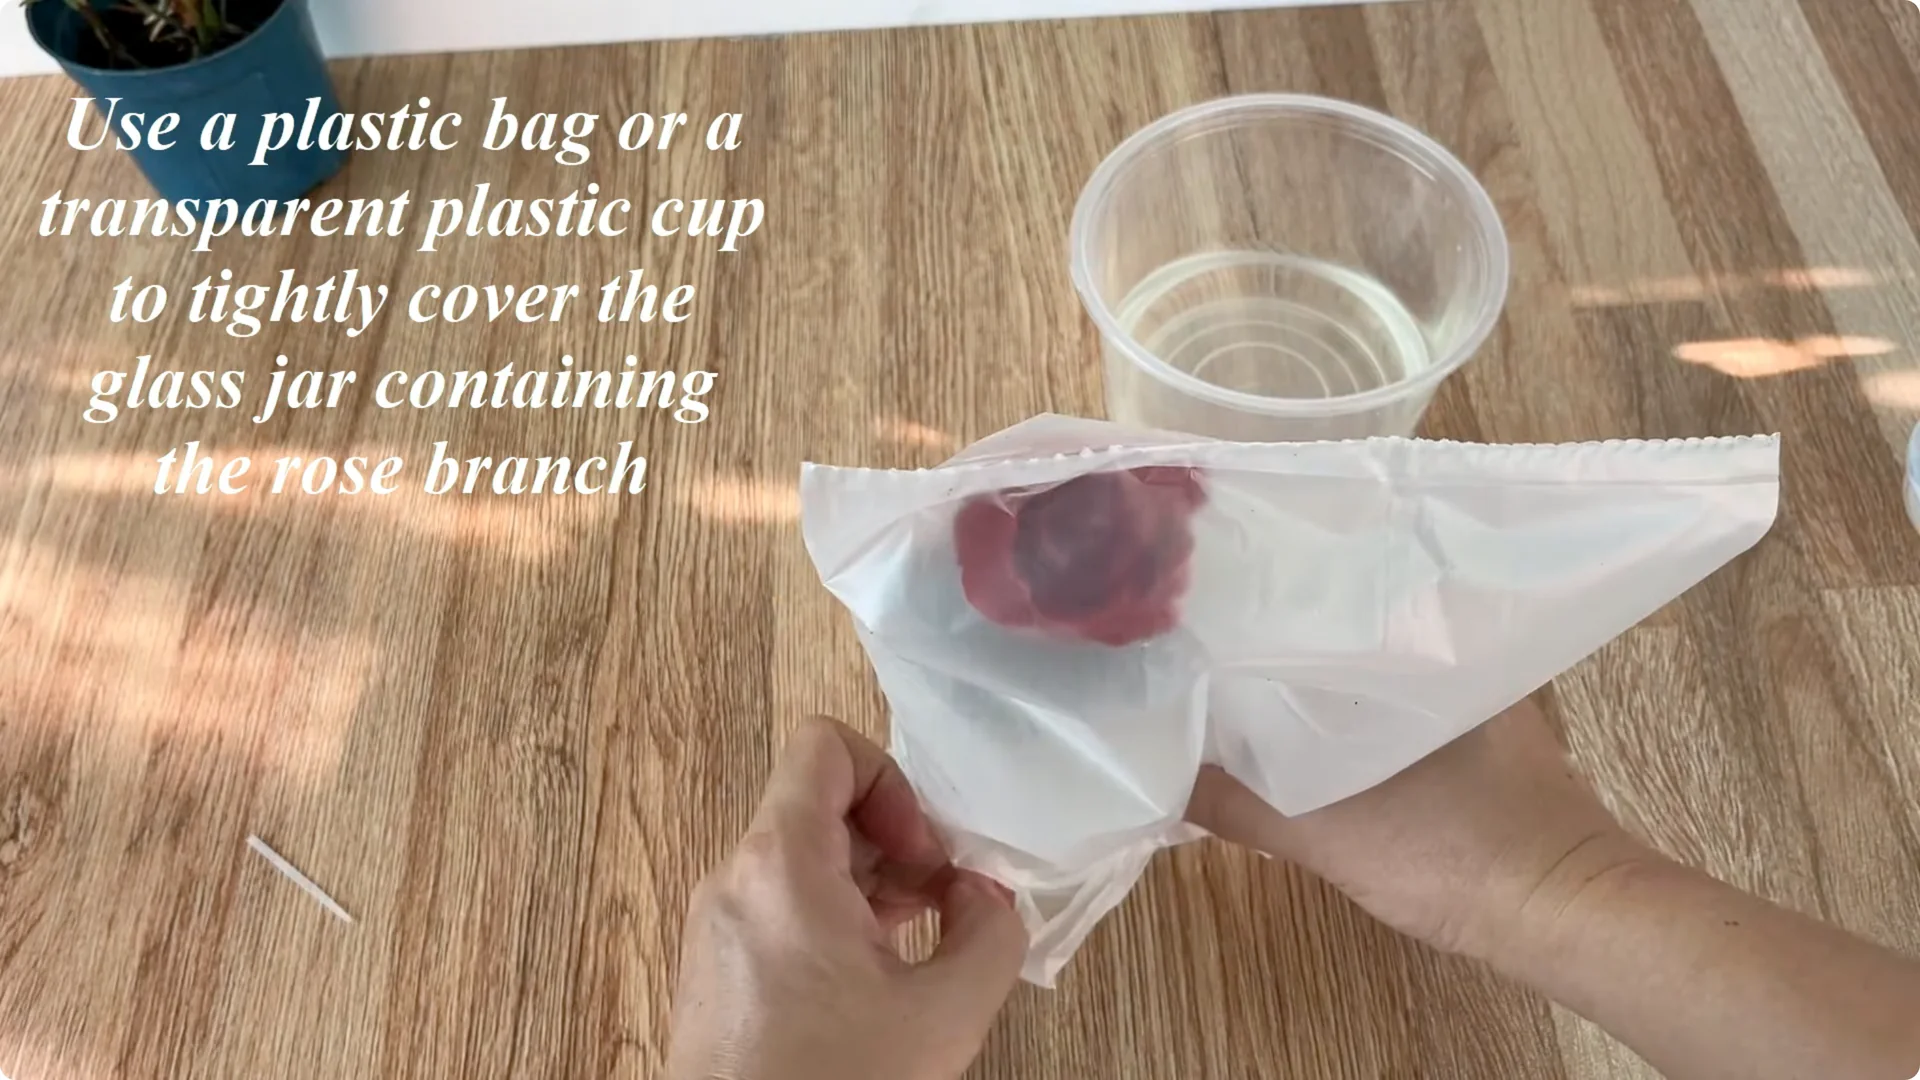
Place the jar in a cool spot, protected from strong winds and direct sunlight. High temperatures can heat the solution and dehydrate the cutting quickly.

Read More: Simple Trick Surprised Propagating Roses
6. Timeline and signs – Rose Cuttings Rooting Method
After about 10 days, look for encouraging signs around the base of the stem. Many new, white, succulent roots indicate the solution has created an ideal environment for root development.
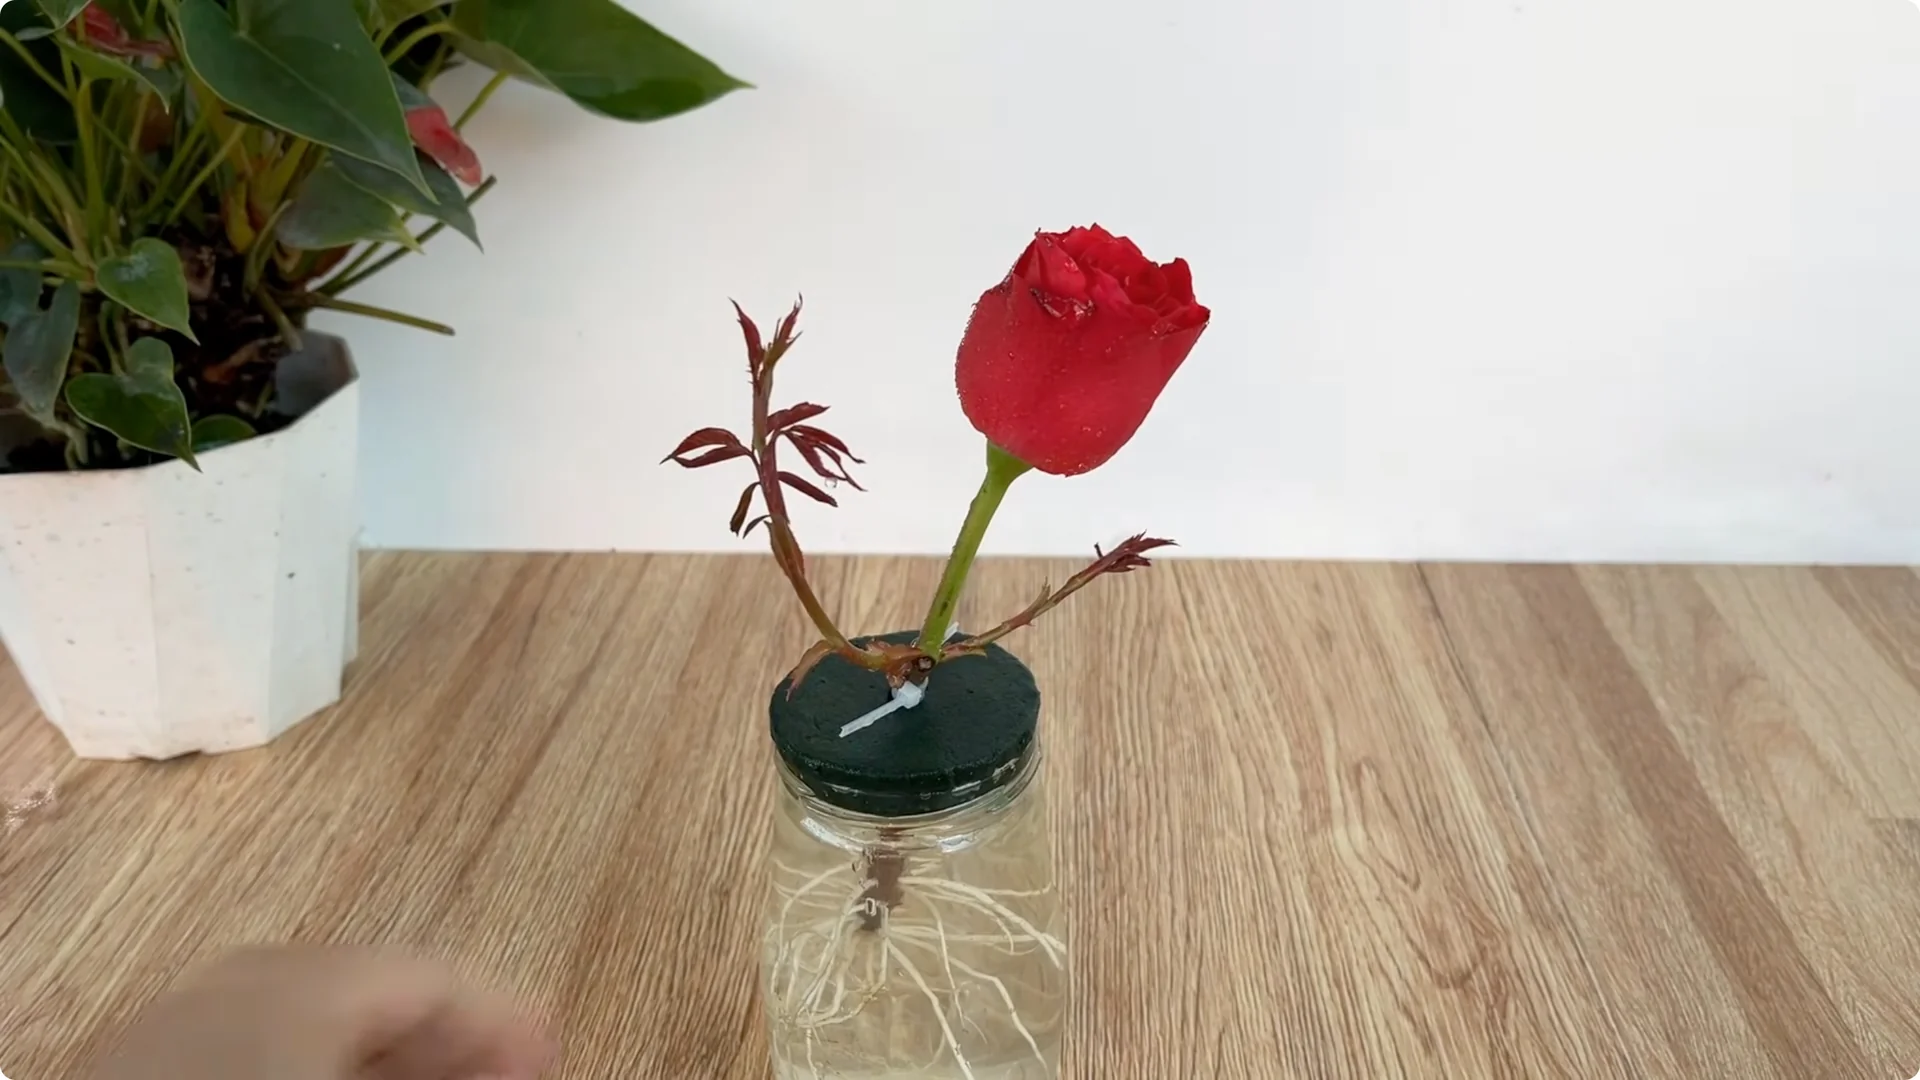
You may also see fresh, green shoots emerging at the tip of the branch. These are strong indicators that the cutting is ready for the next step.
7. Potting up – Rose Cuttings Rooting Method
Transfer the rooted cutting to a new pot at this stage. Use river sand or a well-drained substrate so young roots can spread easily and avoid waterlogging.
This completes the process using eggshells, garlic, and potato peels. Each simple ingredient contributes nutrients and protection, helping the rose cutting root strongly and stay clean.
Final thoughts – Rose Cuttings Rooting Method
The first white roots reflect both correct technique and patient care. Watching a dry, stiff branch become plump, sprout, and grow into a healthy new plant is a joy.
May this method give you more options in your home rose propagation journey. Keep experimenting, keep creating, and keep nurturing each flower with love and care every day. Wishing you success with your own garden, where each rose carries pride and happiness.
The Beginner’s Rose Propagation Starter Kit 🌹
A simple printable PDF guide to help you root rose cuttings successfully.
Get The Guide →