We’ll be practicing a rather unique method of propagating roses by cuttings. When combined correctly, these materials create a nutrient-rich environment, helping the cuttings quickly form new roots, sprout strong shoots, and develop steadily from the very beginning.
1. Egg Yolk Rose Propagation: Select and Prepare the Cutting
Choose a favorite, healthy rose cutting that shows no signs of pests, diseases, fungus, or rot. Cuttings of moderate age will have a higher rooting rate than those that are too young or too old.
The Beginner’s Rose Propagation Starter Kit 🌹
A simple printable PDF guide to help you root rose cuttings successfully.
Get The Guide →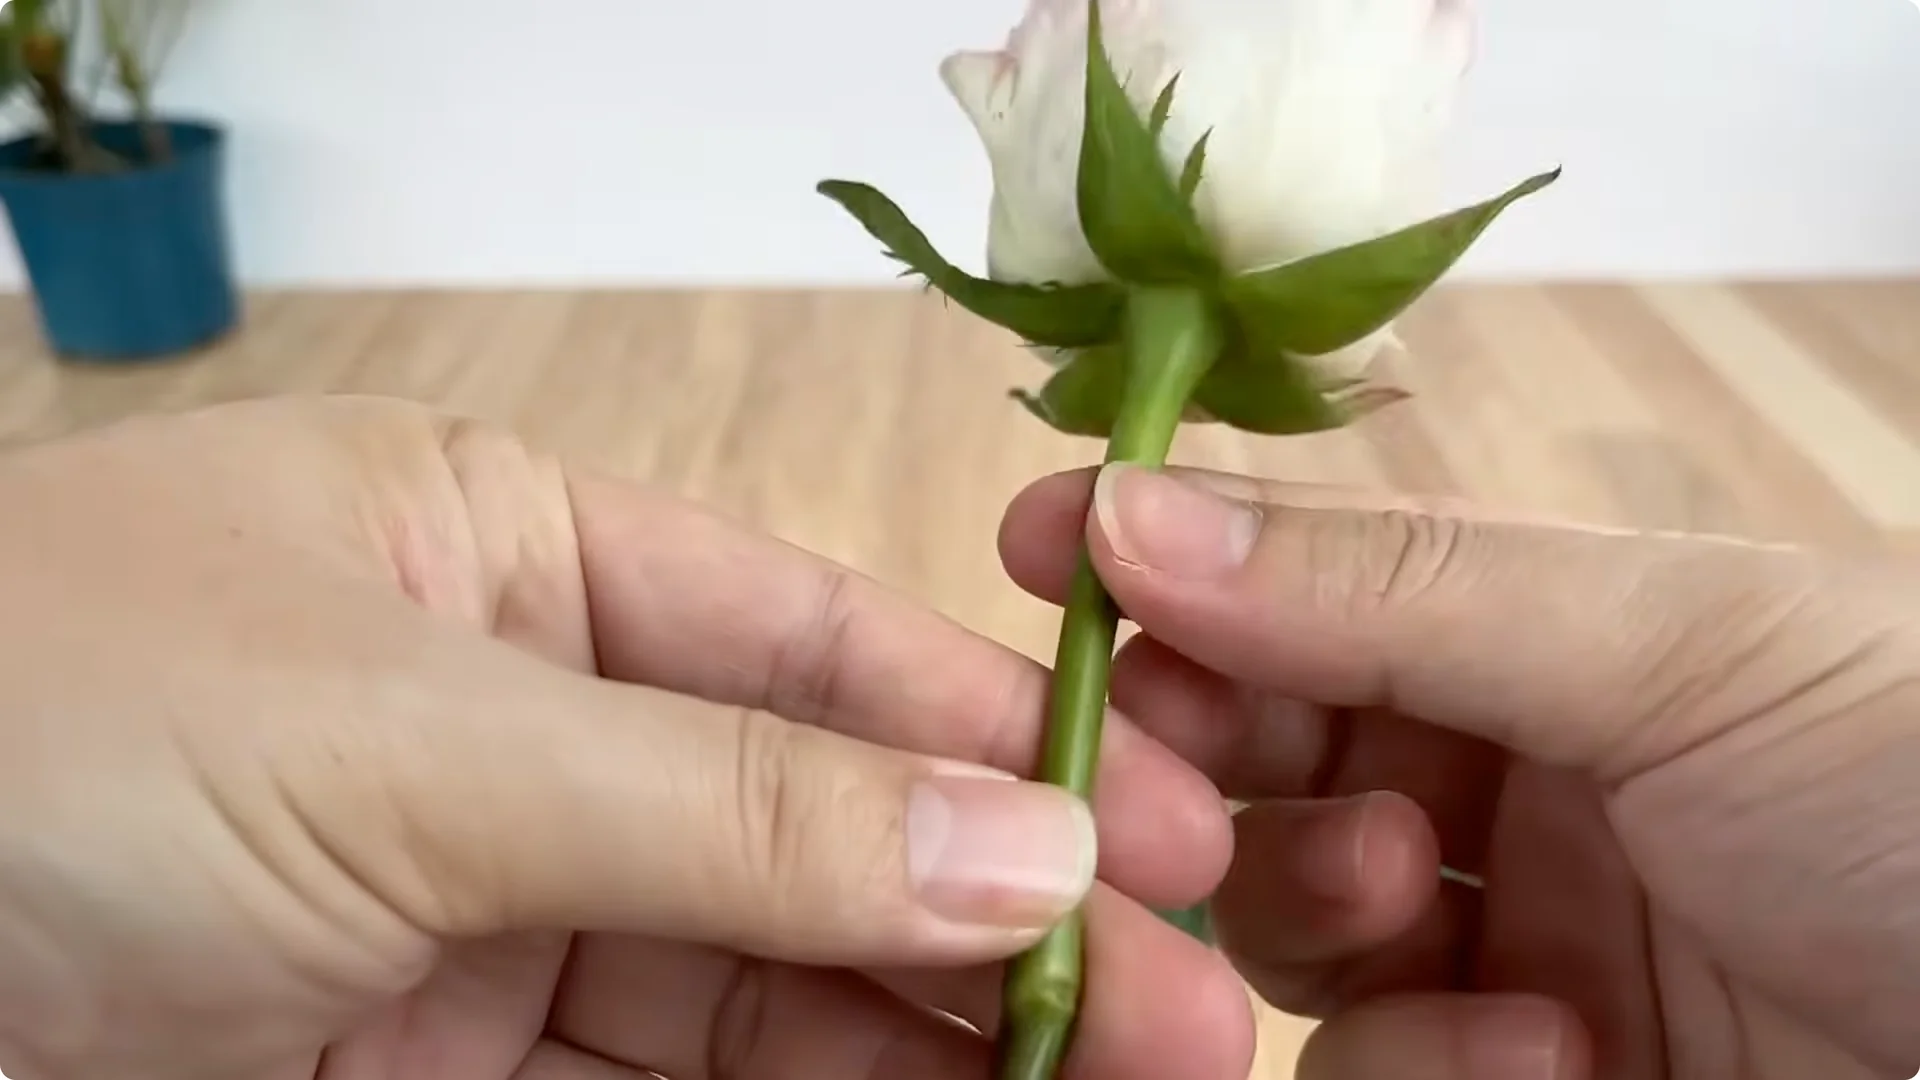
After selecting a suitable cutting, remove all leaves and sharp thorns to reduce water loss and avoid damaging the plant tissue during the cutting process. Trim the cutting, leaving it about 20 cm long. This length helps the cutting retain the necessary vitality while remaining compact enough for easy care.
Use a sharp knife to trim away some of the bark at the base of the branch. This breaks the outer cuticle, stimulating the underlying tissue to become more active and promoting the formation of new roots.
2. Egg Yolk Rose Propagation: Prepare the Egg Yolk Solution
Take one egg, wash the outer shell to remove dirt and bacteria. Separate the egg white and yolk into two different cups.
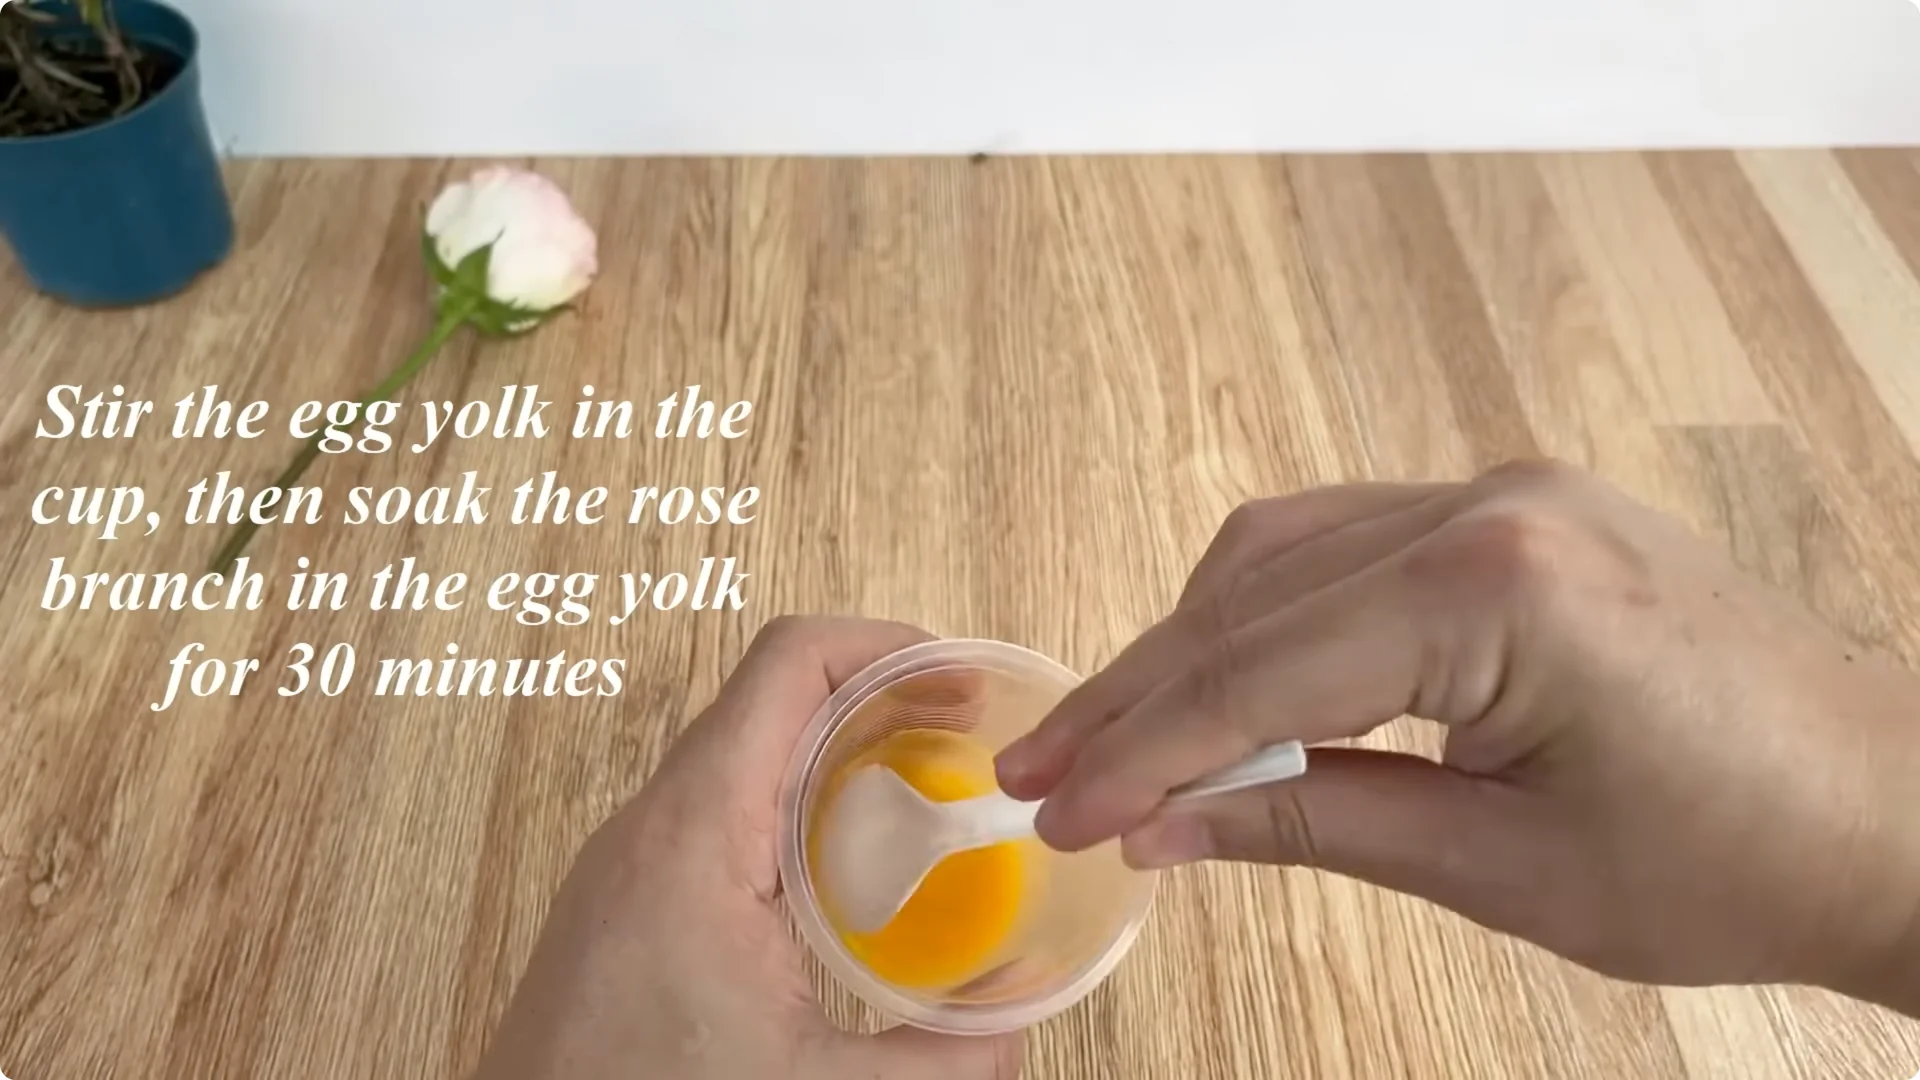
In this method, the egg yolk plays a very important role because it contains many proteins, lipids, and vitamins necessary for the initial growth of the cutting. Stir the egg yolk until homogeneous, then gently soak the rose cutting in it for about 30 minutes.
During this time, the nutrients in the yolk gradually penetrate the cut at the base of the branch, providing energy and stimulating the root tissue to recover faster after pruning.
3. Egg Yolk Rose Propagation: Make the Garlic and Eggshell Solution
Take two cloves of garlic, peel them, and chop them finely. Garlic contains many natural antibiotic compounds like allicin, which has strong antibacterial and antifungal properties, helping to protect the cuttings from harmful agents in a humid environment.
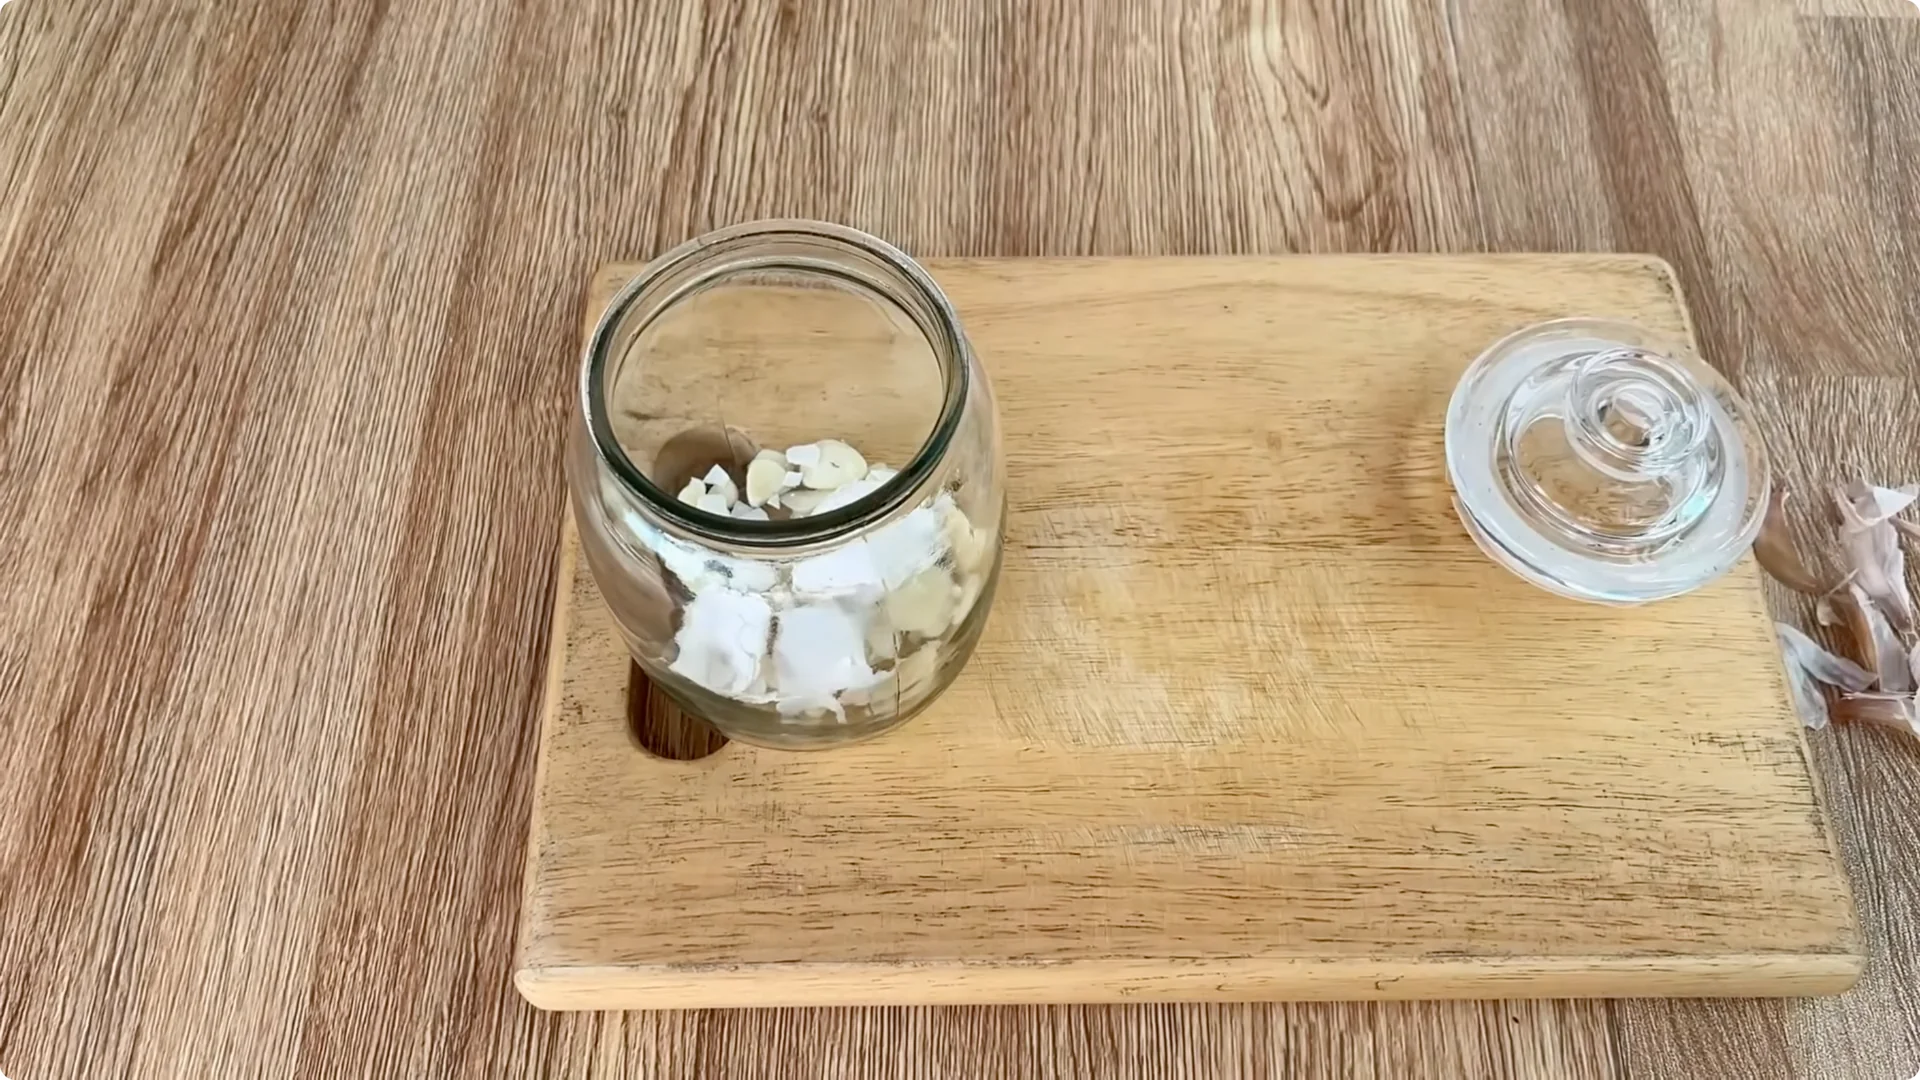
After separating the eggs, wash, dry, and crush the eggshells. Eggshells are rich in calcium, which, when dissolved in water, helps strengthen the young root tissue later on.
Put all the garlic and crushed eggshells into a clean glass jar. Add about 300 ml of boiling water, seal the jar tightly, and let it cool naturally so that the nutrients are fully extracted.
4. Egg Yolk Rose Propagation: Prepare Rice Water
Take about 80 grams of rice and put it in a clean plastic cup. Add 500 ml of clean water and wash the rice thoroughly.
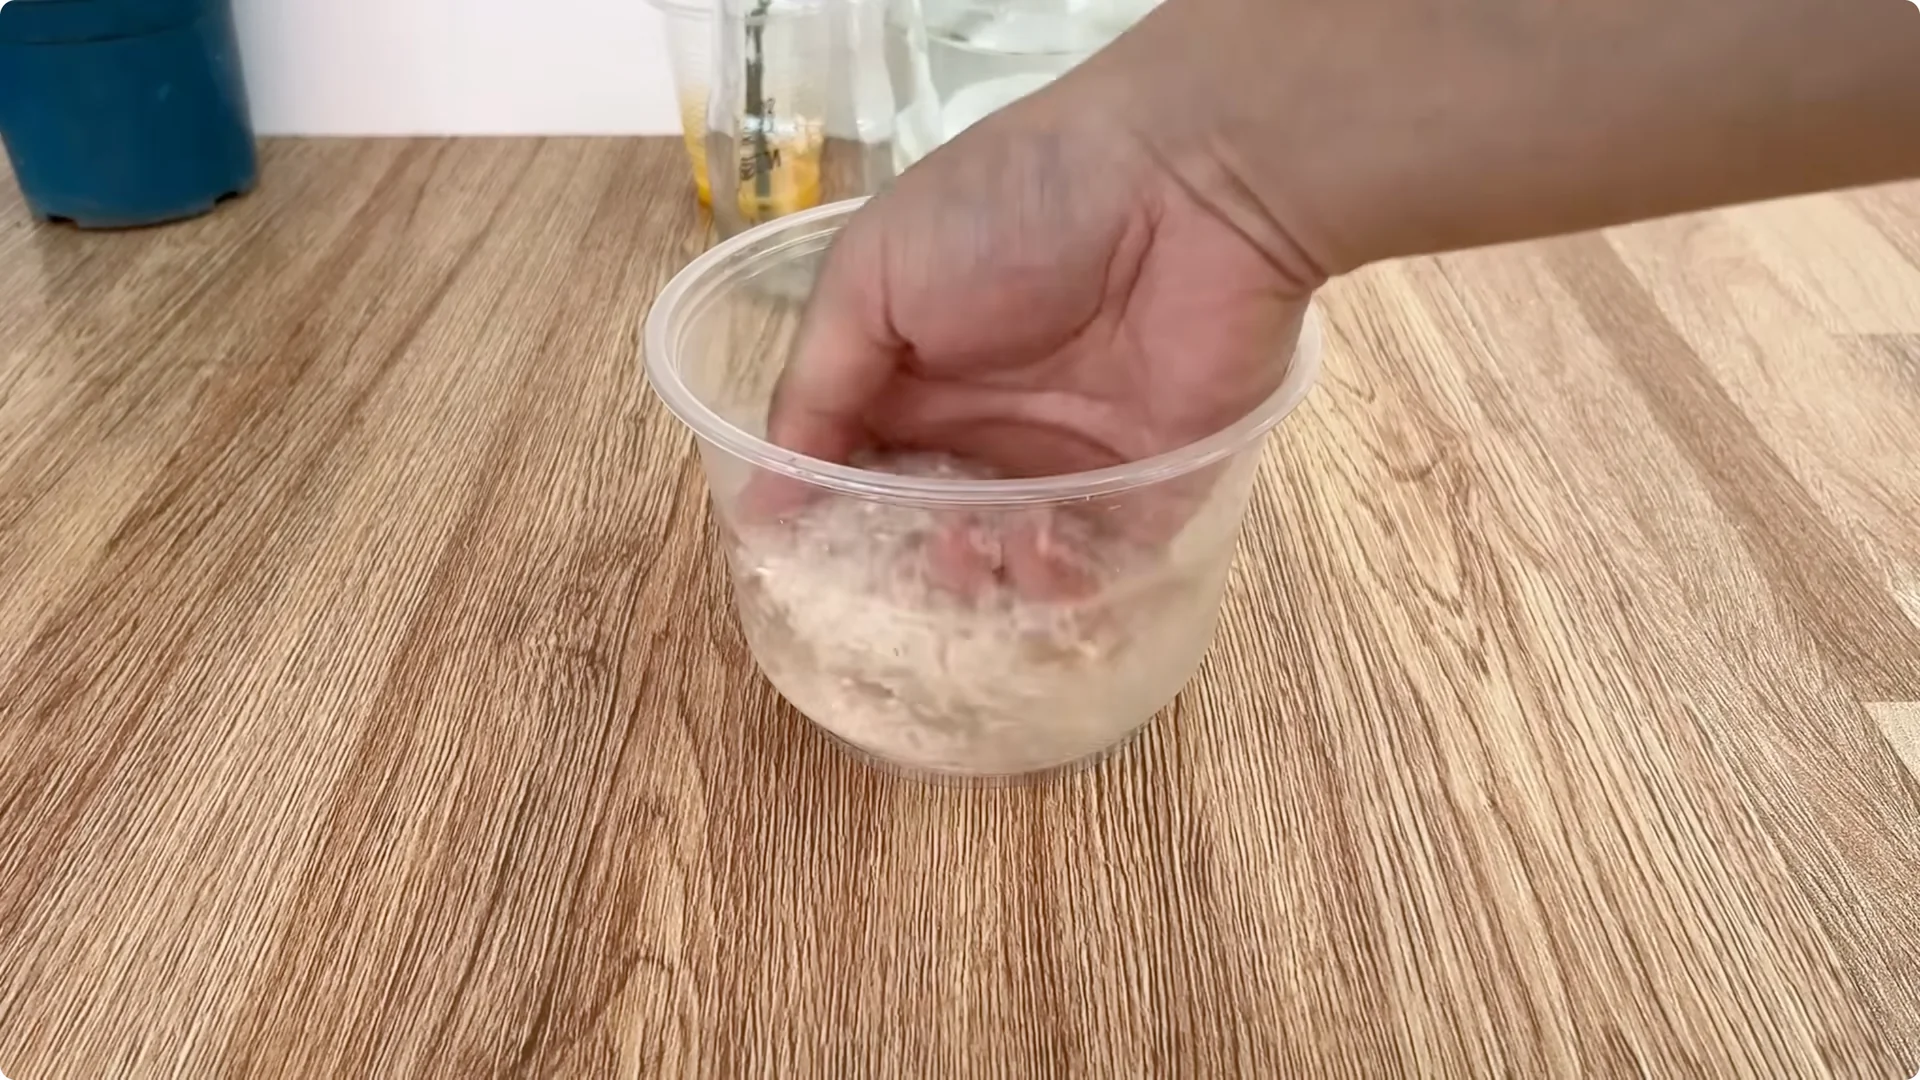
After washing, strain the rice water into another clean plastic cup. Rice water contains many B vitamins and soluble starch, which help stimulate beneficial microorganisms and support healthy root development.
5. Egg Yolk Rose Propagation: Combine the Solutions
Once the garlic and eggshell solution has completely cooled, filter out the solids, keeping only the liquid. Mix this solution with the prepared rice water, stirring well to create a homogeneous mixture.
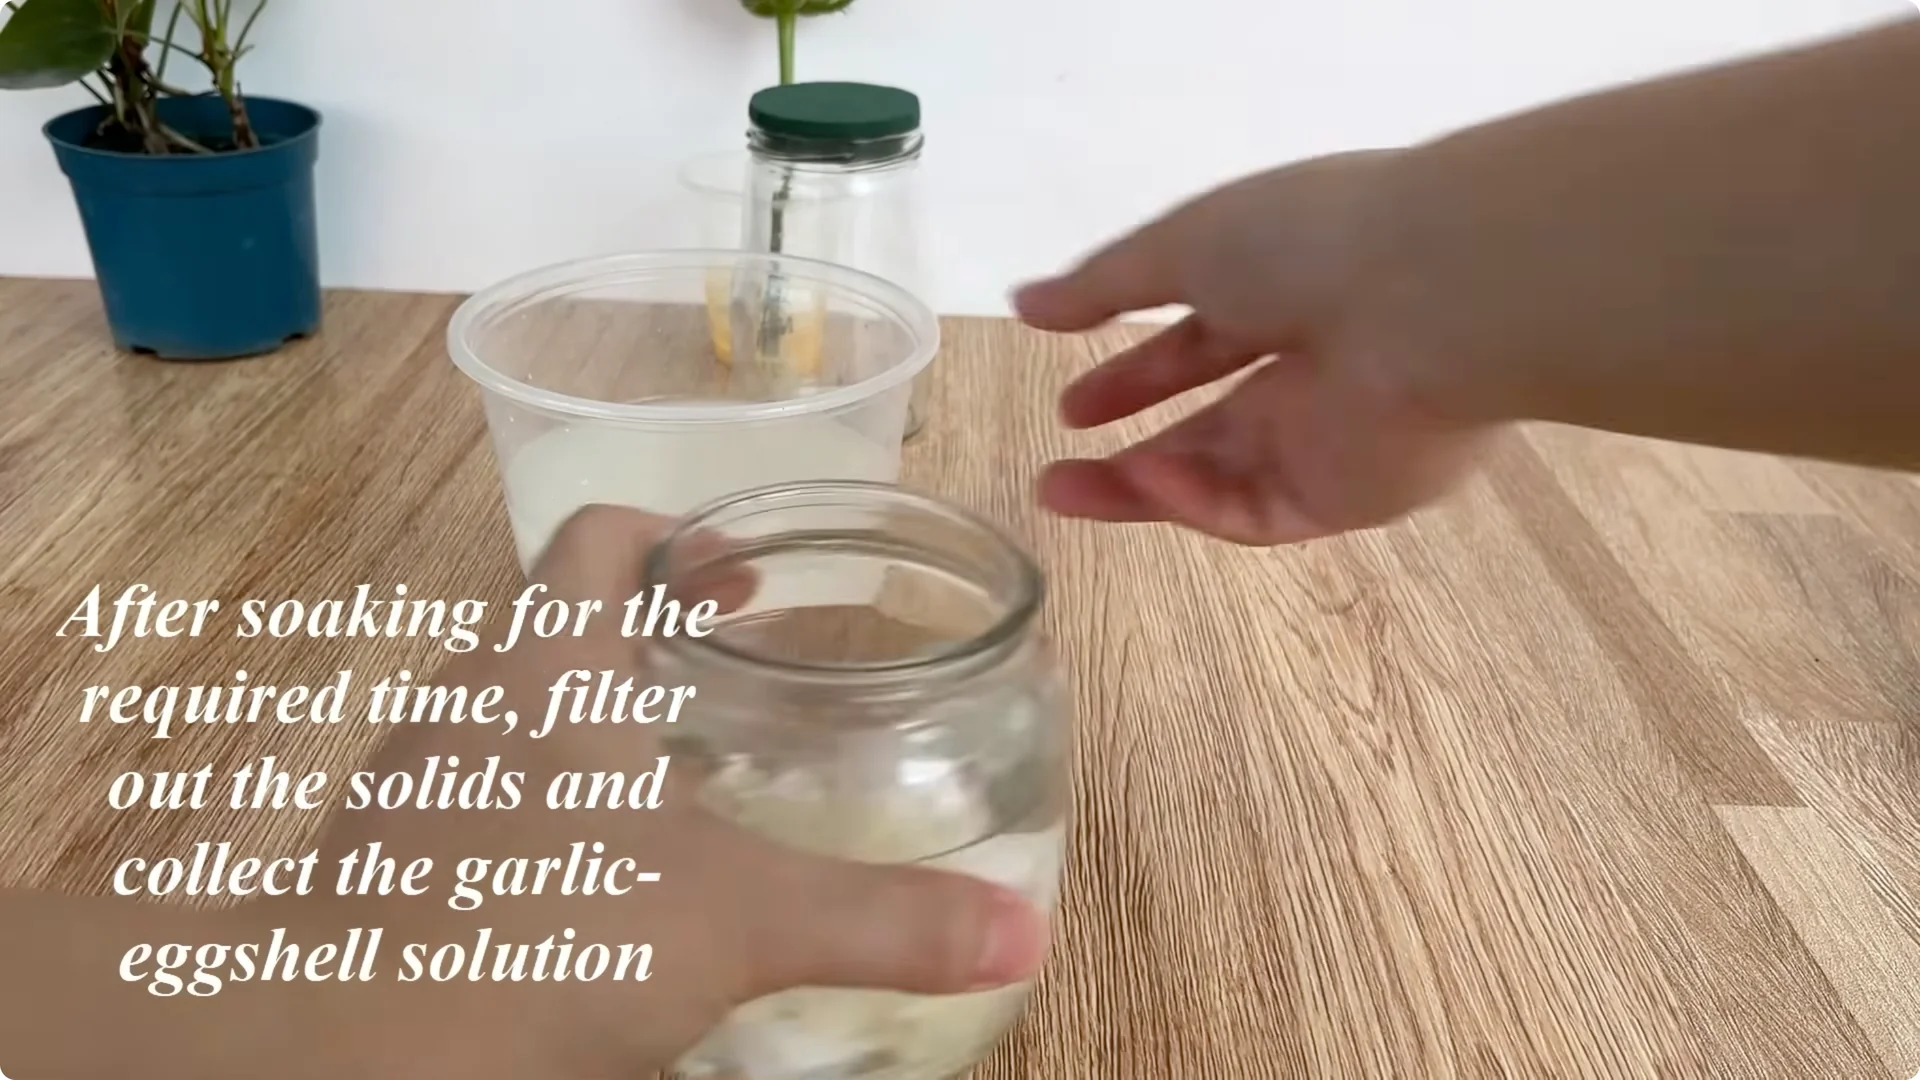
This mixture has antibacterial properties and provides essential minerals and nutrients for the cuttings in the initial stage.
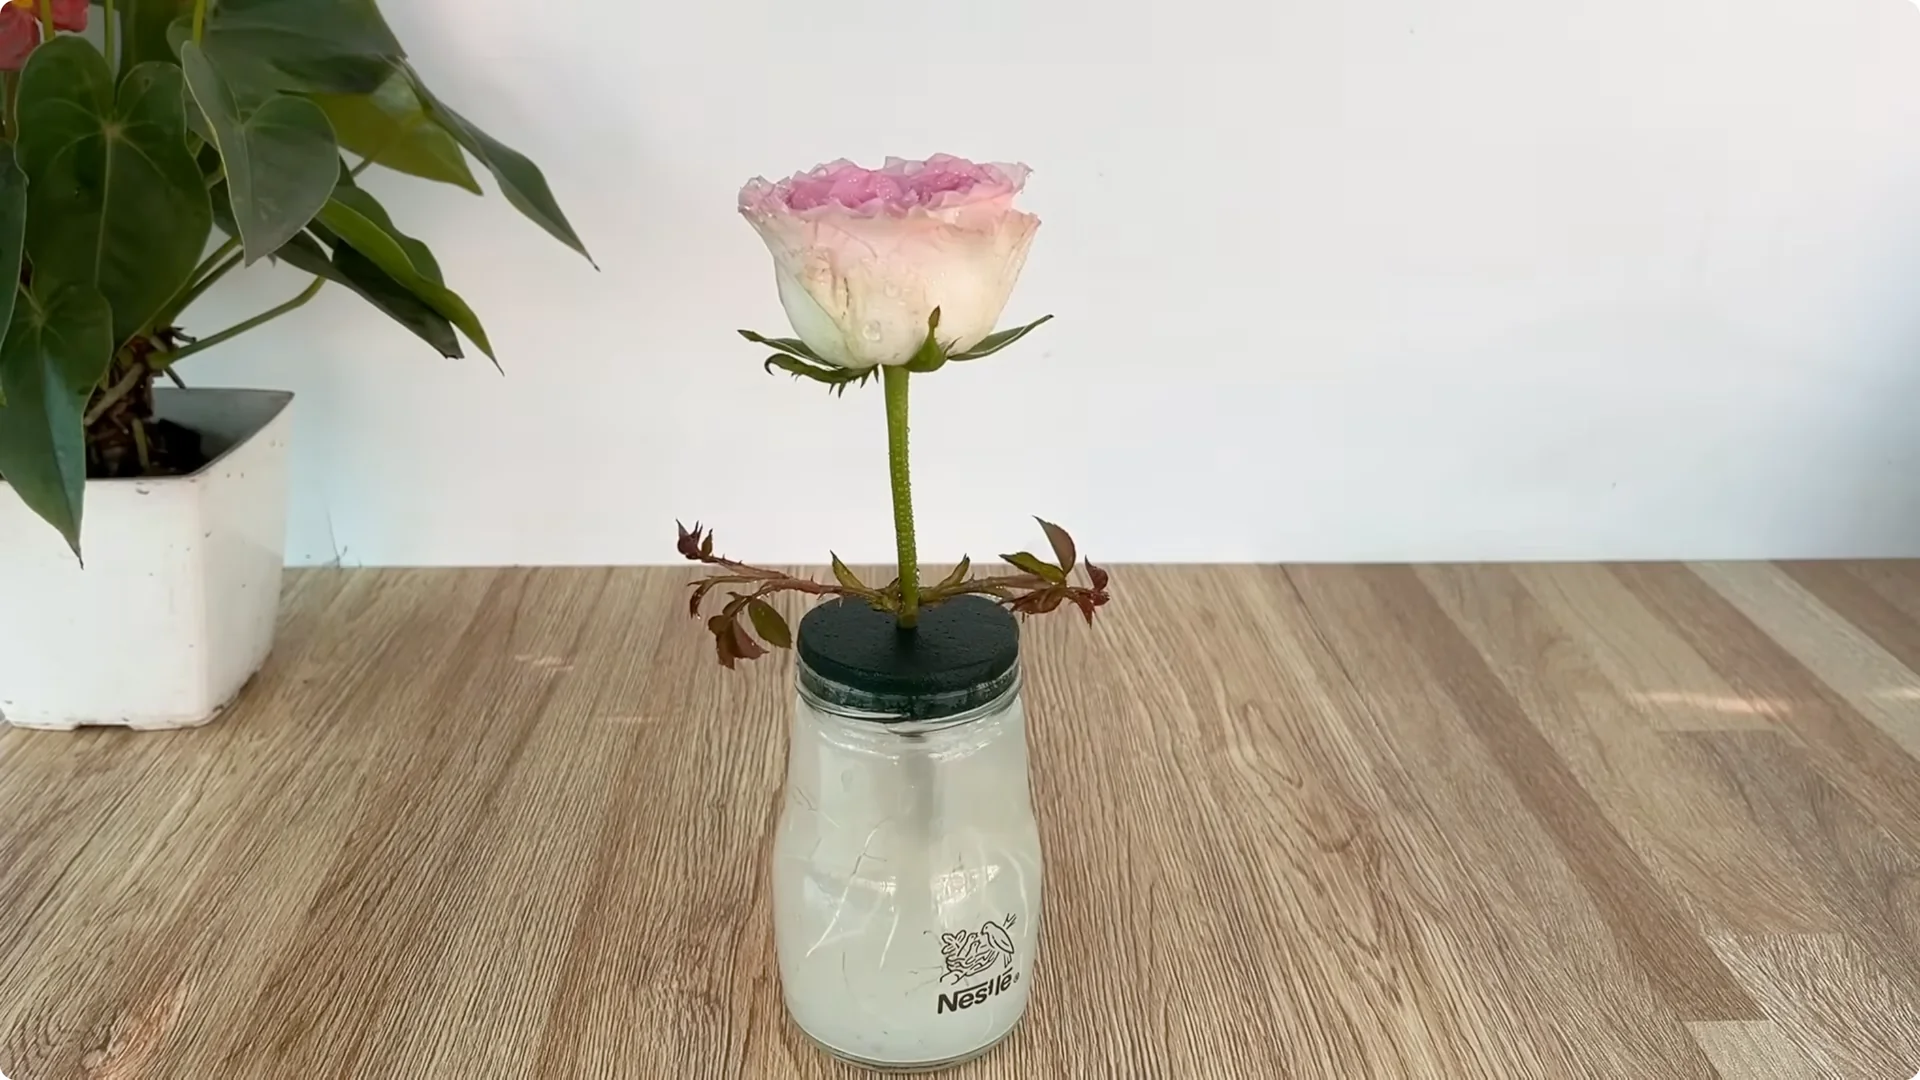
6. Egg Yolk Rose Propagation: Set Up the Jar and Foam Support
Cut a piece of foam to fit snugly over the mouth of the jar. The foam helps secure the rose cutting, keeping it upright and preventing dust and insects from entering the solution inside.
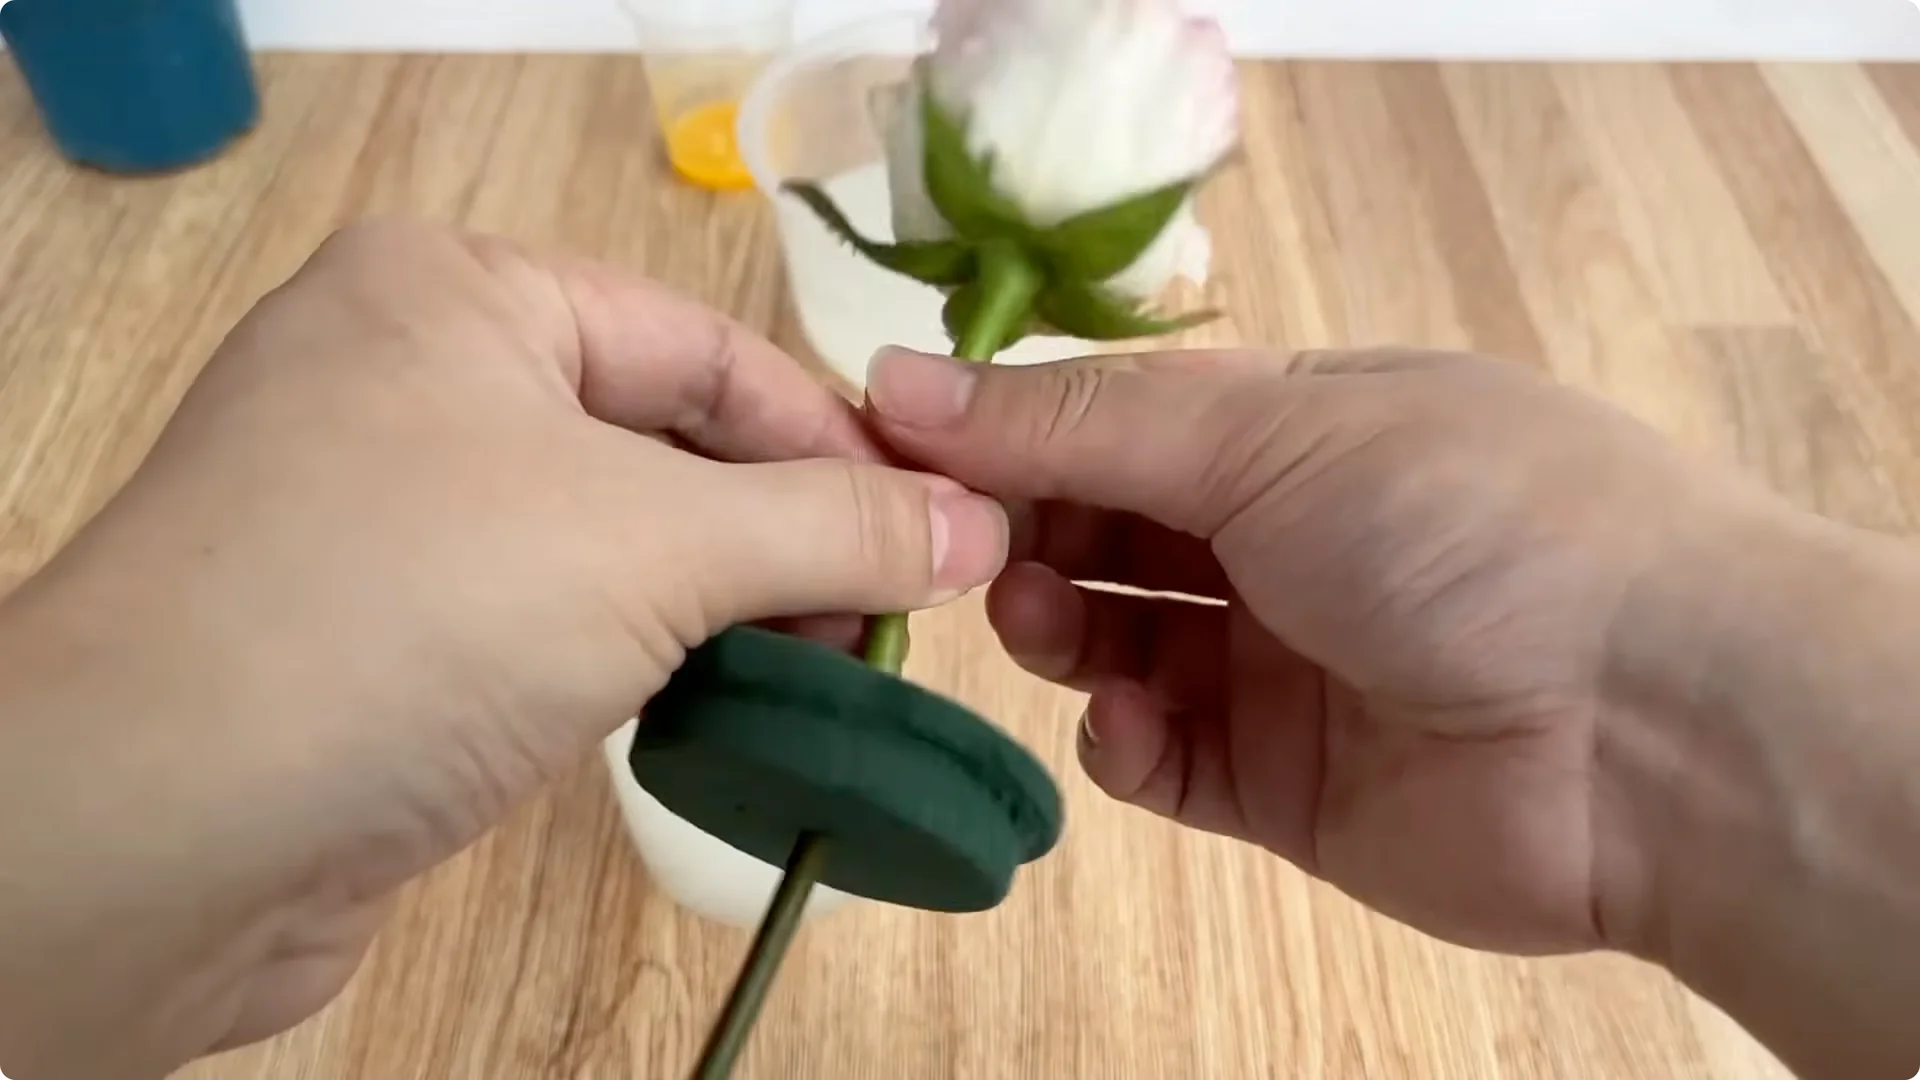
Pour the entire resulting solution into the prepared glass jar. Remove the rose cutting from the egg yolk, let it drain slightly, and insert it through the foam so the base is deeply submerged and the stem is securely fixed.
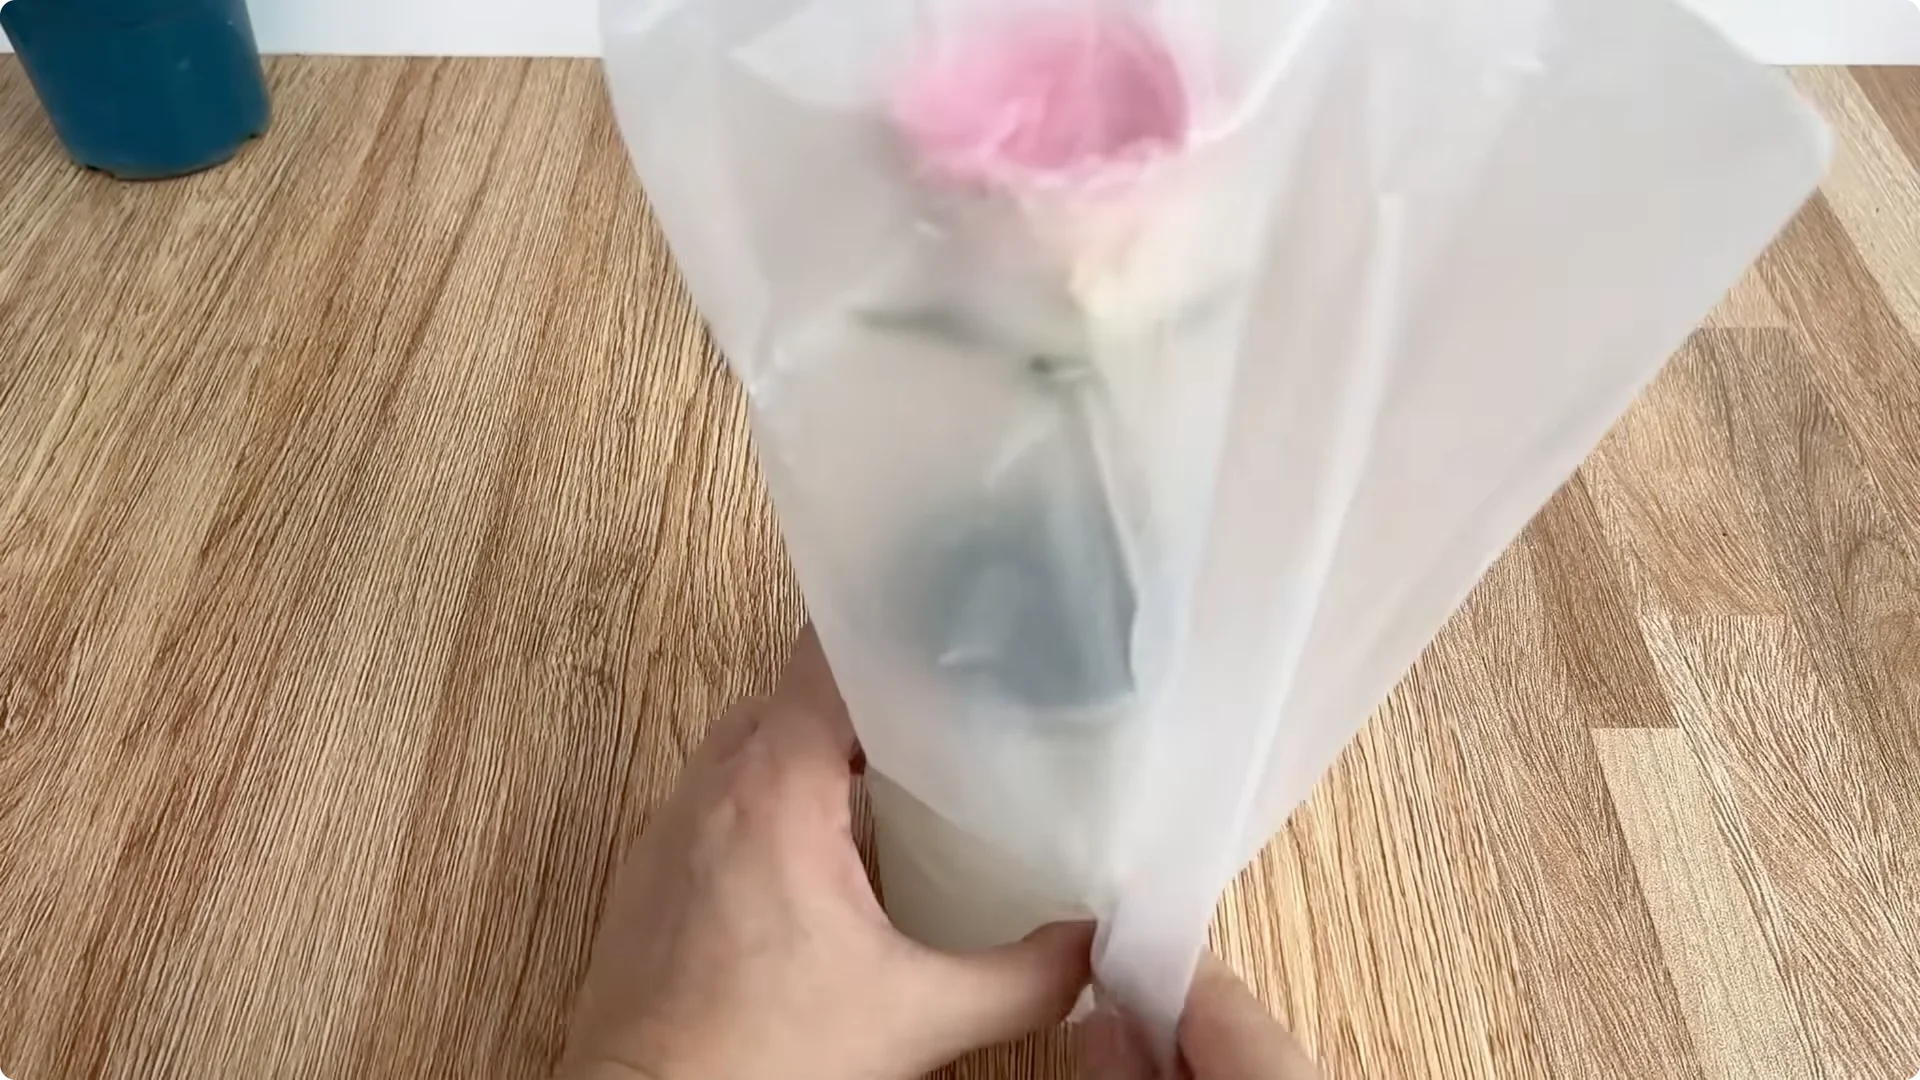
7. Egg Yolk Rose Propagation: Create a Mini Greenhouse
Cover the entire pot and rose stem with a clear plastic bag or cup, creating a stable, humid environment like a mini greenhouse. Place the pot in a cool, airy place, avoiding strong winds and harsh direct sunlight; only soft, diffused light is needed.
8. Egg Yolk Rose Propagation: Signs of Success
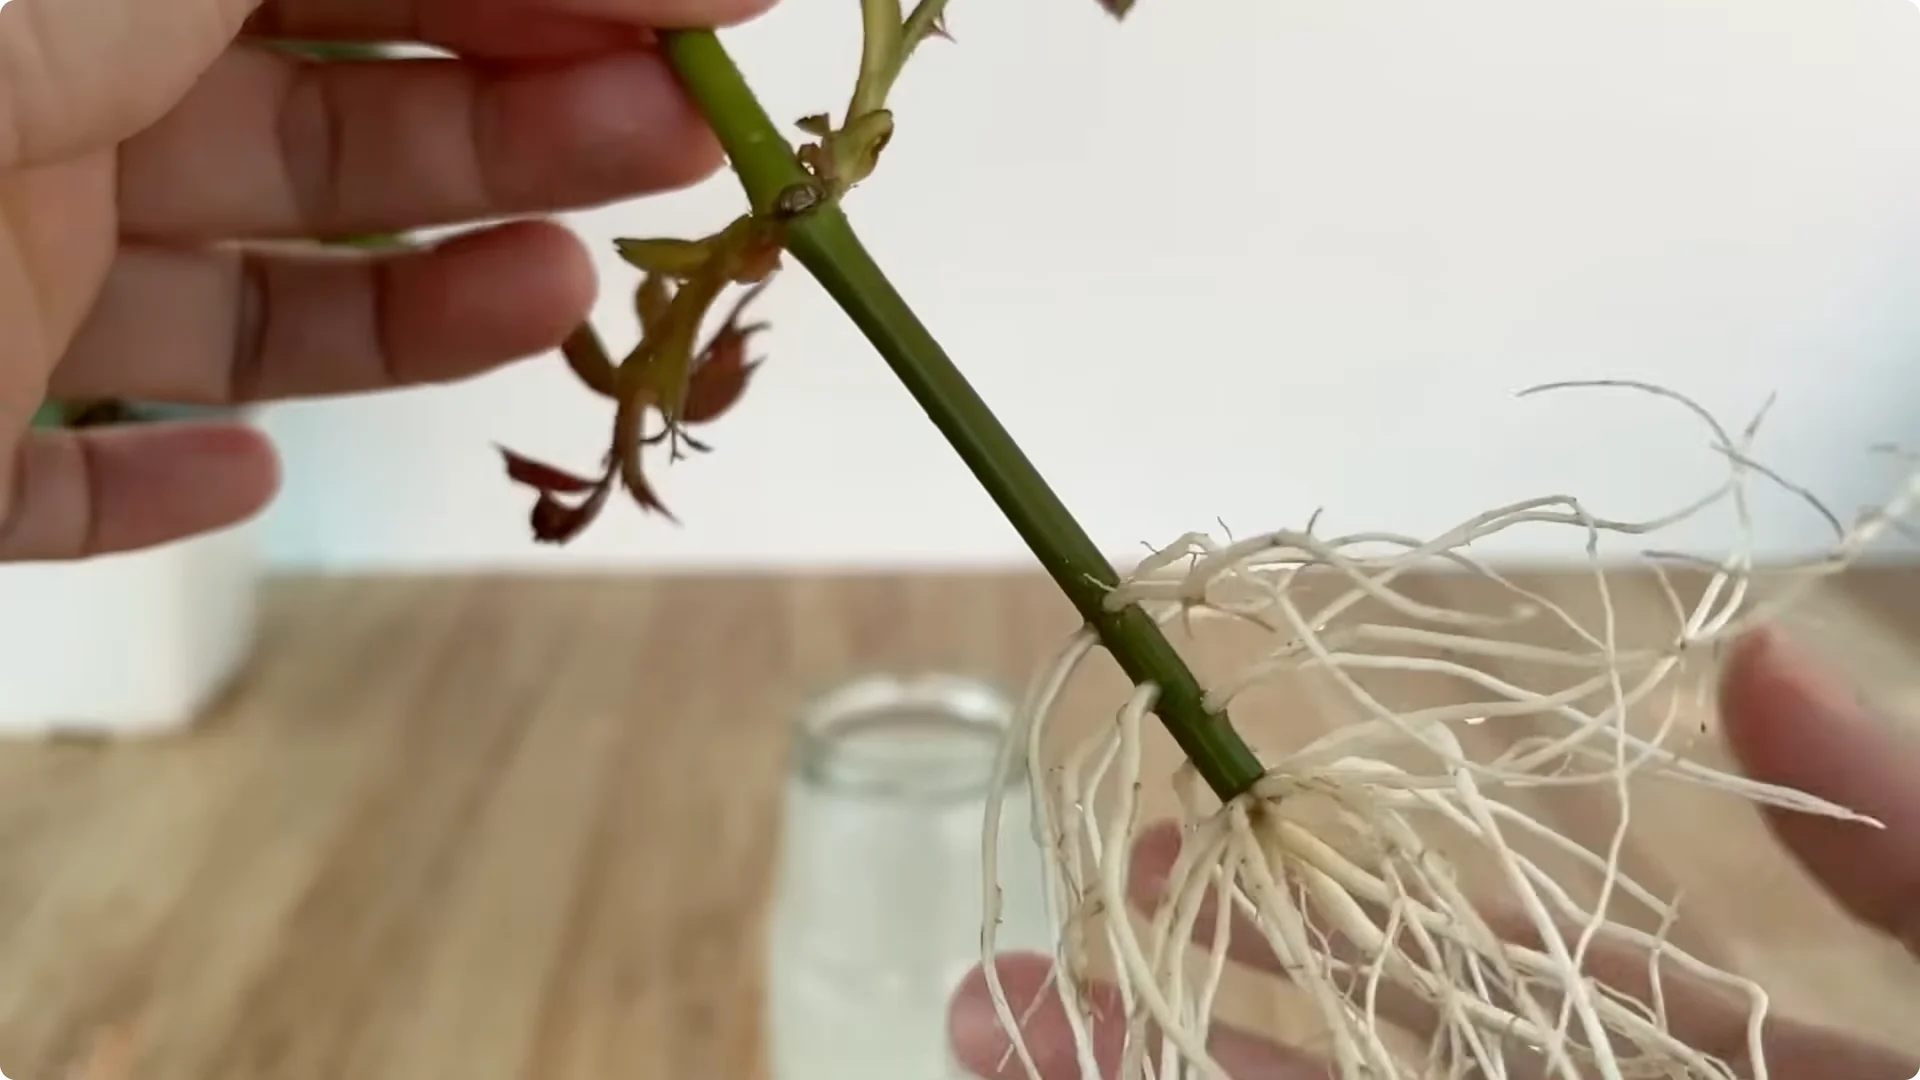
After about 10 days of proper care, you will see very positive signs. The rose stem will begin to sprout new shoots, which are bright green, with plump and healthy young leaves.
Carefully observe the base; you will see many new roots forming, which are white, plump, and evenly distributed around the base of the stem. This is clear evidence of the effectiveness of this method.
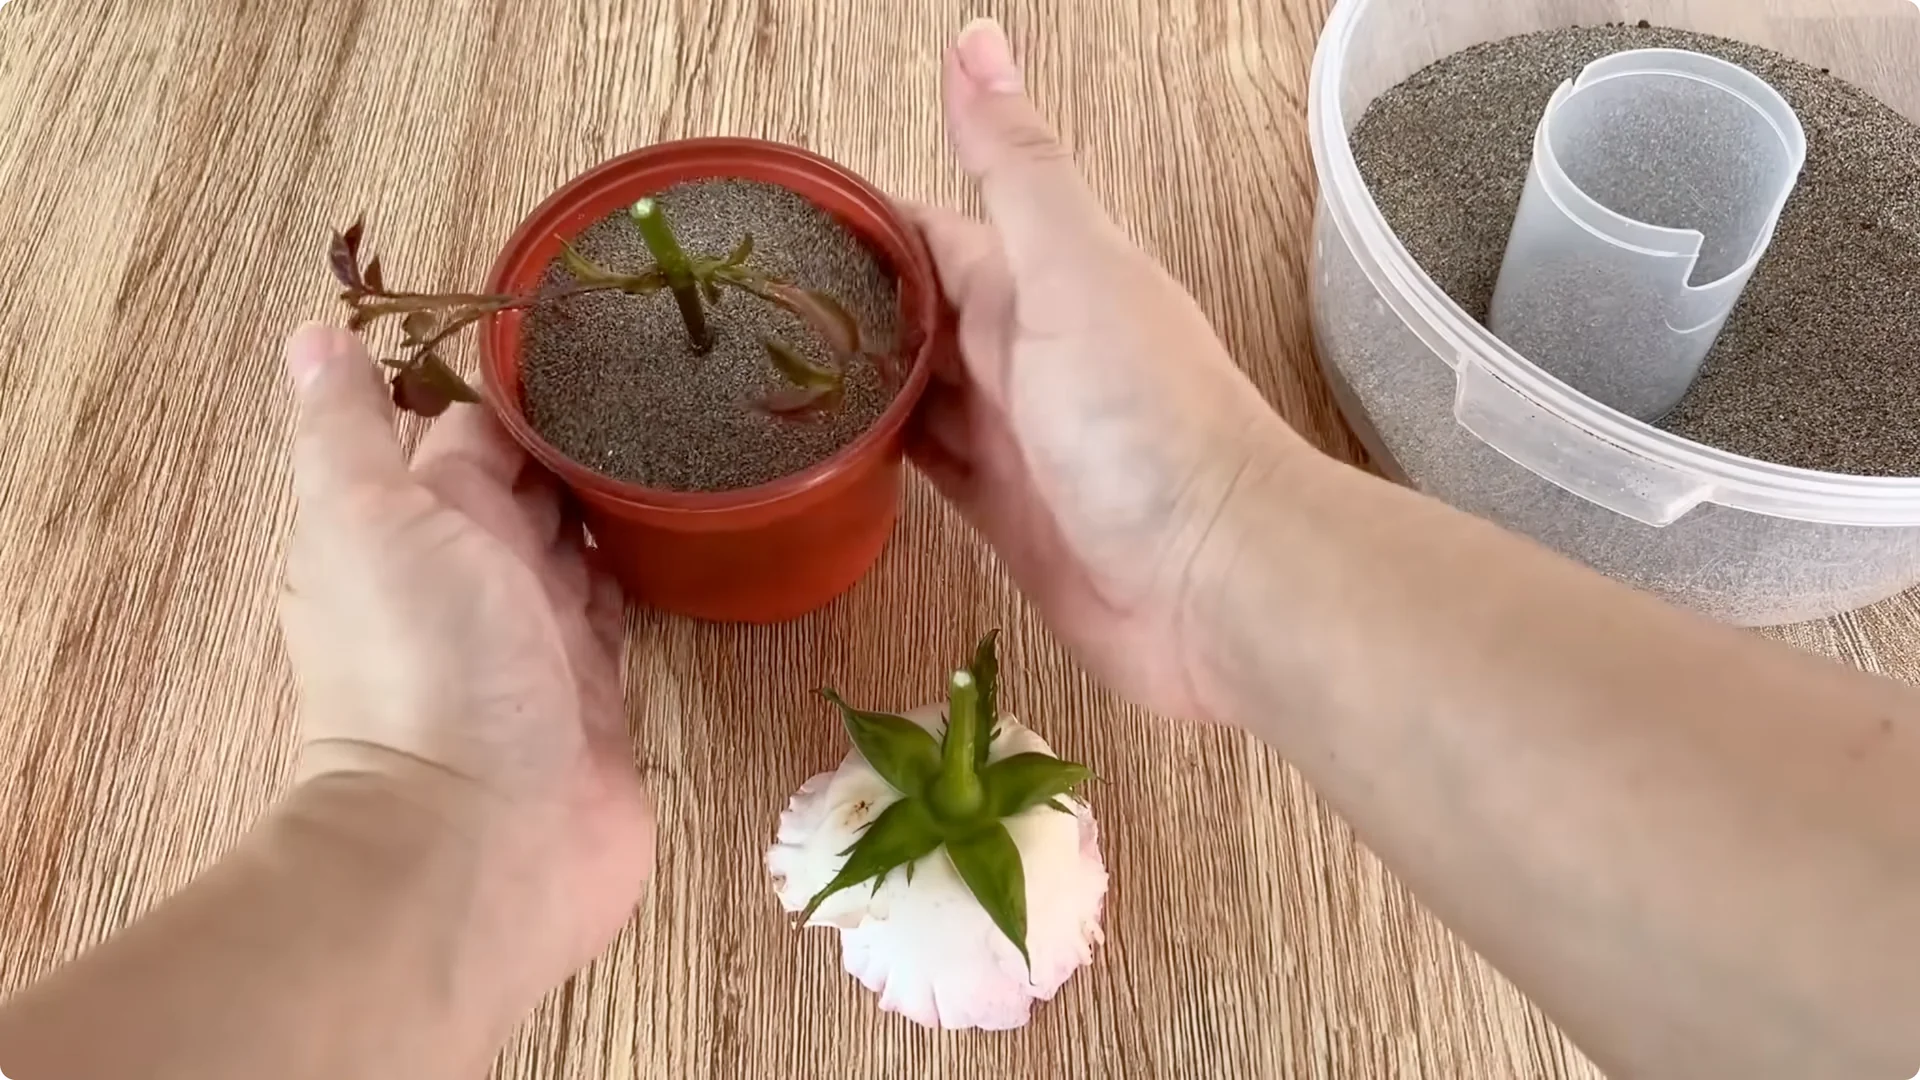
9. Egg Yolk Rose Propagation: Transplanting the Rooted Cutting
Once the roots have developed stably, transfer the rose stem to a pot. Choose a pot with good drainage and use treated river sand as the initial growing medium to help the young roots adapt easily.
10. Egg Yolk Rose Propagation: Natural Alternatives to Synthetic Hormones
Propagating roses from cuttings does not necessarily rely on chemical rooting hormones. With a little meticulousness, patience, and a proper understanding of the role of each natural ingredient, you can create an ideal environment for your rose cuttings to take root and grow vigorously.
Each step, each day of waiting, is part of the process of bonding with the plant, helping the grower feel the life developing little by little. From these simple experiences, the joy of gardening becomes more complete, so each new rose cutting is not just a seedling, but also the result of perseverance, passion, and love for nature.
Final Thoughts on Egg Yolk Rose Propagation
Choose a healthy, moderately mature cutting, prepare the egg yolk soak, and make the garlic and eggshell extract. Combine it with rice water, secure the cutting through foam, and keep it in a humid mini greenhouse with soft light.
Watch for new shoots and white roots after about 10 days, then move the cutting to well-drained sand to establish. Patience and care turn simple ingredients into a supportive start for vigorous growth.
The Beginner’s Rose Propagation Starter Kit 🌹
A simple printable PDF guide to help you root rose cuttings successfully.
Get The Guide →