
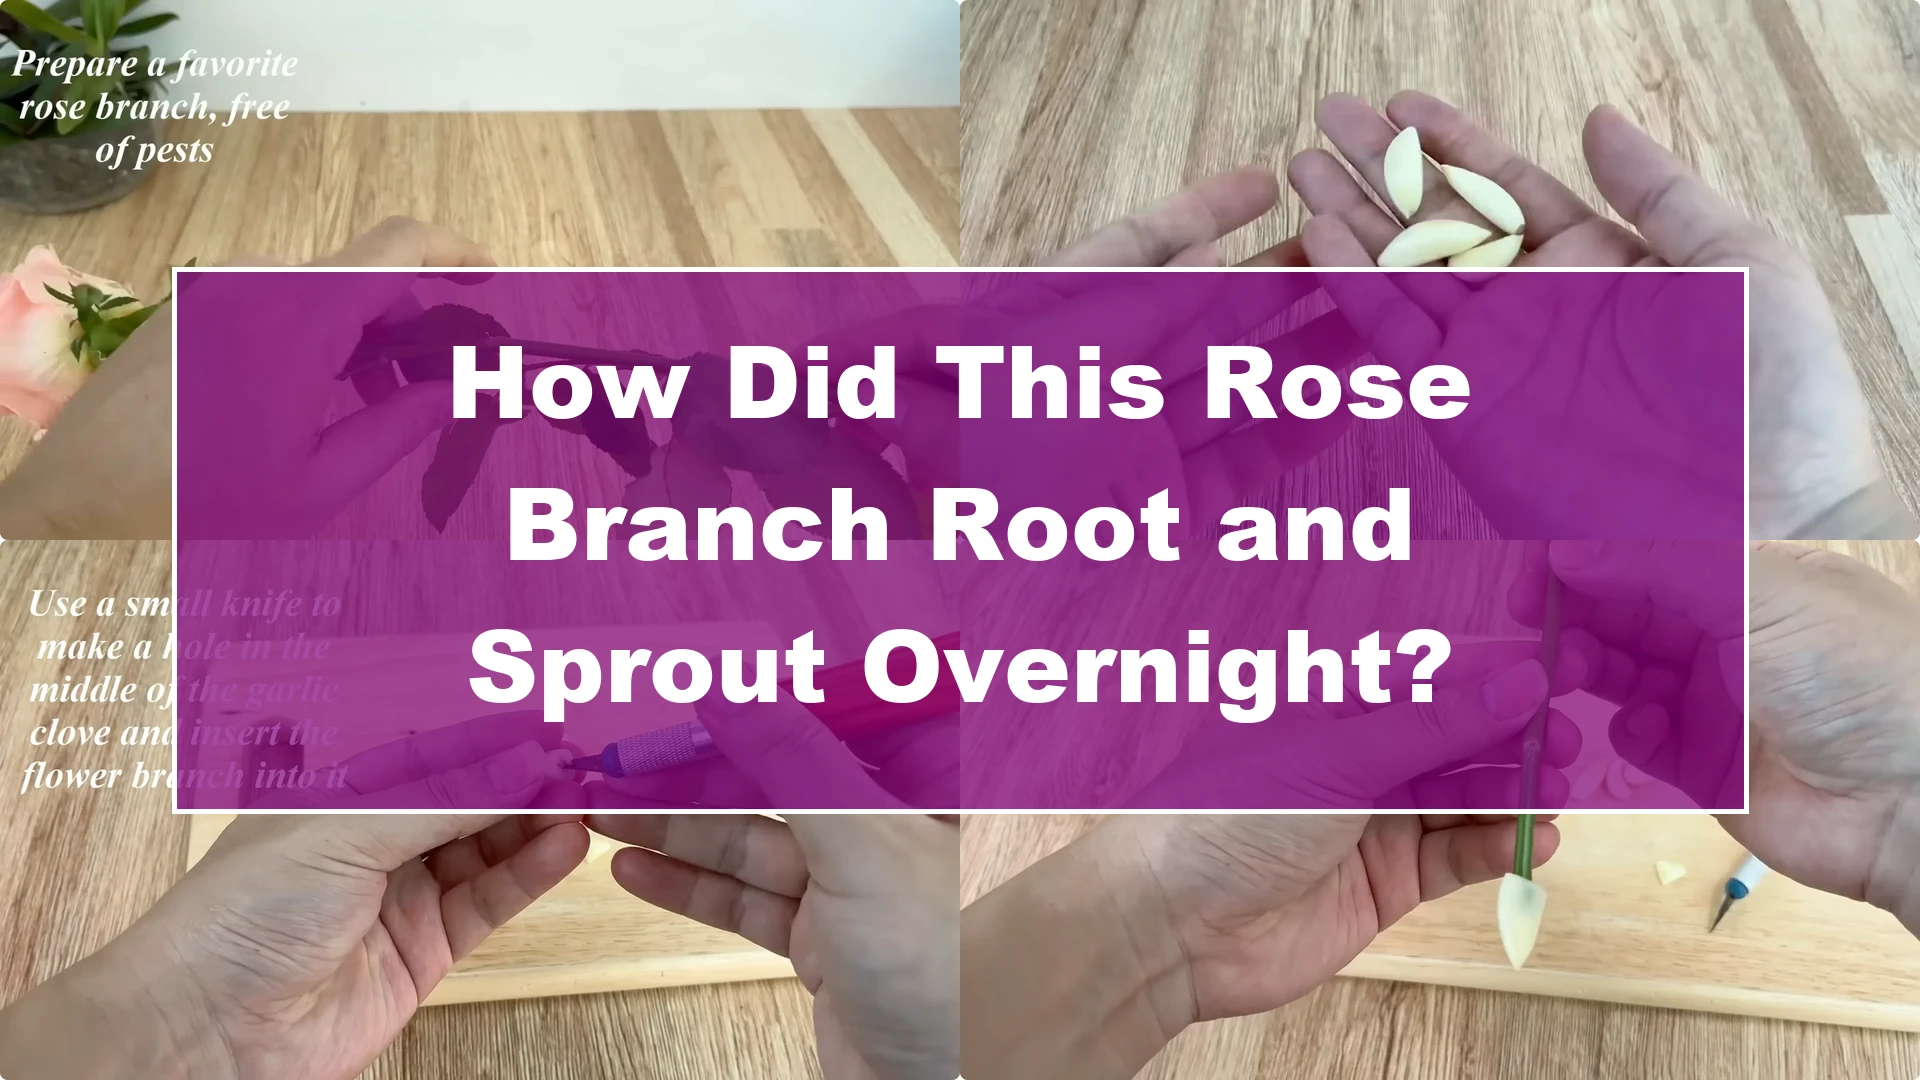
Have you ever planted a rose cutting that still did not root after many days, or even rotted and wilted?
Today, I will share a completely natural and extremely effective method. After only 10 days, you will see the flower branch sprouting green buds, plump white roots, ready to be planted in a large pot.
The Beginner’s Rose Propagation Starter Kit 🌹
A simple printable PDF guide to help you root rose cuttings successfully.
Get The Guide →Let’s start step by step.
1. Rooting Rose Cuttings: Choose the Right Stem
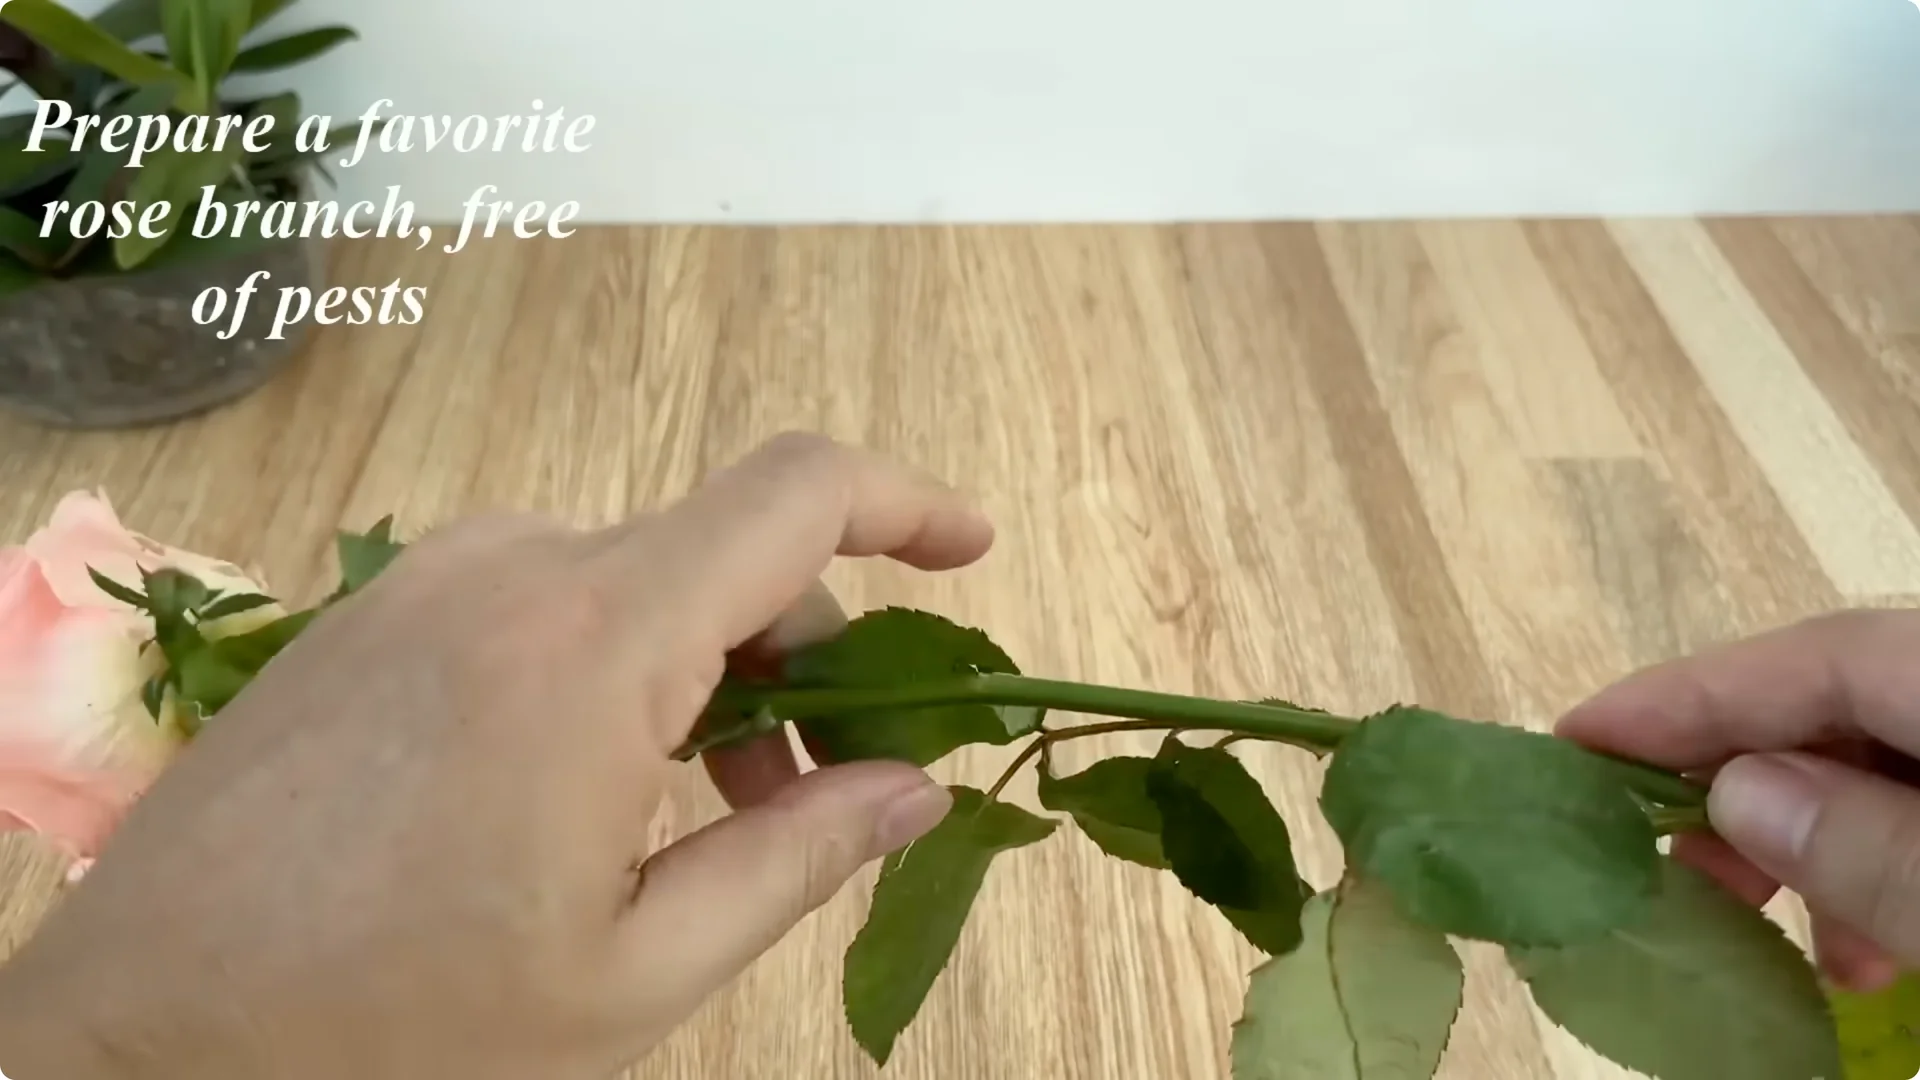
First, choose a healthy rose branch that is free of pests and diseases. A branch that is not too young or too old will have the best rooting ability.
Cut the branches to about 15 to 20 cm, remove all leaves and sharp thorns. This helps the branches limit water loss, focus all energy on the rooting process and sprout new buds. This is an important step to create a solid foundation for future development.
2. Rooting Rose Cuttings: Why Garlic Works
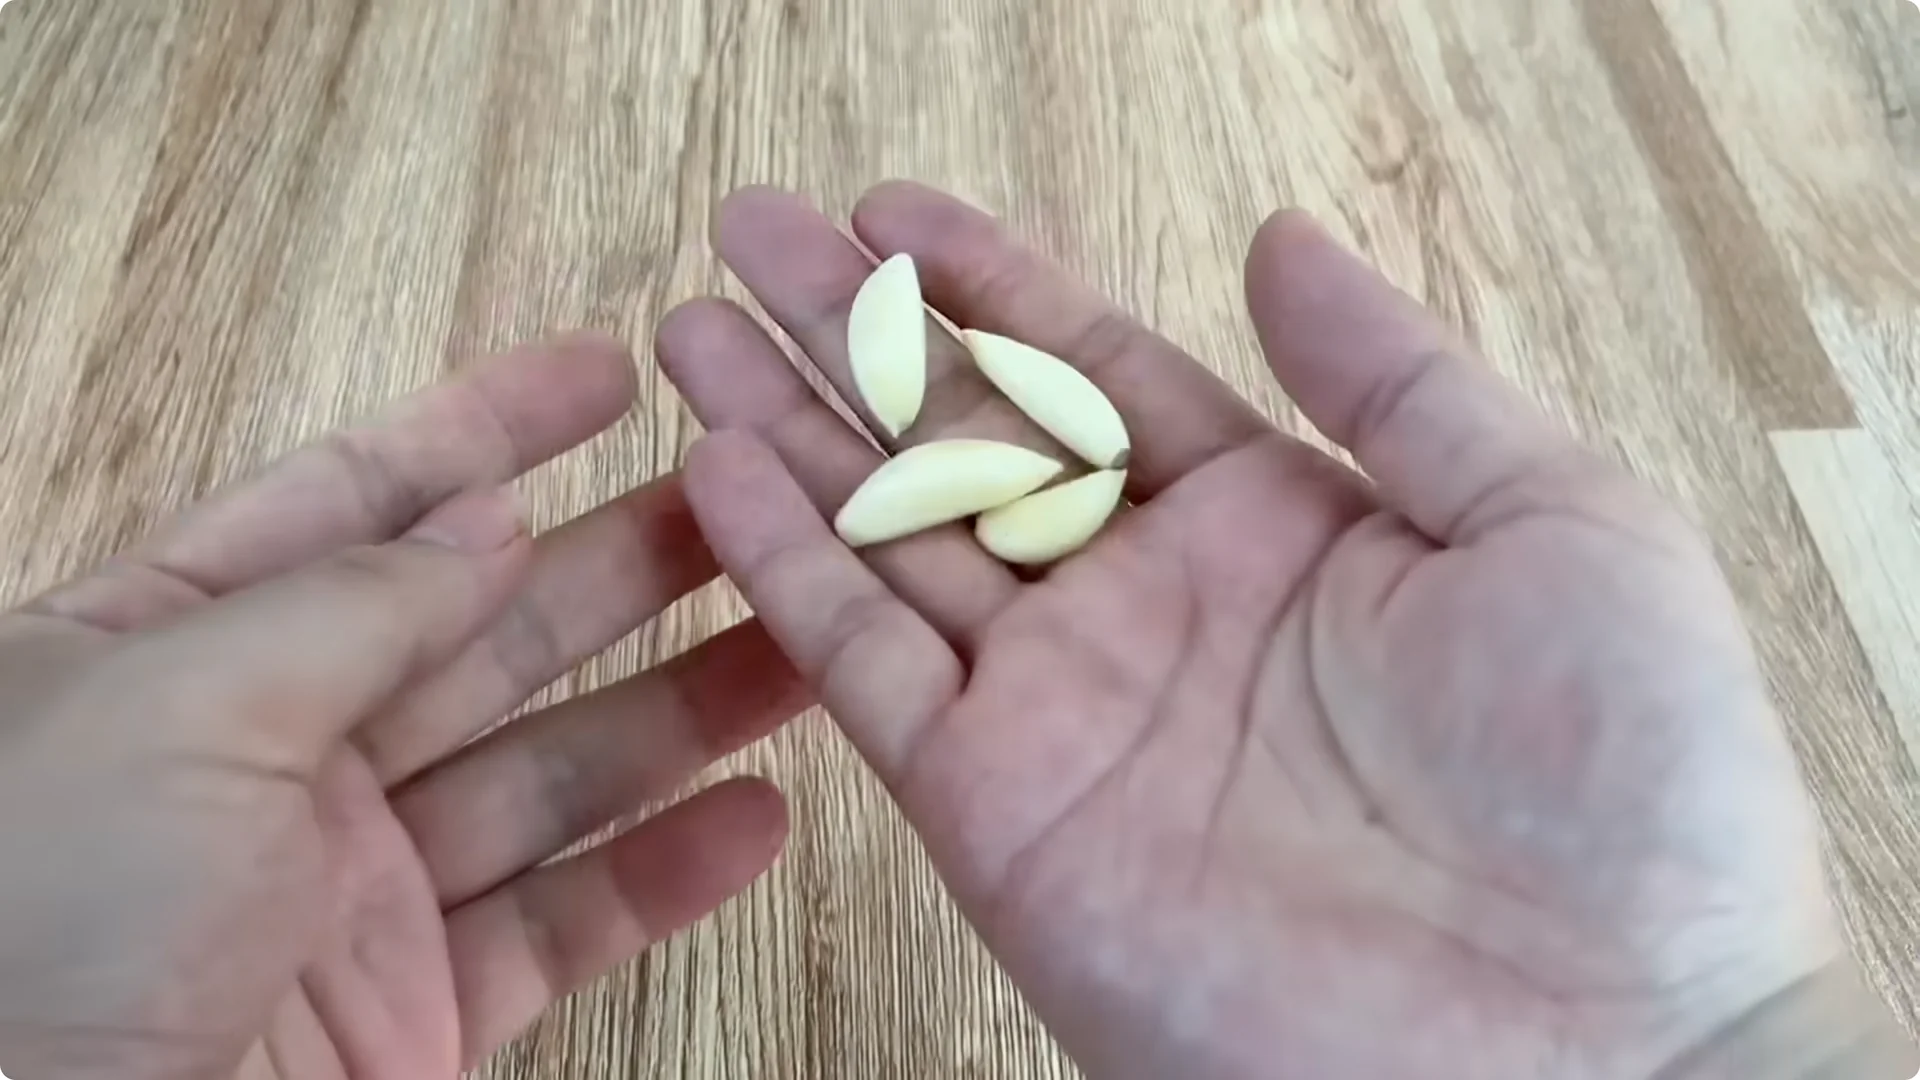
The first ingredient we need is garlic, a familiar spice but a miracle drug in plant propagation. Garlic contains a large amount of allicin, a natural antibacterial compound that can kill mold and harmful microorganisms.
Garlic prep for Rooting Rose Cuttings
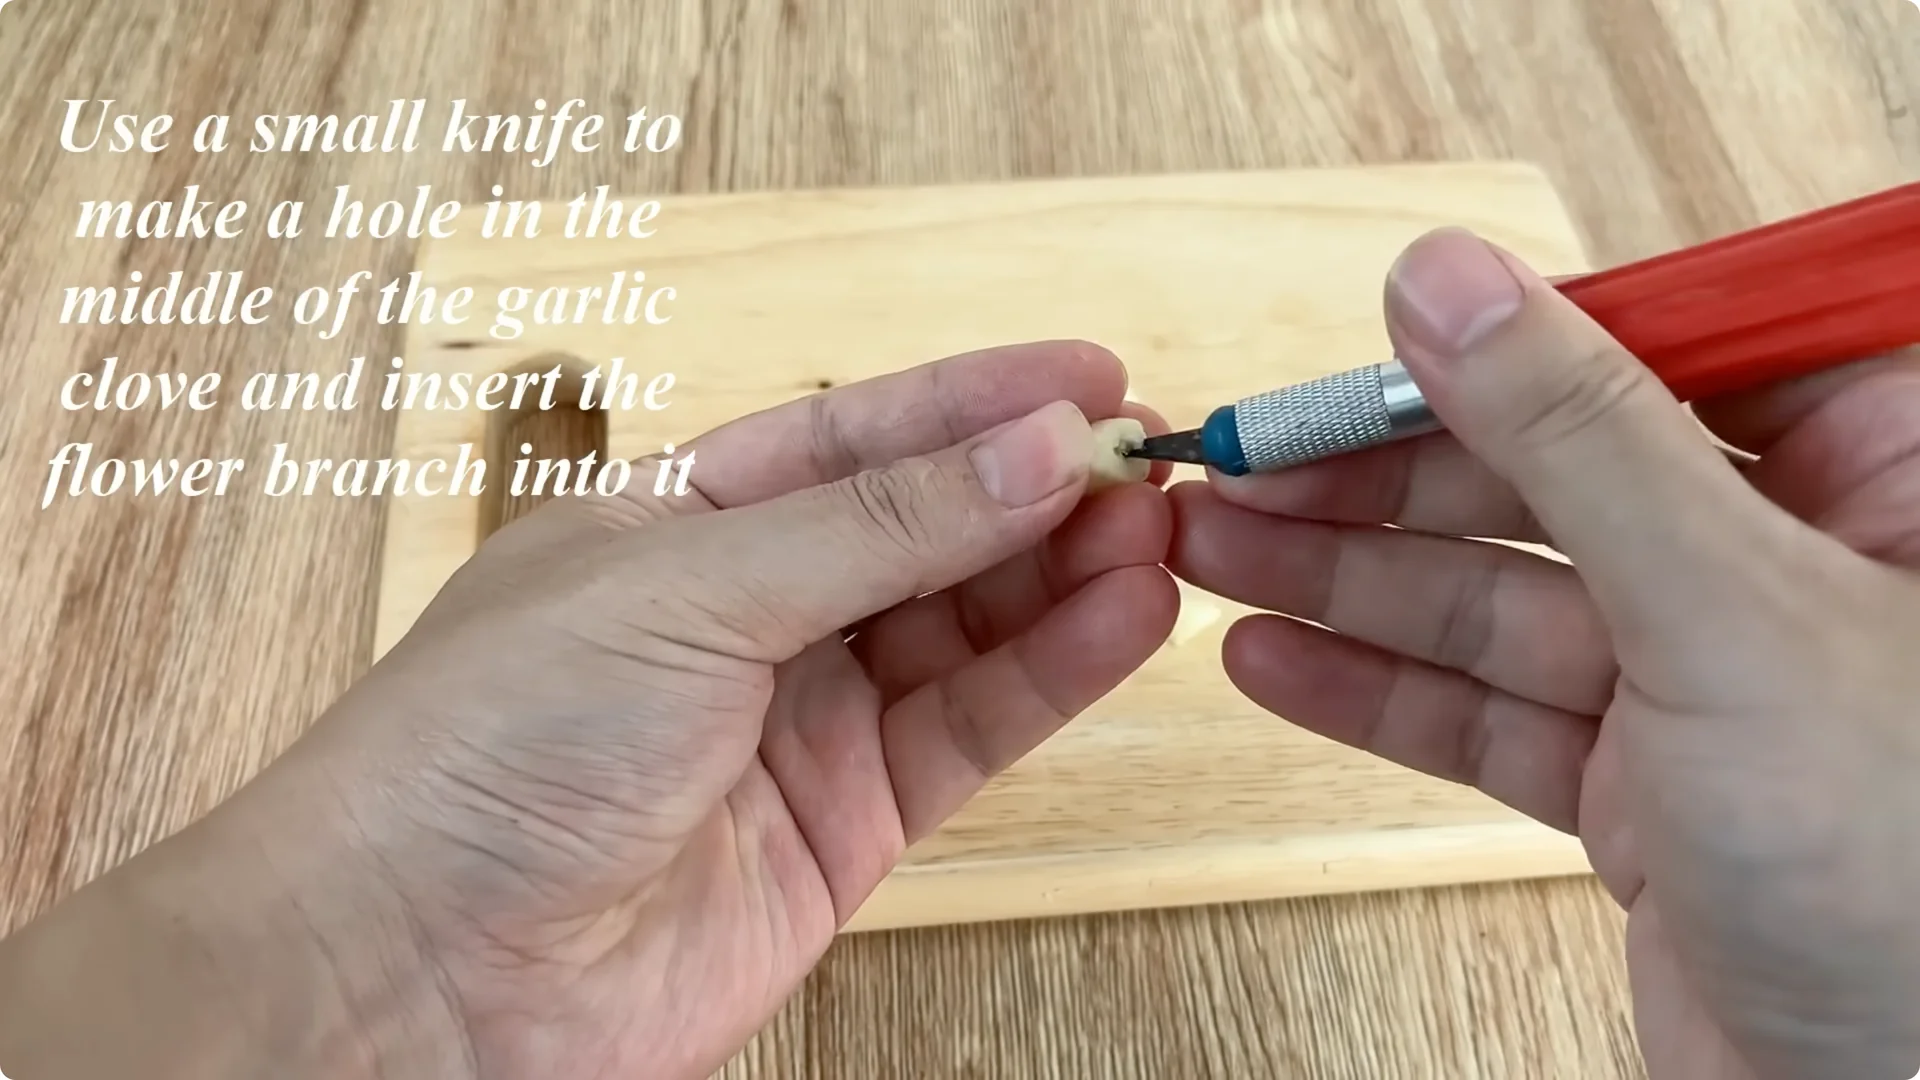
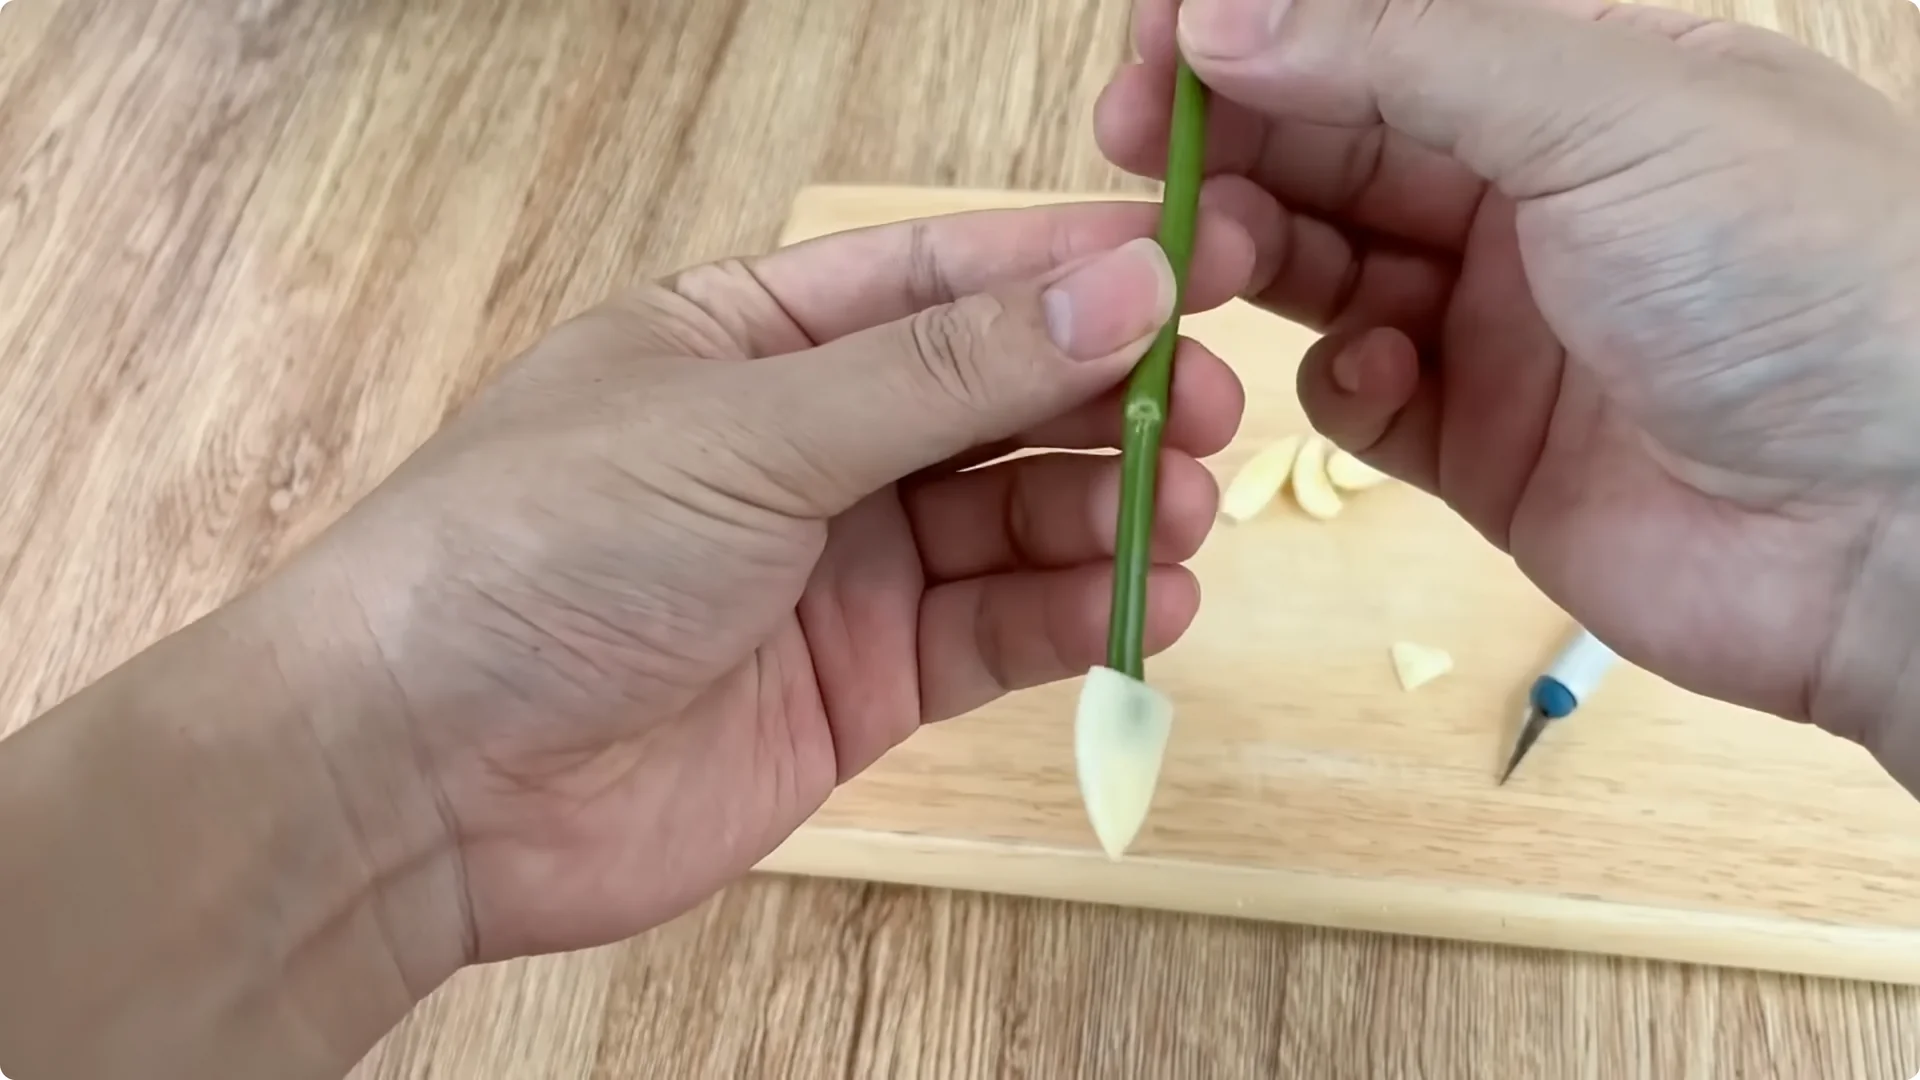
Peel 4 cloves of garlic, then take one clove, cut off the top, make a small hole in the middle and insert the base of the flower branch into it. When inserting flower branches into garlic cloves, allicin will directly protect the cut, preventing root rot.
The remaining cloves, you rub on the entire stem, especially at the cut, both disinfecting and creating a natural protective layer. This is a way for the flower branch to directly absorb the essence from the garlic.
Apply and boost with garlic
The remaining garlic, chop finely and put in a clean plastic cup to prepare the solution. Not only is garlic a strong antiseptic, it also stimulates cells at the wound of the rose branch to work more strongly, thereby easily forming new roots.
3. Rooting Rose Cuttings: Add Carrot Nutrients
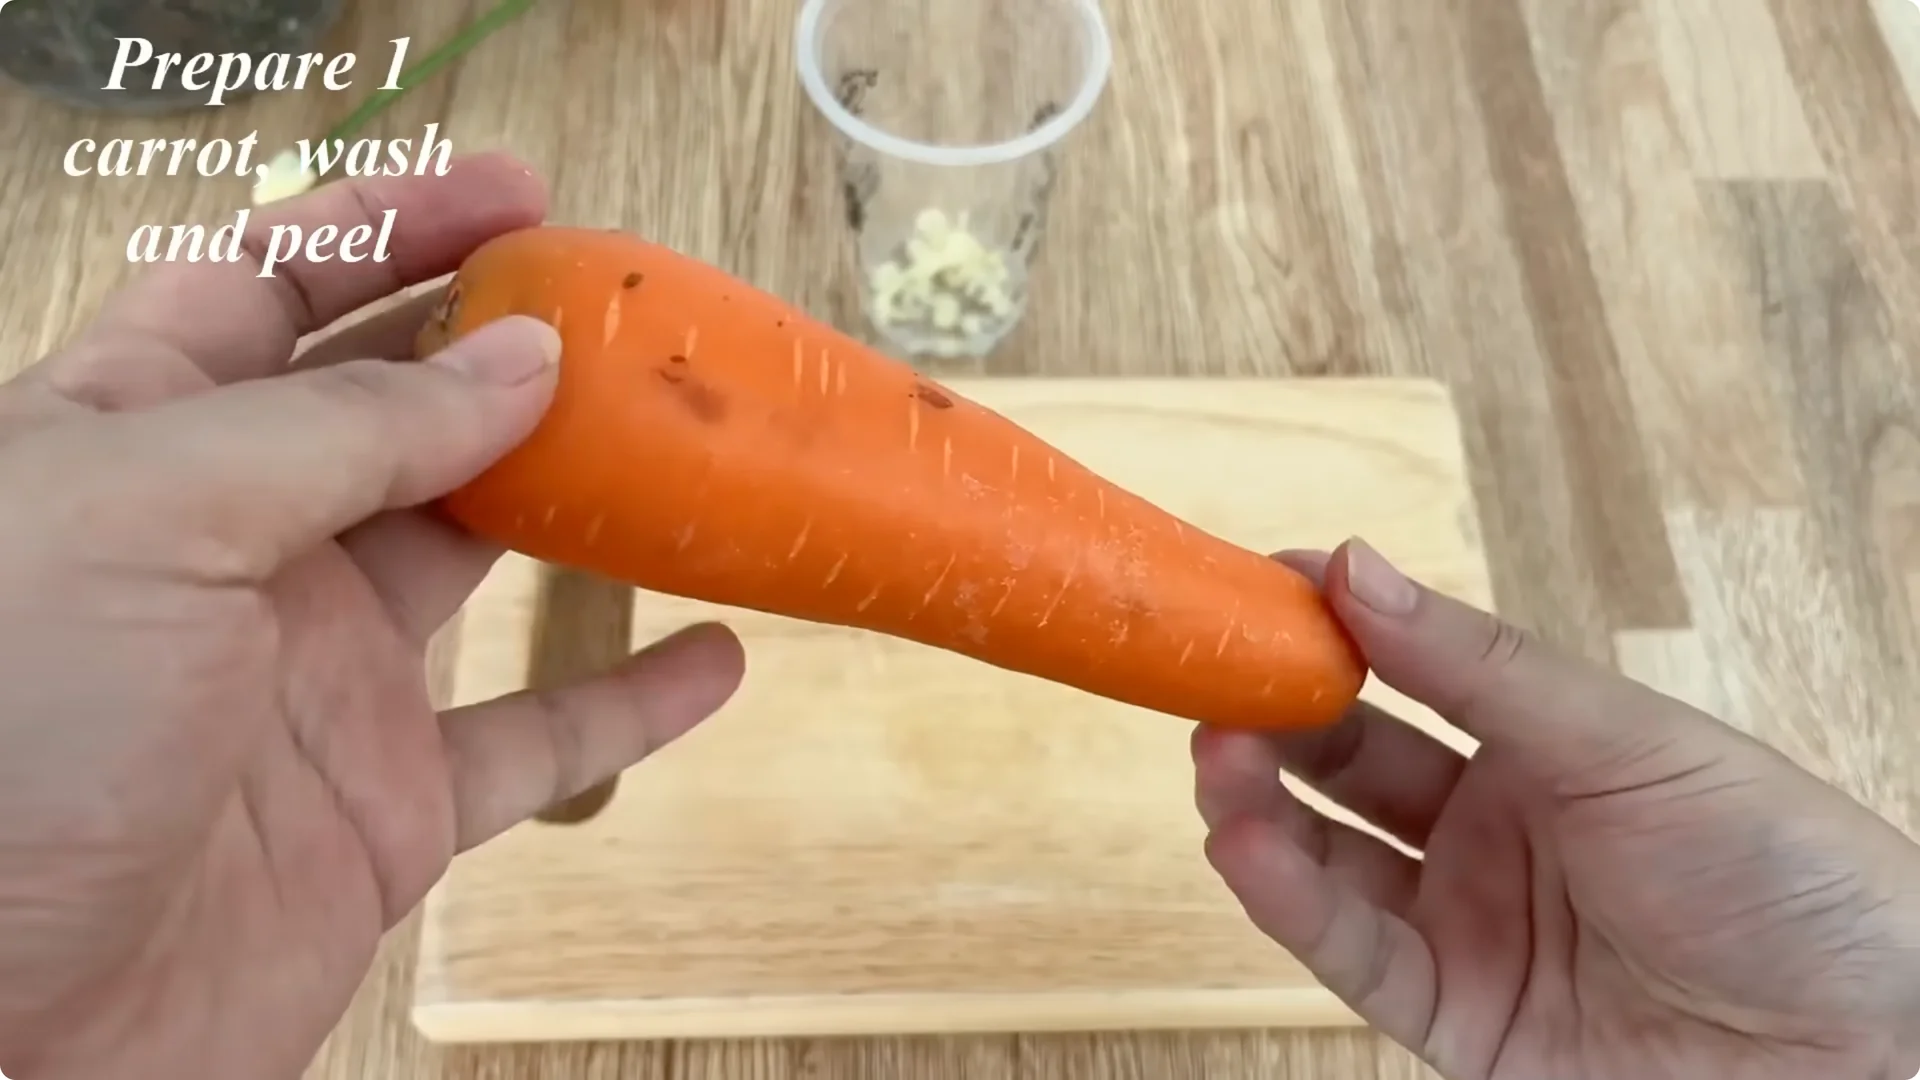
Next is carrots, a root vegetable rich in beta carotene, vitamin A, C and minerals. In propagation, carrots play a role in providing energy and antioxidants.
Beta carotene helps protect young tissue from environmental impacts, vitamin C promotes cell division and minerals potassium, phosphorus, manganese support the formation of healthy roots. We wash, peel and cut the carrot skin very small, then put it in the cup with the prepared garlic.
For more ways to make rose cuttings sprout faster, see these tips to sprout faster.
4. Rooting Rose Cuttings: Coca Energy Mix
Next is a special ingredient, coca. It sounds strange, but coca contains sugar, caffeine and a small amount of phosphoric acid.
Sugar is a quick source of energy for flower branches in the early stages without roots. Caffeine has the ability to stimulate metabolism, helping cells to work more actively.
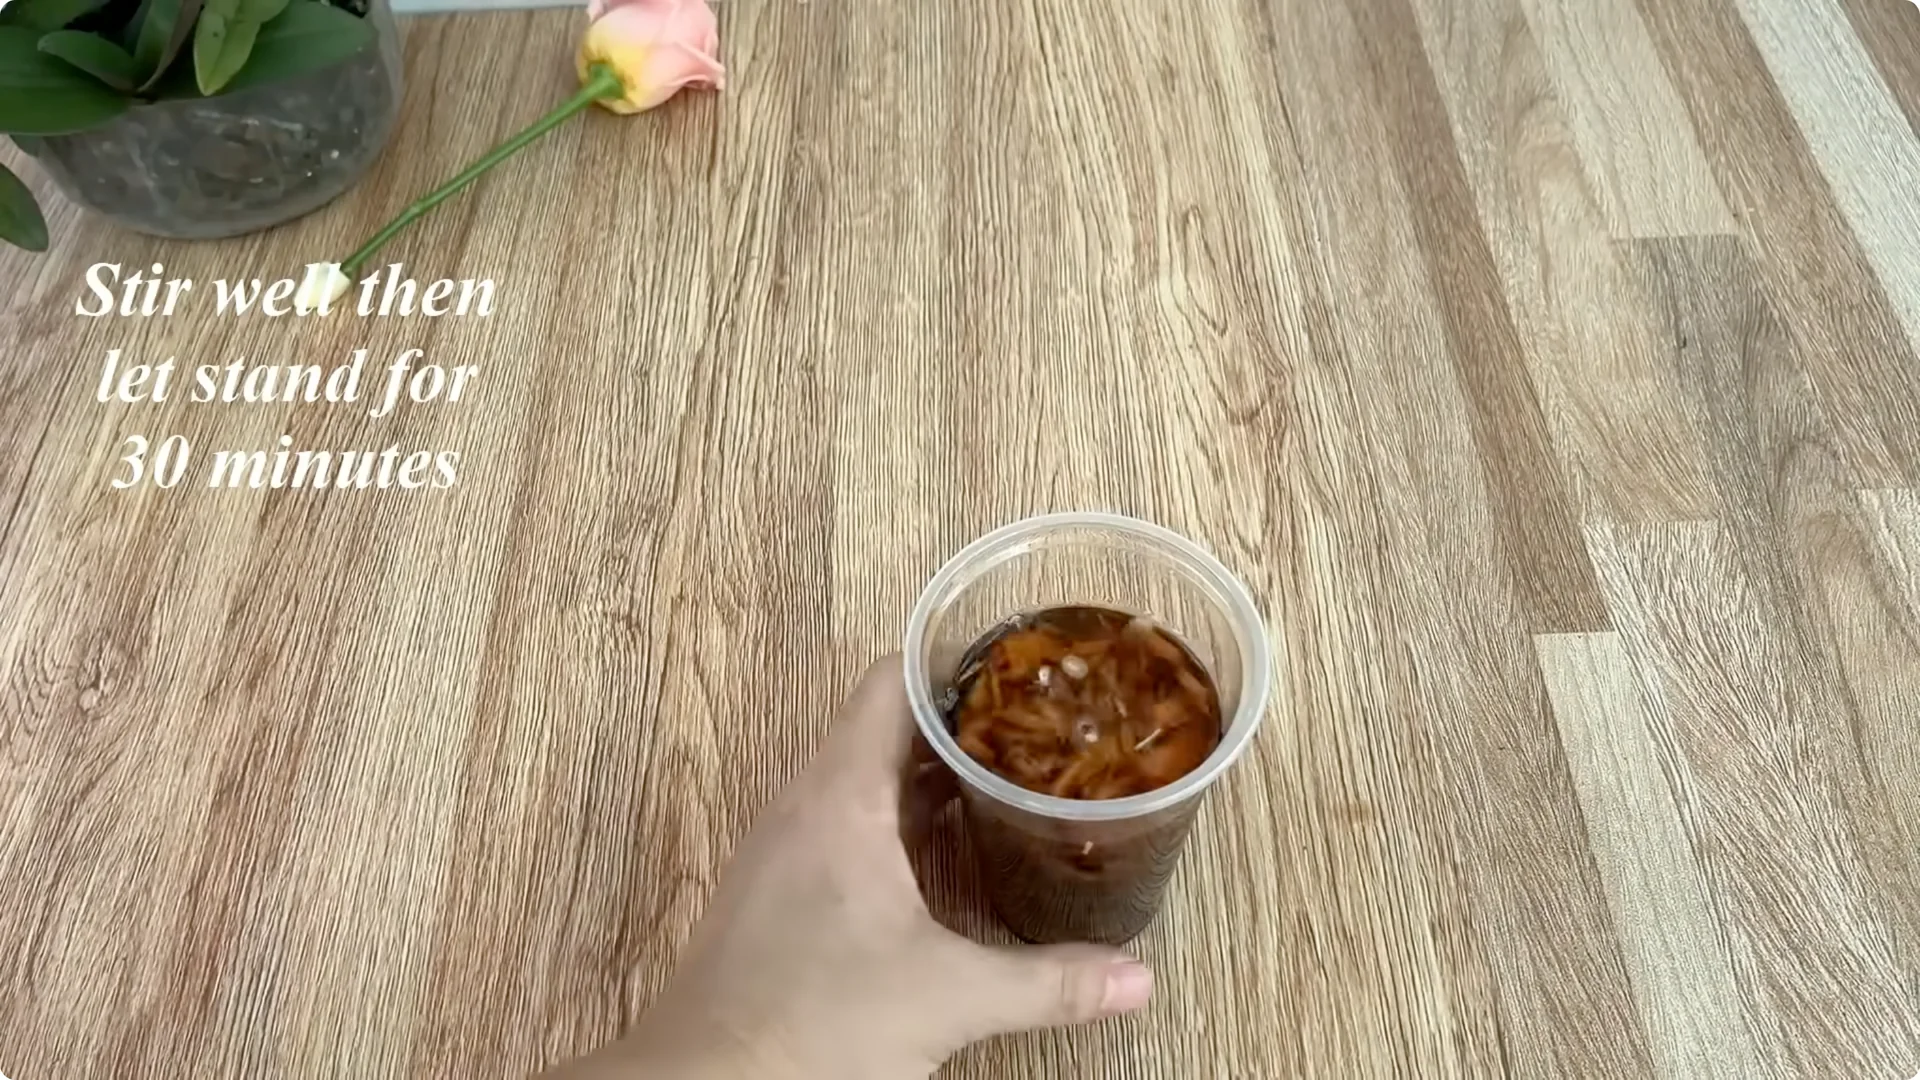
The mild acid in coca helps soften the cell membrane, helping the roots to grow easily. Add 300 ml of coca to the cup containing garlic and carrot peel, stir well and let it sit for about 30 minutes to let the nutrients blend.
5. Rooting Rose Cuttings: Set Up Jar and Foam
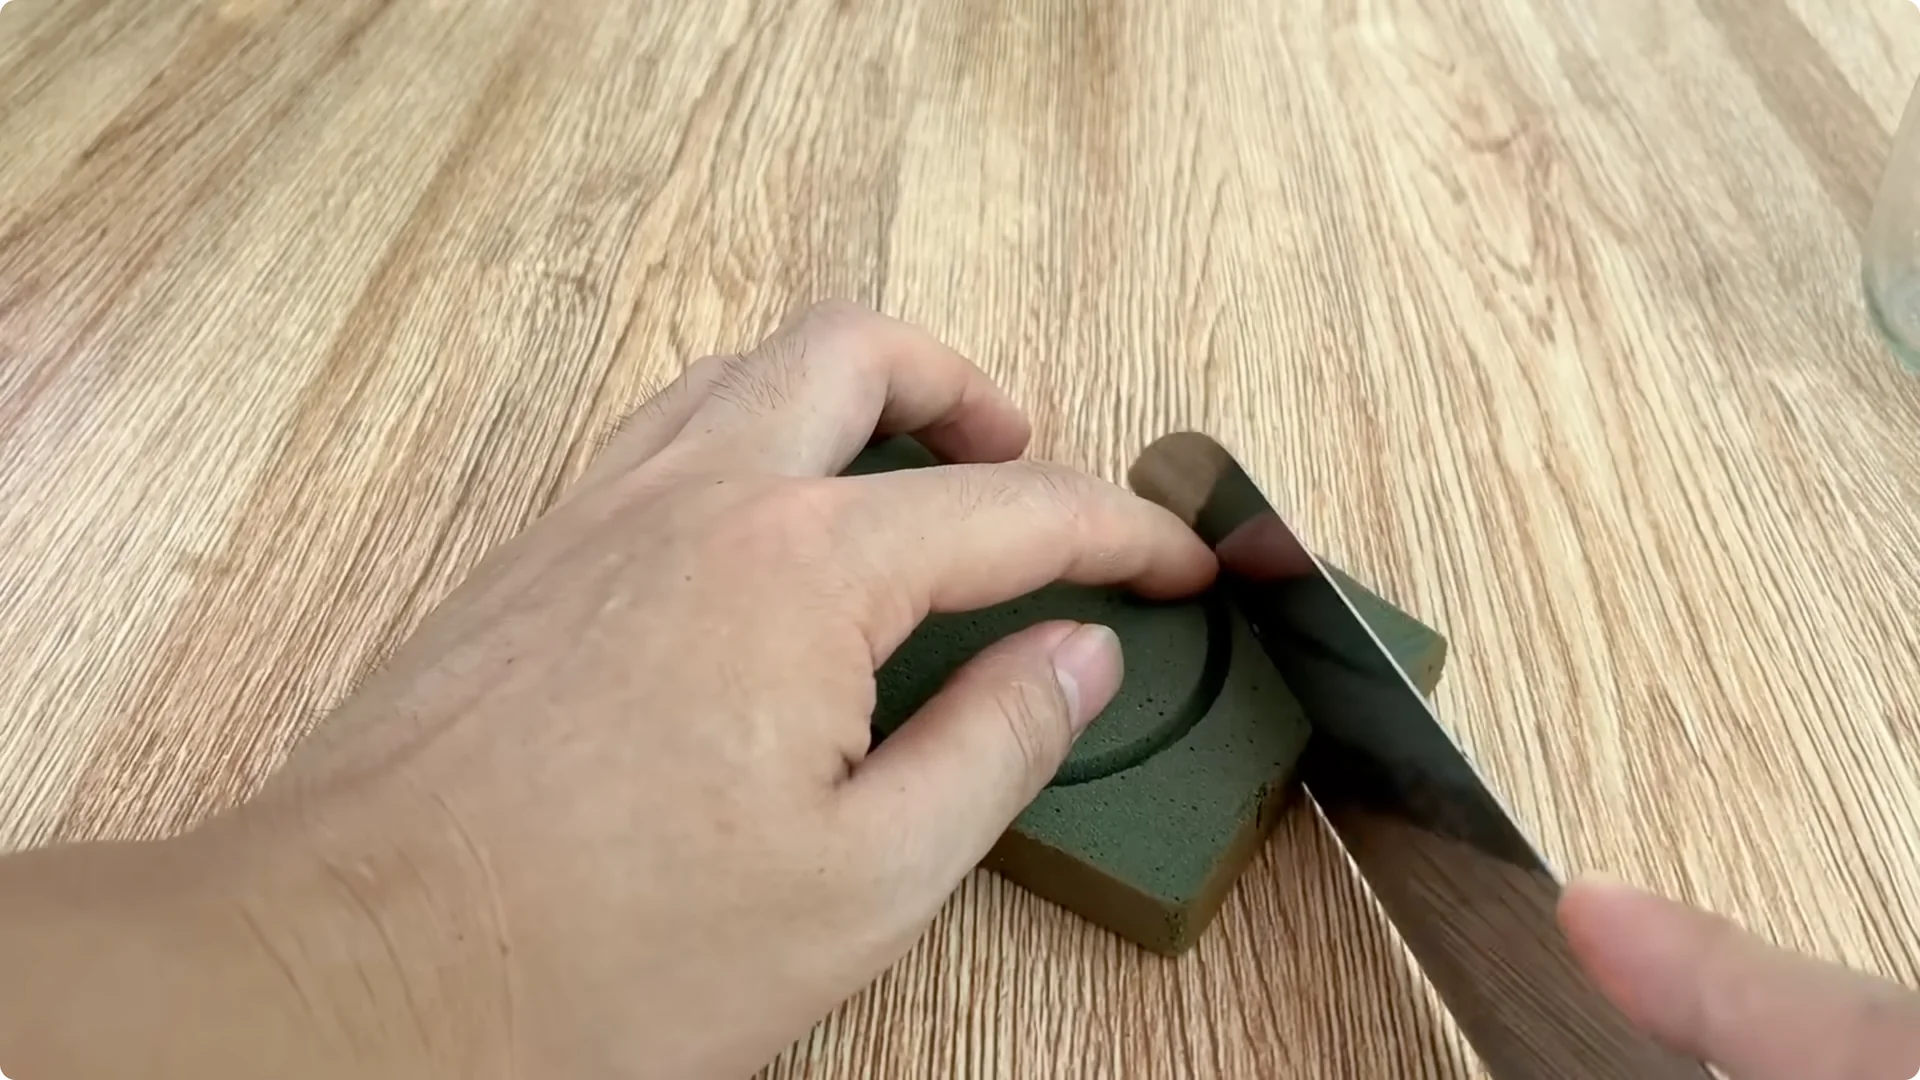
We prepare the tools to hold the branches in place, a piece of foam and a clean glass jar. Cut the foam so that it fits the mouth of the jar, then use a stick to make a small hole in the middle.
This method helps keep the flower branches upright, not shaking, and at the same time prevents dirt from falling into the solution.
Prepare and dilute the solution for Rooting Rose Cuttings
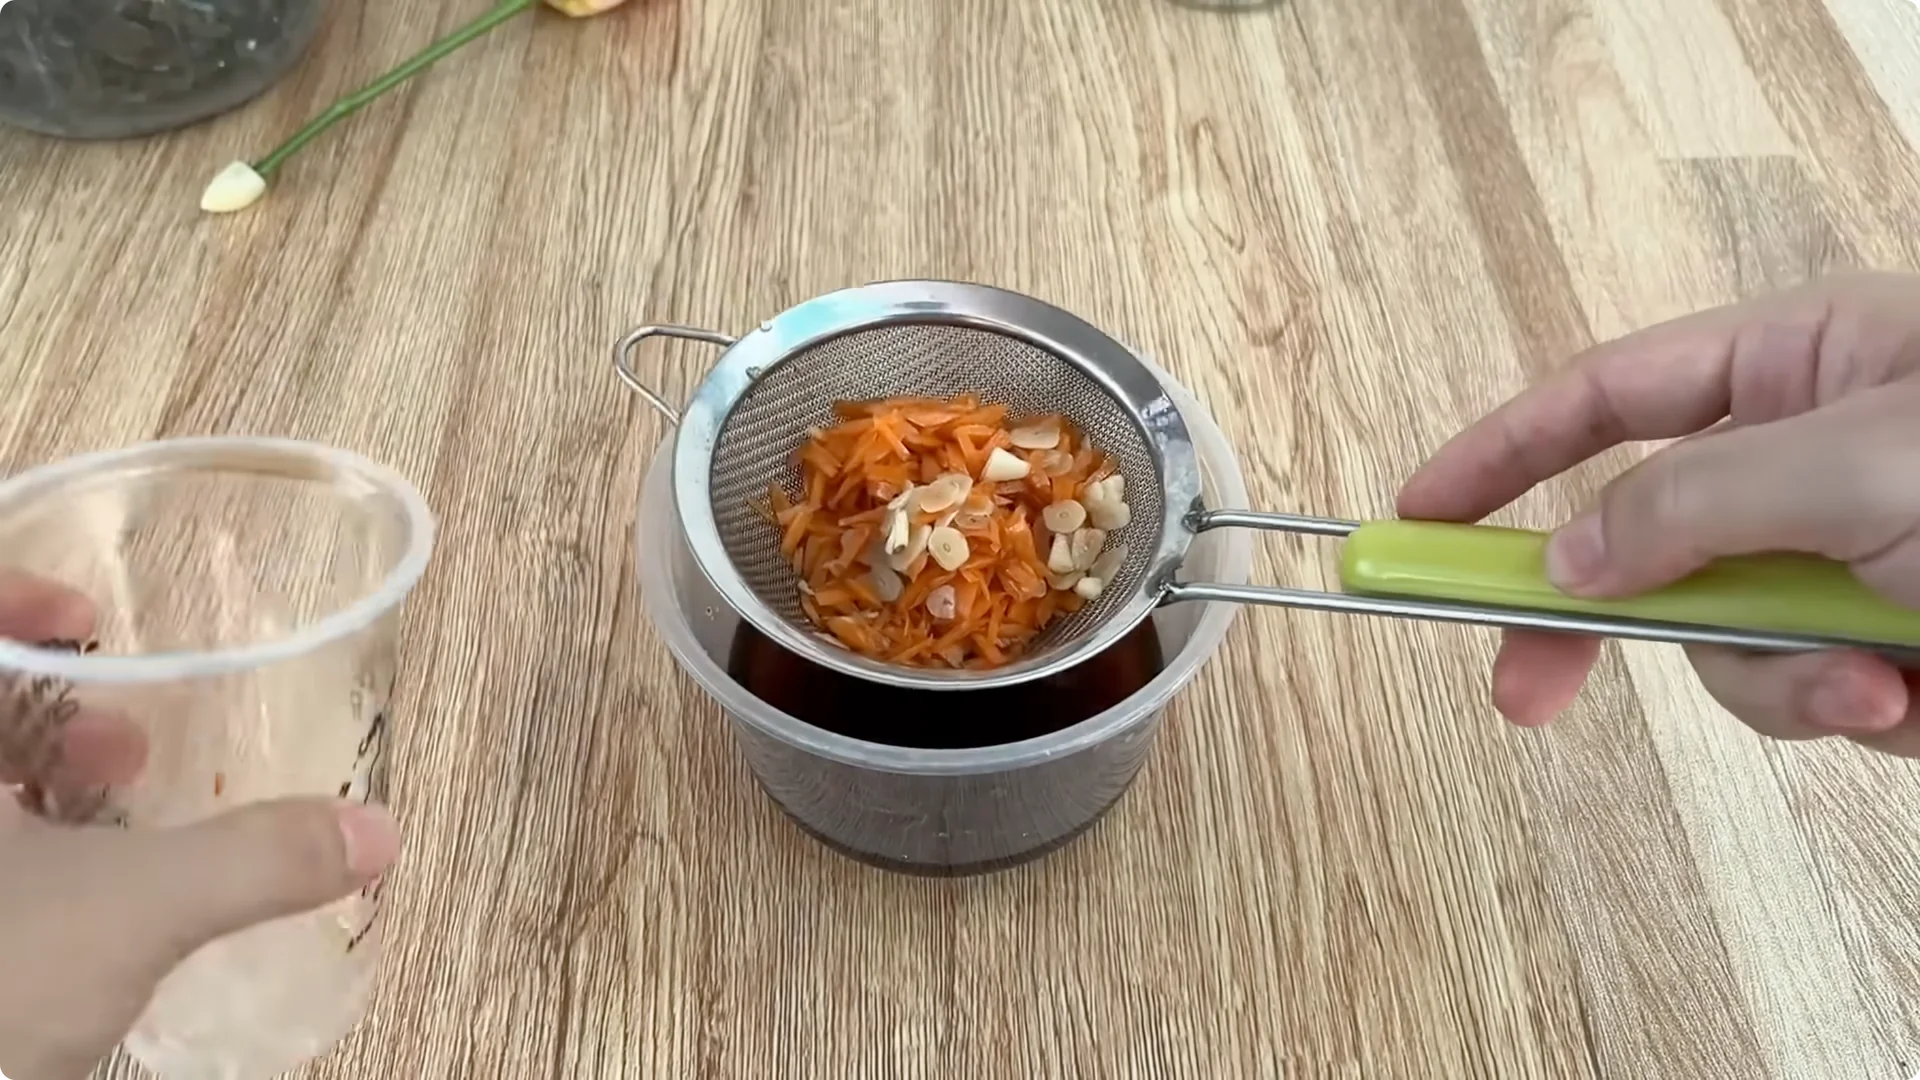
After soaking for enough time, we get a special mixture of garlic, carrot and coca. Stir well and filter out the residue, keeping only the clear solution.
To make it easier for the flower branches to absorb and avoid residues that shock the roots, dilute this solution with clean water to get about 1 liter of mixture. This will be the main solution to nourish the flower branches during the rooting process.
6. Rooting Rose Cuttings: Insert and Cover
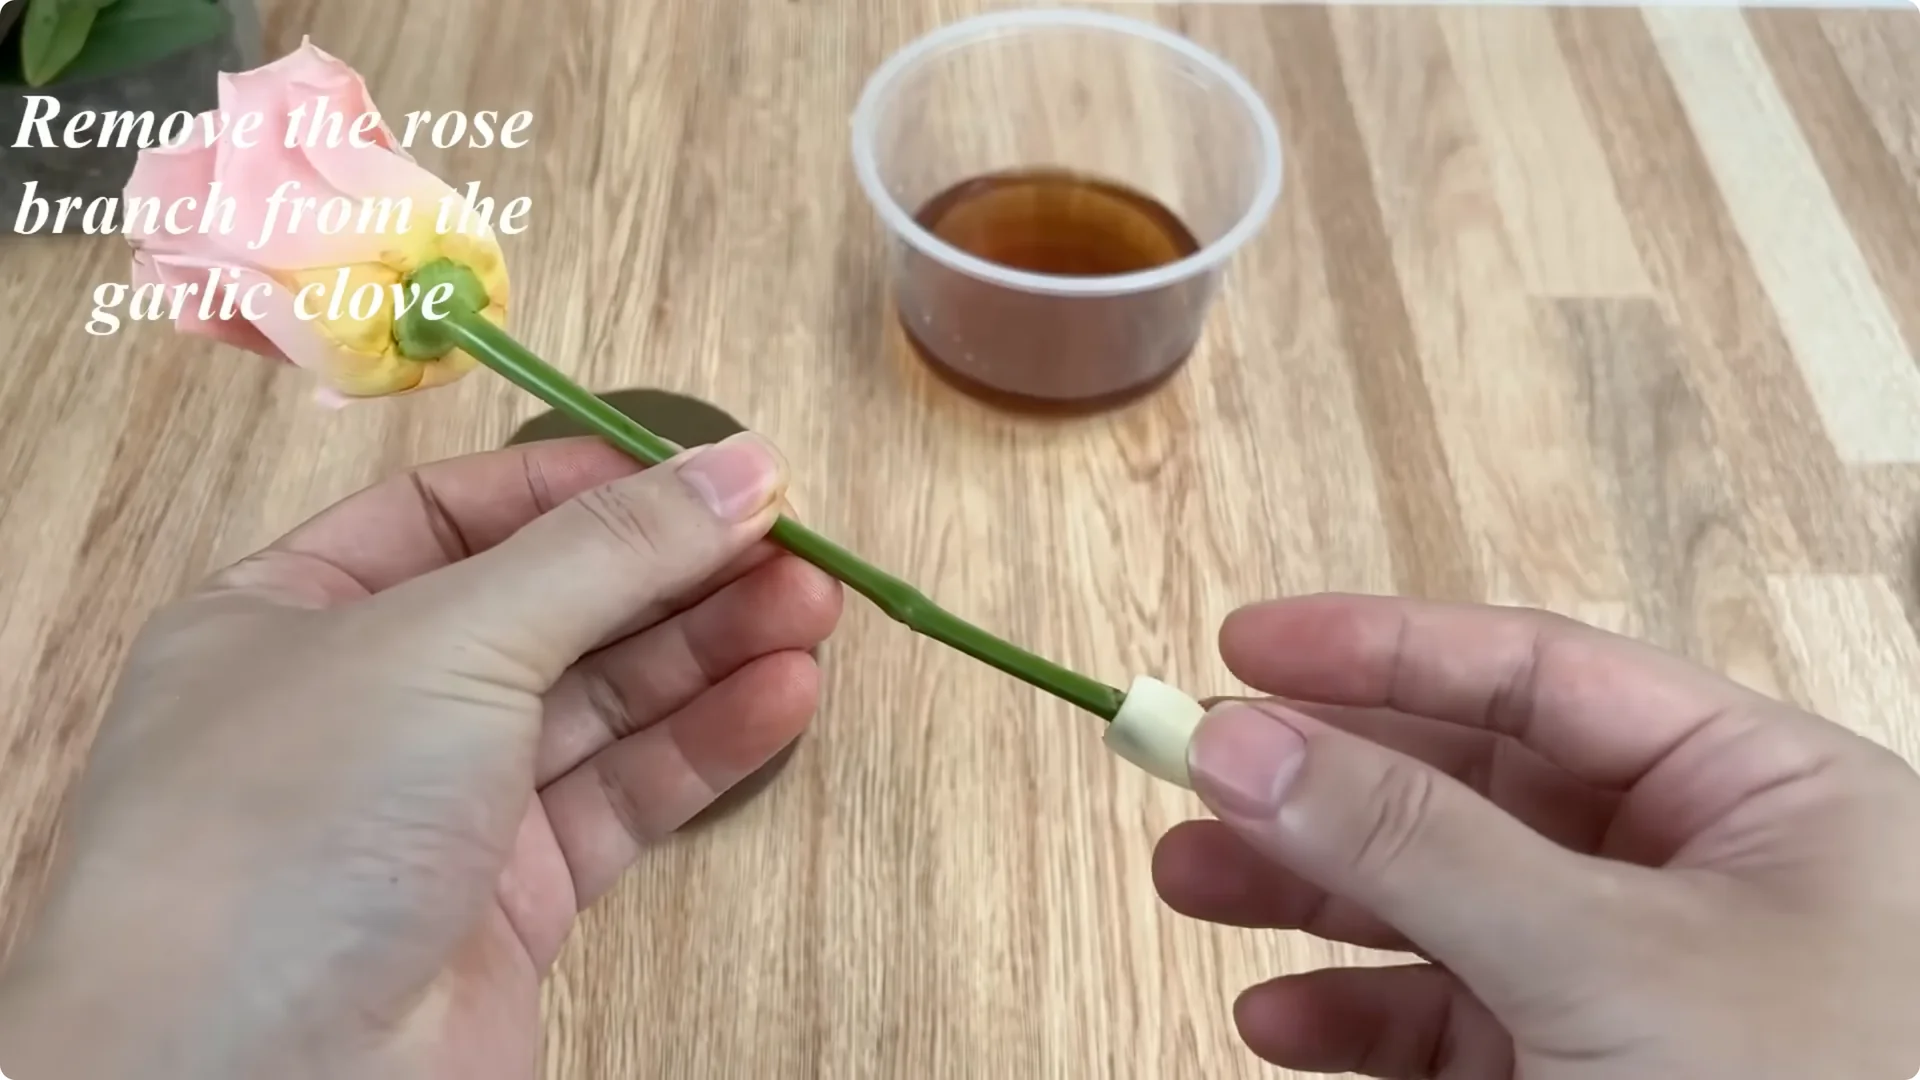
Next, pour the mixed solution into the glass jar until it is almost full. Remove the flower stem from the garlic clove, use a string to lightly tie the middle of the stem to secure it.
Position the stem for Rooting Rose Cuttings
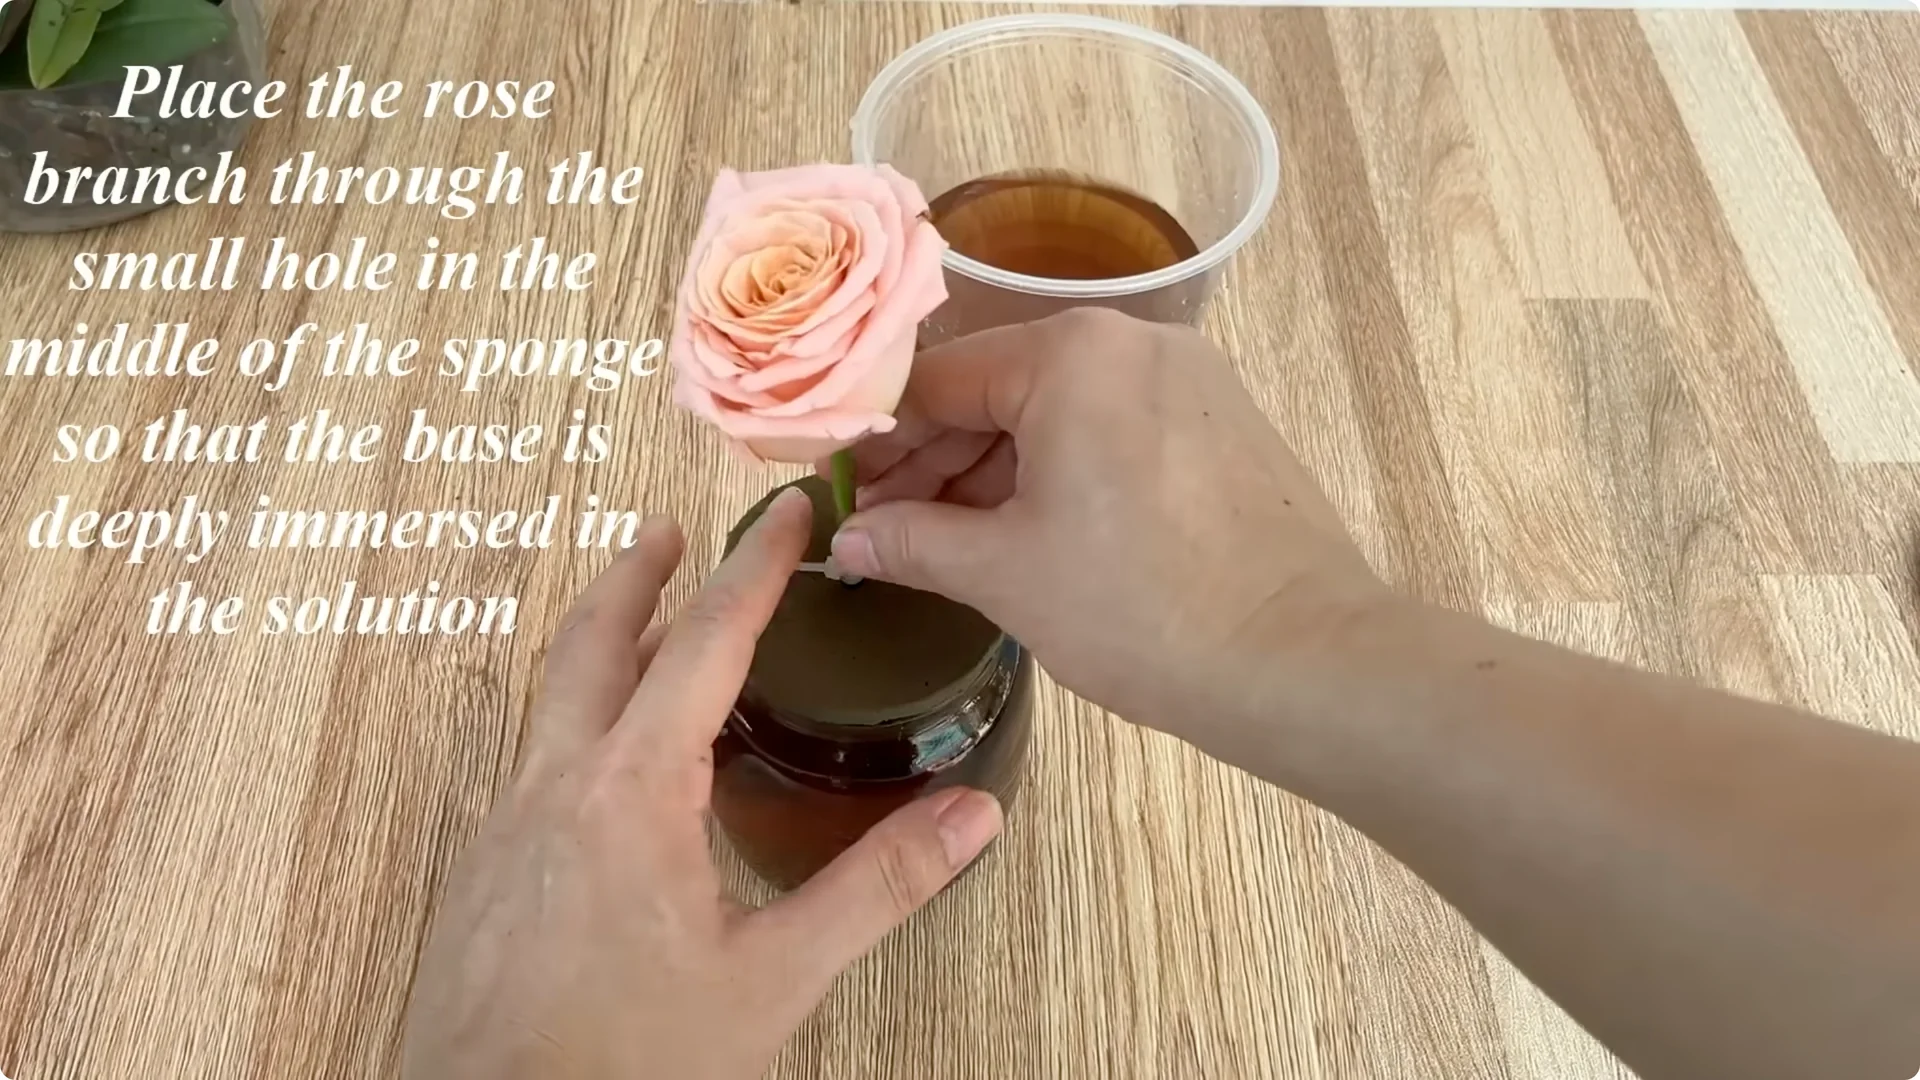
Then insert the base of the stem into a small hole on the foam so that it is deeply immersed in the solution. Thanks to that, the base of the stem is always in direct contact with nutrients, creating optimal conditions for root development.
Create a humid cover for Rooting Rose Cuttings
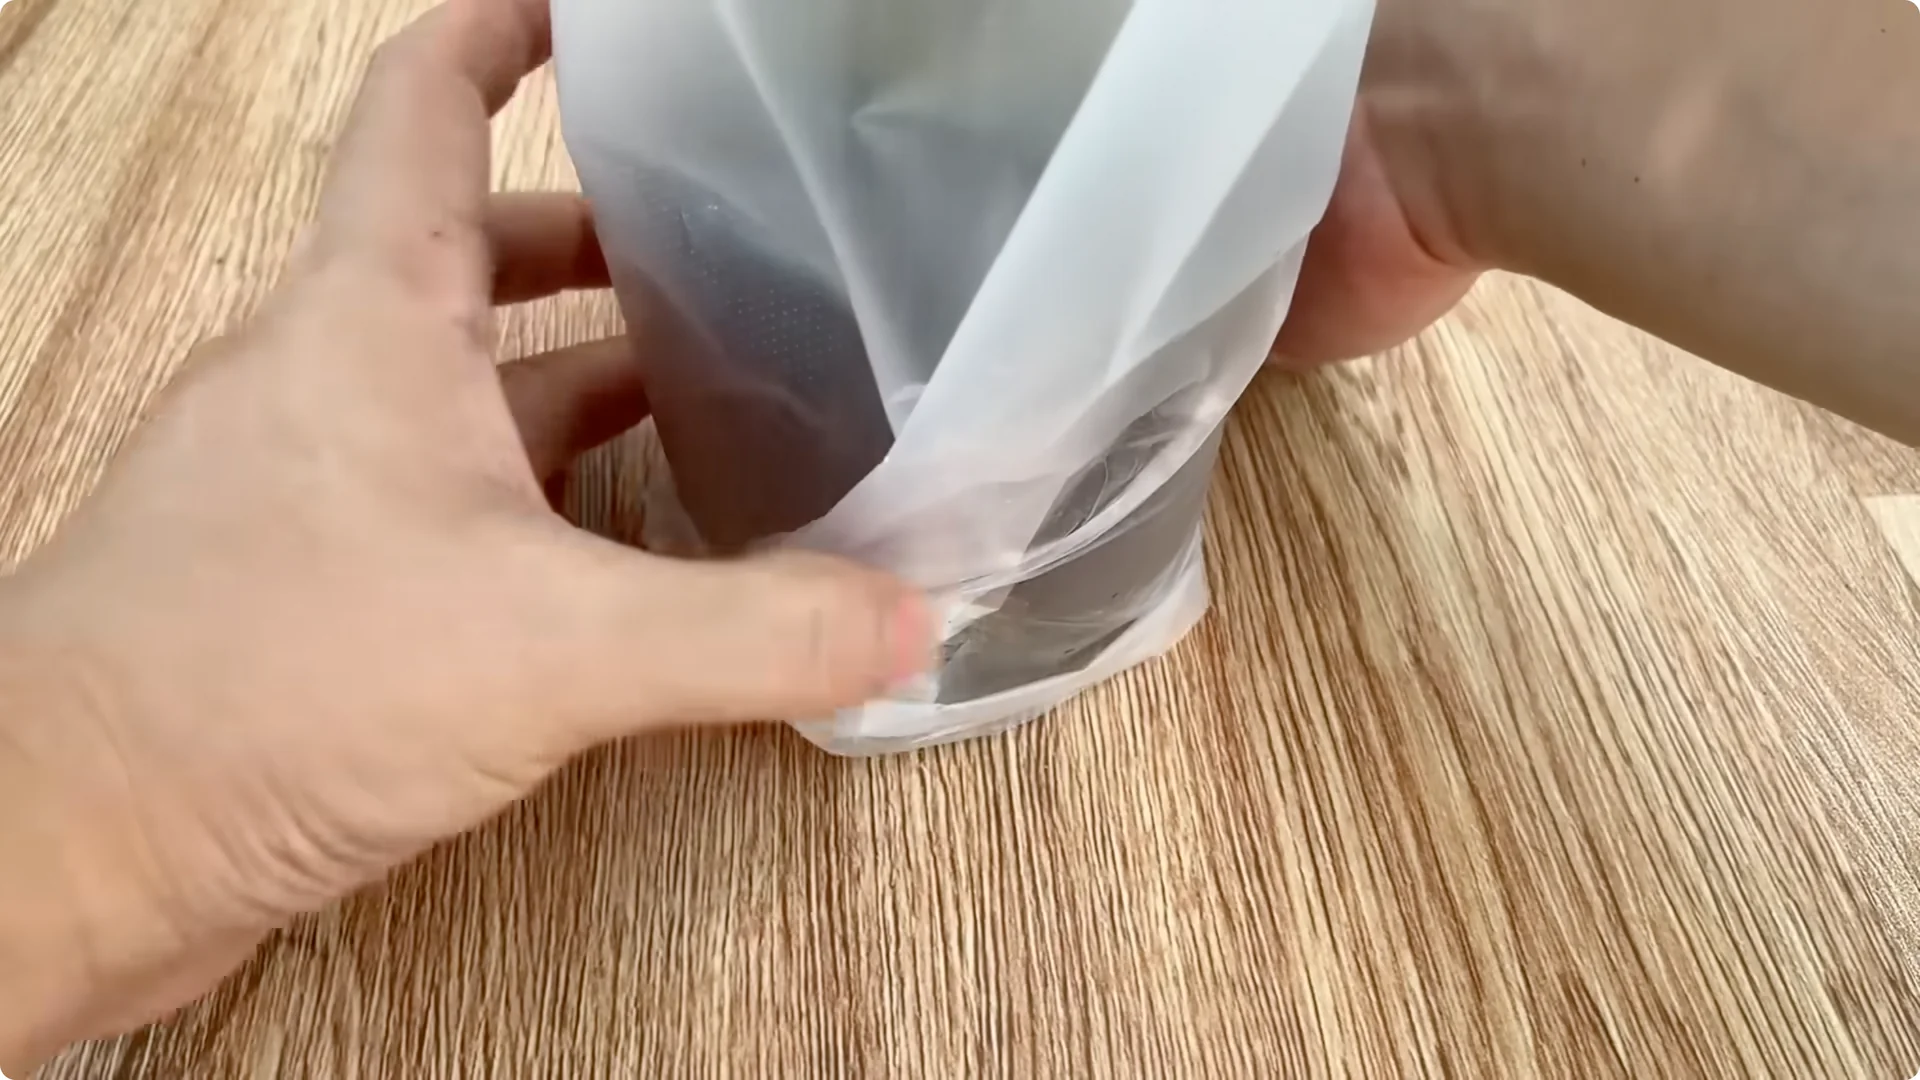
To increase humidity and create a greenhouse like environment, use a plastic bag or a transparent plastic cup to cover the jar. Then place it in a cool place, away from strong winds and harsh sunlight.
This is the ideal environment for the flower stem to breathe and maintain stable humidity. For an extra boost, check these overnight rooting tips.
7. Rooting Rose Cuttings: Day 10 Results
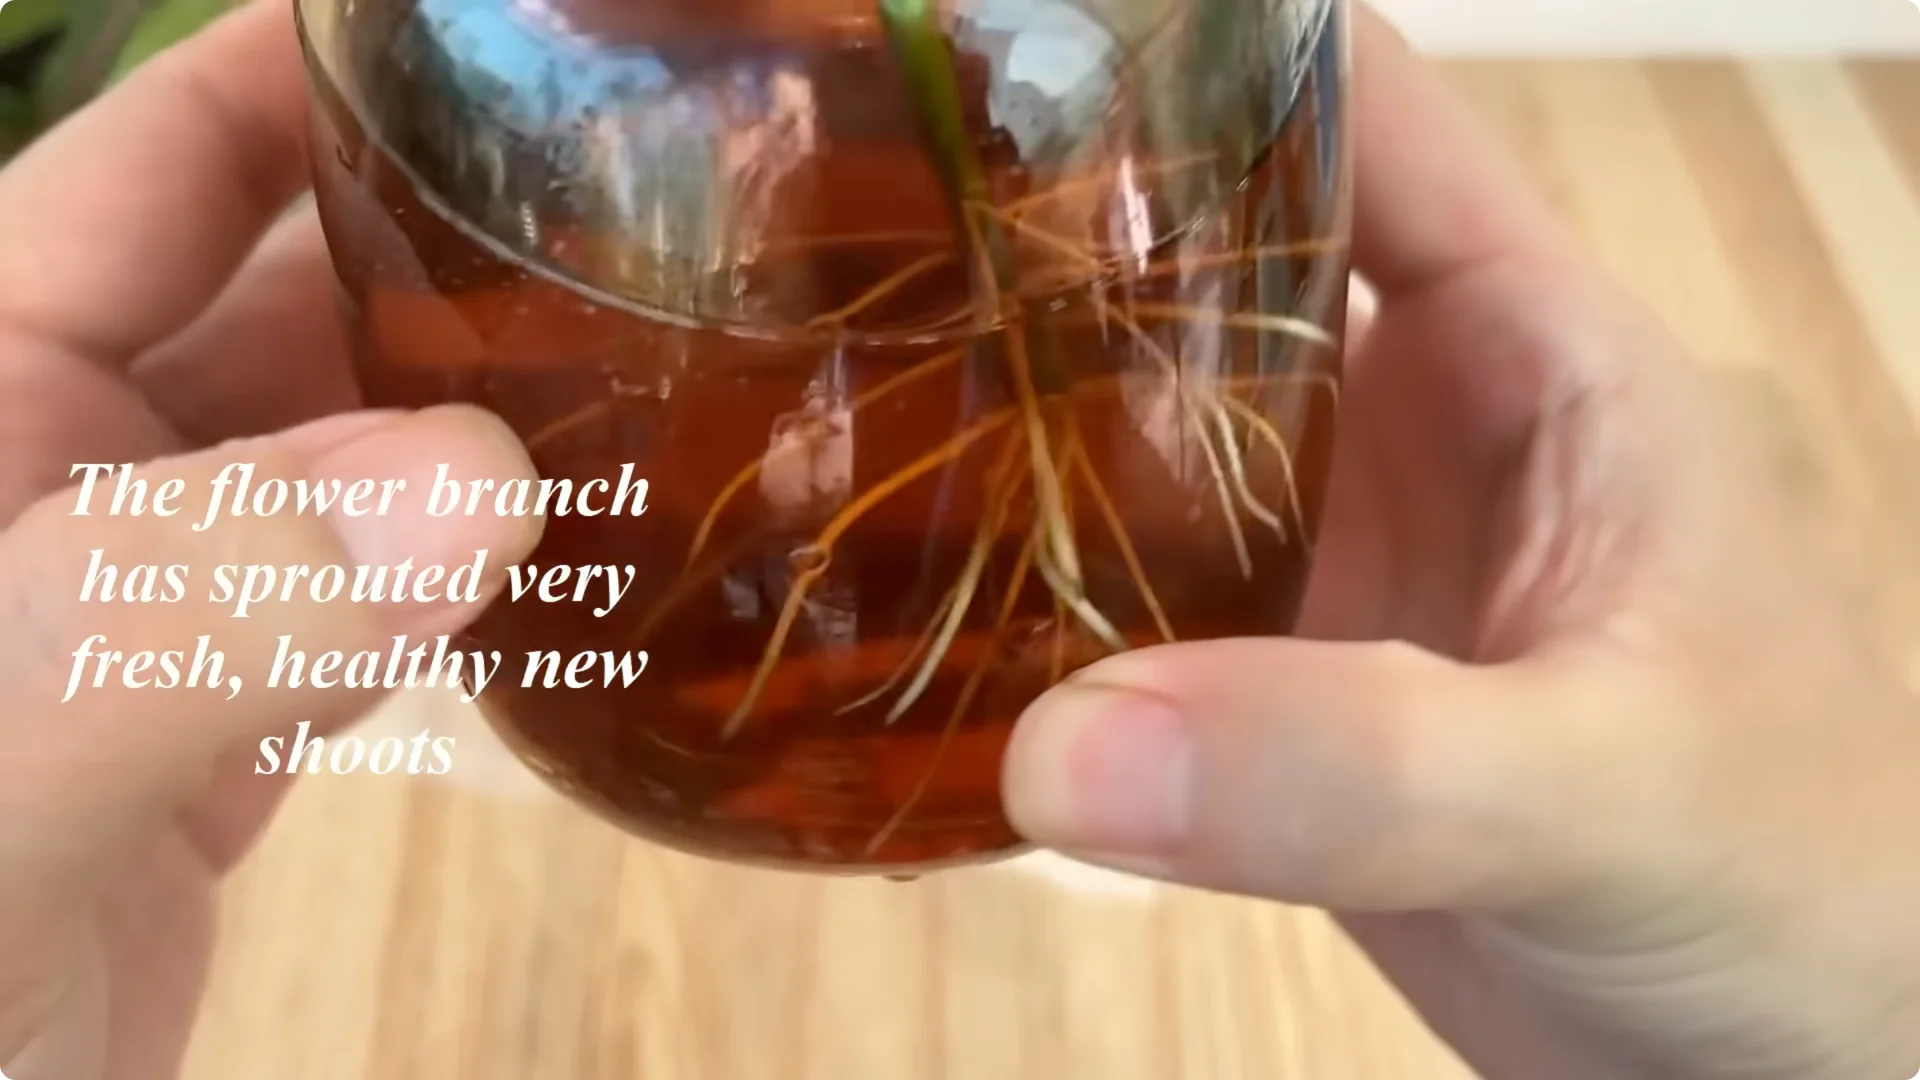
And now, after 10 days, a miracle will appear. The rose stem begins to sprout green, vibrant young shoots.
Observing the base, we will see countless white, plump roots growing around. This is the sign of a successful cutting, ready to be planted in a large pot.
8. Rooting Rose Cuttings: Potting Up
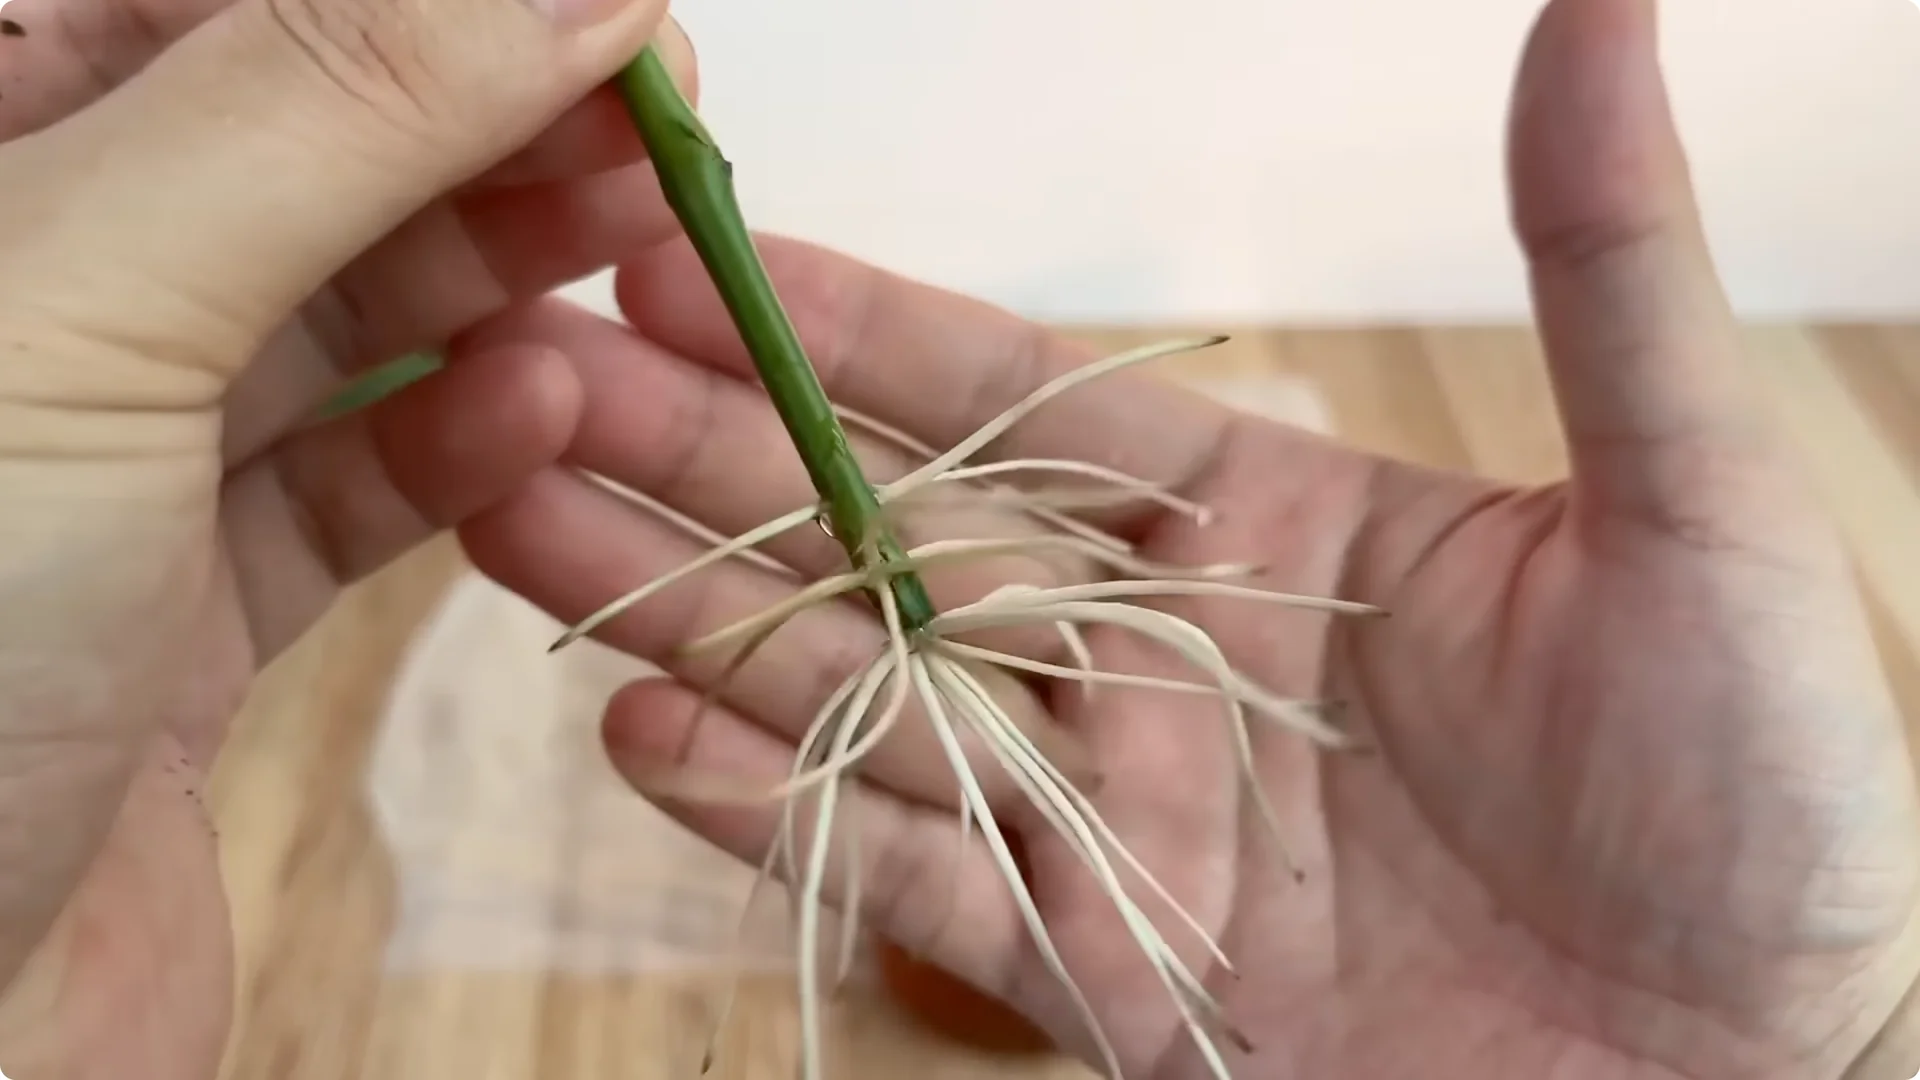
Gently transfer the plant to a well drained pot with river sand to continue growing healthily. Handle the young roots carefully and keep the medium airy and moist.
Final Thoughts
Thus, with just garlic, carrots and coca, we have turned seemingly simple ingredients into a surprising secret to rose cuttings. No need for expensive chemicals, just a little creativity, you can completely own a brilliant rose garden, green all year round.
Read More: Rose Branch Root Sprout Fast 3
About The Author

The Beginner’s Rose Propagation Starter Kit 🌹
A simple printable PDF guide to help you root rose cuttings successfully.
Get The Guide →