If you are looking for a simple and extremely effective way to propagate roses, today is for you. I will guide you step by step so that you can do it yourself at home and see the results after only 7 days. This method is straightforward and uses easy household ingredients.
1 Rose Cutting Propagation Basics
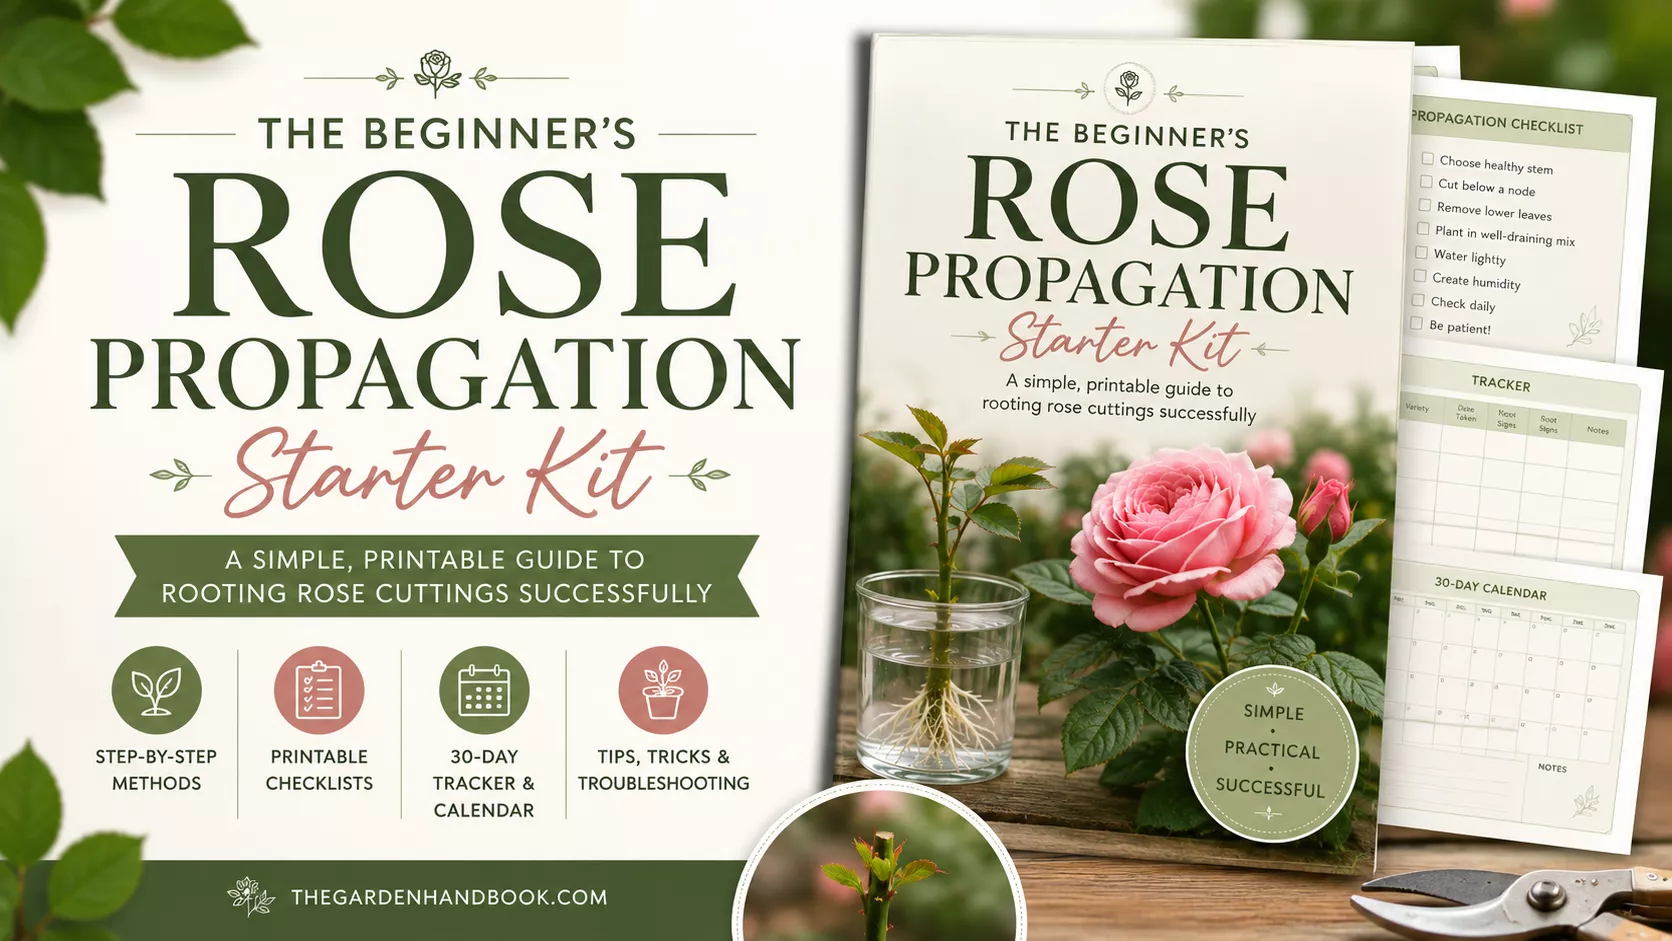
The Beginner’s Rose Propagation Starter Kit 🌹
A simple printable PDF guide to help you root rose cuttings successfully.
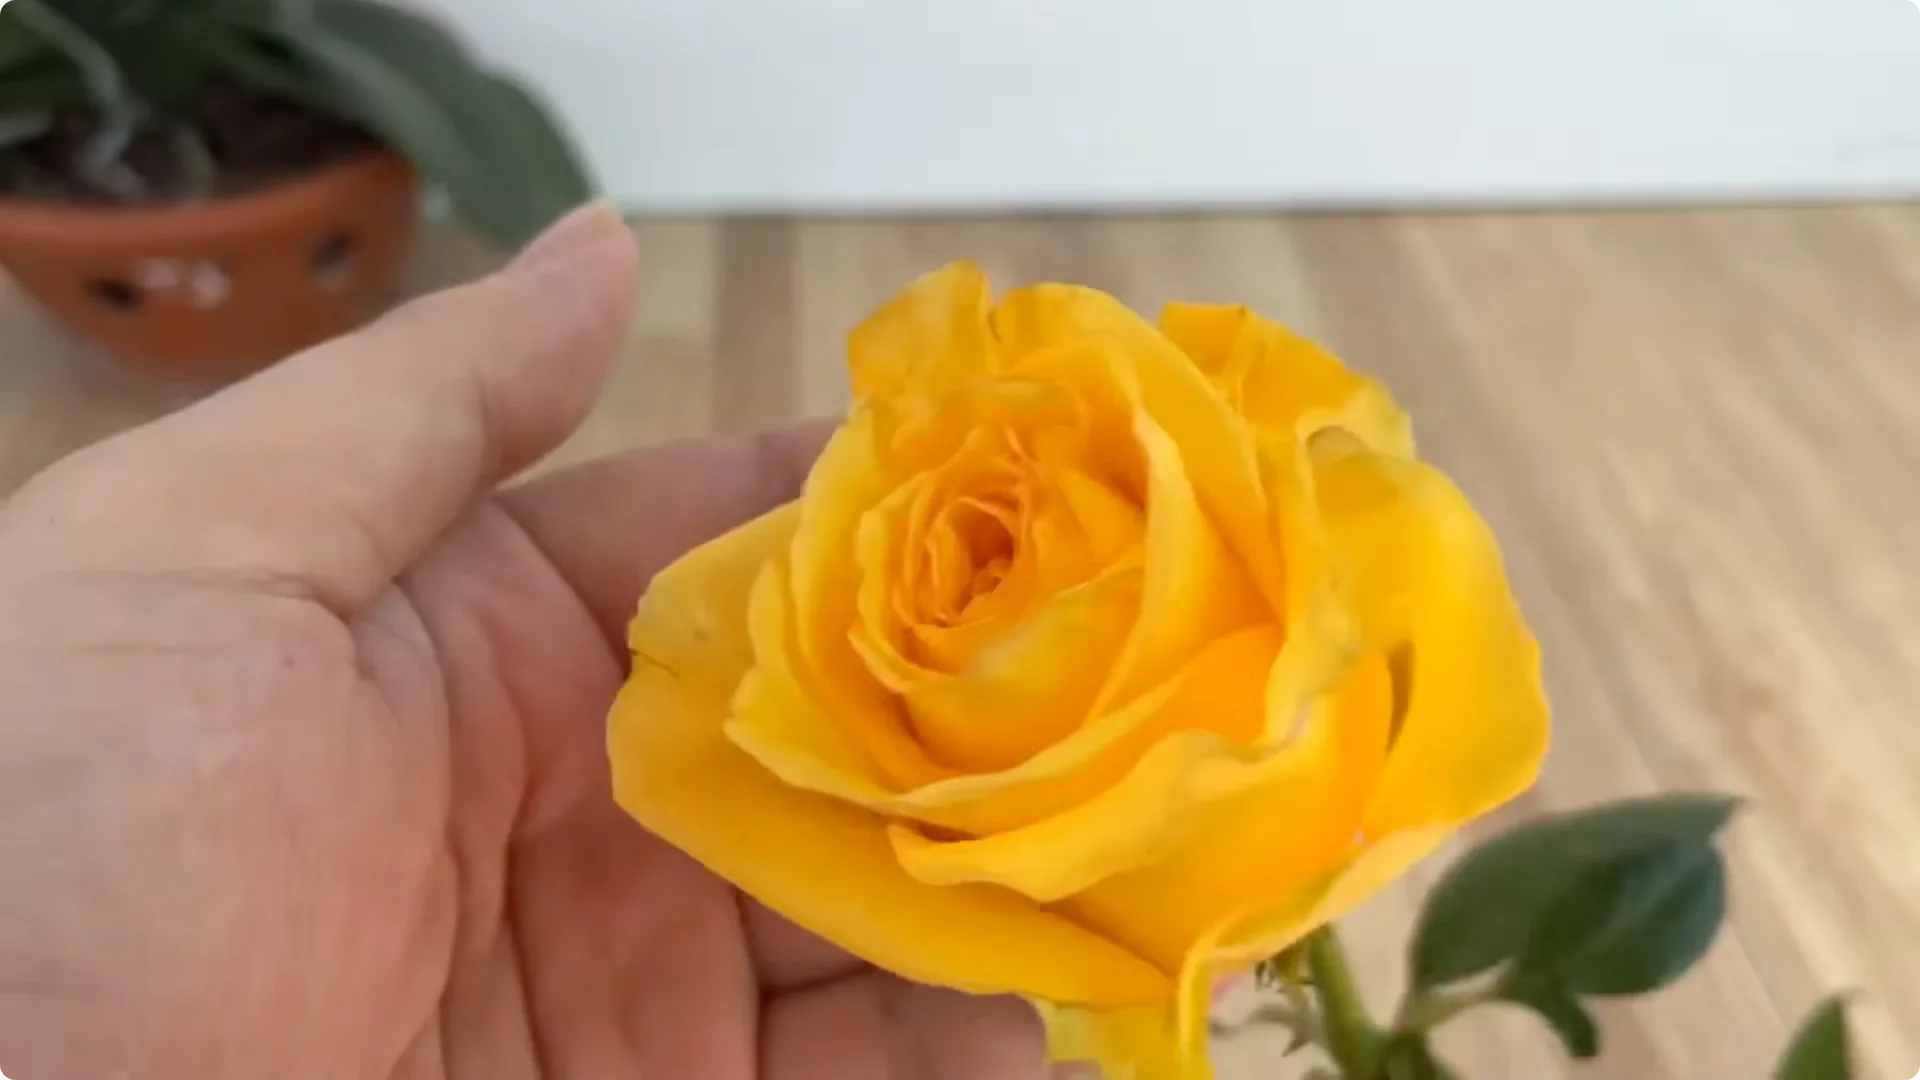
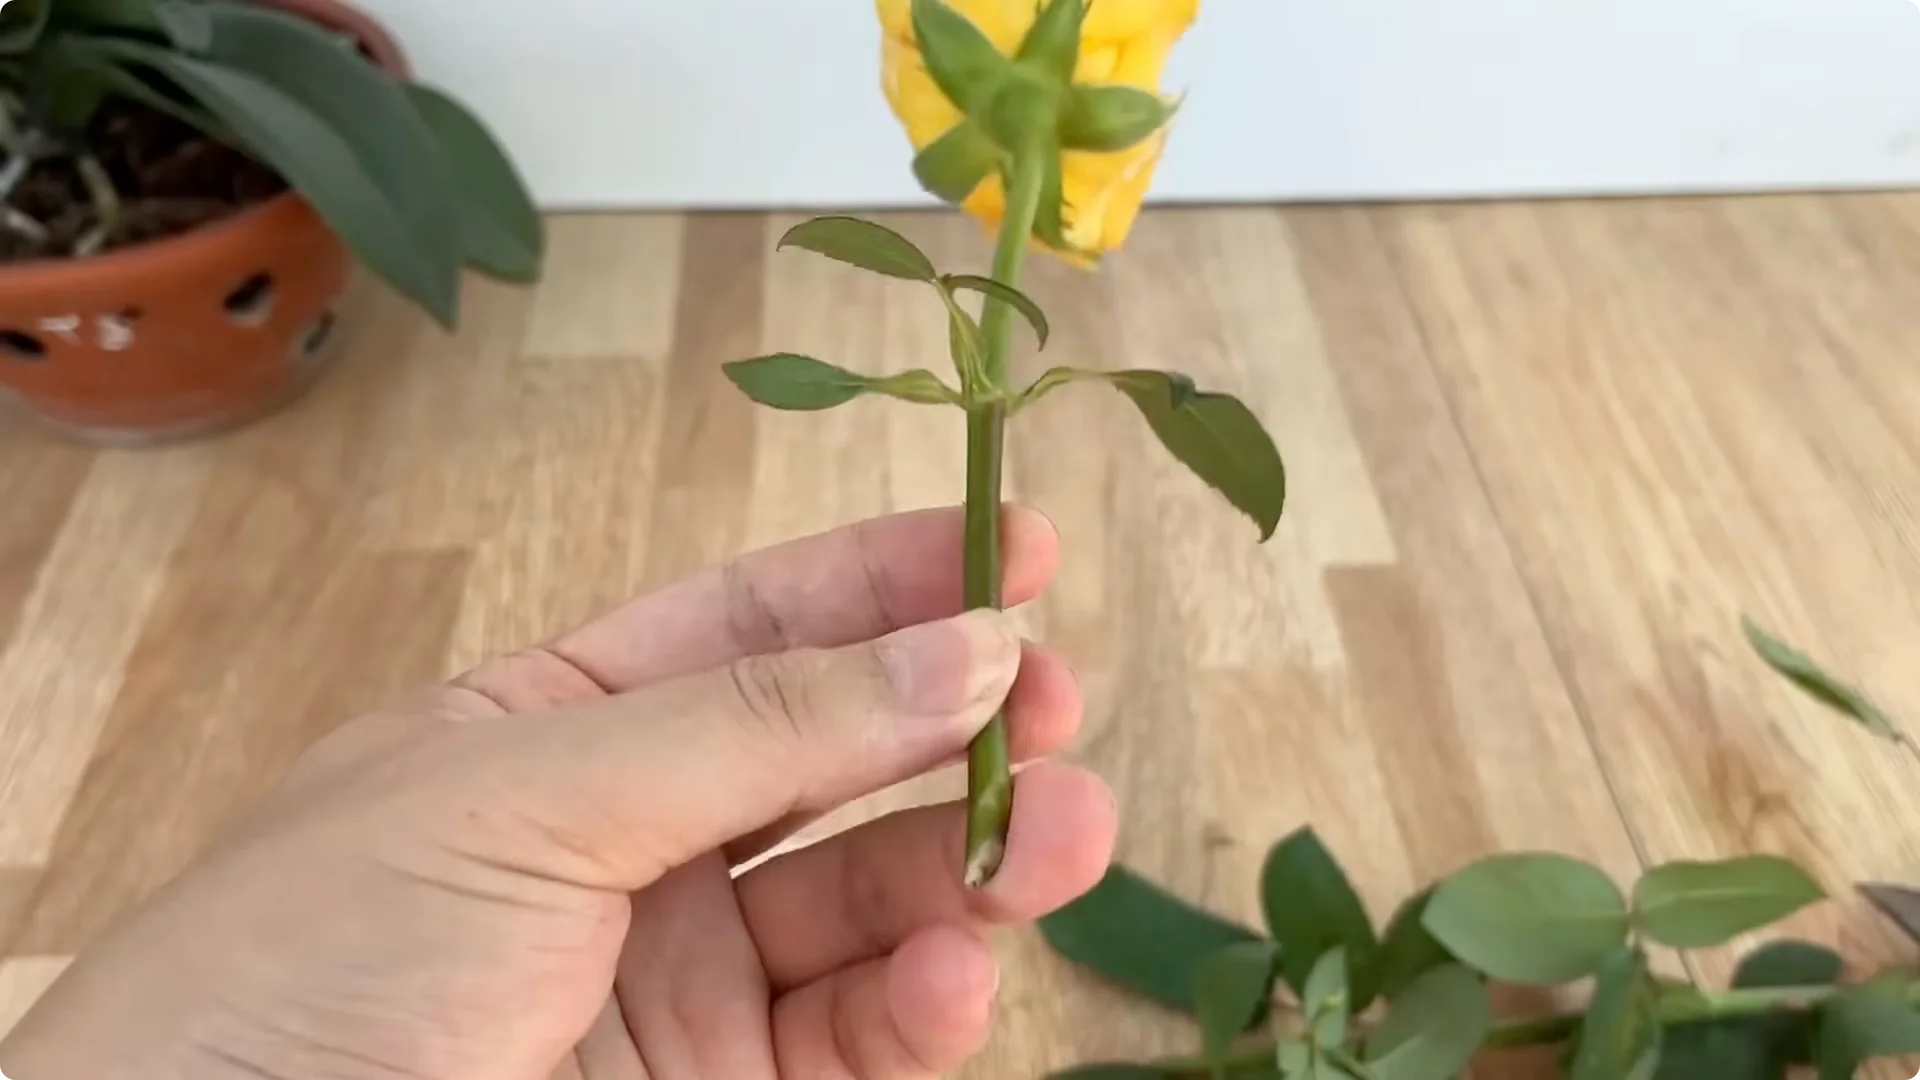
Get The Guide →First, we need a healthy rose branch with moderate age. This is a very important condition for successful cutting. Choose a stem that is neither too young nor too woody.
Use sharp scissors to shorten the branch, leaving only about 15 to 20 cm. Cut the base at a 45 degree angle. This angled cut increases the contact area for better absorption and faster callus formation.
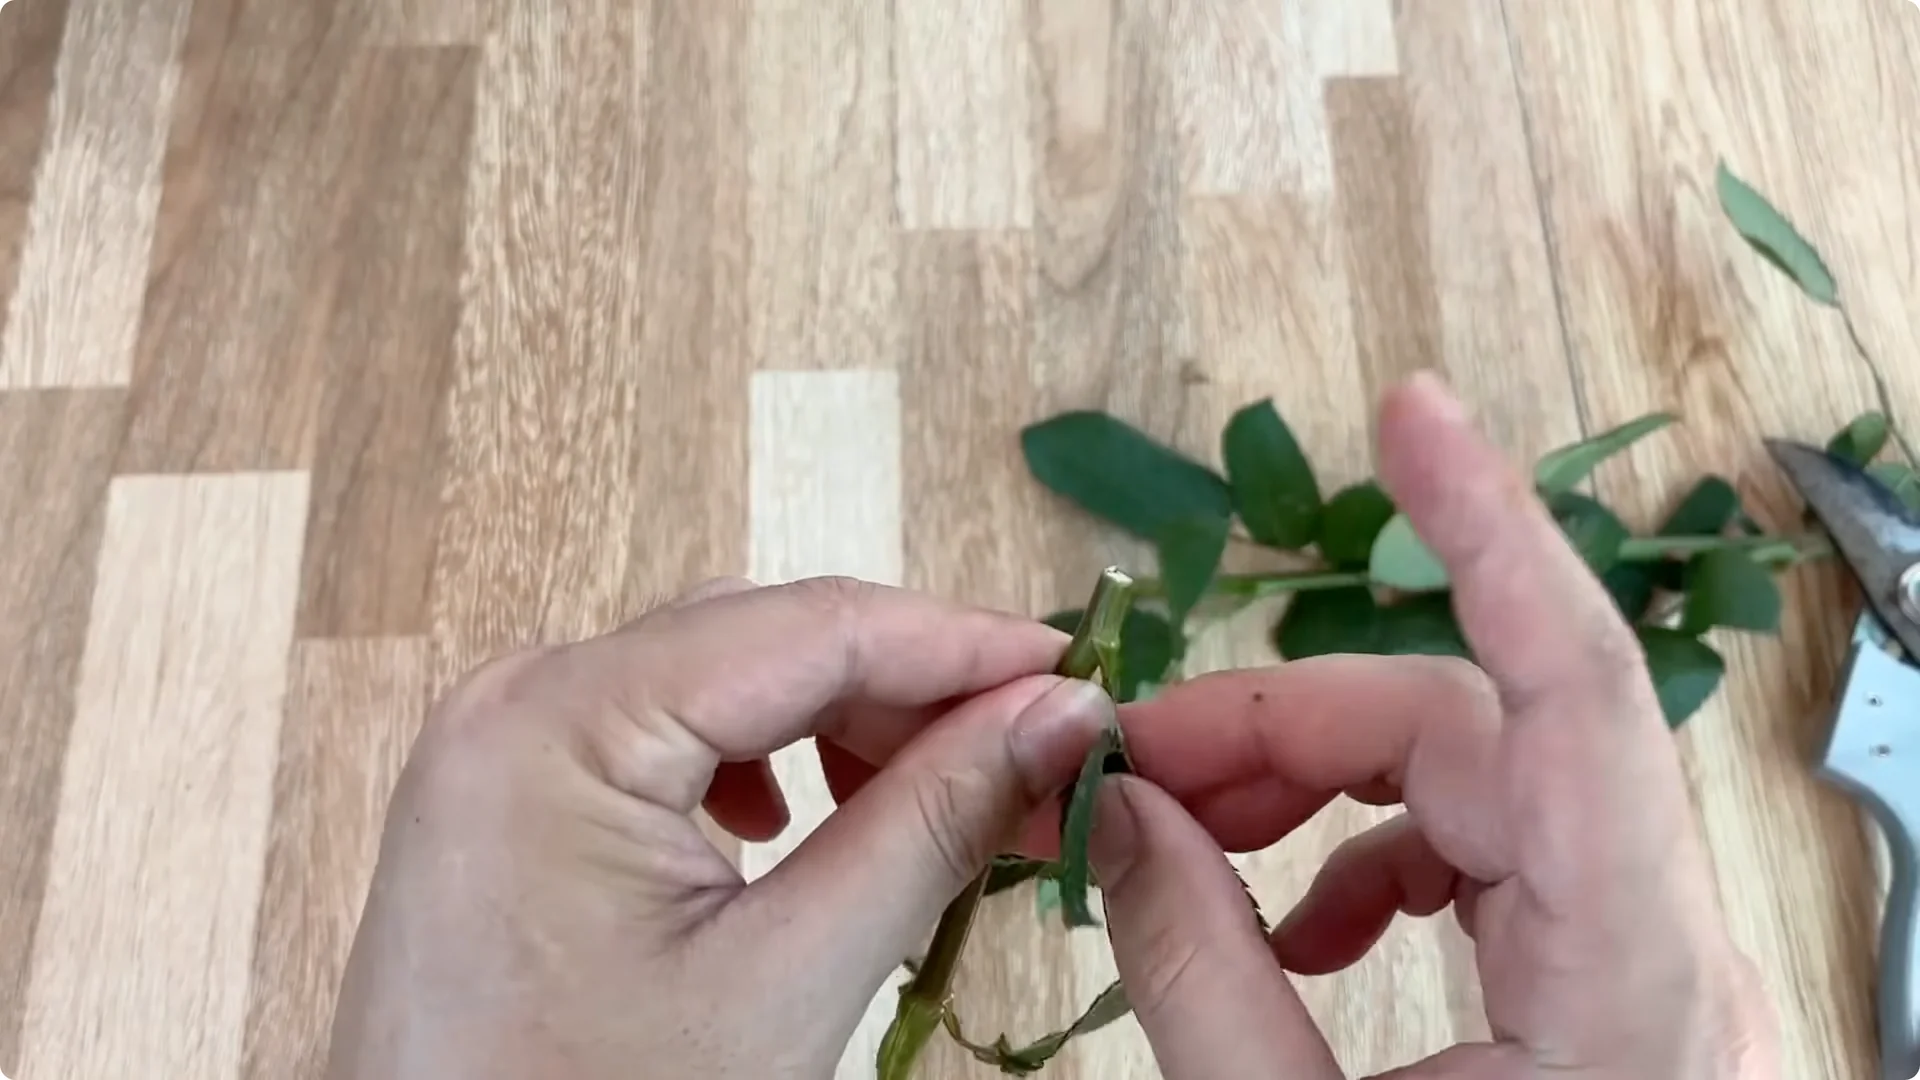
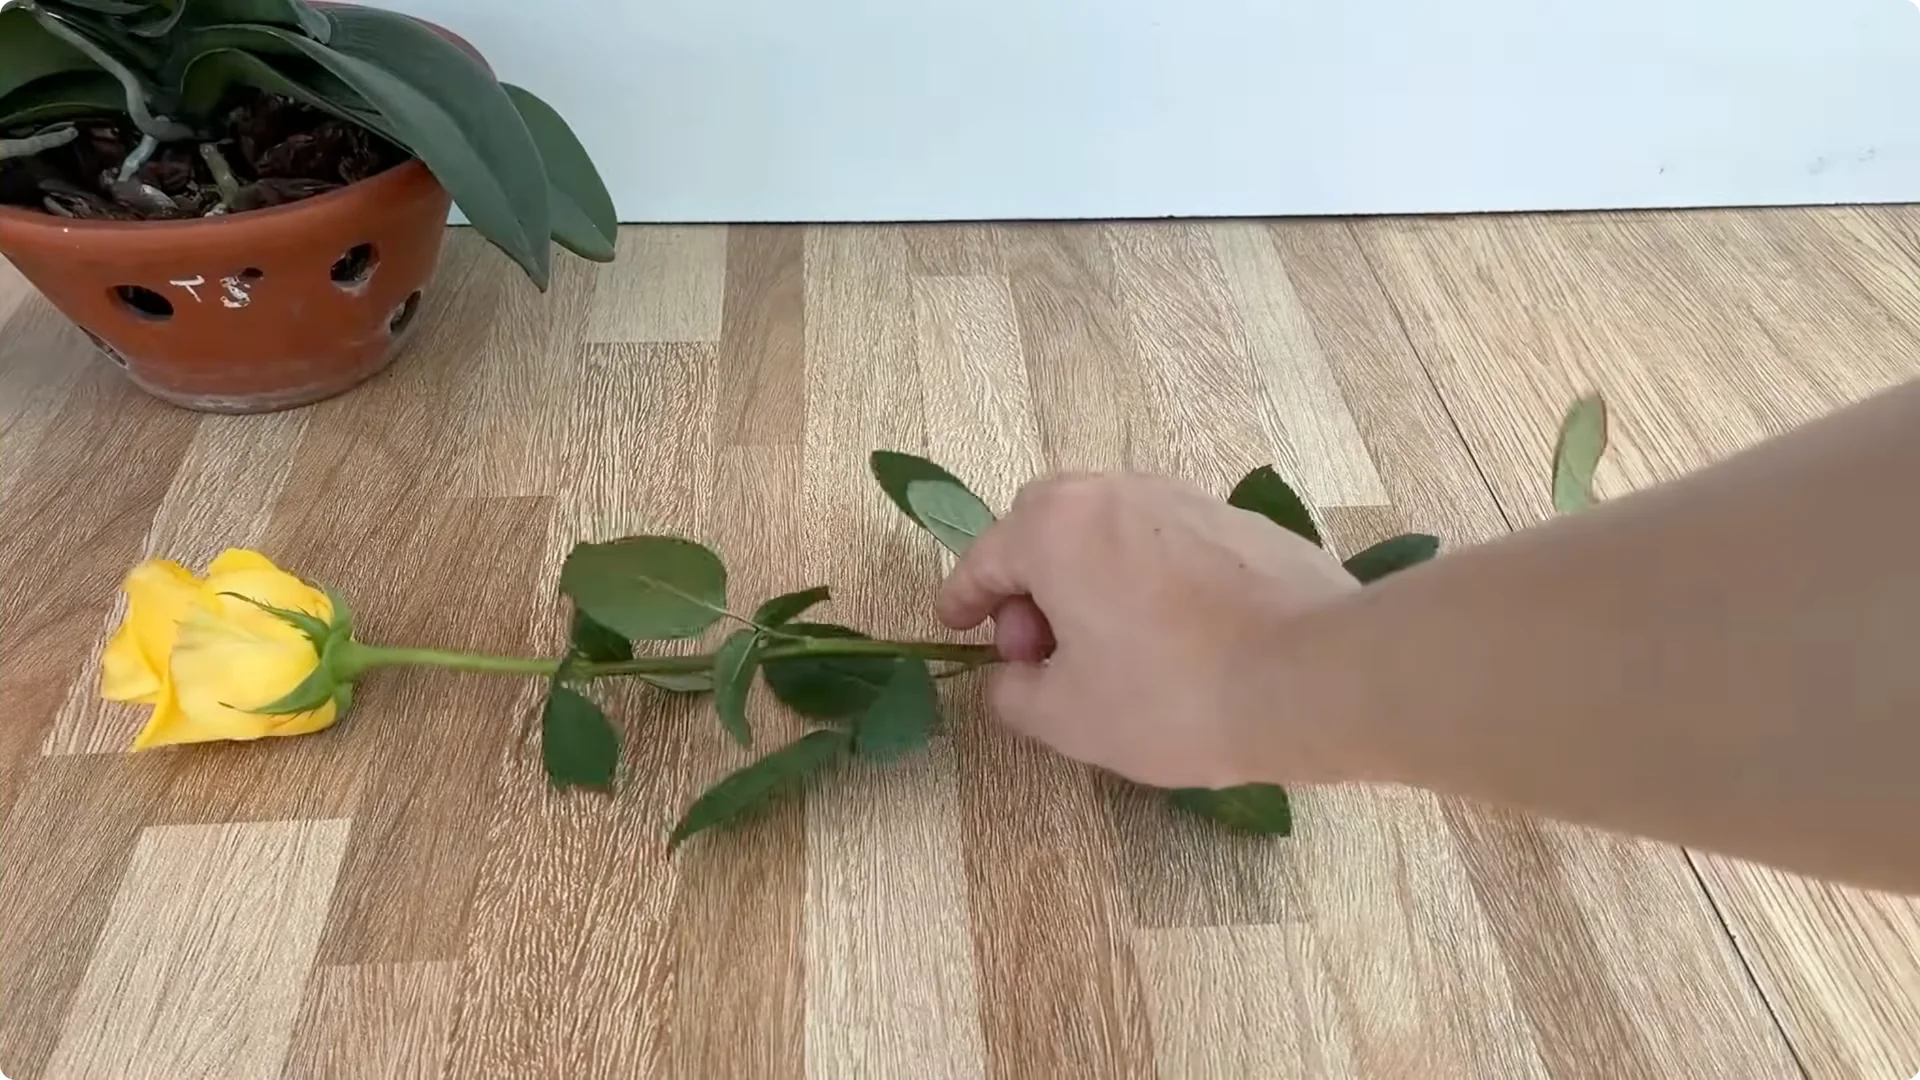
Next, remove all the leaves and thorns, keeping only the top 2 to 3 leaves. This reduces water loss. It helps the branch focus its energy on forming new roots and shoots.
2 Rose Cutting Propagation Materials
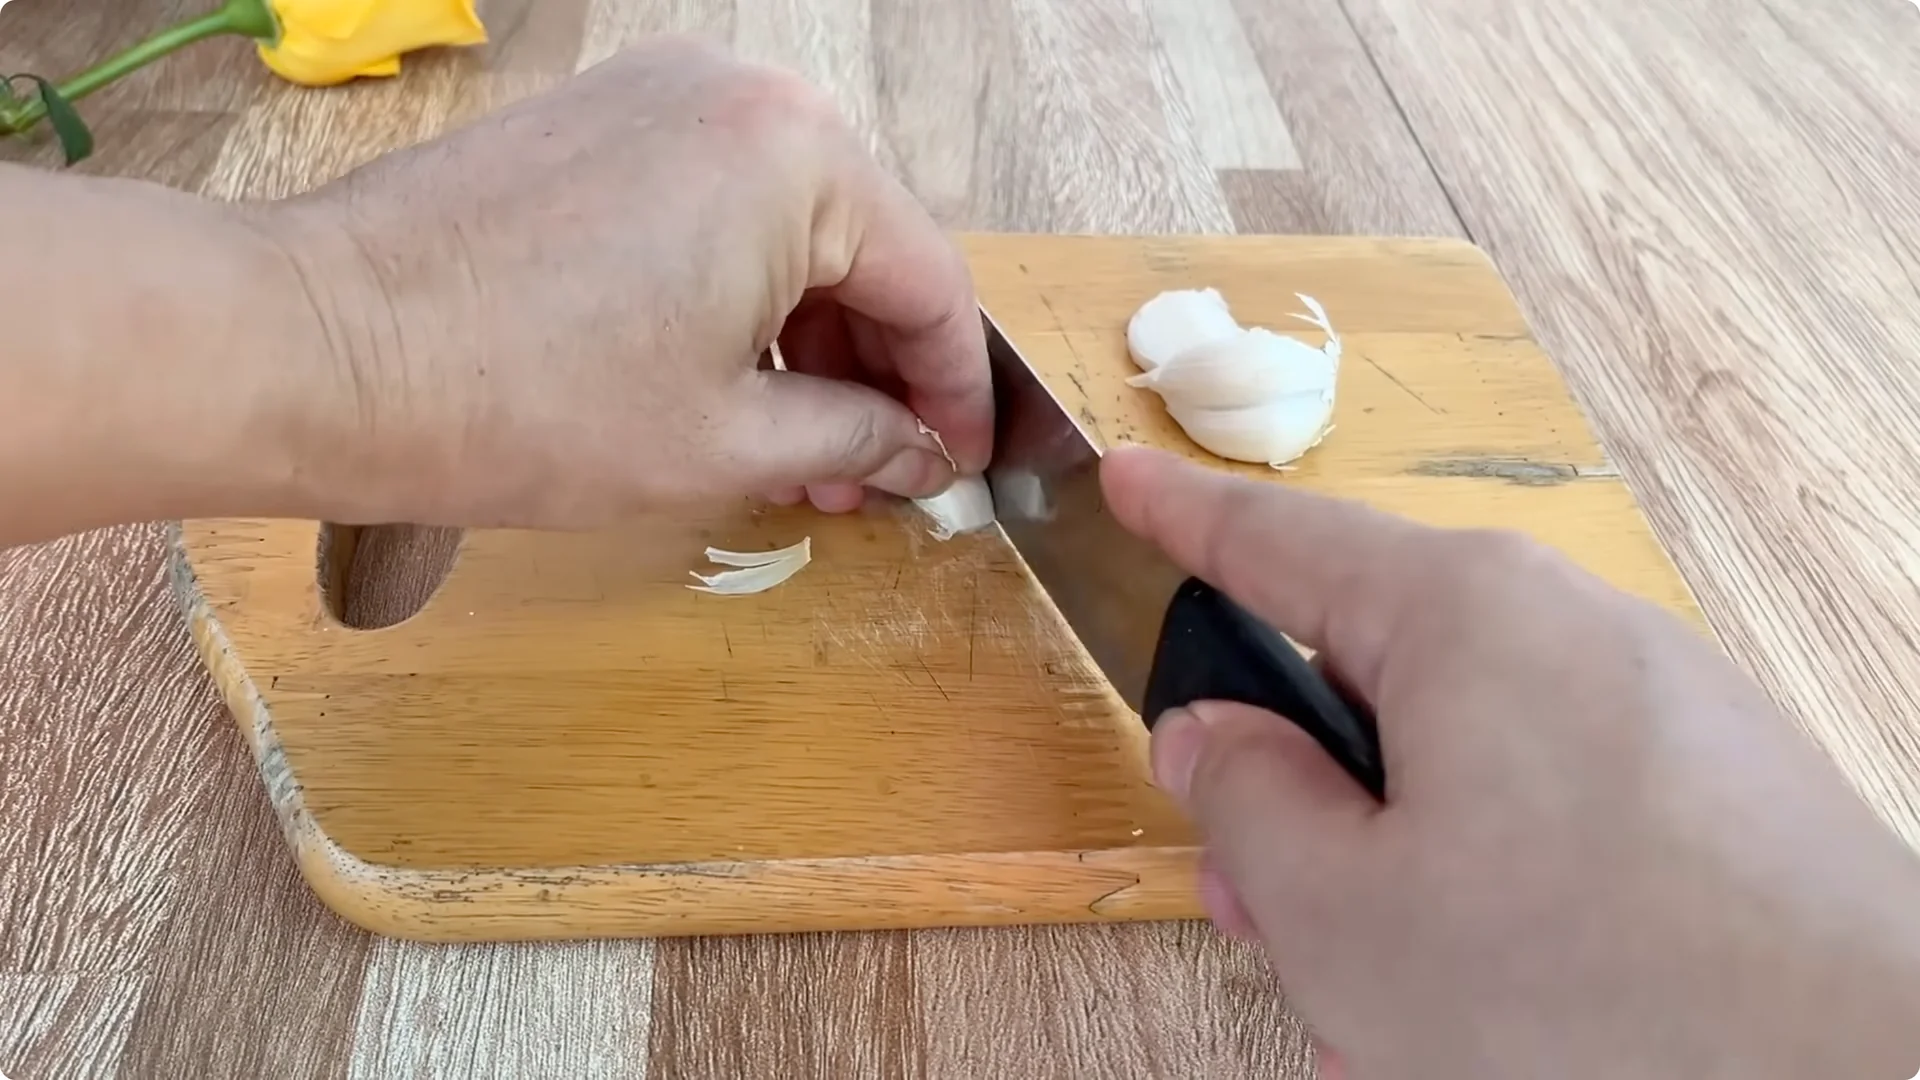
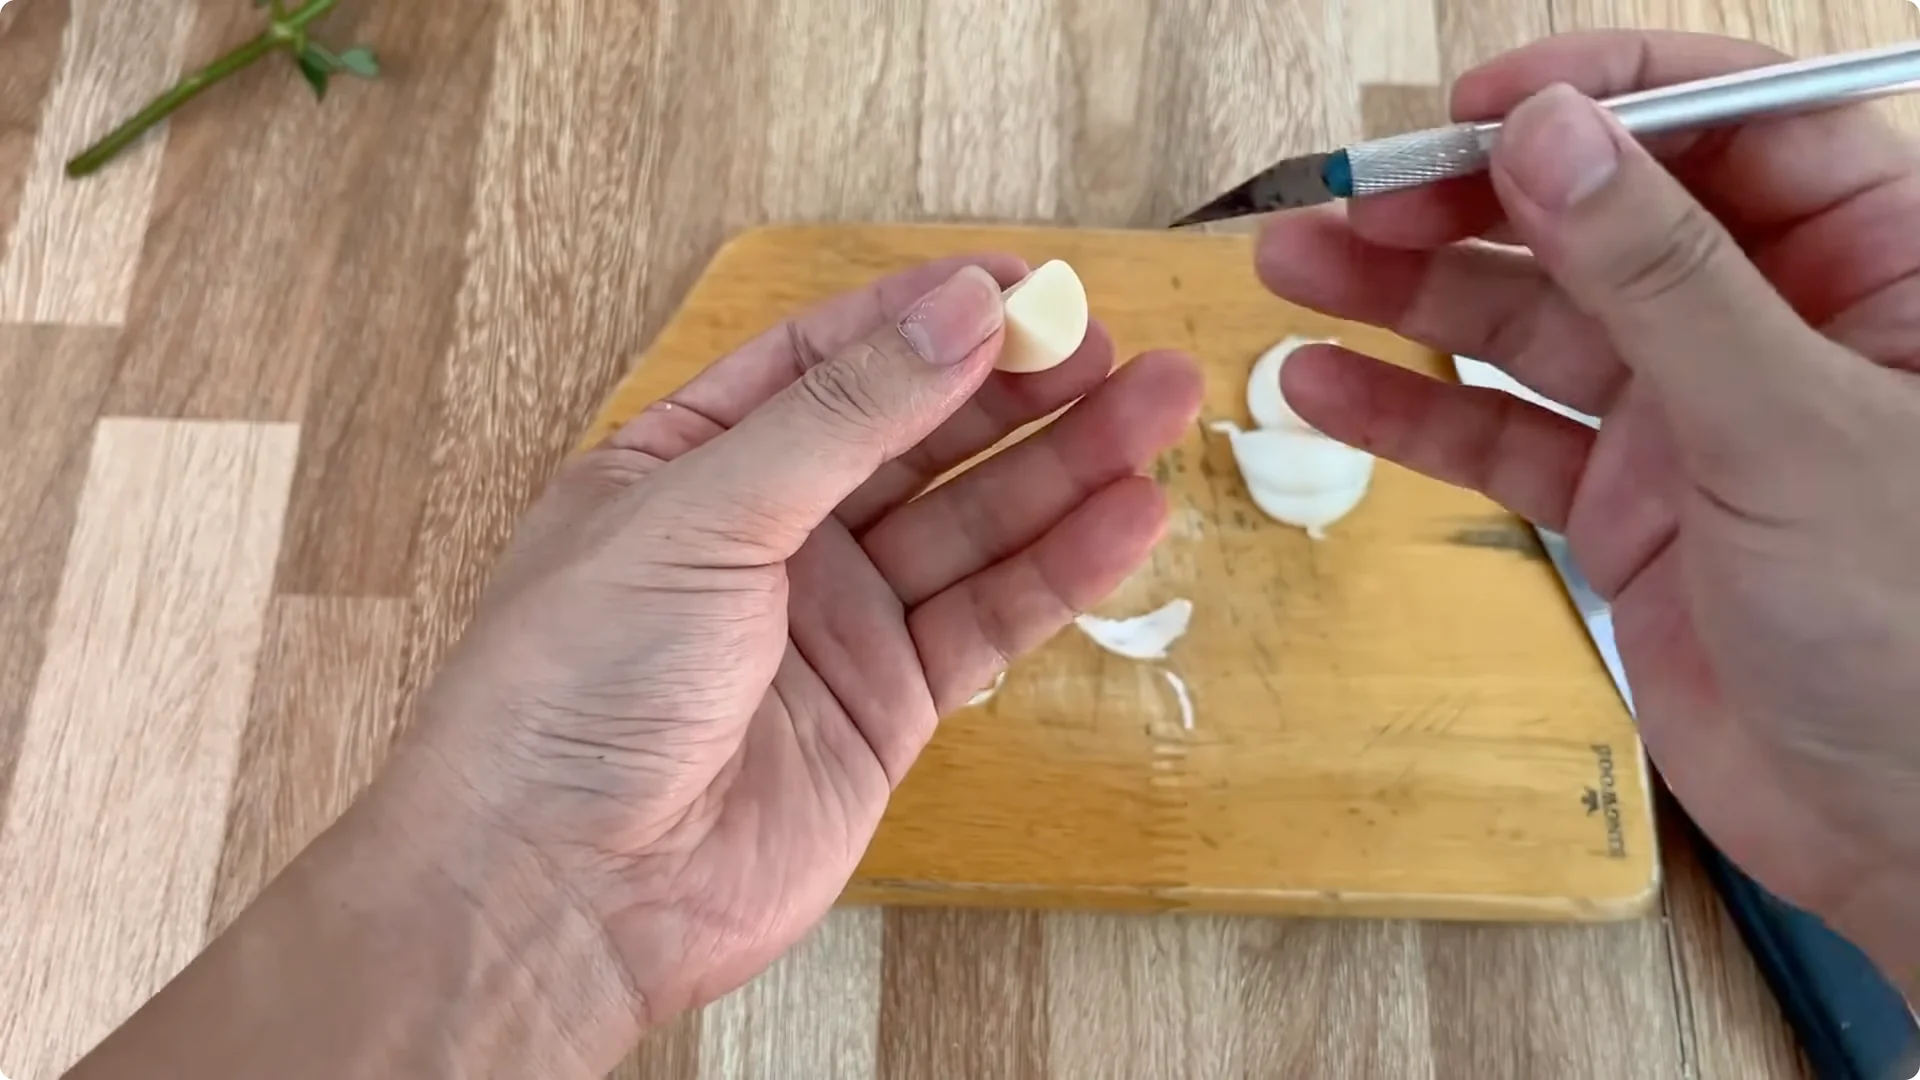
Prepare 3 cloves of garlic. Peel and cut one clove in half, then use a sharp knife to make a small hole in the middle just the size of the base of the rose branch. Place the rose branch in this hole and leave it for 30 minutes.
Cut or chop the remaining garlic and put it in a clean plastic cup. Garlic contains allicin, a strong antibacterial compound that helps prevent bacteria and mold from attacking the base. The enzymes in garlic stimulate the activity of scar tissue and promote faster root formation.

Next, take about 50 grams of carrots. Cut a piece about 3 cm long and use a sharp knife to make a small hole in the middle just the size of the base of the rose branch. Cut the remaining carrots into small pieces and put them in the cup with the minced garlic.

Carrots are rich in beta carotene, vitamin B, potassium, and natural sugar. These nutrients help nourish the callus at the base, stimulate the growth of young roots, and increase the plant’s resistance. The combination of antibacterial garlic and nutritious carrots creates a solution that both protects the branch and nourishes the young roots to grow strongly.

3 Rose Cutting Propagation Steps
Step 1 Prepare the solution
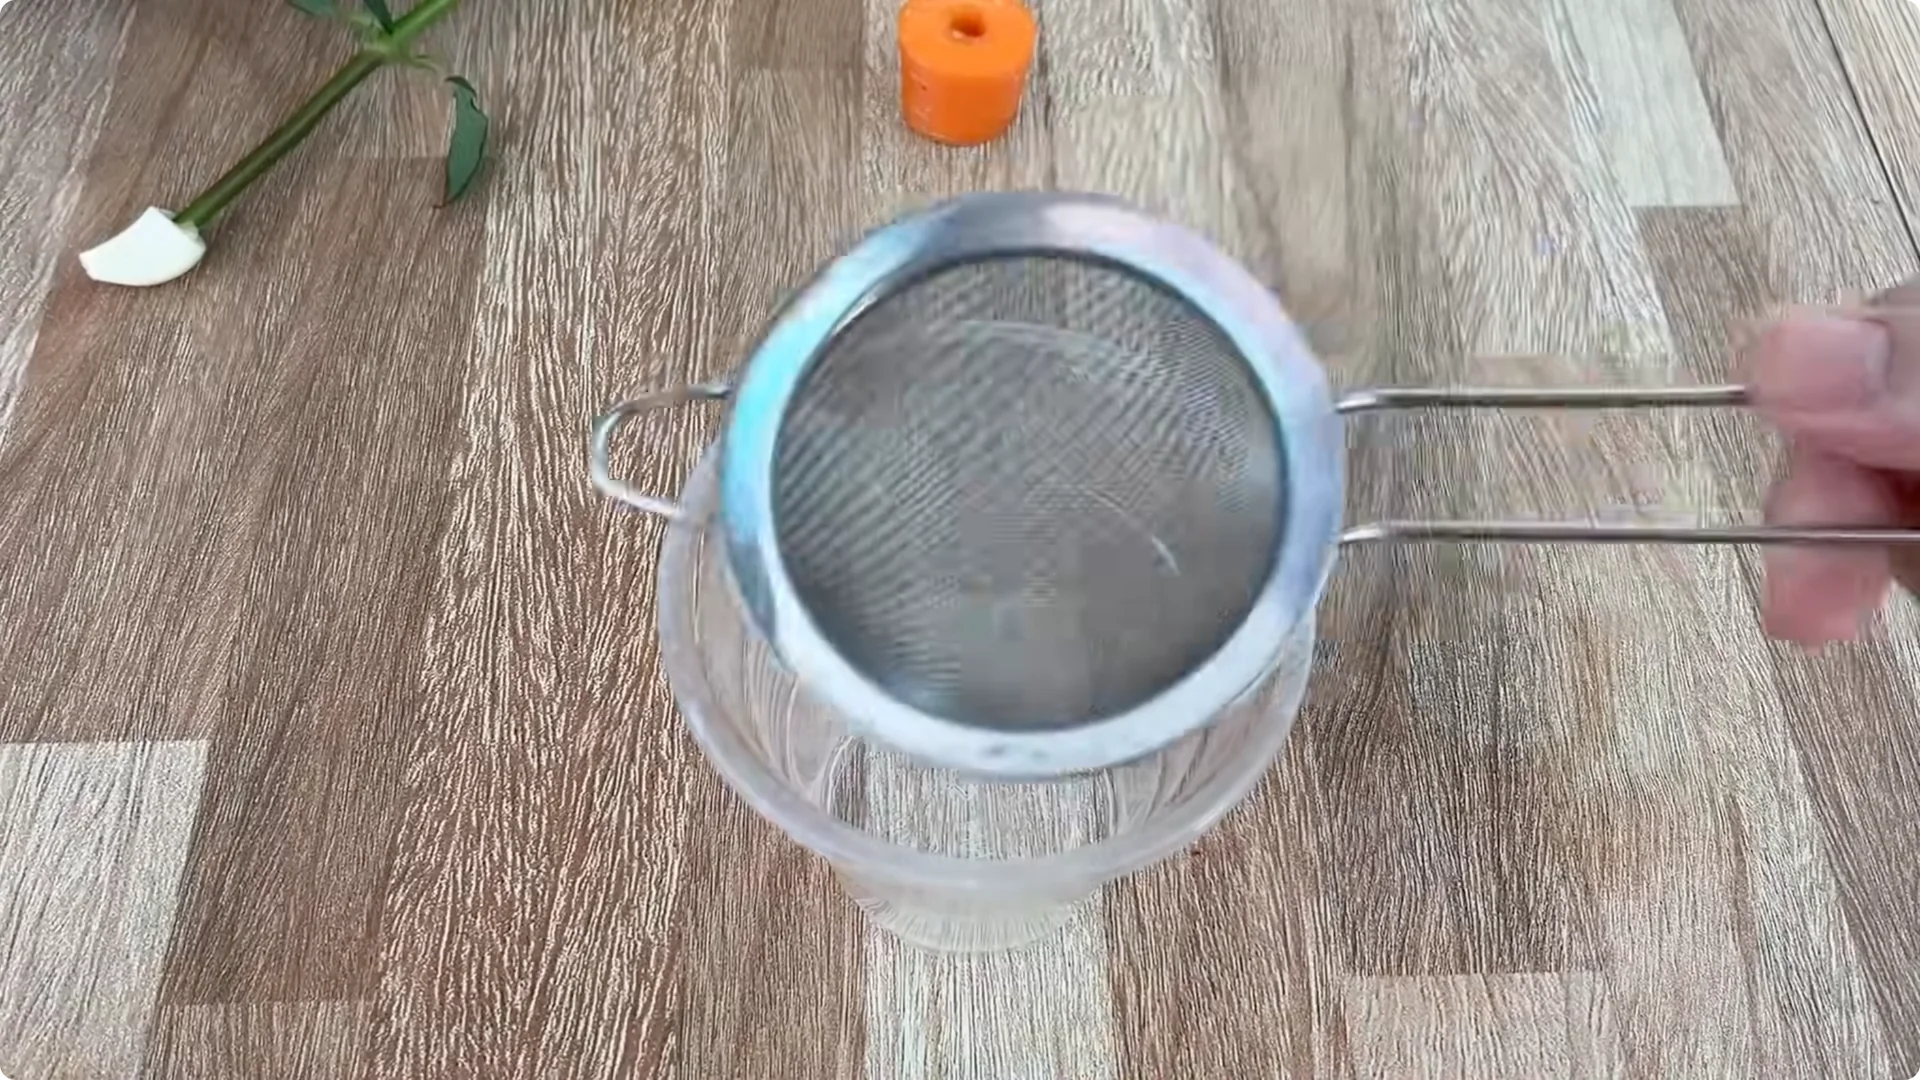
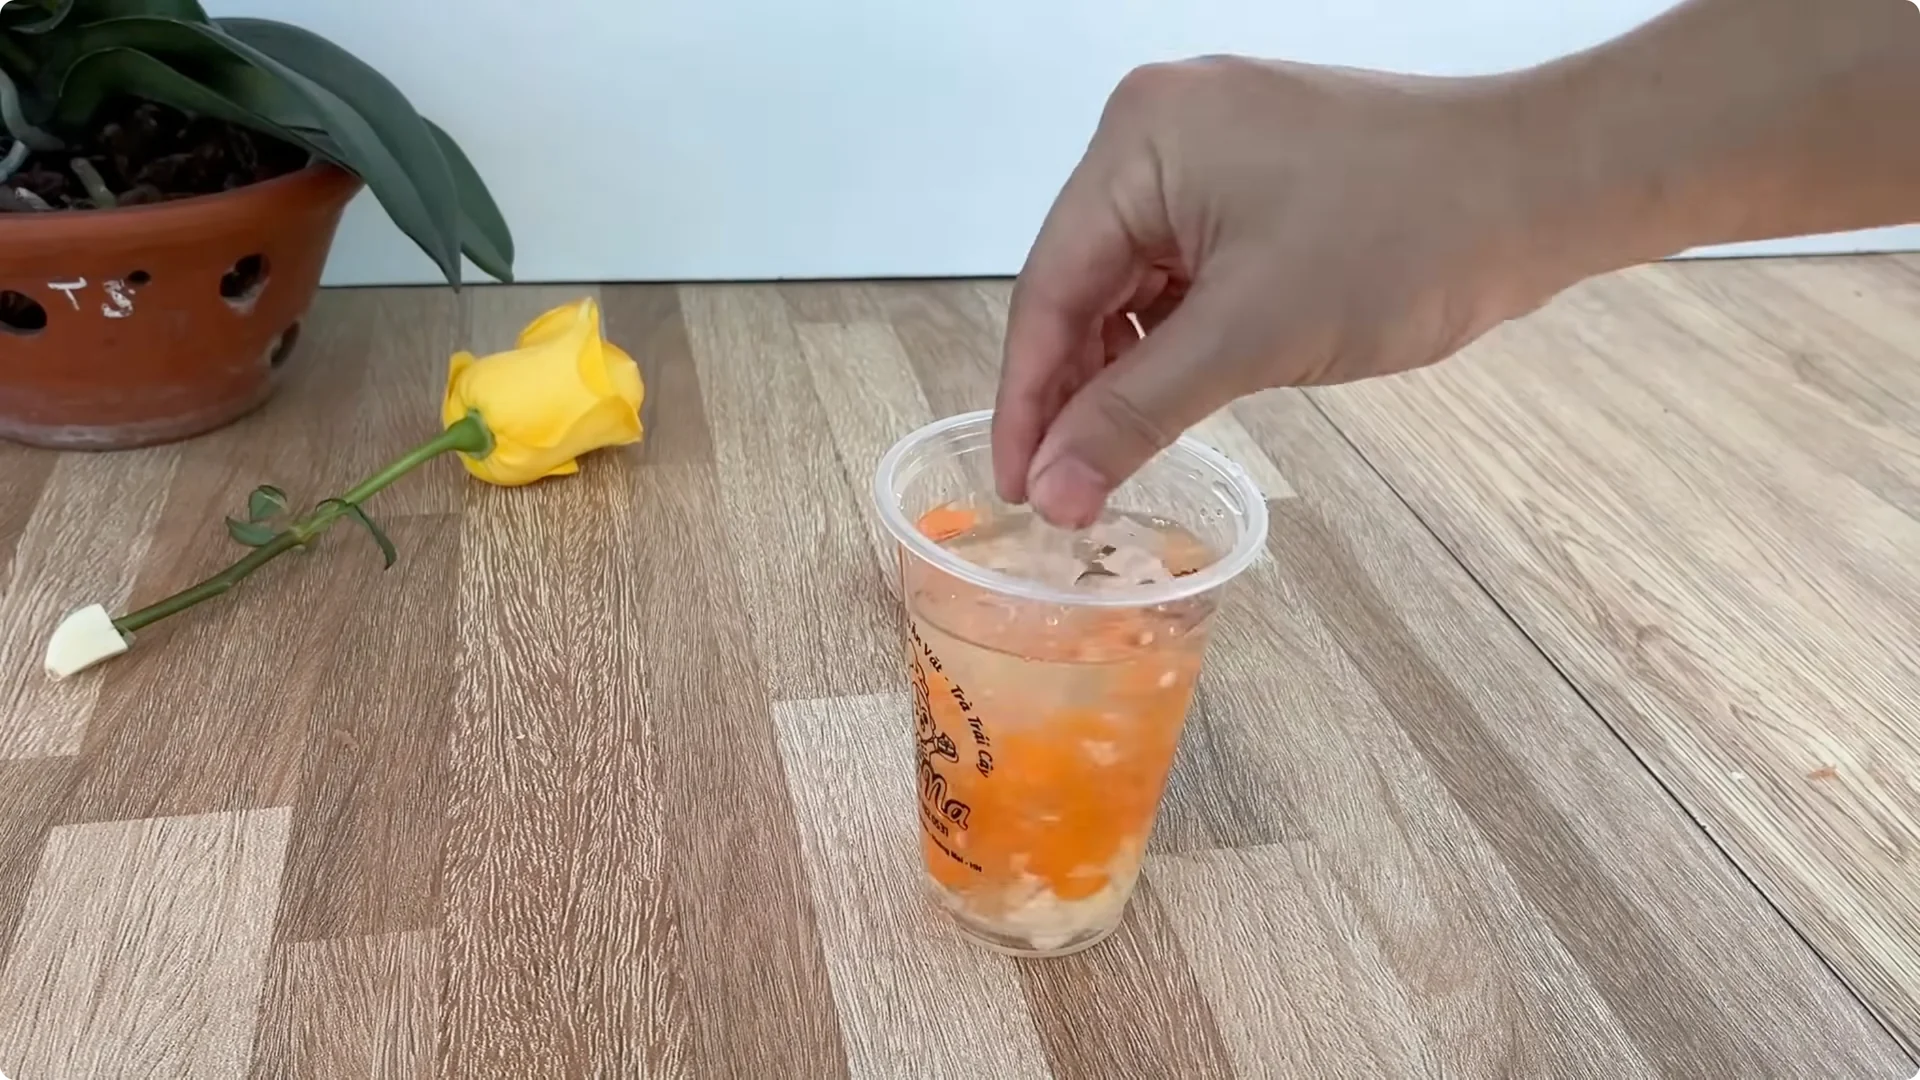
Add 0.5 liters of warm water to the cup with chopped garlic and carrot. Stir well and let stand for about 30 minutes so the active ingredients dissolve into the water. After 30 minutes, stir again and filter out the residue to obtain a clear garlic carrot solution.

For an extra cup based boost that supports rooting and blooming, see this one cup method. It pairs well with the approach here. Small, consistent doses can make a visible difference.
Step 2 Set up the rooting cup
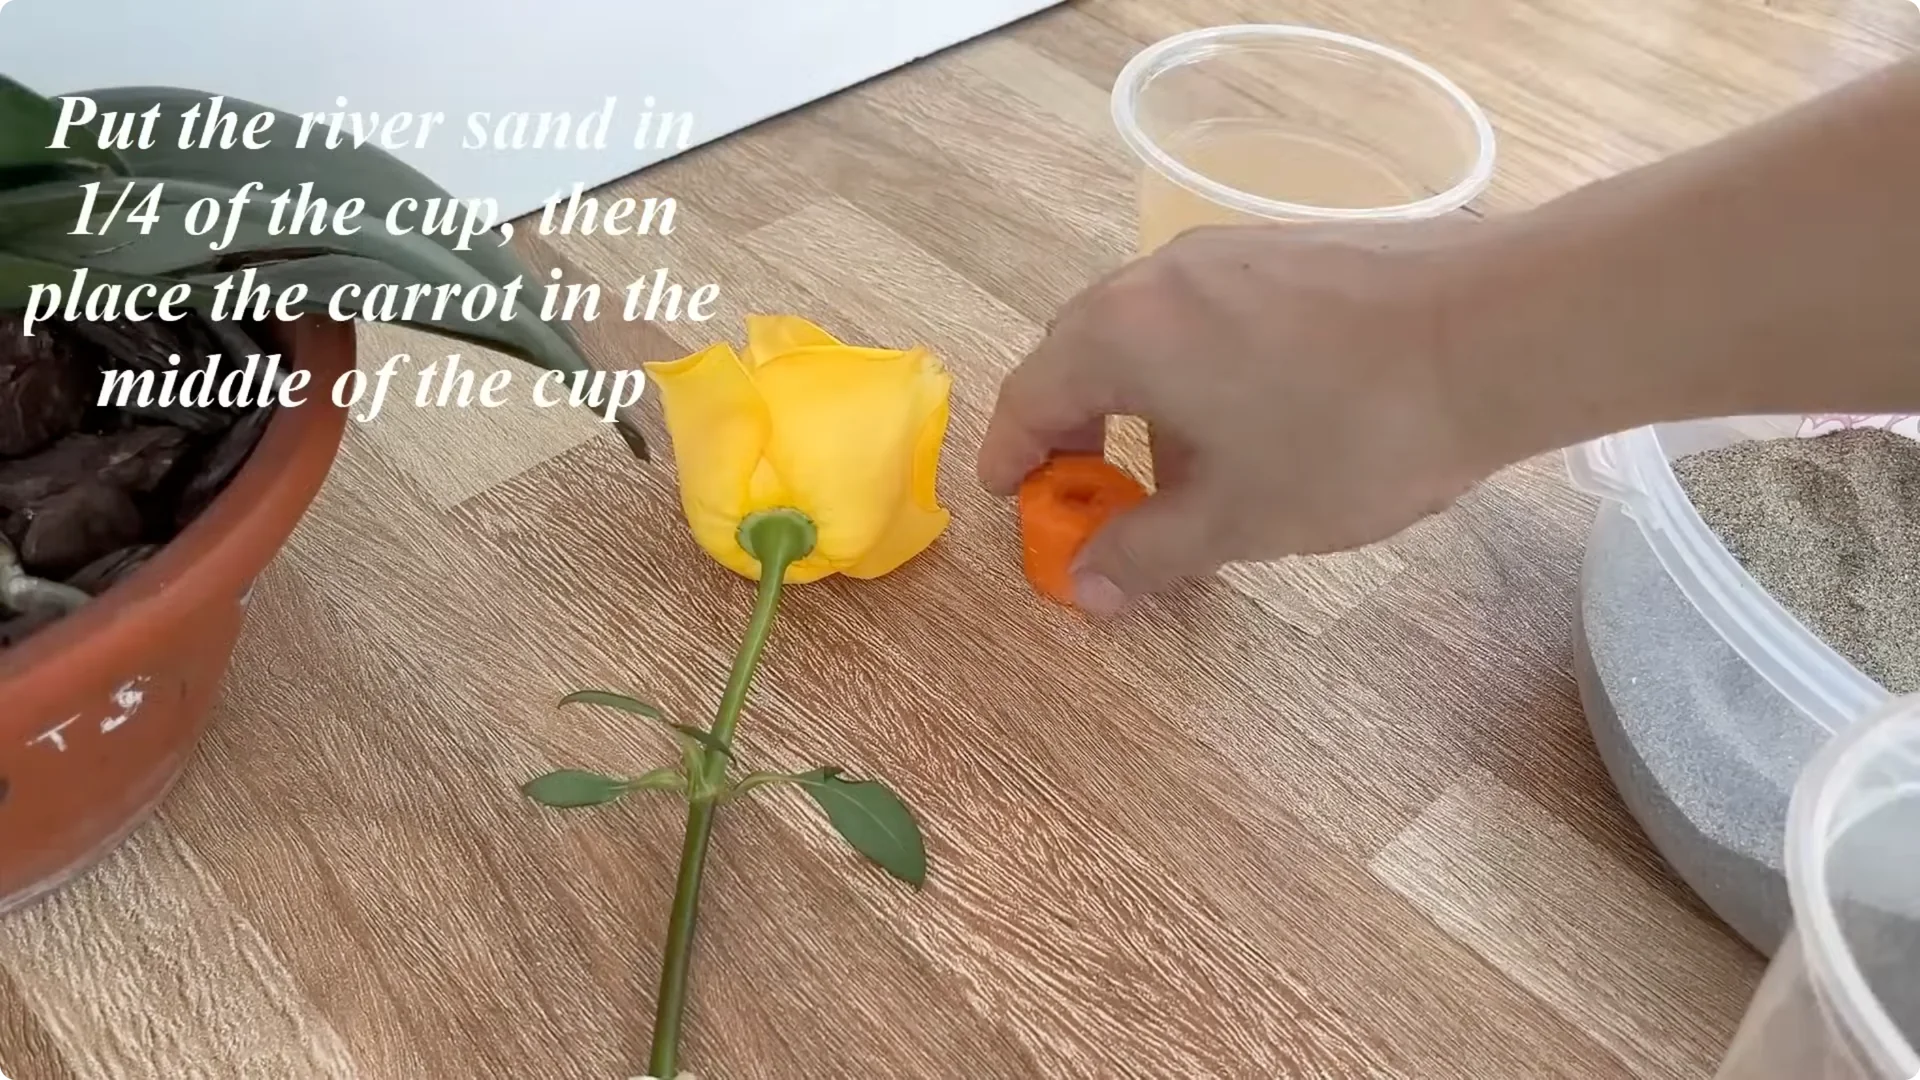
Prepare a clean plastic cup and add about one quarter cup of treated river sand. Place the holed carrot segment in the middle of the cup. The carrot acts as a mini nutrient warehouse, feeding the base continuously.
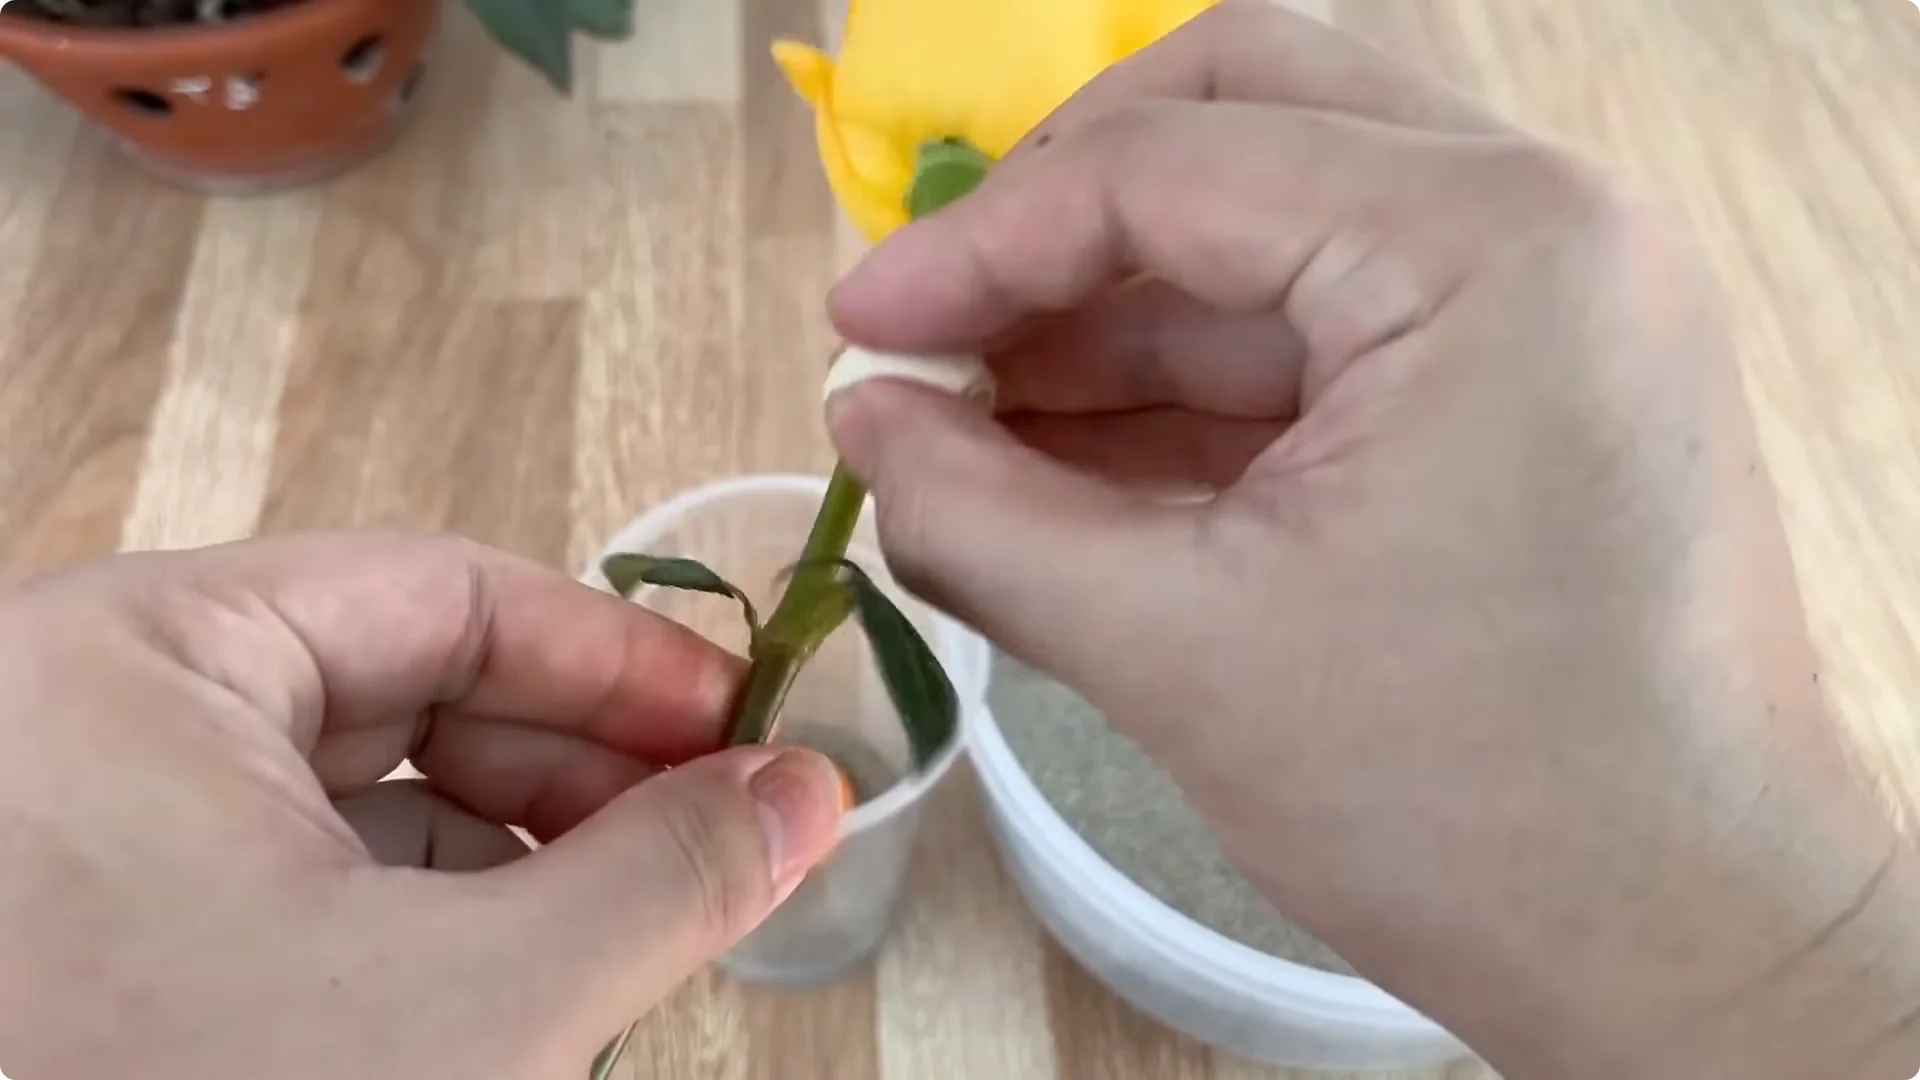
Remove the rose branch from the garlic clove. Rub the garlic all over the branch once more. Then insert the branch into the hole on the carrot piece.
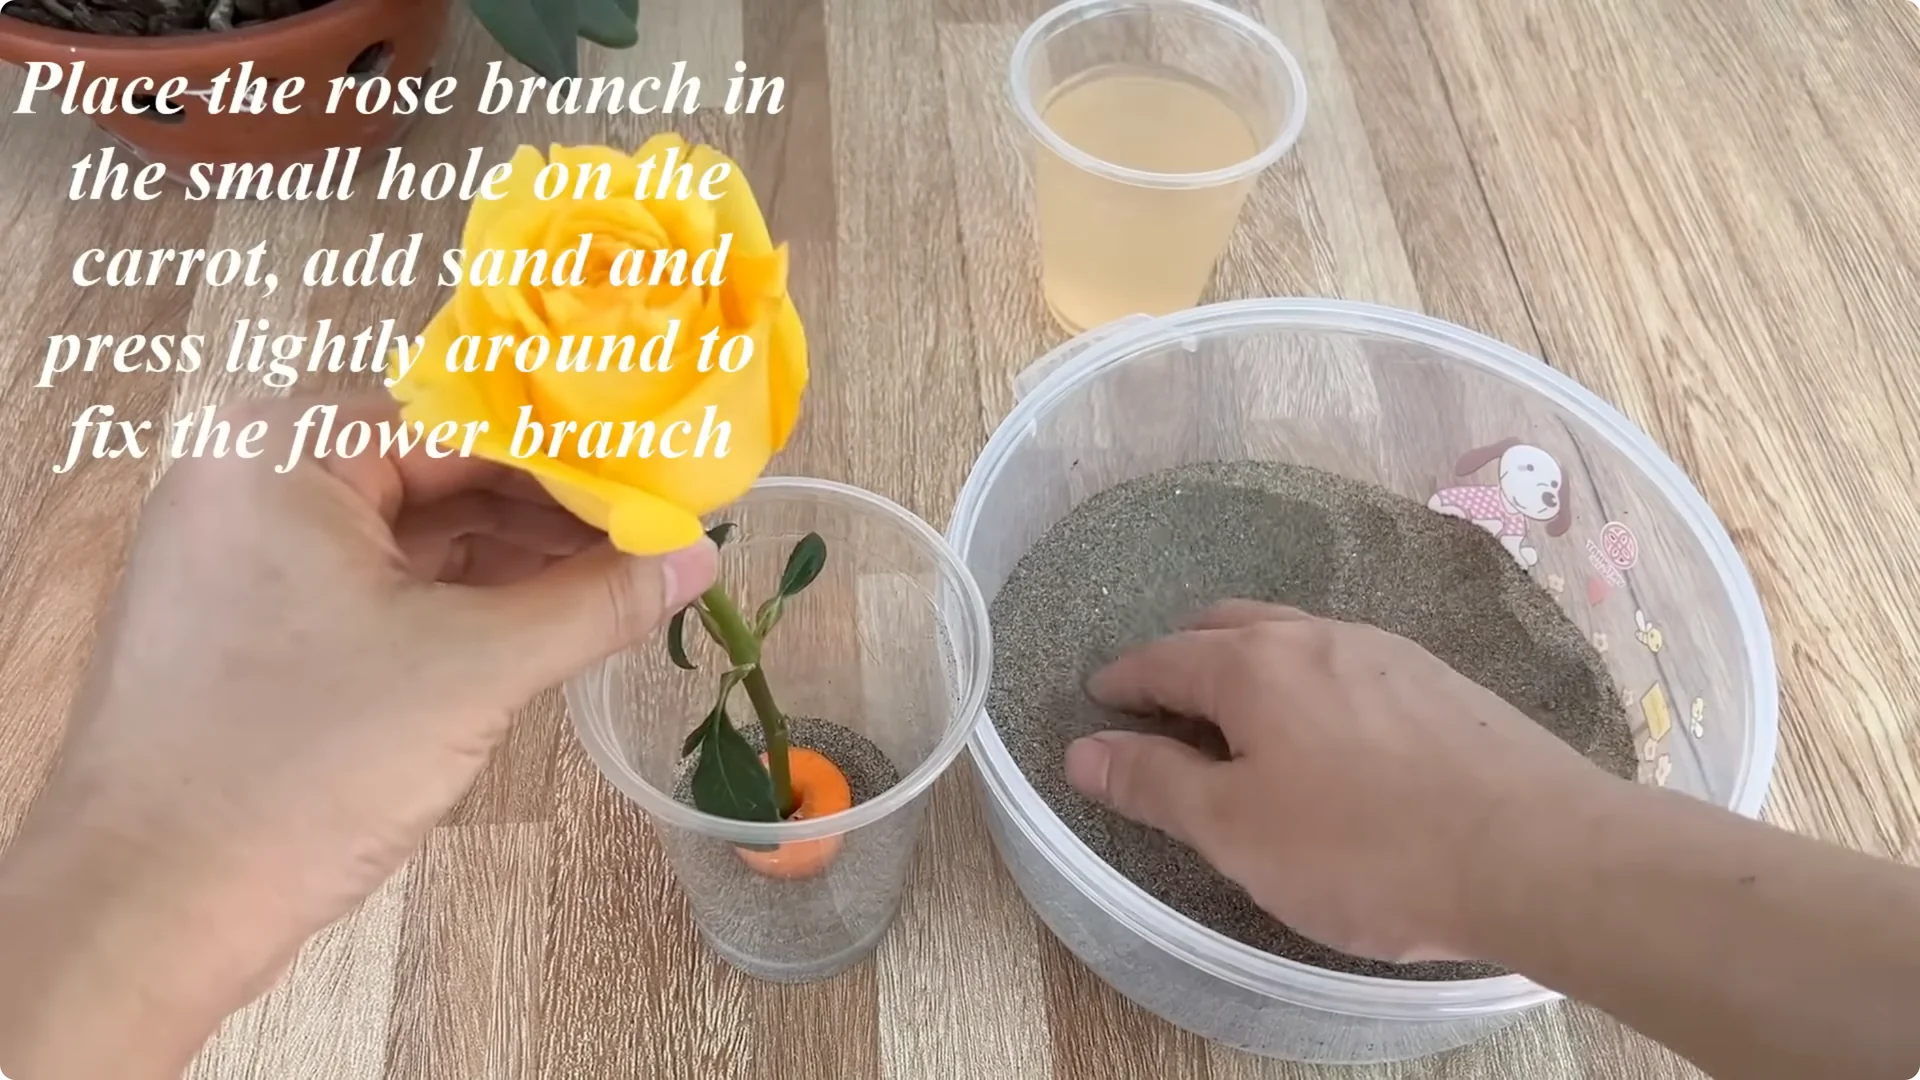
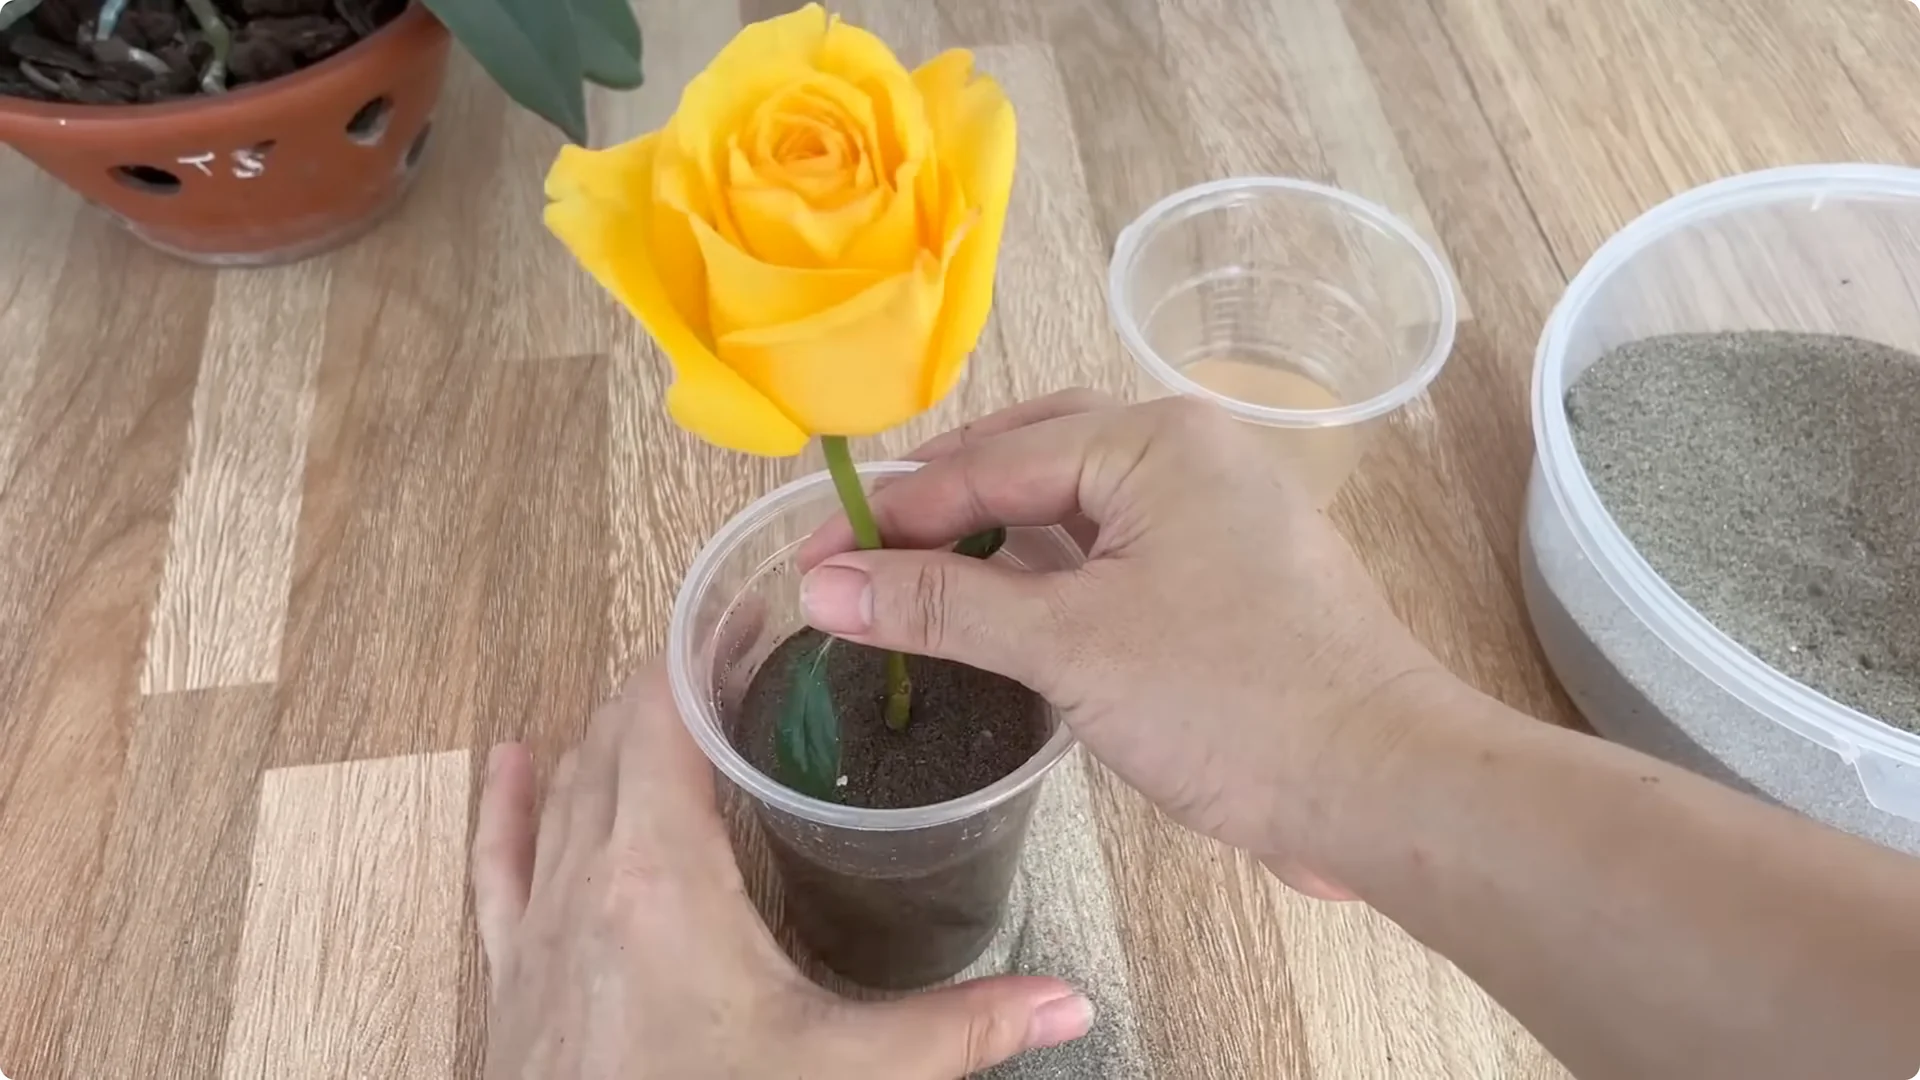
Add sand and press lightly around the base to secure the branch. Pour in the garlic carrot solution until the sand is moist but not soggy. River sand retains moisture well without waterlogging, creating a clean and airy environment that prevents young roots from rotting.
For a tiny dose approach that many growers like, check out this spoon based rooting tip. It complements the garlic carrot method for delicate cuttings. Use it when you want precise control.
Step 3 Create a humid microclimate
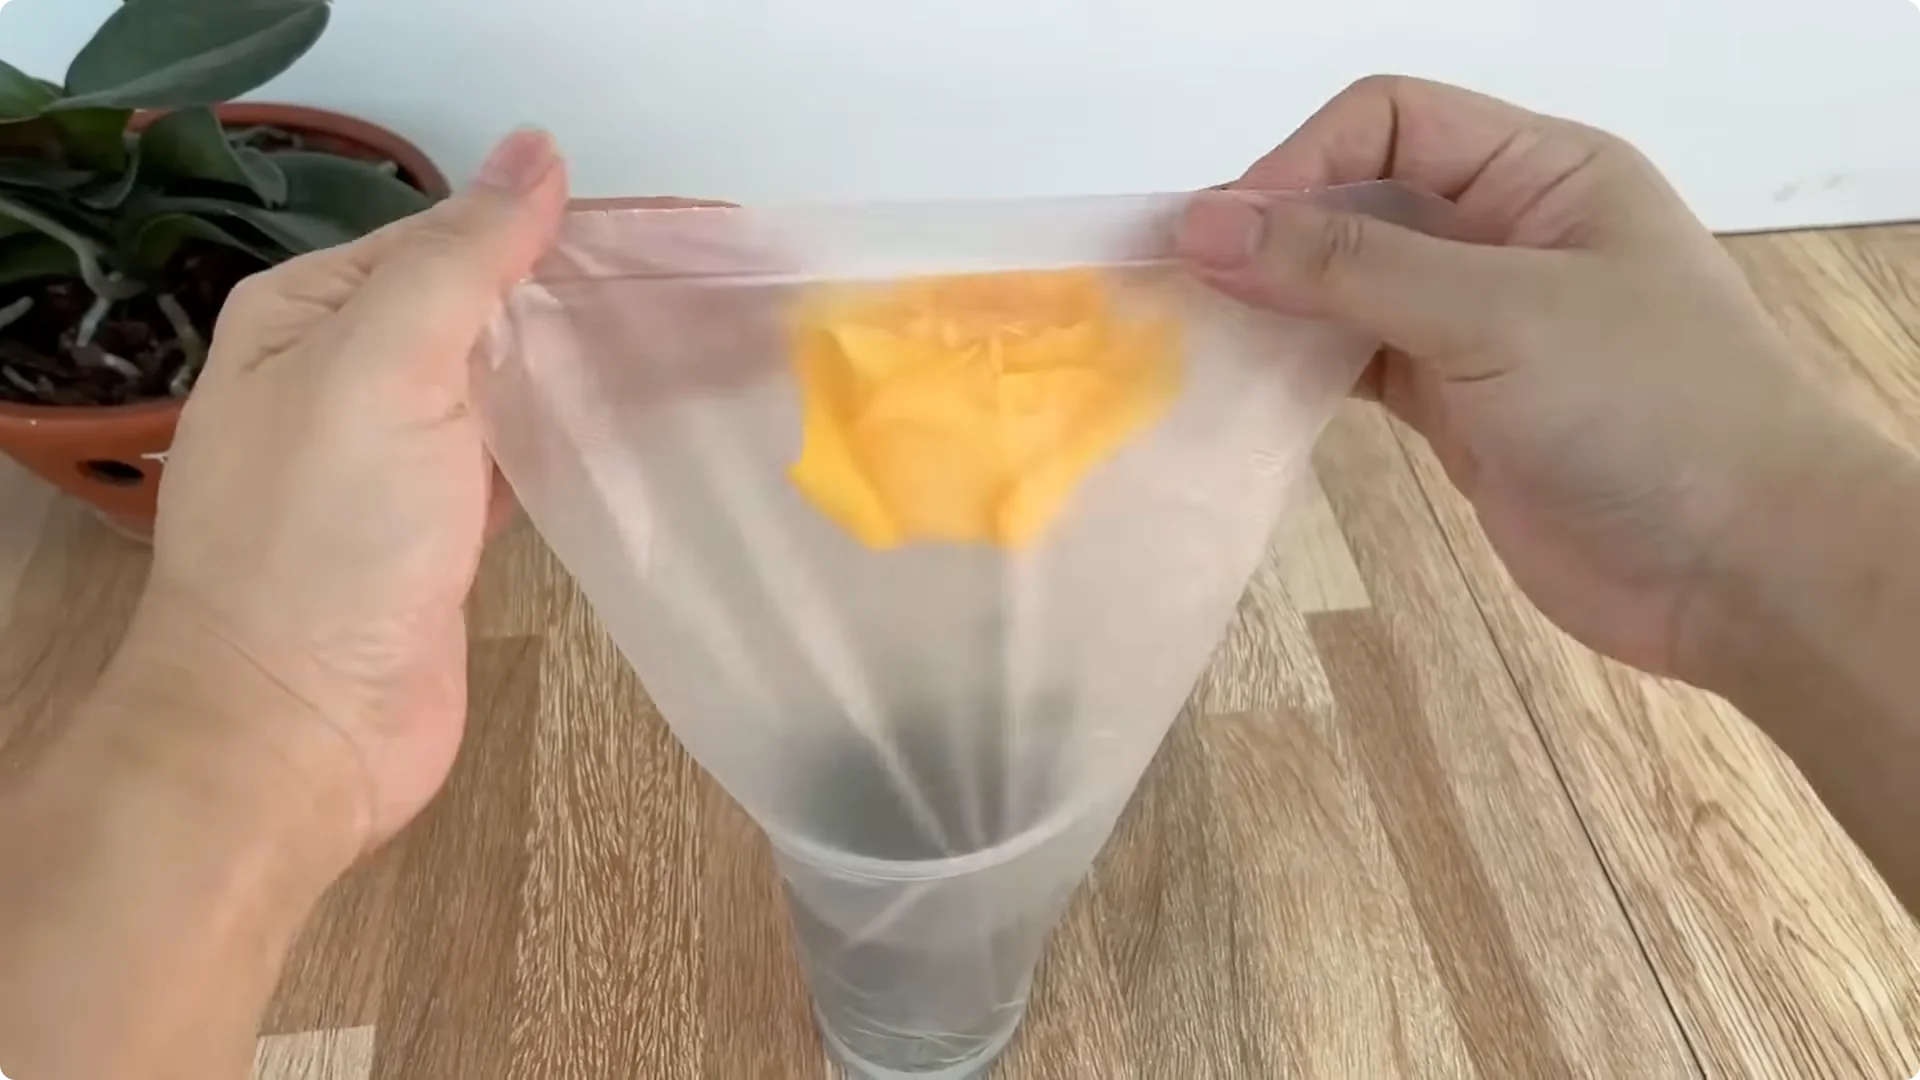
Use a plastic bag or transparent plastic cup to cover the mouth of the cup. This creates a mini greenhouse environment to retain moisture. Place the setup in a cool place, away from direct sunlight and strong winds.

4 Rose Cutting Propagation Care and Results
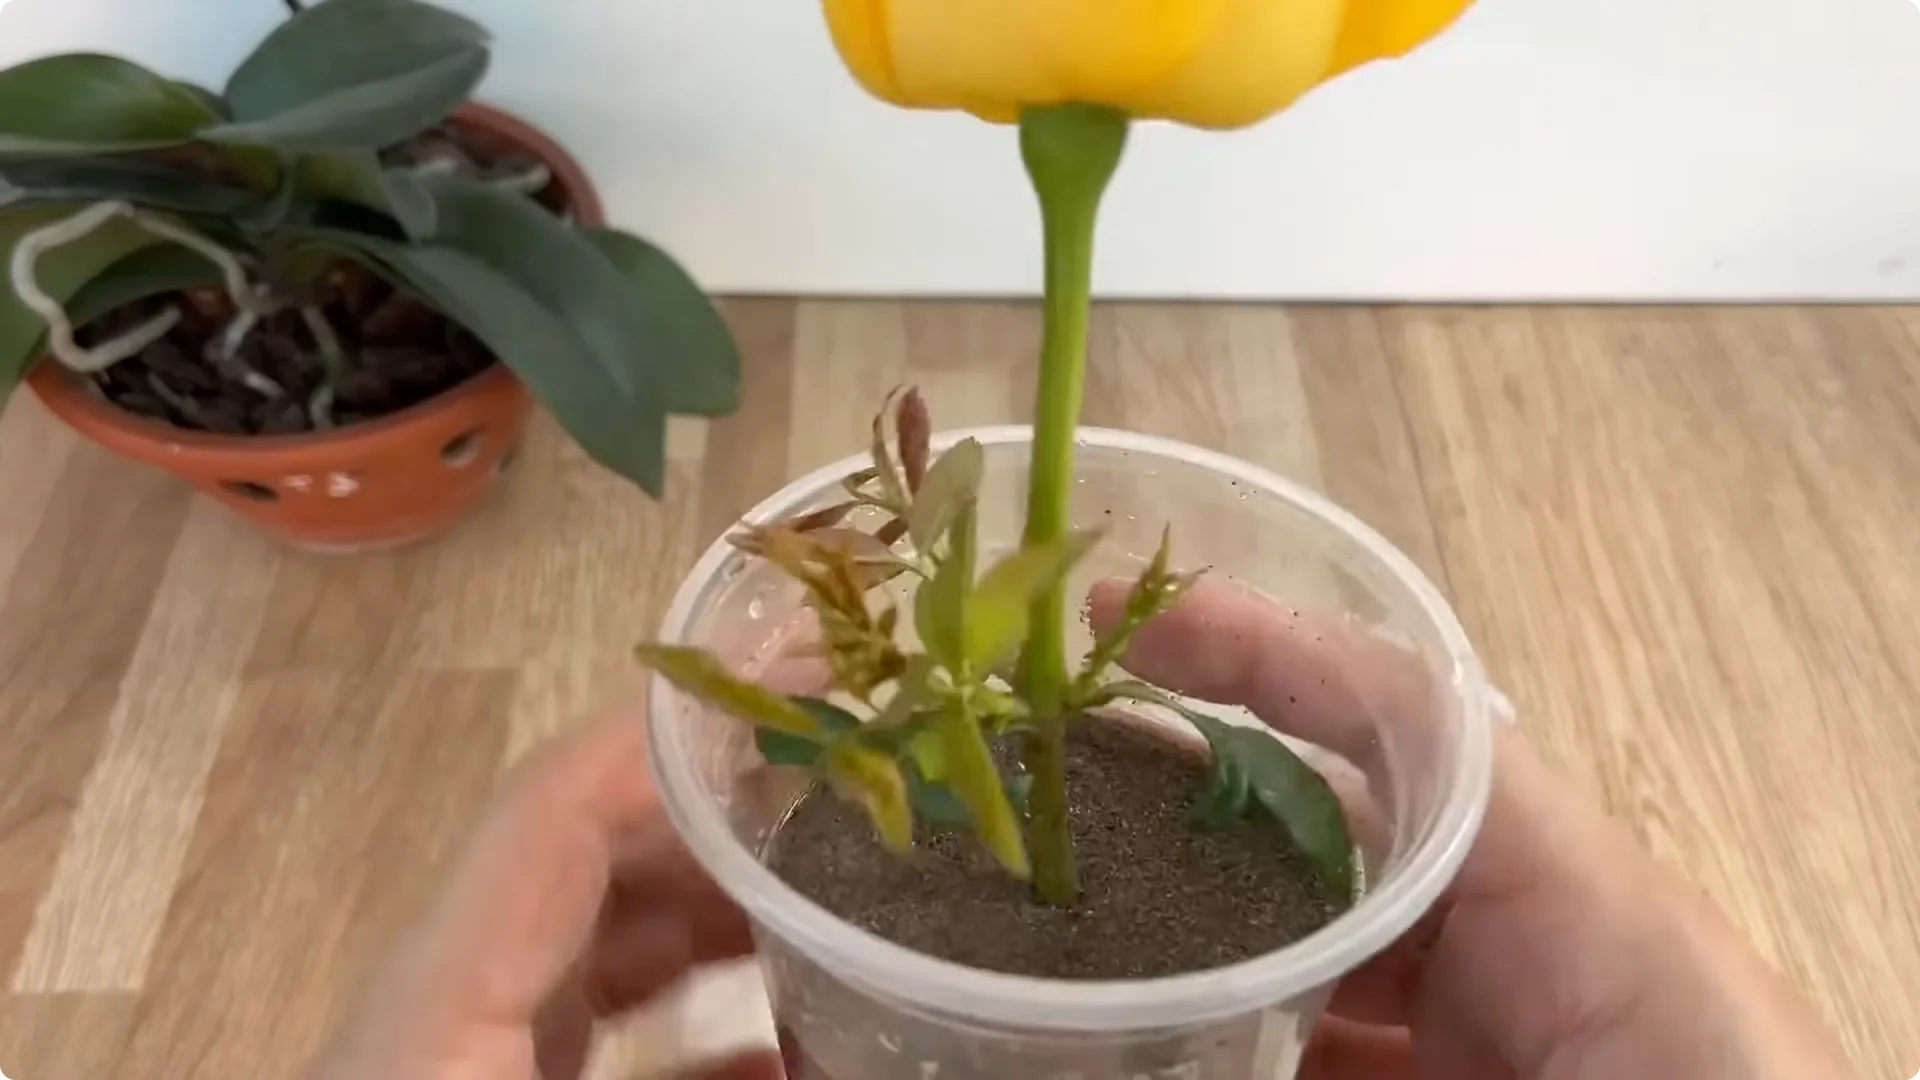
And here is the best part. After just 7 days you will see lush green shoots and new, plump white roots around the base. This is a clear sign that the rose branch has successfully taken root.
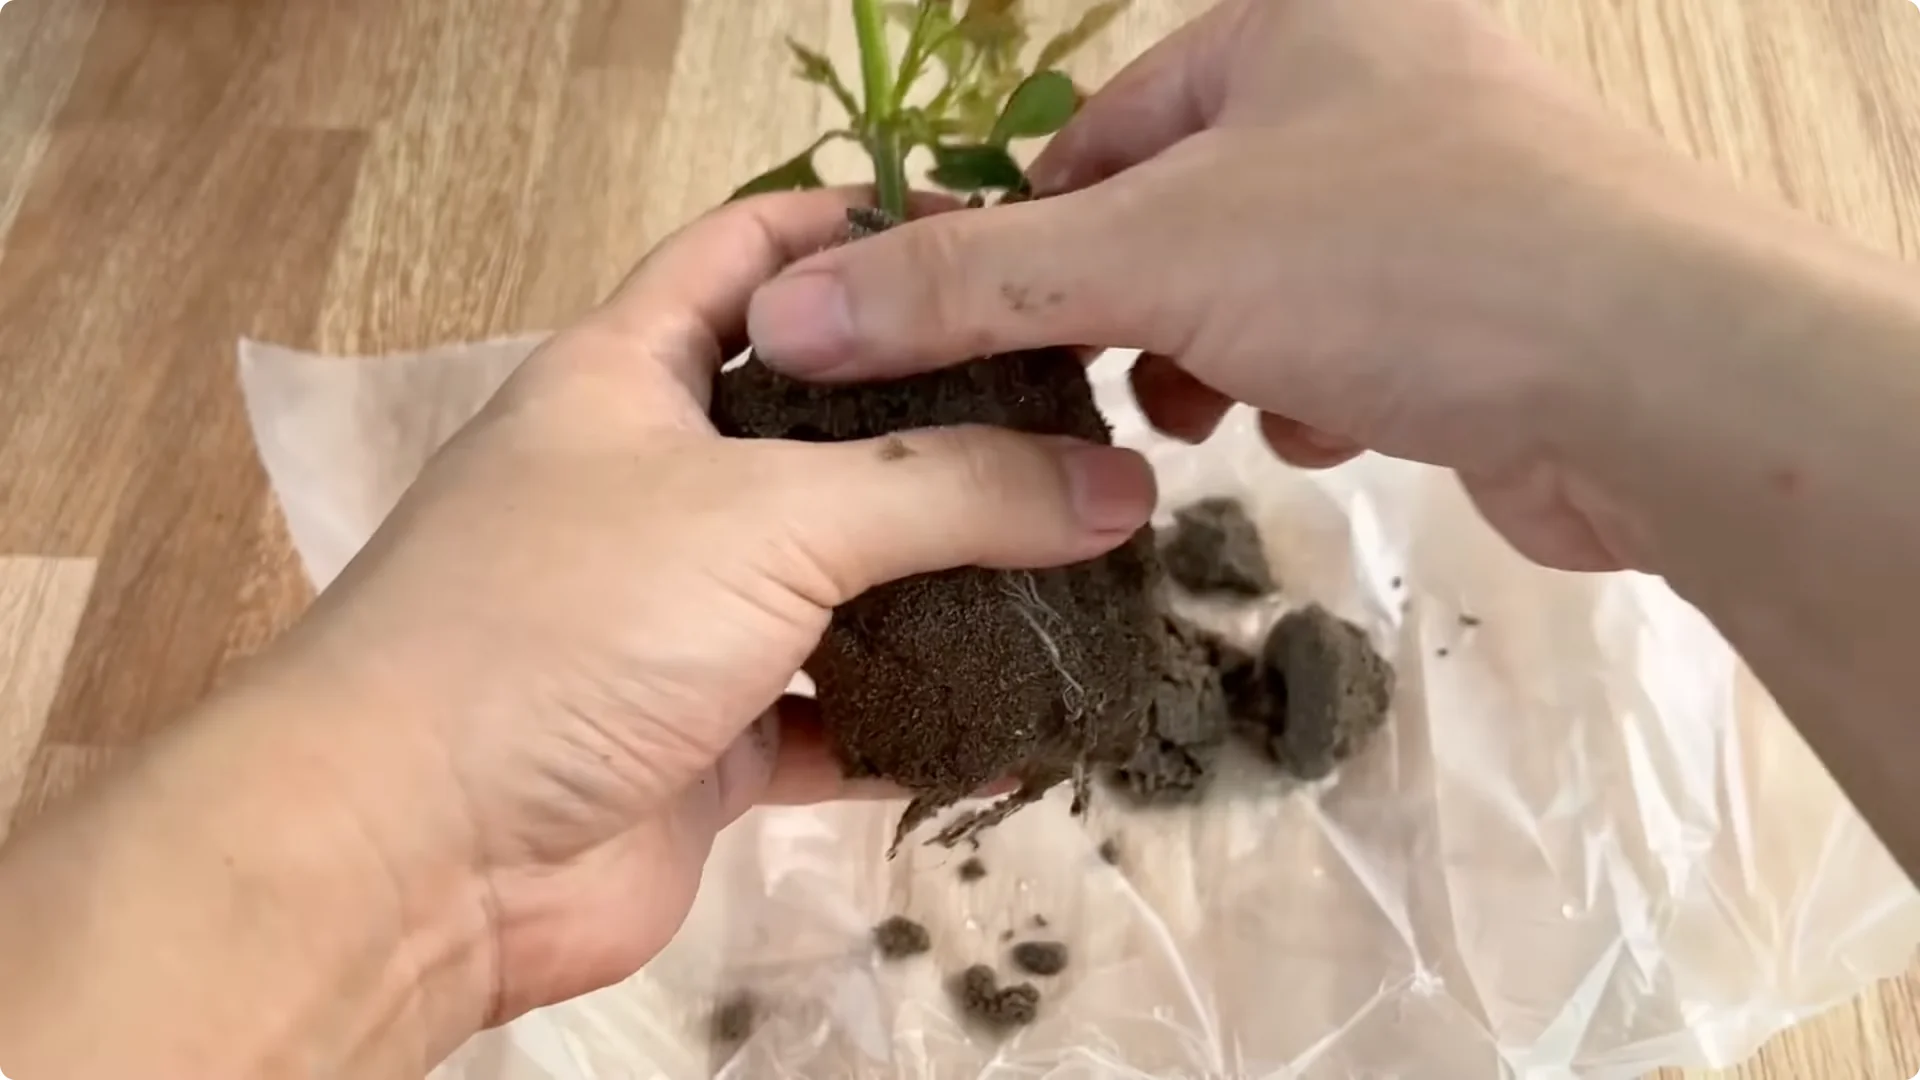
At this point, you can move the branch to a larger pot. Use a well drained substrate such as coconut fiber or a mixture of coconut fiber, sand, and soil so the plant continues to grow healthily. Water lightly and keep bright indirect light during the first week after transplanting.

If you want a simple cup plan to keep roots and shoots developing vigorously, see this cup guide for strong roots and shoots. It fits naturally after transplanting. Healthy roots lead to steady, resilient top growth.
Rose Cutting Propagation Final Thoughts
With a little garlic, a little carrot, and an extremely simple method, you can turn a rose branch into a new plant with healthy white roots in just 1 week. The key is a clean cut, a gentle nutrient source, stable moisture, and soft indirect light. Follow the steps closely and you will see quick, reliable results.
The Beginner’s Rose Propagation Starter Kit 🌹
A simple printable PDF guide to help you root rose cuttings successfully.
Get The Guide →