I share a unique method of rose cuttings using familiar kitchen ingredients, coffee and baking soda. This combination is effective, helping to stimulate roots quickly, with young shoots growing healthily after only 7 days.
This method is natural, safe, and gentle on tender branches. It also minimizes the risk of root rot and pests during the cutting process.
The Beginner’s Rose Propagation Starter Kit 🌹
A simple printable PDF guide to help you root rose cuttings successfully.
Get The Guide →1. Why coffee and baking soda for Rooting Rose Cuttings
Coffee contains many organic acids, minerals, caffeine, and antioxidants. These ingredients stimulate root growth and increase metabolism in plant cells. Coffee also helps increase the resistance of branches during the rooting stage.
Baking soda is mildly alkaline and helps clean and disinfect cuts. It prevents bacteria and mold from causing root rot. It also balances the pH around the base of the branch, creating ideal conditions for callus and new roots.
For another spoon based approach to getting cuttings to root and bloom, see this simple guide.
2. Prepare the coffee infusion for Rooting Rose Cuttings
Put 1 teaspoon of pure coffee in a clean glass jar. Pour in 0.5 liters of boiling water, then stir well. Cover and let it cool for about 1 hour.
After the coffee solution has cooled, stir well and filter out the residue, keeping the juice. Coffee provides a source of natural micronutrients that is beneficial for young roots and new shoots. Keep this infusion ready for mixing.
3. Prepare the baking soda soak for Rooting Rose Cuttings
Prepare a healthy rose branch. Cut the flower branch to 15 to 20 cm, then remove all the leaves to reduce water evaporation and limit pests.
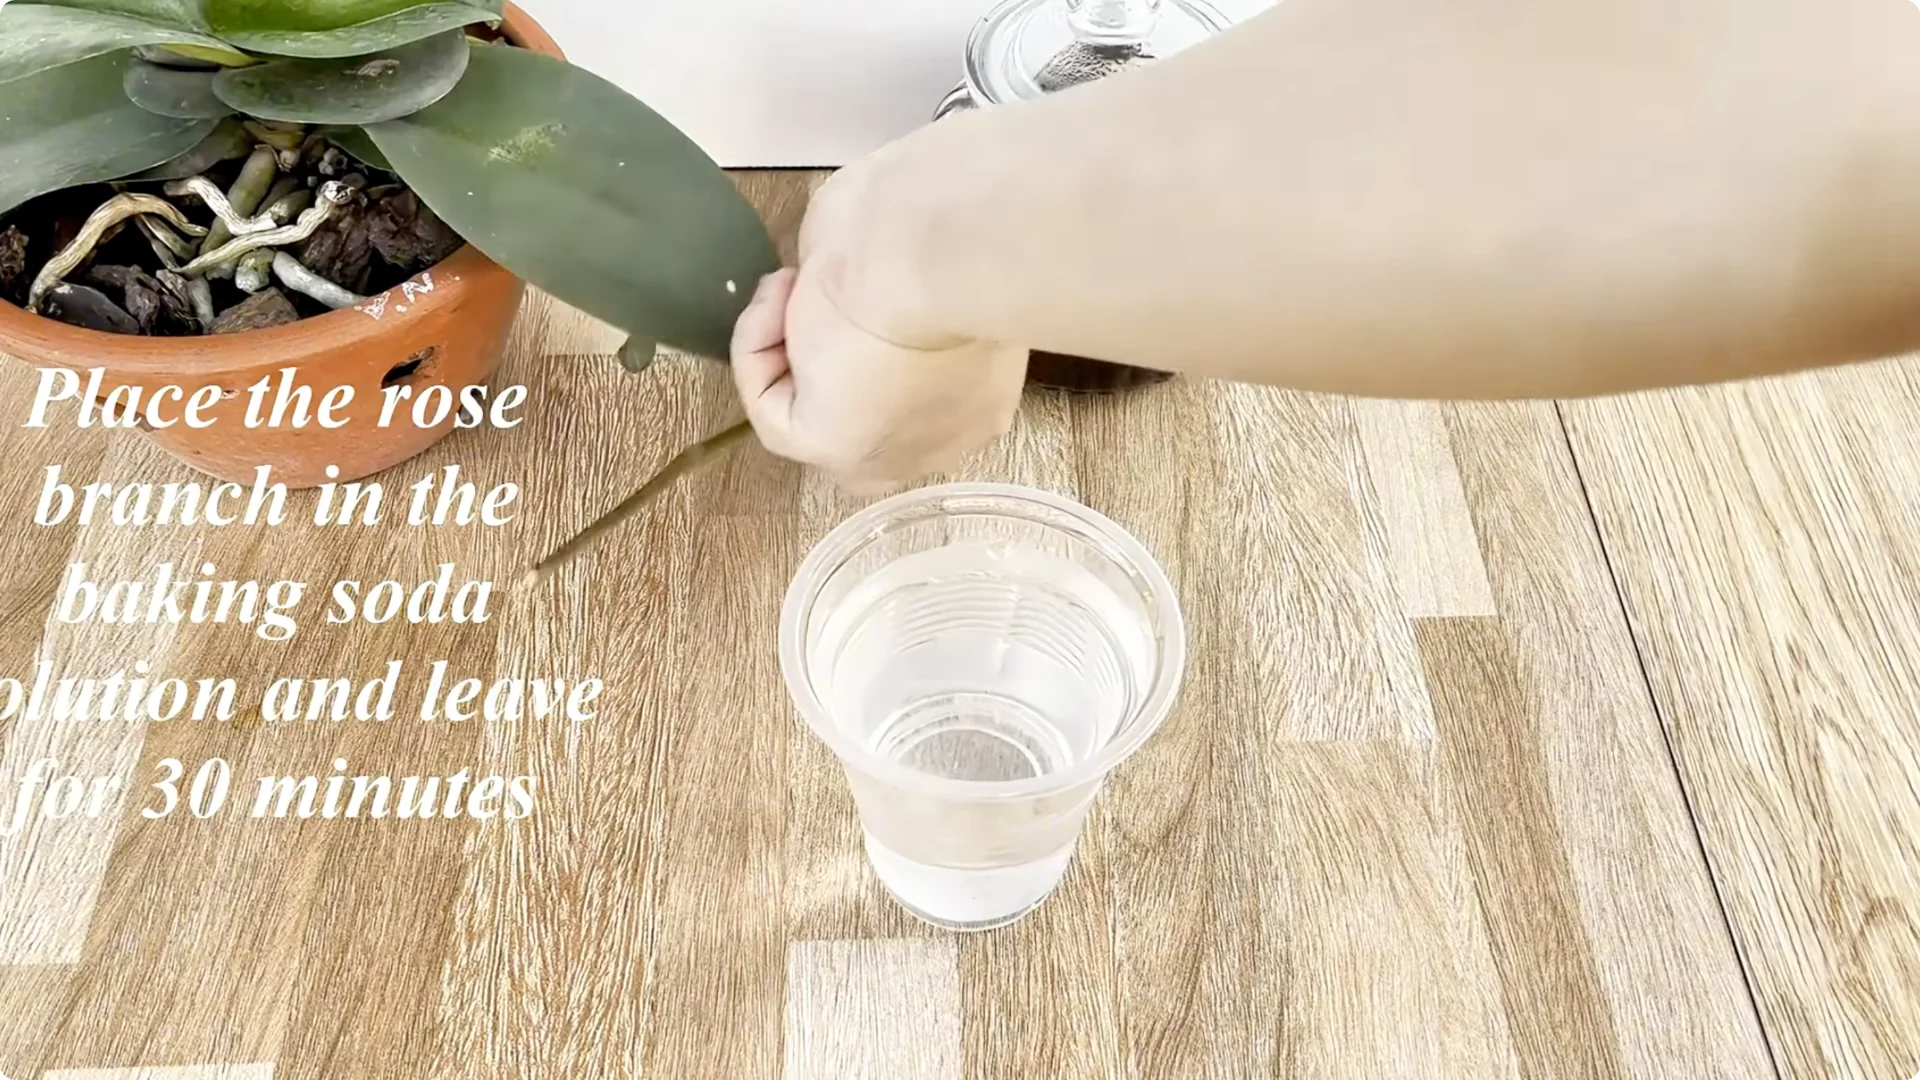
Use a clean cup and pour in 0.5 liters of water. Add 1 or 2 teaspoon of baking soda, then stir until completely dissolved.
Soak the rose branches in this solution for about 30 minutes. This helps disinfect the cut and stabilize the environment where new roots form. Take the branch out after soaking.
4. Mix and set up the Rooting Rose Cuttings jar
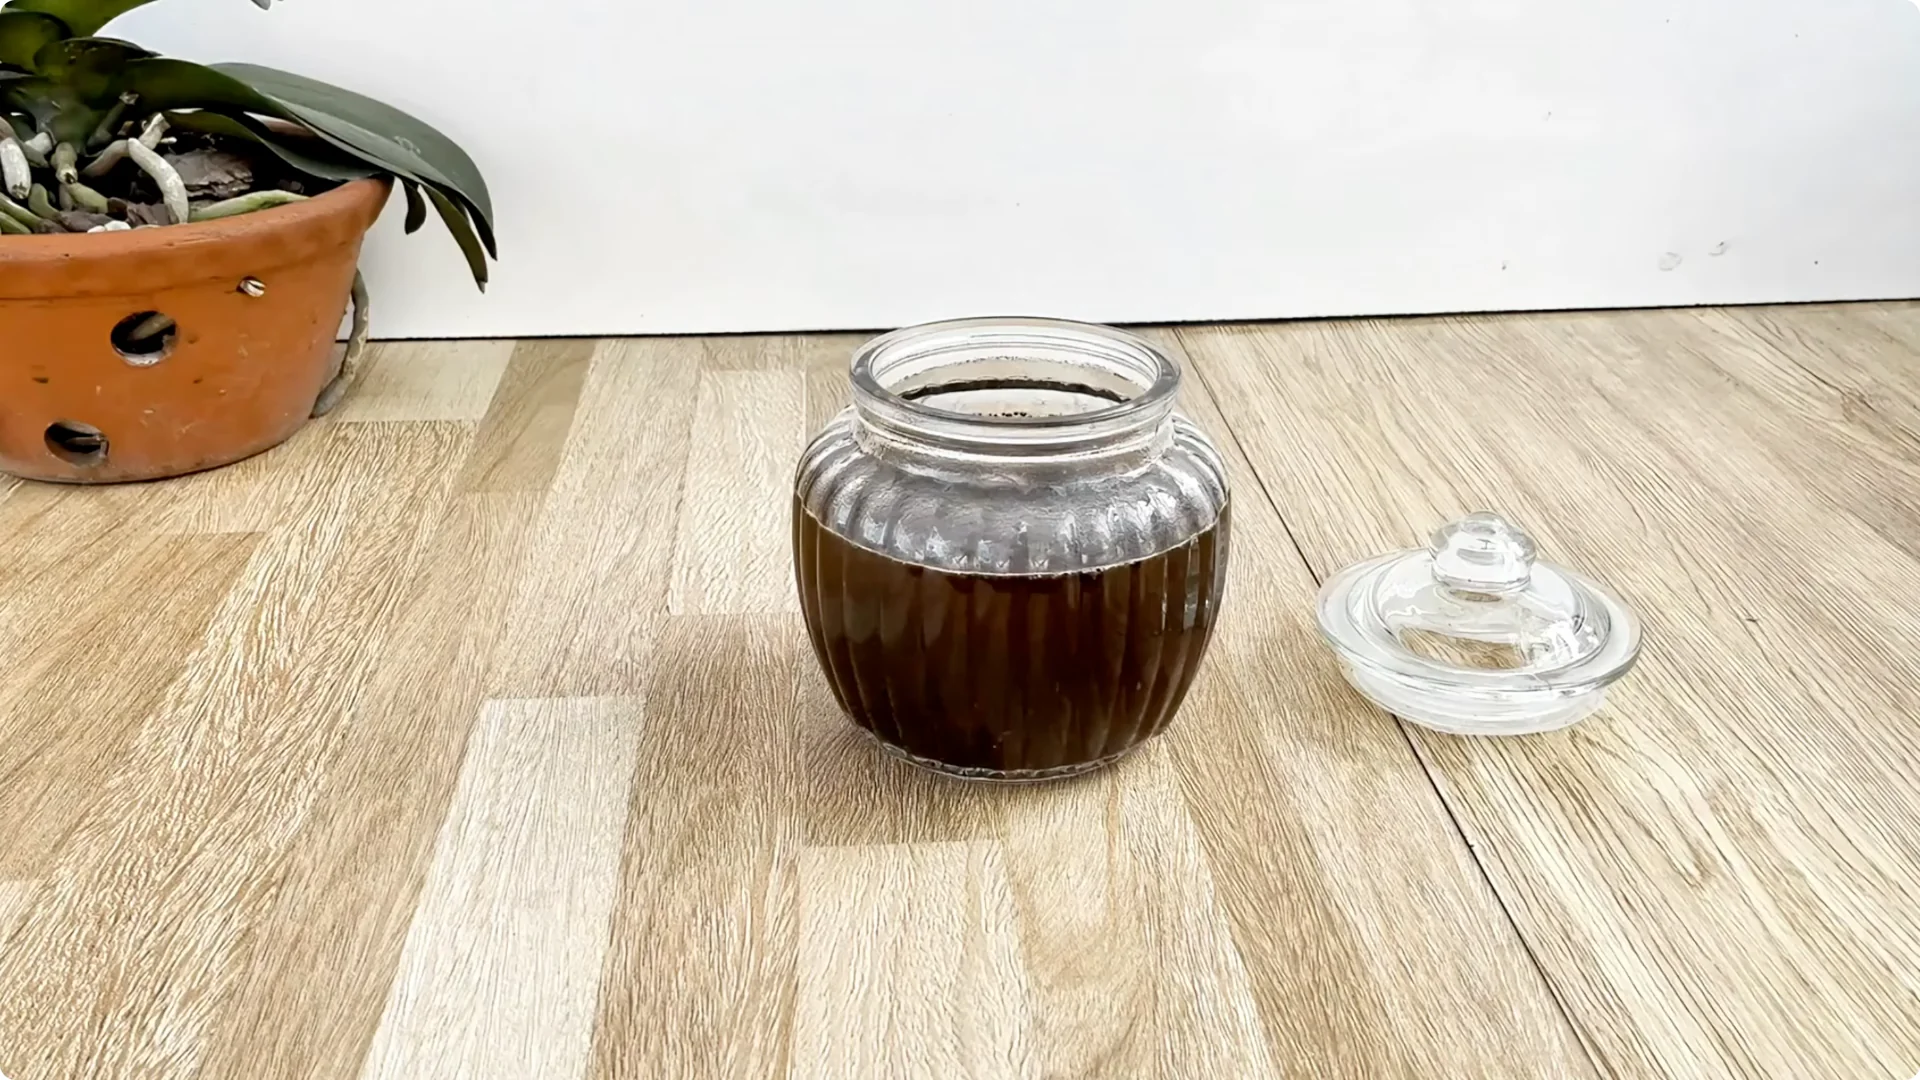
Mix the coffee solution with the baking soda solution, then stir well to get a complete cutting mixture. Prepare a clean glass jar and a piece of foam. Cut the foam so that it fits the mouth of the jar.
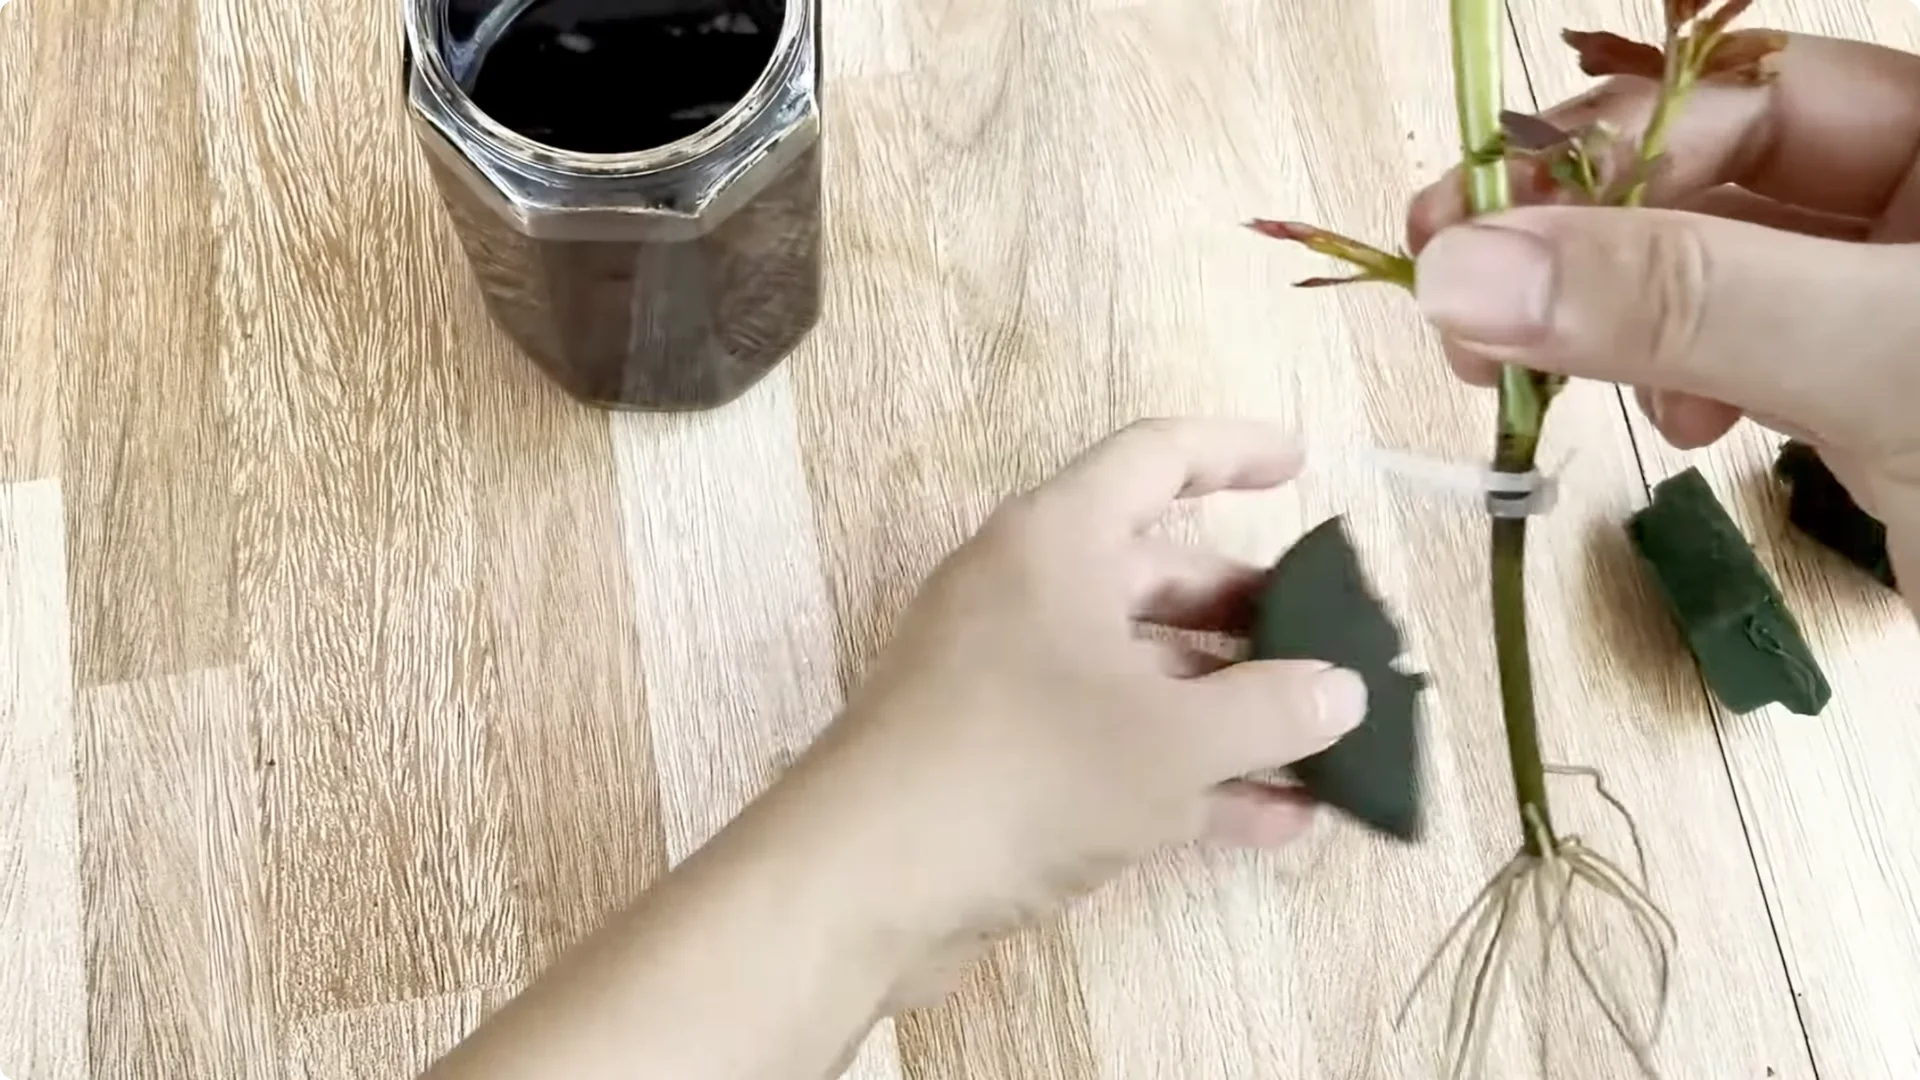
Pour the mixed solution into the jar until it is almost full. Make a small hole in the middle of the foam, just the size of the rose branch. Cover the foam over the mouth of the jar.
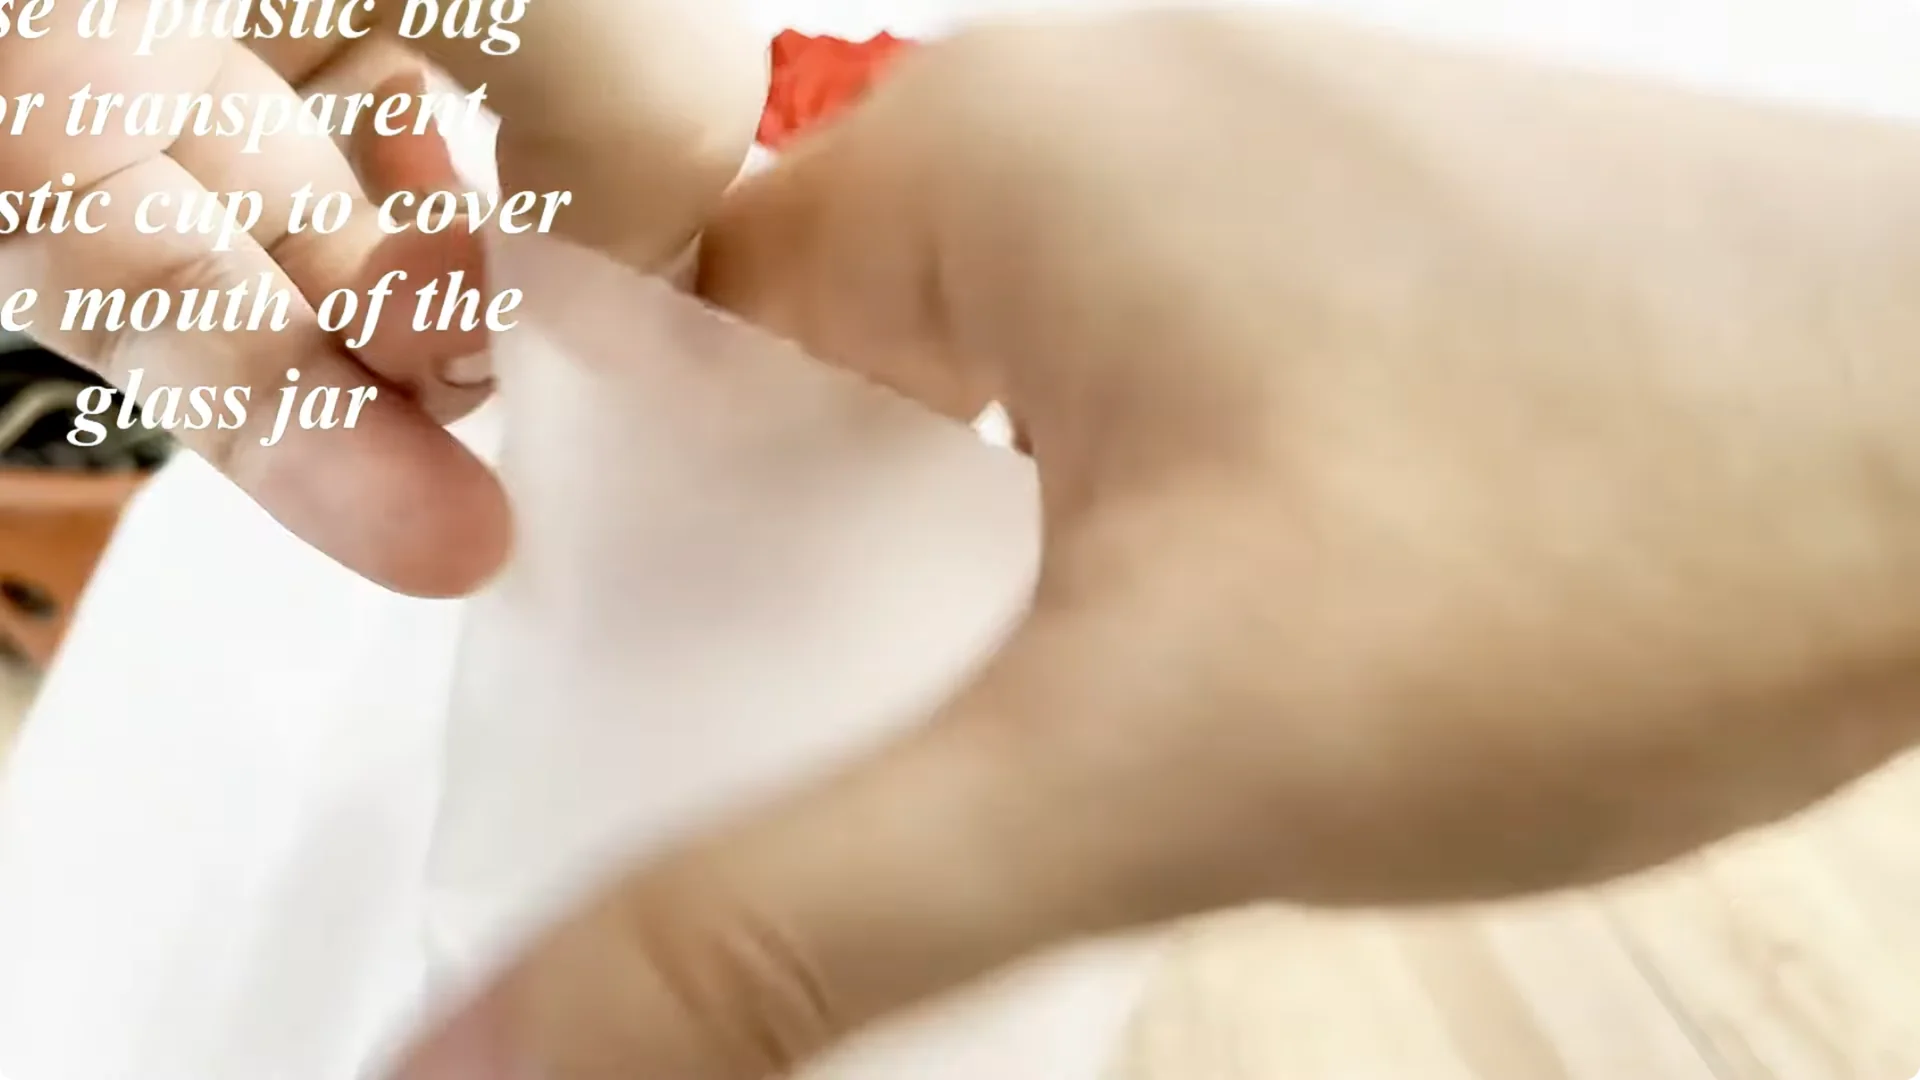
Use cable ties or soft thread to secure the flower branch in the middle to avoid tilting during the rooting process. Insert the rose branch into the hole created in the foam so that the base is submerged in the solution about 5 cm deep. Cover the mouth of the jar with a plastic bag or a transparent plastic cup to create a humid environment like a greenhouse.
5. Place and care for Rooting Rose Cuttings in the first week

Place the jar in a cool place with gentle light. Avoid direct sunlight. Keep the cover in place to maintain humidity.
After just 7 days, you will see clear results. New shoots begin to sprout, green, plump, and healthy. White, strong, numerous, and sturdy roots develop around the base of the branch.
Coffee provides energy, micronutrients, and antioxidants to help buds grow strongly. Baking soda increases antibacterial ability and supports a clean, stable environment for young roots. Combined, it creates a natural root stimulating solution that is safe and does not harm young branches.
If you want to encourage more blooms from small inputs, see these bloom focused tips.
6. Potting Rooting Rose Cuttings after roots form

Transfer the rooted branch to a pot. Use coconut fiber, soil mixed with rice husks or rice husk ash, ensuring the mix is loose and well drained.
Place the plant in a cool place, away from strong sunlight for the first few days. Let the plant stabilize and continue to grow. Keep the medium slightly moist, not waterlogged.
You can also compare with another spoonful rooting and blooming approach to tailor your setup.
Final Thoughts on Rooting Rose Cuttings
With a little coffee, a touch of baking soda, and simple preparation, you can propagate roses at home using a natural and effective method. Roots and new shoots appear in about one week, and the risk of rot is greatly reduced.
Wishing you always have beautiful and healthy pots of roses.
The Beginner’s Rose Propagation Starter Kit 🌹
A simple printable PDF guide to help you root rose cuttings successfully.
Get The Guide →