We will explore a rather interesting method of rose propagation, combining natural materials and simple substrate processing techniques. The focus of this method is not only to stimulate the formation of healthy roots but also to help the flower branches recover well, increasing the ability to sprout. The process is simple, uses easy-to-find materials, and is very safe for the plant, making it suitable for both new flower growers and those who have experience.
1. Rose Cutting Propagation: Step-by-Step Guide
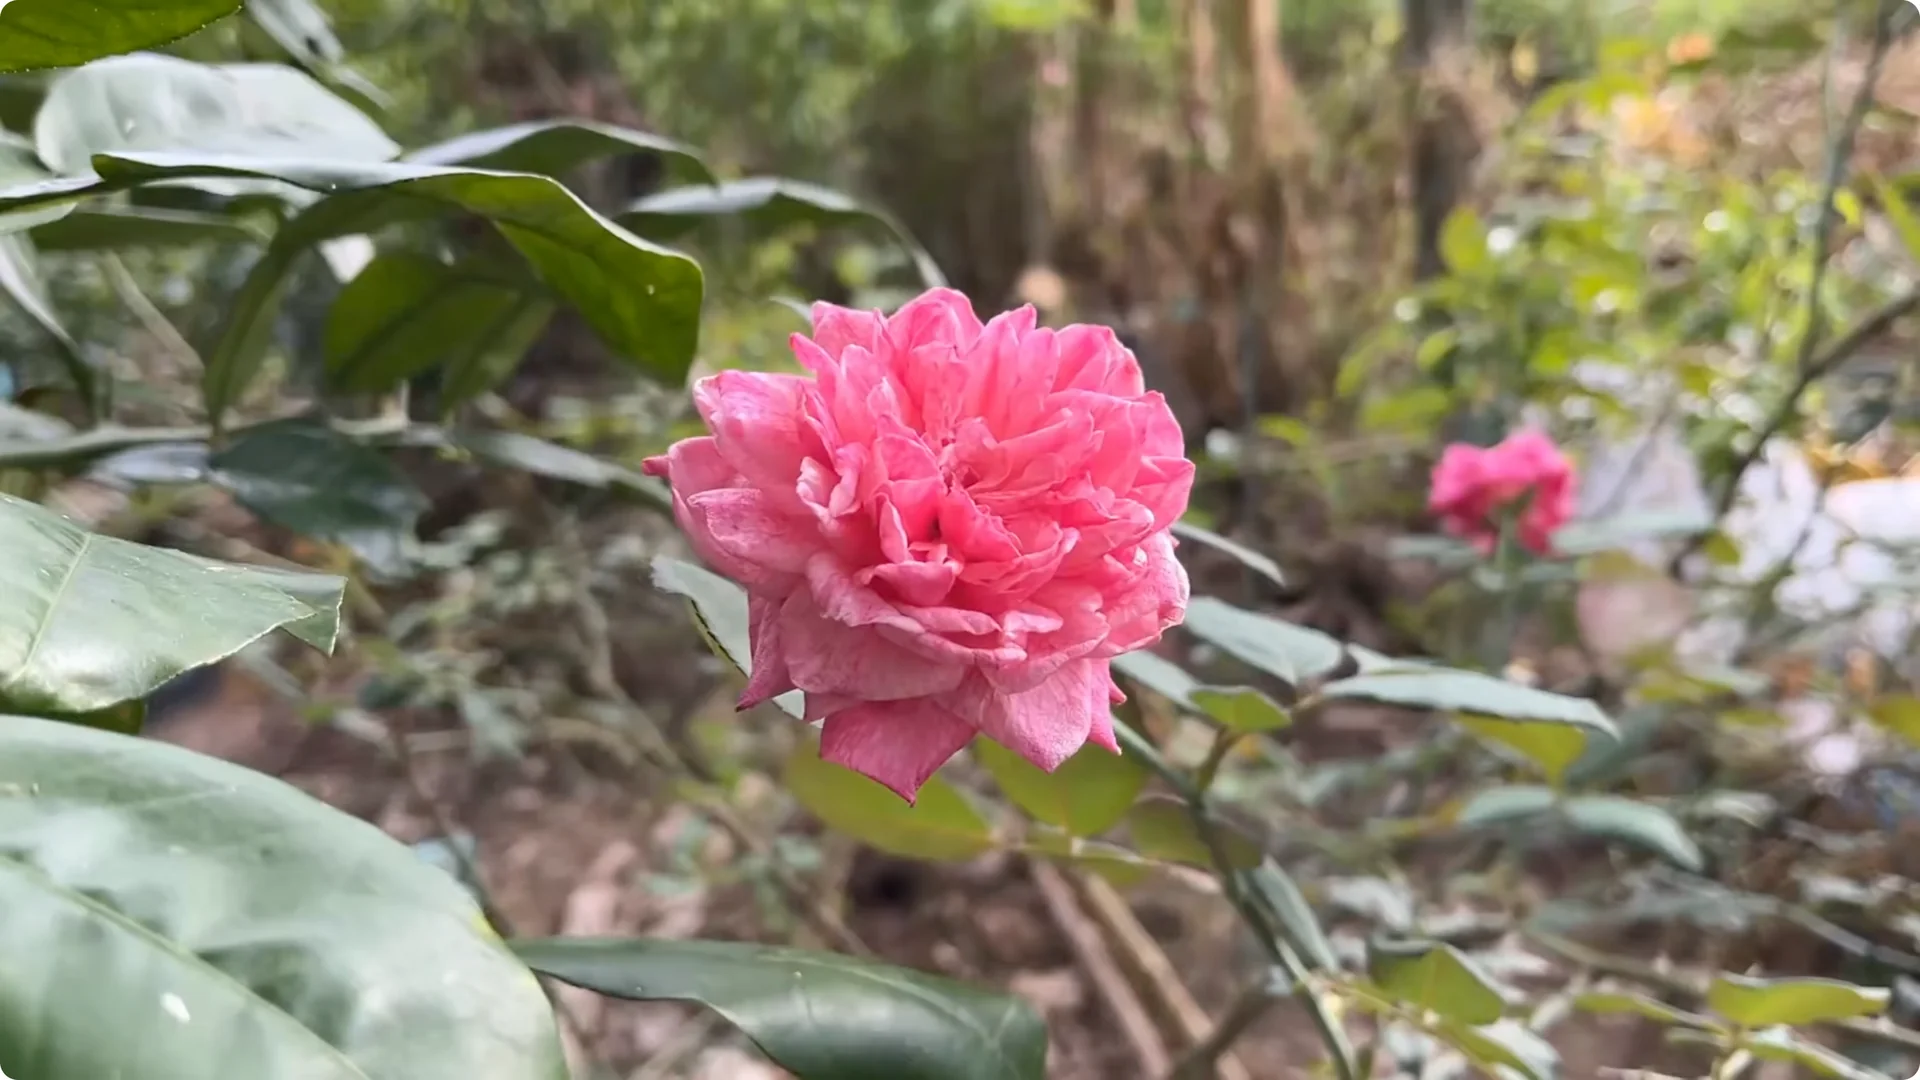
Step 1 – Select a healthy branch
Choose a healthy rose branch, without signs of pests or black rot. Choosing a quality branch from the beginning is very important, because it almost determines the ability to root. Priority should be given to branches that are moderately old, have a slightly lignified stem, and have clear dormant buds.
The Beginner’s Rose Propagation Starter Kit 🌹
A simple printable PDF guide to help you root rose cuttings successfully.
Get The Guide →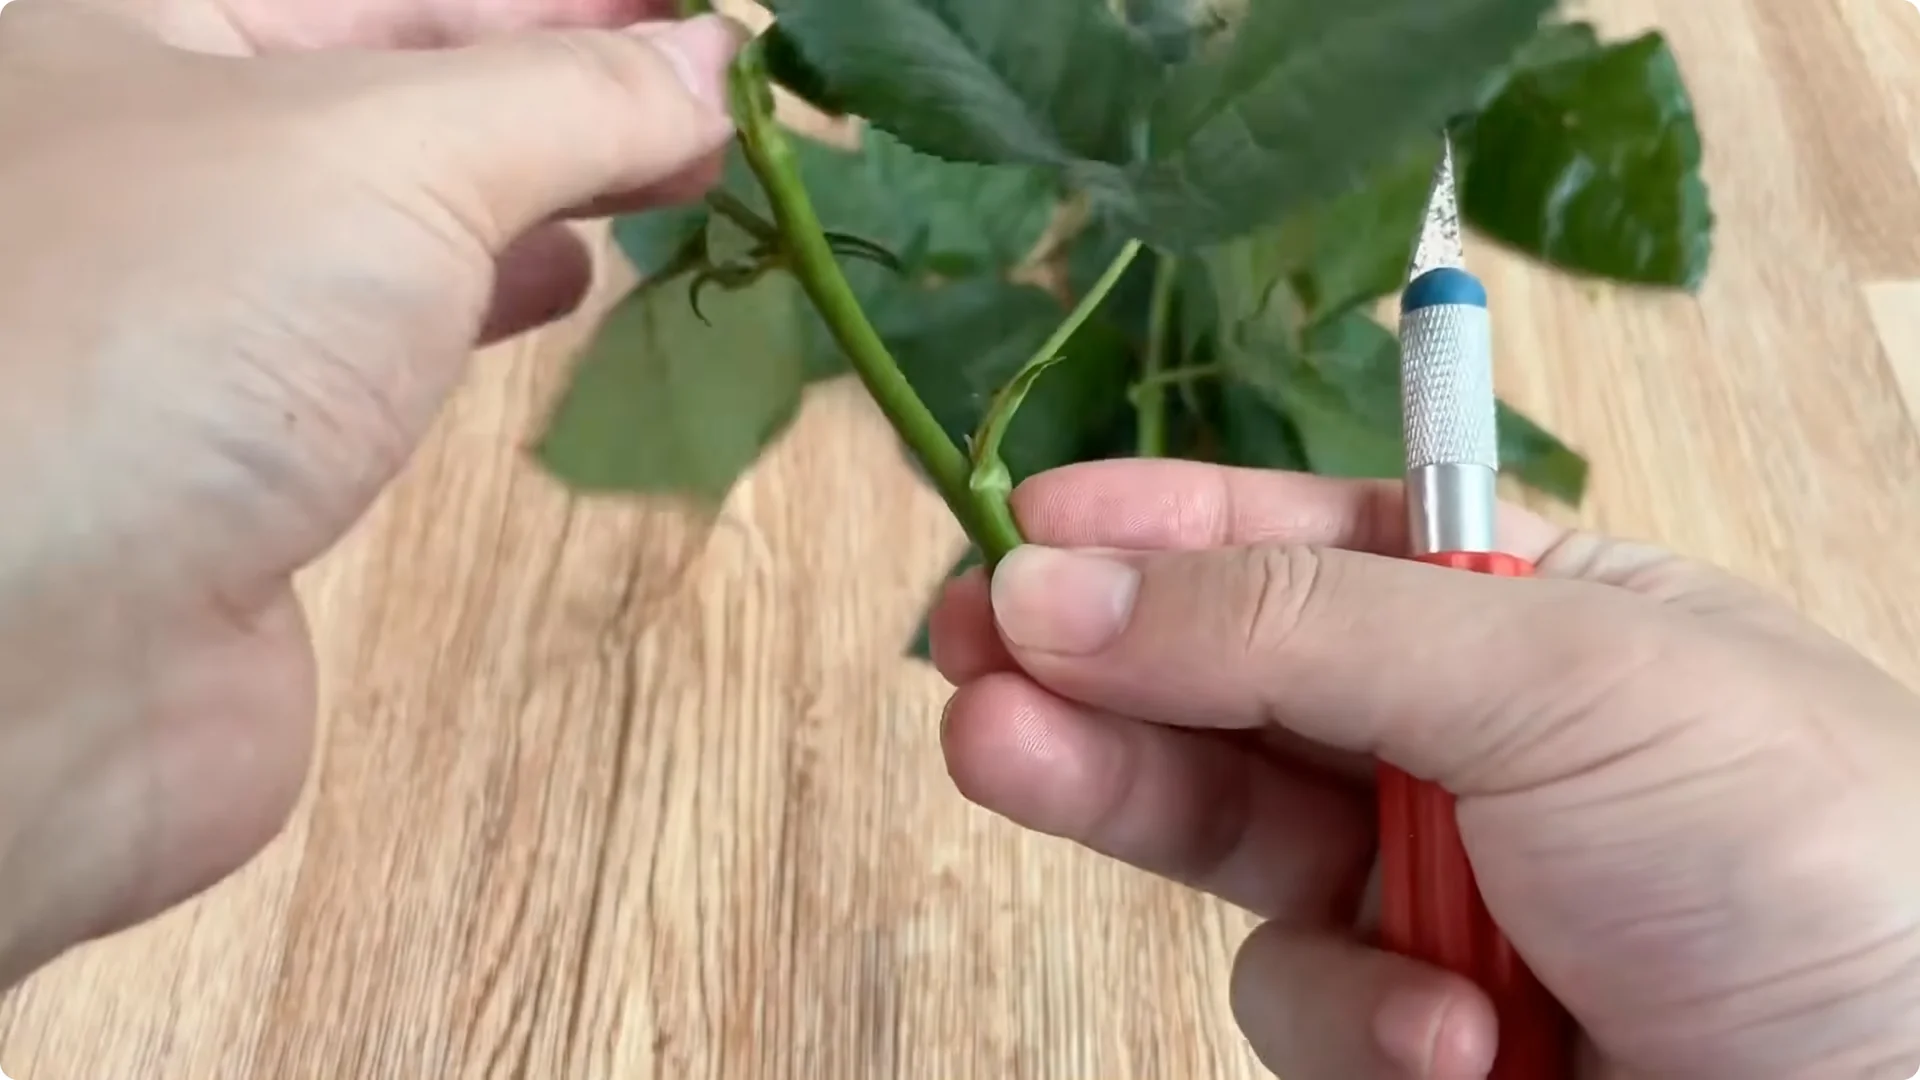
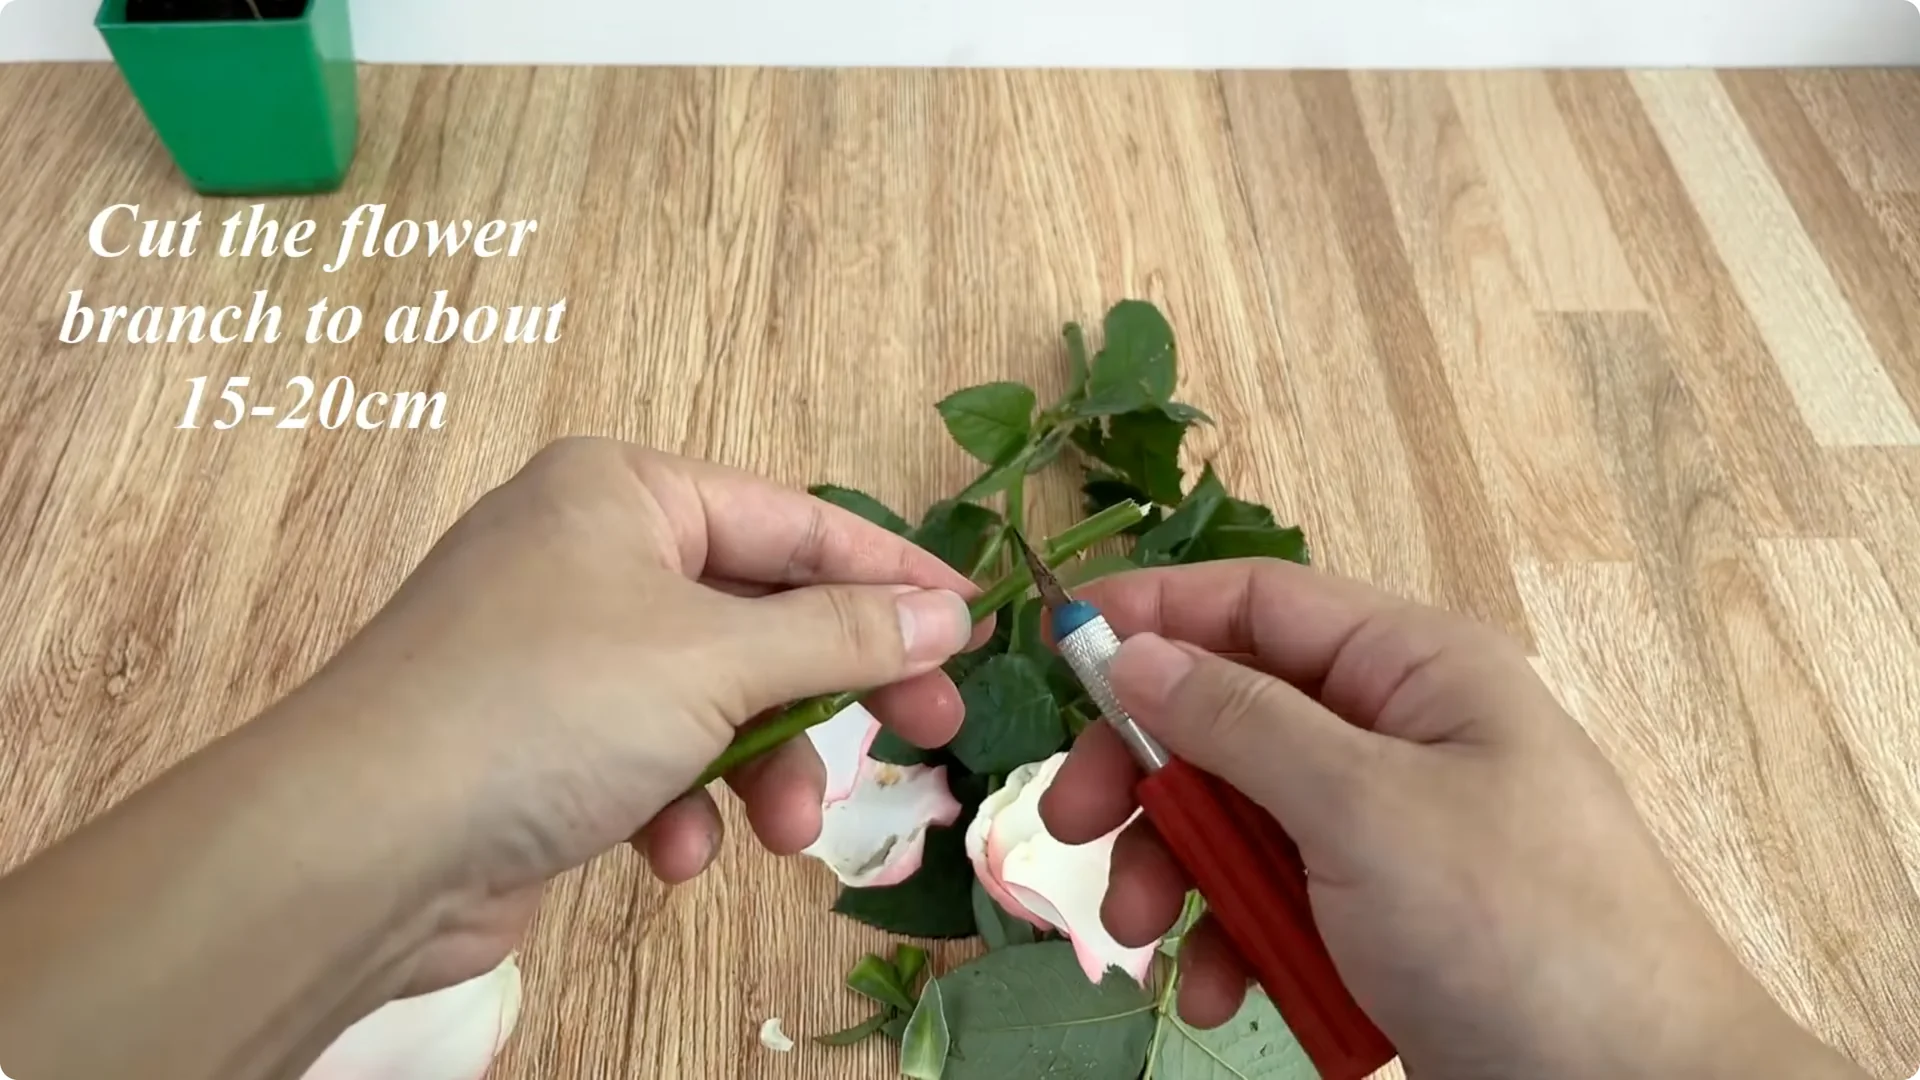
Step 2 – Clean and size the cutting
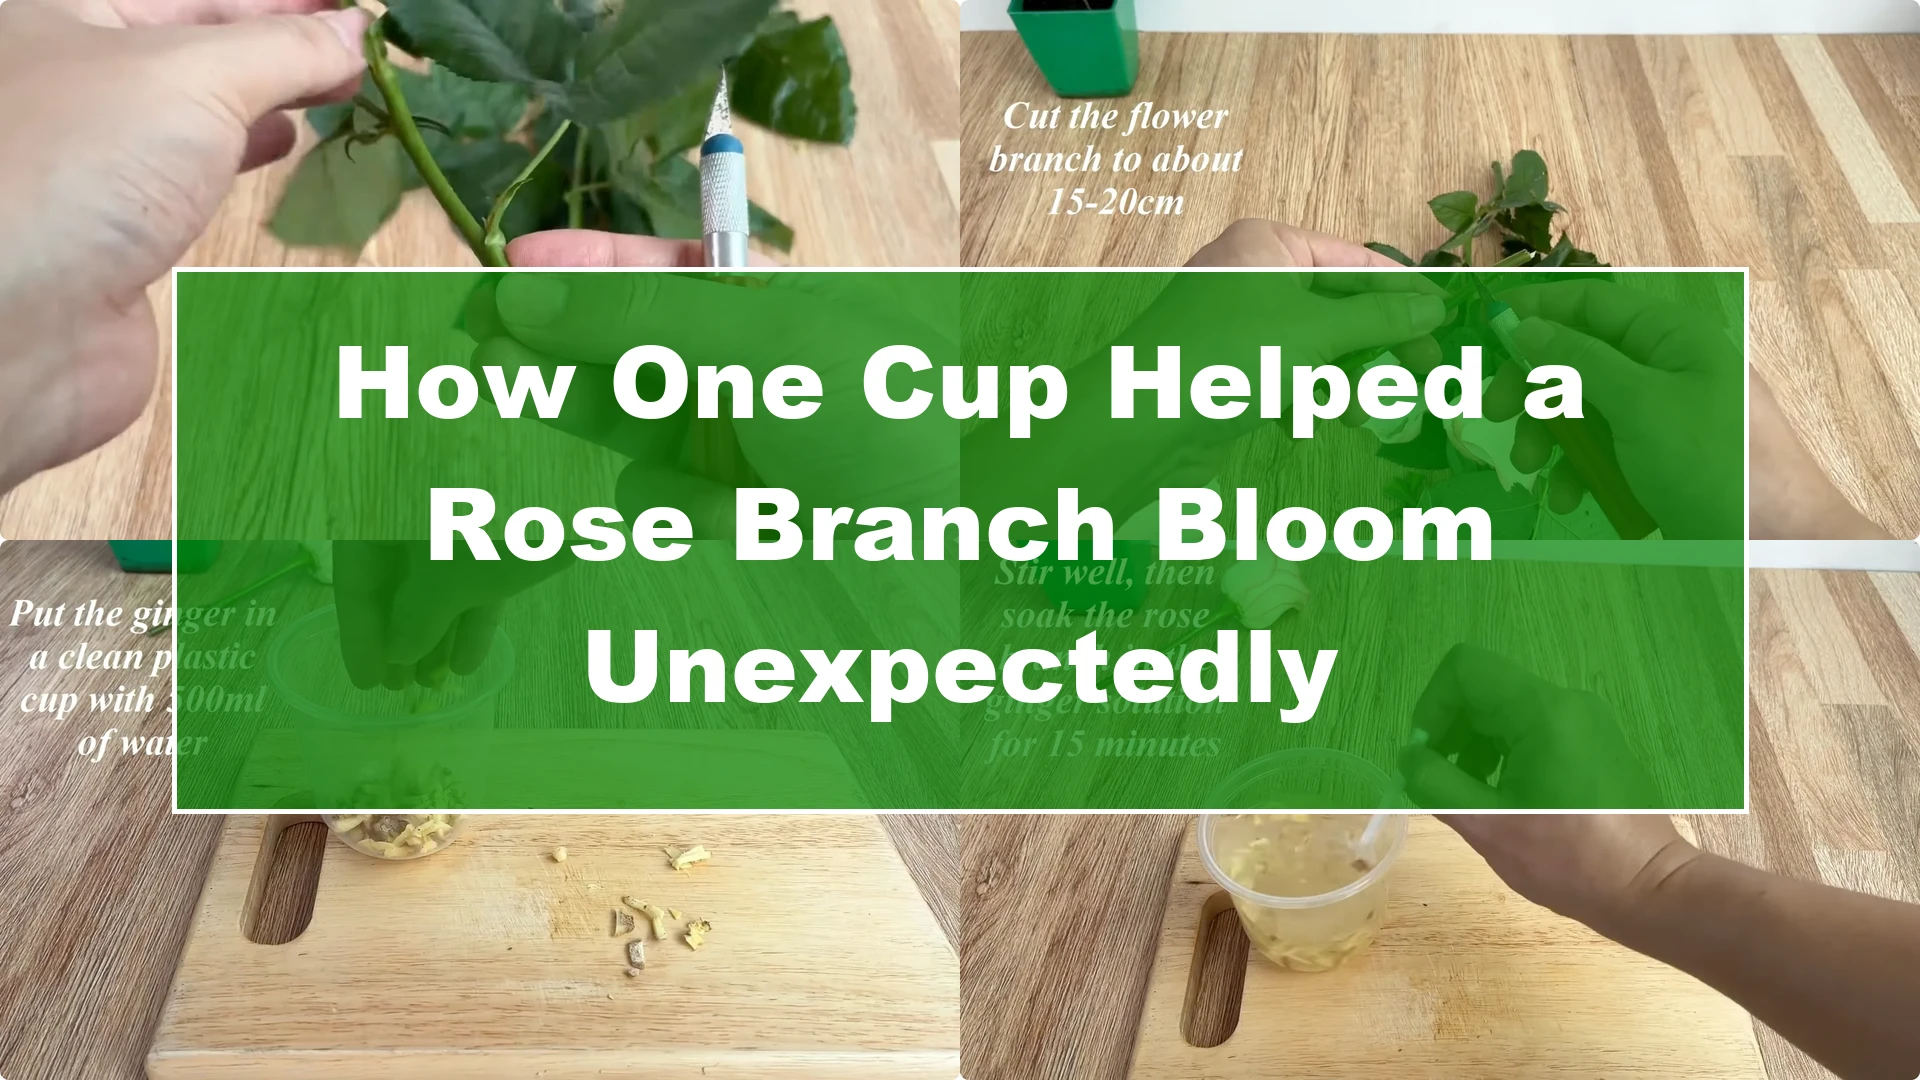
Remove all the leaves, thorns and wilted petals remaining on the branch to reduce water consumption and limit the source of disease-causing bacteria. Cut the branch to about 15-20 cm.
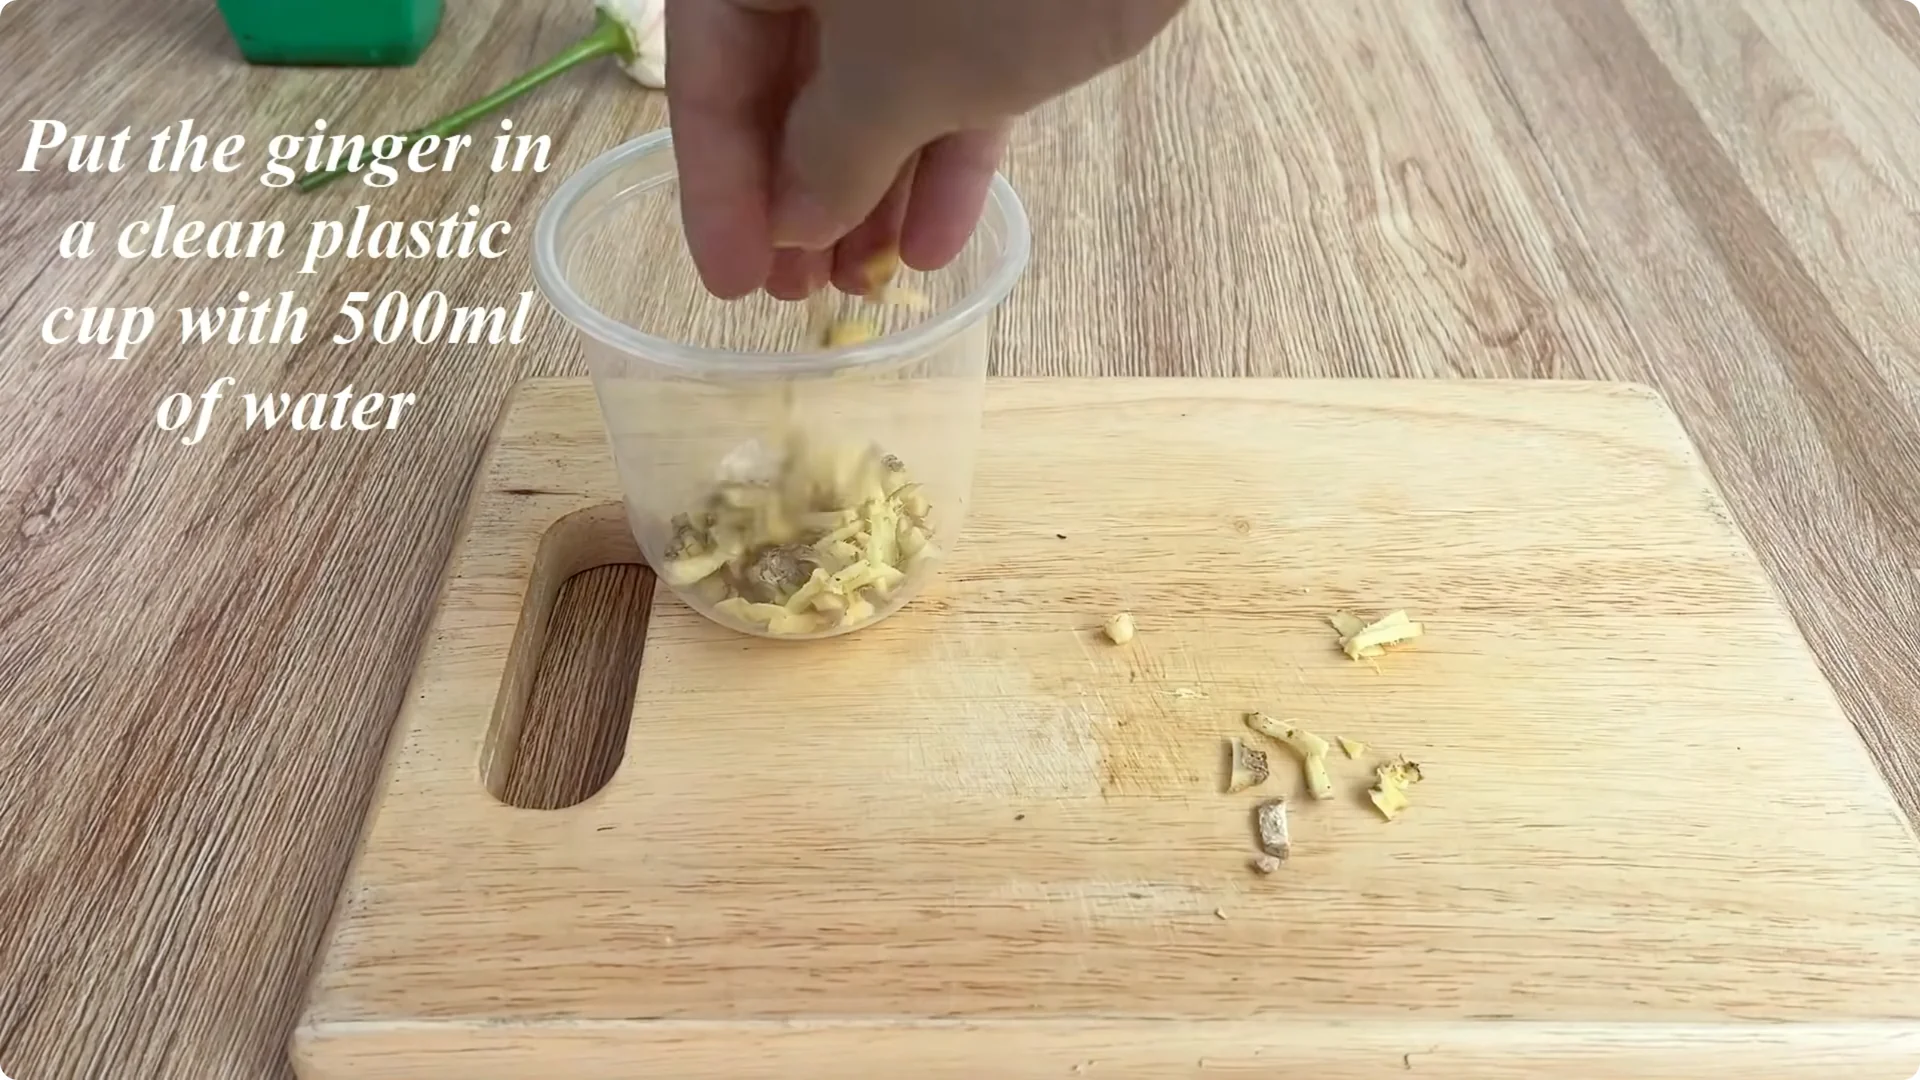
Step 3 – Prepare a ginger solution
Prepare about 10 grams of fresh ginger, wash it and cut it into small pieces. Ginger is a source of natural biological active ingredients which have antibacterial effects and stimulate cell proliferation in the epidermis of the base of the branch. Put the cut ginger in a clean plastic cup, add 500 ml of water and stir well.
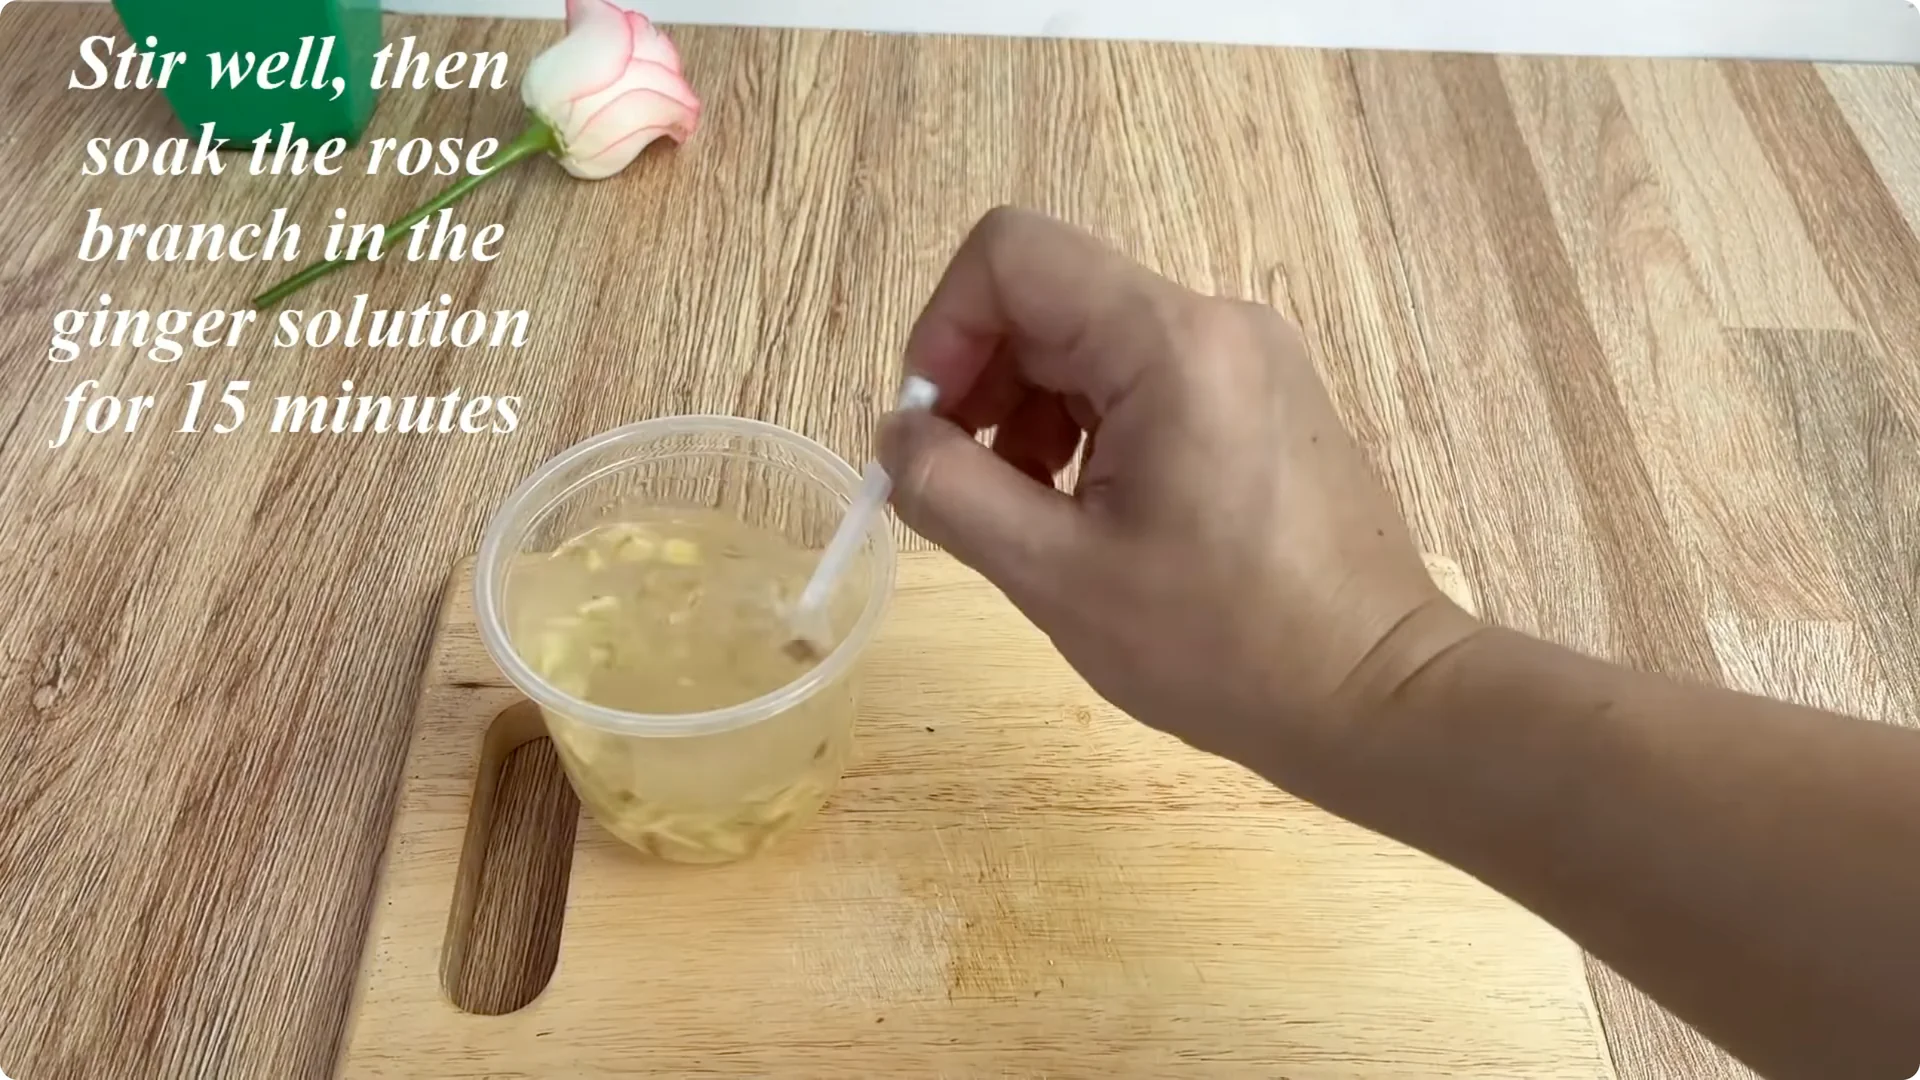
Step 4 – Disinfect and prime the cutting
Soak the rose branch in this solution for about 15 minutes. This time helps the compounds in the ginger penetrate the plant tissue, support sterilization and activate the mechanism of scar tissue formation – a premise for new roots to develop.
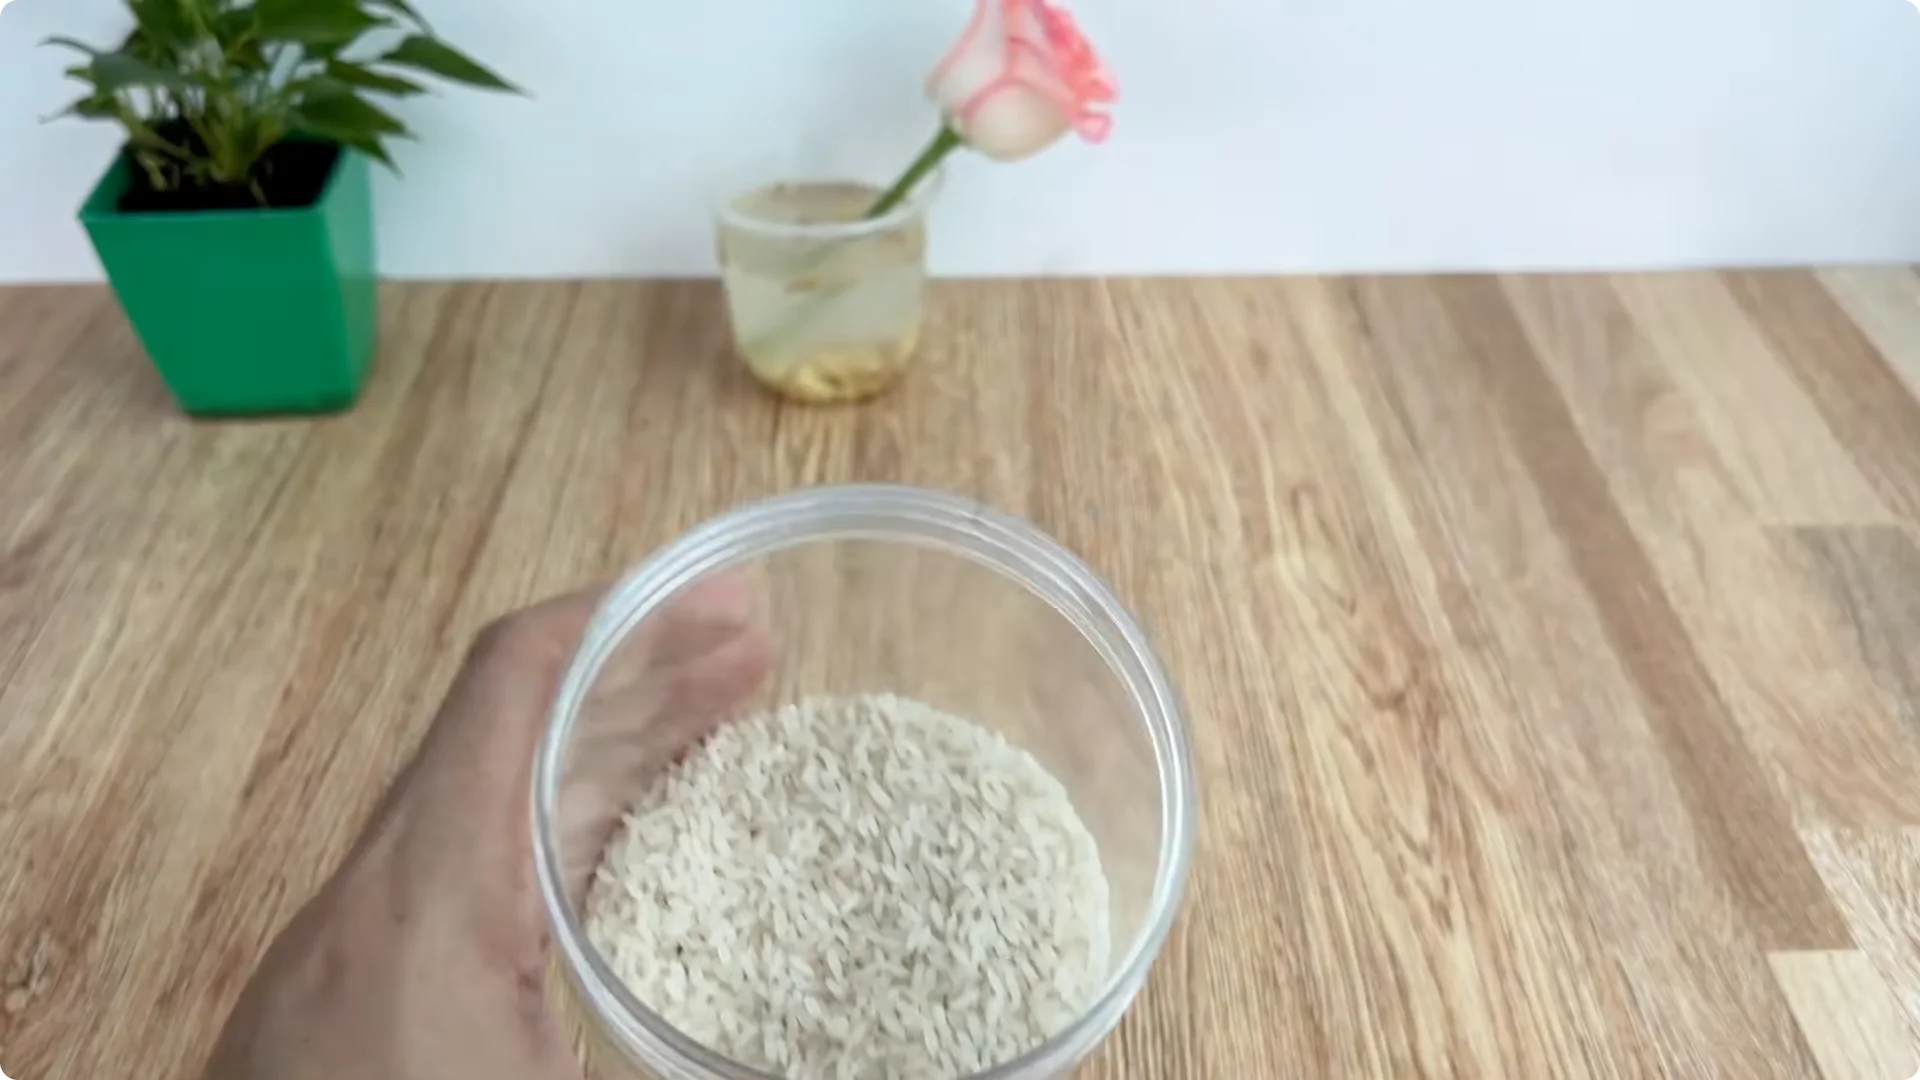
Step 5 – Enrich the solution with rice
Rice contains starch and light minerals, providing a source of nutrients to help nourish young cells at the root eye position while also activating the process of root hair development. Take 3 tablespoons of rice and put it in the cup of ginger water, stir well and let it sit for another 15 minutes.
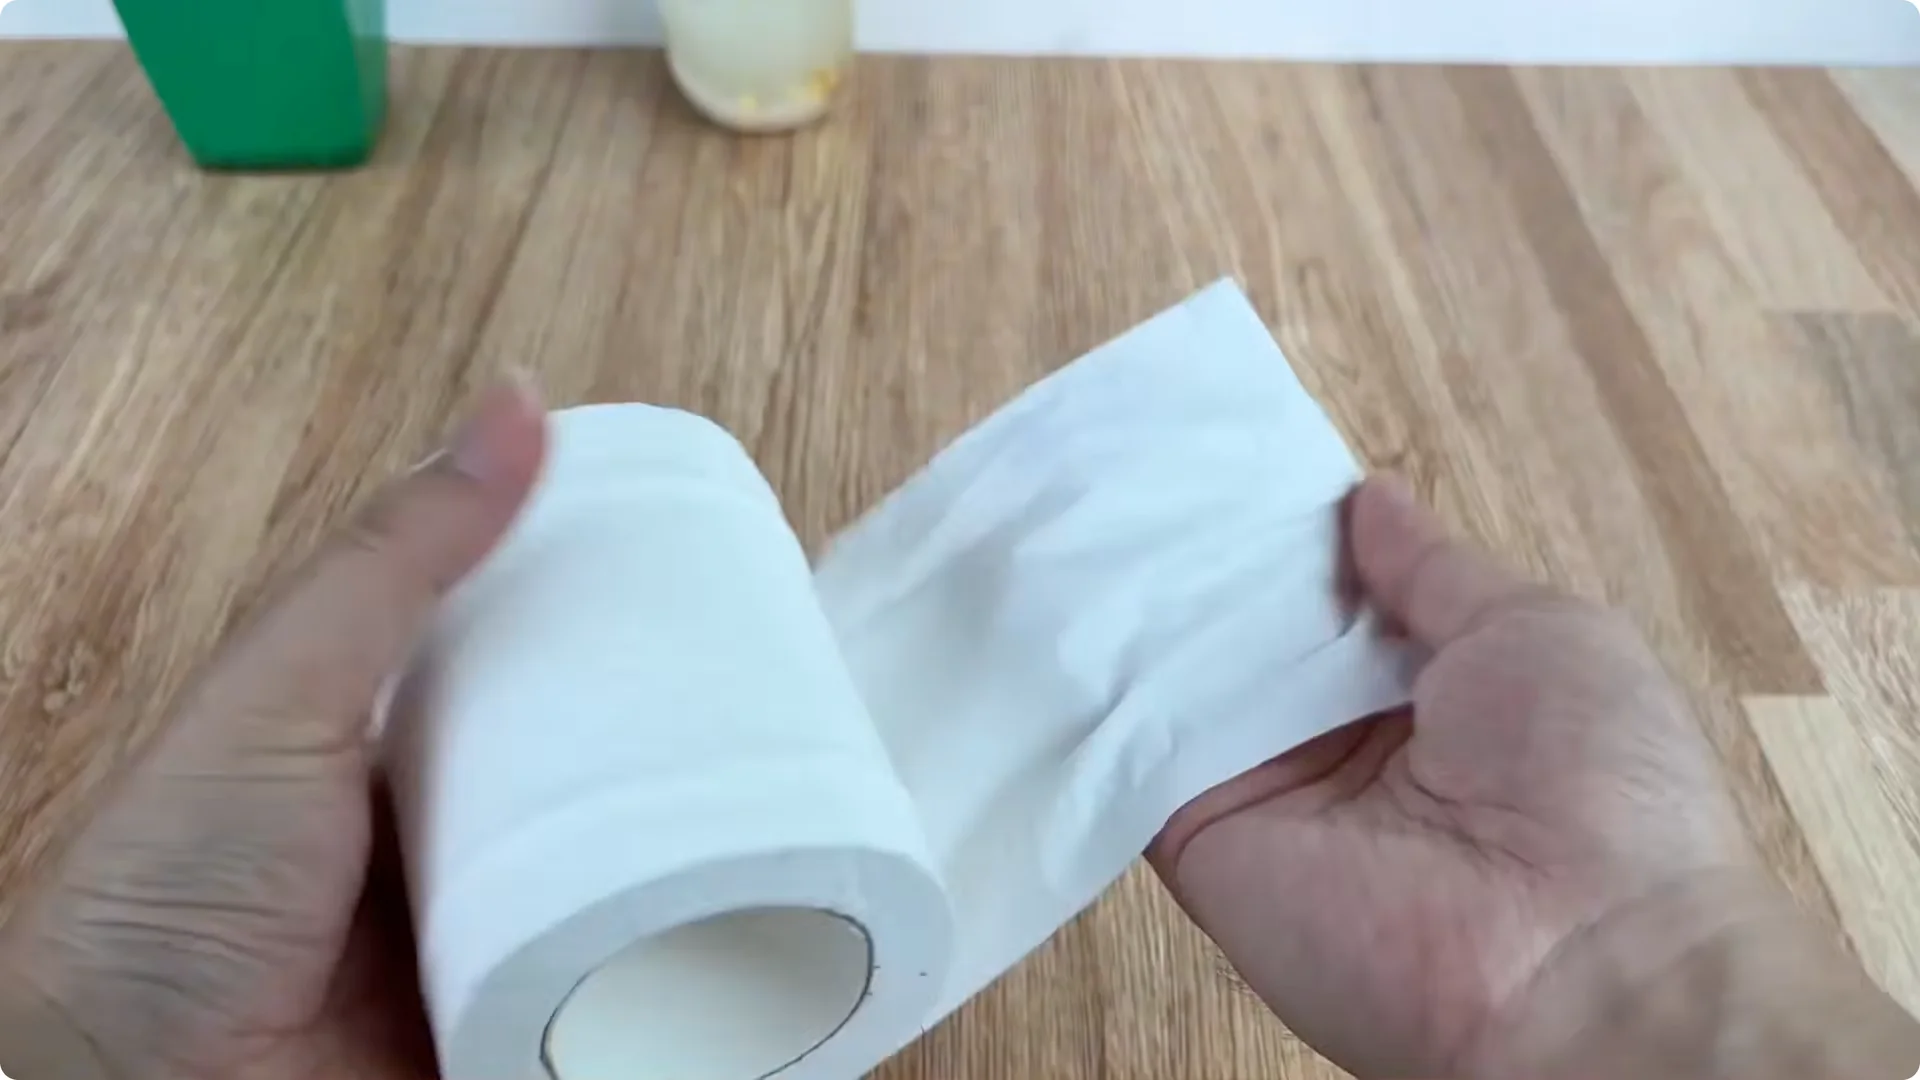
Step 6 – Prepare a soft paper substrate
Prepare soft toilet paper, tear it into small pieces and put it in a clean plastic cup. This is a moderately moist material, acting as a temporary substrate to help the base of the branch stay stable in water, but not stuffy or waterlogged.
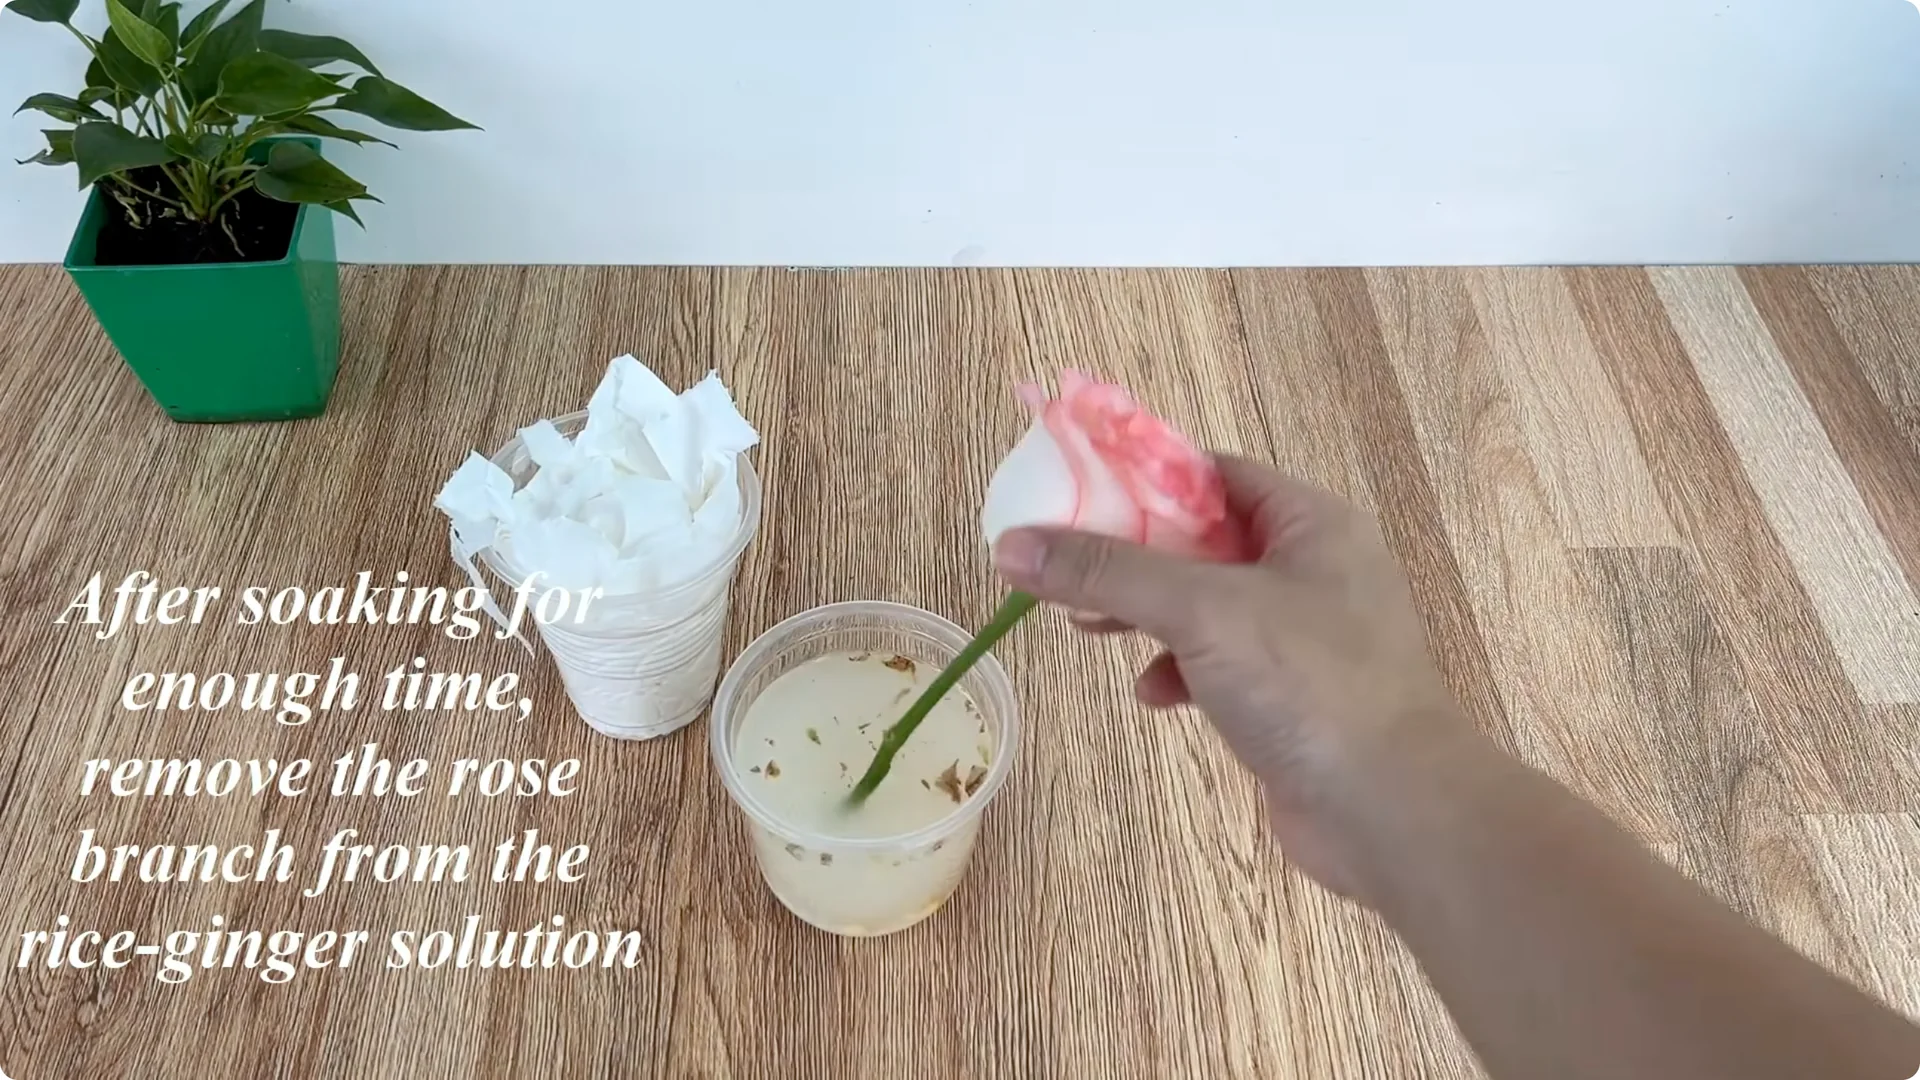
Step 7 – Filter the liquid base
After the soaking time is over, take the flower branch out of the rice-ginger solution, stir well again and filter to get the clear water. This filtered water is the base solution containing active ingredients from ginger and rice starch.
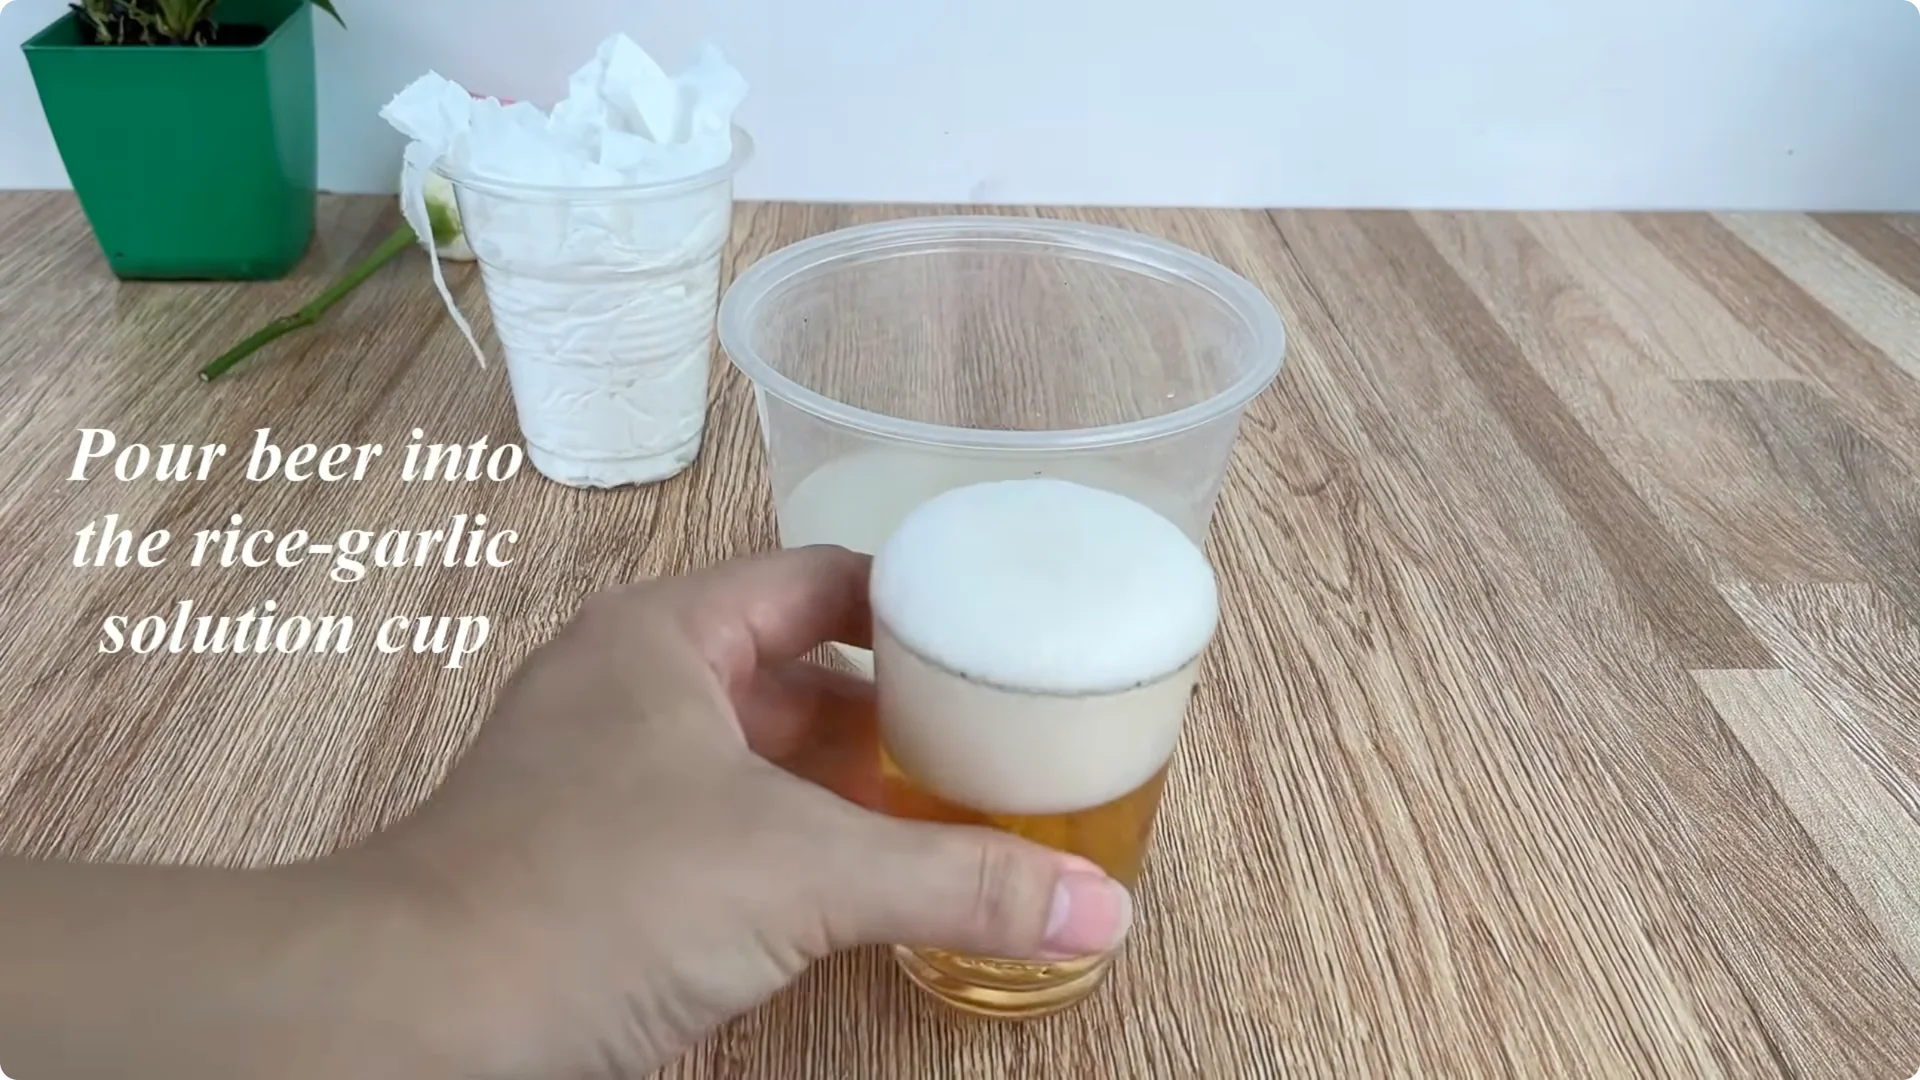
Step 8 – Add beer and dilute
Beer is a source of B vitamins and simple sugars which stimulates callus tissue to develop into roots faster, while improving the activation of dormant buds. Add 100 ml of beer to the cup, then dilute the solution with about 0.5 liters of clean water to lower the concentration, avoiding shocking the branch.
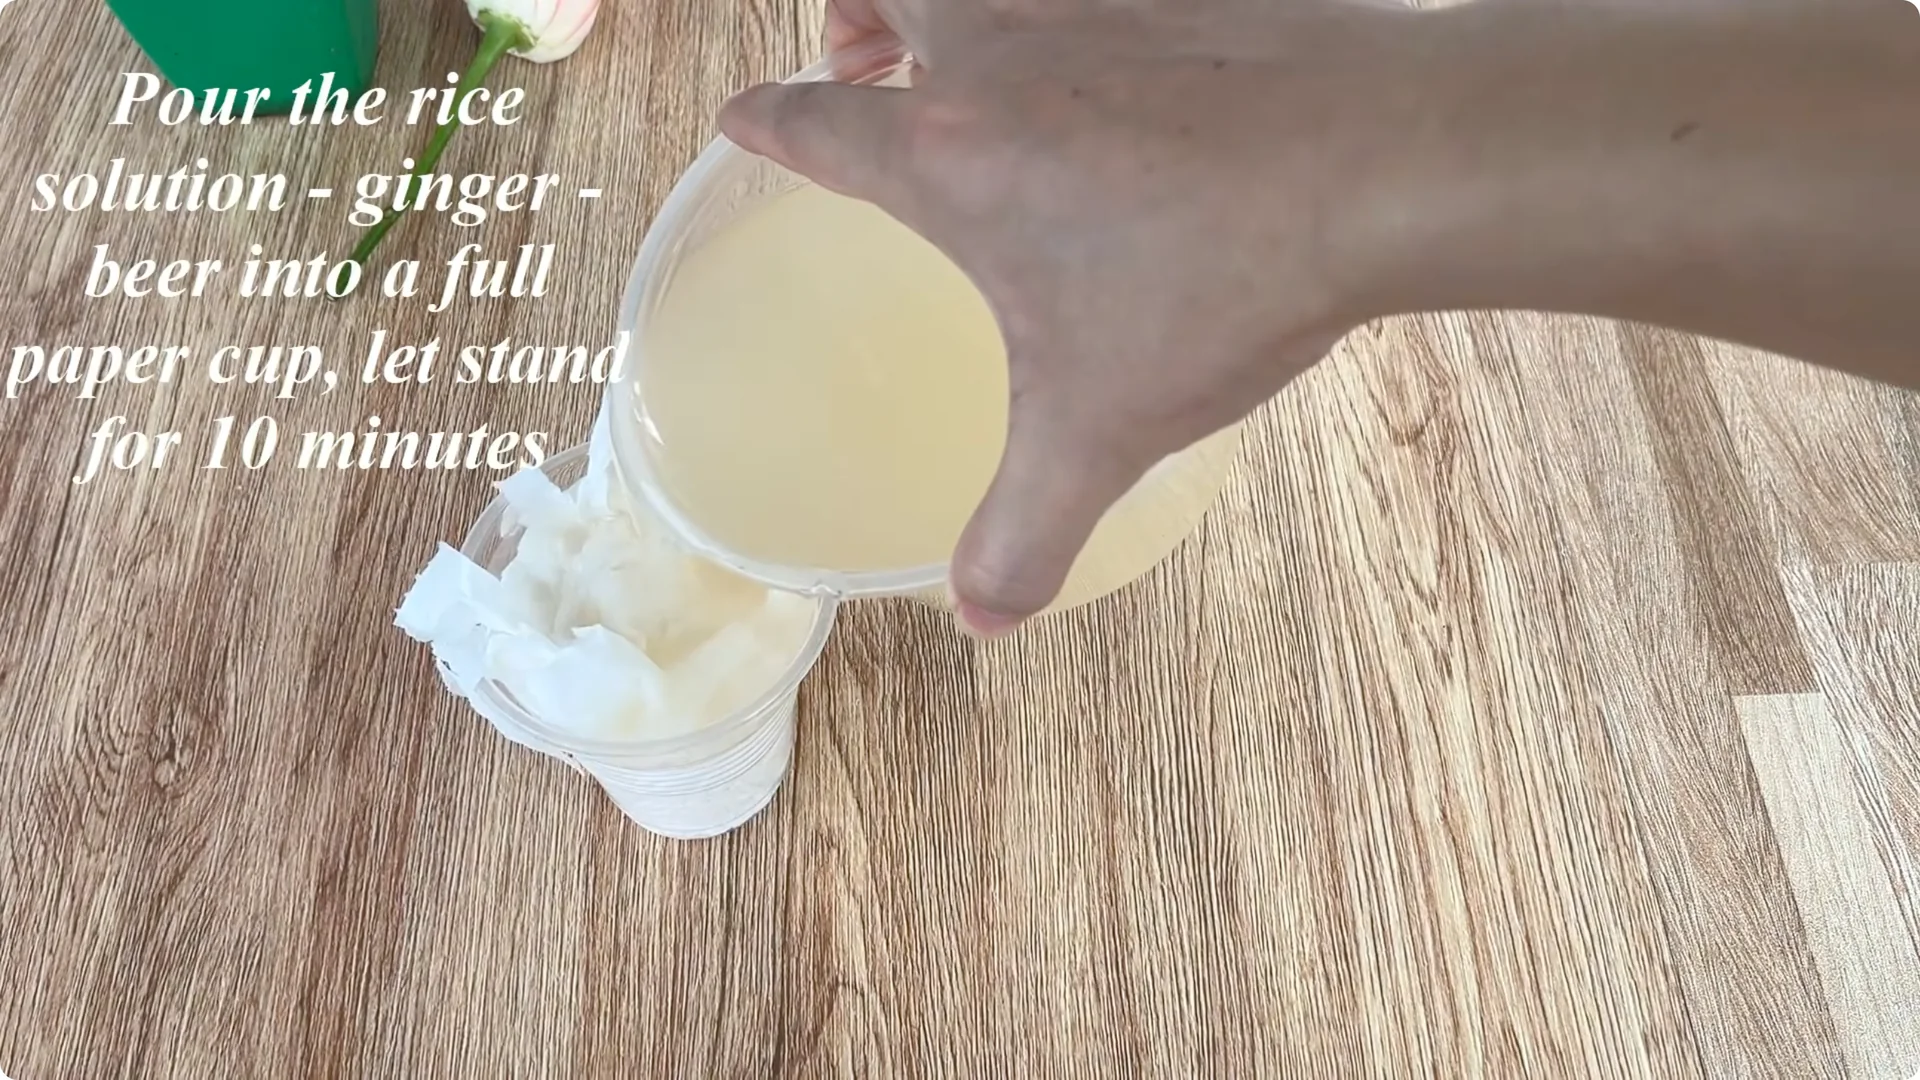
Step 9 – Charge the paper with solution
Pour the rice-ginger-beer solution into the paper cup containing soft paper and leave it for 10 minutes for the paper to absorb evenly. Press gently to remove excess water, keeping moderate moisture. If it is too moist, it will cause root rot, while if it is too dry, it will cause the branch to lack water.
Step 10 – Make a planting hole and wrap the base
Use a small stick to make a hole in the middle of the paper cup. Before placing the branch in the hole, use a strip of soft paper to wrap 2-3 times around the base of the branch, then dip it in the solution to disinfect and increase the ability to retain moisture at the contact point.

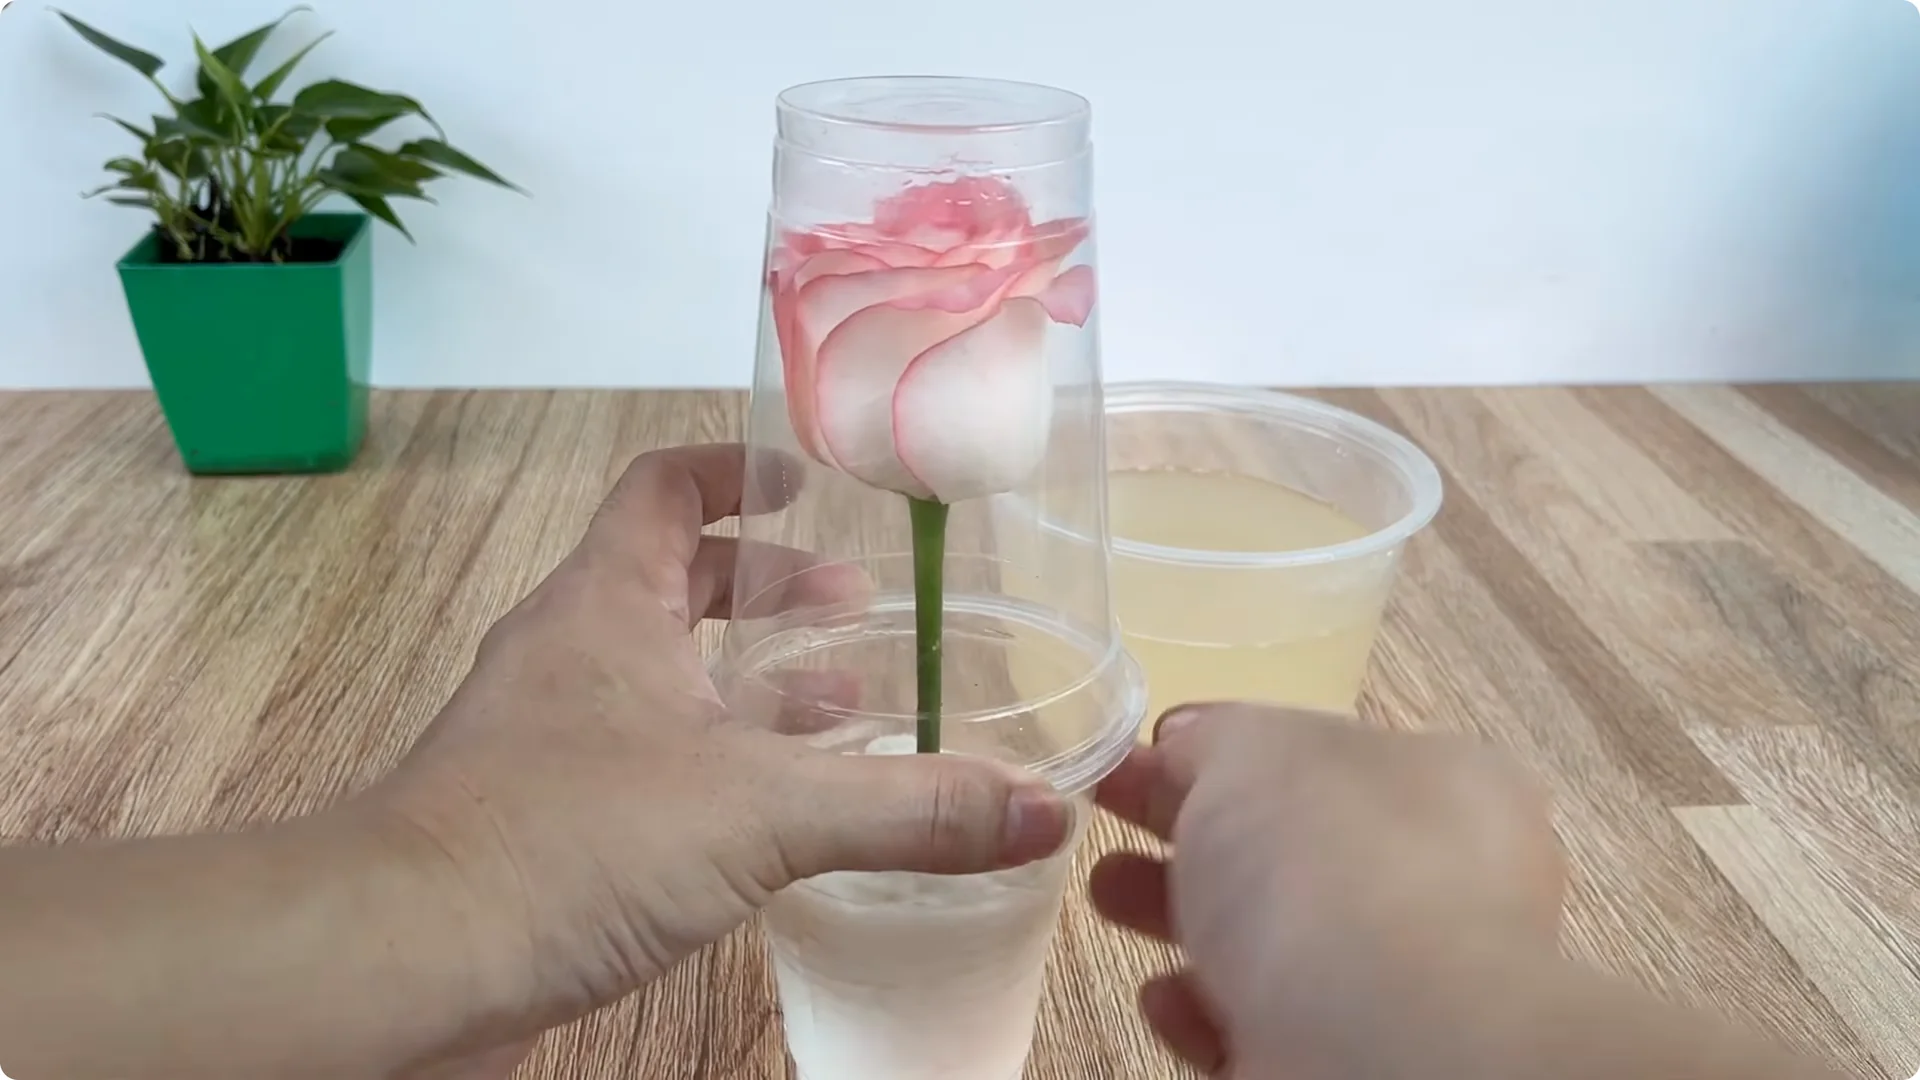
Step 11 – Set the cutting and create a microclimate
Place the flower branch in the hole in the middle of the paper cup, press lightly to secure it. Use a plastic bag or a transparent plastic cup to cover it tightly on top to create a stable microclimate, both keeping moisture well and limiting the penetration of cold wind or harsh sunlight. This environment helps reduce water evaporation, helping the root tissue to quickly become healthy and promote root development.
Step 12 – Incubation conditions
Place the entire cup in a cool place, away from direct sunlight. A stable temperature is one of the important factors, and maintaining it from 22-30°C will help the roots grow faster. During the incubation period, there is no need to water more, just observe and ensure that the paper maintains moderate moisture.
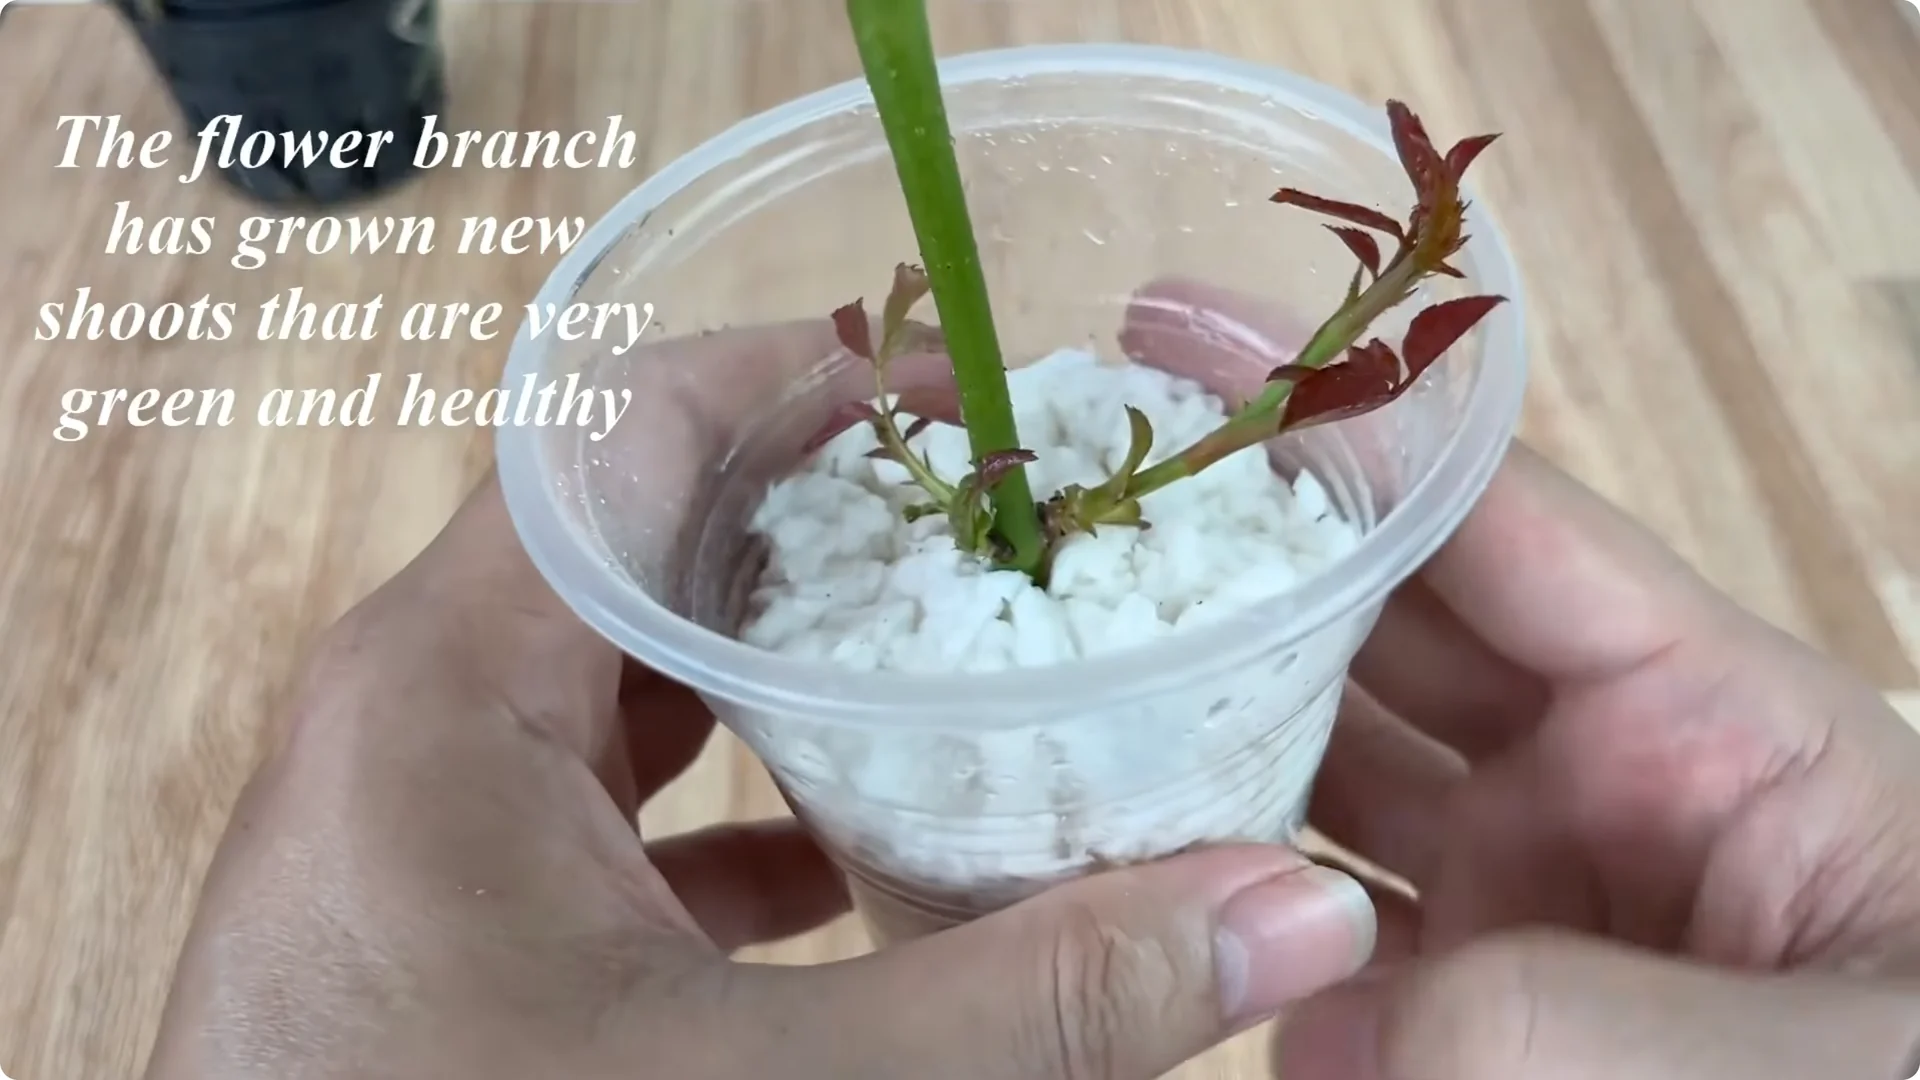
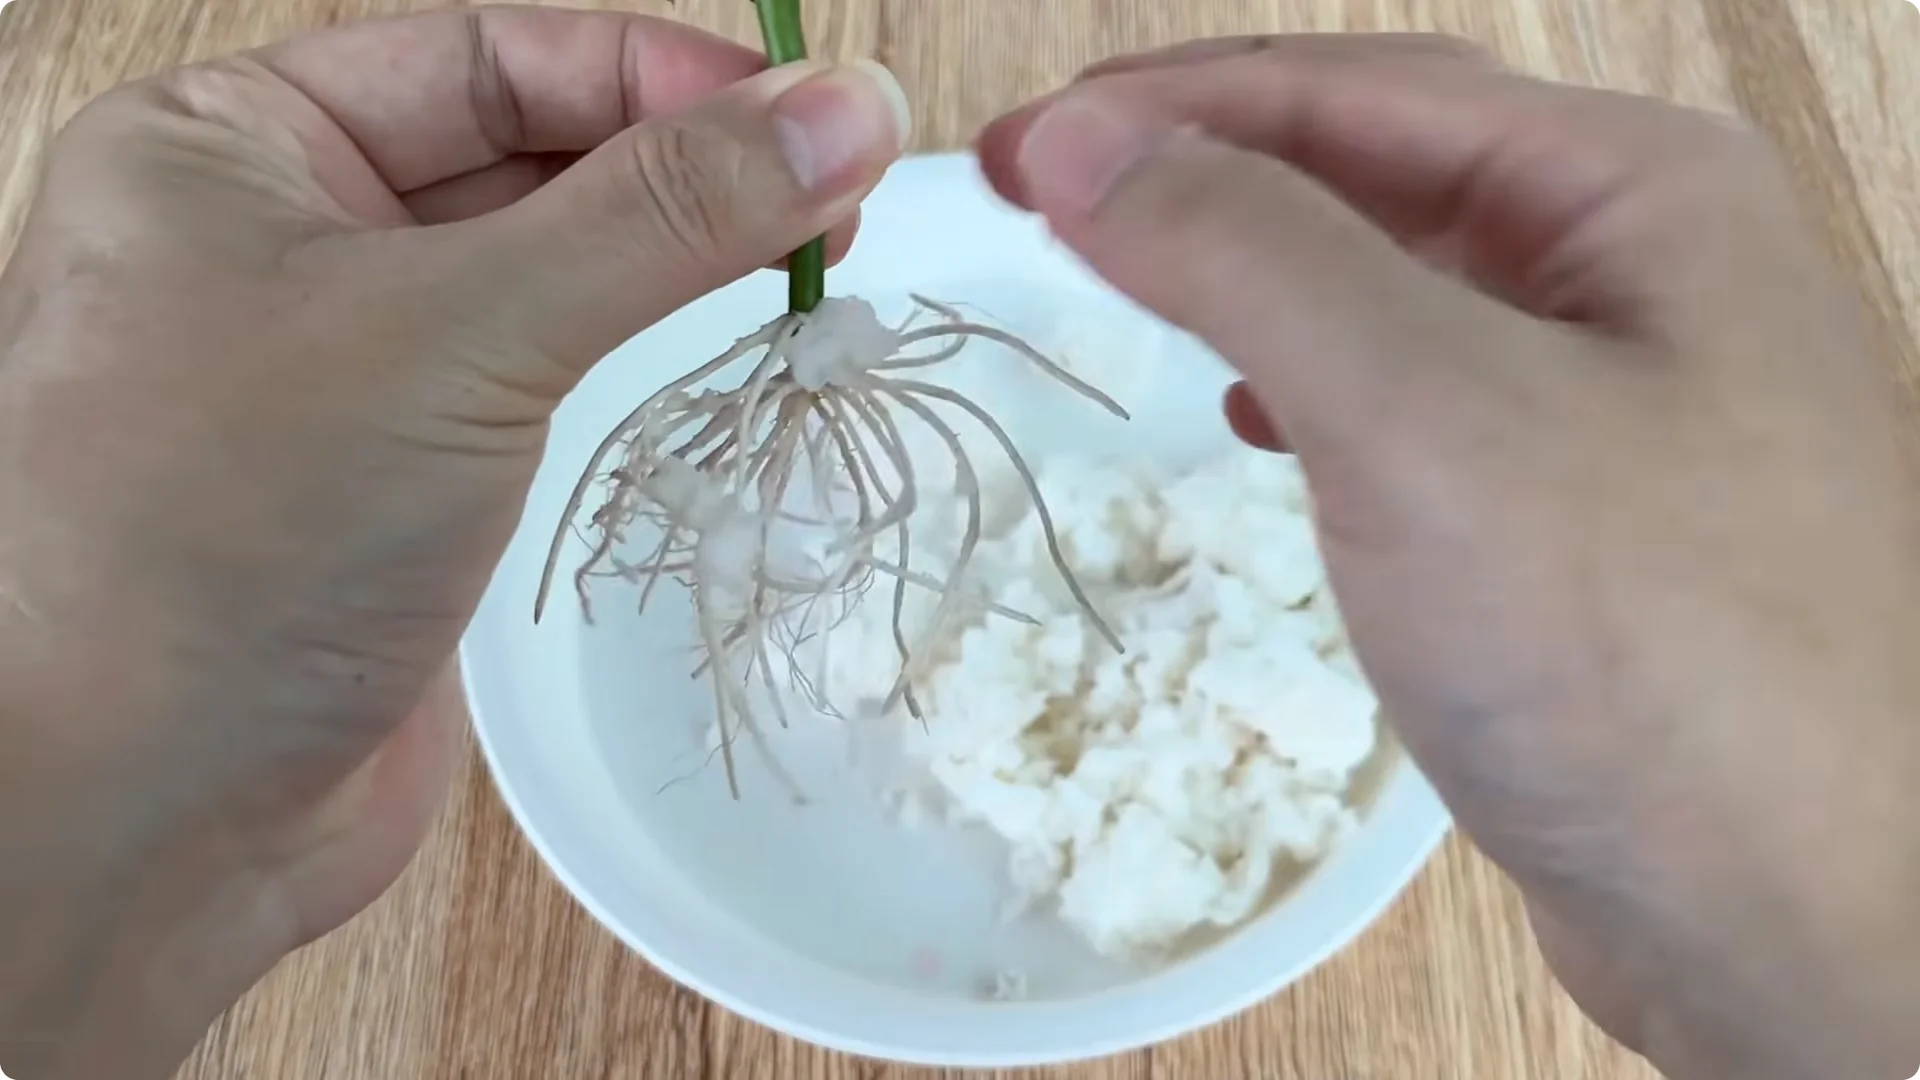
Step 13 – Signs of success
After about 10 days, we will notice a clear change. The flower branch begins to sprout new buds, and the young leaves are green and plump. The base has formed many white, succulent roots, showing that the incubation environment has worked effectively.
Step 14 – Potting the rooted cutting
When the root system is strong, plant the branches in a pot with a well-drained substrate such as river sand to help the roots develop quickly, airy and stable. Through this step, the rose branches will quickly get used to the new environment, continue to develop and have sustainable growth.
2. Rose Cutting Propagation: Final Thoughts
This is a method that both takes advantage of natural materials and ensures safety, is easy to implement and brings high results. Wishing you success and more healthy rose plants in your garden.
The Beginner’s Rose Propagation Starter Kit 🌹
A simple printable PDF guide to help you root rose cuttings successfully.
Get The Guide →