Today, we’ll begin with a very basic but highly effective method of rose cutting propagation. This is a foundational lesson, helping you understand each step of caring for cuttings from the very beginning. It creates a foundation for healthy roots and sustainable shoot development later on.
Rose Cutting Propagation: Step-by-Step Guide
1. Prepare the Cutting
First, prepare a rose cutting that you love, preferably one that is free from pests and diseases, has a sturdy stem, and a vibrant color. Use scissors or a sharp knife to remove all leaves and thorns from the cutting, working decisively to avoid damaging the plant tissue. Removing leaves and thorns helps reduce water loss and minimizes the risk of fungal infection, allowing the cutting to focus its energy on rooting.
The Beginner’s Rose Propagation Starter Kit 🌹
A simple printable PDF guide to help you root rose cuttings successfully.
Get The Guide →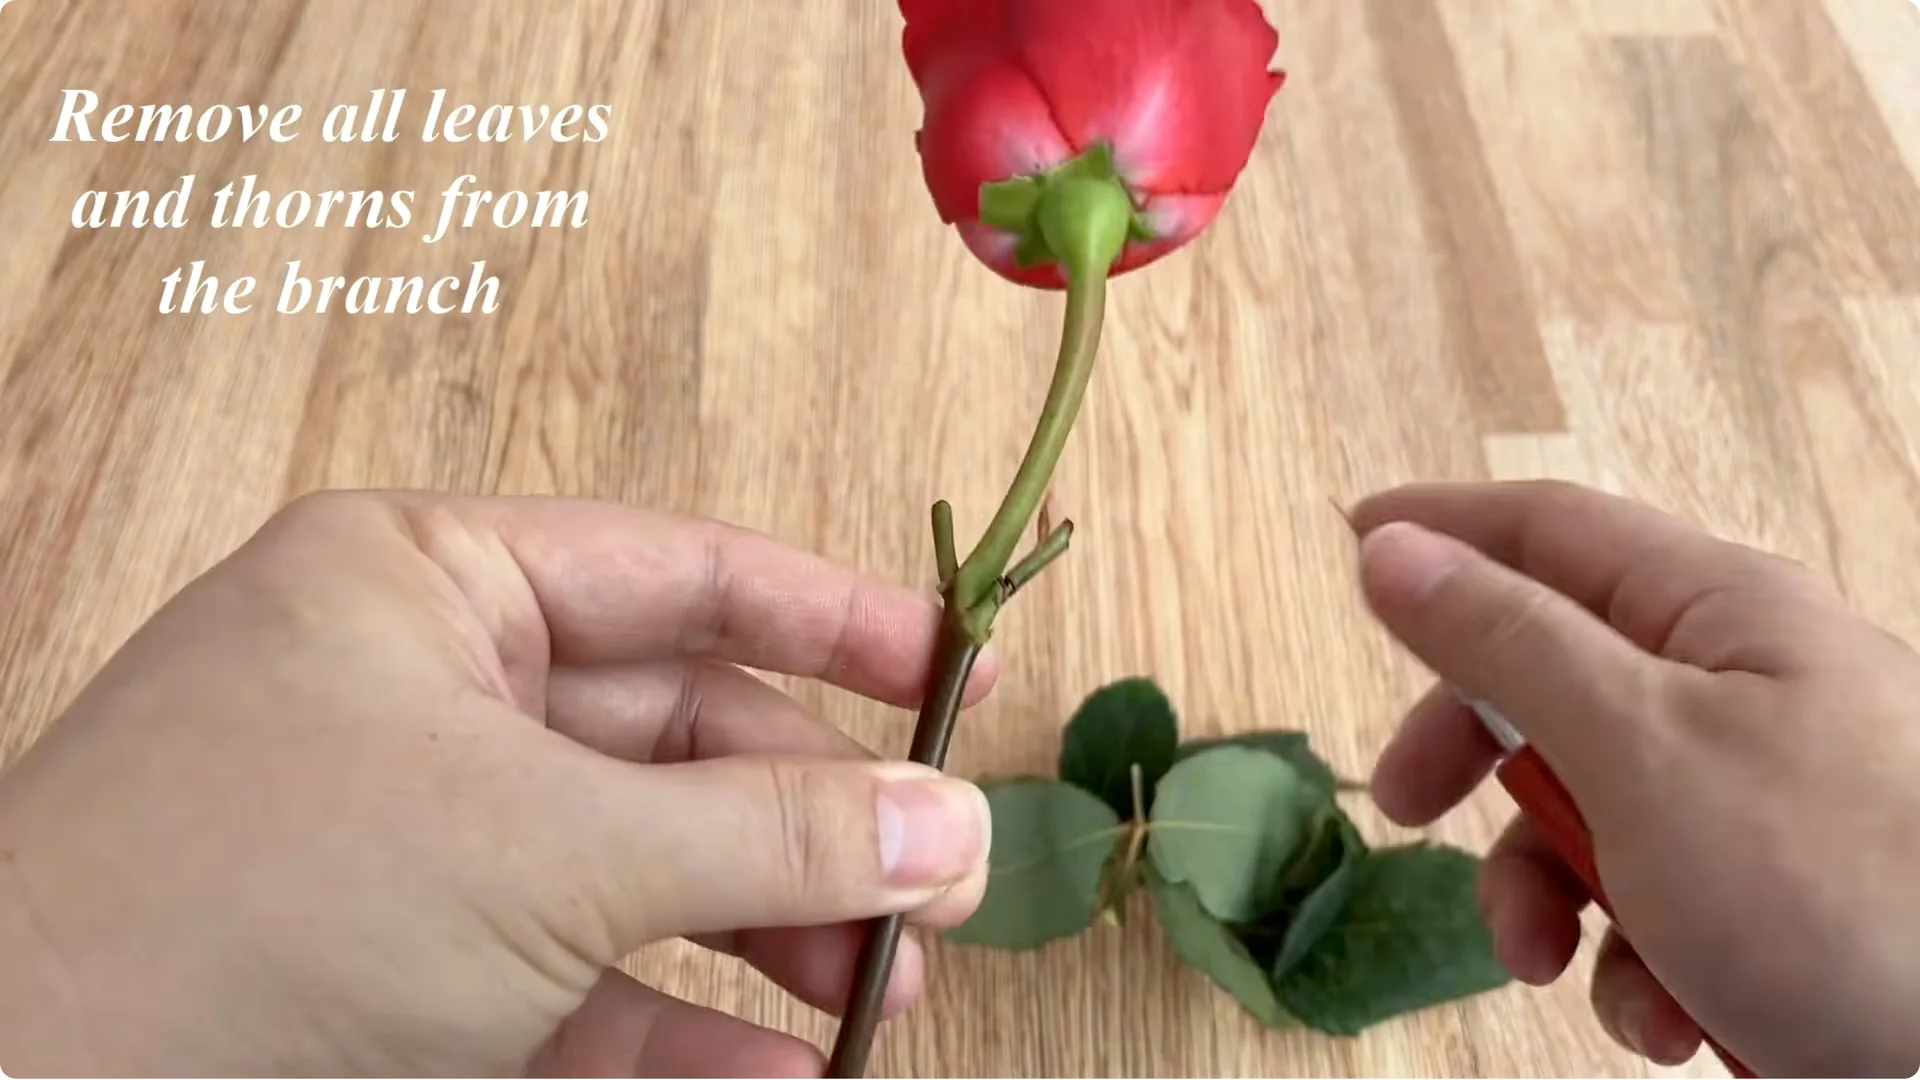
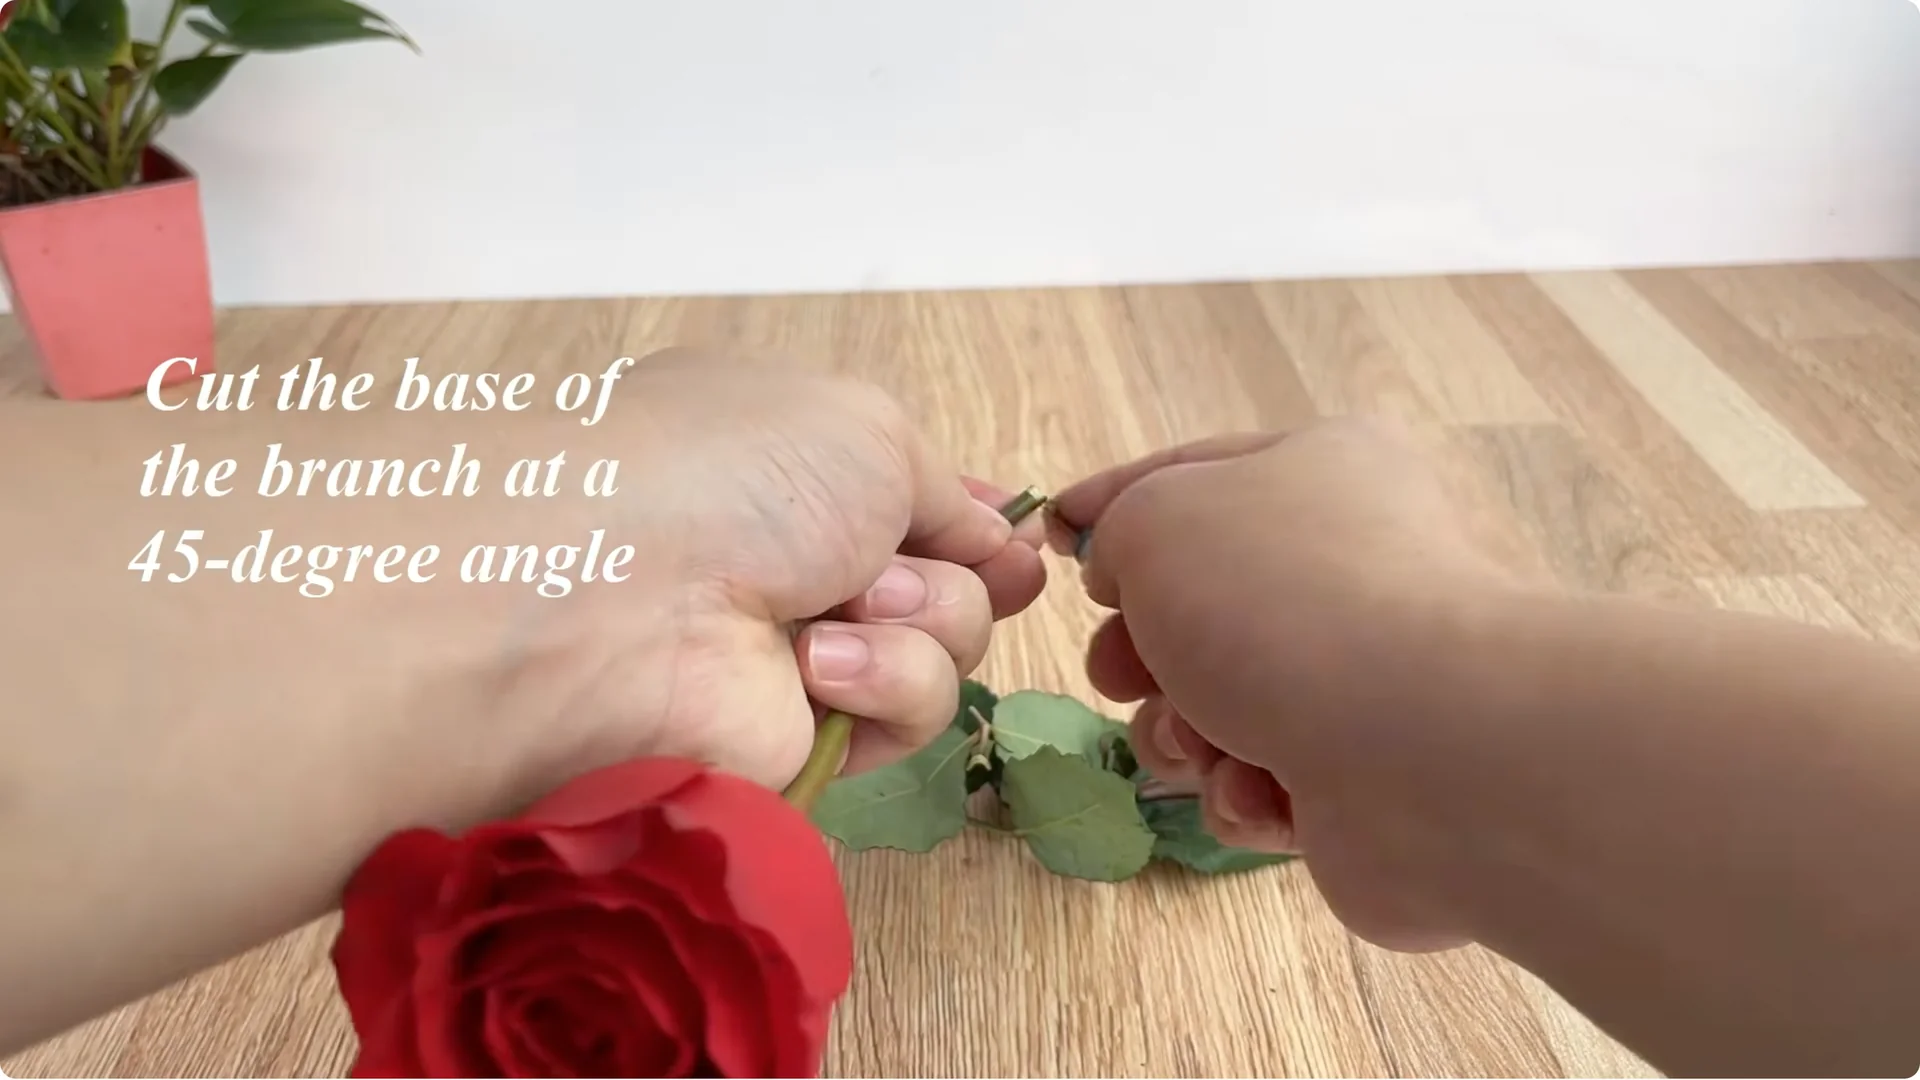
2. Trim to Length and Angle
Trim the rose cutting, leaving it at a length of about 20 cm. The base of the branch is cut at a 45-degree angle, increasing the contact area with the rooting solution and growing medium. This promotes faster and more uniform root formation.
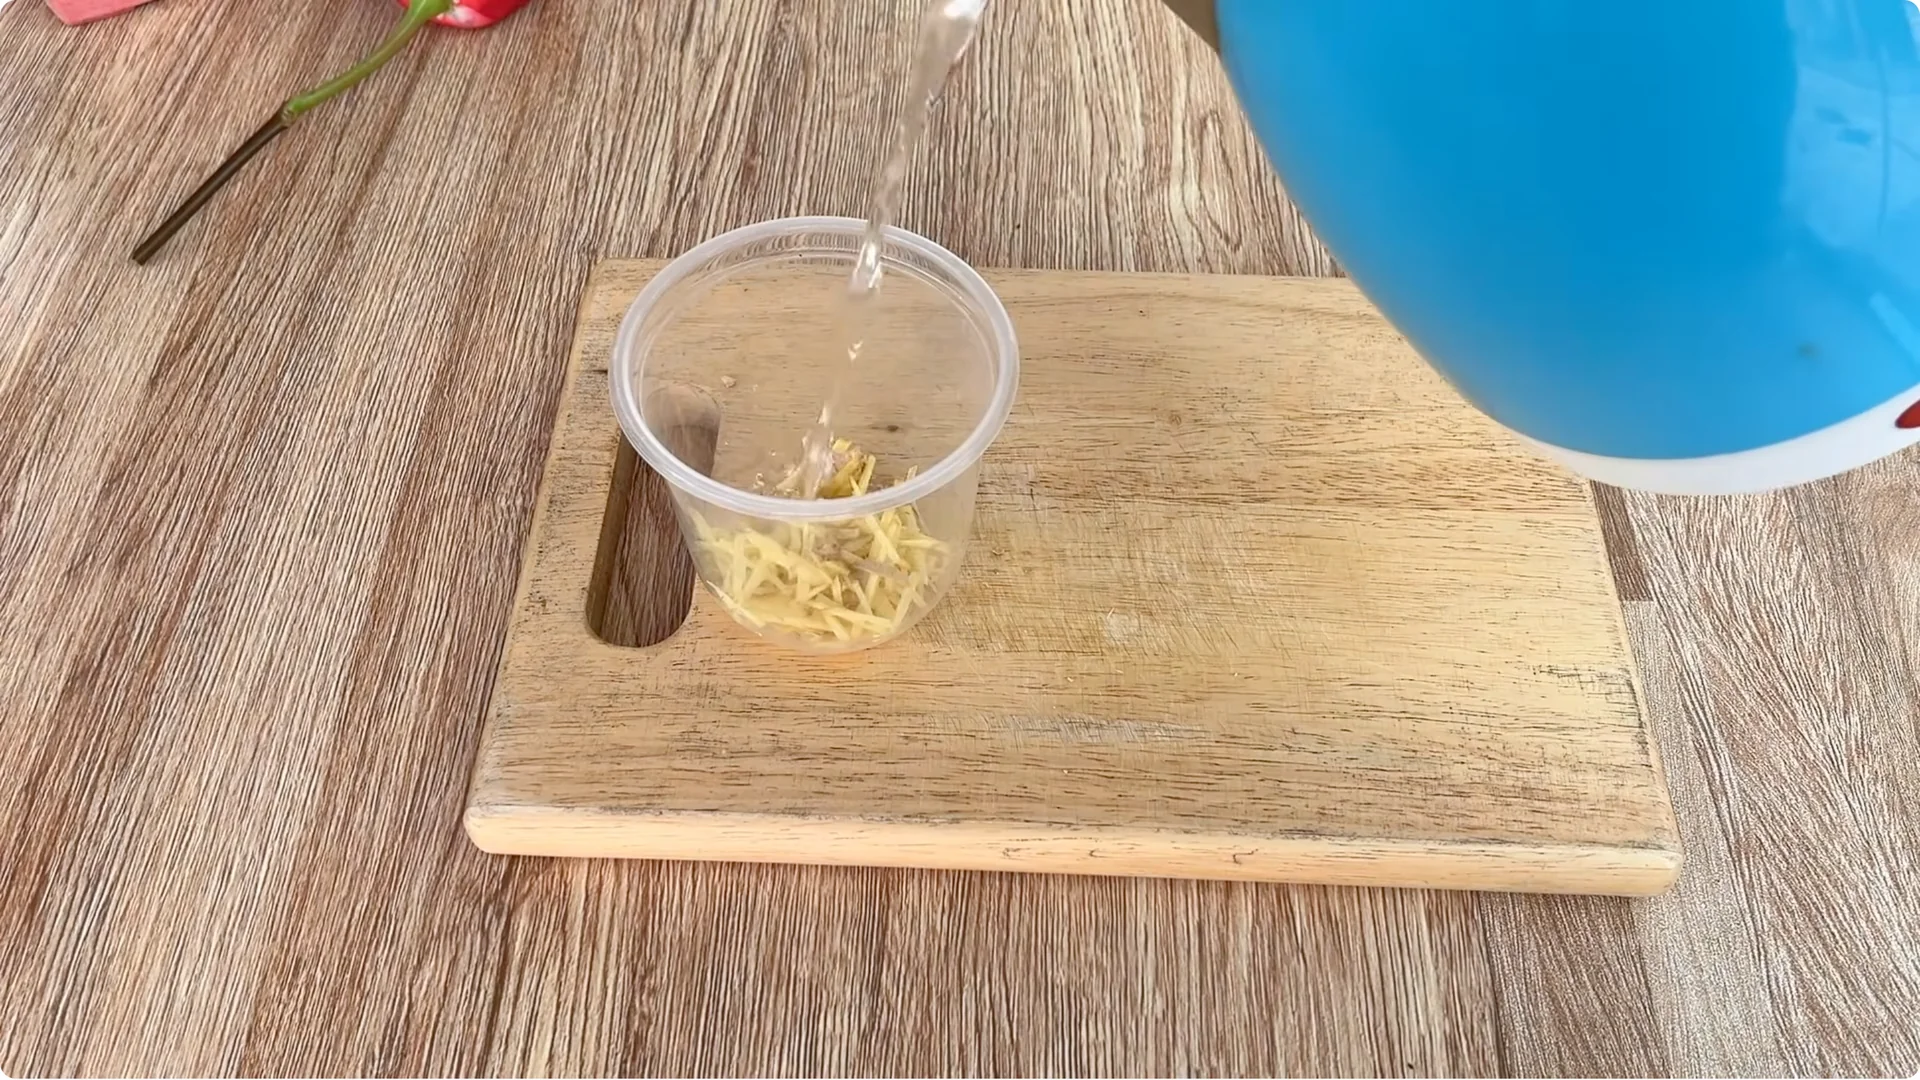
3. Make the Ginger Solution
Take about 10 grams of fresh ginger, wash it thoroughly to remove dirt and sand, then chop it finely. Ginger contains many active ingredients with natural antibacterial and antifungal properties, which are very useful in protecting the cut rose branch from harmful agents. Put all the chopped ginger into a clean plastic cup, add 500 ml of clean water, and stir well.
4. Clean and Soak the Cutting
Use a soft, clean cloth dipped in the ginger solution and gently wipe the entire branch, paying special attention to the cut at the base. This step helps clean the surface of the branch and allows the ginger’s essence to penetrate deep into the plant tissue. Then, soak the rose branch directly in the ginger water for about 15 minutes to increase the antibacterial effect and stimulate callus formation.

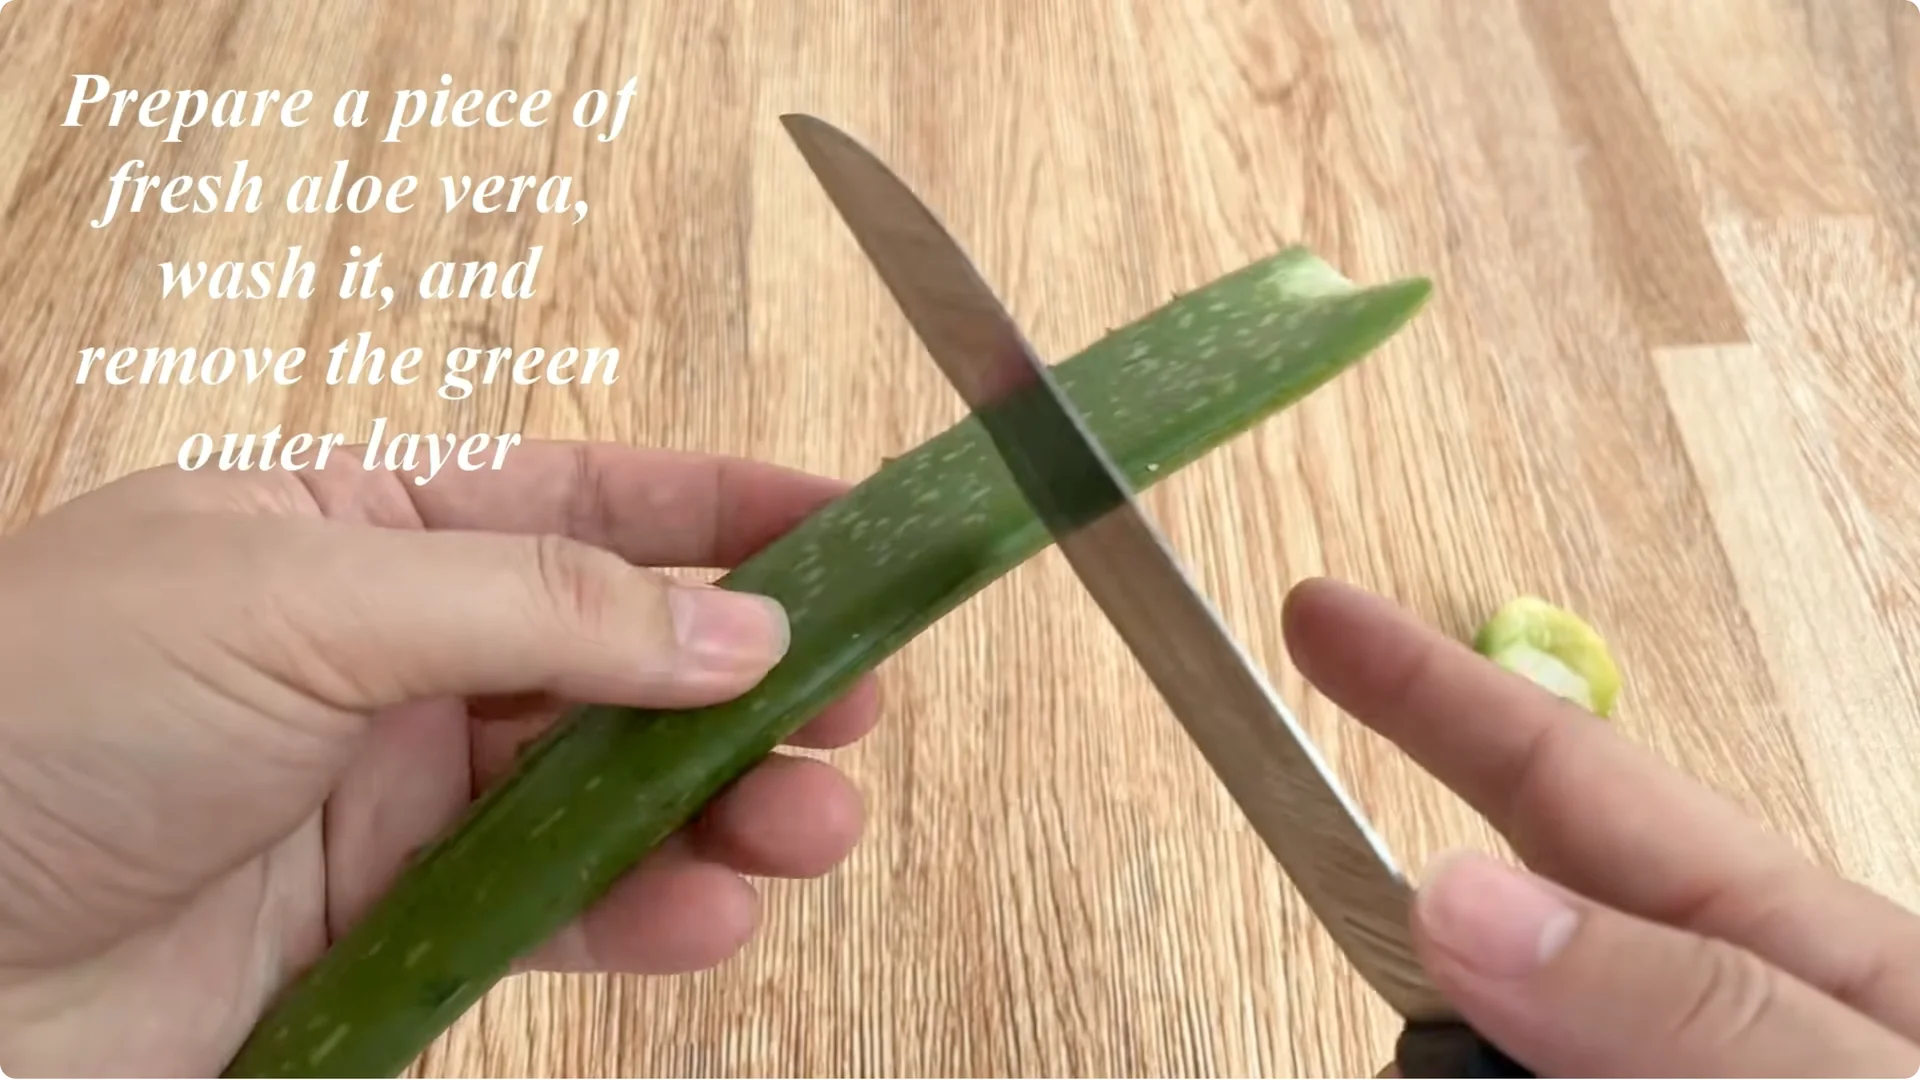
5. Add Aloe Vera
While waiting for the rose stem to soak in ginger water, prepare the aloe vera. Take a piece of fresh aloe vera, wash it thoroughly, then carefully remove all the green outer skin, keeping only the clear inner flesh. This flesh contains many natural substances, vitamins, and enzymes that help moisturize, stimulate root growth, and promote healthy tissue development.
Cut the aloe vera flesh into small pieces and add it directly to the ginger water, stirring well to dissolve the aloe vera and release its nutrients. Let the mixture sit for about 15 minutes to allow the ingredients to blend.
6. Create the Base Solution and Fortify With Fresh Milk
After the soaking time is complete, gently remove the rose stem from the ginger water. Filter out all the ginger and aloe vera pulp, keeping only the clear liquid. This is the base solution that helps disinfect, moisturize, and naturally stimulate root growth.
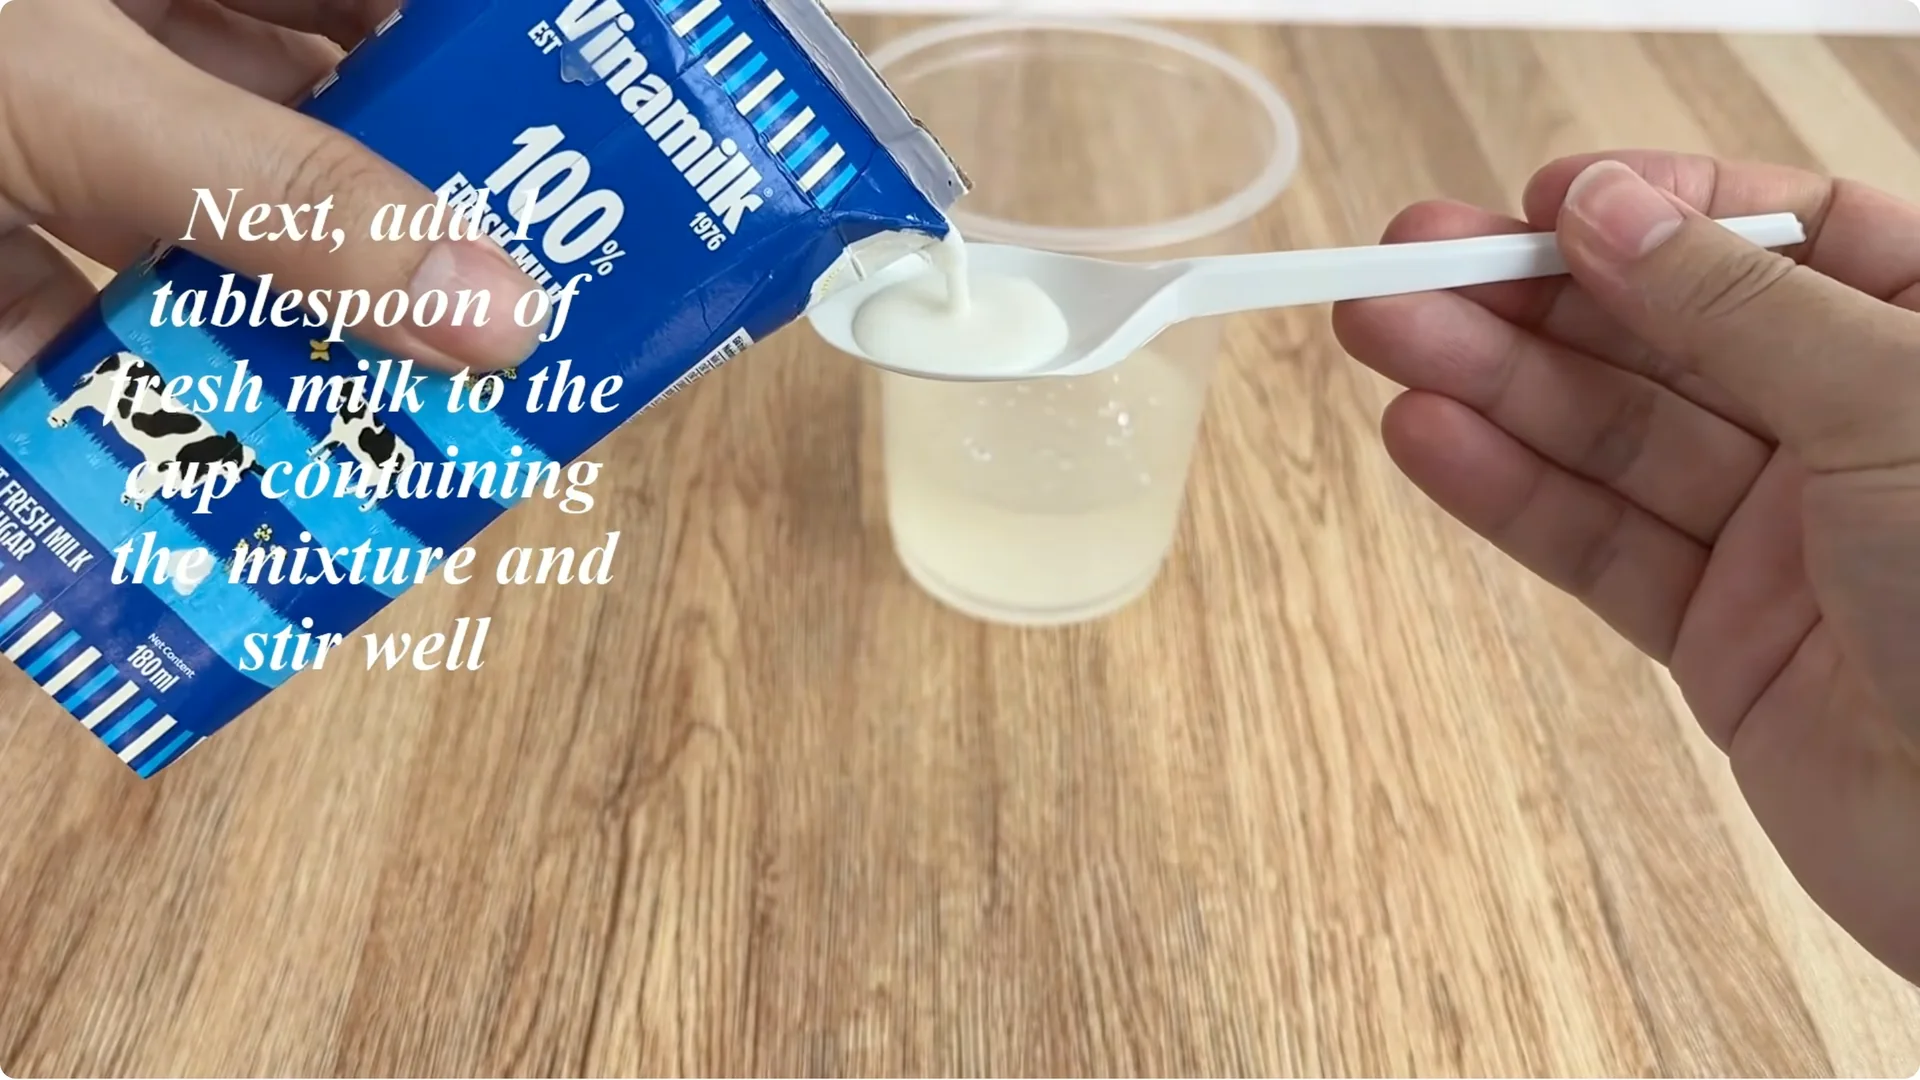
Fresh milk provides additional protein, calcium, and some essential trace elements, supporting tissue regeneration and promoting stronger root growth. Add a spoonful of fresh milk to this liquid and stir well. Then, dilute the mixture with about 0.5 liters of clean water to achieve the right concentration, avoiding shocking the cuttings.
7. Prepare the Sand Medium
Prepare another clean plastic cup and fill it with treated river sand. The river sand needs to be washed to remove impurities and pathogens before use. Slowly pour the ginger-aloe vera-milk solution into the cup of sand, just enough to moisten the sand; do not pour too much, as this will make the sand soggy.
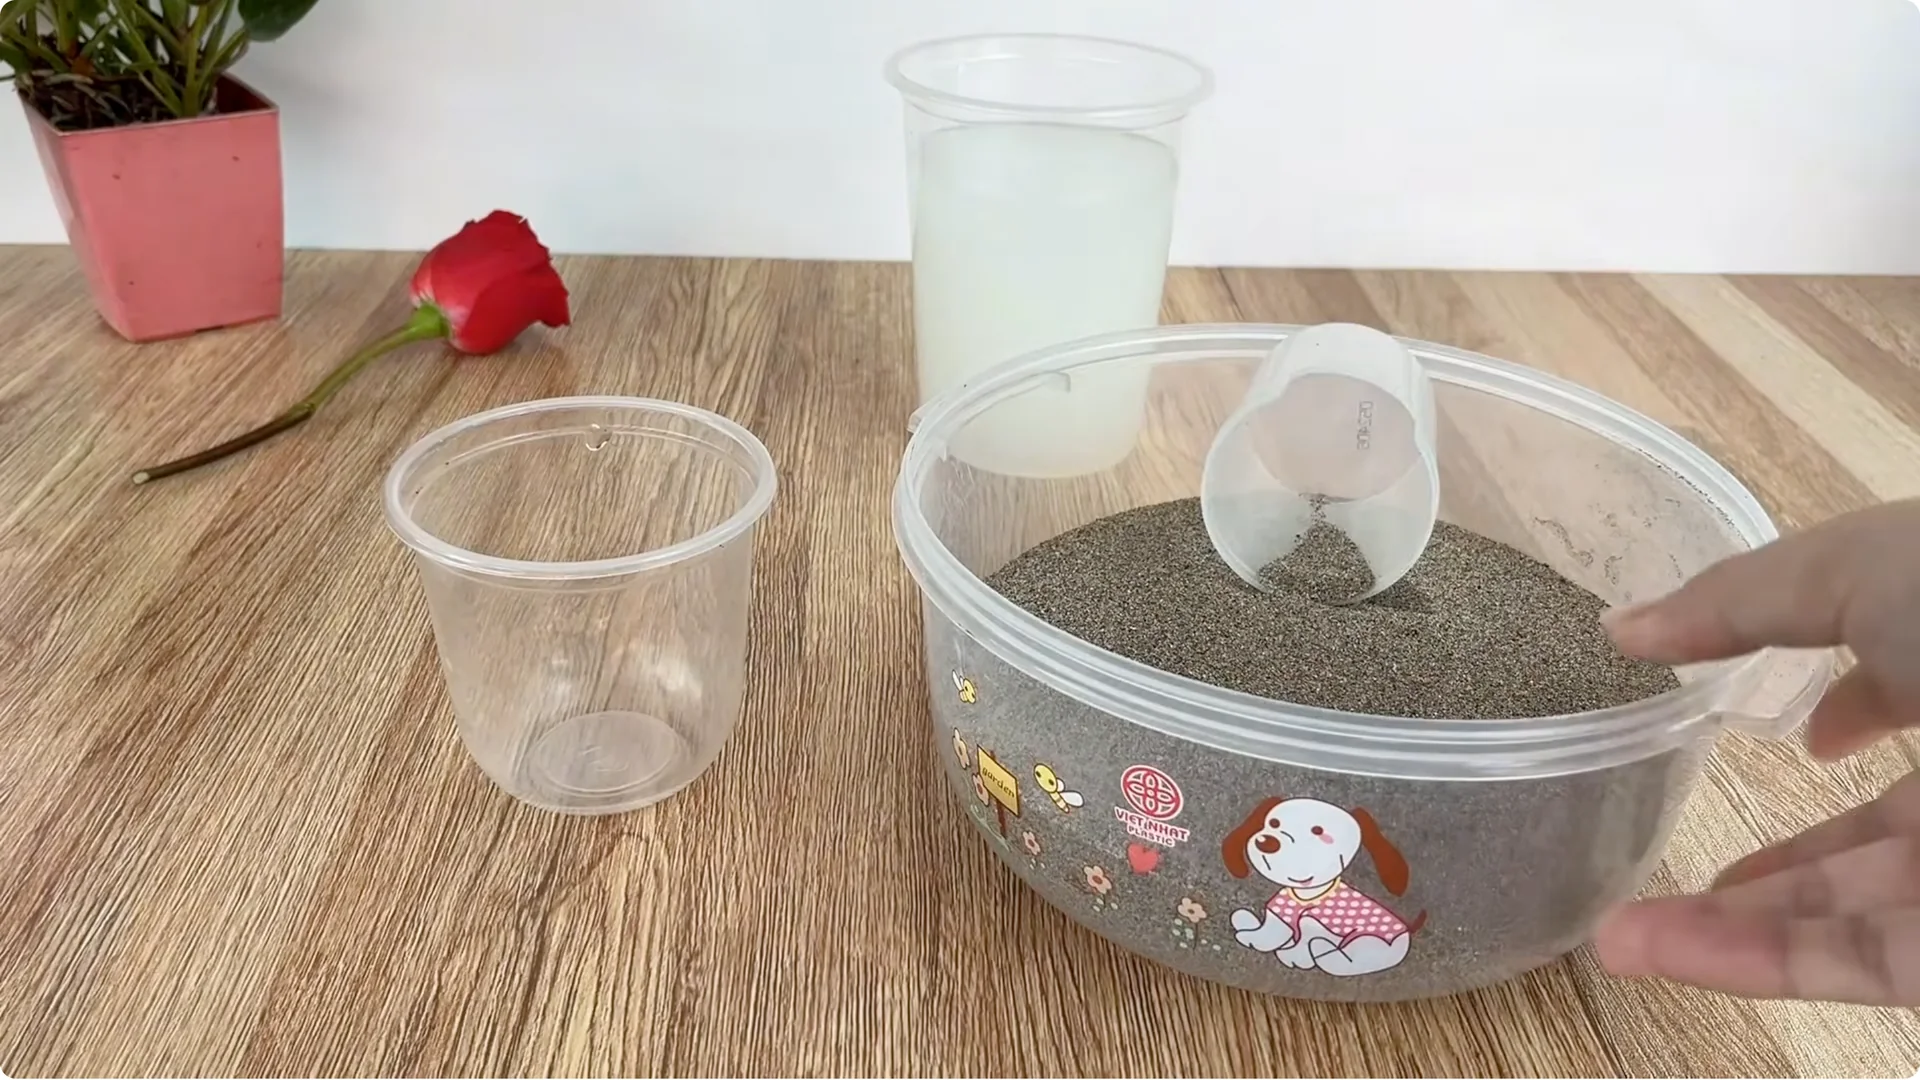
Sand has the advantage of good drainage, keeping the base of the cutting well-ventilated and preventing waterlogging and root rot.
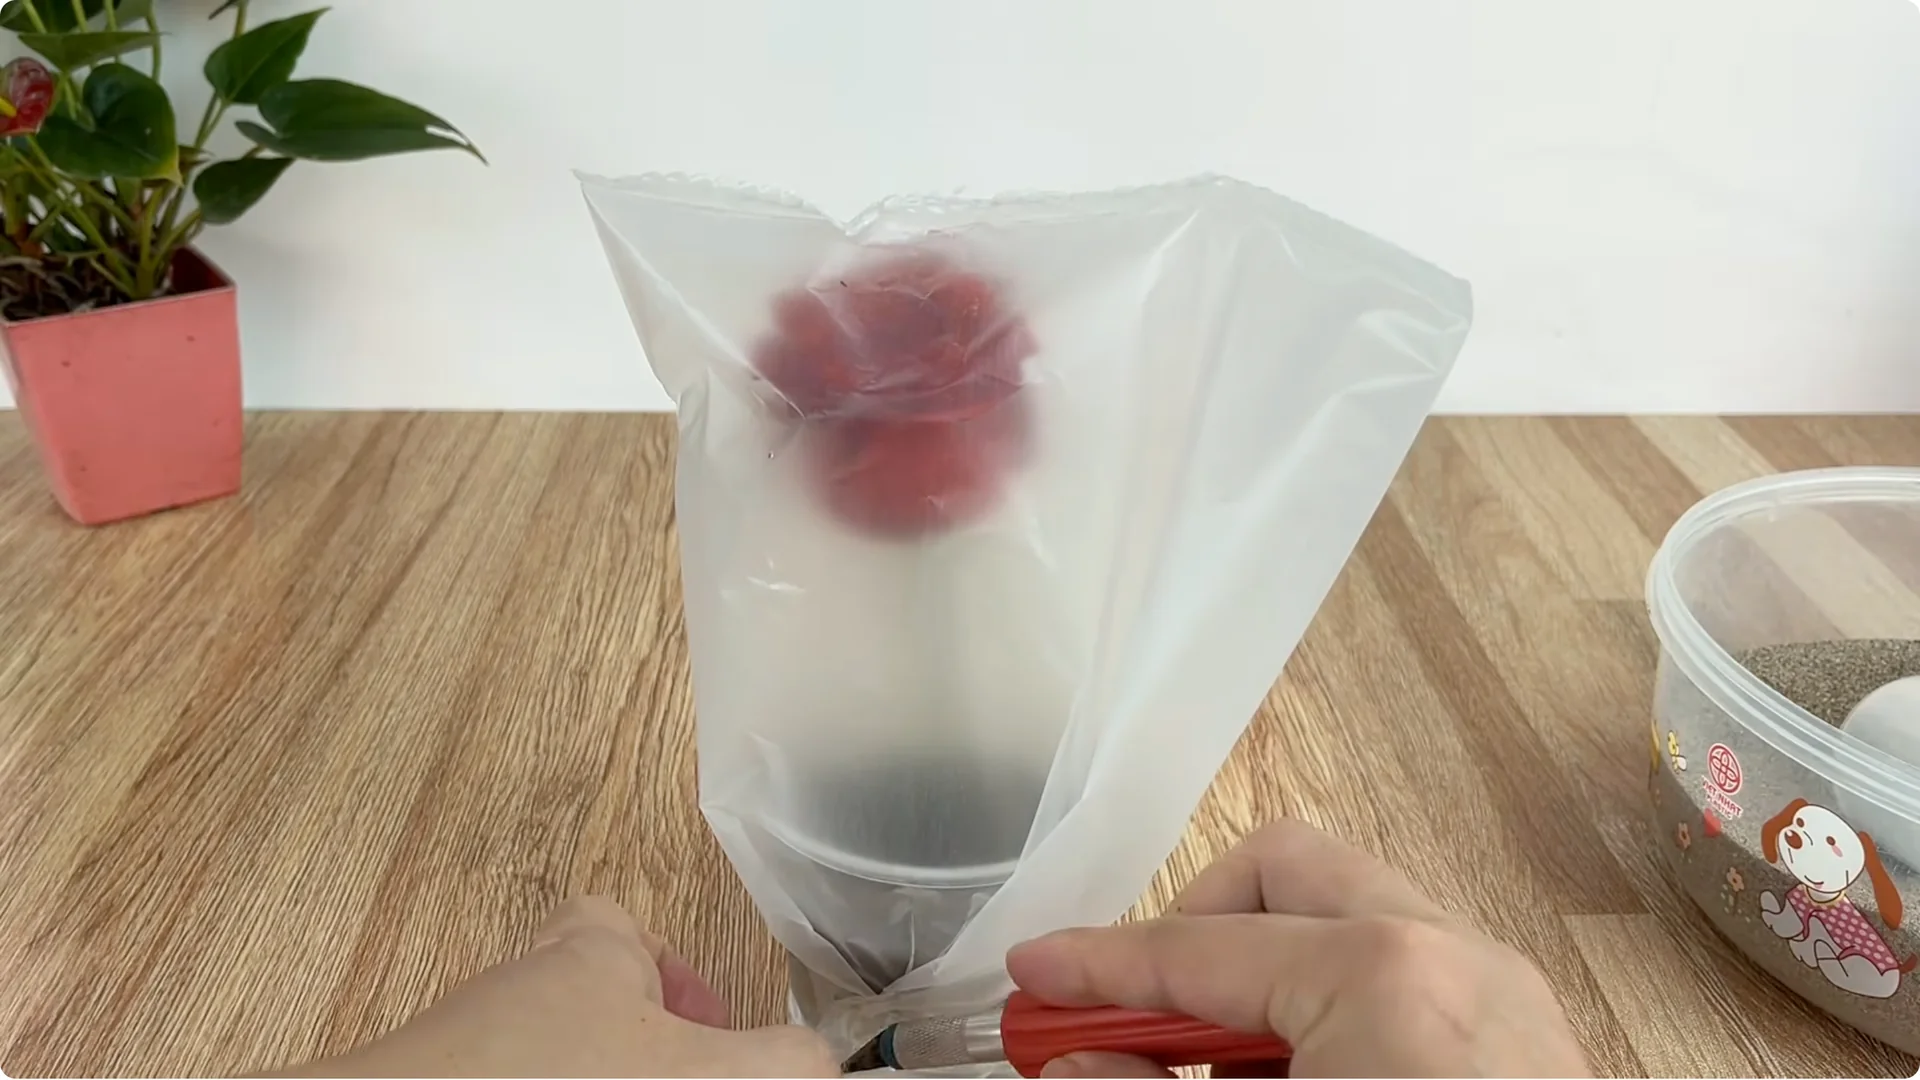
8. Plant and Cover the Cutting
Insert the rose cutting into the center of the cup, burying the base of the cutting deep in the sand. Gently press around it with your hands to secure the cutting and prevent shaking. Finally, cover the entire cup and the rose cutting with a clear plastic bag or another plastic cup.
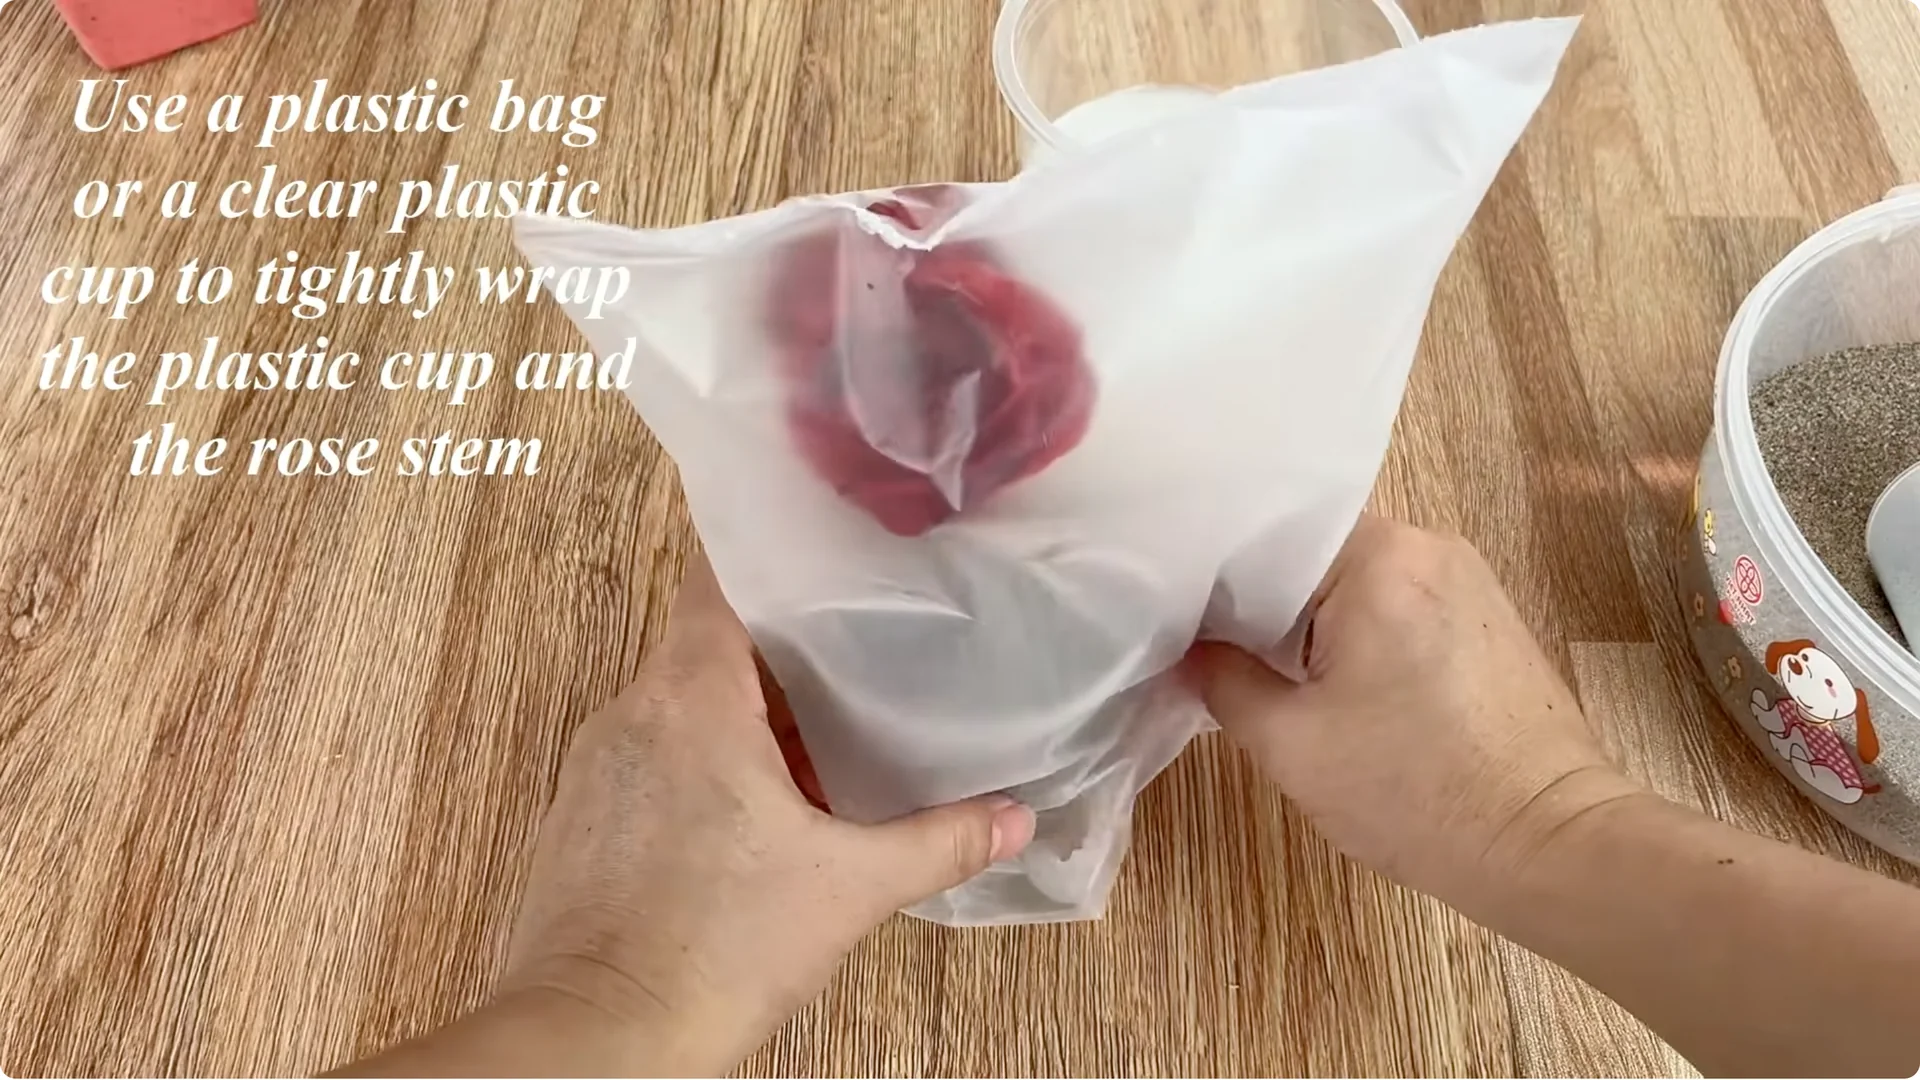
This covering helps maintain stable humidity, creating a favorable microclimate for rooting and sprouting.
9. Placement and Early Care
Place the cuttings in a cool, airy place, away from strong winds and direct sunlight. During this time, no additional watering is needed if the humidity inside is maintained well.
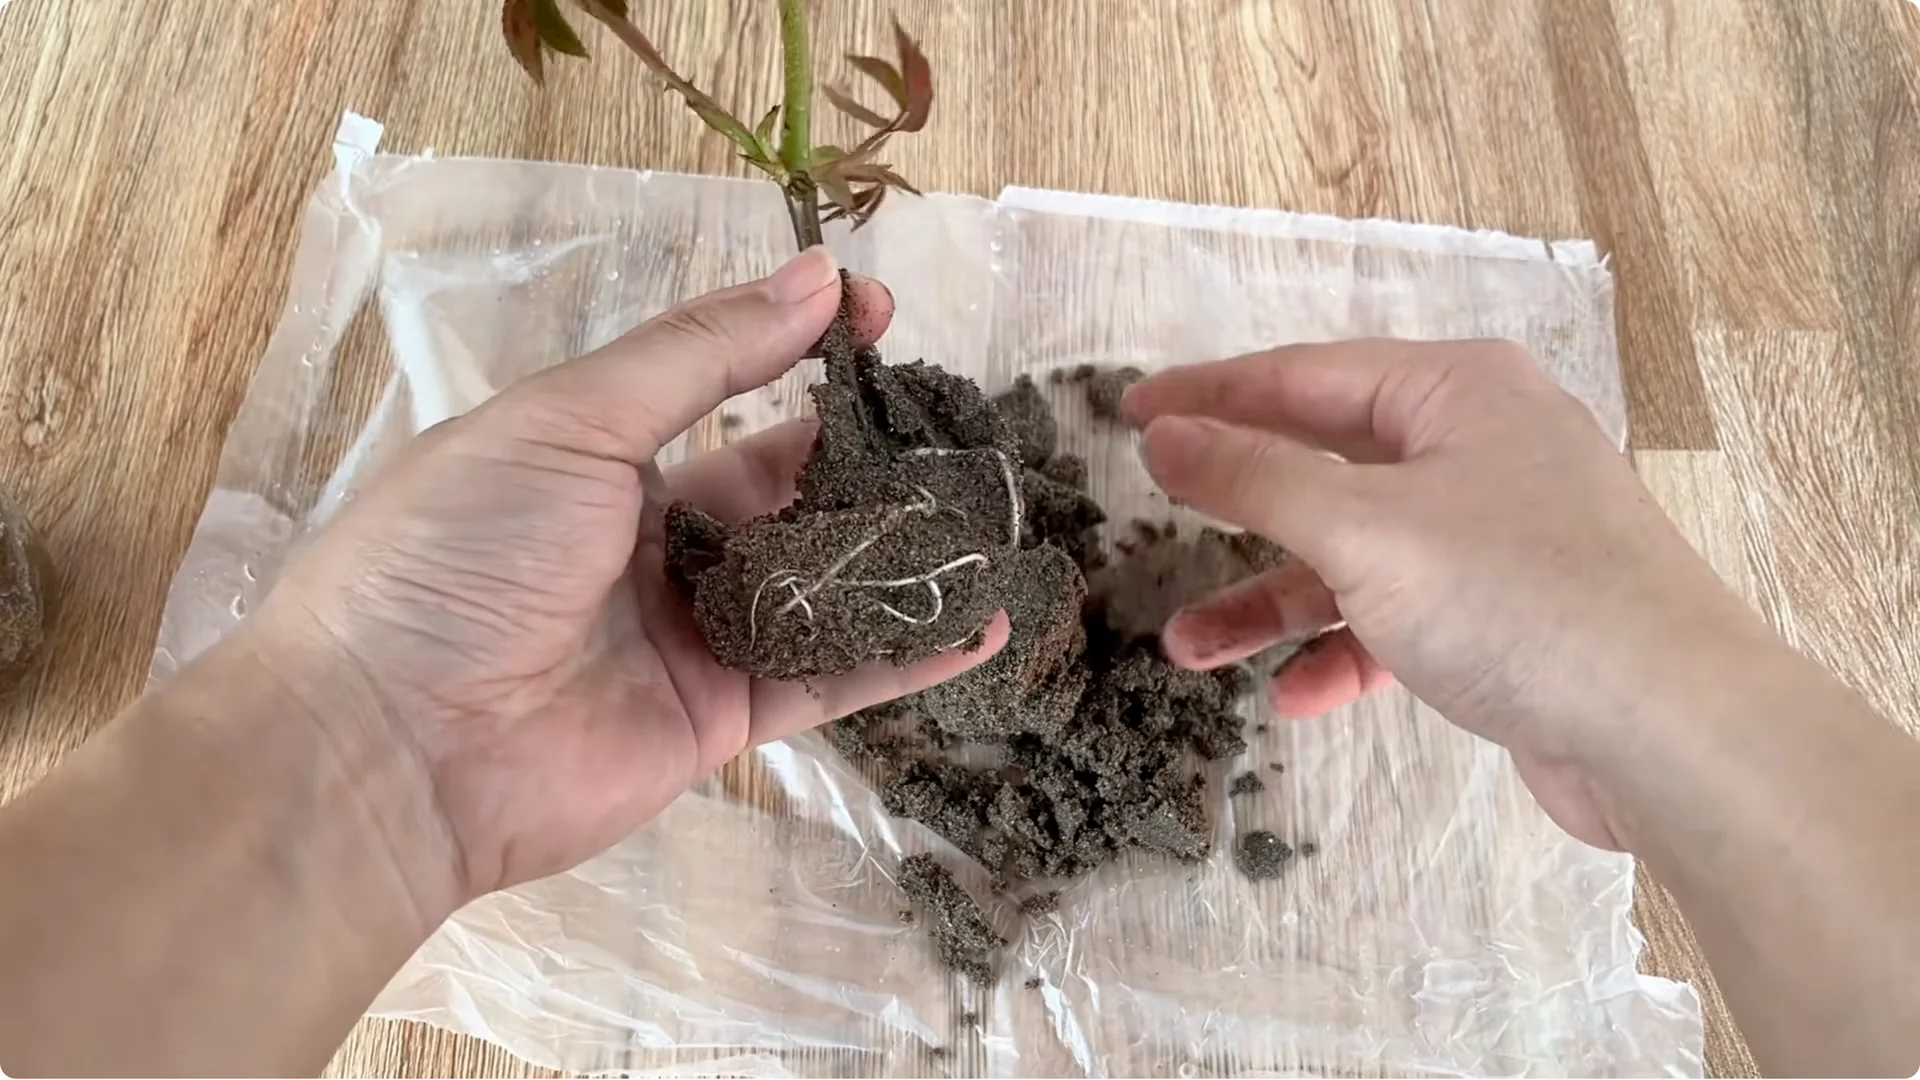
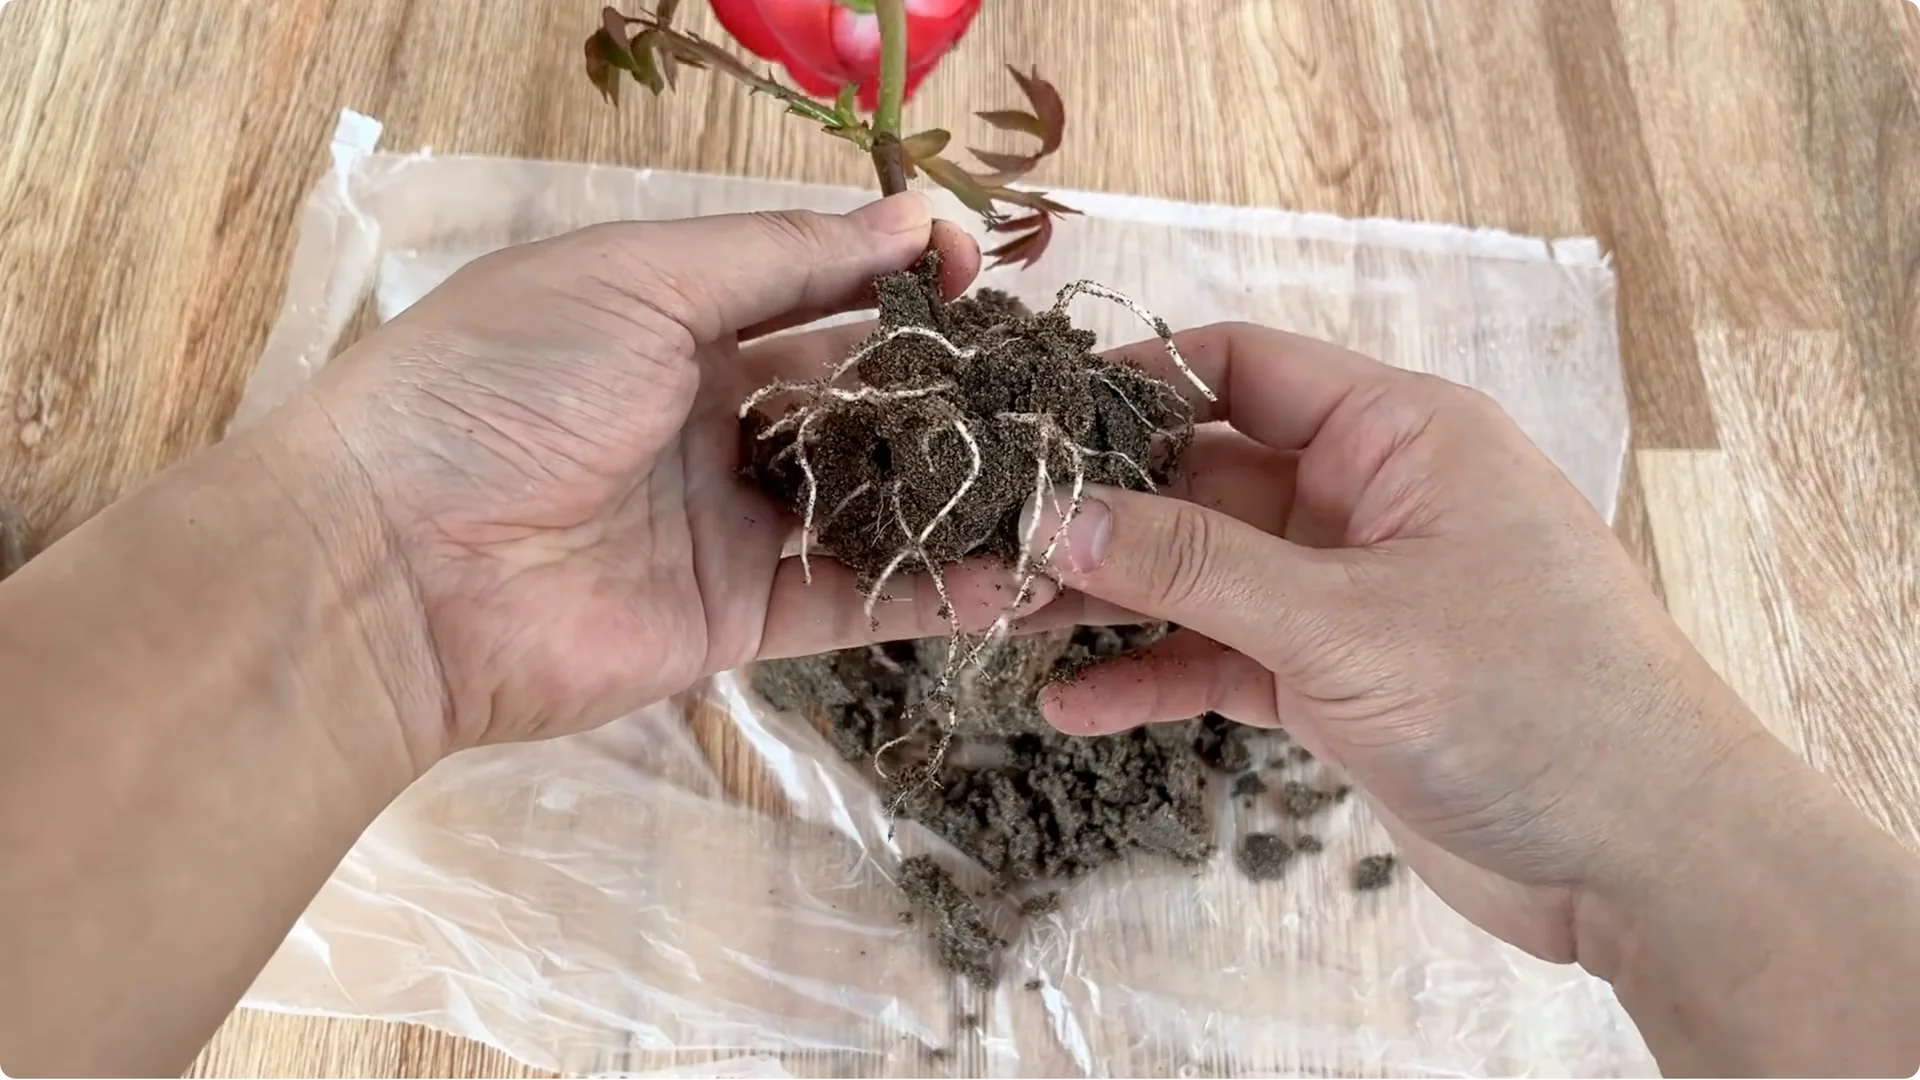
10. Signs of Success
After about 10 days, you will begin to see positive signs. On the stem, young shoots gradually emerge, appearing fresh, plump, and full of vitality. At the base, many new, milky white roots appear, plump and healthy, firmly anchoring in the sand.
11. Potting Up and Ongoing Care
Once the root system has developed stably, you can gently transfer the rose cuttings to a pot with good drainage. Use coconut fiber as a growing medium to continue nurturing the plant.
Final Thoughts on Rose Cutting Propagation
The method of propagating rose cuttings using ginger, aloe vera, and fresh milk is not only simple and easy to do but also very environmentally friendly. Using familiar ingredients from everyday life, you’ve created a natural, safe, and effective care process for your rose cuttings. Planting is about observation, patience, and feeling the life growing day by day.
When you dedicate enough meticulousness and love to that tiny cutting, you’ll be rewarded with immense joy seeing the first buds emerge. They signal the arrival of a healthy, vibrant rose bush.
The Beginner’s Rose Propagation Starter Kit 🌹
A simple printable PDF guide to help you root rose cuttings successfully.
Get The Guide →