Today, we will be practicing a completely natural method of rose propagation. This method is not only safe and easy to apply, but it also helps cuttings quickly develop strong roots and vigorous shoots. It significantly reduces the risk of root rot in the early stages.
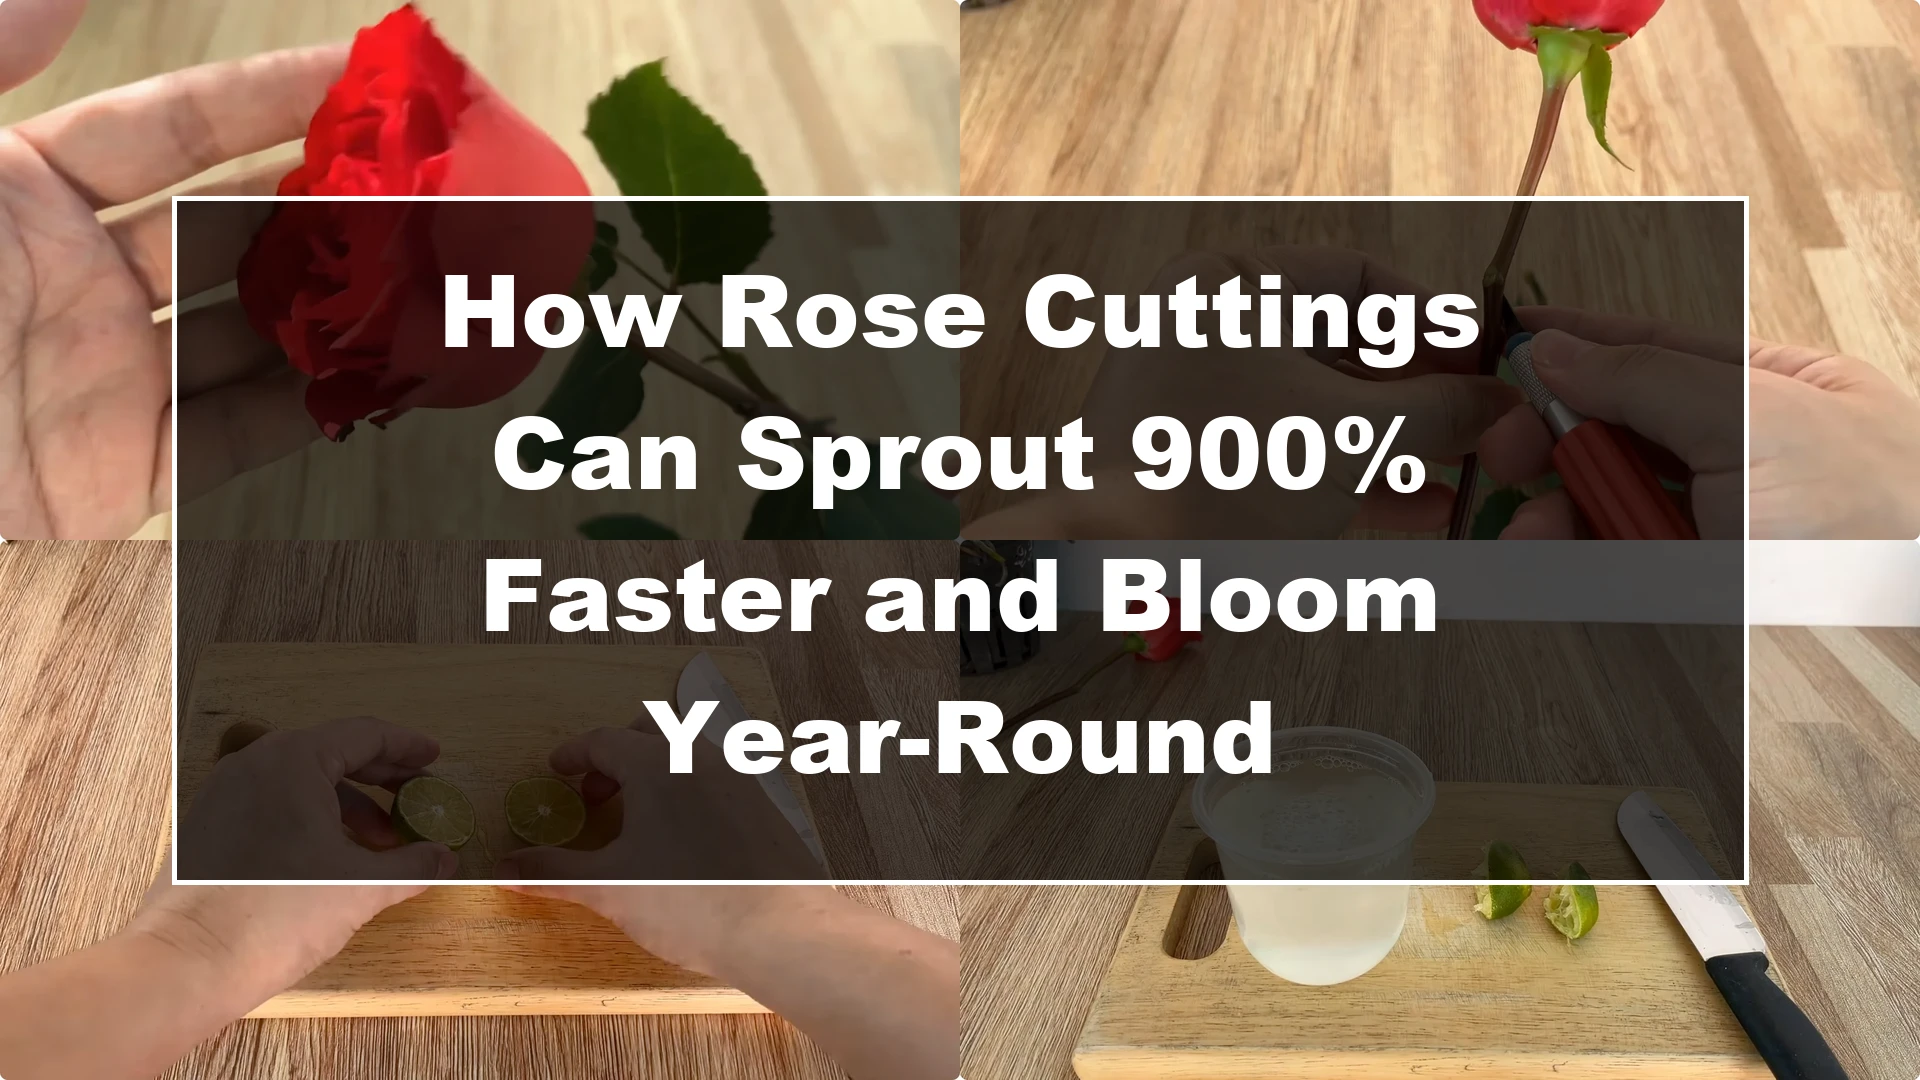
Rose Cutting Propagation: Natural Method
1. Select and Prepare the Cutting
First, choosing the right rose cutting is crucial to the success rate. You should select a healthy, disease-free rose cutting that is neither too young nor too old. Cuttings that are too young often contain a lot of water, making them prone to waterlogging and rot, while cuttings that are too old are difficult to stimulate root growth.
The Beginner’s Rose Propagation Starter Kit 🌹
A simple printable PDF guide to help you root rose cuttings successfully.
Get The Guide →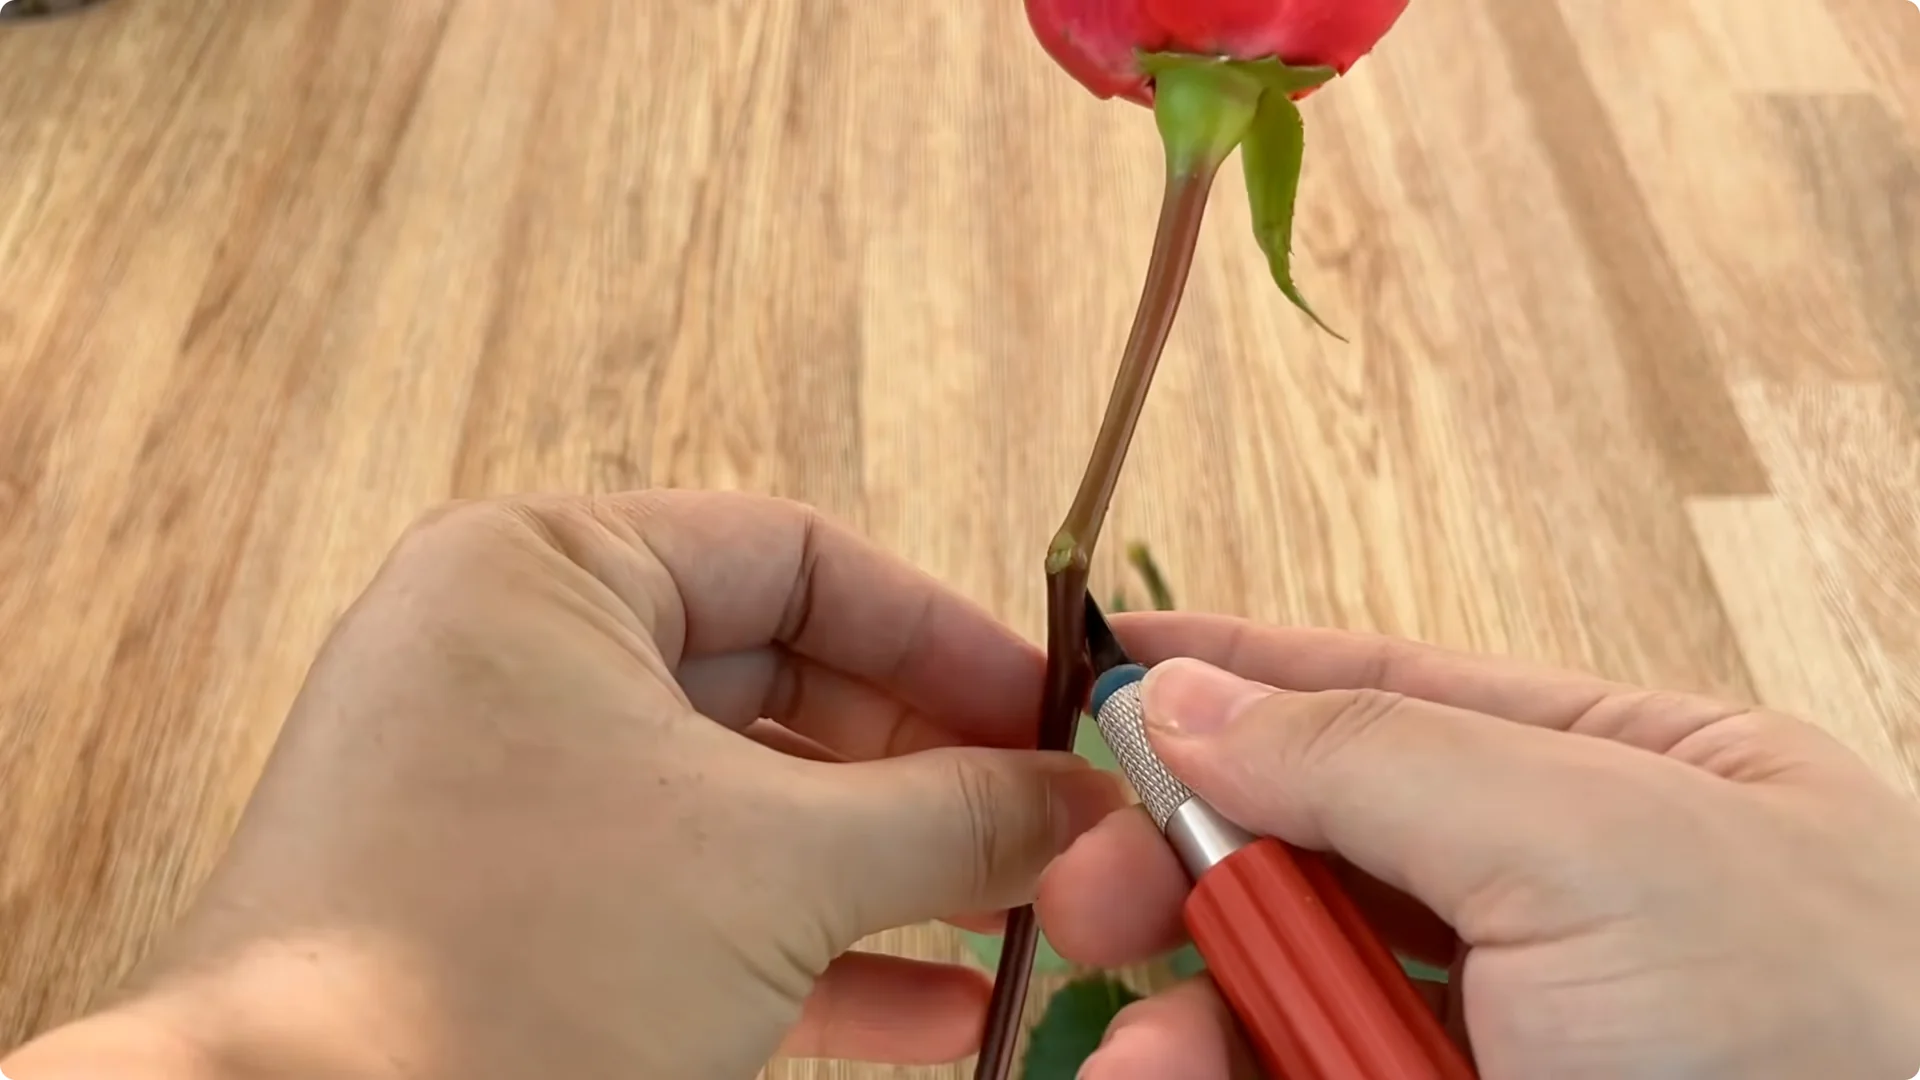
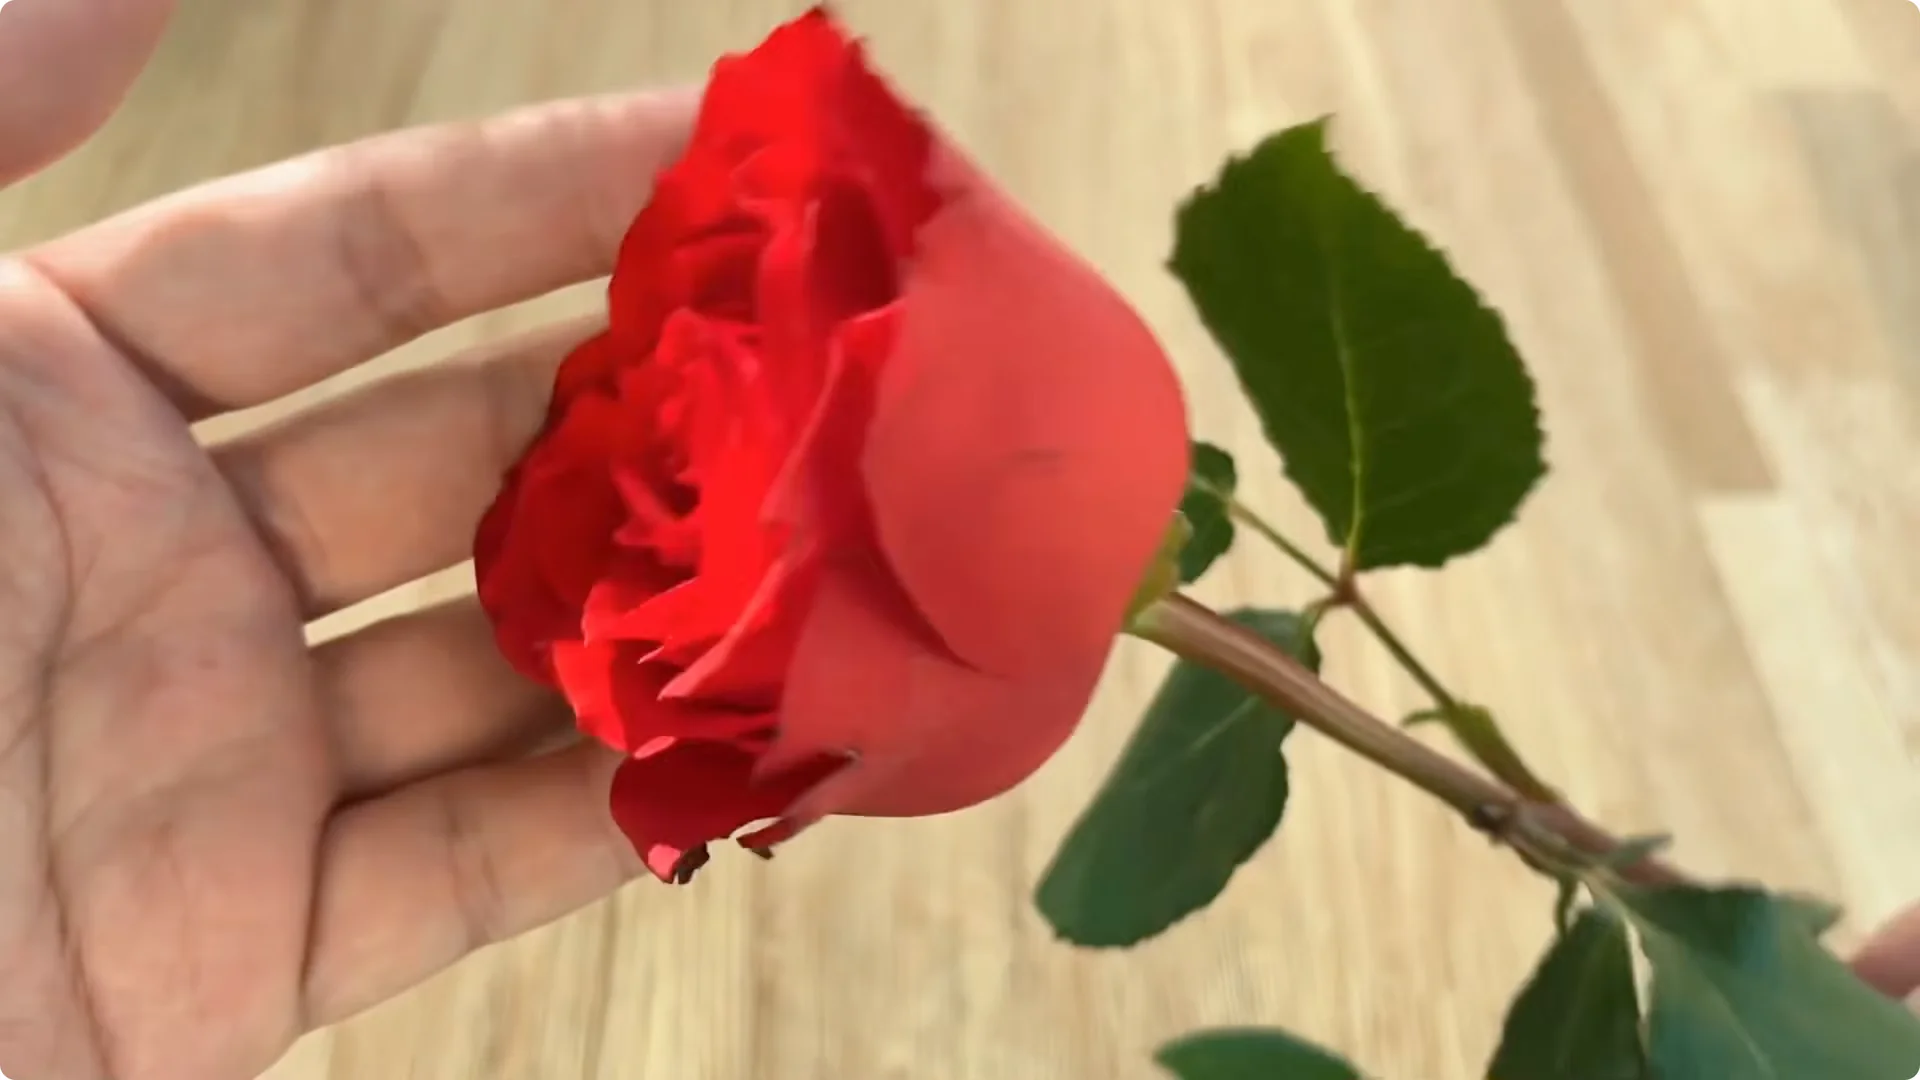
After selecting a suitable cutting, remove all leaves and thorns, and discard any old, damaged, or weakened branches. Next, trim the rose cutting, leaving it at least 20 cm long. This length allows the cutting to store enough nutrients while minimizing water loss during the rooting process.
2. Make the Initial Lemon Treatment
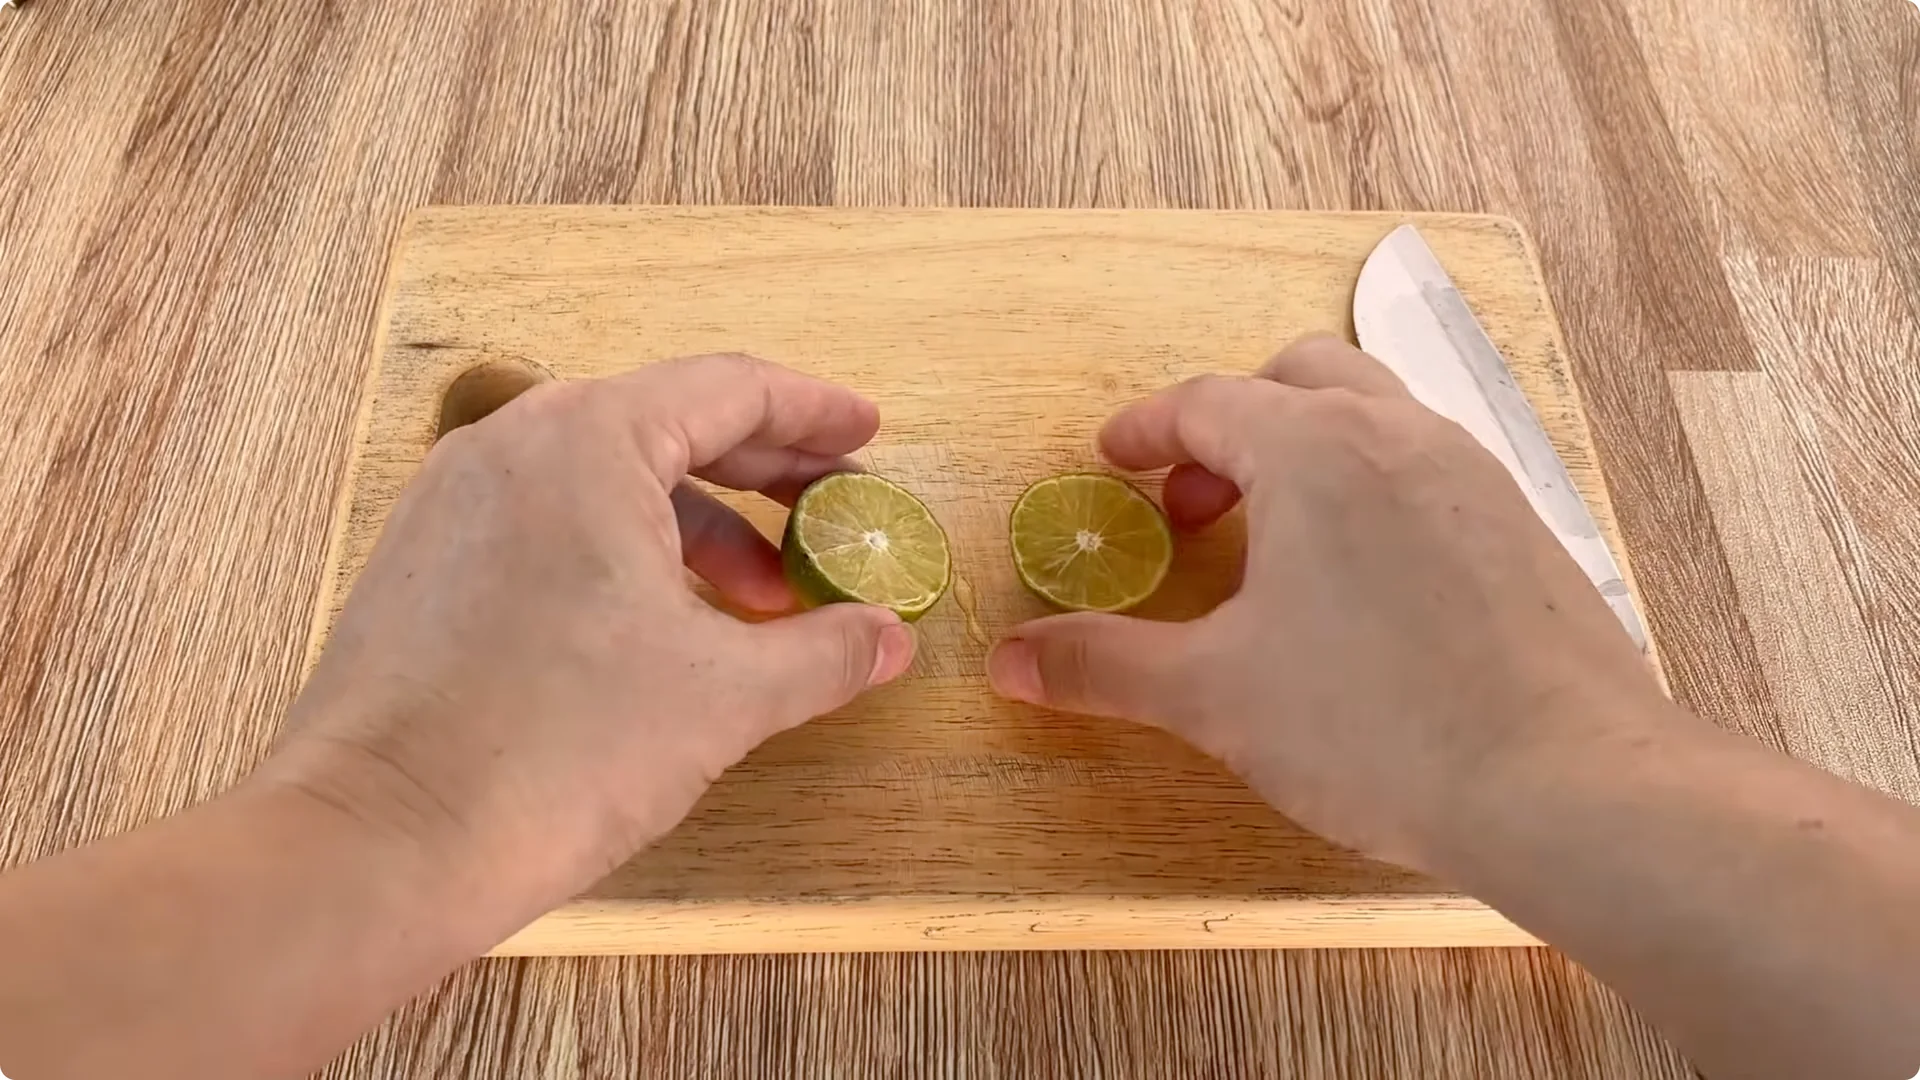
Once the cutting has been prepared, we begin preparing the initial treatment solution using lemon. Take a fresh lemon, wash it, cut it in half, and squeeze all the juice into a clean plastic cup. Fresh lemons have a high citric acid content, which helps to mildly disinfect, clean the cut surface, and prevent fungal diseases from entering.
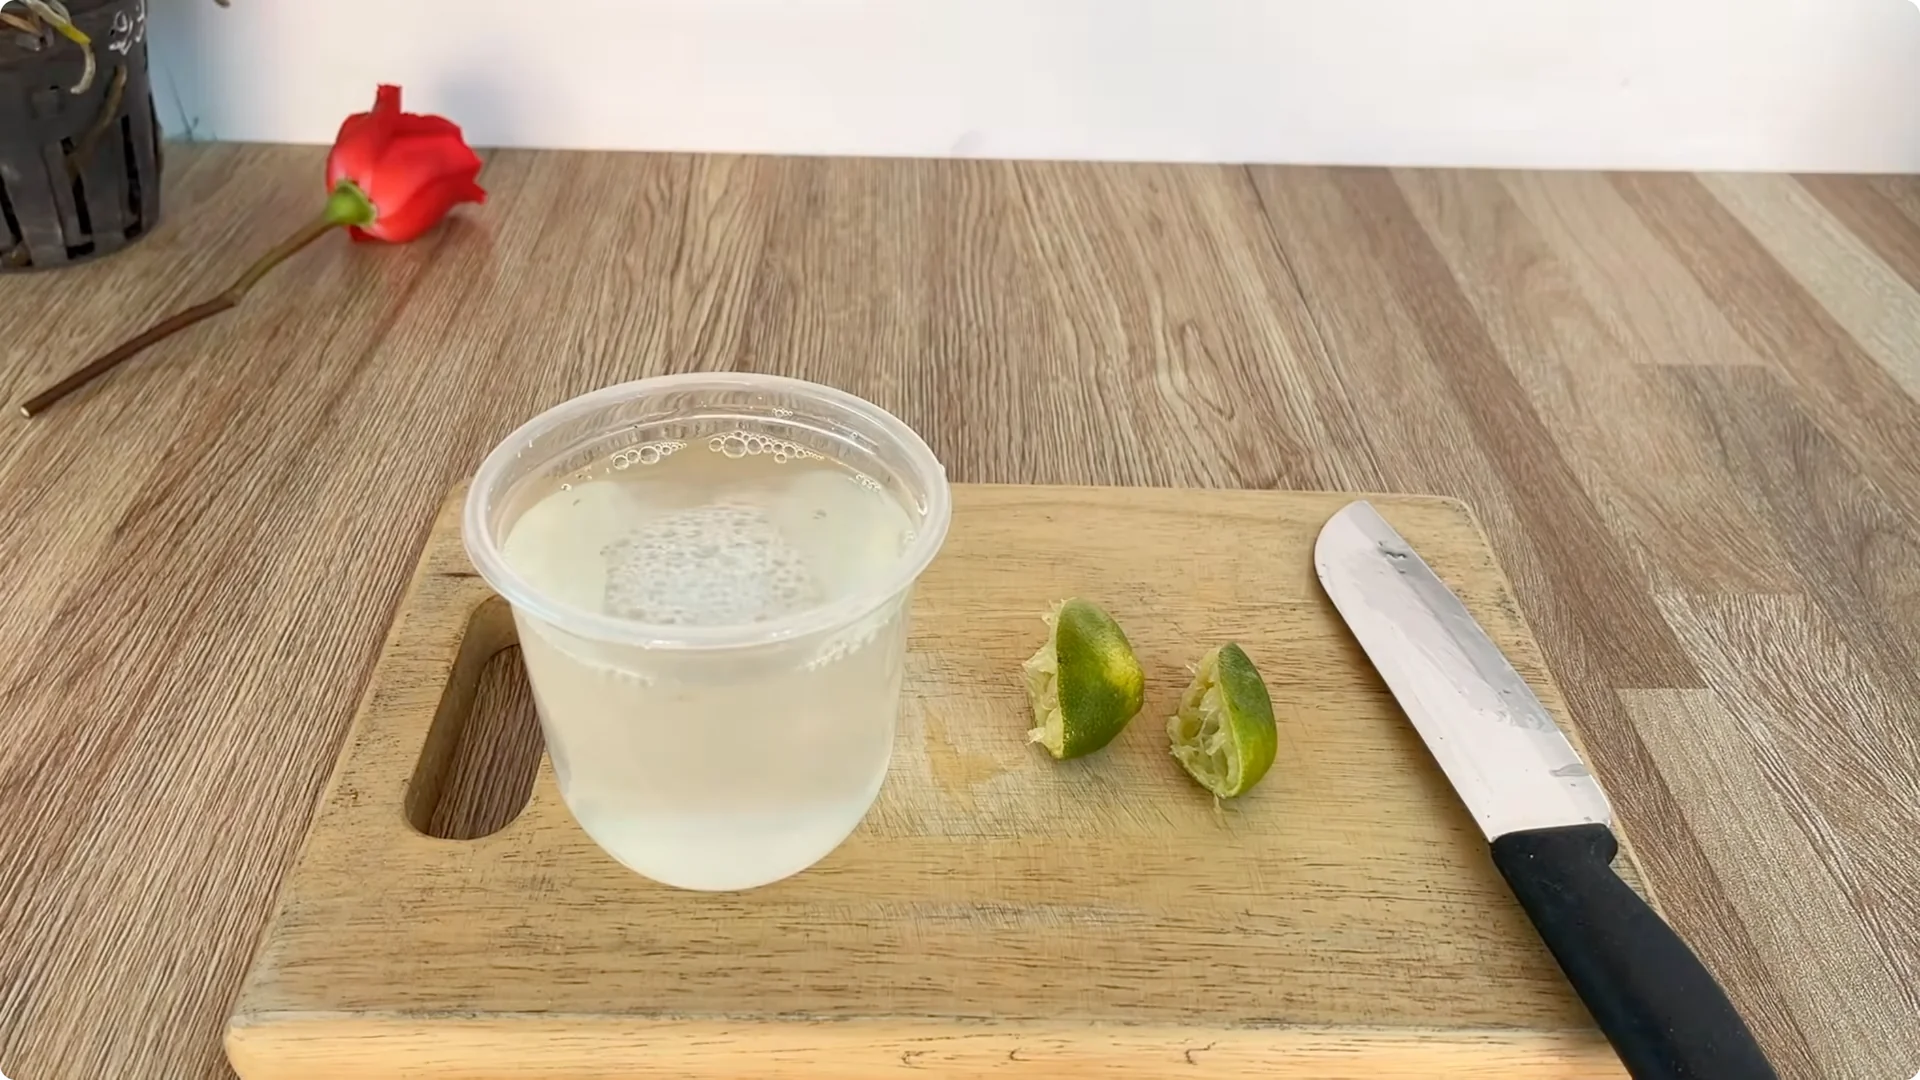
Then add about 500 ml of clean water to the cup and stir well to dilute it. Soak the rose cutting in this lemon juice solution for about 30 minutes. During soaking, the mild acid in the lemon will help clean the vascular tissue and stimulate the cutting to prepare for the formation of new roots.
3. Prepare the Nutrient Mix With Banana, Lemon Peel, and Oatmeal
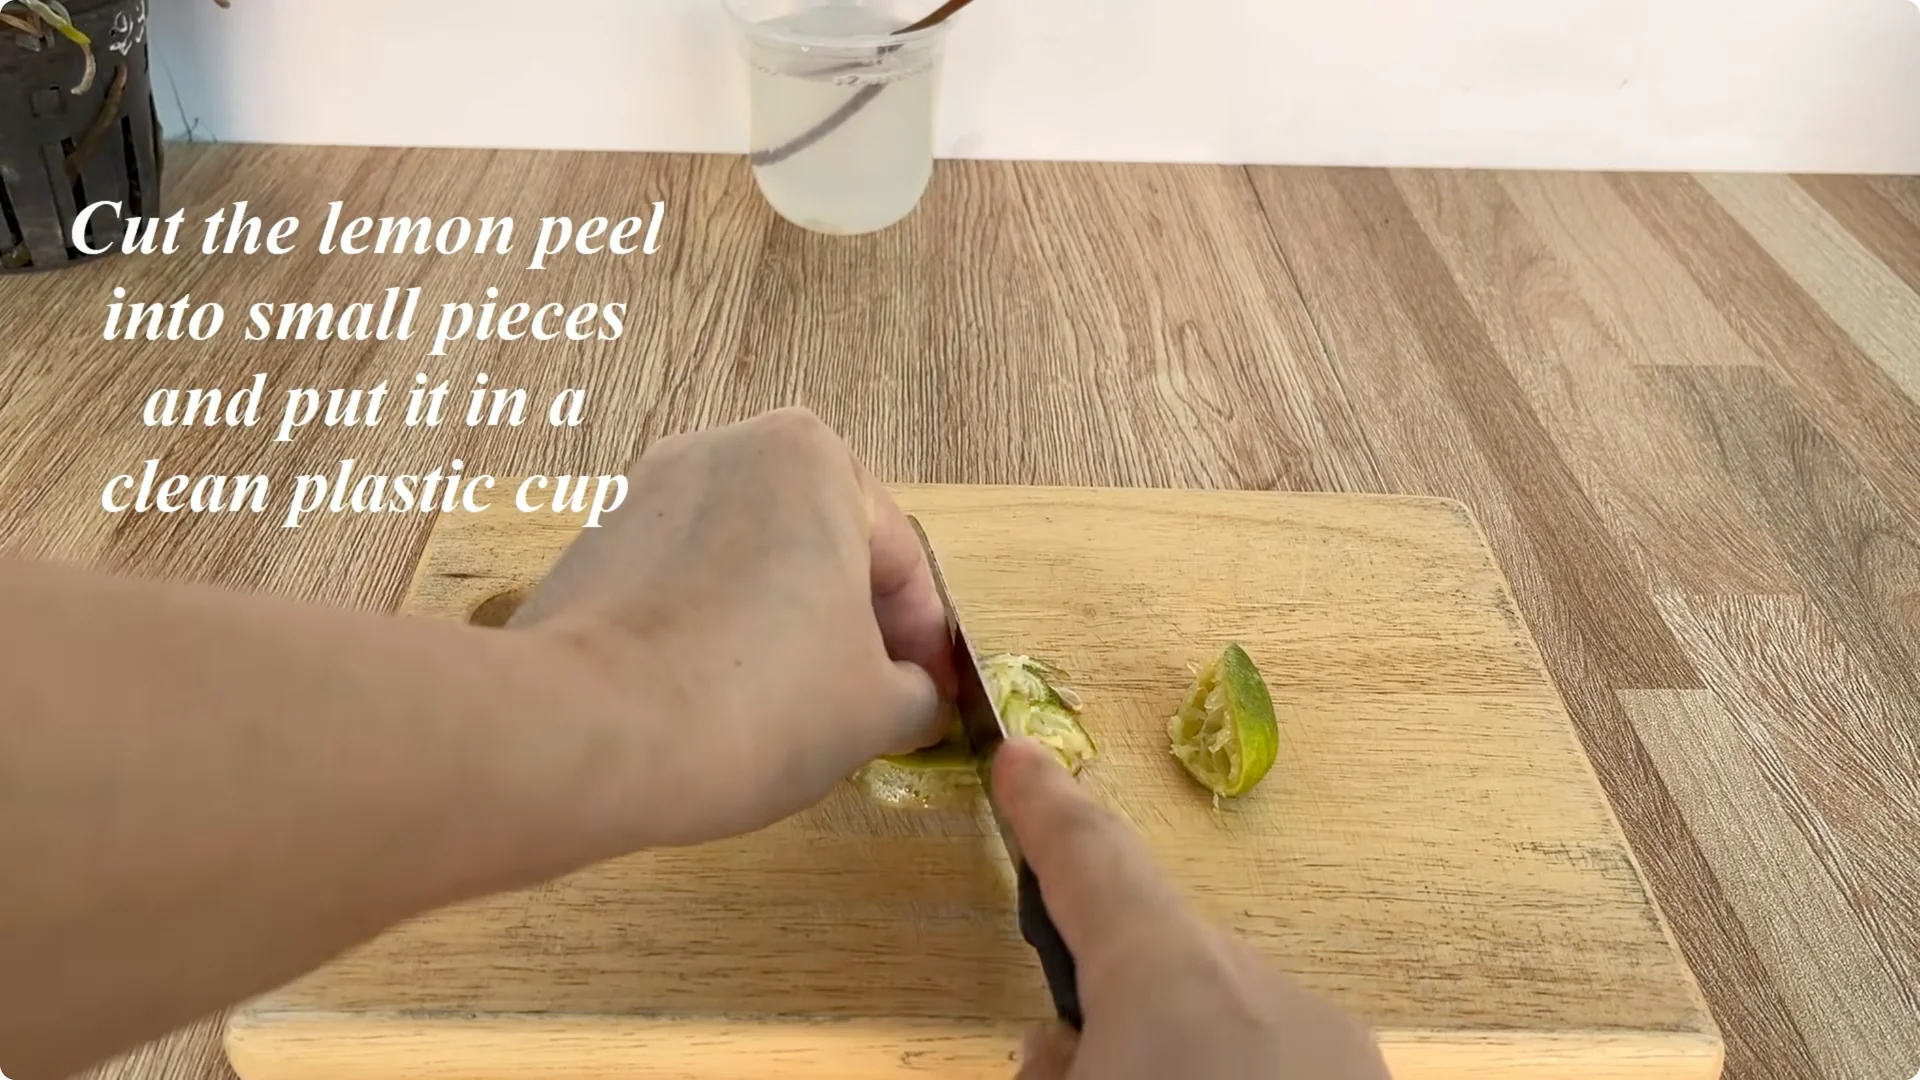
Save and Prep the Lemon Peel
The lemon peel should not be discarded. Cut the peel into small pieces and put it in another clean plastic cup.
Add the Banana
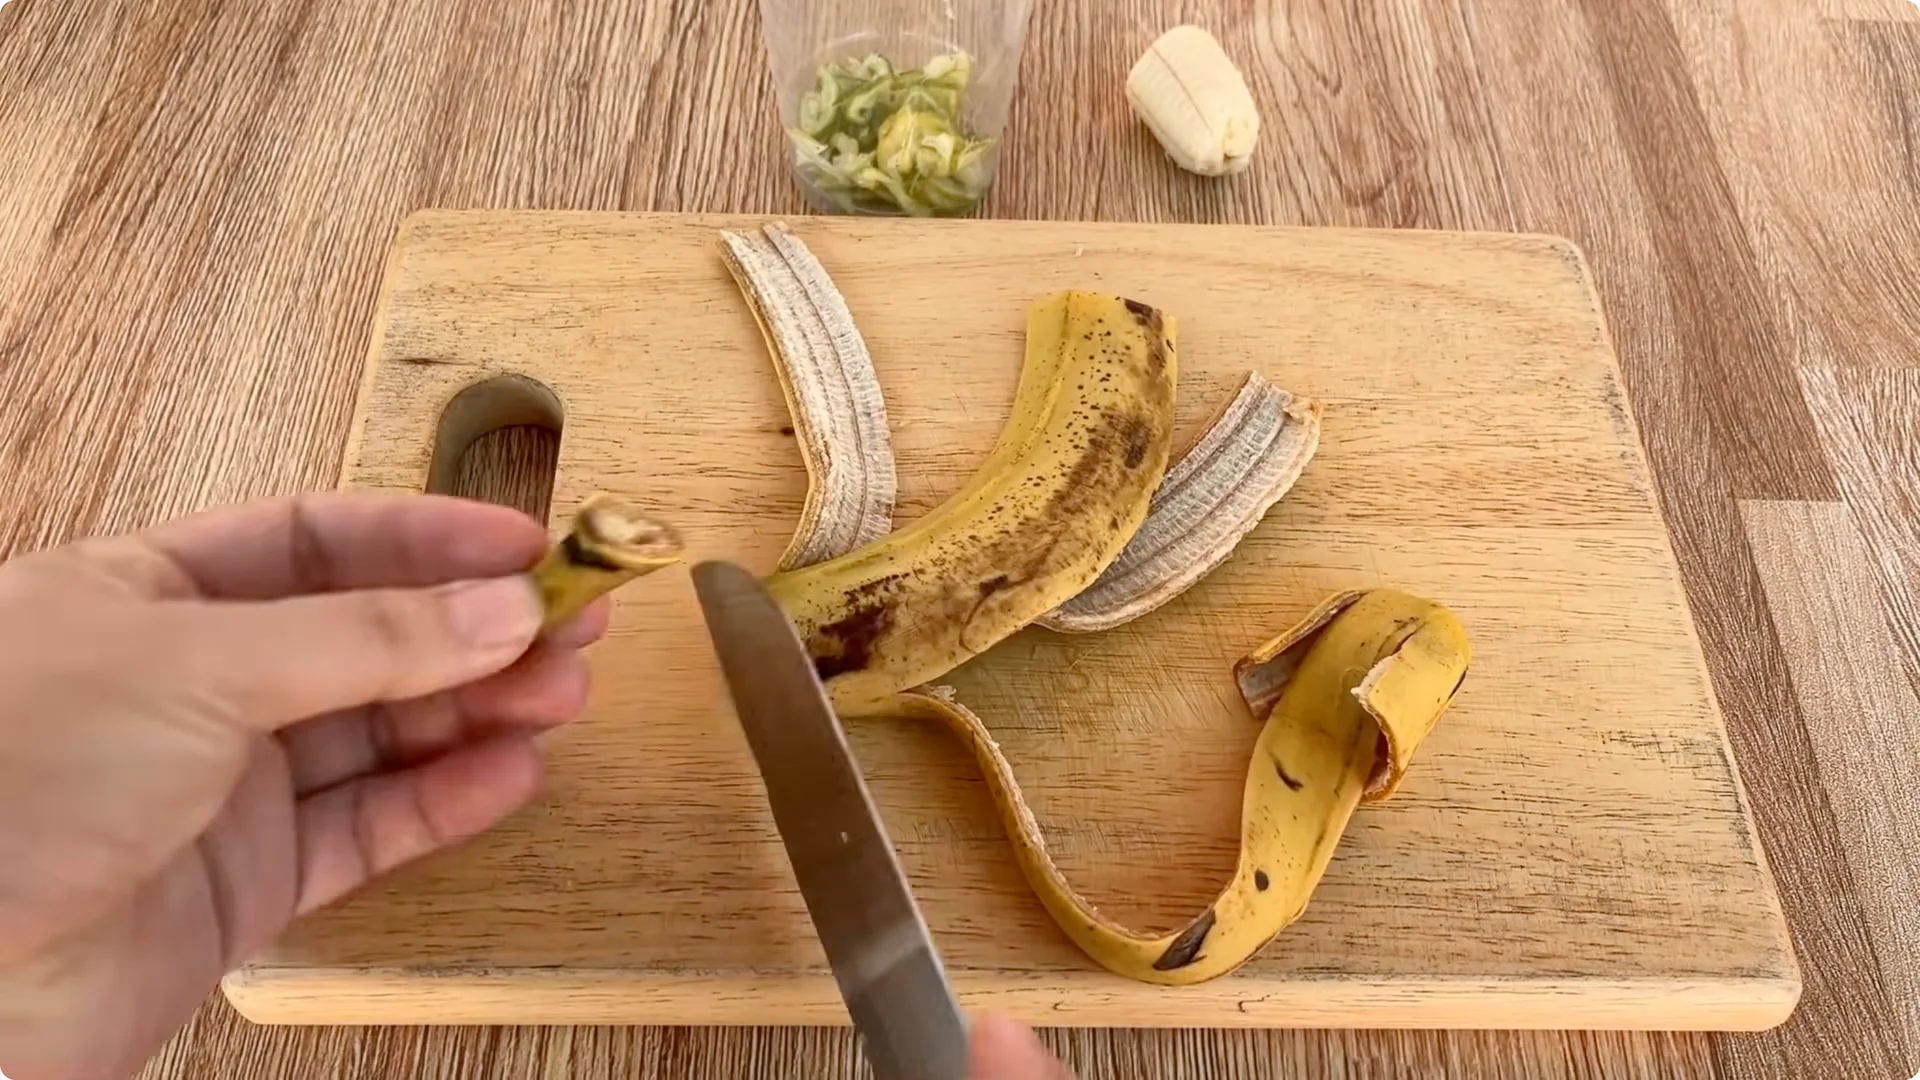
Next, prepare a ripe banana, washing the outside thoroughly. Cut a piece of banana about 3-5 cm long and set it aside. This will serve as a direct “nutritional support” for the rose cutting later.
Peel the banana, chop it into small pieces, and add it to the lemon peel. Banana peels are rich in potassium, calcium, and trace elements, which stimulate root growth and nourish young shoots in the early stages.
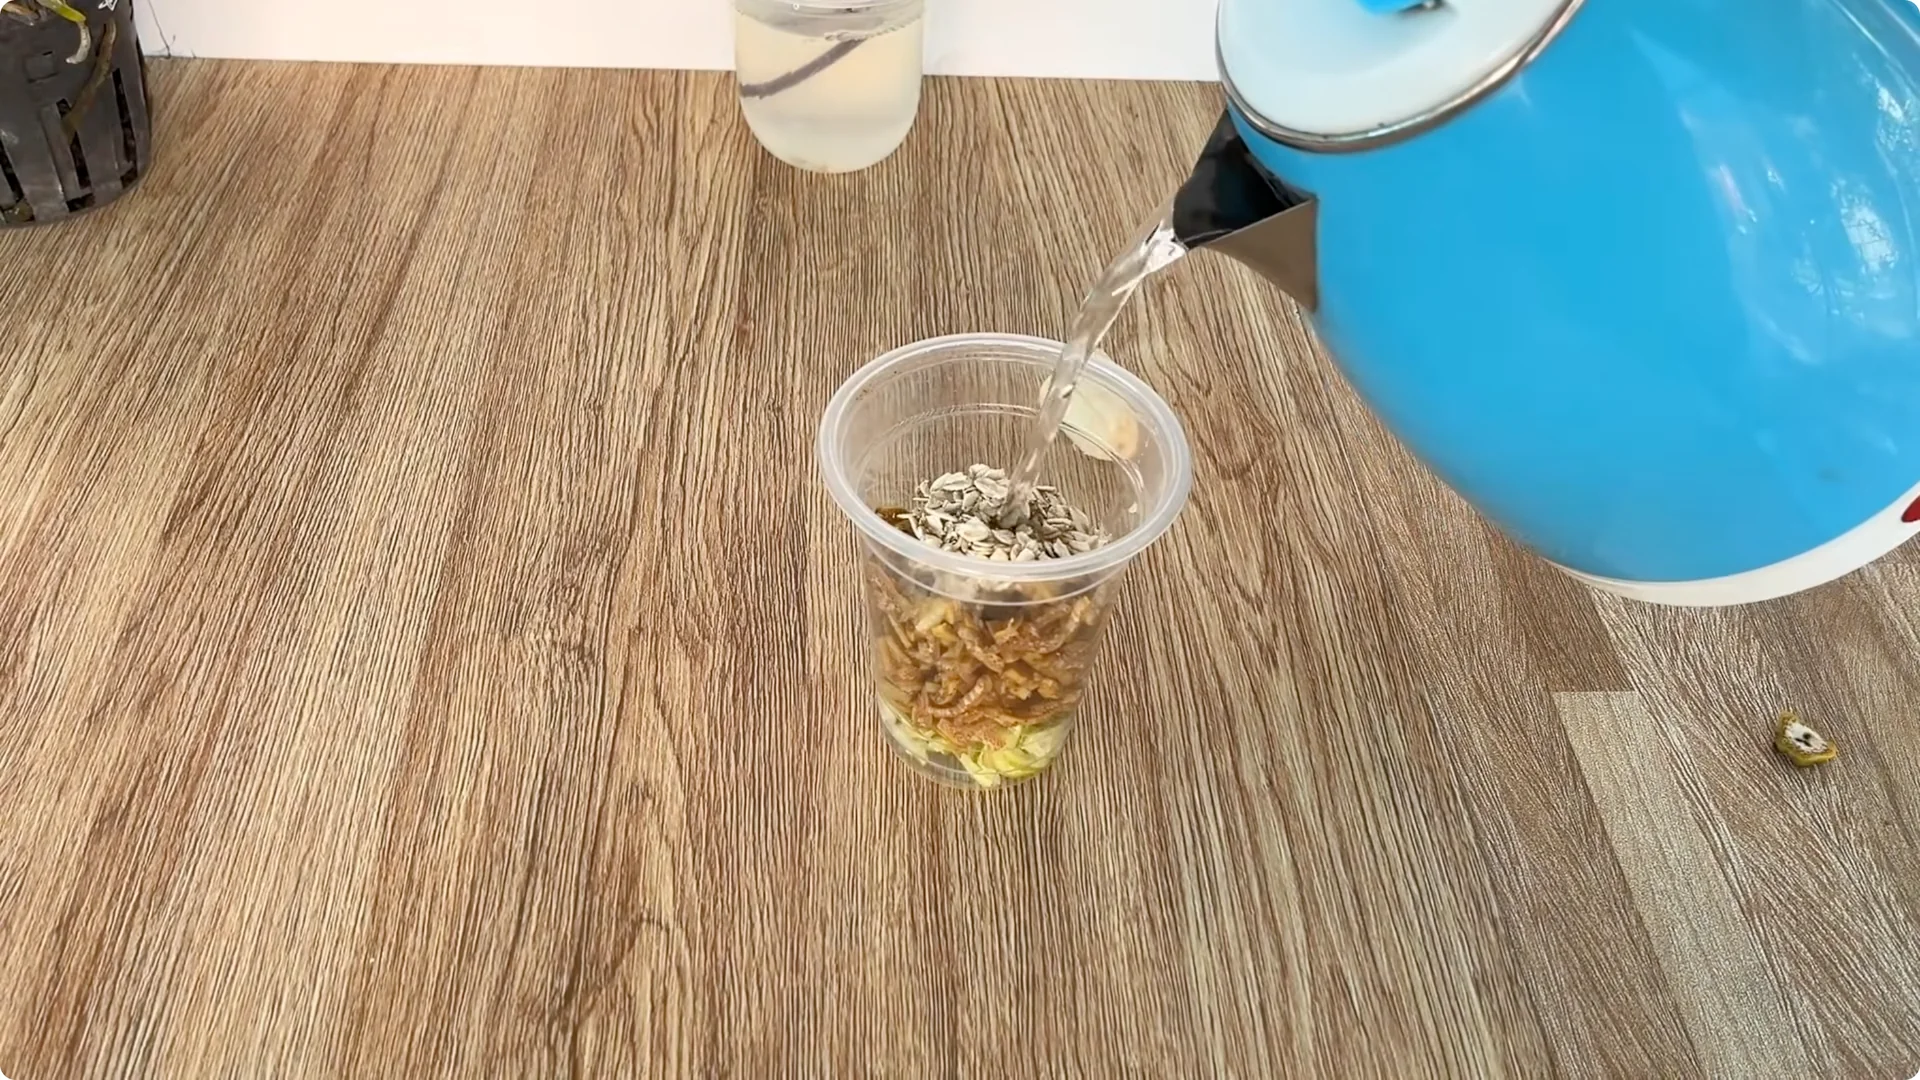
Add Oatmeal and Steep
Next, add about 2 spoons of oatmeal to the cup containing the banana and lemon peels, then pour in 500 ml of warm water. When soaked, the oatmeal releases many minerals, B vitamins, and a natural amount of starch, providing energy for the cutting and creating a beneficial microbial environment. Stir the mixture well and let it sit for about 30 minutes to allow the nutrients to dissolve into the water.
Combine the Liquids
After the soaking time, remove the rose cutting from the lemon water. Filter out the lemon peel, keeping the lemon water used to treat the cutting. Next, strain the liquid from the banana peel-lemon peel-oatmeal mixture, then pour this liquid into the lemon juice, stirring well to obtain a nutrient-rich natural mixture.
This mixture has mild antibacterial properties and stimulates root growth and nourishes young tissue.
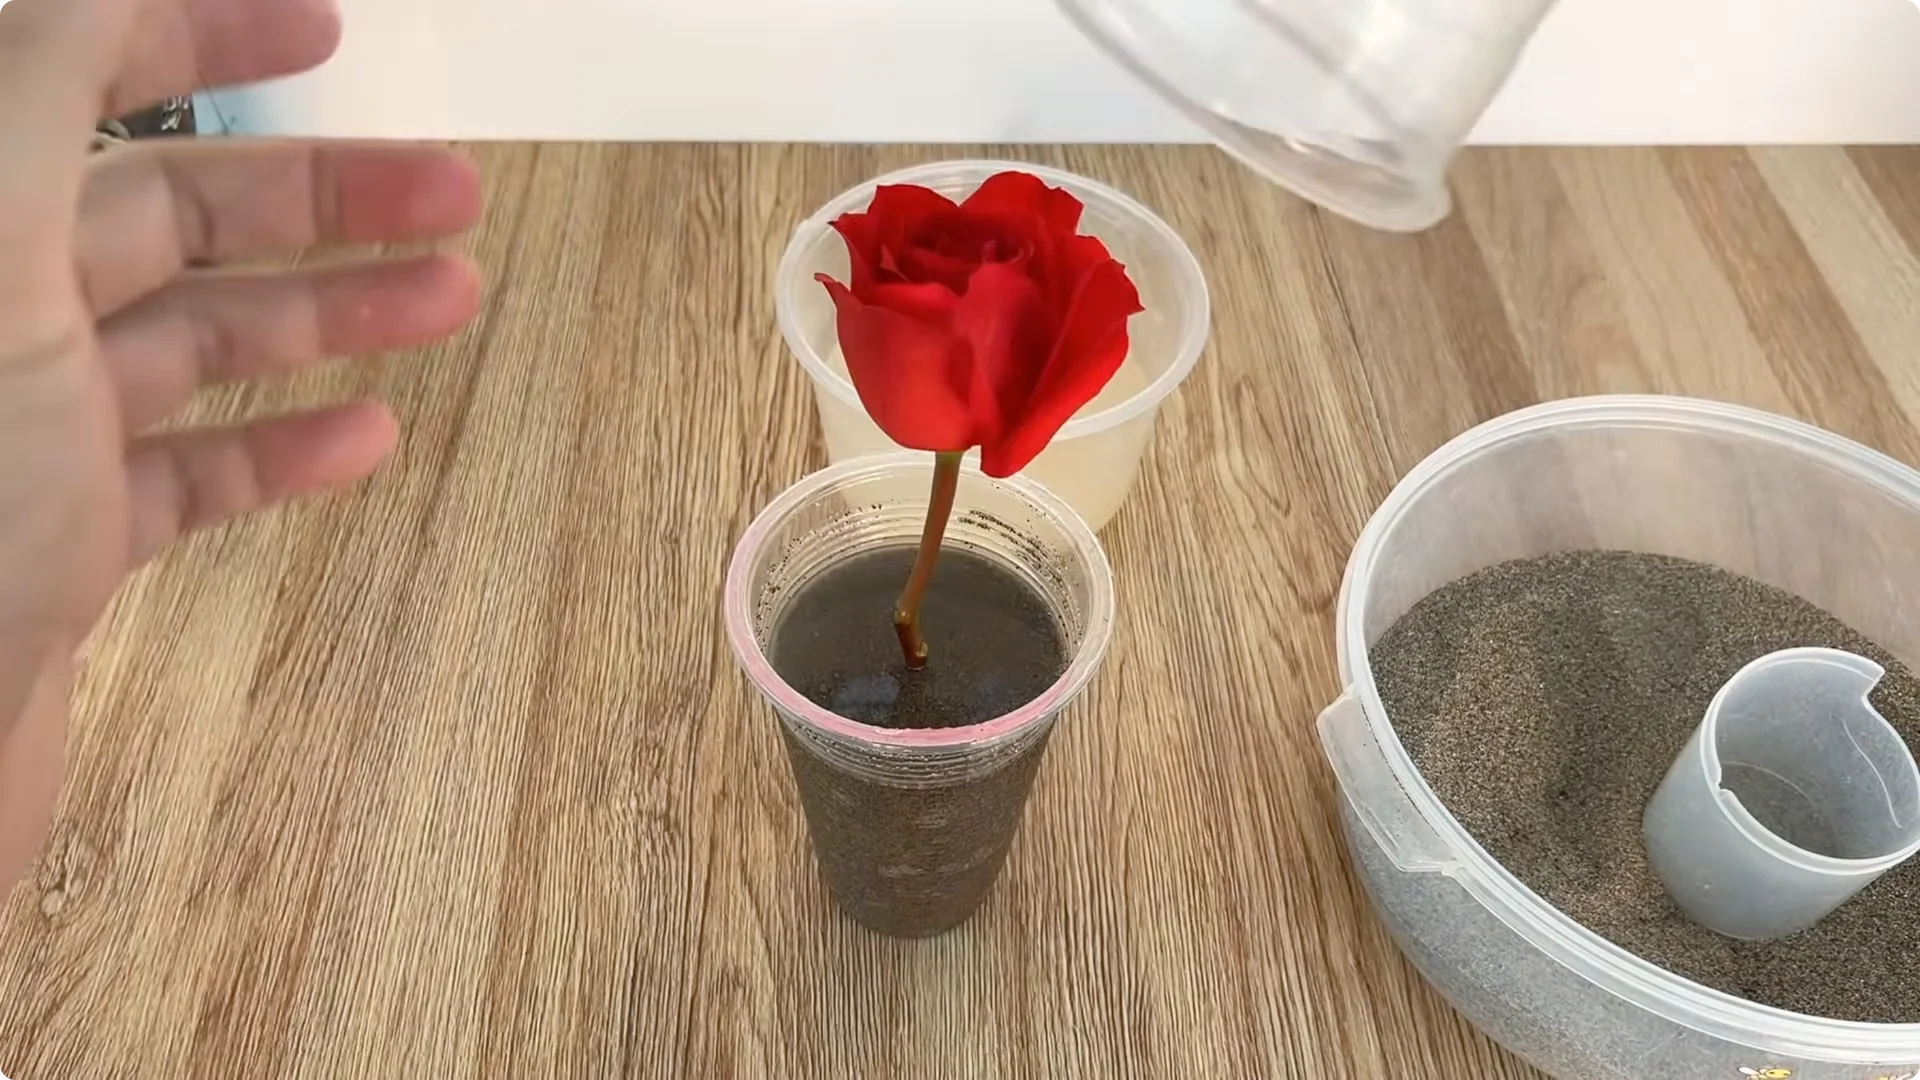
4. Set Up the Growing Medium
The next step is to prepare the growing medium. Take a clean plastic cup and fill it about one-third full with treated river sand. Insert the rose stem into the banana piece so that the base of the stem is in good contact with the banana flesh.
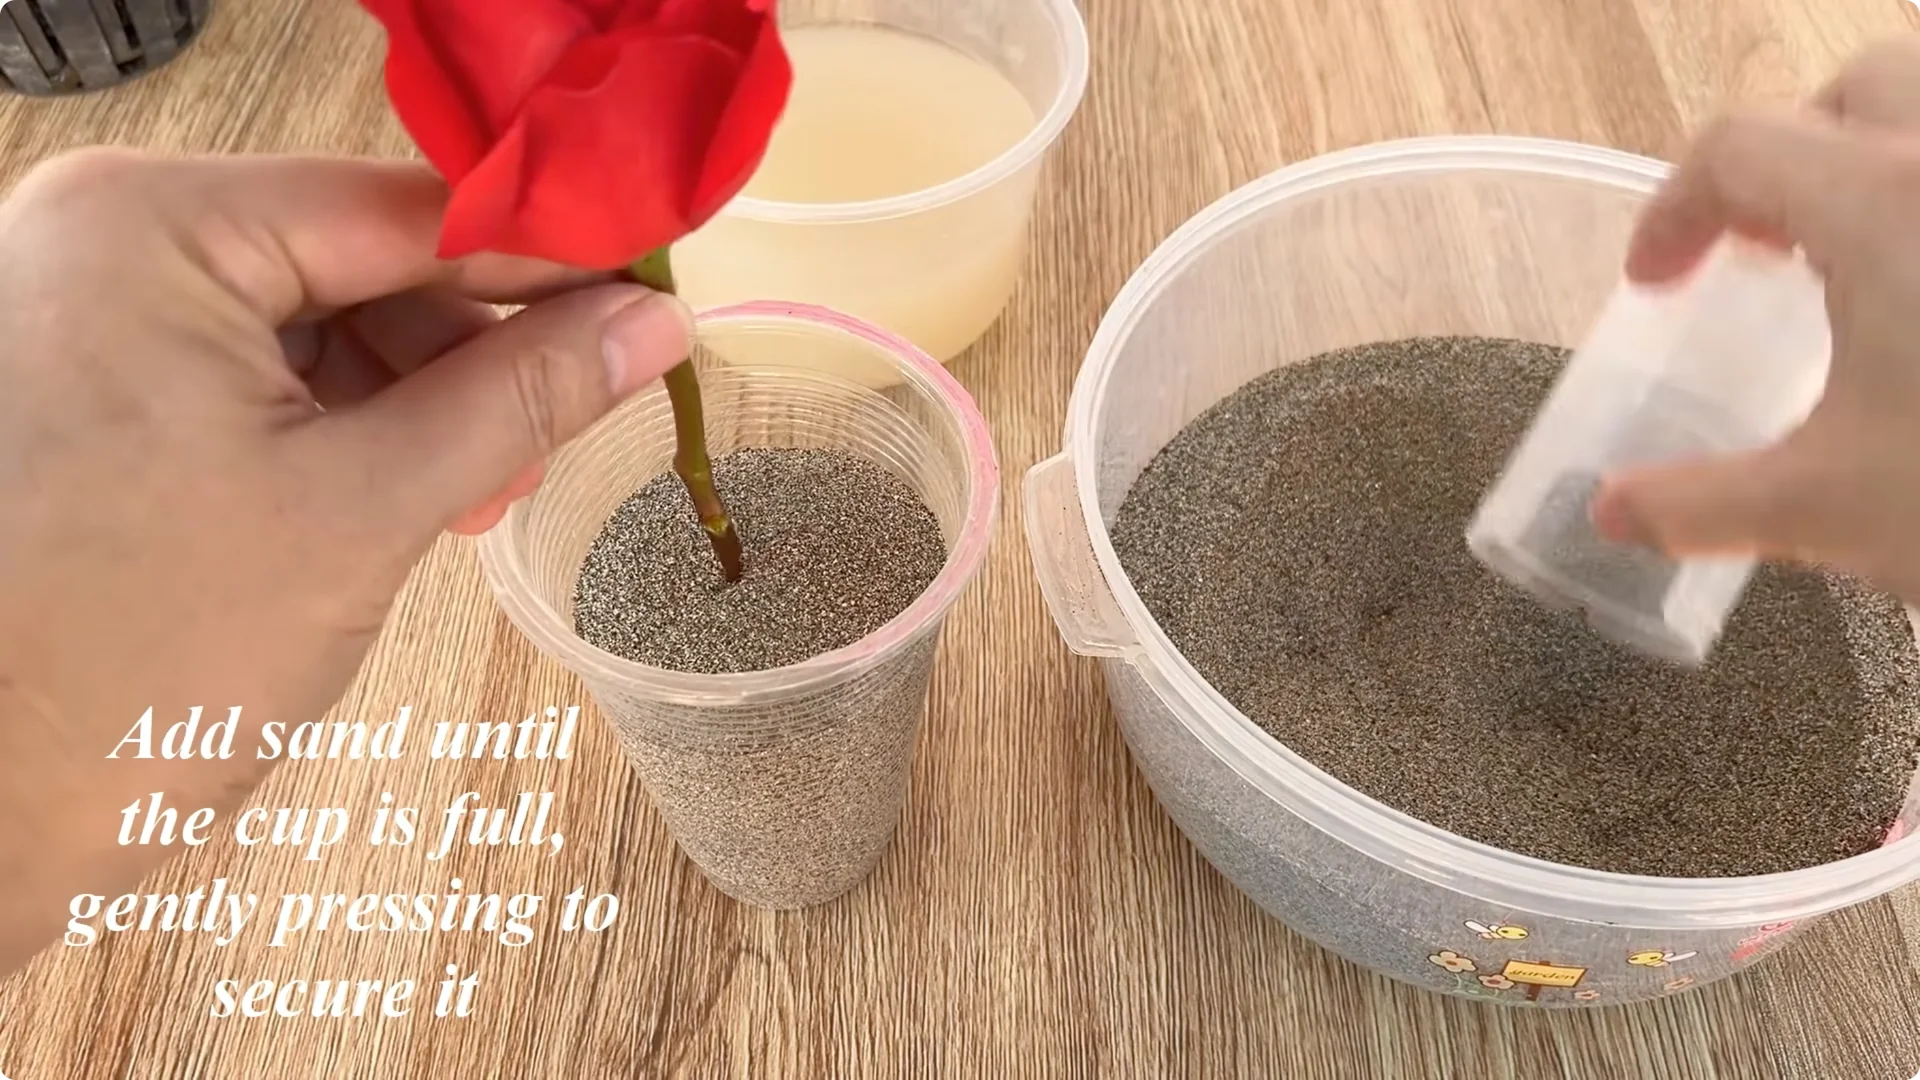
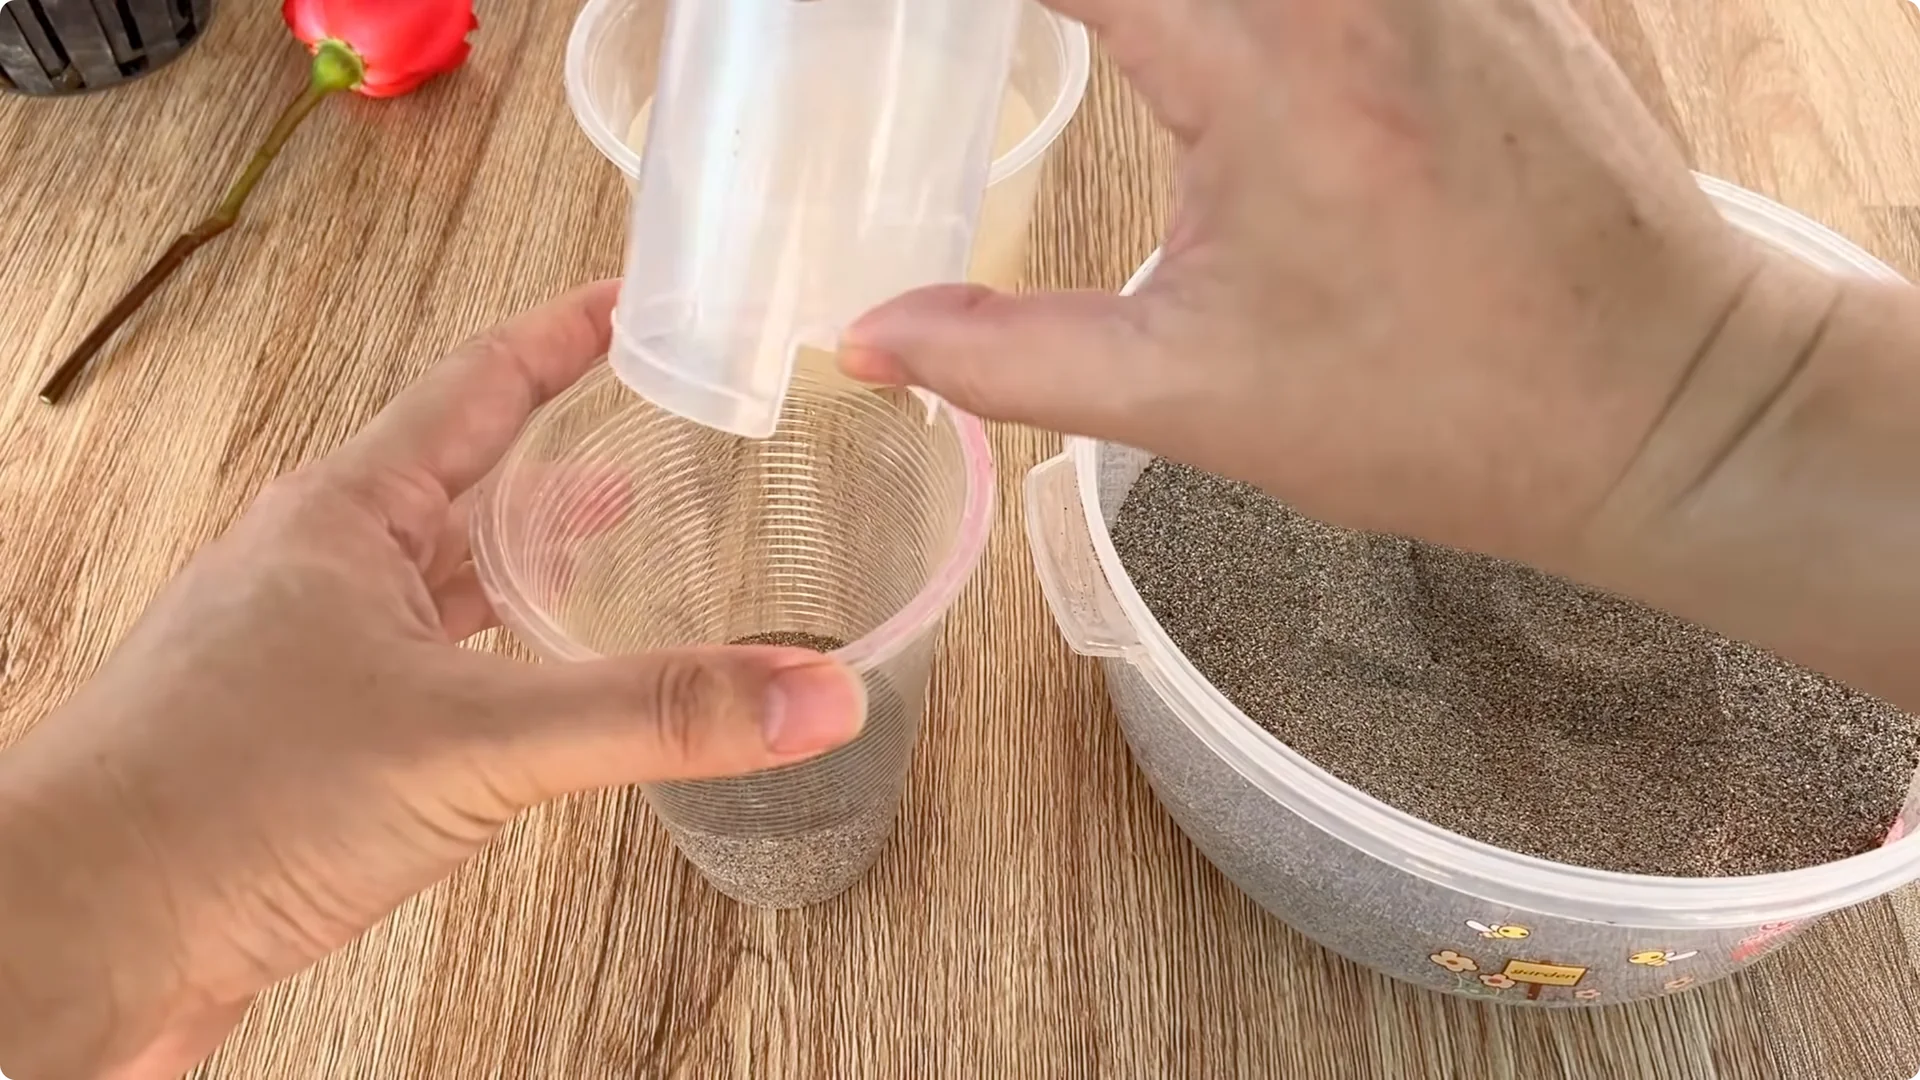
Then place both the banana piece and the rose stem in the center of the cup of sand, and add sand until the cup is full, gently pressing around to secure the stem. River sand helps with drainage, prevents root rot, and creates a well-ventilated environment for young roots to develop. The banana will act as a natural nutrient source, providing potassium and stable moisture to the base of the stem in the first few days.
5. Watering and Humidity Control
Next, slowly pour the lemon-banana peel-oatmeal solution into the cup of sand, just enough to keep it moist. Avoid overwatering to prevent root rot. Once complete, cover the plastic cup and rose cutting with a clear plastic bag or cup.
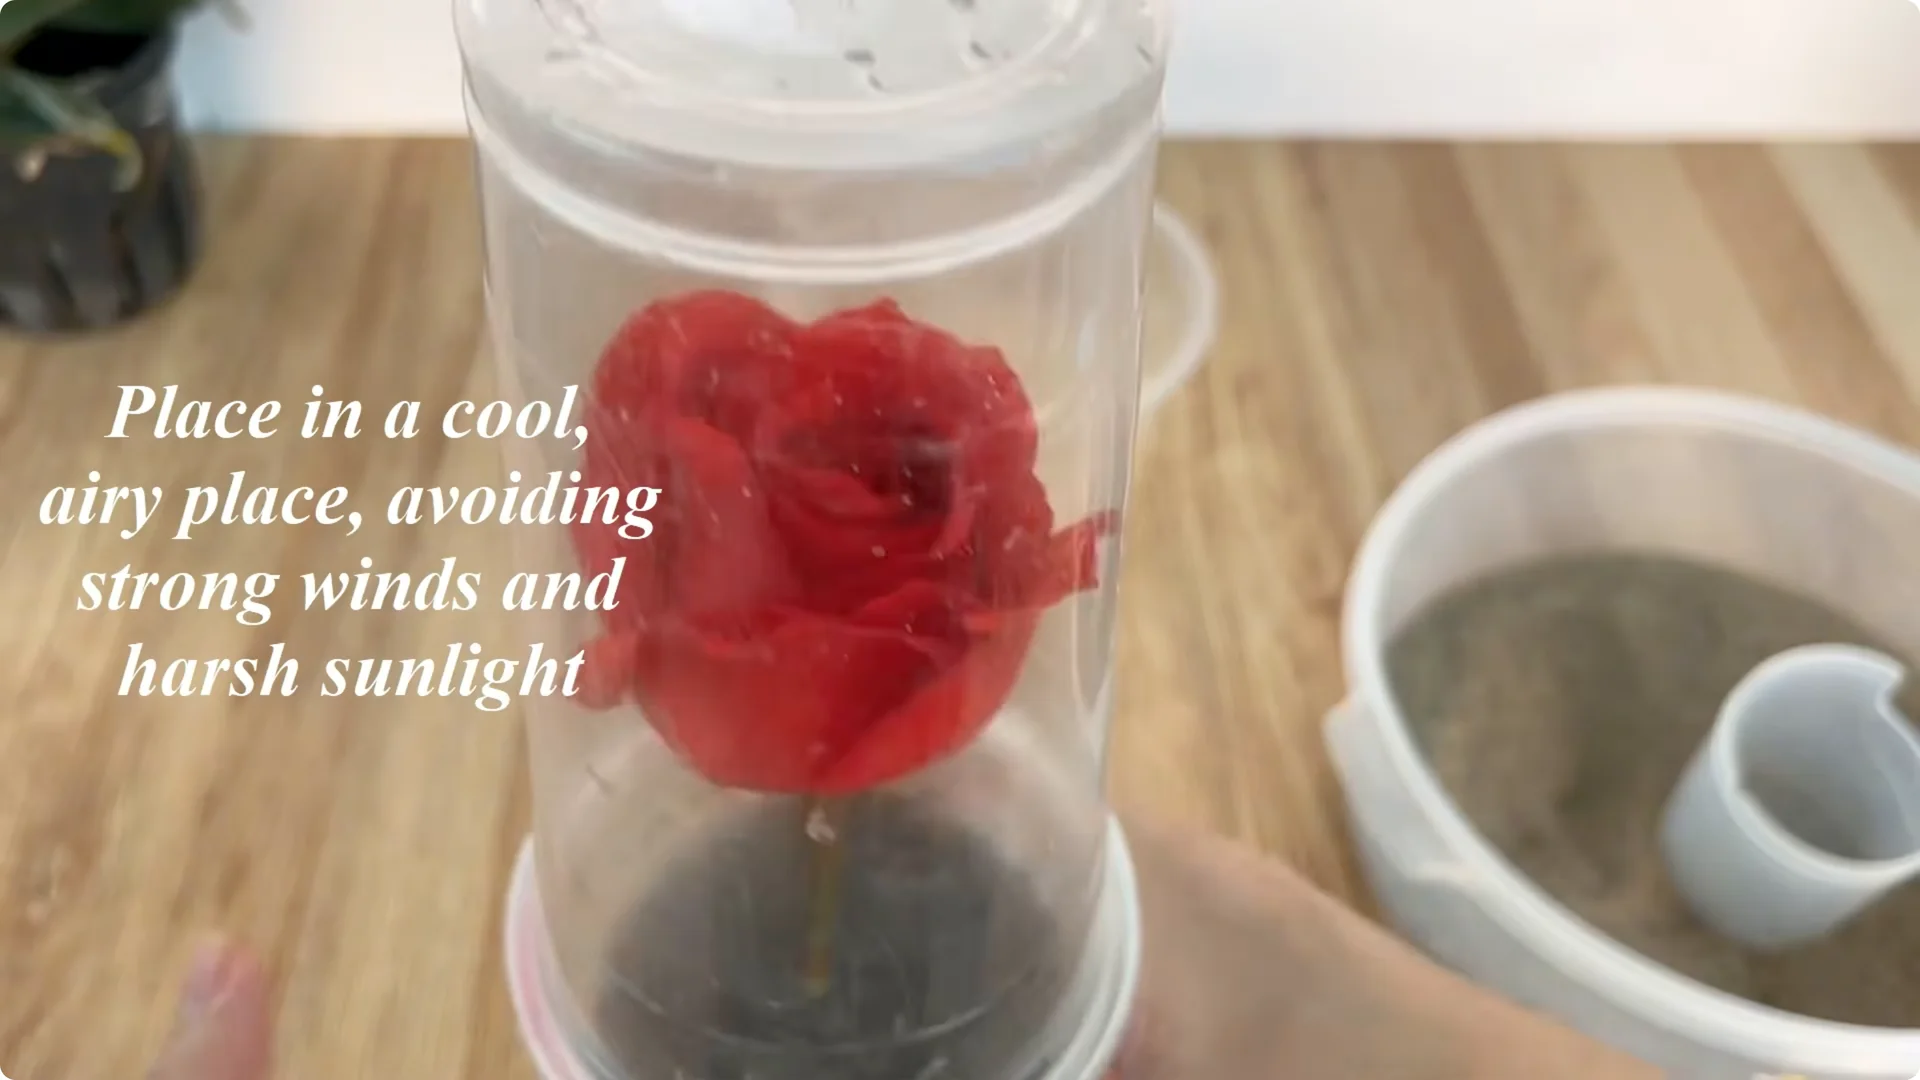
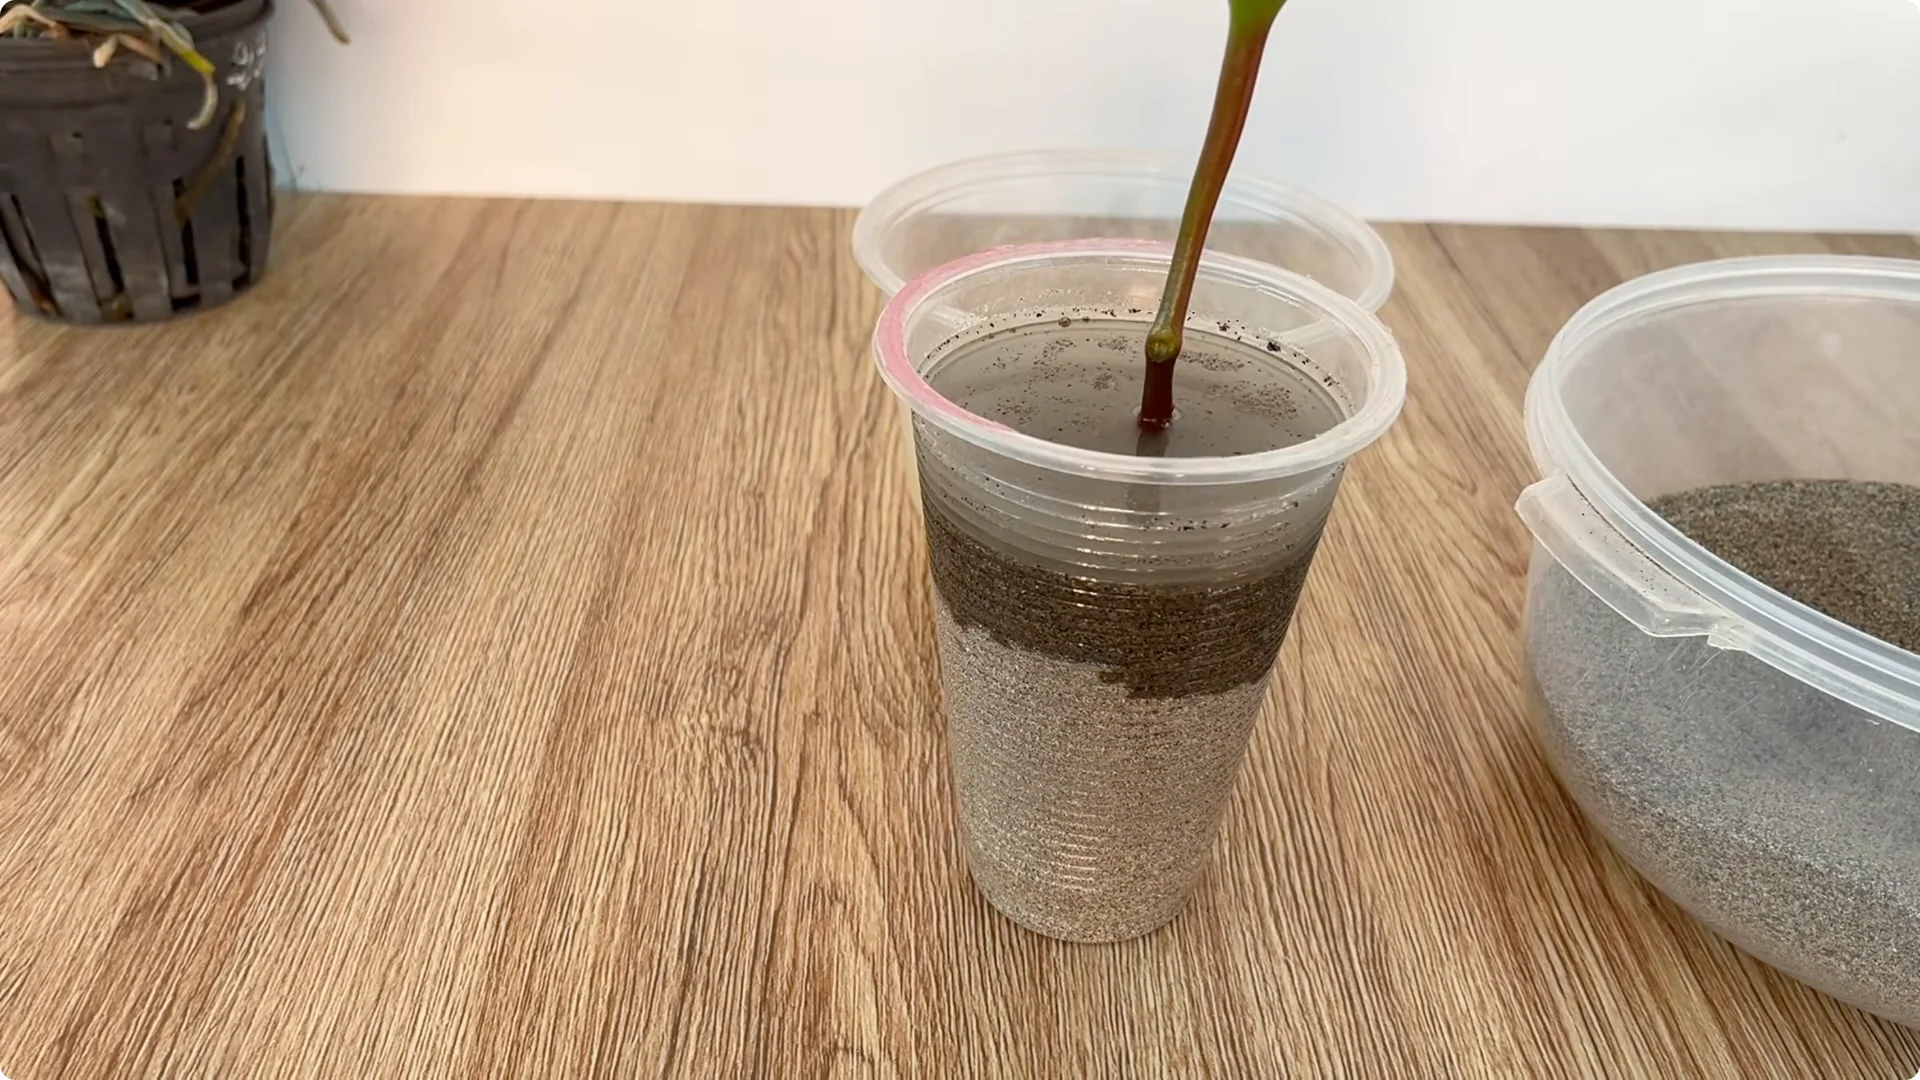
This covering helps retain moisture, creating a mini greenhouse environment, which is very favorable for root development. Place the cup in a cool, airy place, away from strong winds and harsh direct sunlight; only soft, diffused light is needed.
6. Monitoring and Transplanting
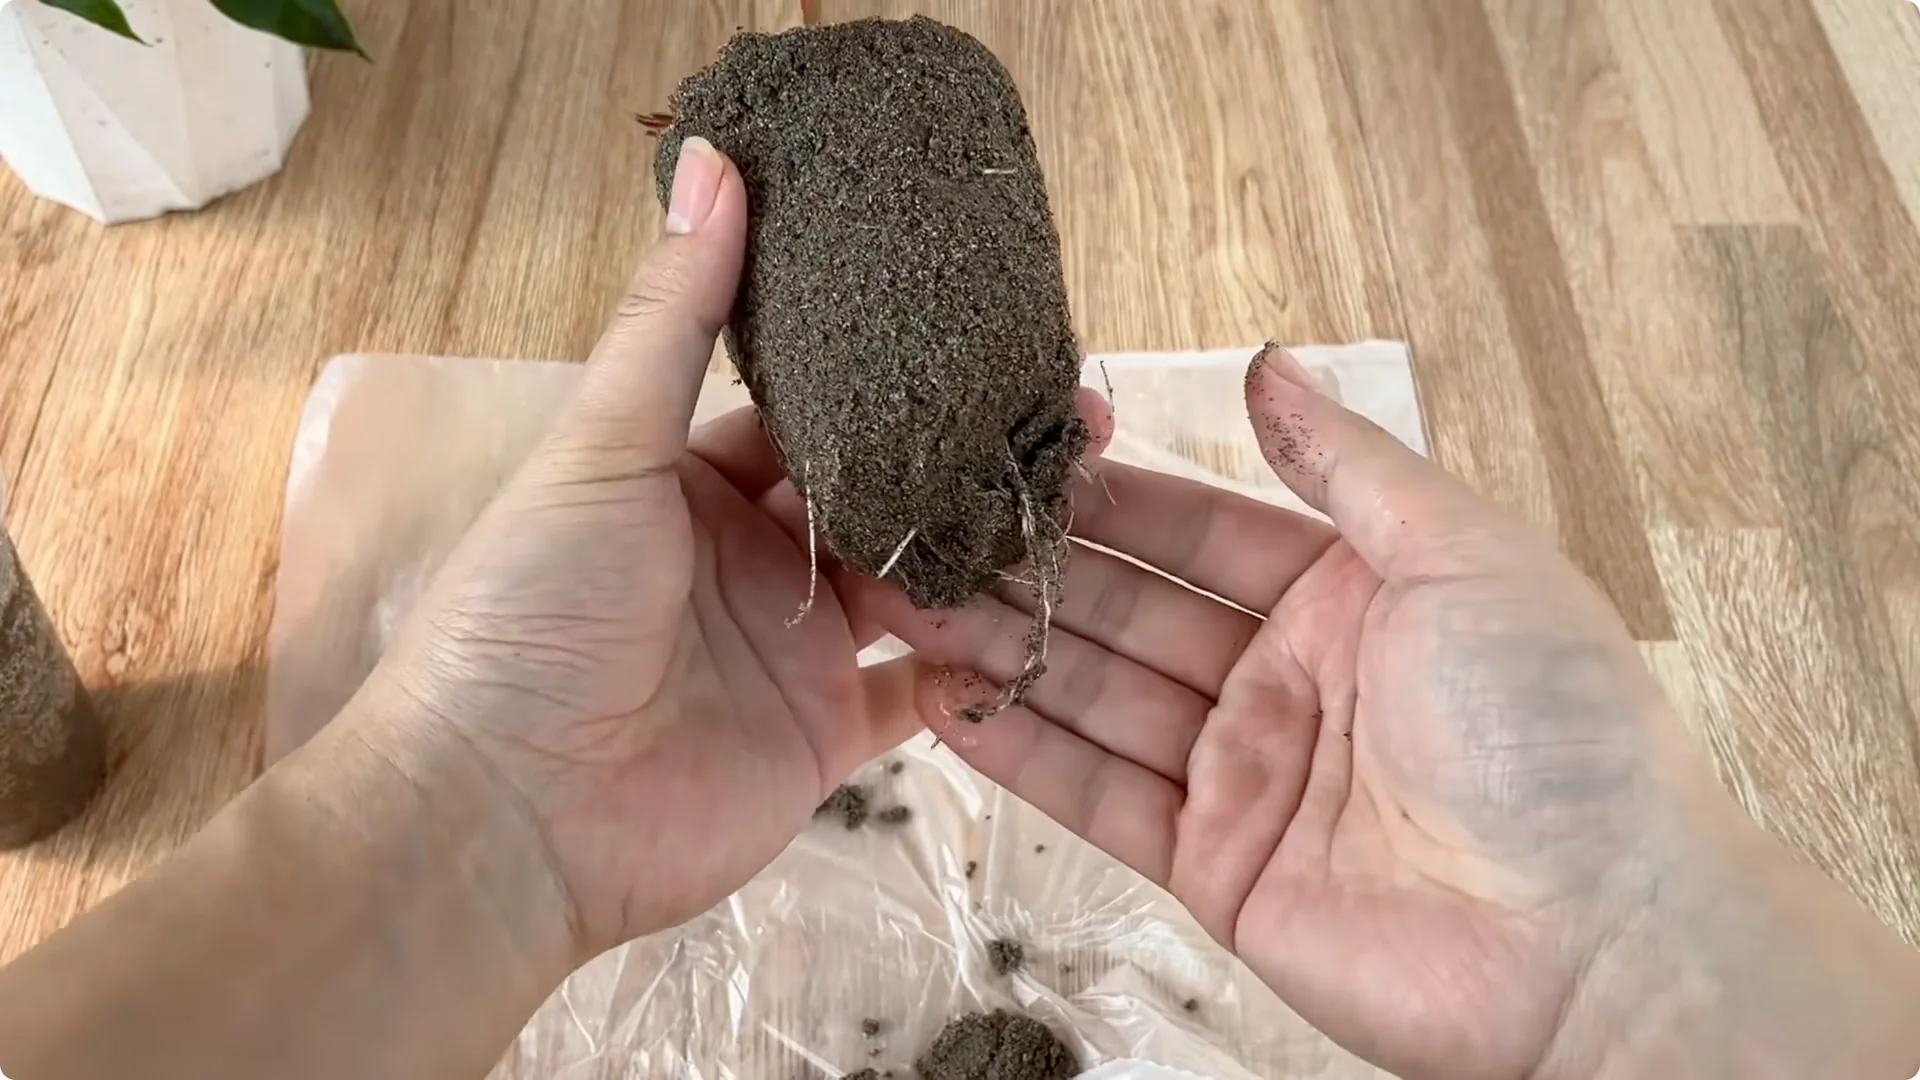
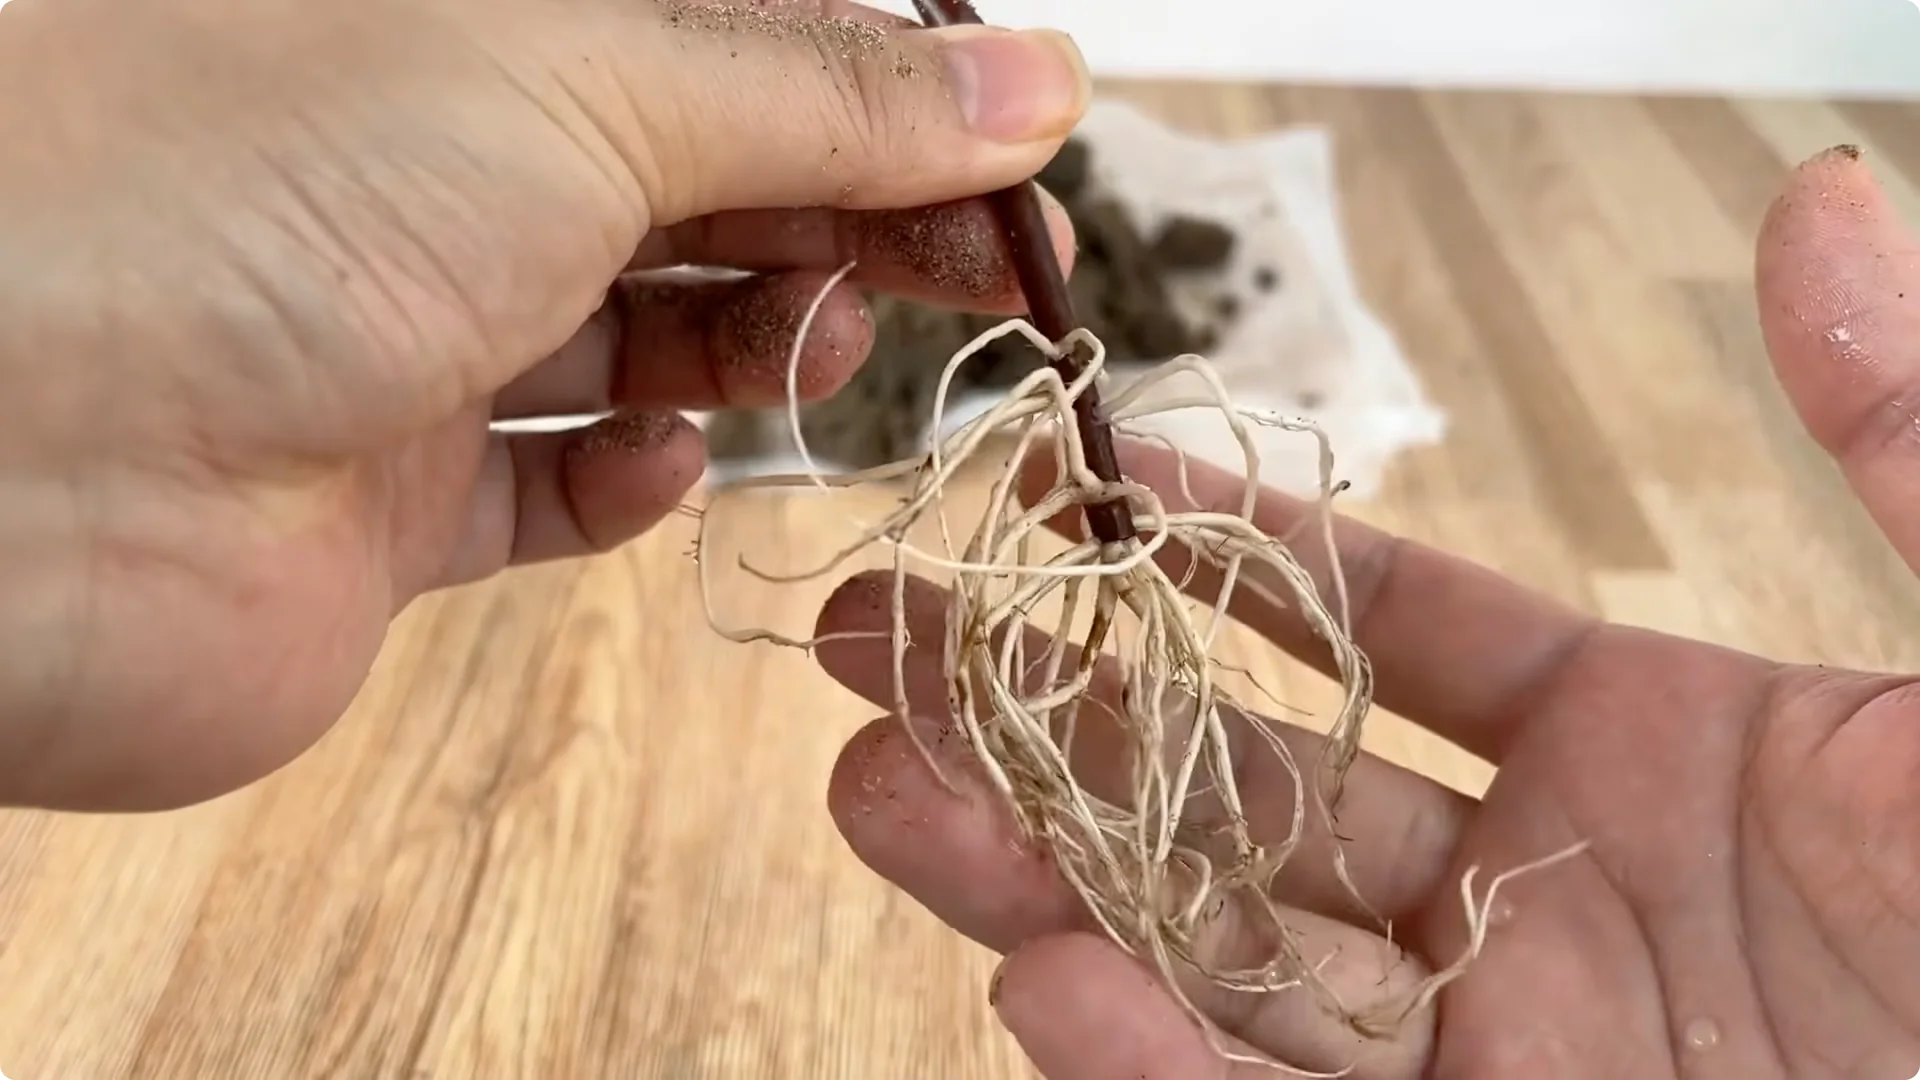
After about 10 days of proper care, you will see new shoots emerging from the rose cutting, which are bright green, with plump, healthy young leaves. Upon gentle inspection, you can see many new roots forming around the base; these roots are white, plump, and firmly anchored in the sand. This indicates that the method has been successful.

At this point, you can transfer the rose cutting to a pot with good drainage, using coconut fiber as a growing medium to continue nourishing the roots and help the plant develop stably in the long term.
Why Rose Cutting Propagation With Natural Ingredients Works
Propagating roses doesn’t necessarily rely on chemical rooting hormones. With just natural ingredients like lemon, banana, and oatmeal, we can create a safe, environmentally friendly, and highly effective cutting process.
Most importantly, patience, meticulous attention to detail, and regular observation are key to adjusting humidity and light. With sufficient care and attention, each cutting is not only a successful experiment but also the beginning of a healthy, prolific, and long-lasting rose bush.
Final Thoughts on Rose Cutting Propagation
We wish you success in applying these techniques and hope you soon have many more vibrant roses to adorn your living space.
The Beginner’s Rose Propagation Starter Kit 🌹
A simple printable PDF guide to help you root rose cuttings successfully.
Get The Guide →